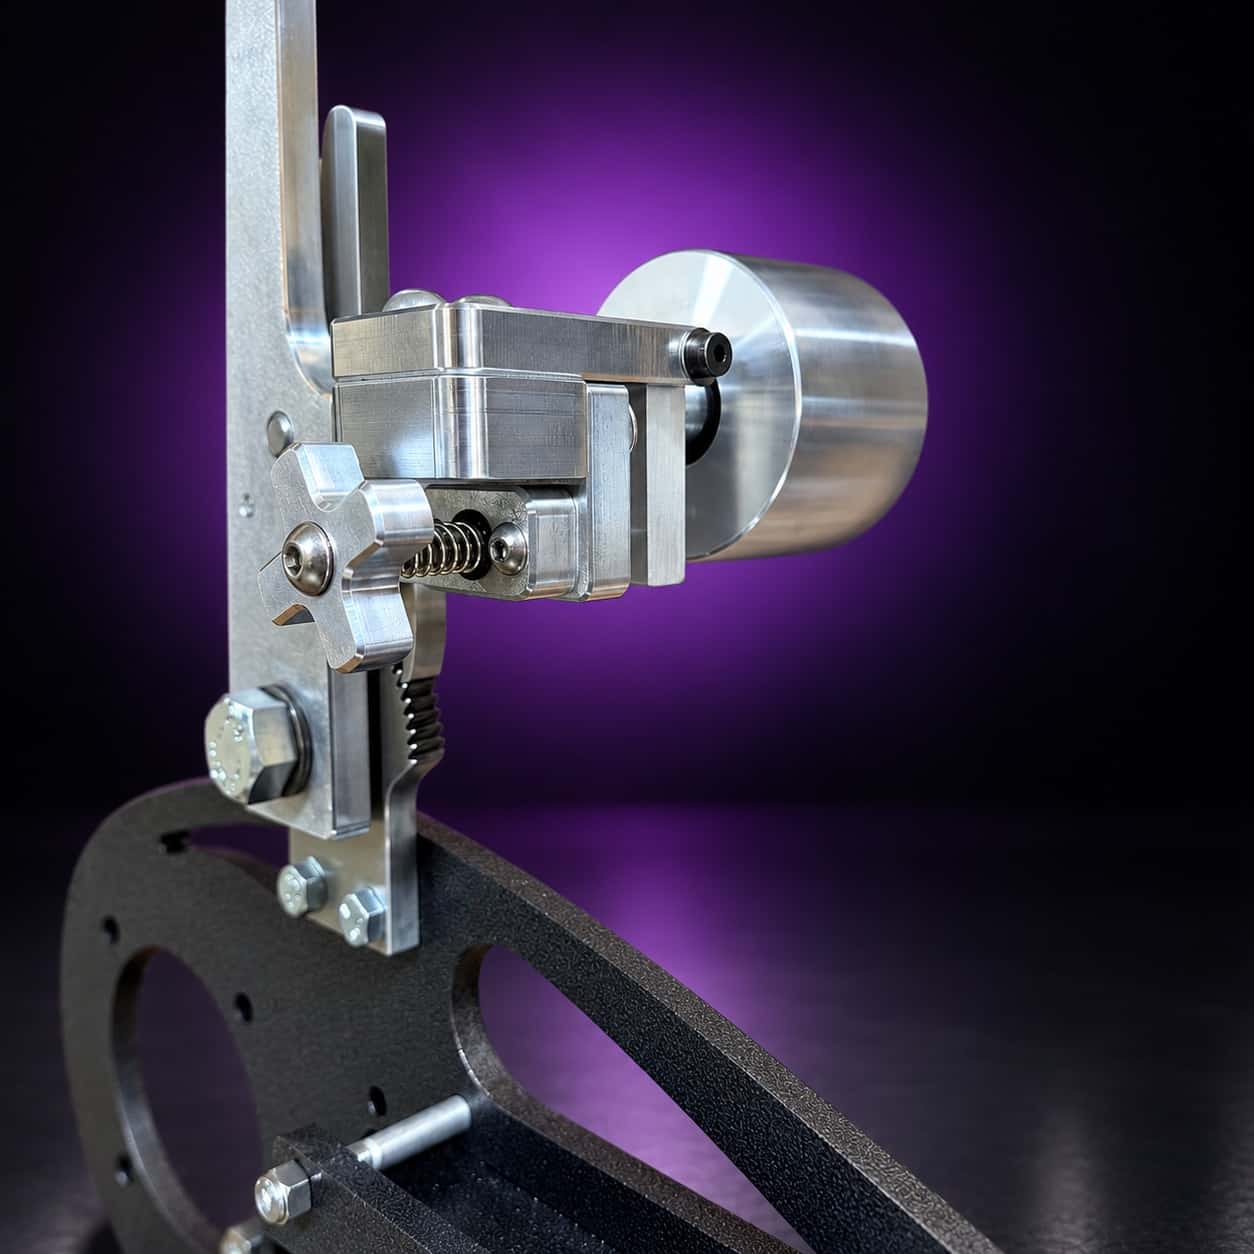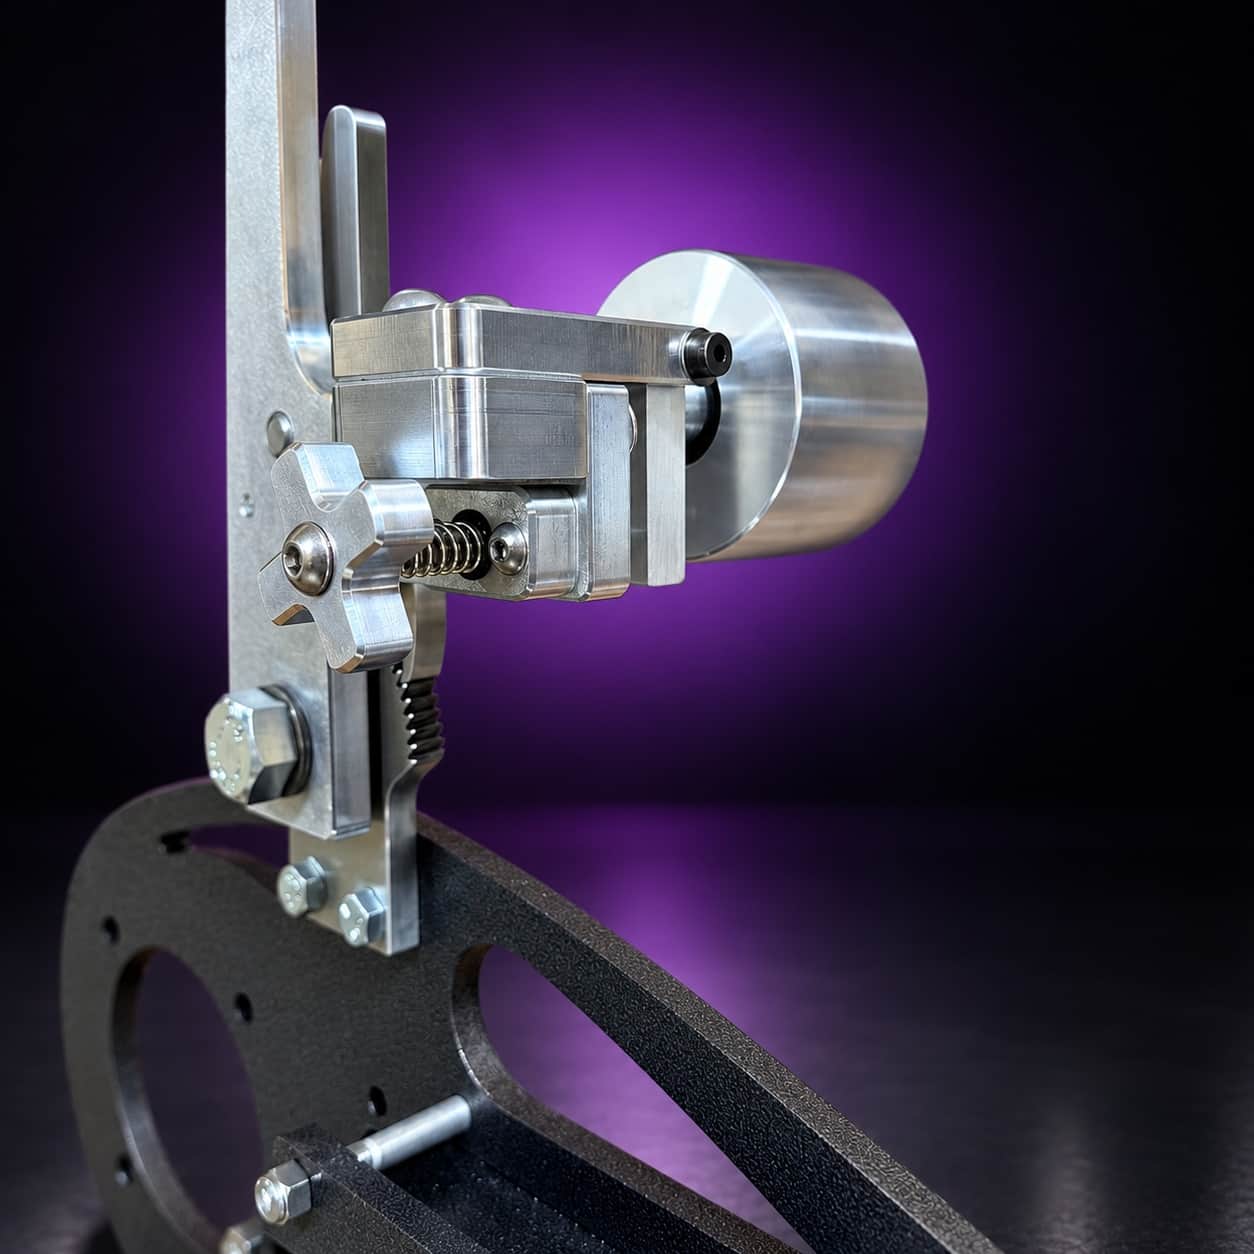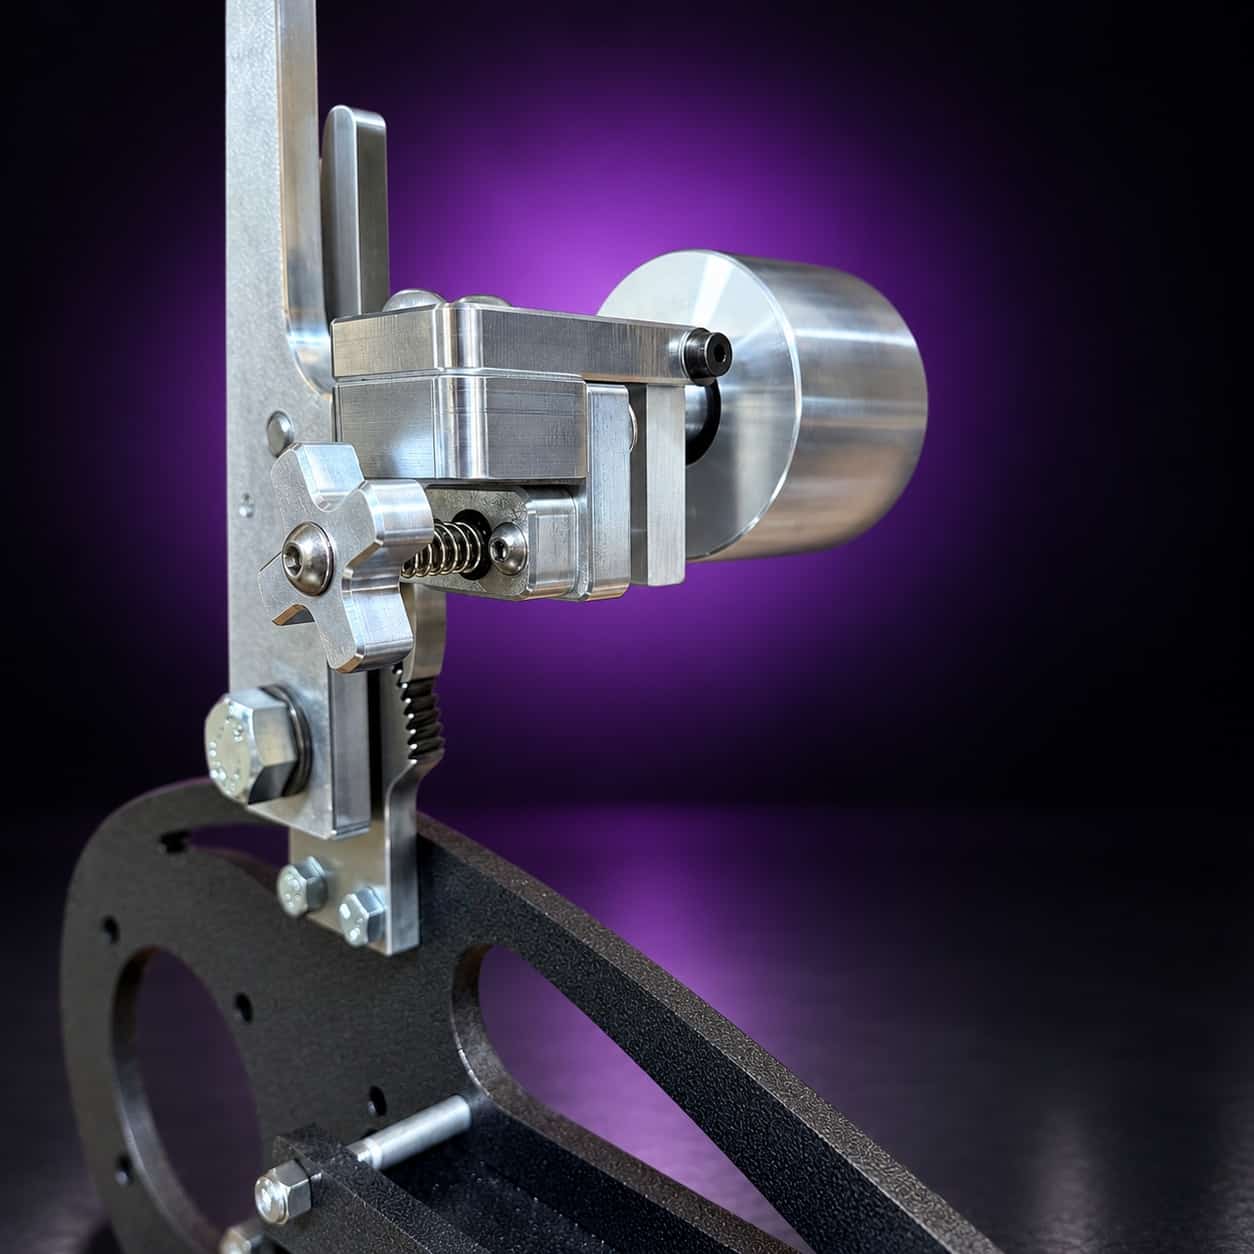
Nebula dual-axis tracking assembly: star knob, spring and idler wheel, close-up, on black with a purple glow

ForgeBrain

Knifemaking troubleshooting

Find what the blade, the belt or the machine is actually doing, then work back to the cause. Every entry ends with the point where you should put the work down.

29 symptoms · 7 shelves · free to read

How it works

Symptom first, cause second

Chasing a cause you guessed at is how a warped blade becomes a cracked one. Every diagnostic in here runs the same five steps.

  1. Name the symptom

    Describe what it is doing, not what you think is wrong. The index below is written in symptoms for that reason.
  2. Read the causes

    Each entry lists likely causes before the checks that separate them.
  3. Run the quick checks

    Cheap, fast checks that rule causes in or out before you take anything apart.
  4. Make the fix

    The repair that addresses the cause instead of masking the symptom.
  5. Stop the repeat

    What to change so the same failure does not come back on the next blade.
Abrasives and belt grinding in a working knife shop
Knife steel heat treatment in a working knife shop
Forging and bladesmithing in a working knife shop

The index

Find your symptom

Grouped by where the work went wrong. Open the one that matches what you are looking at.

Grinder, belts and motor

Tracking, vibration, belt life and the machine moving when it should not.

  • Symptom

    The belt drifts toward one edge of the wheels while running, walks off the drive or idler wheel entirely, or never settles into a stable centered position no matter how you adjust it.

    First fix

    Adjust the tracking wheel tilt in small increments, running the grinder briefly between each adjustment to see the effect

  • Symptom

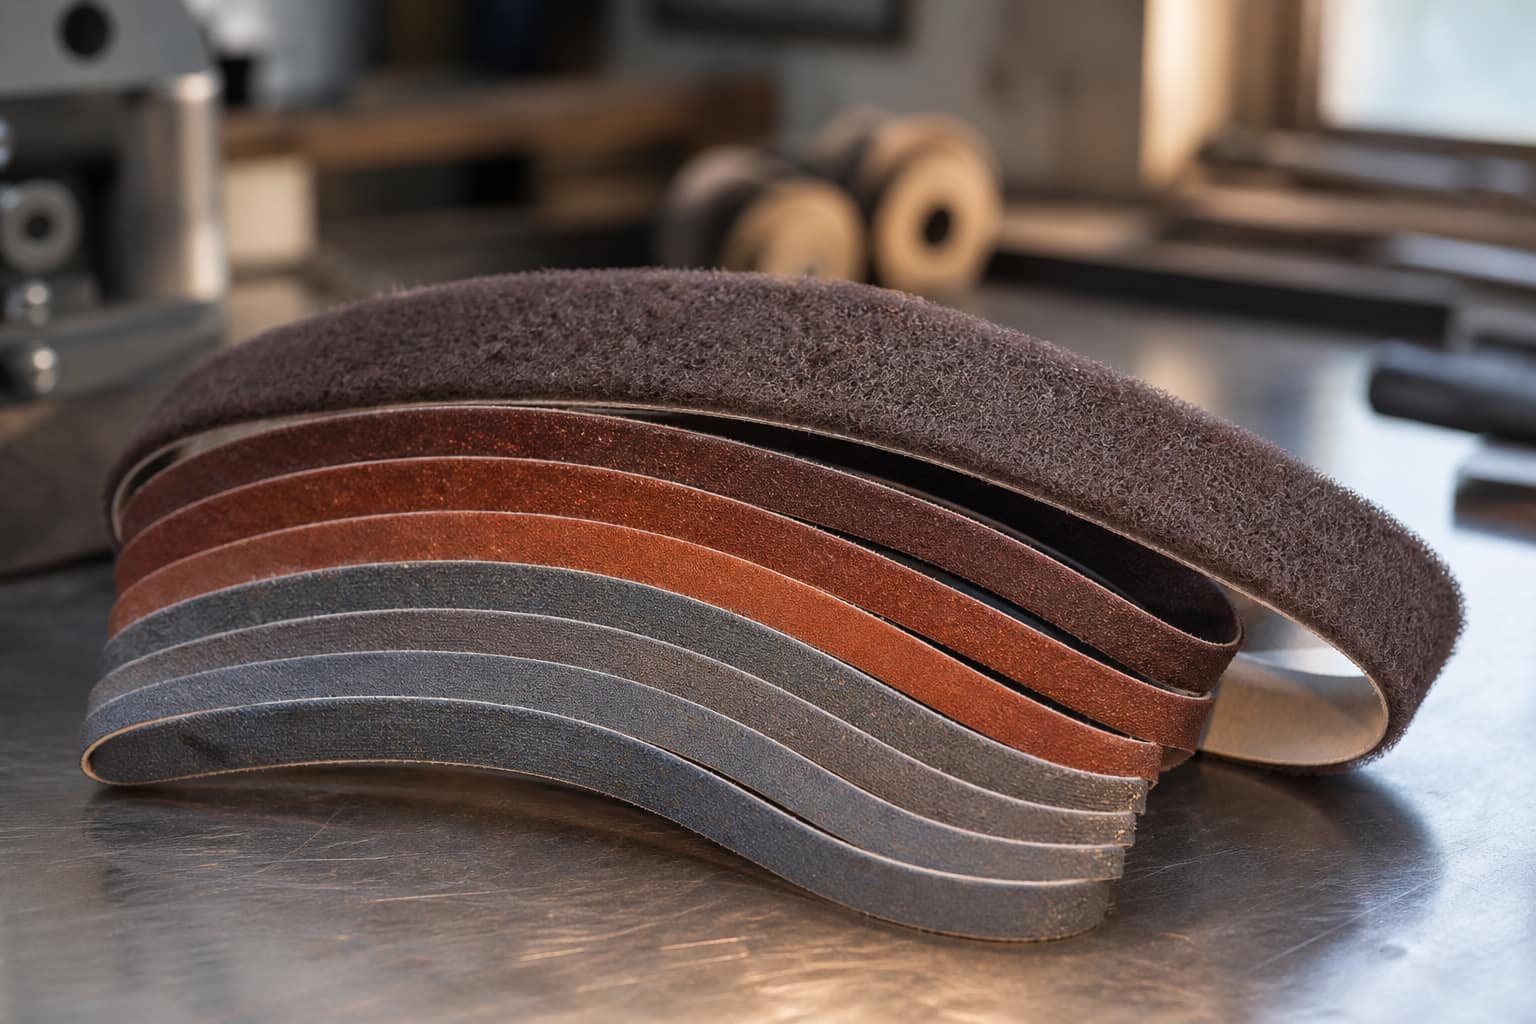
    Belts wear out, glaze over with a shiny loaded surface, or stop cutting effectively much faster than expected, sometimes within a single blade's worth of grinding.

    First fix

    Switch to ceramic belts for high-carbide steels like CPM 20CV, CPM S30V, or D2

  • Symptom

    The grinder shakes, buzzes, or hums noticeably when running, especially at higher belt speeds, and the vibration may worsen under grinding pressure.

    First fix

    Retighten all frame, motor mount, and wheel arm hardware

  • Symptom

    The whole grinder slides, rocks, or creeps across the bench or floor while grinding, especially under heavier pressure, instead of staying planted in one spot.

    First fix

    Bolt the grinder down through its base mounting holes to a bench or dedicated stand rather than relying on friction alone

  • Symptom

    The motor visibly slows, bogs down, or stalls when applying normal grinding pressure, especially during heavier stock removal.

    First fix

    Increase VFD frequency to bring belt surface speed into an effective range for the wheel size being used

  • Symptom

    The flat platen develops visible grooves, ridges, or shiny hot spots, or the rubber contact wheel wears down unevenly, and grinds that used to come out flat and even now feel inconsistent no matter your technique.

    First fix

    Replace a grooved platen surface, most flat platen attachments use a replaceable wear plate rather than requiring the whole attachment be swapped

  • Symptom

    Plunge lines don't match from one side of the blade to the other, the bevel wanders wider or narrower along the blade's length, or grind lines aren't straight and parallel no matter how carefully you try to hold the work.

    First fix

    Slow down and take lighter, more frequent passes rather than one long aggressive pass

  • Symptom

    A flash of straw, bronze or blue blooms at the edge mid-pass — usually on a thin section, near the tip, or during a moment's dwell — on a blade that already cost a heat treat.

    First fix

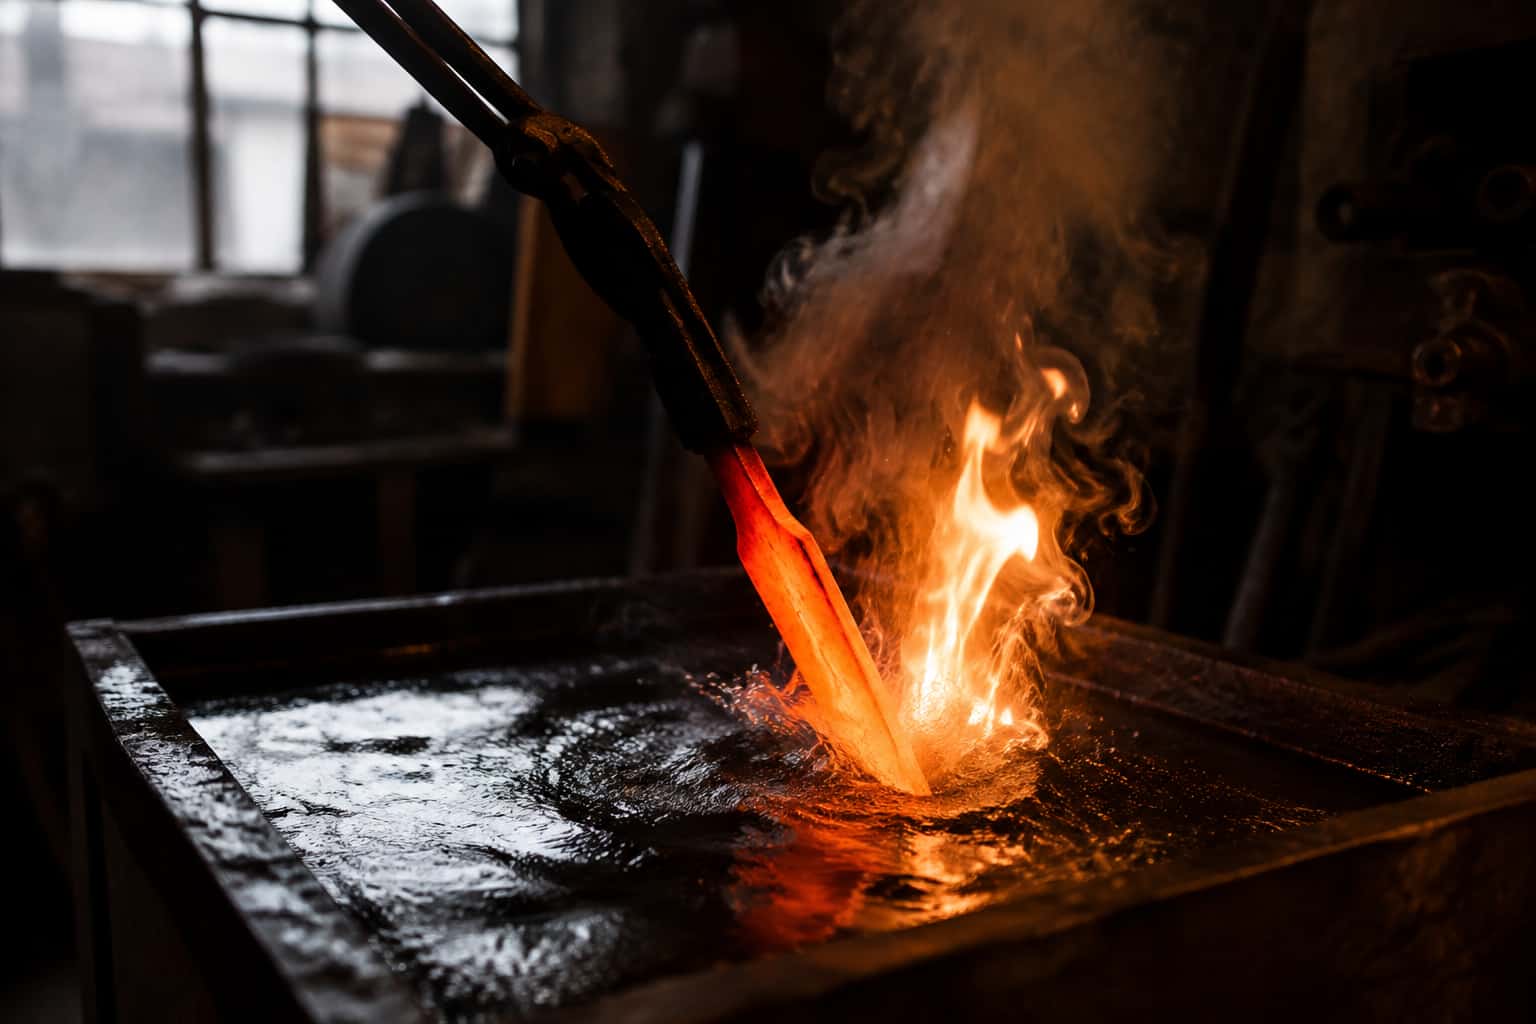
    Be honest about the math. Color BELOW or at your temper temperature (light straw on a 400°F-tempered blade): cosmetic — sand it out and continue. Color meaningfully above (purple/blue anywhere near the working edge): that zone is over-tempered soft, and grinding the color off does not restore the hardness — the choice is (a) grind PAST the affected depth if geometry allows (a kissed tip often grinds away entirely), (b) live with a soft spot on a user blade and tell the truth about it, or (c) re-heat-treat: re-normalize, re-quench, re-temper — the only real restoration, detailed in the heat treat guide. For a customer blade, (c) is the answer.

Heat treat and quench

Common problems between the kiln and the quench, organized by symptom.

  • Symptom

    The blade develops a visible crack, sometimes accompanied by an audible ping or crack sound, during or immediately after the quench.

    First fix

    Switch to the correct-speed quenchant for the steel in question; going from a fast oil to a slower one can significantly reduce cracking risk on shallow-hardening steels, and vice versa for steels that need a faster quench to fully harden

  • Symptom

    The blade comes out of the quench with a visible bend or twist along its length, either side to side or with the edge curving away from straight.

    First fix

    For a straight-forward quench-warp, straightening the blade while still warm from tempering (before it fully cools) is often possible with careful, gradual pressure

  • Symptom

    The blade went in straight and came out sabered (curved edge-to-spine), twisted along its length, or wavy — and on a 20-plus-inch blade the deflection is dramatic where a knife would barely show it.

    First fix

    Three windows, in order of preference. HOT: straighten in the first seconds post-quench while above roughly 400°F — gloved flex over a wood block, checked against a straightedge, fast and remarkably effective. TEMPER: clamp the blade over-corrected against a straight bar or channel — or in a dedicated quench vise (the Quench Master 2500 clamps at up to 2,500 lb between 14-inch plates) — and run the temper cycles — the standard fix; two cycles at temper heat set most single curves. HARD (last resort): careful three-point flexing in a vise with rod fulcrums, over-bending past straight in small steps — works, and snaps blades for the impatient; eye protection and low expectations. Twists respond to clamped counter-twist at temper. A kinked or crack-suspect blade gets the file test and honest scrapping before more force. Full long-blade sequence in Your First Sword on a 2x72.

  • Symptom

    A file test or Rockwell test shows meaningfully different hardness readings at different points along the same blade, or one section noticeably fails to hold an edge while the rest of the blade performs normally.

    First fix

    If caused by uneven equipment temperature, the blade generally needs to be renormalized and re-hardened with better temperature control, or in a different, more evenly-heated setup

  • Symptom

    The blade hardened, the clay stayed on, the etch went dark — and there is no line: uniform gray from spine to edge, a ghost too faint to photograph, or a wild random line nowhere near the clay layout.

    First fix

    Wrong steel: no rescue — finish the blade as a through-hardened knife (it is still a good knife) and buy W-series for the next one. Failed quench: re-normalize and re-quench faster (Parks 50 class, correct temperature verified, thin the edge toward final geometry first). Clay failures: re-clay with proper thickness and adhesion (a scored surface helps), dry completely, re-treat. Hidden line: work the polish-and-etch ladder — finish to 400-800 clean, then repeated lemon-juice or diluted ferric cycles with fine-powder polish between; the line builds over cycles, it does not appear in one.

Forging and forge welding

Cracks, cold shuts and welds that will not take.

  • Symptom

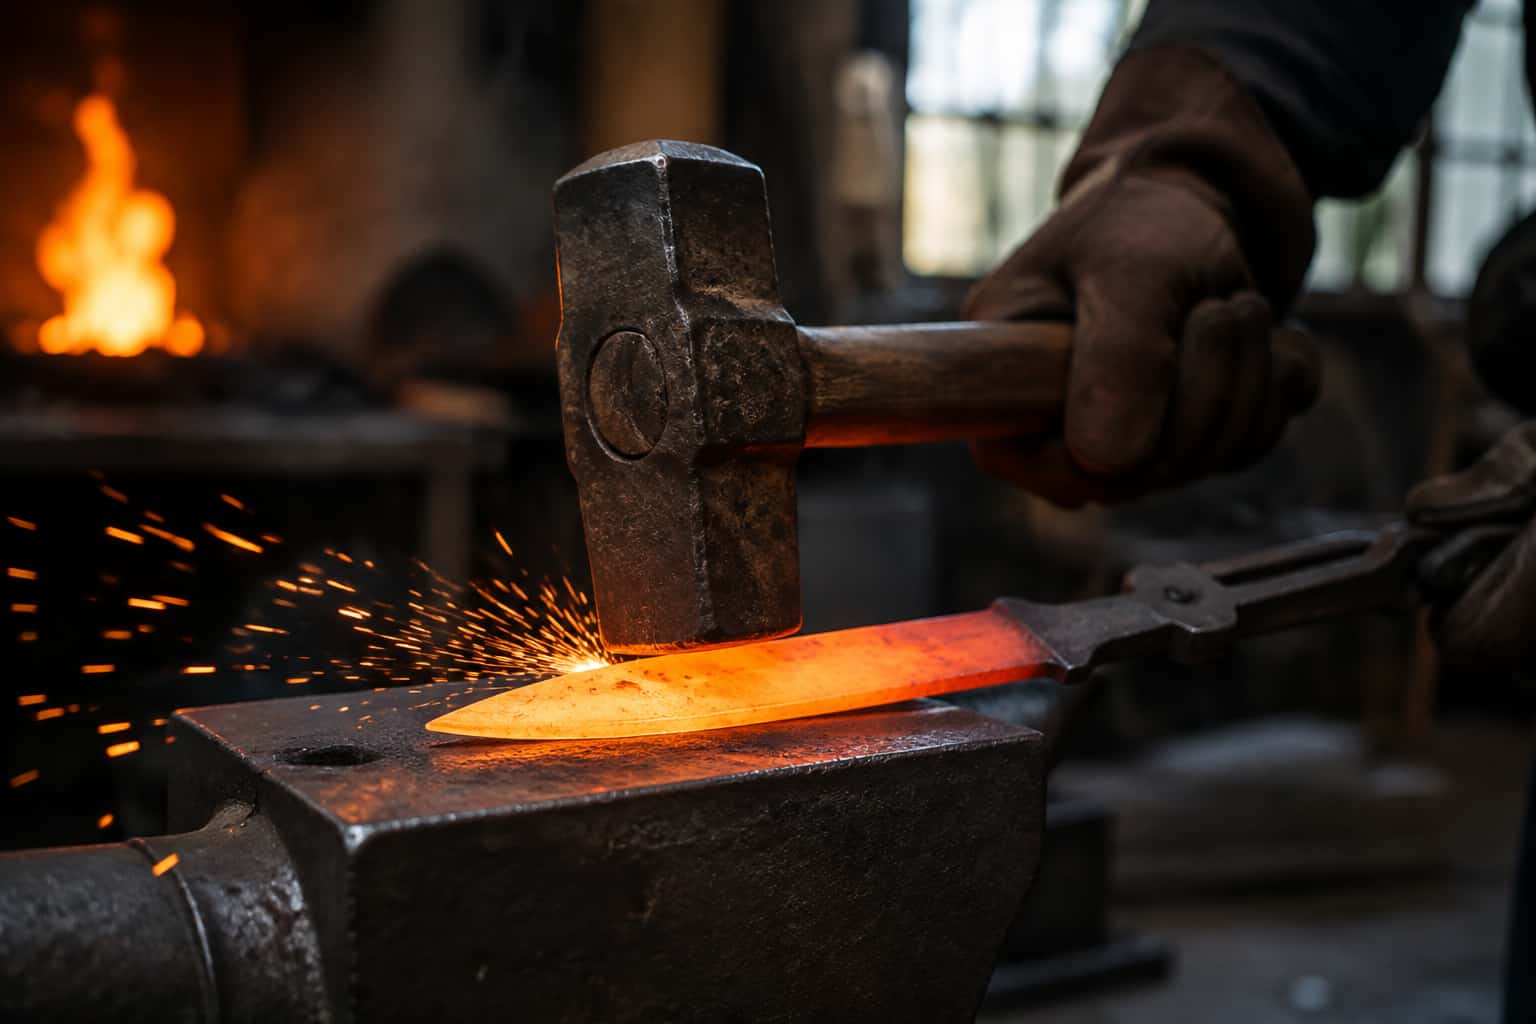
    Visible cracks at bar edges, corners, or mid-face after forging; hairlines that appear as grinding progresses; or cracks that reveal themselves violently at the quench. Ends and corners are the most common sites.

    First fix

    End and corner checks: cut back to sound steel and continue — this is routine, not failure. Cracks in the intended blade body: scrap it honestly. There is no fix that makes cracked steel trustworthy; steel is cheap and your name is not.

  • Symptom

    A thin dark line, crease, or seam on the blade surface that survives grinding and shows up starkly after an etch or quench — often with slightly rounded, folded-looking ends rather than sharp crack tips.

    First fix

    Shallow shut with thickness to spare: grind past it completely and confirm with an etch — on a 2x72 this is a two-minute diagnosis. Deep shut with forging stock left: cut or grind back to sound steel and re-forge. A shut that reaches the final edge or bevel envelope is not fixable — see below.

  • Symptom

    Layers separate at the seam when drawing, a welded billet opens like a book at the first hard blows, a tomahawk eye wrap pops its tongue weld, or grinding reveals a bright hairline where two pieces never actually joined.

    First fix

    Cut or grind back to sound material past every trace of the failed seam — a re-weld over trapped scale fails twice. Re-scarf with crowned faces so the weld sweeps air and flux outward. Clean to bright steel, flux early (before visible scale forms, around orange heat) unless running a deliberate dry-flux practice with a reducing fire. Take a genuine soak at welding heat — the core must arrive, not just the skin — then weld off the anvil-arrival instant: firm fast overlapping blows from the center of the joint outward. Reset the fire if it is oxidizing: a slightly rich, stable fire is half the weld. Full sequence in the damascus section and the wrapped-eye walkthrough in Forging a Tomahawk.

  • Symptom

    The end of the bar splits open into two (or four) lips while drawing out — usually preceded by the end face looking cupped or hollow. The split deepens with every additional heat if forging continues.

    First fix

    Cut or hot-cut the split end off completely, back to sound steel, before continuing — the split never forge-welds itself closed, and forging over it folds the tear inside the bar as a cold shut. Losing an inch of bar now beats losing the blade later.

Edge and finish

The blade is made and it still is not right.

  • Symptom

    No matter how much time you spend sharpening, the blade never reaches a genuinely keen, hair-popping edge, it feels dull again almost immediately, or it never gets past a rough, toothy edge at all.

    First fix

    If the edge shows heat discoloration, that section needs to be re-heat-treated, sharpening alone can't fix a drawn temper

  • Symptom

    Small chips or missing bits appear along the edge during otherwise normal cutting tasks, not from obvious abuse like prying or striking something hard, on a finished, already-sharpened blade.

    First fix

    If tempering was skipped or under-done, the blade needs to be re-tempered, this alone often resolves chipping without needing a full re-hardening cycle

  • Symptom

    Small orange or brown spots show up on the blade after use or storage, sometimes as pinpoint dots, sometimes spreading across a wider area, even on a blade that looked fine when it was finished.

    First fix

    Remove light surface rust with fine steel wool, a rust eraser, or a light abrasive and oil, then re-oil the blade immediately

Handles, sheaths and leather

Scales, stitching, wet forming and dye.

  • Symptom

    After glue-up, the handle scales don't sit perfectly flush against the tang, small gaps show up along an edge, at a pin location, or the scales rock slightly instead of contacting the tang evenly across the whole surface.

    First fix

    For small gaps, sometimes re-clamping with even pressure while the epoxy is still workable can pull things flush before it cures

  • Symptom

    Thread ends frayed and severed along the sheath's edge seam, stitches lifting through the leather surface, a seam unzipping stitch by stitch — or a clean slice through every thread on the blade side of the seam.

    First fix

    A cut seam over a missing welt means rebuild, not repair: unpick, cut a full-length welt (two layers for thin blades' clearance), re-glue, re-groove, and saddle stitch — the two-needle structure that cannot unzip from one failure, backstitched at the ends. Torn-through holes: move the new stitch line inboard on a fresh groove, or glue a reinforcing layer over the damaged margin. Replace any suspect thread with waxed poly and recess every run in its groove. A seam failing from abrasion alone re-stitches through the same holes in an evening.

  • Symptom

    The sheath that used to click now lets the knife lift free, the blade rattles in a pouch that fit like skin, or the knife falls out inverted — sometimes gradually, sometimes after one wet weekend or an oiling session.

    First fix

    Re-wet-form: the original process repeats — case the sheath (evenly damp, not soaked), insert the plastic-wrapped knife, re-bone the retention lines HARD at guard and swell, air dry fully with the knife in place, per Wet Forming. This restores most sheaths completely. Over-oiled leather re-forms weaker — do the re-form, then accept a firmer top coat (resolene) to lock what stiffness remains. Chronic or hard-carry cases: add mechanical retention honestly — a snap strap over the guard, or on horizontal/dangler carry where friction was always the wrong sole plan (the styles guide's rule), a strap from the start.

  • Symptom

    The dyed sheath dries streaked, mottled or two-toned: dark blotches at edges and stamp impressions, pale patches mid-panel, rings where drips landed, or color that looks nothing like the sample swatch.

    First fix

    First: more thin coats — most 'ruined' dye jobs are one-coat judgments, and two or three additional thin, overlapping dauber coats even out 80% of cases. Still uneven: deglaze the surface (alcohol or dedicated deglazer wiped evenly), let dry, re-dye thin. Persistent blotches: step the whole piece darker — the traditional rescue; every shade toward dark brown or black forgives more sins, and 'it was always meant to be black' has saved a thousand sheaths. Last resort on tooled showpieces: an antique-gel-over-resist finish converts unevenness into deliberate highlight contrast. Details and sequence in Edges, Dyes and Finishes.

Axes and hawks

Hangs that loosen, bits that bounce, handles that break.

  • Symptom

    The head wiggles after an hour of chopping, creeps up the haft between sessions, rings with a rattle on strikes, or the wedge sits proud and loose in its kerf. A tomahawk head slides off entirely when the haft is inverted.

    First fix

    The repair is wedging, not water. Pull or drive out the old wedge (drill it if stubborn), deepen the kerf if it was shallow, and drive a new dry hardwood wedge until dead stop; add the steel step-wedge diagonally across it. If the tongue itself is undersized or crushed, re-hang on a new haft — the full discipline in Hafting an Axe; a wedge cannot rescue a bad fit. Hawks: re-shave the haft taper to full-contact fit, or make the next haft from the drift's own spec. The soak-it-in-a-bucket trick swells wood tight for a weekend and returns it looser than before as it re-dries — emergency-only, never the repair.

  • Symptom

    Every felling swing buries the bit so deep the axe needs wrestling free, chopping feels like glue — or the opposite: the bit glances and bounces, spitting small chips and vibrating the hands, barely deeper on the tenth swing than the first.

    First fix

    Match or modify. If the axe is simply miscast for the job, swap axes and both symptoms vanish — the whole argument of the field guide. To fix a sticker: restore cheek convexity — build the high centerline back on the platen and slack belt (the restoration guide's most common regrind), so the head releases as it cuts. To fix a bouncer: sharpen first (a keen convex at 25-ish inclusive fixes most), then thin the cheeks gradually toward a felling profile if the pattern allows. Angled felling strokes (45 degrees to the grain) also cure half of sticking complaints — straight-in chops wedge in any geometry.

  • Symptom

    Handles snap just below the head after a session of throwing — usually on misses that strike haft-first — or crack lengthwise from the eye down, eating a haft a week.

    First fix

    Fix the rotation first: it is a distance dial — over-rotating (handle-high hits), step back a half-foot; under-rotating, step in; then stop muscling the throw, per the throwing guide. Buy or make straight-grained hickory hafts (throwing suppliers sell them in bundles for exactly this reason) and orient grain with the swing plane. Keep the friction fit seated — a hawk head should be tapped seated before every session. Soften the arena: fresh soaked end-grain rounds or soft cottonwood boards punish misses far less than seasoned lumber. And accept the sport's economics: throwers treat hafts as consumables — the win is a haft that lasts months and swaps in sixty seconds, which is the friction-fit design's entire genius.

Folders

Detents, lock rock and blade play.

  • Symptom

    The blade drifts open in the pocket (weak detent), the draw feels gravelly or squeaky (gritty), opening takes a nail-breaking effort (harsh), or the once-crisp action has gone vague on a knife that used to snap.

    First fix

    Weak: increase bar tension slightly, or press a ball a few thousandths larger/prouder into the bar; an oversized hole means a bigger ball or (scratch builds) a new detent location. Gritty: full strip, polish the tang track to 800+, replace a galled steel ball with ceramic, flatten and re-polish washers per hardware practice. Harsh: kiss the hole's exit edge with a fine chamfer (a few twists of a countersink by HAND), or ease bar tension at the relief. One variable, fifty cycles, reassess - the tuning guide's law.

  • Symptom

    The open blade clicks and seats deeper under spine pressure (lock rock), wiggles side-to-side at the pivot (blade play), or shifts up-down against the stop (vertical play) - on a fresh build or a knife that used to be tight.

    First fix

    Pivot-stack play: tighten in eighth-turns to zero-play-free-drop, and if tension will not hold, disassemble - flatten and polish the washers, deburr the tang flats, replace a stretched pivot - per the tuning sequence. Lock rock on a liner/frame lock: re-fit the lock face by marker-blueing to flat bedded contact (a too-steep face gets re-ground shallower; engagement that starts past mid-tang means the face angle or bar length needs work); on a lockback, the notch-and-lug interface gets the same blueing treatment. Vertical play: address the stop pin fit or kick. The discipline: fix the pivot stack FIRST - lock symptoms diagnosed through a loose pivot are lies.

Prevention

Guides that stop the call-out

Start with tracking, platen support and belt setup before using the index above.

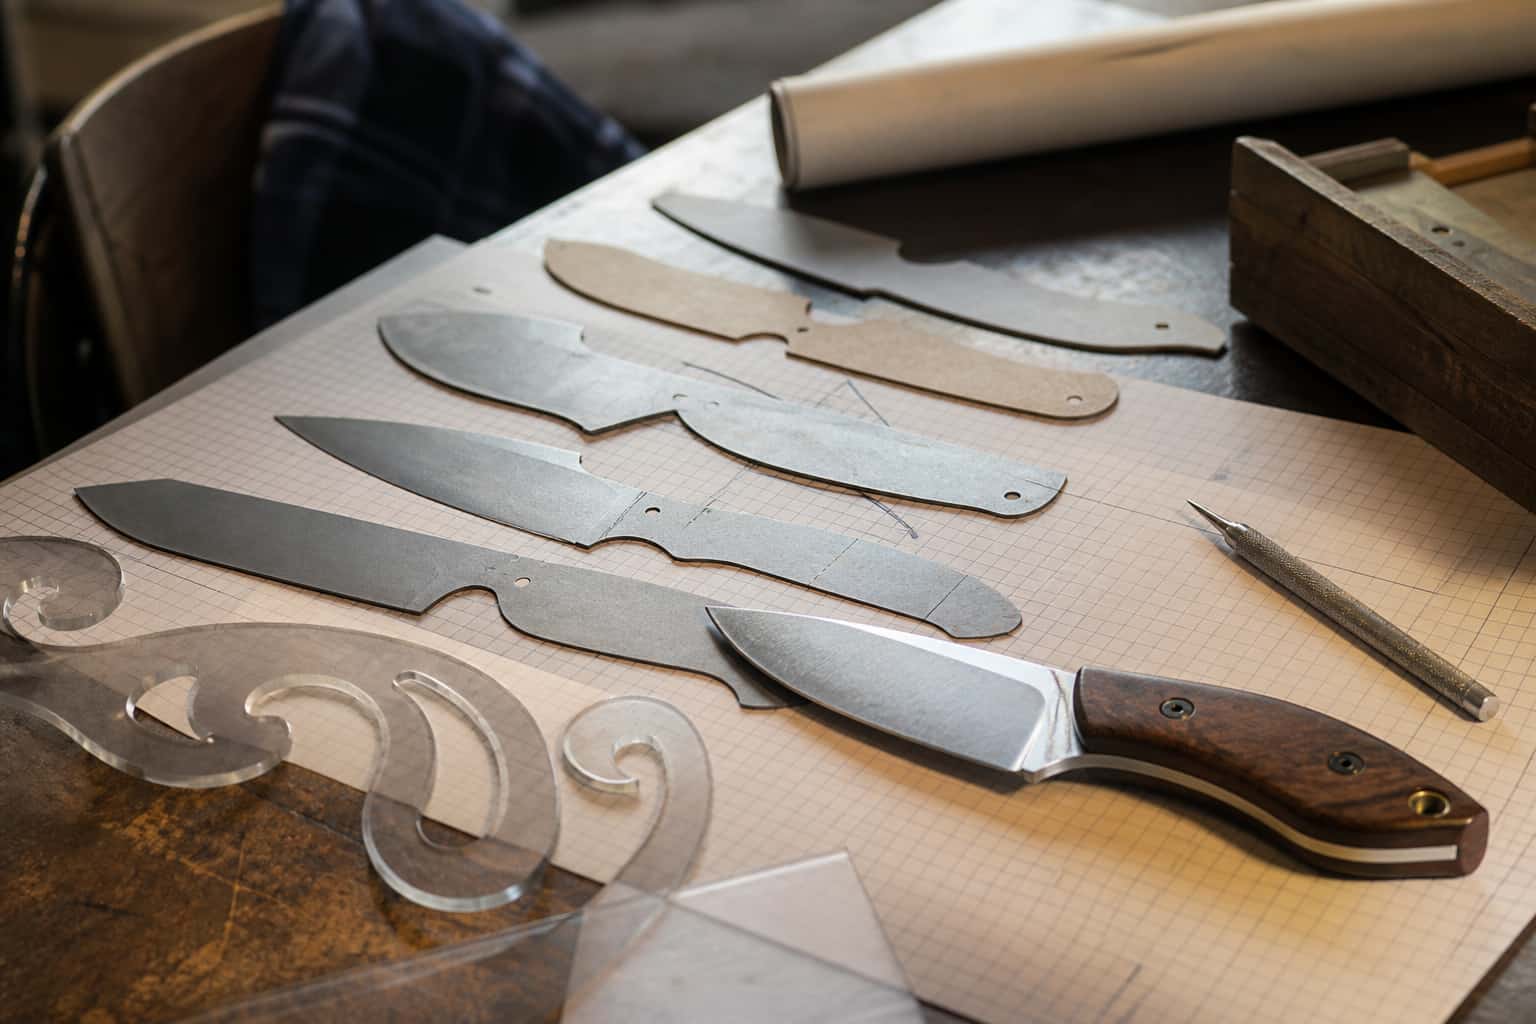
  • Knife blade design in a working knife shop
    Abrasives

    Choosing a Motor & VFD for Your 2×72

    Every Torus ships as a complete assembled chassis with the motor sold separately — which hands you the one decision that shapes the machine’s personality…

    Read the guide
  • Nebula dual-axis tracking assembly: star knob, spring and idler wheel, close-up, on black with a purple glow
    Abrasives

    The Complete 2×72 Attachments Guide

    A 2×72 out of the box is a platform; the attachments are the machine. Every serious grinder task — flat bevels, hollow grinds, fullers, handle curves…

    Read the guide

Same bench

Some problems are the machine

Flex, a soft platen and a wandering tracking knob show up as bad grinds. I machine the parts, hand-assemble, track and test Torus grinders in Sterling, Illinois.

  • Classic aluminum 2x72 grinder, side view with flat-platen tool arm and yellow Safety Rules label, on black with a purple glow

    Torus 2×72 Classic Aluminum Belt Grinder

    Prior-design aluminum chassis, 90-degree tilt and 1.5-inch tooling arms.

    Starts at$995View

One-man shop

Your symptom is not in here?

Send me a photo and describe what happened before it went wrong. Include the machine, belt and steel when they are relevant.