
Beginner Guides
2×72 Belt Grinder Brands Compared: The Honest Field Guide
Full disclosure, before anything else: this is Torus CNC’s site — we build three of the grinders compared below. Here’s how we’ve kept this honest: every…
Troubleshooting
Work back from what it is doing to what caused it, then to the fix that addresses the cause. Nothing here needs a sign-up.
The flow
Causes first, then the quick checks, the fix, prevention and the stop-work point.
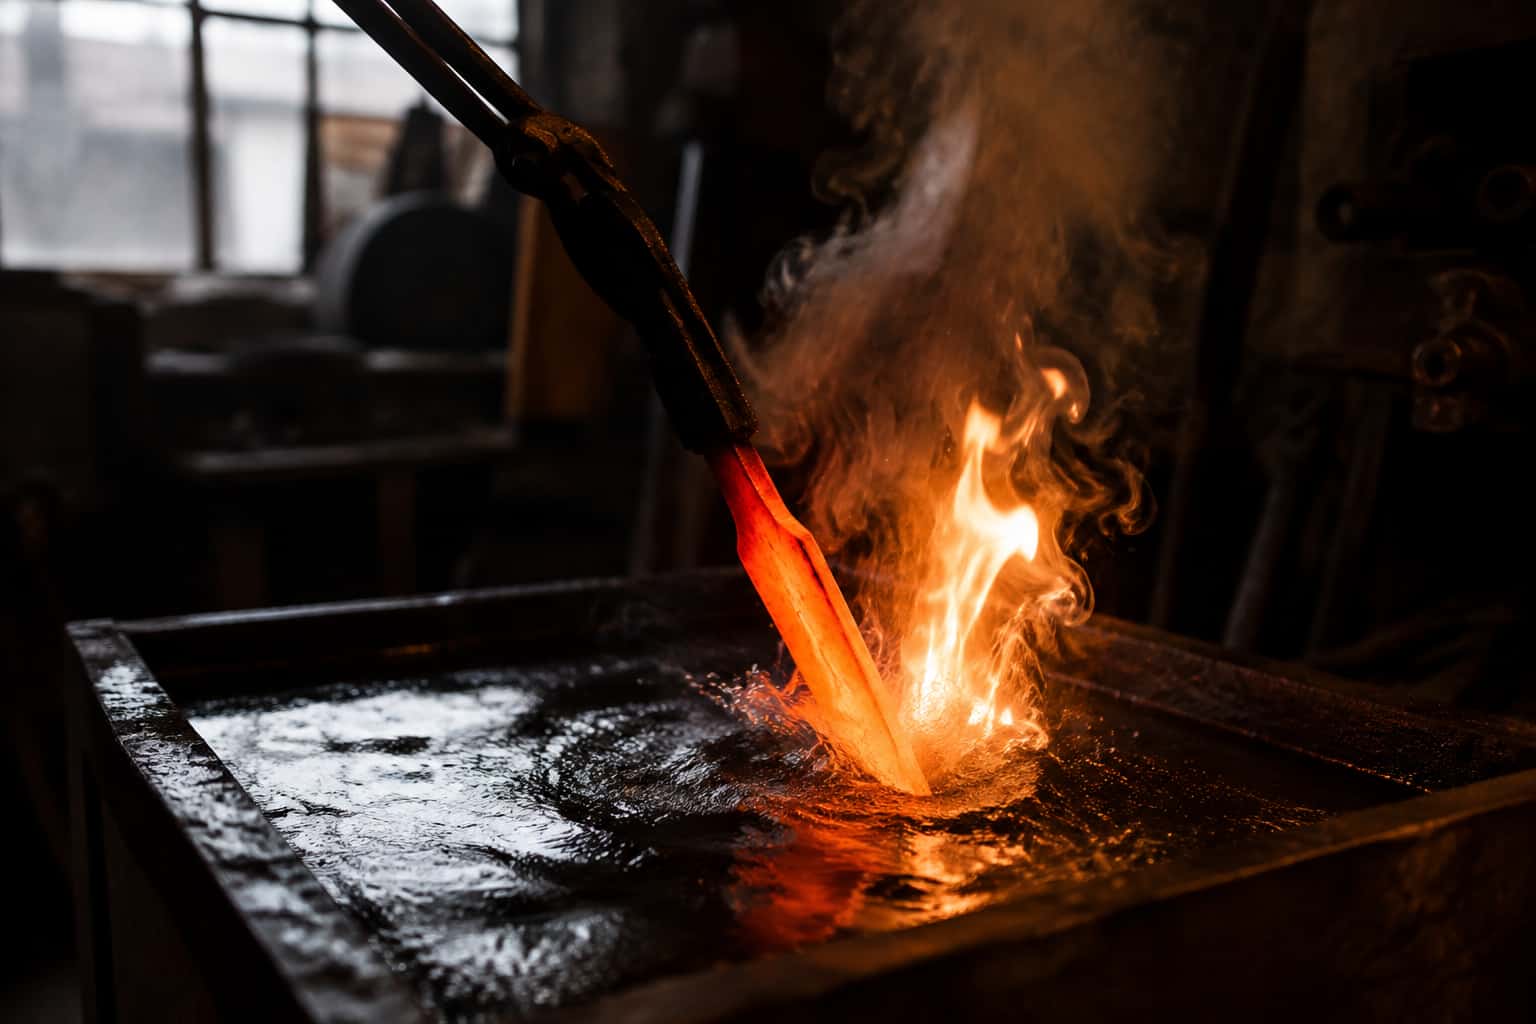
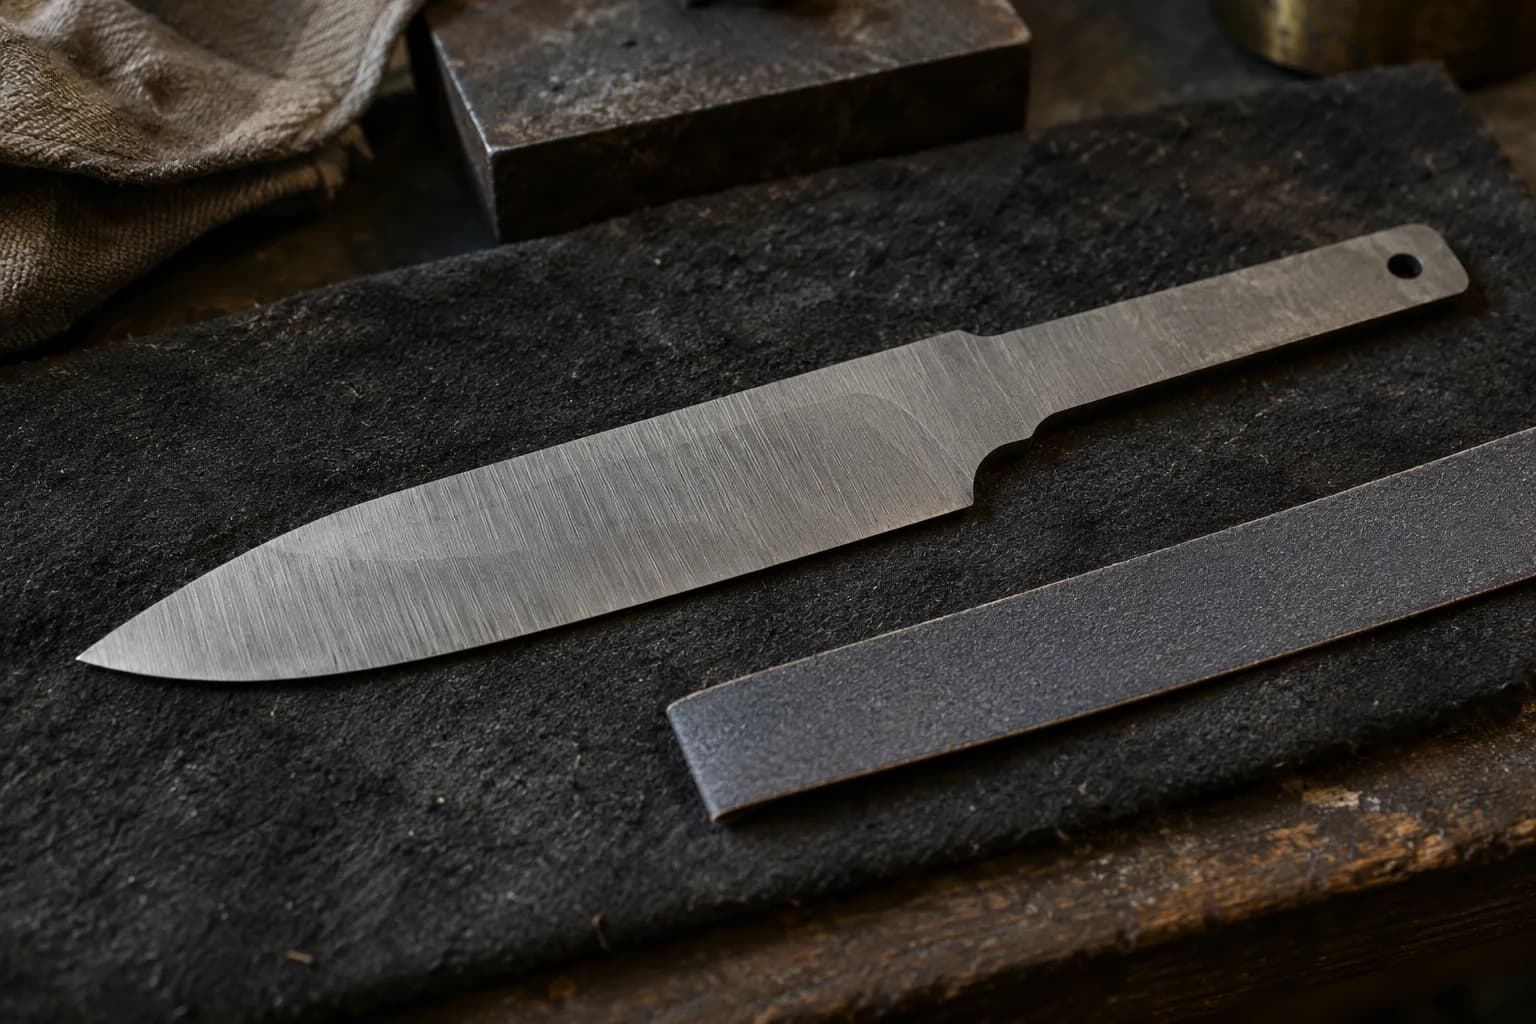
The steel is the wrong steel — deep-hardening alloys (O1, 80CrV2, 5160, stainless anything) harden under the clay too, and no etch can reveal a difference that does not exist; hamon wants shallow-hardening steel: W2, W1, 26C3, 1095. The edge never hardened at all — slow quench oil, low heat, or a fat edge (no hardness anywhere means no transition anywhere). Clay too thin, so the spine hardened anyway; clay flaked off in the quench, printing chaos. Or the line exists and the finish hides it: a coarse scratch pattern and a single dunk-etch shows nothing — hamon is a polish-and-etch-cycle product.
File-test edge AND spine: edge should skate a file, spine should bite — if both skate, the steel or clay failed; if both bite, the quench failed. Check the steel's actual hardenability on its database page. Inspect the dried clay next time: thumb-thick on the spine, feathered edge line, fully dry before the heat.
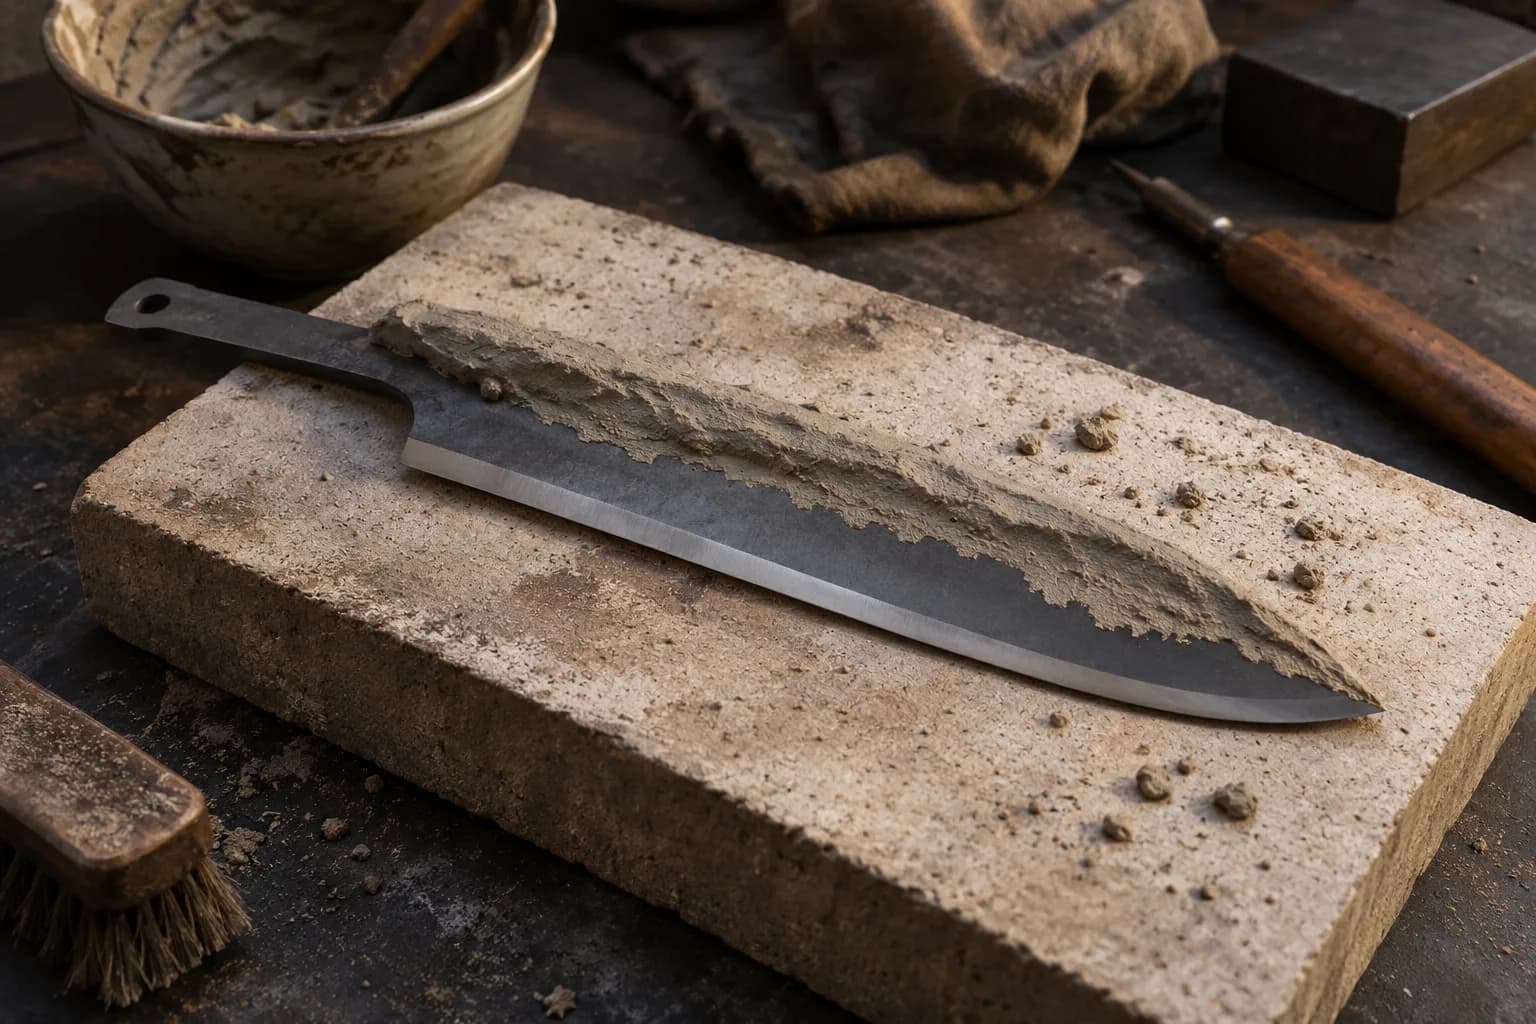
Wrong steel: no rescue — finish the blade as a through-hardened knife (it is still a good knife) and buy W-series for the next one. Failed quench: re-normalize and re-quench faster (Parks 50 class, correct temperature verified, thin the edge toward final geometry first). Clay failures: re-clay with proper thickness and adhesion (a scored surface helps), dry completely, re-treat. Hidden line: work the polish-and-etch ladder — finish to 400-800 clean, then repeated lemon-juice or diluted ferric cycles with fine-powder polish between; the line builds over cycles, it does not appear in one.
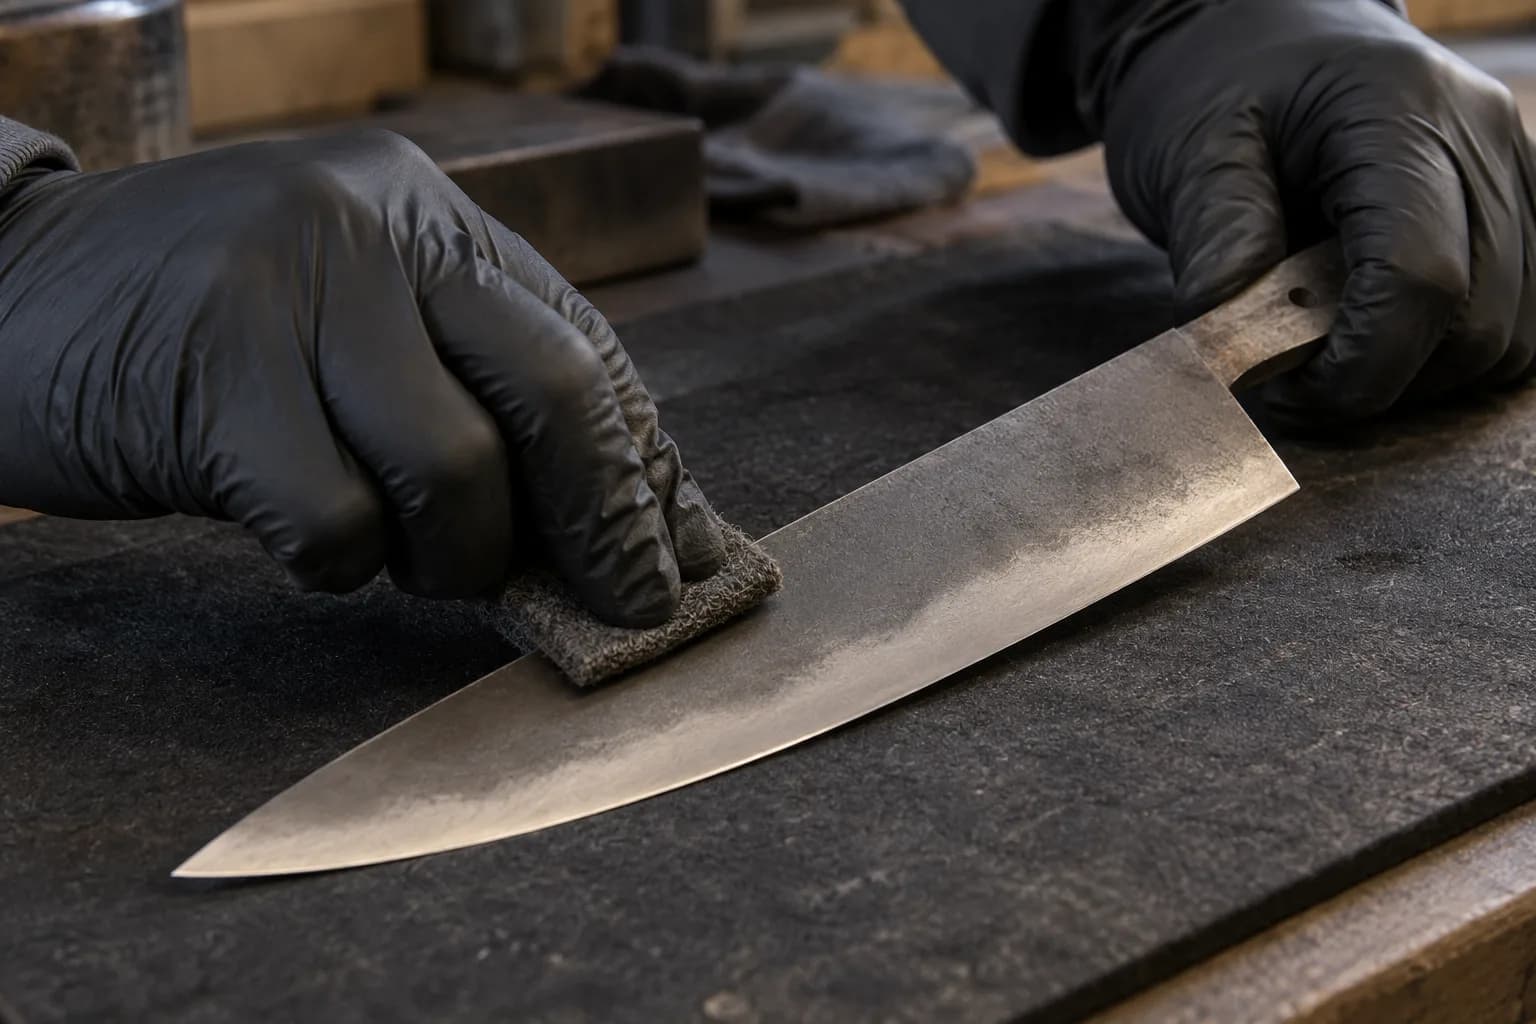
Choose the steel for the hamon before the project starts. Clay recipe and thickness tested on scrap. Fast oil, verified temperatures, thin edges. Budget the finish as its own phase — most 'missing' hamon on the right steel is just an unfinished etch ladder.
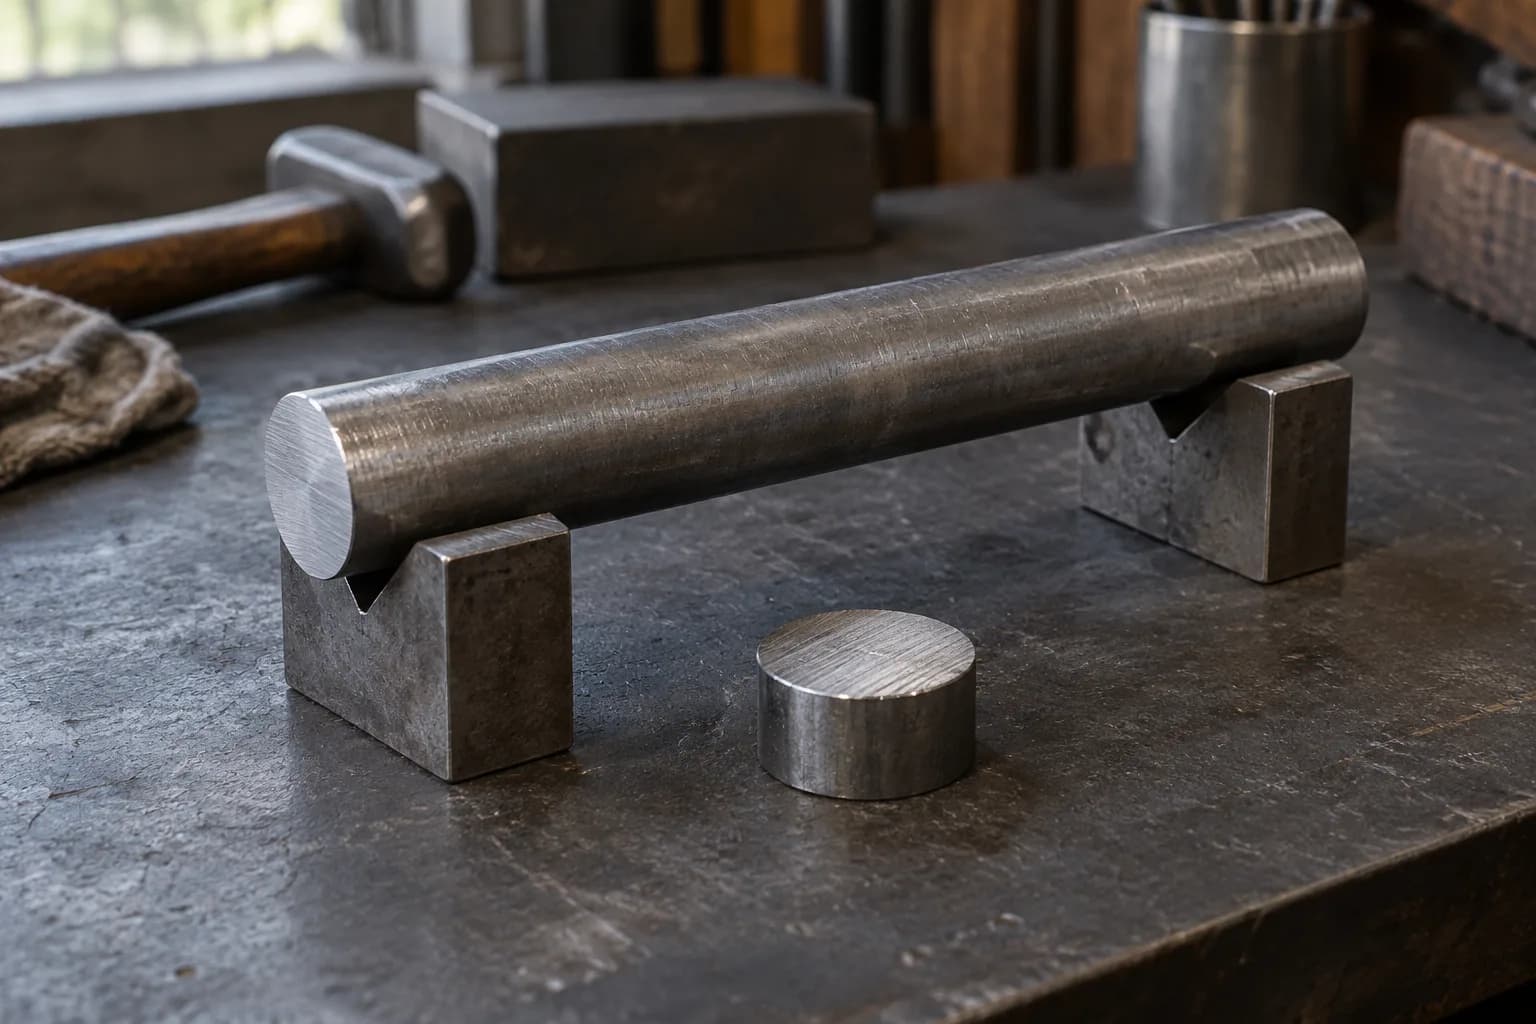
Two failed re-quenches means stop — each cycle risks warp, decarb and grain growth; salvage the blade as-is and run the experiment on test coupons instead. Never chase a hamon into a third quench on a blade you care about.
Keep reading
The long-form version of the fix above, written from the same bench.
Full disclosure, before anything else: this is Torus CNC’s site — we build three of the grinders compared below. Here’s how we’ve kept this honest: every…

Comics run on invented metals — adamantium, vibranium, the whole periodic table of plot — and the fastest way to appreciate real metallurgy is to audit…
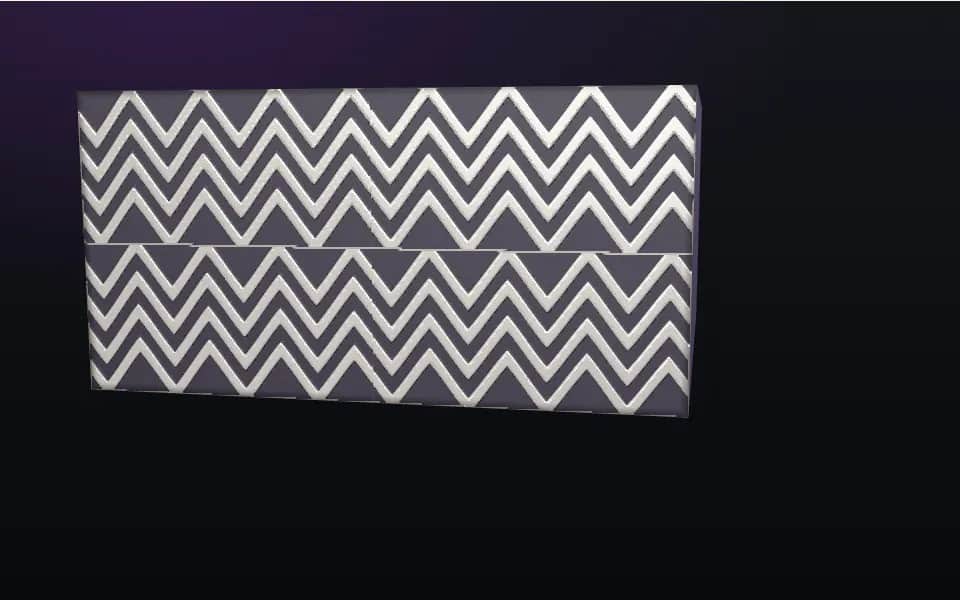
Past the ladder, twist, and raindrop lies the territory where damascus becomes composition: patterns built by controlling the layers in three dimensions…
Same bench
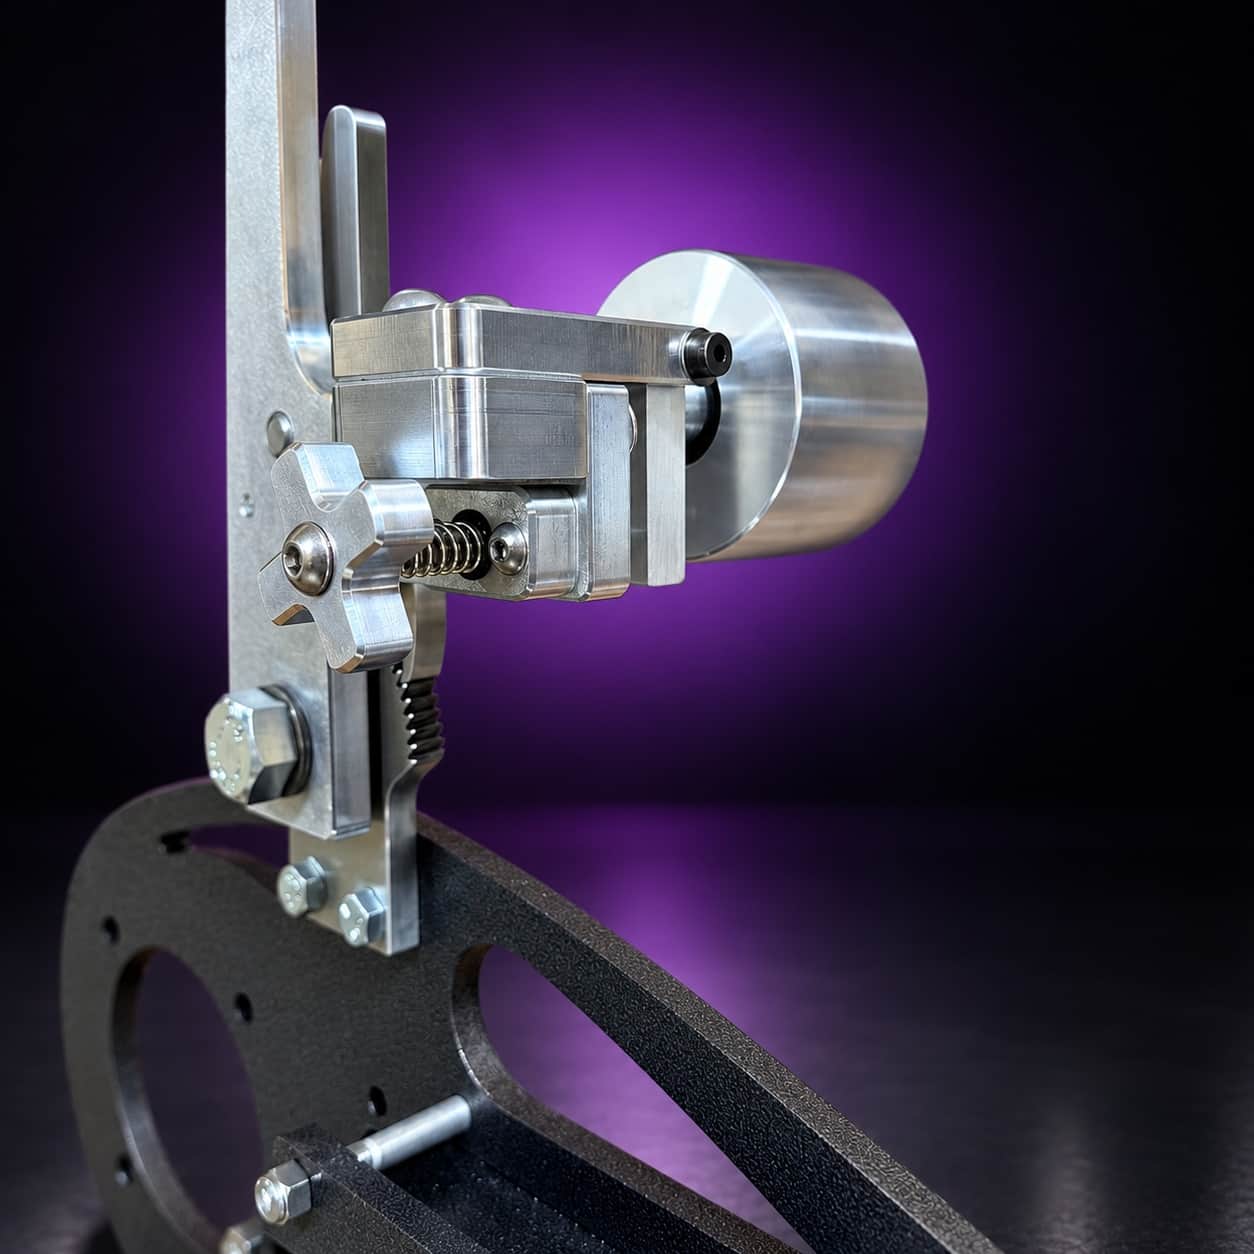
Flex, a soft platen or a tracking knob that will not hold can show up as a bad grind. I machine the parts, hand-assemble, track and test each Torus grinder in Sterling, Illinois.

Current dual-axis platform with a fiber-laser-cut 6061 chassis and single-knob tracking.

Current dual-axis platform with a steel chassis, more mass and less vibration.

Prior-design aluminum chassis, 90-degree tilt and 1.5-inch tooling arms.
One-man shop
Send me a photo and describe what happened before it went wrong. Include the machine, belt and steel when they are relevant.