Nebula dual-axis tracking assembly: star knob, spring and idler wheel, close-up, on black with a purple glow

Troubleshooting

Handle Scales Won’t Sit Flush or Have Gaps

Work back from what it is doing to what caused it, then to the fix that addresses the cause. Nothing here needs a sign-up.
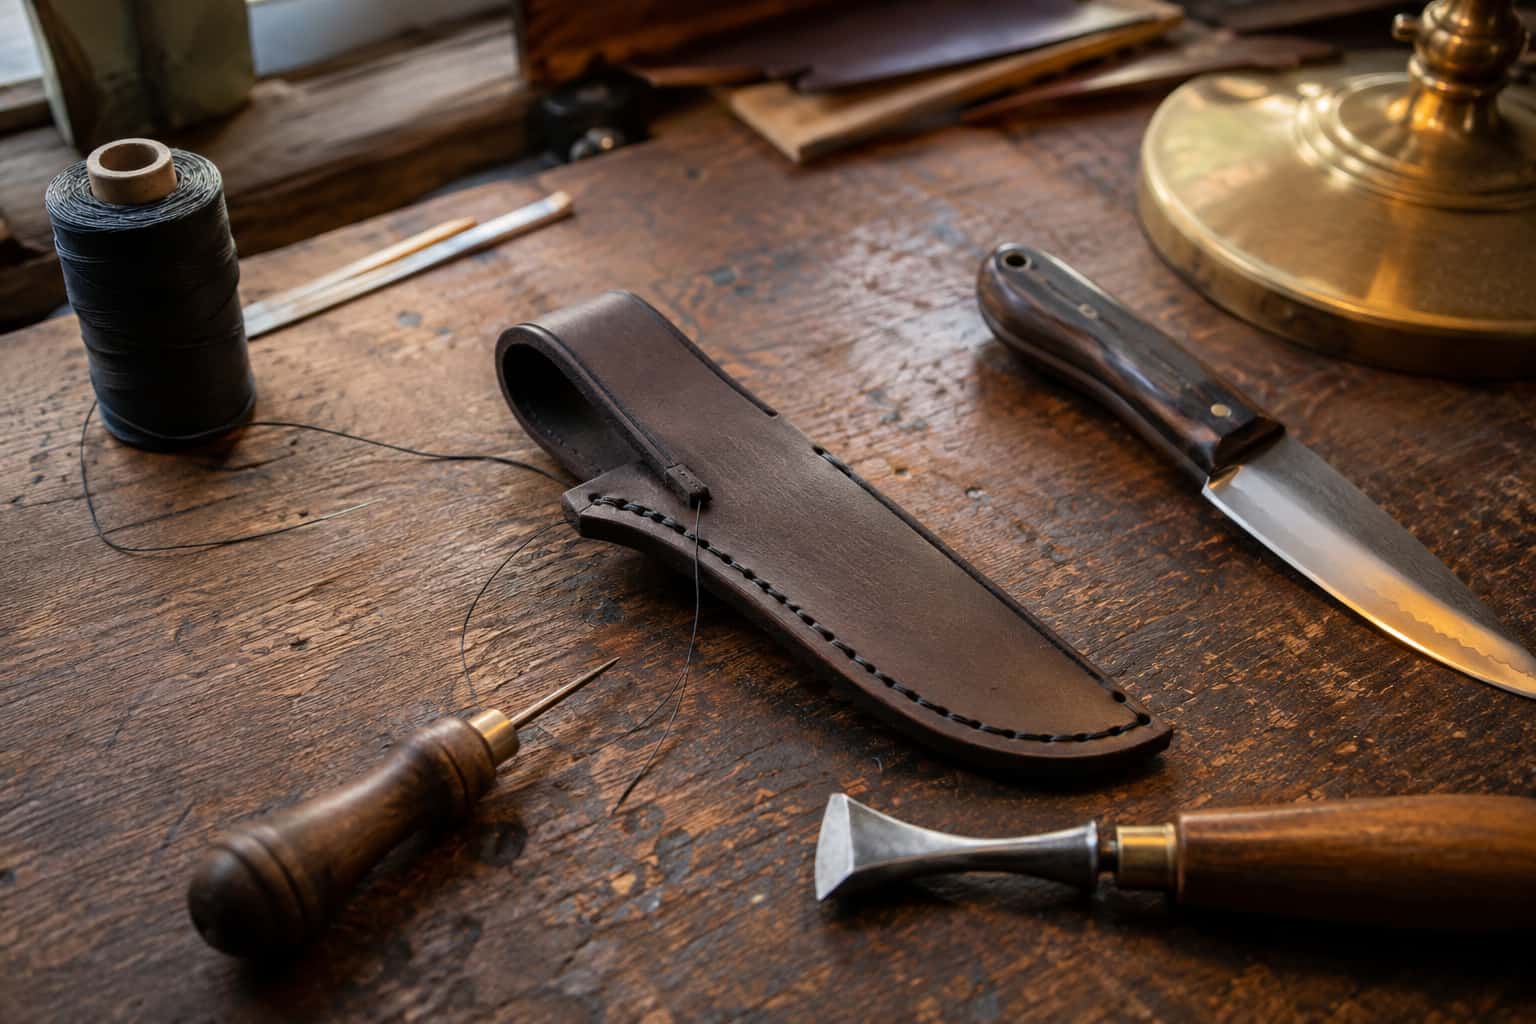
Leather sheath work in a working knife shop
If a symptom appears mid-job, put the work down and check it before continuing.
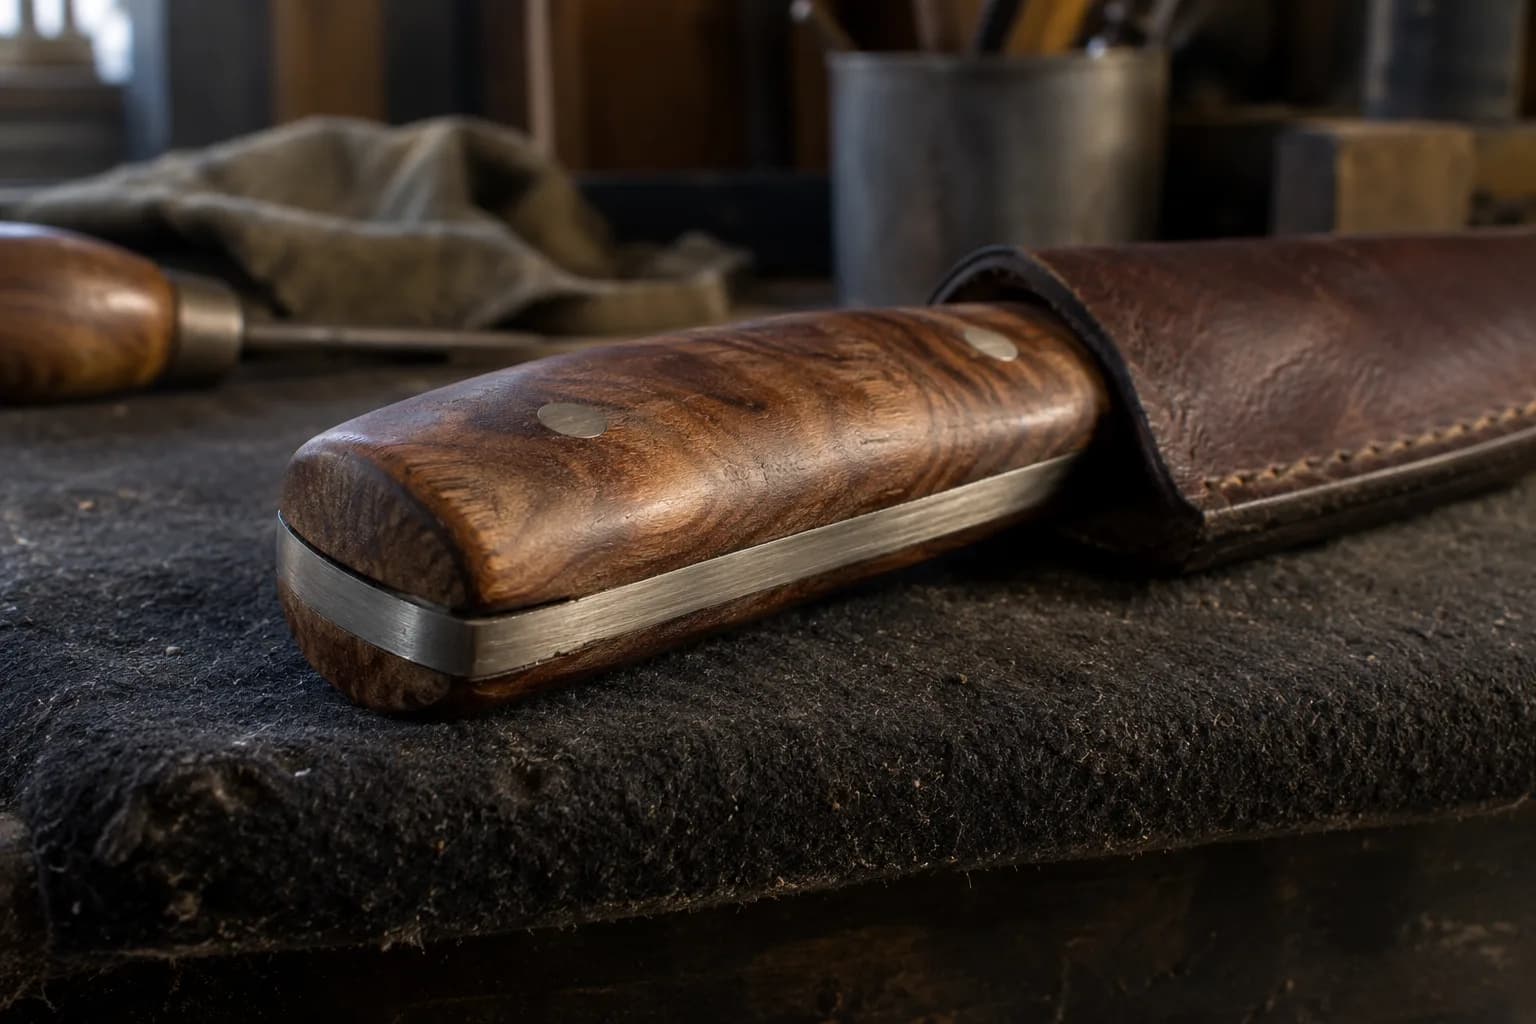
Walnut handle scale on a full-tang knife with a thin dark gap against the steel tang edge at the butt, blade in a leather sheath.

The flow

Work it in this order

Causes first, then the quick checks, the fix, prevention and the stop-work point.
  1. Likely causes

    • The tang and scale surfaces weren't flattened and cleaned immediately before glue-up, oils, oxidation, or unevenness prevent full contact
    • Warped or improperly stored scale material that wasn't flat to begin with
    • Uneven clamping pressure during glue-up, some areas got squeezed tight while others got little to no pressure
    • Pin holes drilled slightly off between the tang and scales, pulling the scale out of alignment as the pin seats
    • Epoxy that wasn't mixed or applied evenly, leaving thicker glue lines in some spots than others
  2. Quick checks

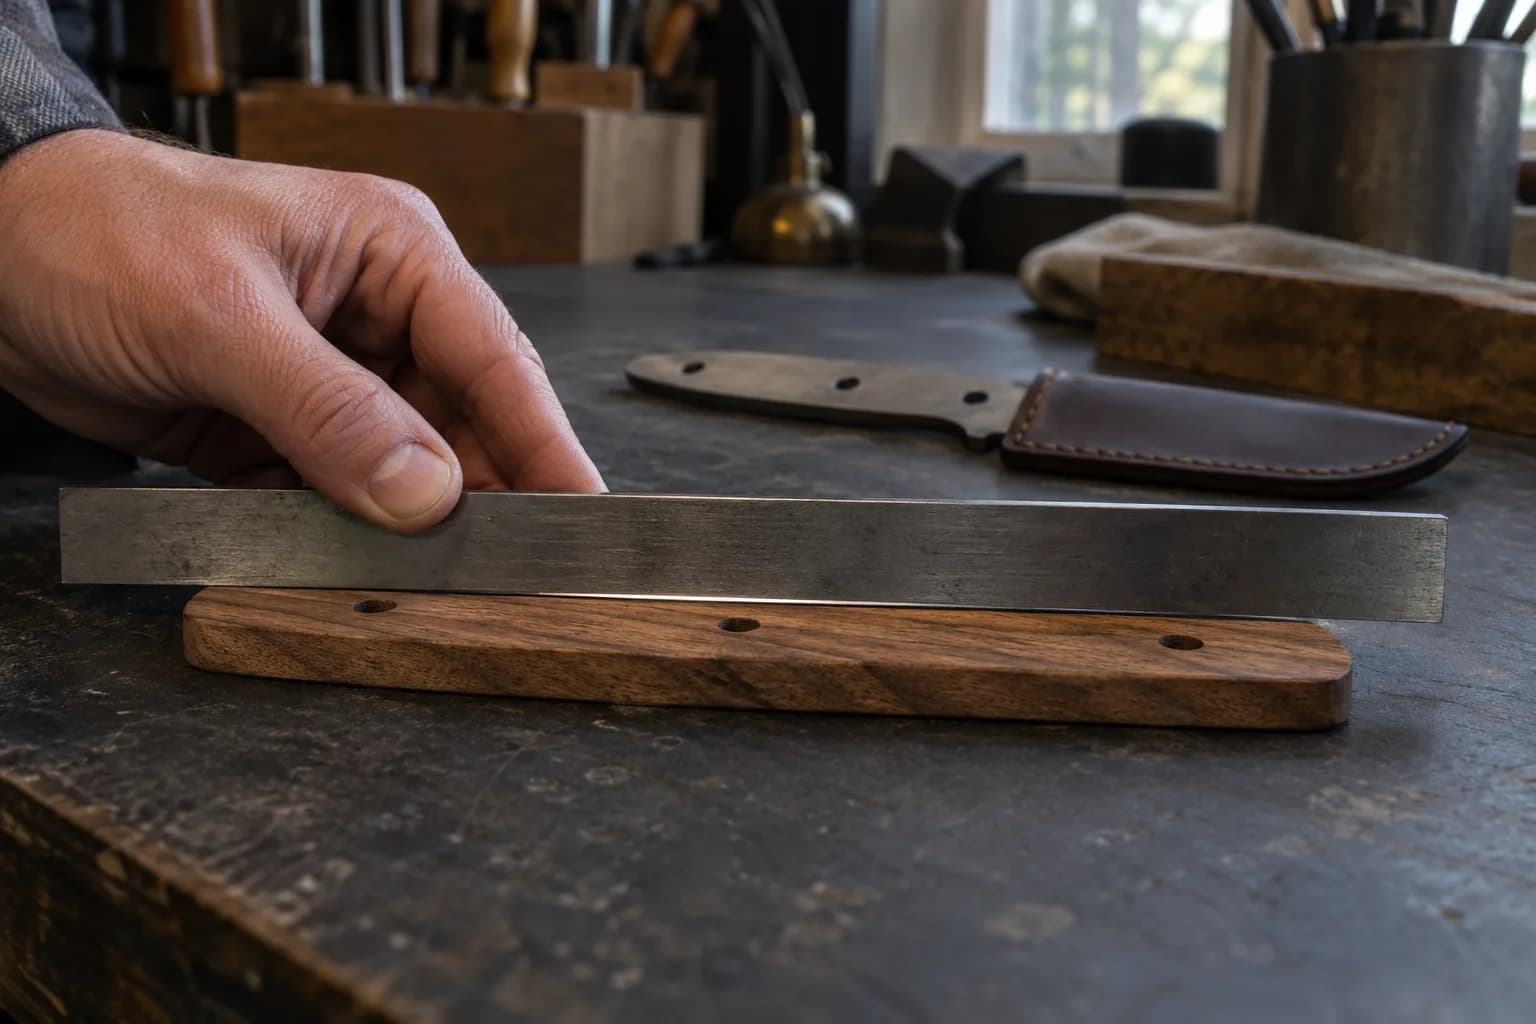
    • Before glue-up, check both mating surfaces with a straightedge for flatness
    • Dry-fit scales and pins completely before mixing any epoxy, catching alignment problems here costs nothing
    • After glue-up, check clamp pressure was applied evenly across the whole scale, not just at the ends
Hand holds a plain steel straightedge across a walnut handle scale, with a thin sliver of light showing beneath it.
  1. Fixes

    • For small gaps, sometimes re-clamping with even pressure while the epoxy is still workable can pull things flush before it cures
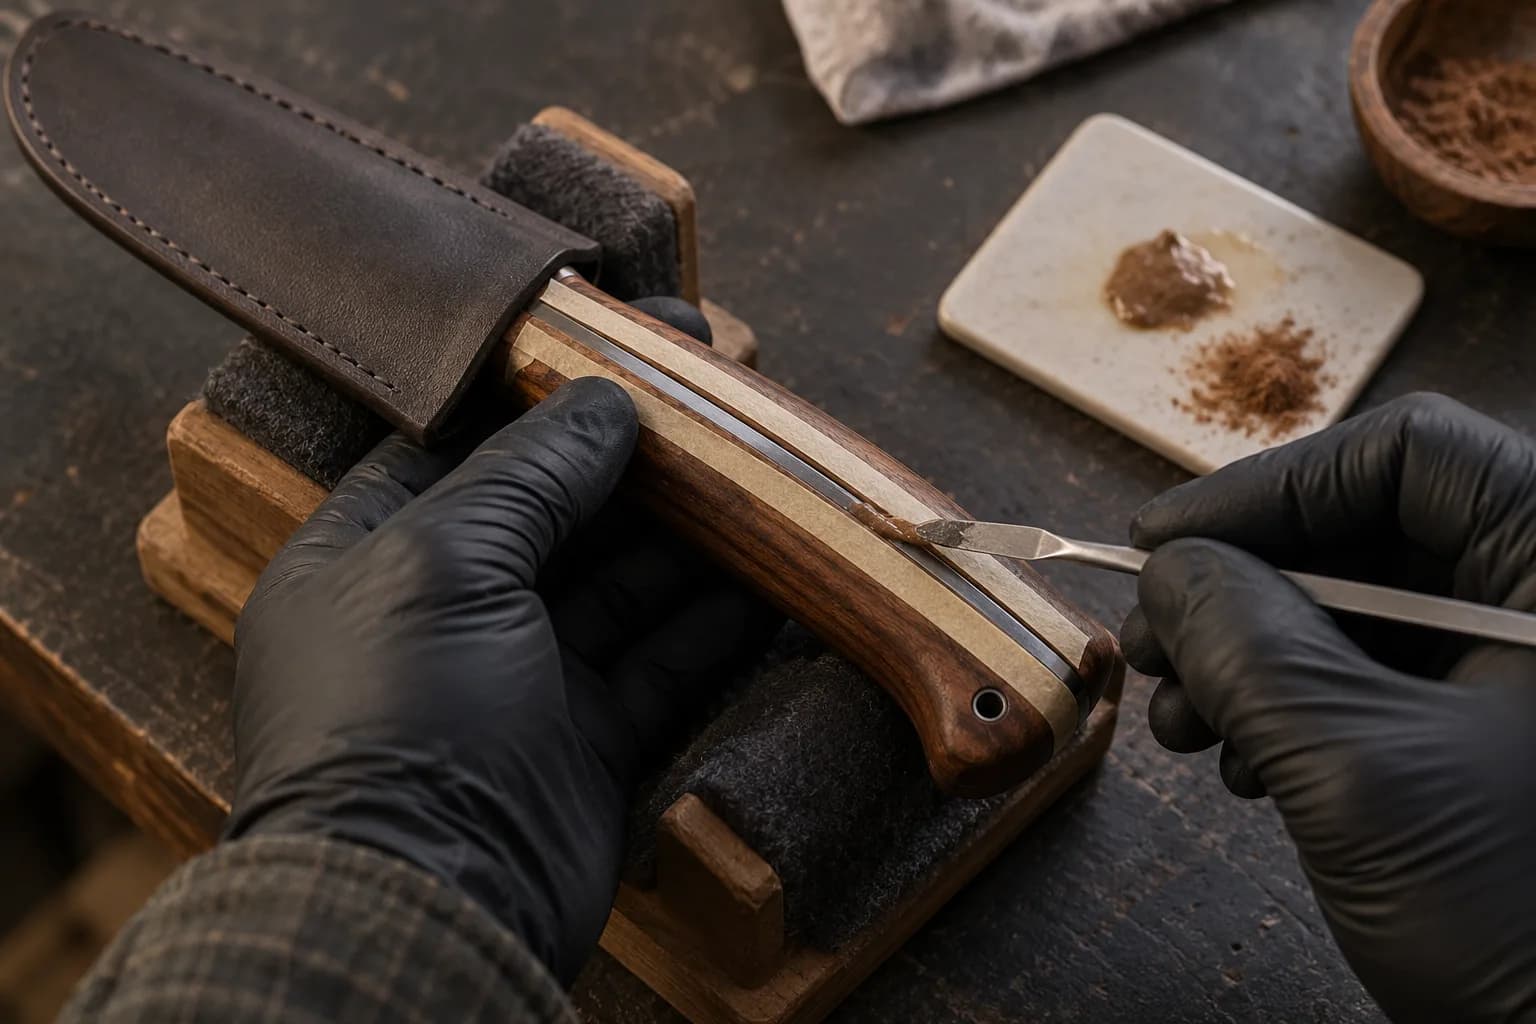
    • Once cured, a small gap can sometimes be filled with a matching epoxy/filler blend and sanded flush as a cosmetic fix
    • For larger gaps or real misalignment, it's usually faster and more reliable to remove the scales and start the glue-up over with corrected surfaces
Black-gloved hands work filler into the seam along a walnut knife handle with a thin spatula, taped edges, sheathed blade in a cradle
  1. Prevention

    • Flatten and clean both mating surfaces (tang and scale) immediately before glue-up, don't prep them ahead of time and let them sit
    • Always dry-fit the complete assembly, scales, pins, and all, before mixing epoxy
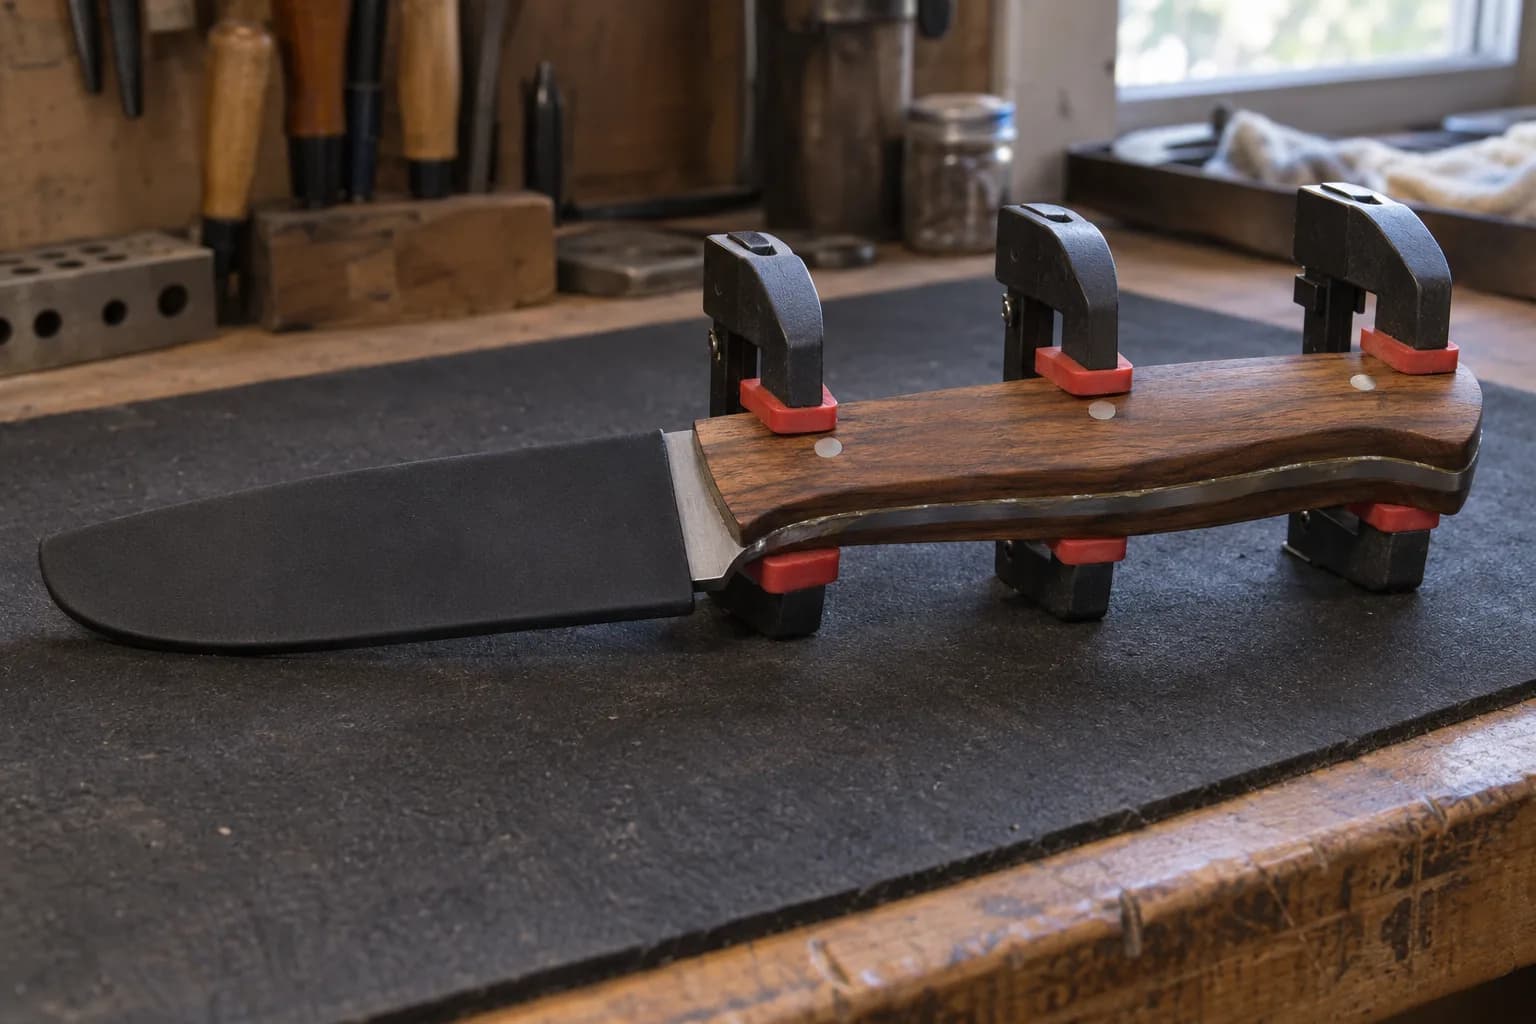
    • Use even clamping pressure across the full length of the scales, multiple clamps rather than one in the center
    • Mix epoxy thoroughly and apply an even, consistent layer rather than dabs in a few spots
Three padded clamps hold walnut scales against a knife tang on a black bench mat, blade covered by a black guard.
  1. When to stop

    This is a workmanship issue, not a safety issue in most cases, but a real gap that lets moisture in behind the scales can lead to corrosion or loosening over time, worth fixing properly rather than leaving as-is if the gap is more than cosmetic.

Keep reading

Guides that cover the cause

The long-form version of the fix above, written from the same bench.

Same bench

When the machine is the cause

Flex, a soft platen or a tracking knob that will not hold can show up as a bad grind. I machine the parts, hand-assemble, track and test each Torus grinder in Sterling, Illinois.

  • Classic aluminum 2x72 grinder, side view with flat-platen tool arm and yellow Safety Rules label, on black with a purple glow

    Torus 2×72 Classic Aluminum Belt Grinder

    Prior-design aluminum chassis, 90-degree tilt and 1.5-inch tooling arms.
    Starts at$995View

One-man shop

Not sure which cause you have?

Send me a photo and describe what happened before it went wrong. Include the machine, belt and steel when they are relevant.