

Beginner Guides
2×72 Belt Grinder Brands Compared: The Honest Field Guide
Full disclosure, before anything else: this is Torus CNC’s site — we build three of the grinders compared below. Here’s how we’ve kept this honest: every…
Troubleshooting
Work back from what it is doing to what caused it, then to the fix that addresses the cause. Nothing here needs a sign-up.
The flow
Causes first, then the quick checks, the fix, prevention and the stop-work point.
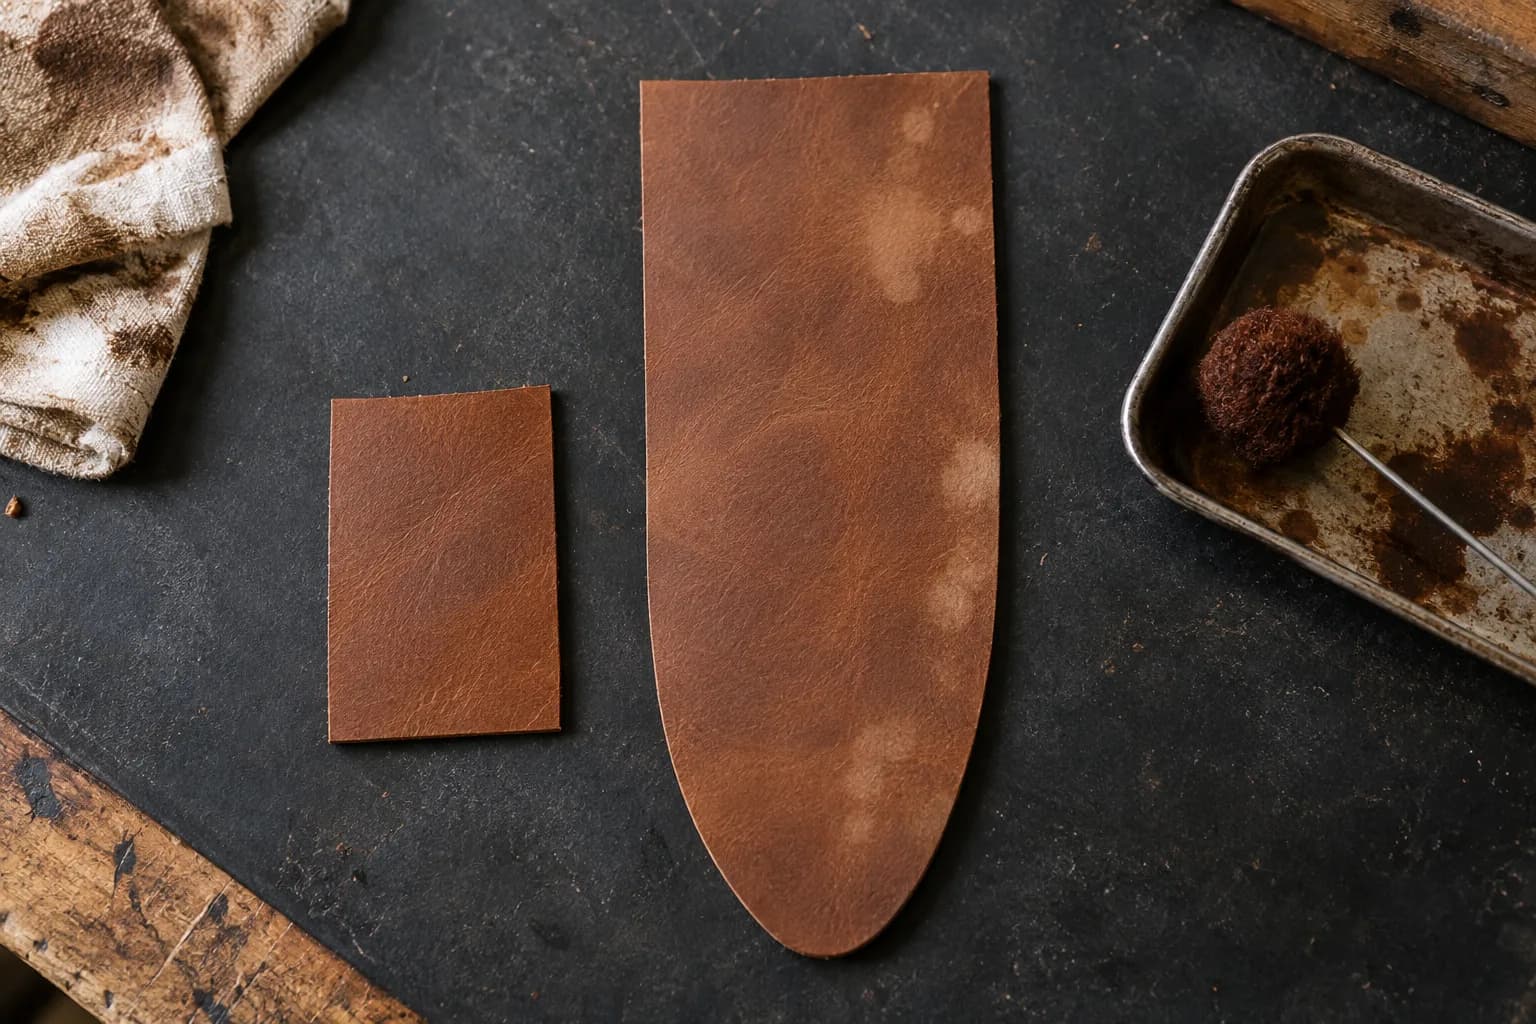
Uneven absorption from skipped prep — finger oils, glue haze and burnish slick all resist dye (contact cement smears are the classic invisible culprit, appearing only when the dye dries). The first coat judged as final — alcohol dyes ALWAYS dry blotchy on coat one and even out as coats build. Dye flooded on instead of built in thin passes. Naturally uneven leather — belly stretch marks and scars drink differently than firm back (see Leather Types and Weights). Or a pre-finished/waxed hide that was never going to take dye at all.
Wipe a scrap of the same hide with alcohol and dye it alongside — if the scrap takes evenly, the problem is your panel's prep, not the dye. Look at the blotch map: edges-and-stamps dark means over-application pooling; random pale islands mean contamination; overall wild variation means the hide itself.
First: more thin coats — most 'ruined' dye jobs are one-coat judgments, and two or three additional thin, overlapping dauber coats even out 80% of cases. Still uneven: deglaze the surface (alcohol or dedicated deglazer wiped evenly), let dry, re-dye thin. Persistent blotches: step the whole piece darker — the traditional rescue; every shade toward dark brown or black forgives more sins, and 'it was always meant to be black' has saved a thousand sheaths. Last resort on tooled showpieces: an antique-gel-over-resist finish converts unevenness into deliberate highlight contrast. Details and sequence in Edges, Dyes and Finishes.
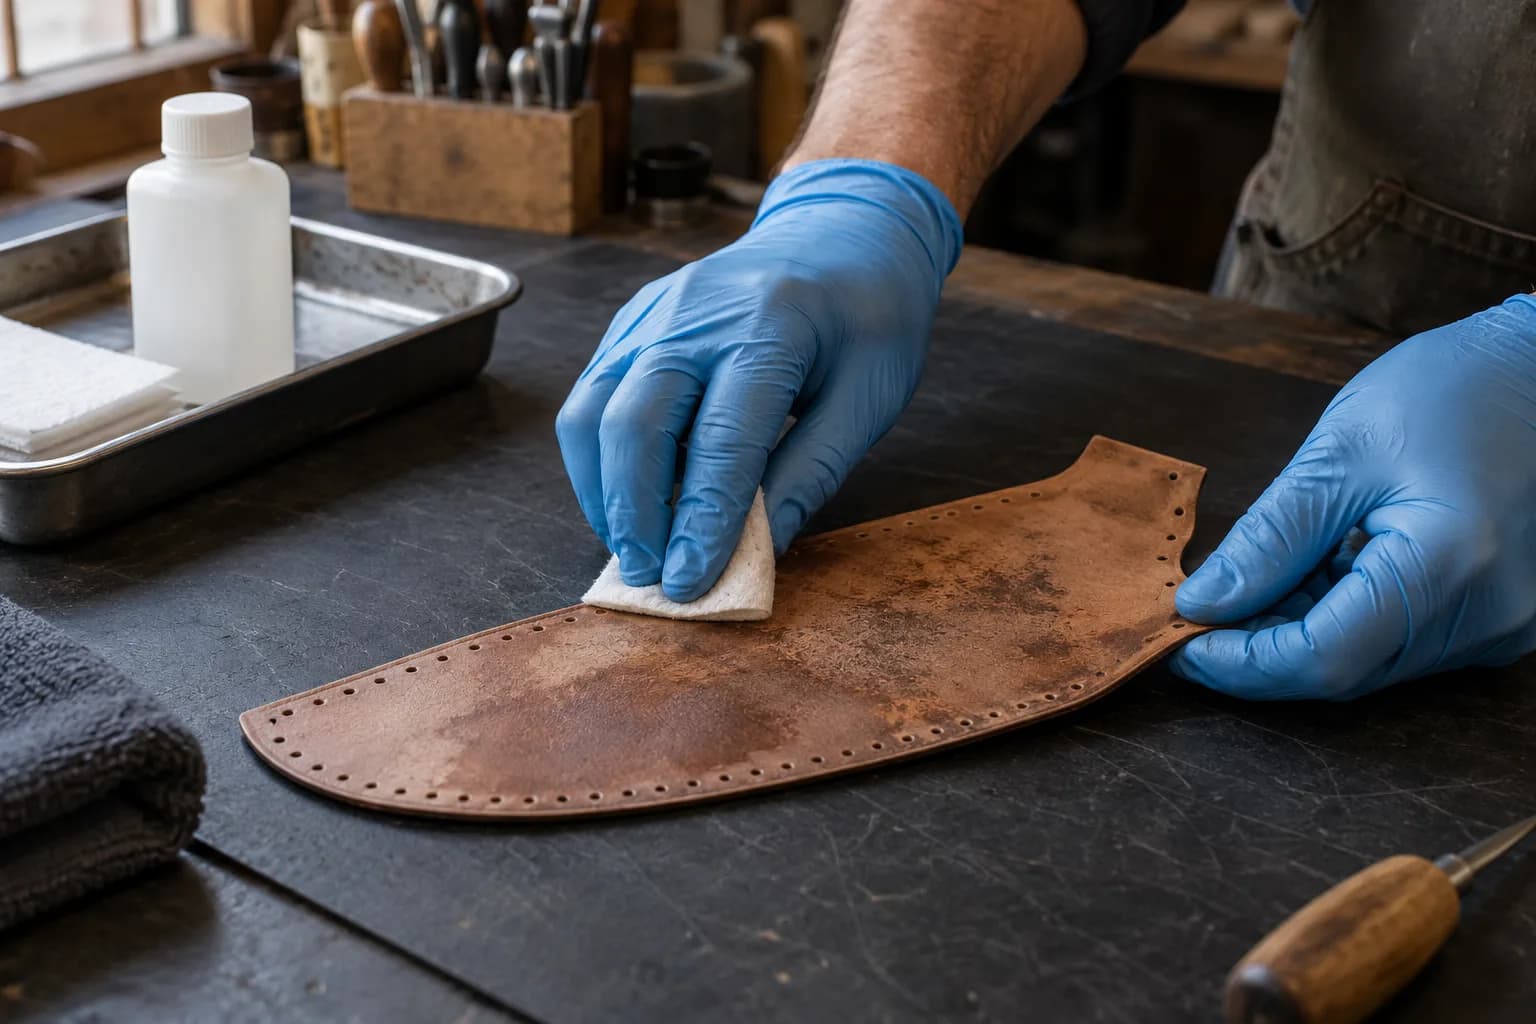
Dye before assembly on deglazed, clean-handled panels. Thin coats in overlapping circles, always more coats over more dye. Test every new hide on its own scrap first. Keep cement inside glue lines, and handle pre-dye panels like photographic paper — edges only.
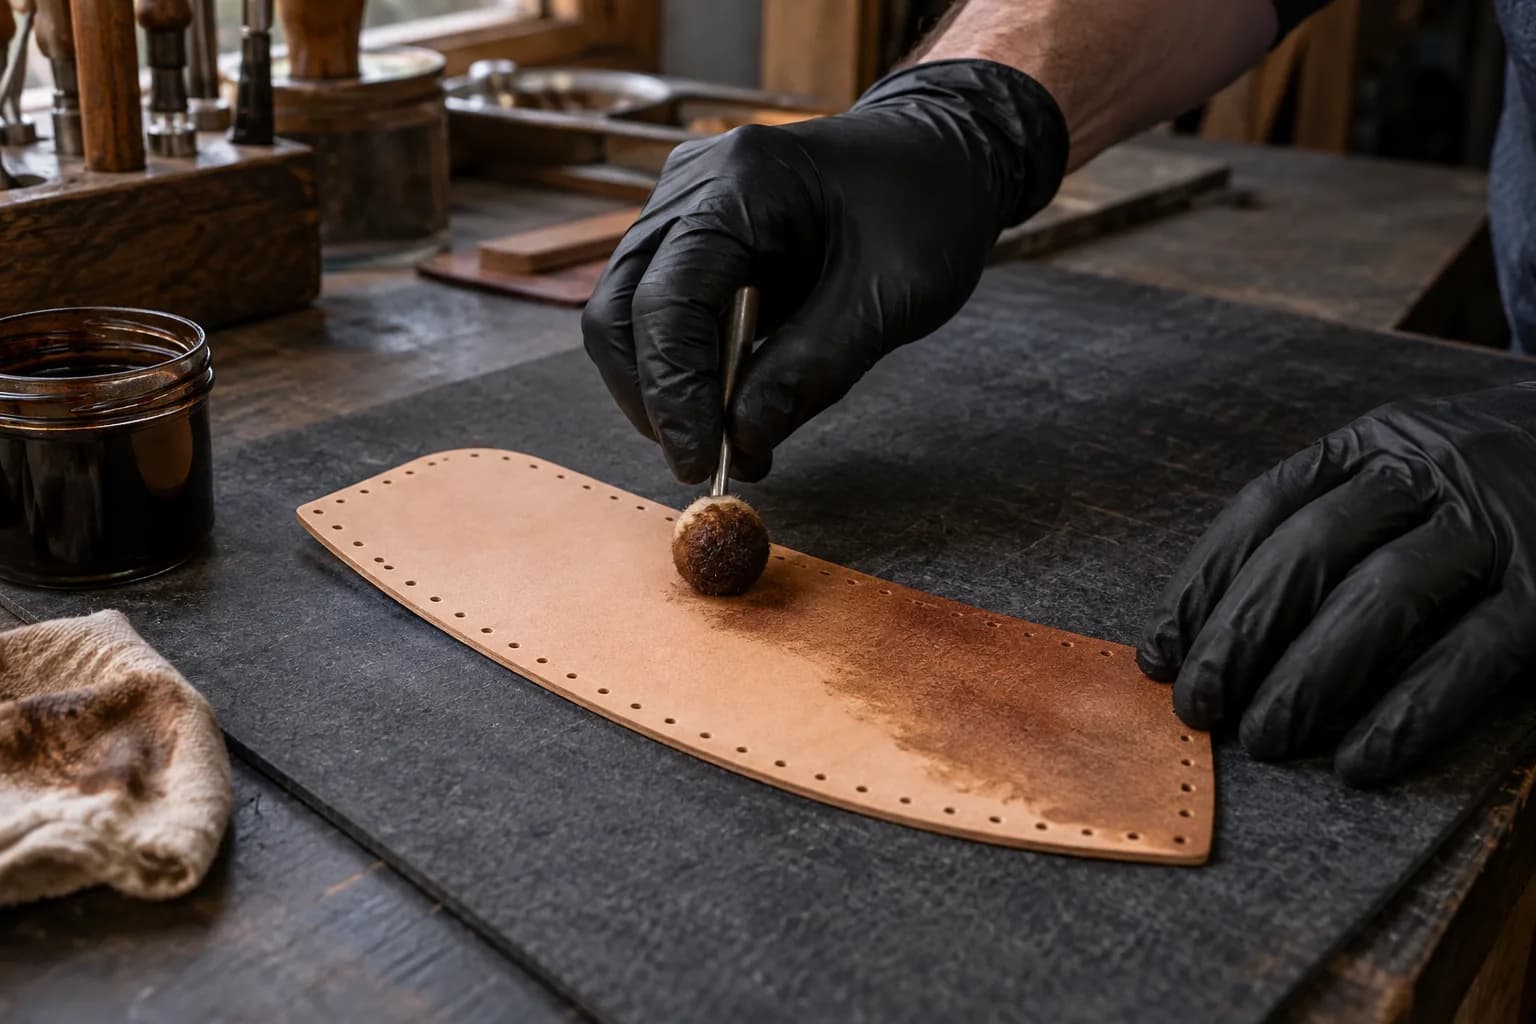
If the leather itself is the problem (pre-finished, or belly-grade variation), stop spending dye on it — cut the next sheath from proper veg-tan back and demote this piece to the practice pile. Dye cannot fix what tannage decided.
Still not it?
Keep reading
The long-form version of the fix above, written from the same bench.
Full disclosure, before anything else: this is Torus CNC’s site — we build three of the grinders compared below. Here’s how we’ve kept this honest: every…
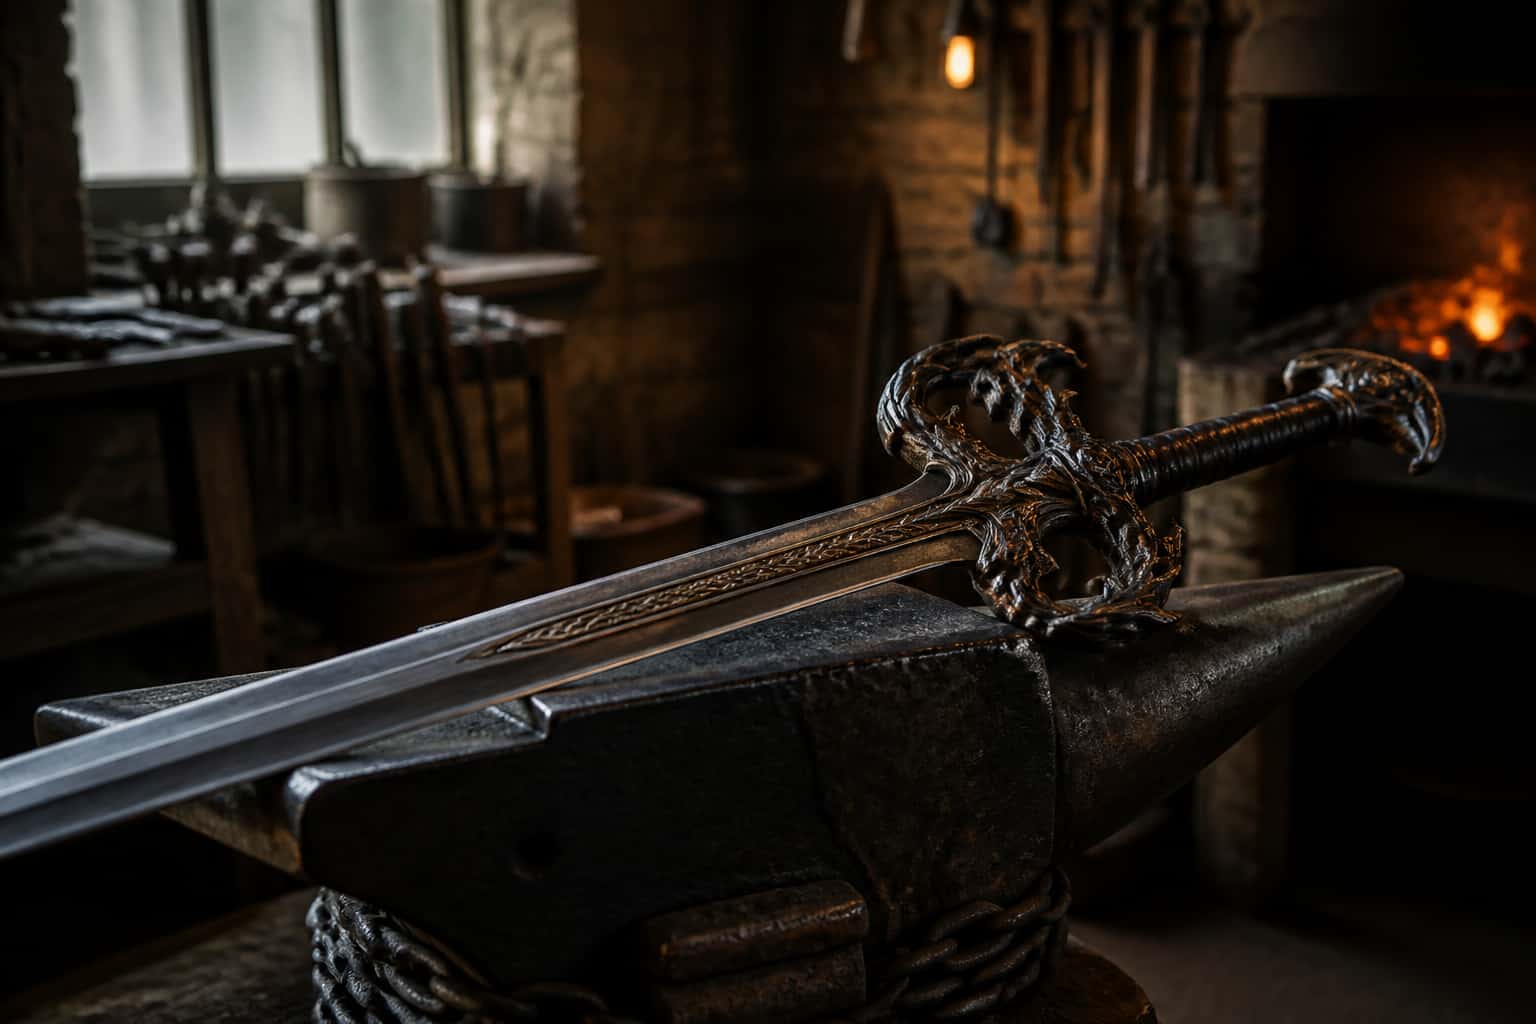
Comics run on invented metals — adamantium, vibranium, the whole periodic table of plot — and the fastest way to appreciate real metallurgy is to audit…
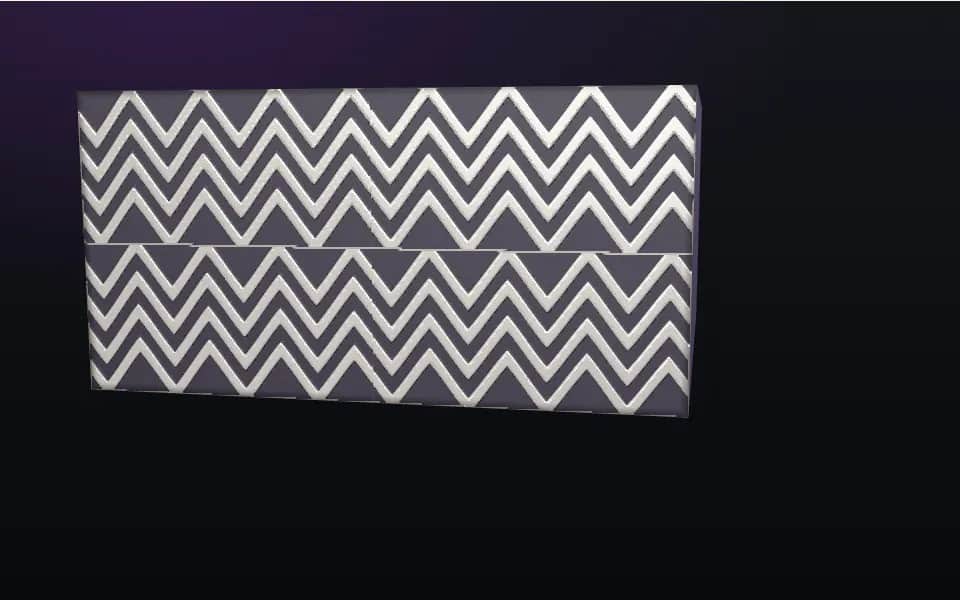
Past the ladder, twist, and raindrop lies the territory where damascus becomes composition: patterns built by controlling the layers in three dimensions…
Same bench
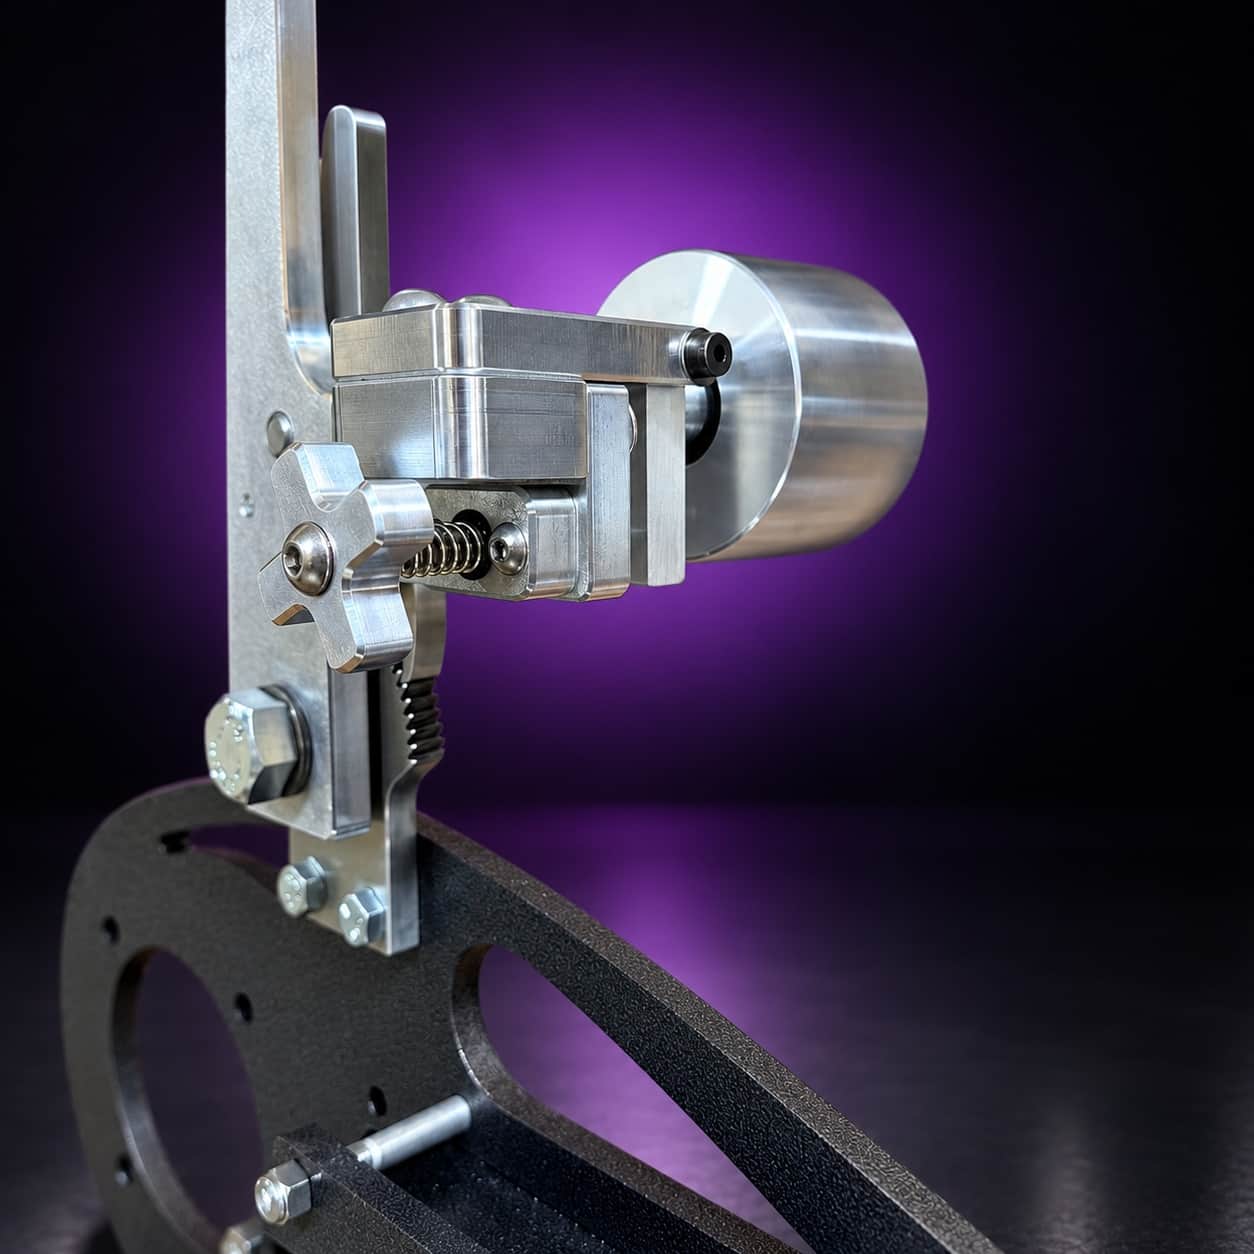
Flex, a soft platen or a tracking knob that will not hold can show up as a bad grind. I machine the parts, hand-assemble, track and test each Torus grinder in Sterling, Illinois.

Current dual-axis platform with a fiber-laser-cut 6061 chassis and single-knob tracking.

Current dual-axis platform with a steel chassis, more mass and less vibration.

Prior-design aluminum chassis, 90-degree tilt and 1.5-inch tooling arms.
One-man shop
Send me a photo and describe what happened before it went wrong. Include the machine, belt and steel when they are relevant.