
Beginner Guides
2×72 Belt Grinder Brands Compared: The Honest Field Guide
Full disclosure, before anything else: this is Torus CNC’s site — we build three of the grinders compared below. Here’s how we’ve kept this honest: every…
Troubleshooting
Work back from what it is doing to what caused it, then to the fix that addresses the cause. Nothing here needs a sign-up.
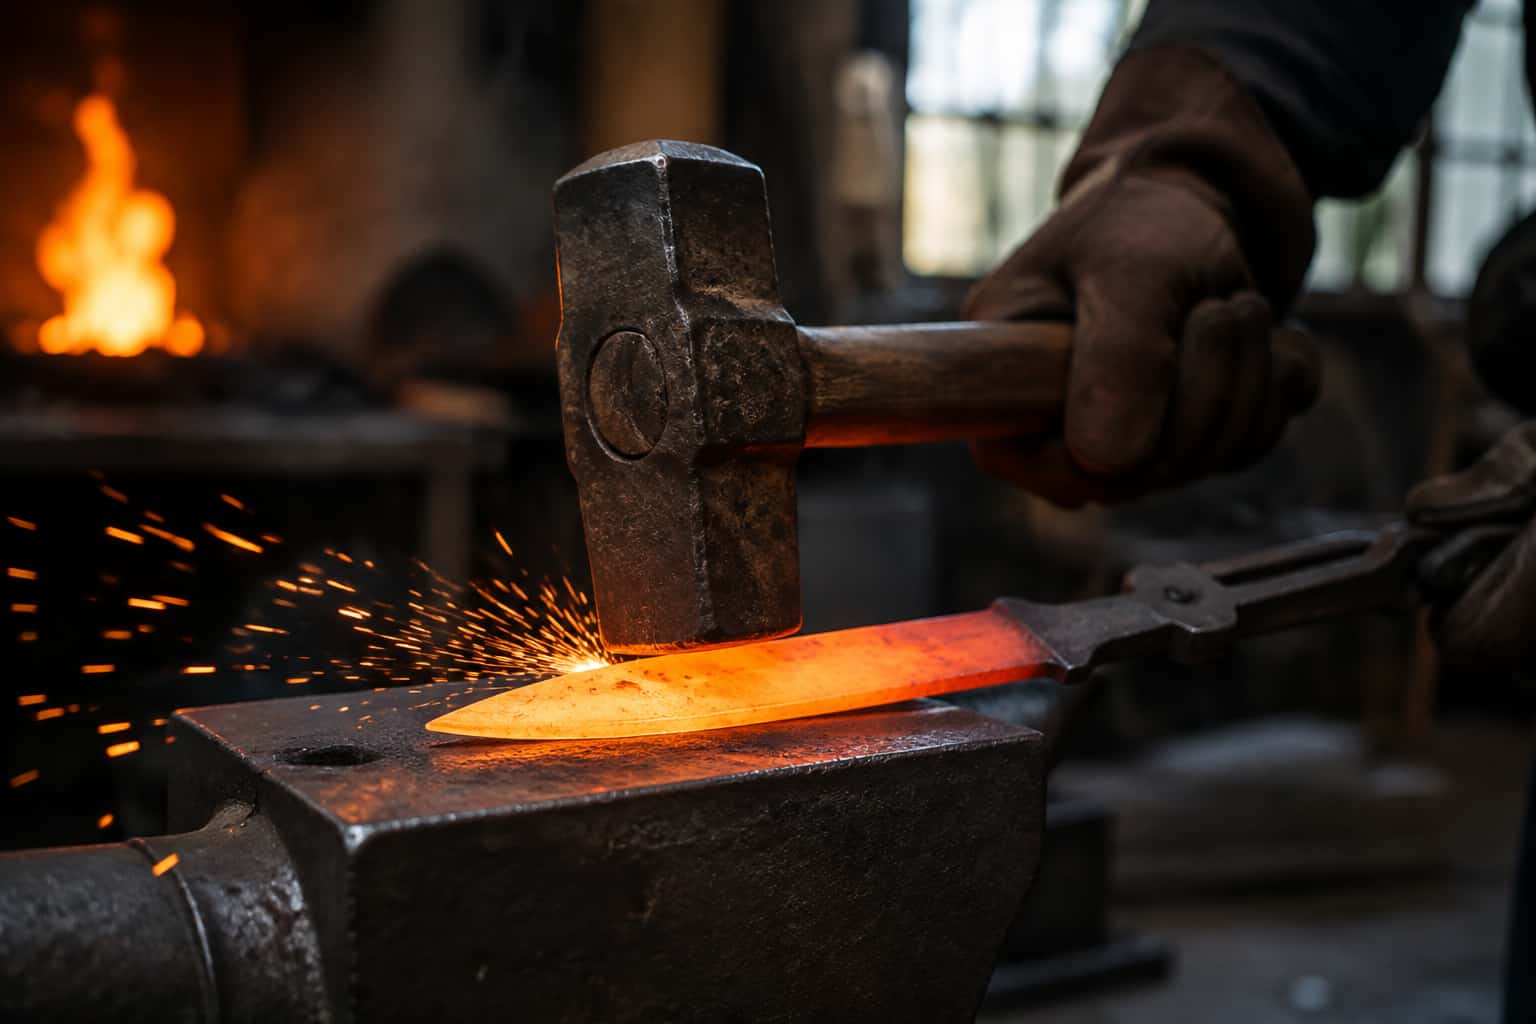
The flow
Causes first, then the quick checks, the fix, prevention and the stop-work point.
Scale trapped in the joint (the number-one cause — steel welded to its own oxide, not to steel). Welding heat never actually reached — the surface sparkled but the core sat dark. Dirty mating faces: grinder dust, oil, old flux glass. Flux applied too late, after scale already formed. Blows too soft or too slow, letting the joint cool between hits. Joint geometry that traps air — flat-on-flat with no scarf crown for the weld to sweep outward from. High-alloy or stainless material in the stack that resists welding entirely (see the steel database — chromium raises welding difficulty fast).
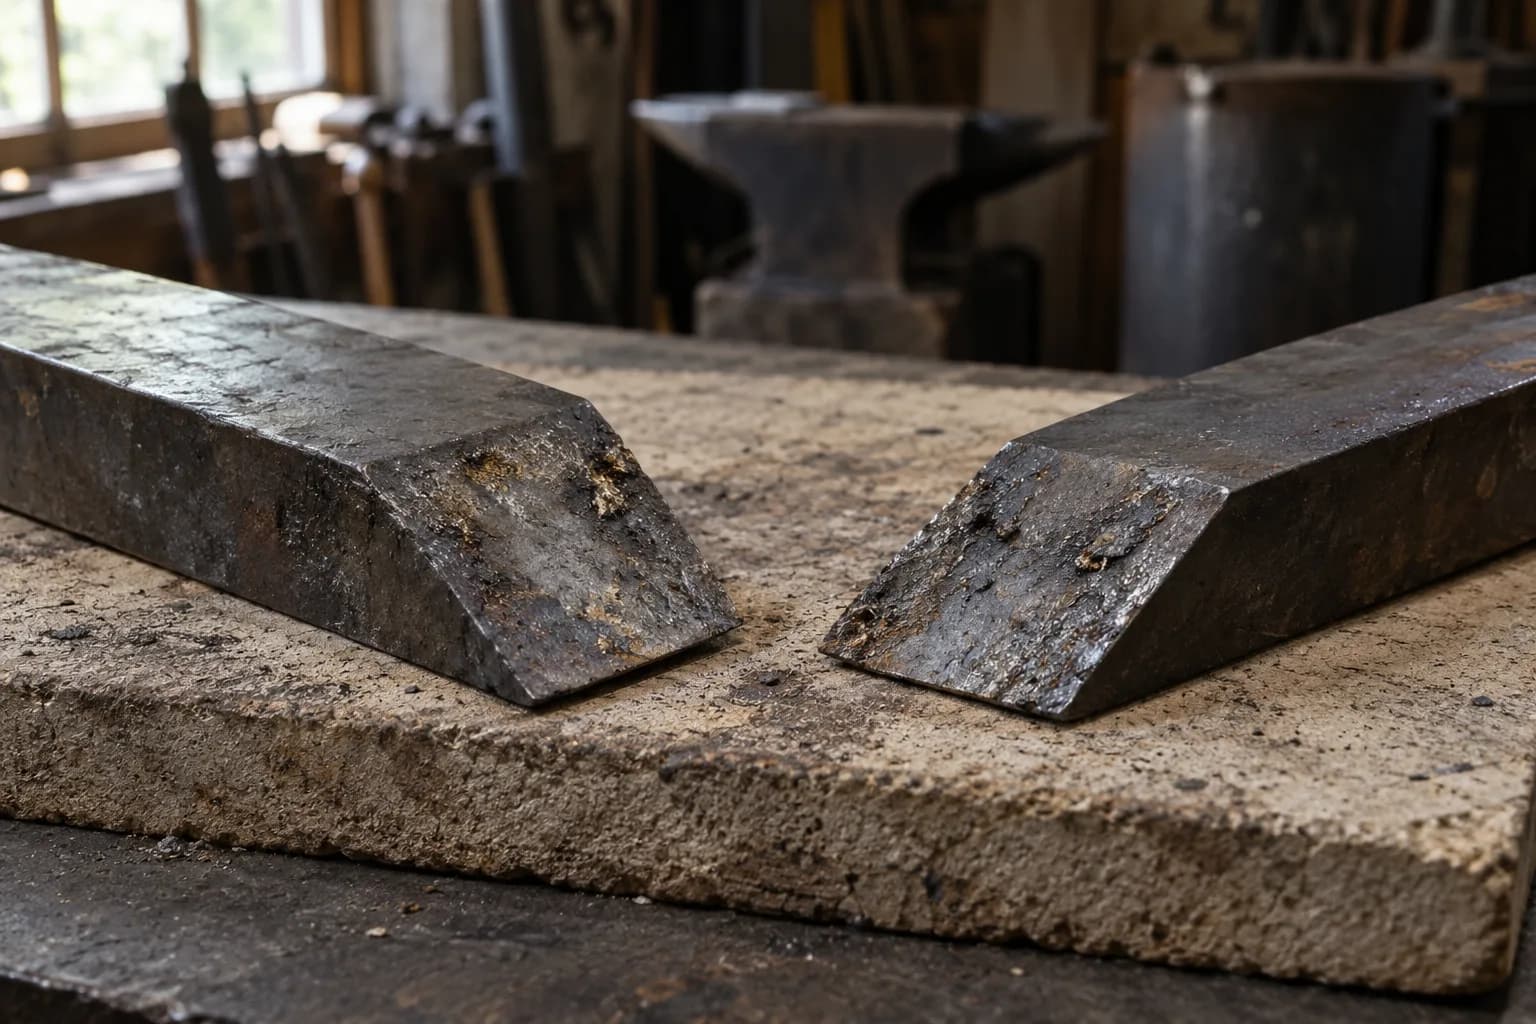
Grind into the failed seam: bright clean steel both sides means a cold or scaled weld, gray glassy inclusions mean trapped flux. Check your stack prep: were mating faces ground clean and flat that session? Watch the next attempt's color in shade — true welding heat is bright yellow trending white, and the surface goes wet-slick and tacky. Count seconds between anvil arrival and first blow: more than about two and the surface has already cooled and scaled.
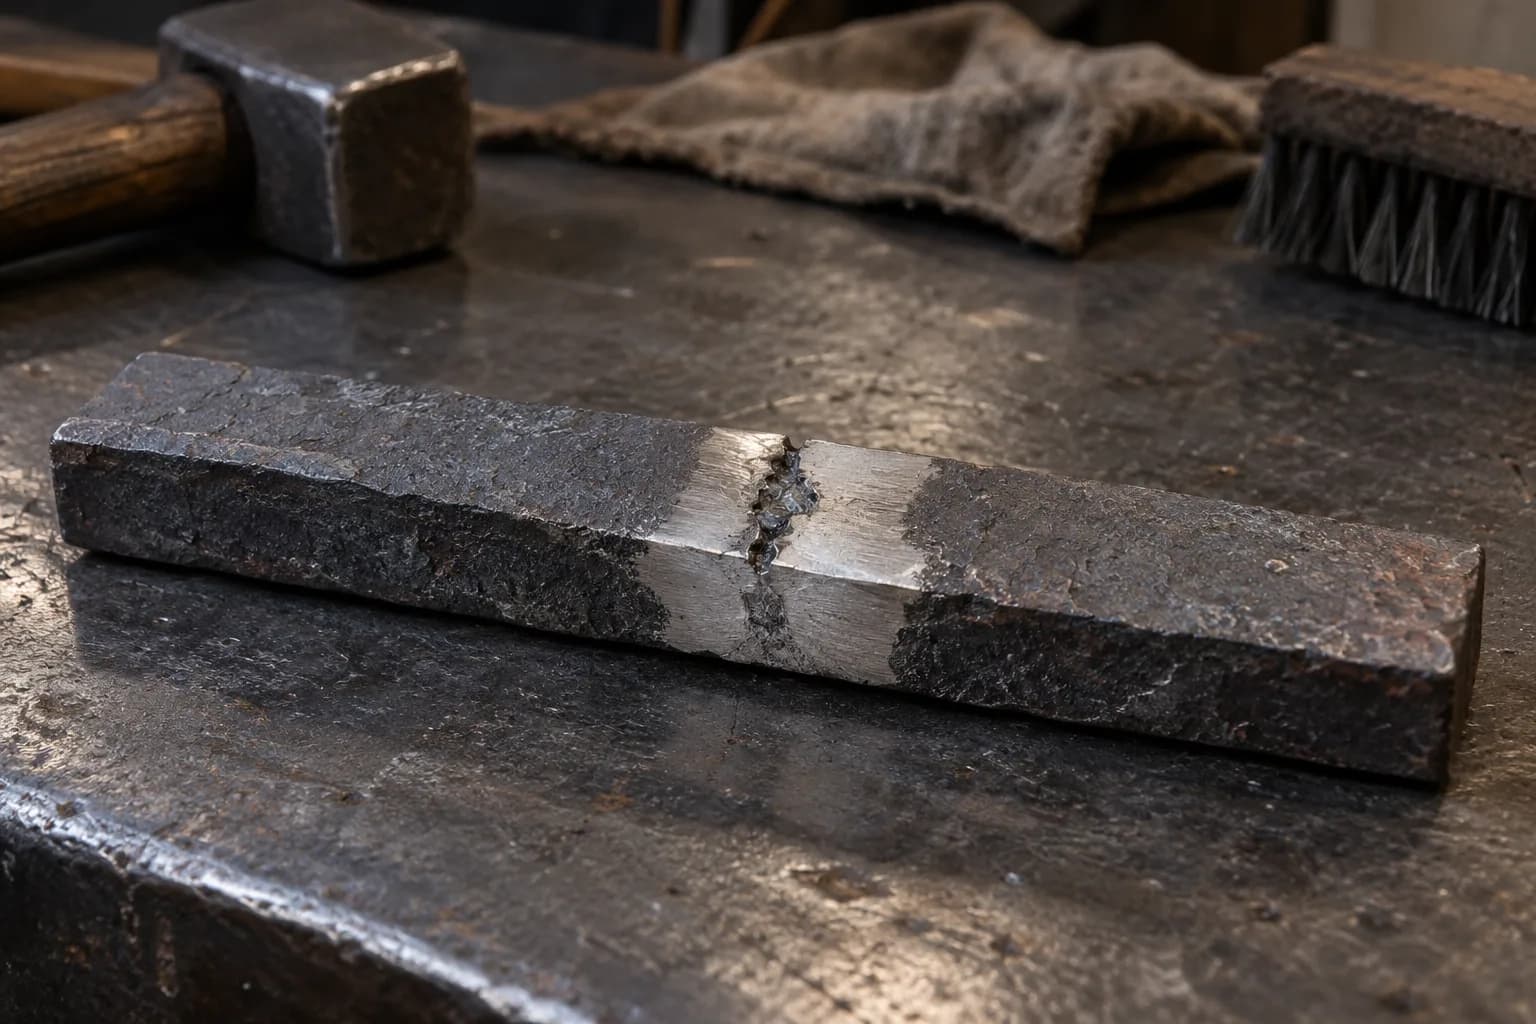
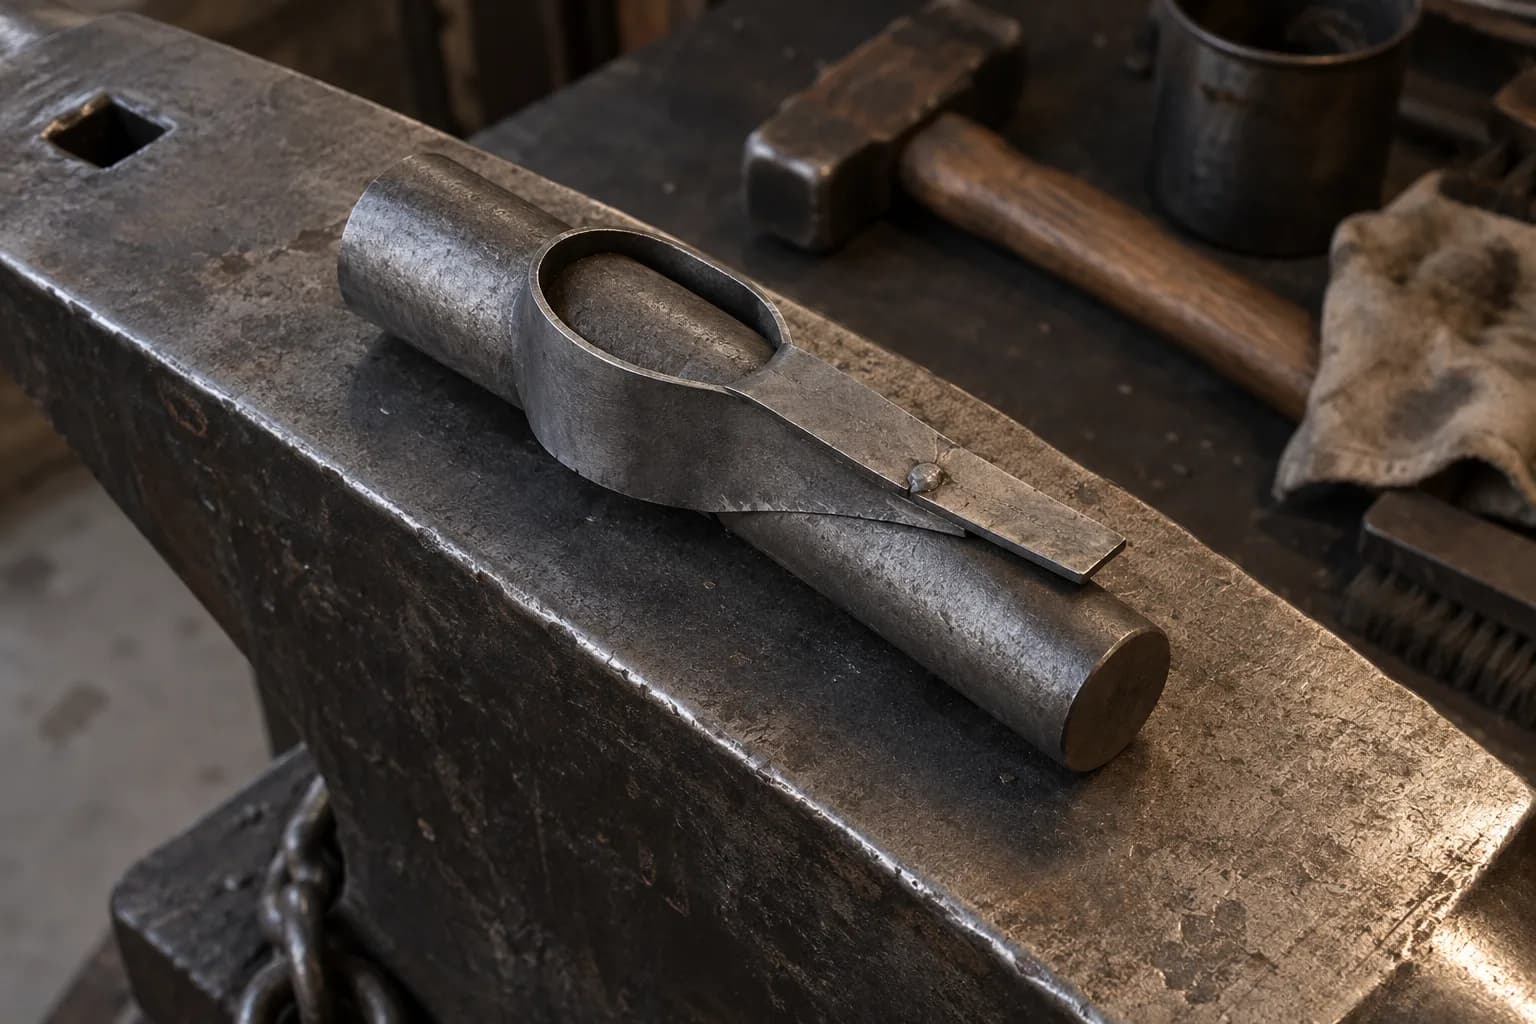
Cut or grind back to sound material past every trace of the failed seam — a re-weld over trapped scale fails twice. Re-scarf with crowned faces so the weld sweeps air and flux outward. Clean to bright steel, flux early (before visible scale forms, around orange heat) unless running a deliberate dry-flux practice with a reducing fire. Take a genuine soak at welding heat — the core must arrive, not just the skin — then weld off the anvil-arrival instant: firm fast overlapping blows from the center of the joint outward. Reset the fire if it is oxidizing: a slightly rich, stable fire is half the weld. Full sequence in the damascus section and the wrapped-eye walkthrough in Forging a Tomahawk.
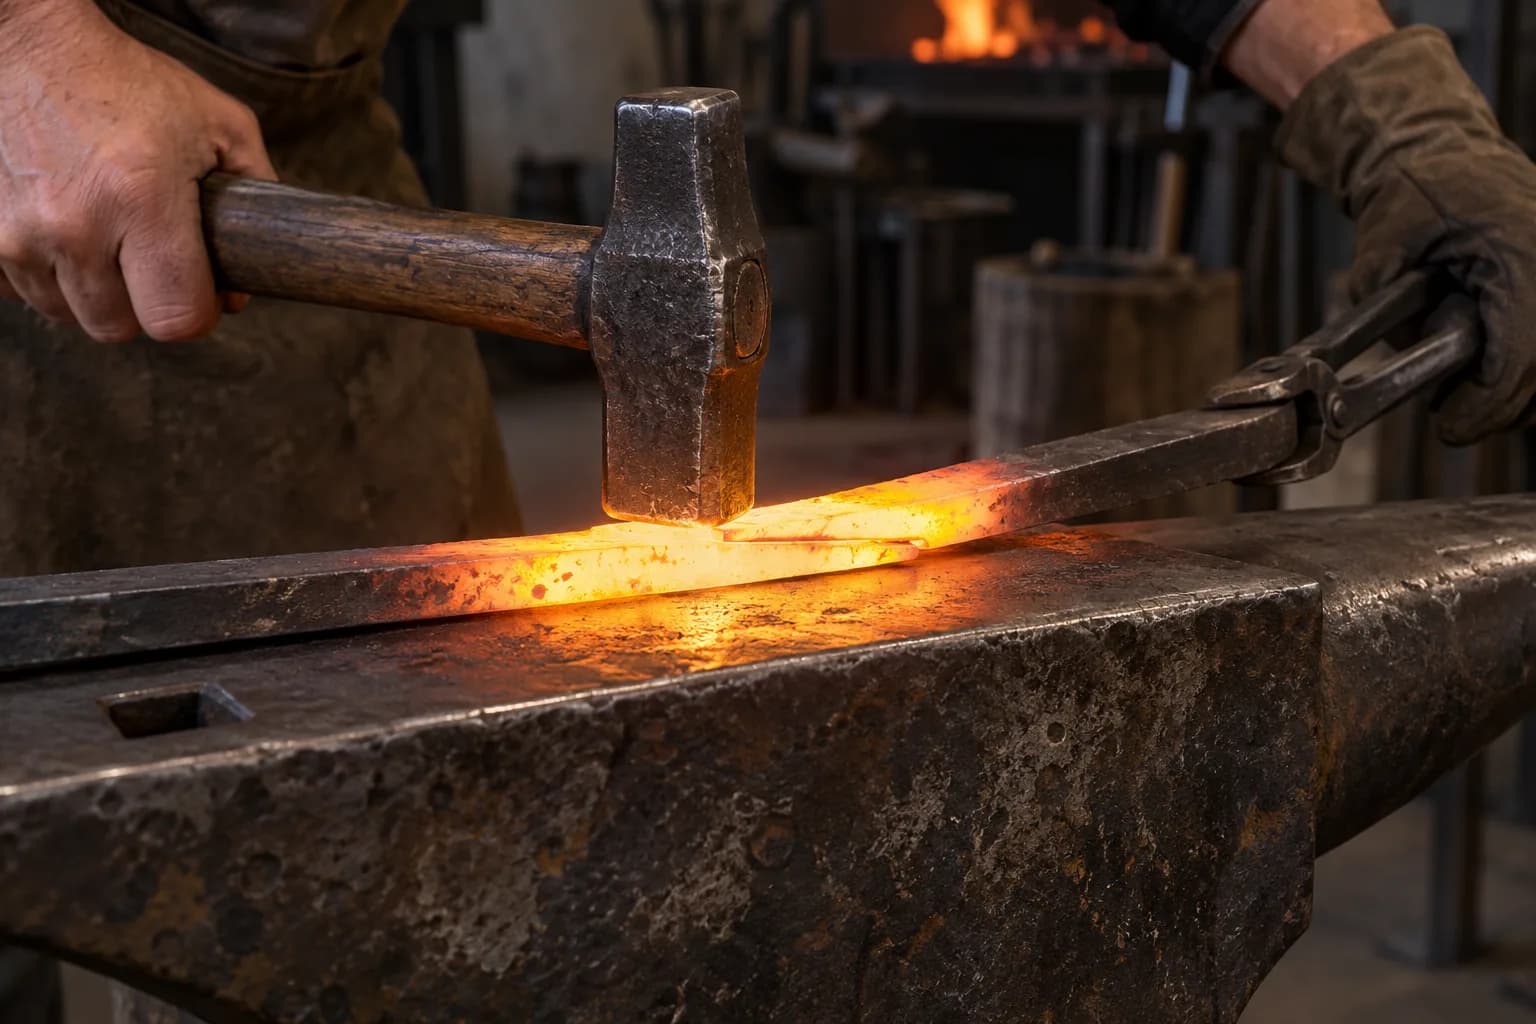
Prep every weld like it matters: bright faces, early flux, crowned scarfs, a settled fire. Work at the front of the heat, never the tail. Practice on mild steel until the wet-look and the timing are reflexes — mild forgives, blade steel does not. For eye wraps, tack the tongues aligned before the full weld so nothing shifts at heat.
If a billet has opened twice in the same seam, stop welding on it — cut the seam out entirely and rebuild the stack; chasing a contaminated weld wastes heats and steel. And if welds consistently fail across different projects, the fire itself is the suspect: fix the burner or fuel before blaming your hammer.
Still not it?
Keep reading
The long-form version of the fix above, written from the same bench.
Full disclosure, before anything else: this is Torus CNC’s site — we build three of the grinders compared below. Here’s how we’ve kept this honest: every…
Comics run on invented metals — adamantium, vibranium, the whole periodic table of plot — and the fastest way to appreciate real metallurgy is to audit…
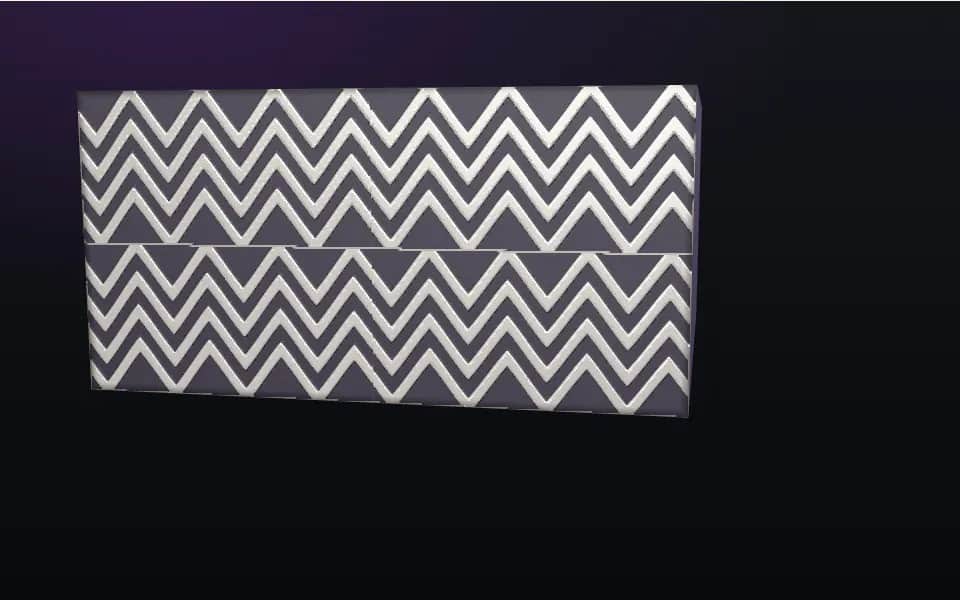
Past the ladder, twist, and raindrop lies the territory where damascus becomes composition: patterns built by controlling the layers in three dimensions…
Same bench
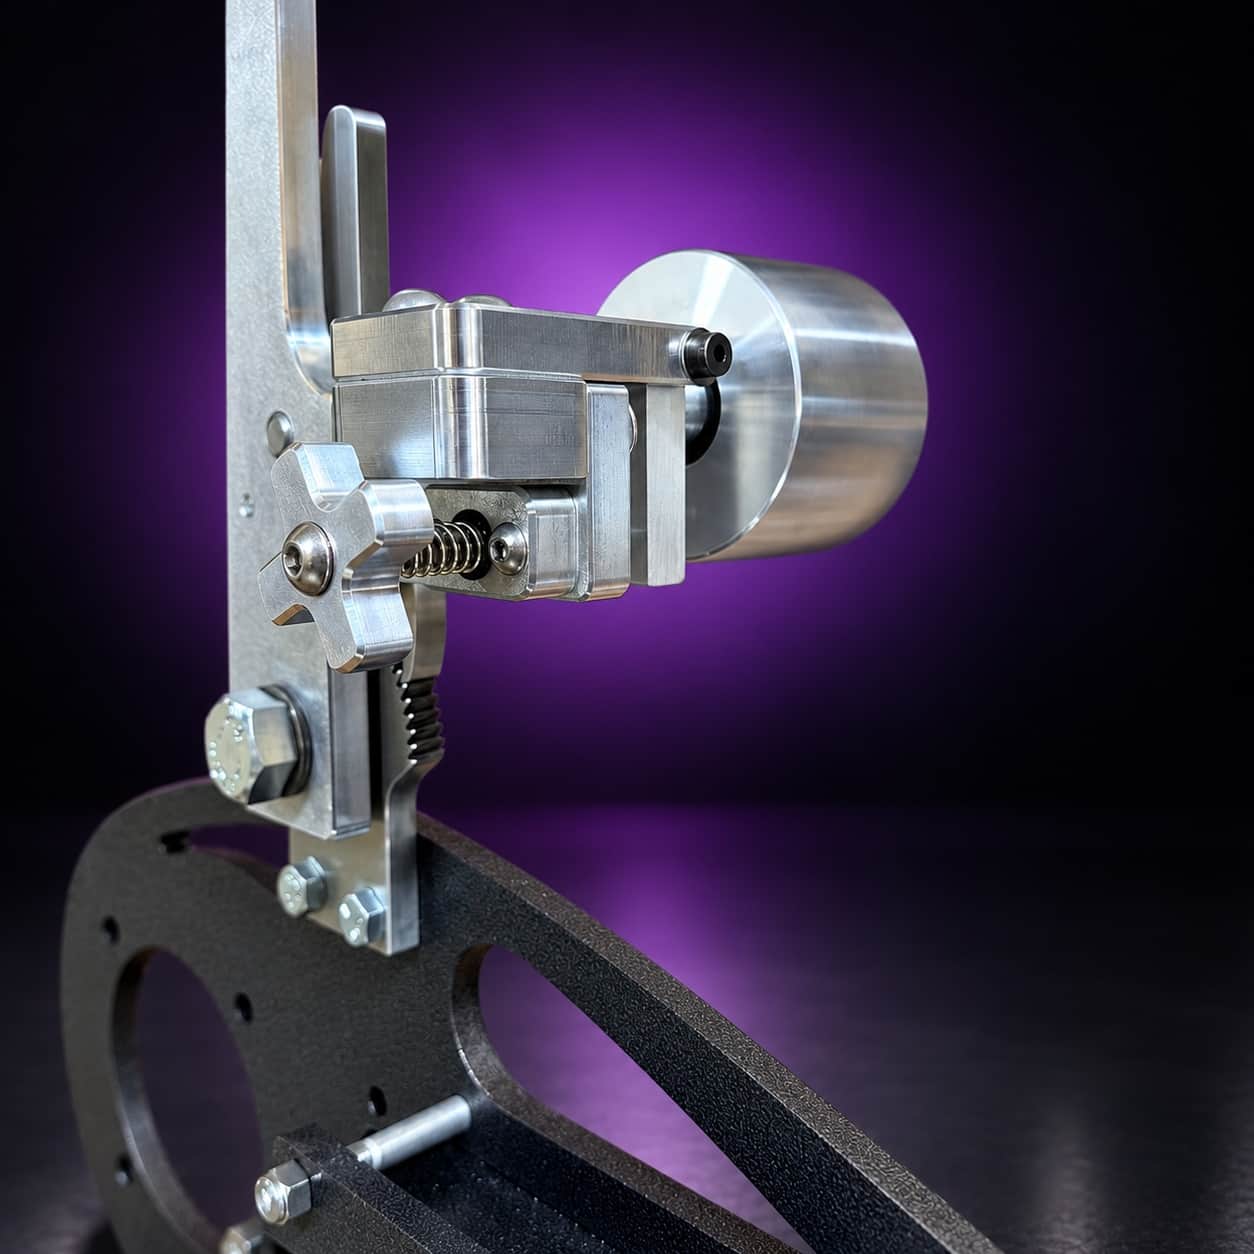
Flex, a soft platen or a tracking knob that will not hold can show up as a bad grind. I machine the parts, hand-assemble, track and test each Torus grinder in Sterling, Illinois.

Current dual-axis platform with a fiber-laser-cut 6061 chassis and single-knob tracking.

Current dual-axis platform with a steel chassis, more mass and less vibration.

Prior-design aluminum chassis, 90-degree tilt and 1.5-inch tooling arms.
One-man shop
Send me a photo and describe what happened before it went wrong. Include the machine, belt and steel when they are relevant.