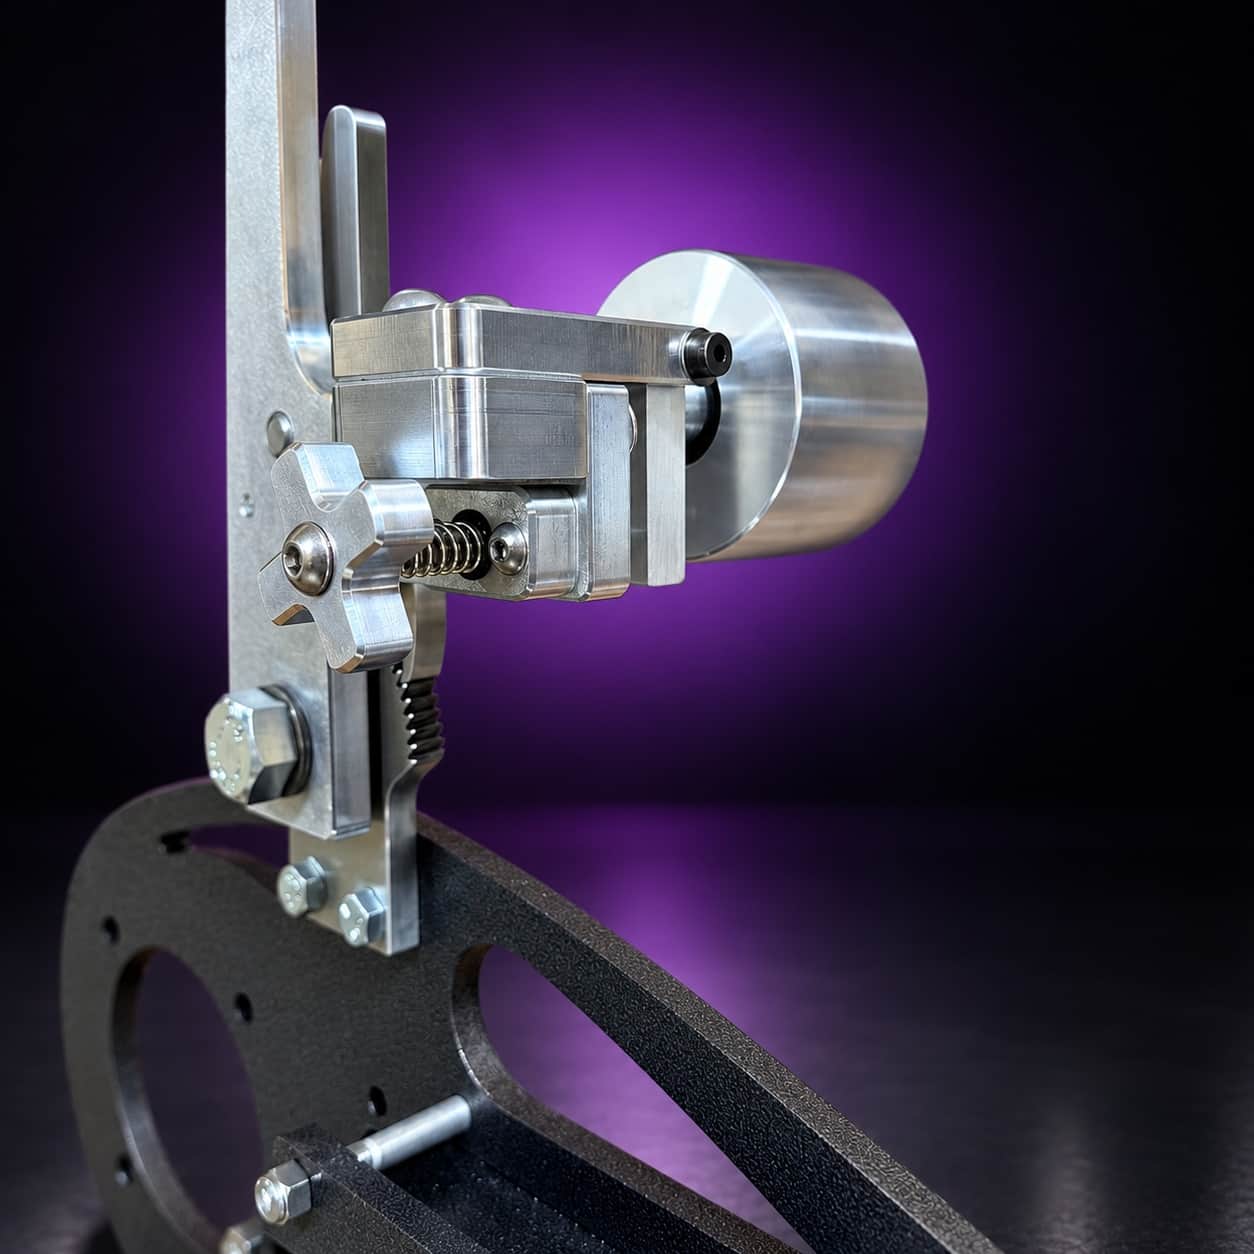
Nebula dual-axis tracking assembly: star knob, spring and idler wheel, close-up, on black with a purple glow

Troubleshooting

Blade Cracked During Quench

Work back from what it is doing to what caused it, then to the fix that addresses the cause. Nothing here needs a sign-up.
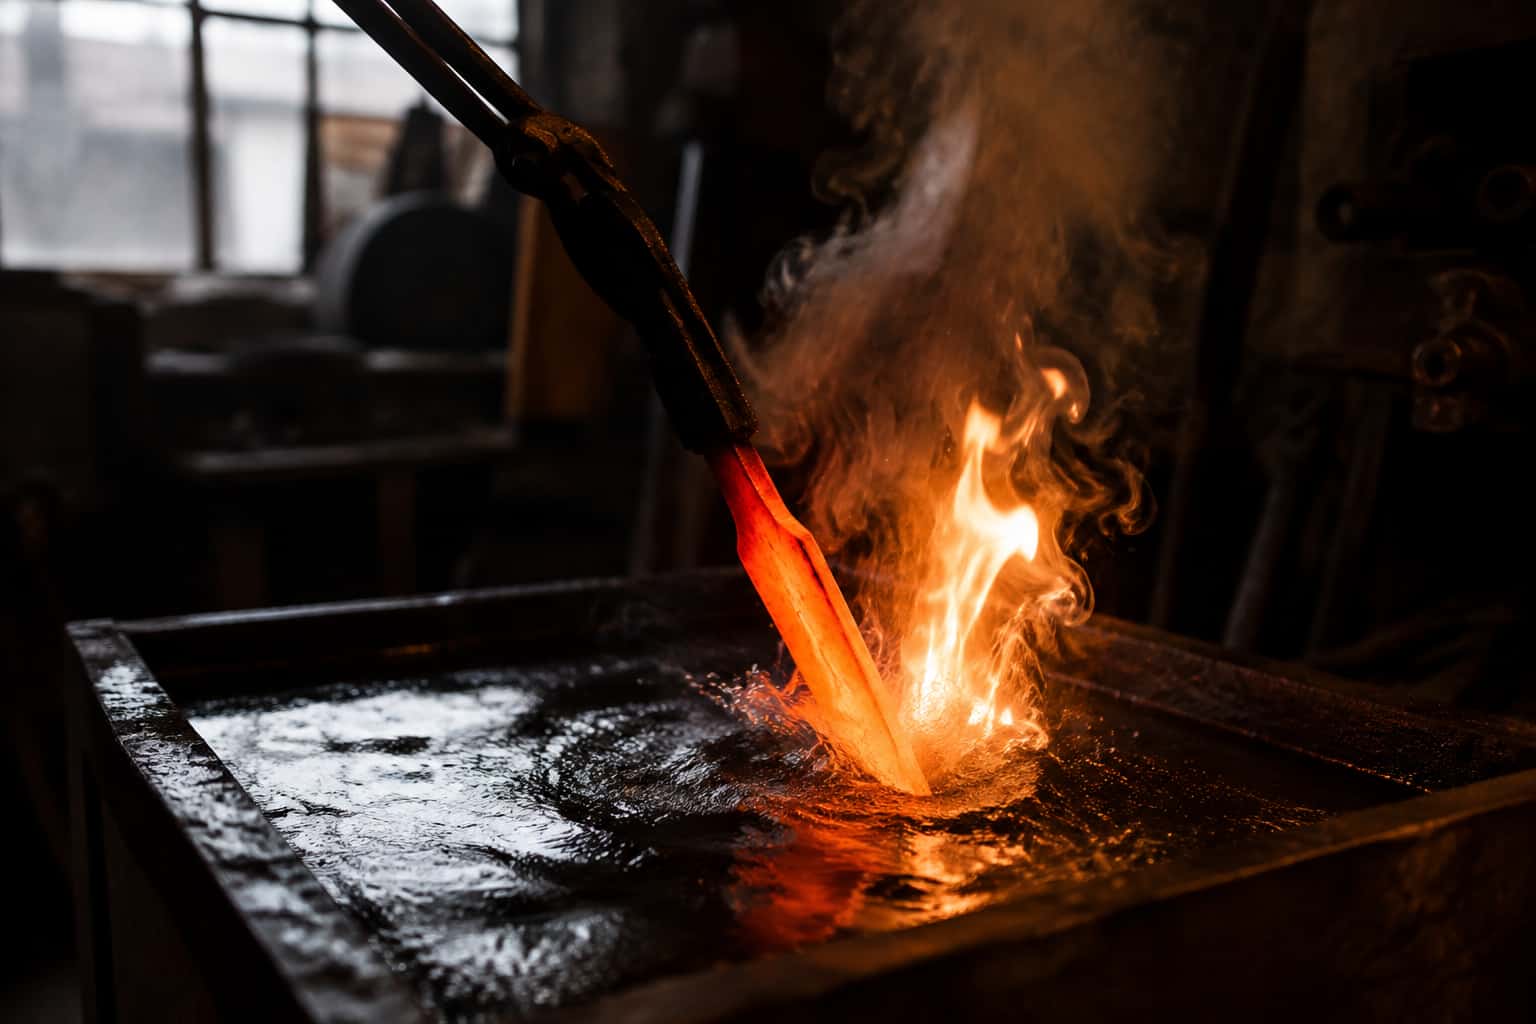
Knife steel heat treatment in a working knife shop
If a symptom appears mid-job, put the work down and check it before continuing.
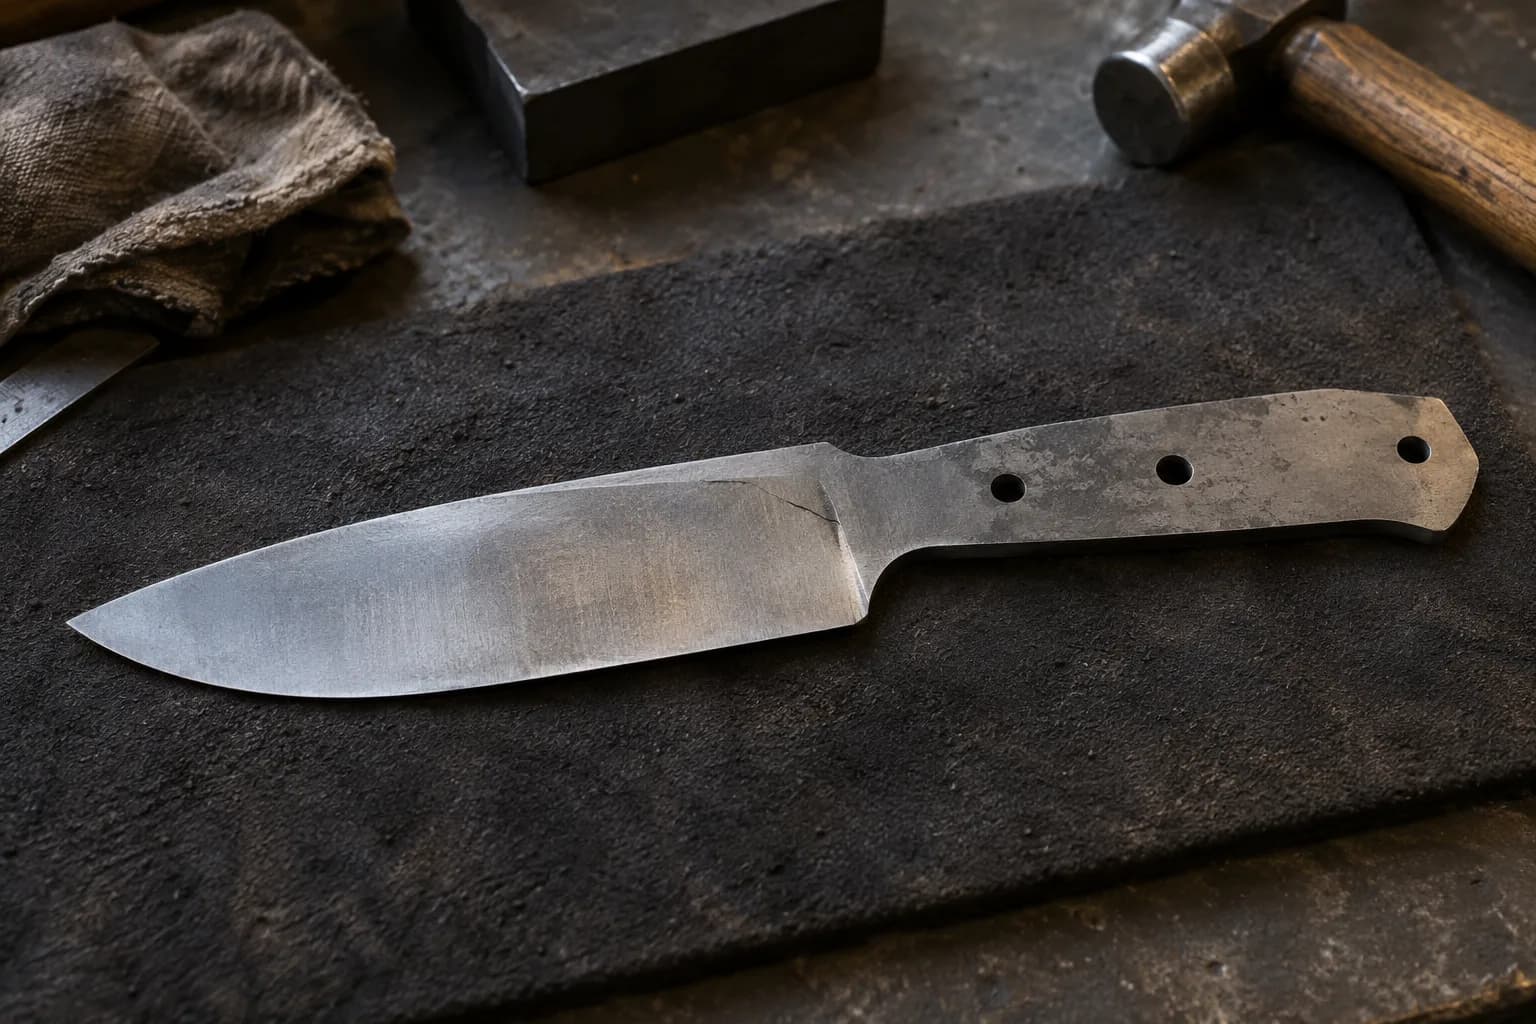
Cooled gray knife blank on a dark pad with a fine hairline crack running to the plunge, steel block and hammer behind

The flow

Work it in this order

Causes first, then the quick checks, the fix, prevention and the stop-work point.
  1. Likely causes

    • Quenchant is too fast or too cold for the specific steel being hardened
    • Thin cross-sections, such as sharp edges or plunge lines, cool faster than thicker sections, creating stress
    • Steel was not soaked at temperature long enough before quenching
    • Delayed quench, letting the blade cool partially in air before entering the quenchant
    • Sharp internal corners or stress risers in the blade geometry, such as unrelieved plunge cuts
  2. Quick checks

    • Confirm the quench oil or medium matches what is recommended for the specific steel, not just whatever was on hand
    • Check the blade geometry for sharp internal corners, especially at the plunge line, that could act as stress risers
    • Review the soak time and temperature used before quenching against the steel's actual heat treat recipe
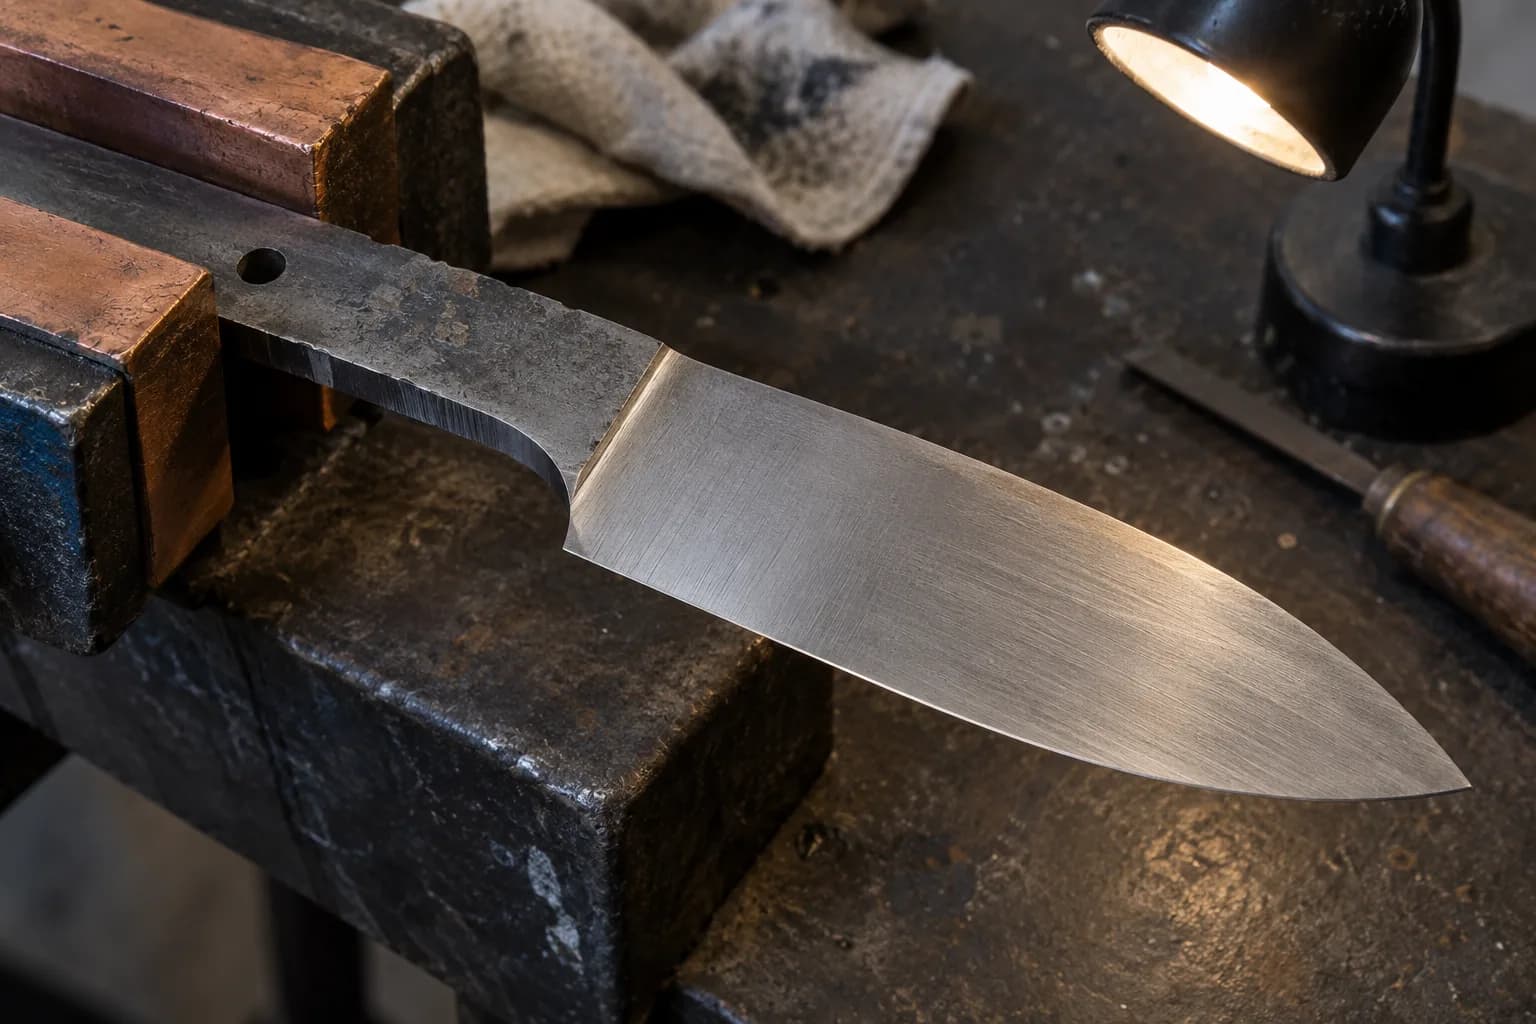
Cold gray blade clamped by its tang in copper soft jaws, sharp plunge step lit by a small gooseneck inspection lamp
  1. Fixes

    • Switch to the correct-speed quenchant for the steel in question; going from a fast oil to a slower one can significantly reduce cracking risk on shallow-hardening steels, and vice versa for steels that need a faster quench to fully harden
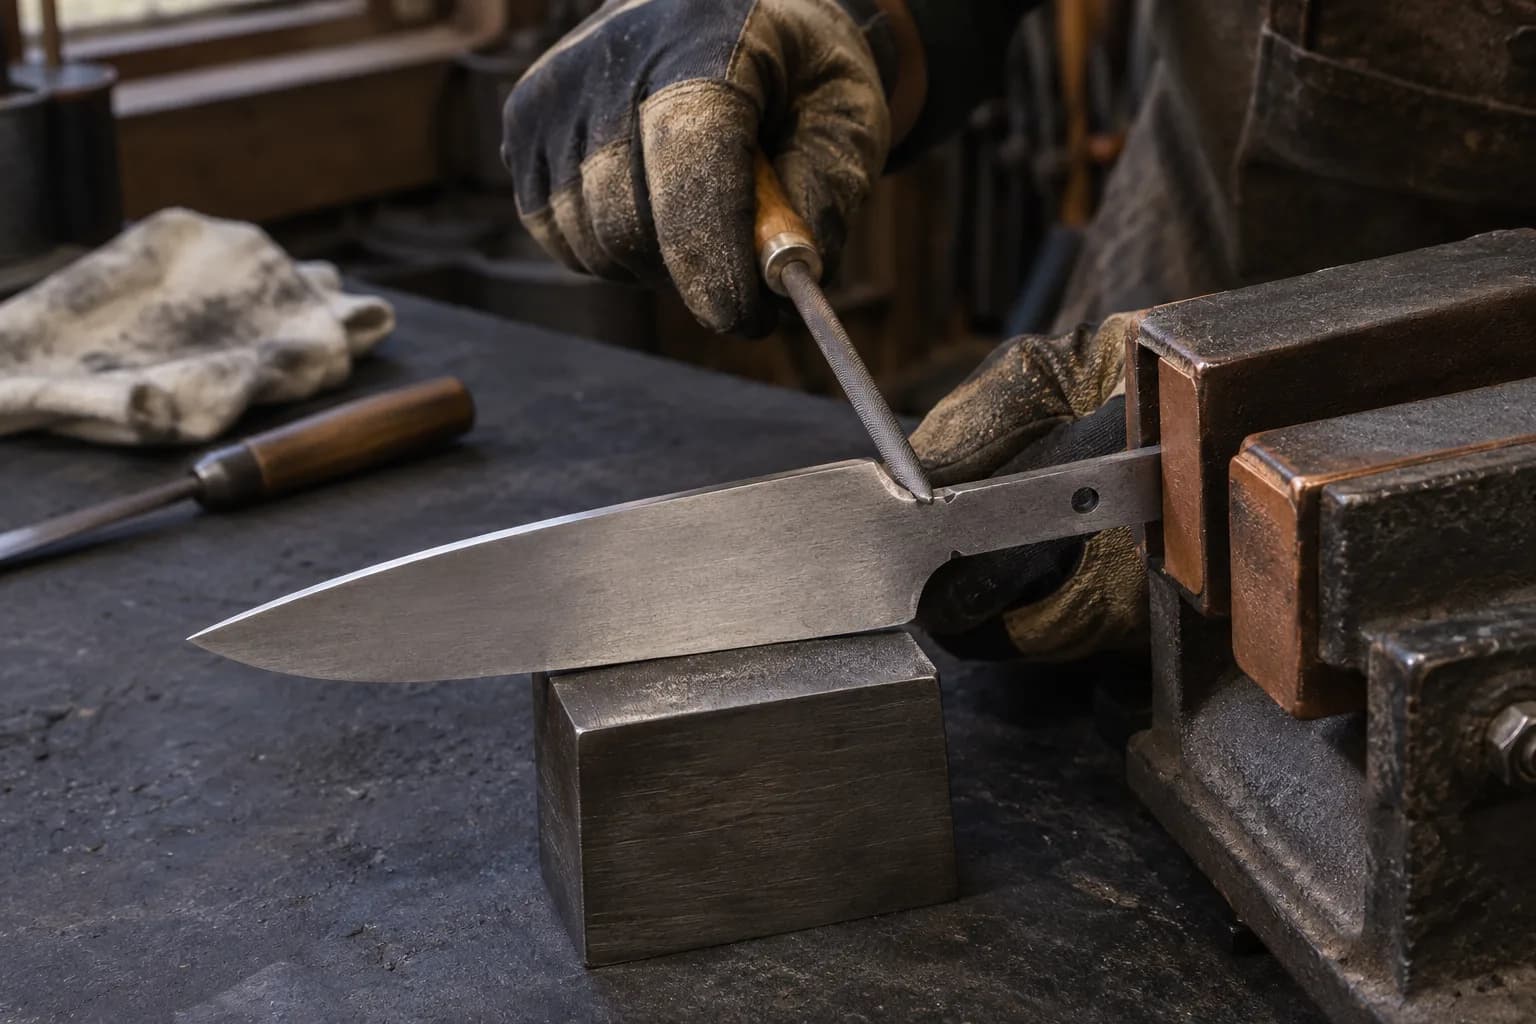
    • Radius sharp internal corners and plunge lines before hardening to remove stress risers
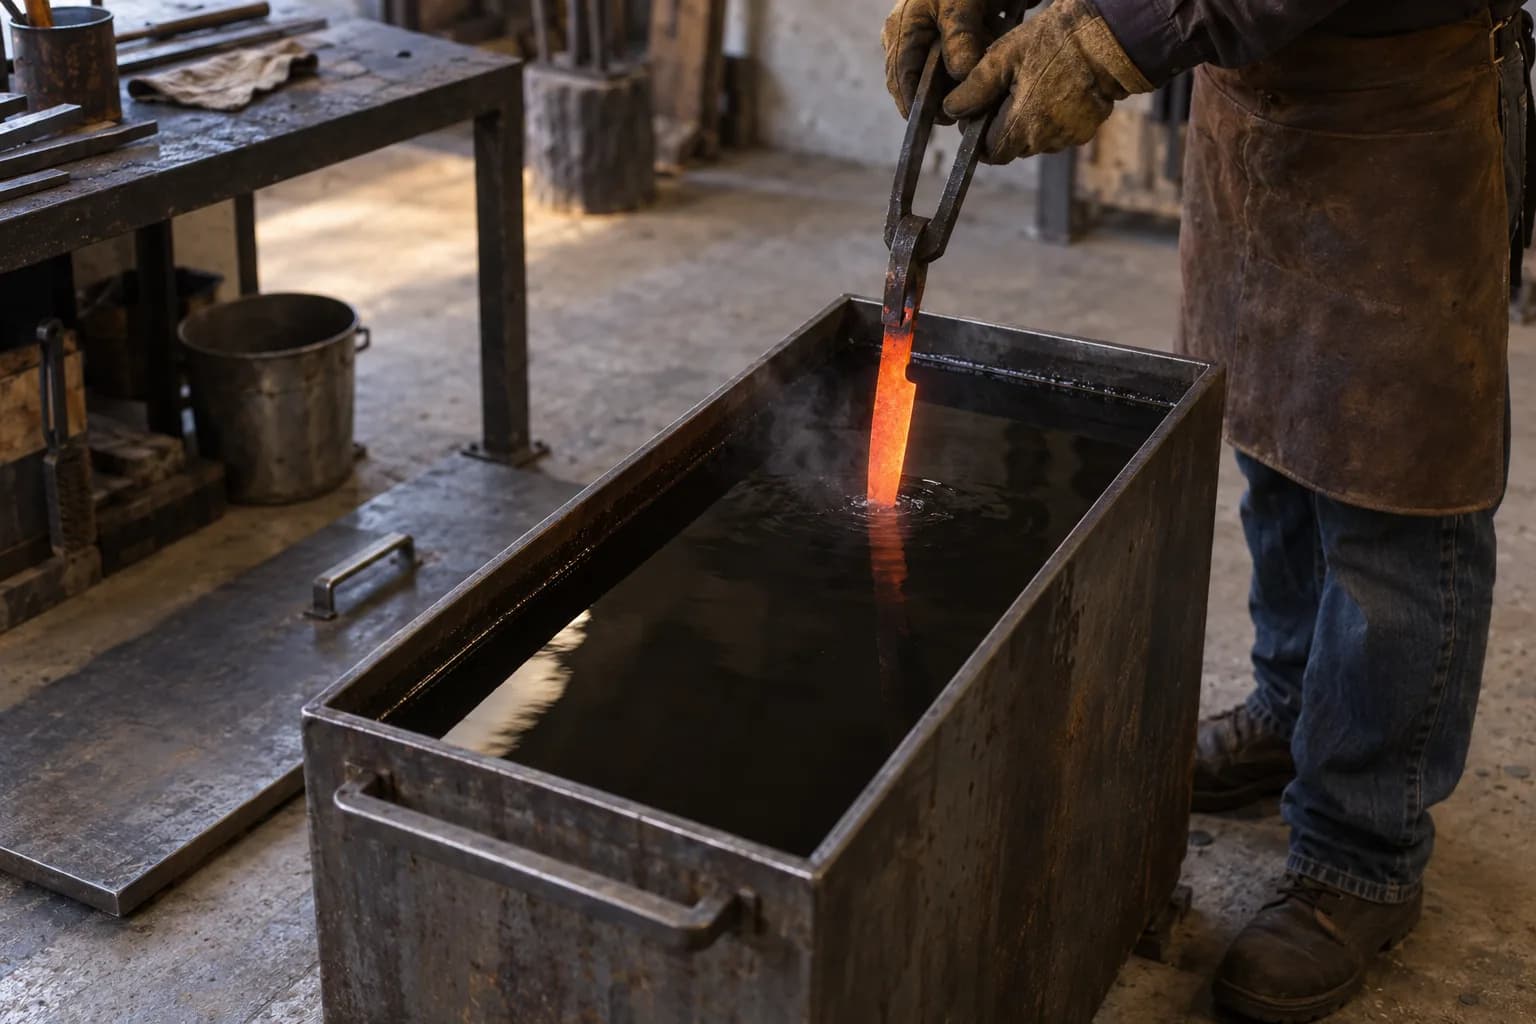
    • Quench immediately from soak temperature without delay, and use a full, straight-down entry
Gloved hand filing the internal shoulder corner of a gray knife blank held by its tang in copper vise jaws
  1. Prevention

    • Match quenchant speed to the specific steel being used, not a one-size-fits-all approach
    • Design blade geometry to avoid sharp internal corners, especially at the plunge
    • Follow the specific soak time and temperature for the steel, not a generic rule of thumb
    • Quench immediately after removing the blade from the oven or forge, without letting it cool in air first
Gloved smith lowers a glowing orange knife blank point-first on long tongs into a steel oil tank, with the lid nearby.
  1. When to stop

    If cracking happens repeatedly despite matching quenchant and geometry to the steel's known recipe, stop and revisit the fundamentals, oven accuracy, thermocouple calibration, and actual quenchant temperature, before continuing to burn through material.

Keep reading

Guides that cover the cause

The long-form version of the fix above, written from the same bench.

Same bench

When the machine is the cause

Flex, a soft platen or a tracking knob that will not hold can show up as a bad grind. I machine the parts, hand-assemble, track and test each Torus grinder in Sterling, Illinois.

  • Classic aluminum 2x72 grinder, side view with flat-platen tool arm and yellow Safety Rules label, on black with a purple glow

    Torus 2×72 Classic Aluminum Belt Grinder

    Prior-design aluminum chassis, 90-degree tilt and 1.5-inch tooling arms.
    Starts at$995View

One-man shop

Not sure which cause you have?

Send me a photo and describe what happened before it went wrong. Include the machine, belt and steel when they are relevant.