

Abrasives
Belt Buyer’s Guide: Which Abrasives to Actually Buy
Belts are the single biggest recurring cost in this hobby, and buying the wrong ones wastes money twice: once on belts that wear out fast, and again on…
Beginner Guides
The ordered path through knifemaking: first decisions, first steel, first knife, heat treat, sharpening, sheath and selling - with the right guide at each step.
2 min readWritten by Rich LinvilleFree to read
ForgeBrain has grown past 180 guides, which is wonderful for depth and terrible for knowing where to start. This page is the fix: the whole craft as one ordered path, with the right guide linked at each step. Read it top to bottom once, then use it as a map — every stage links deeper.
First: stock removal or forging? Grinding a blade from flat bar (the honest comparison) needs less equipment and produces excellent knives; forging adds the forge, the hammer and the anvil, and unlocks a different relationship with the steel. Start with stock removal if undecided — every skill transfers. Second: budget the real toolkit with the tools and equipment guide — and know that the machine at the center of both paths is the belt grinder, which is where the buyer’s guide earns its place this early.
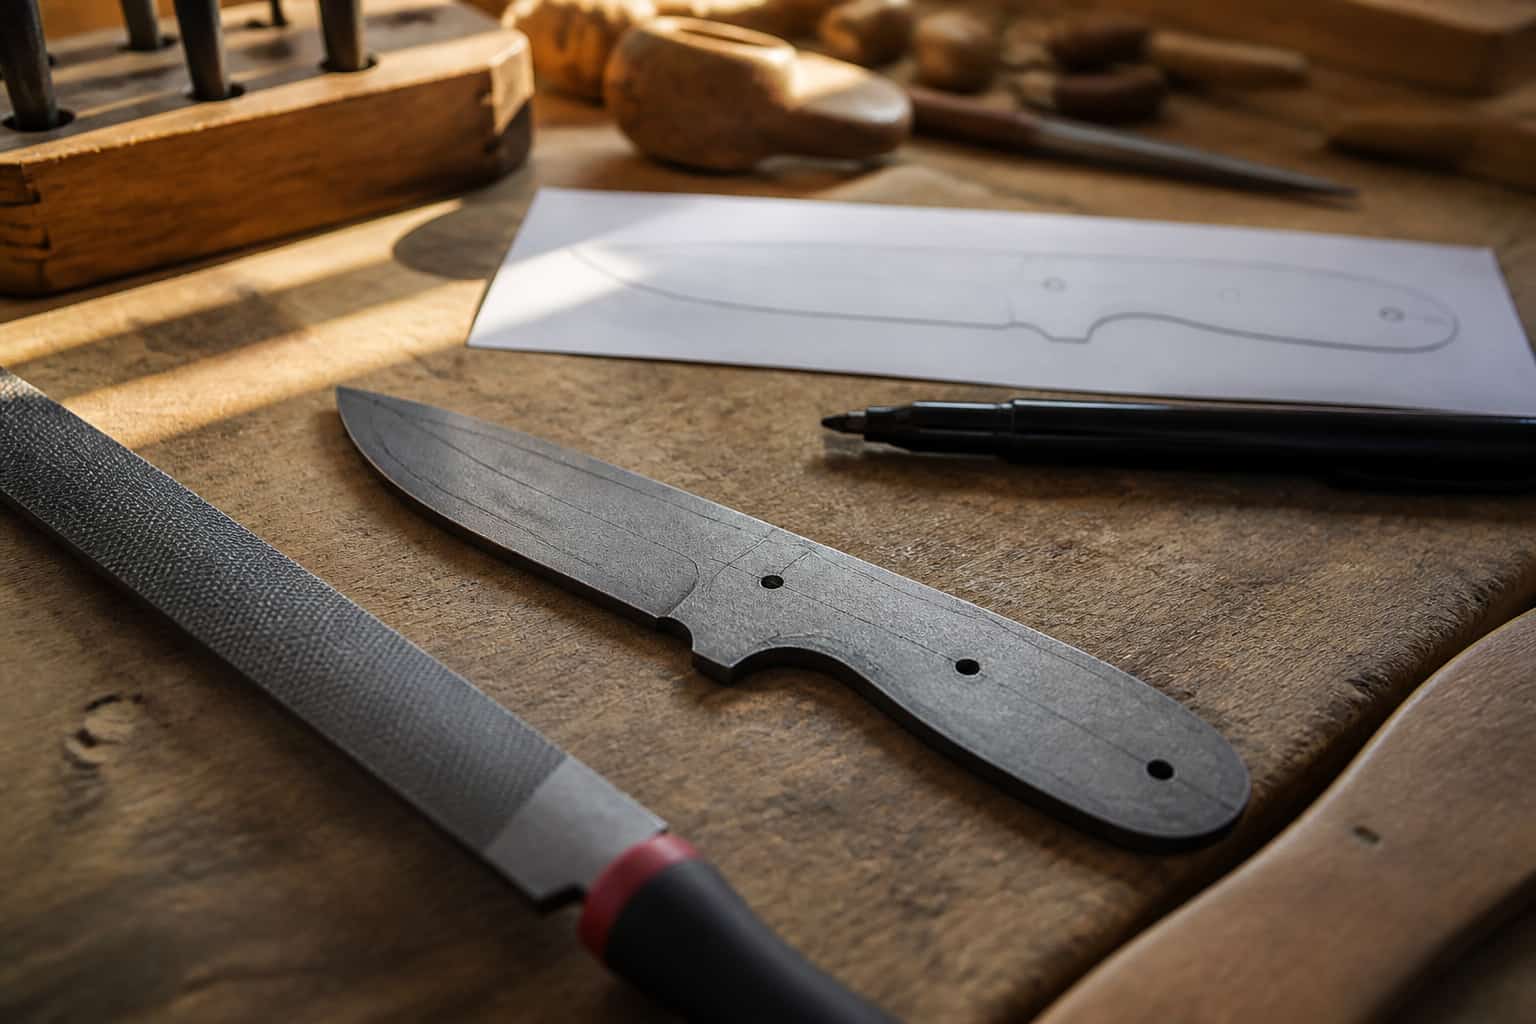
Choose one known steel and learn it: the first-steel guide makes the case (1084 for forge heat treat, AEB-L or O1 for kiln work — resist mystery scrap). Design small: a 3.5-4 inch drop-point user, drawn with the template method, geometry chosen off the bevel-angle chart. Then grind it — the belt progression does the work, and the common-mistakes guide saves the first blade from the classic errors. Order of operations matters more than talent: profile, drill, bevels to 80%, THEN heat treat — the sequence argument in our order-of-operations post.
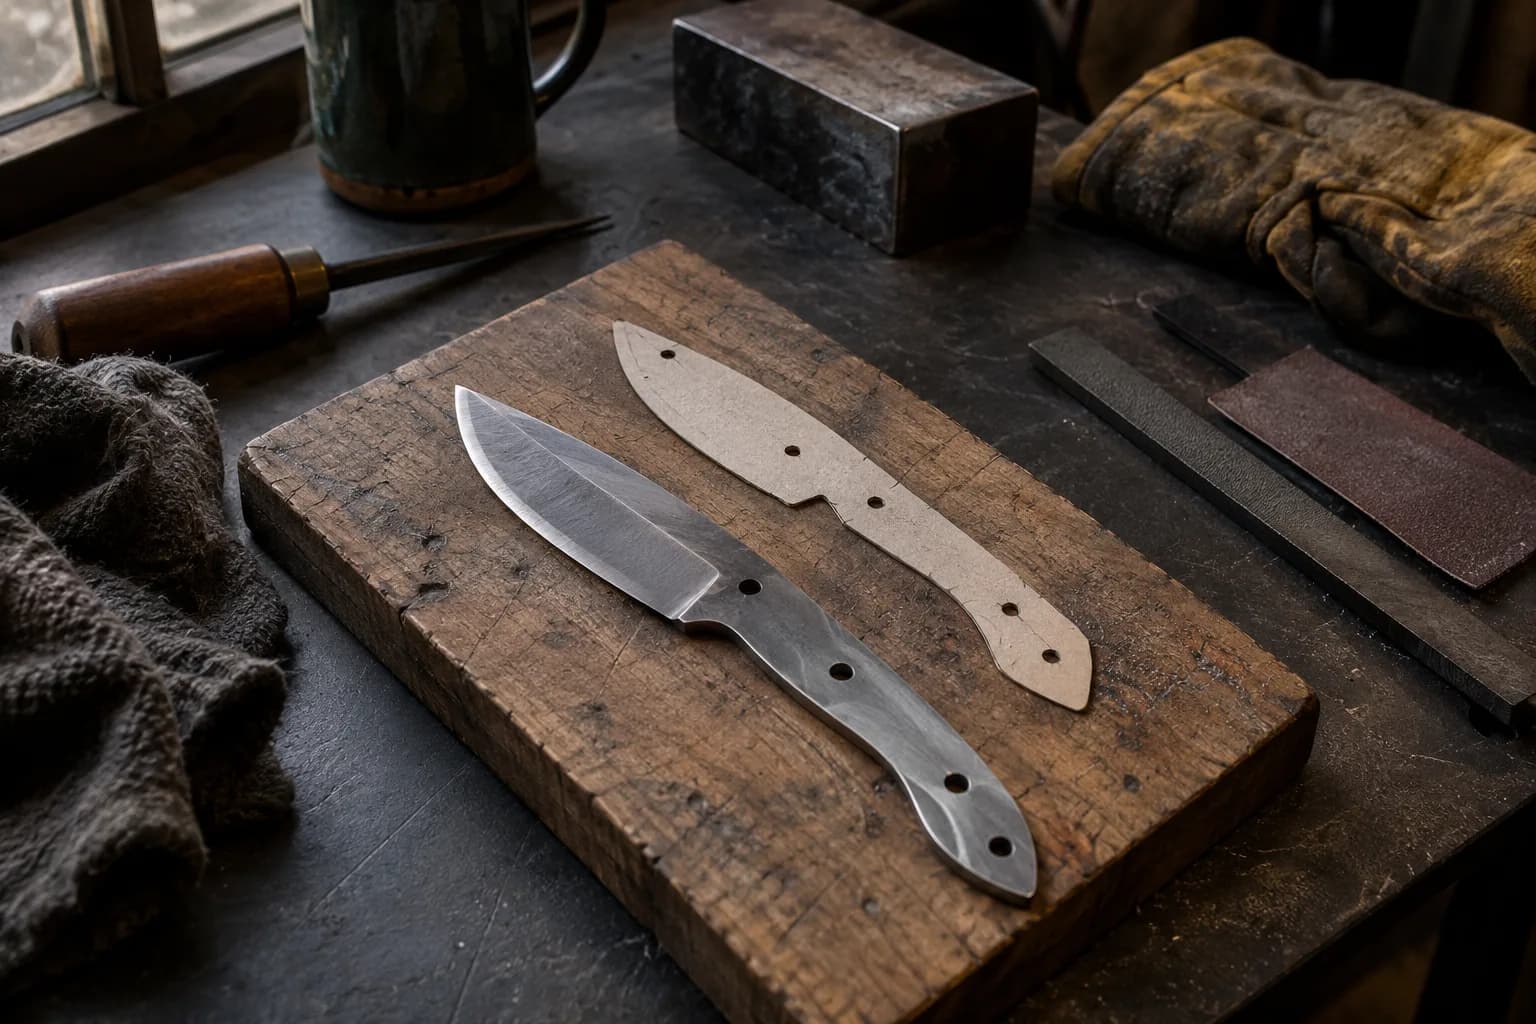
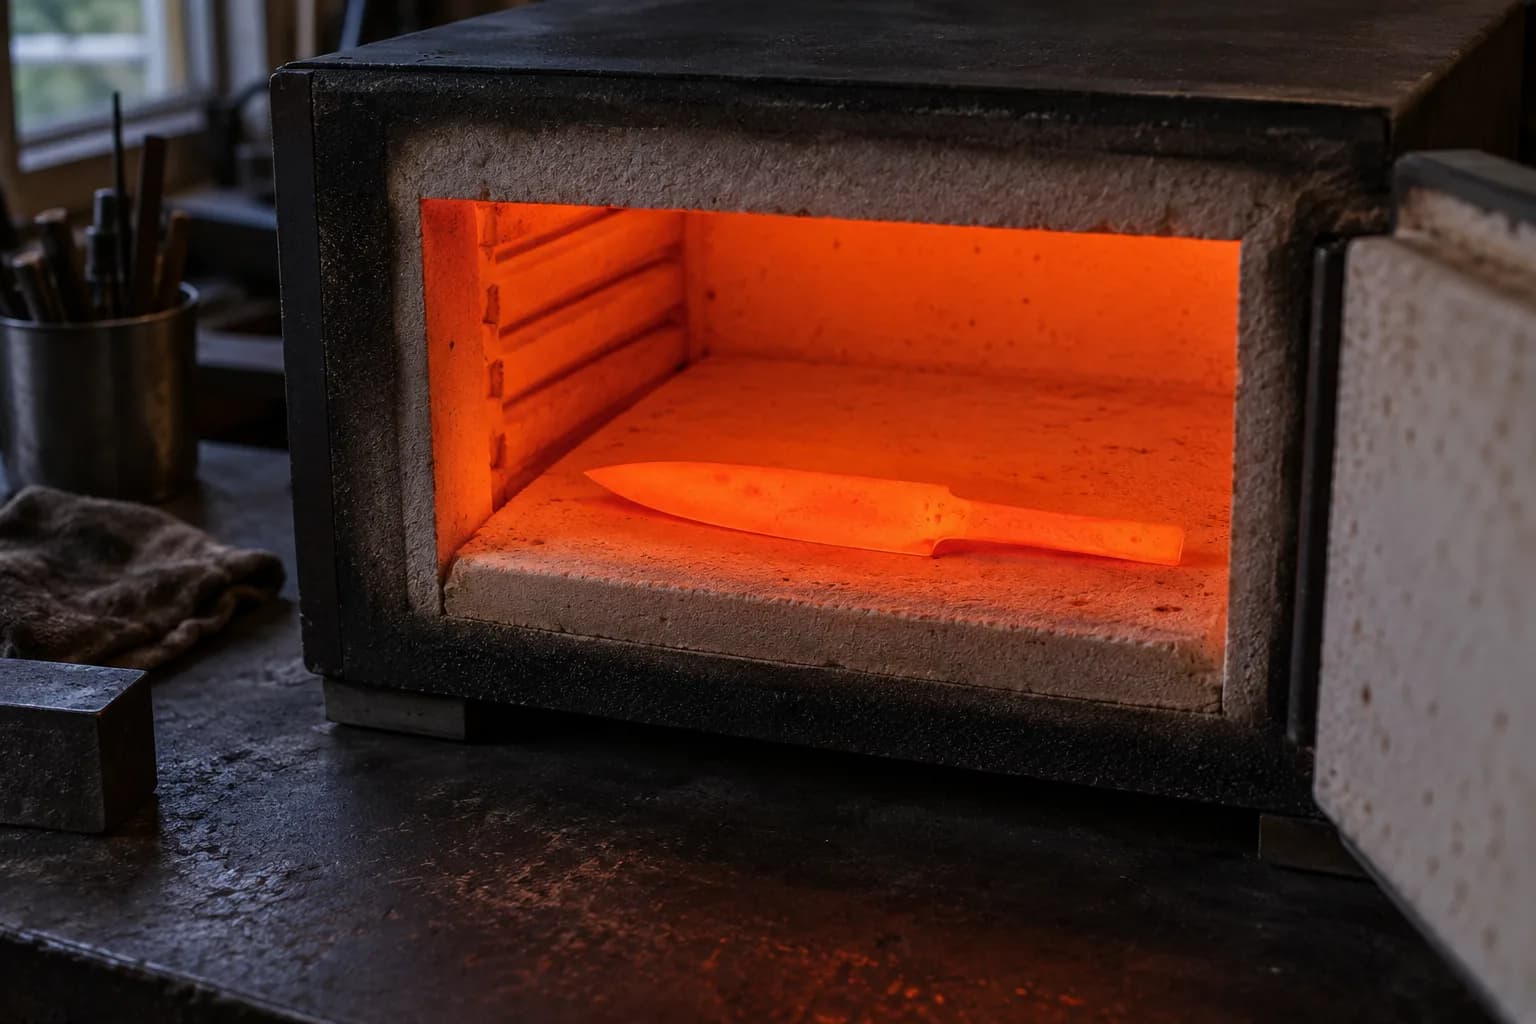
Read the complete heat treat guide before the first quench, then the two pages that prevent the classic disasters: quench oils (canola vs Parks is not a coin flip) and normalizing if you forged. Understand WHY with Why Hardness Matters; troubleshoot with the troubleshooting hub when a blade warps, cracks or soft-spots — every failure there has a page.
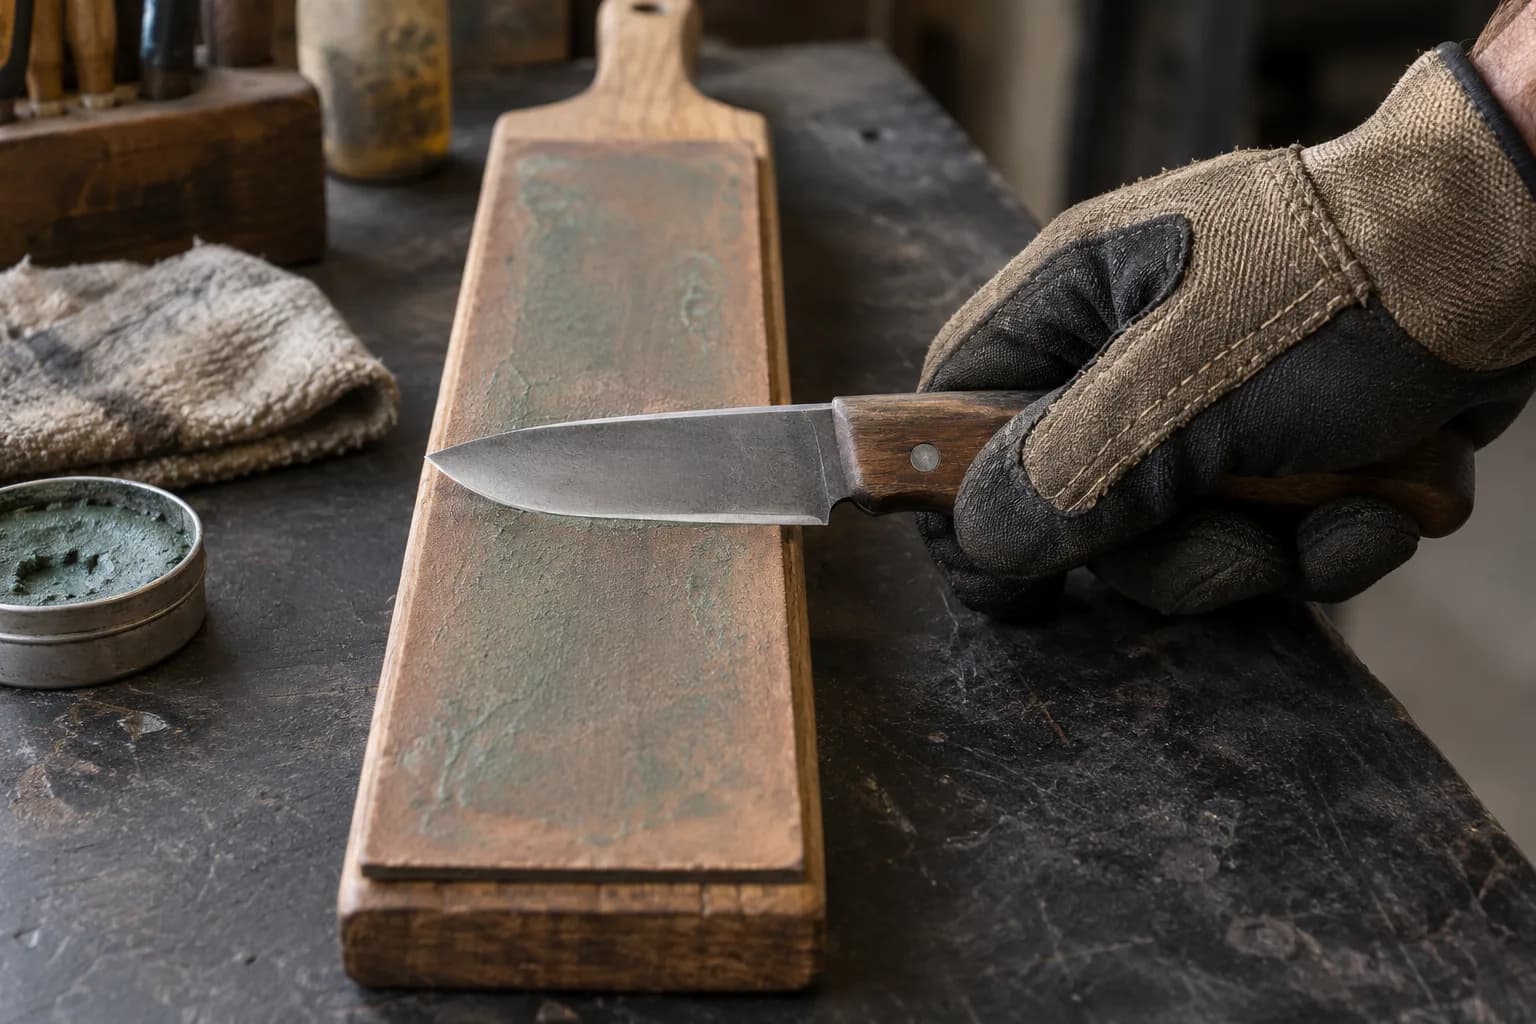
Sharpening is its own craft: the sharpening guide first, a strop you made yourself second, and the microbevel trick third. Finishes — satin, patina, etch — live in Blade Finishes Explained. Handles get the full handle-construction silo.
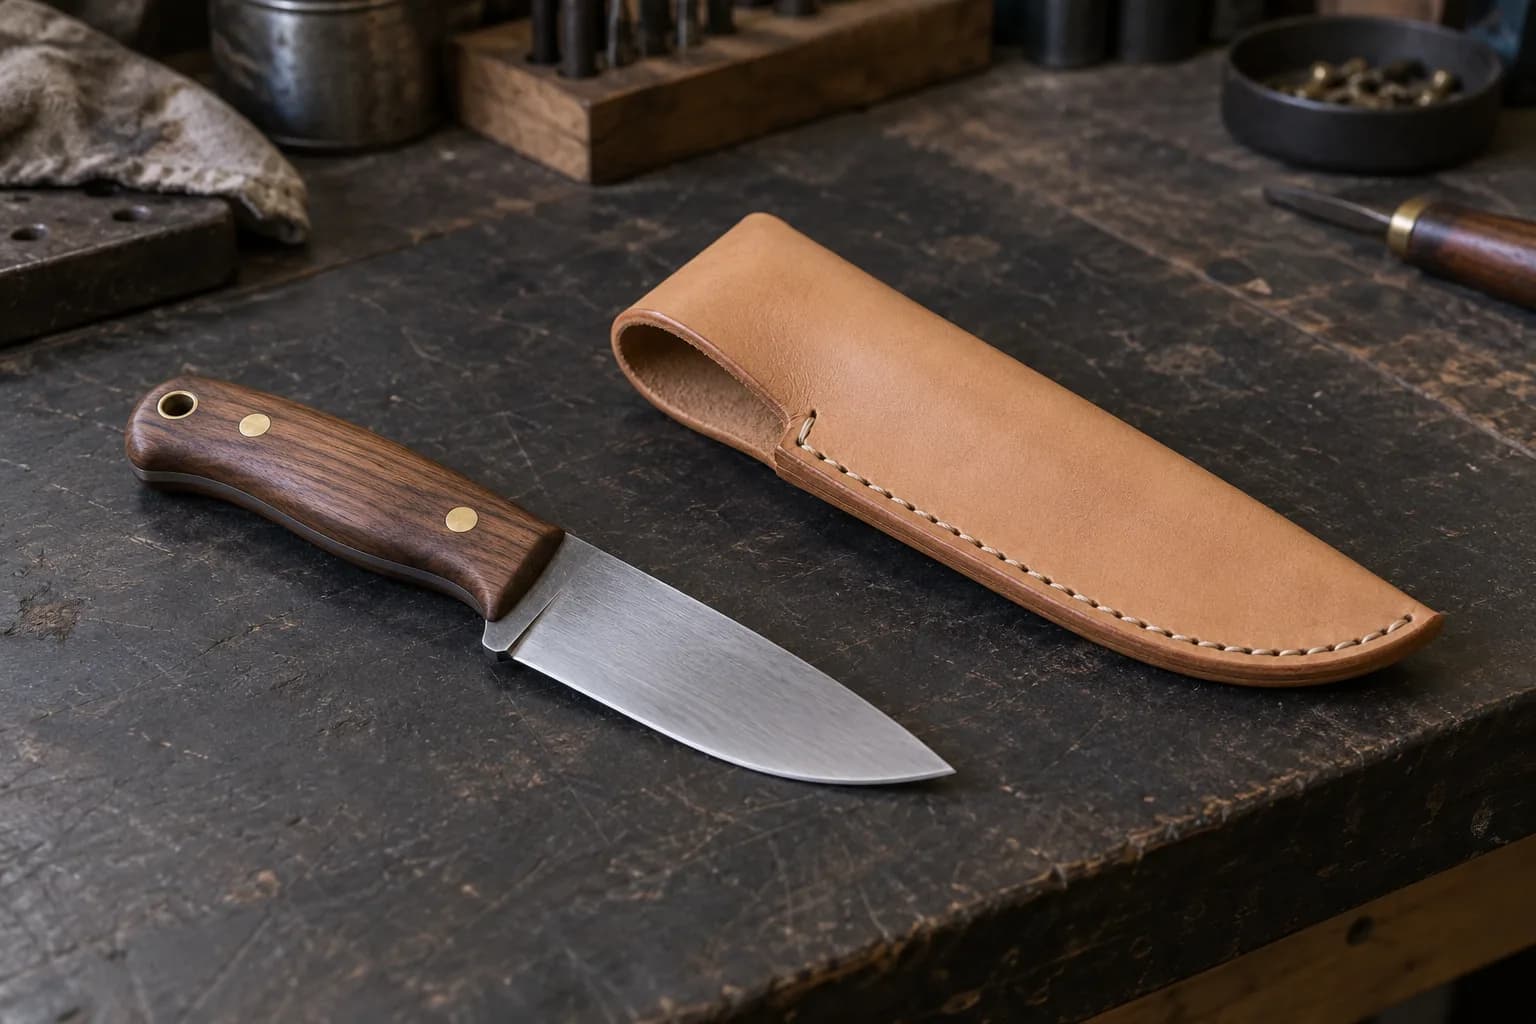
A knife without a sheath is half a product: the leatherwork starter and the fold-over build get you there in two evenings. Wet duty? Read kydex vs leather honestly.
From here the map branches by fascination: steel nerdery in the database and metallurgy section; pattern welding in damascus; the hamon; a first sword; a first tomahawk (the classic first forge-weld); kitchen refinement via kitchen geometry. None is prerequisite to any other; all assume Stages 1-4.
When the pile of finished knives outgrows the gift list, the Selling & Business section covers pricing, photography, shows and not burning out. The one-sentence version of the whole roadmap: make the next knife slightly better than the last one, and write down what you changed. Everything else is commentary — richly linked commentary, one level up from every page on this site.
Keep reading
Three more from the same bench.
Belts are the single biggest recurring cost in this hobby, and buying the wrong ones wastes money twice: once on belts that wear out fast, and again on…
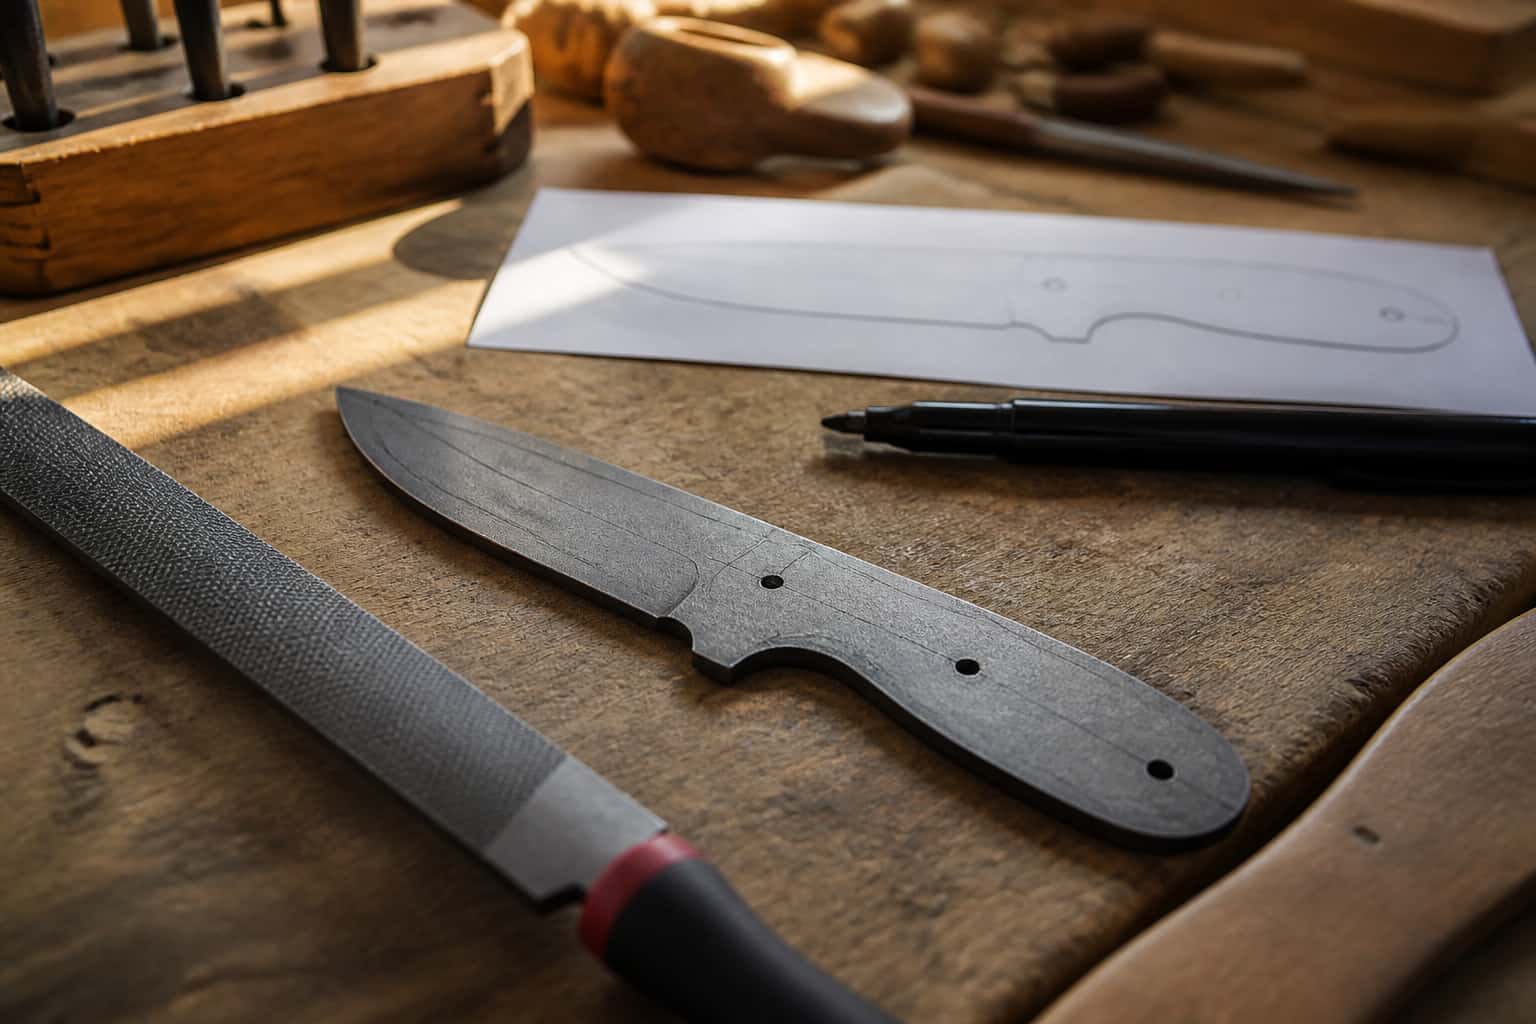
Sharpening is where knifemaking gets humbled: you can grind a flawless blade and still hand someone a knife that won’t slice paper. The good news …
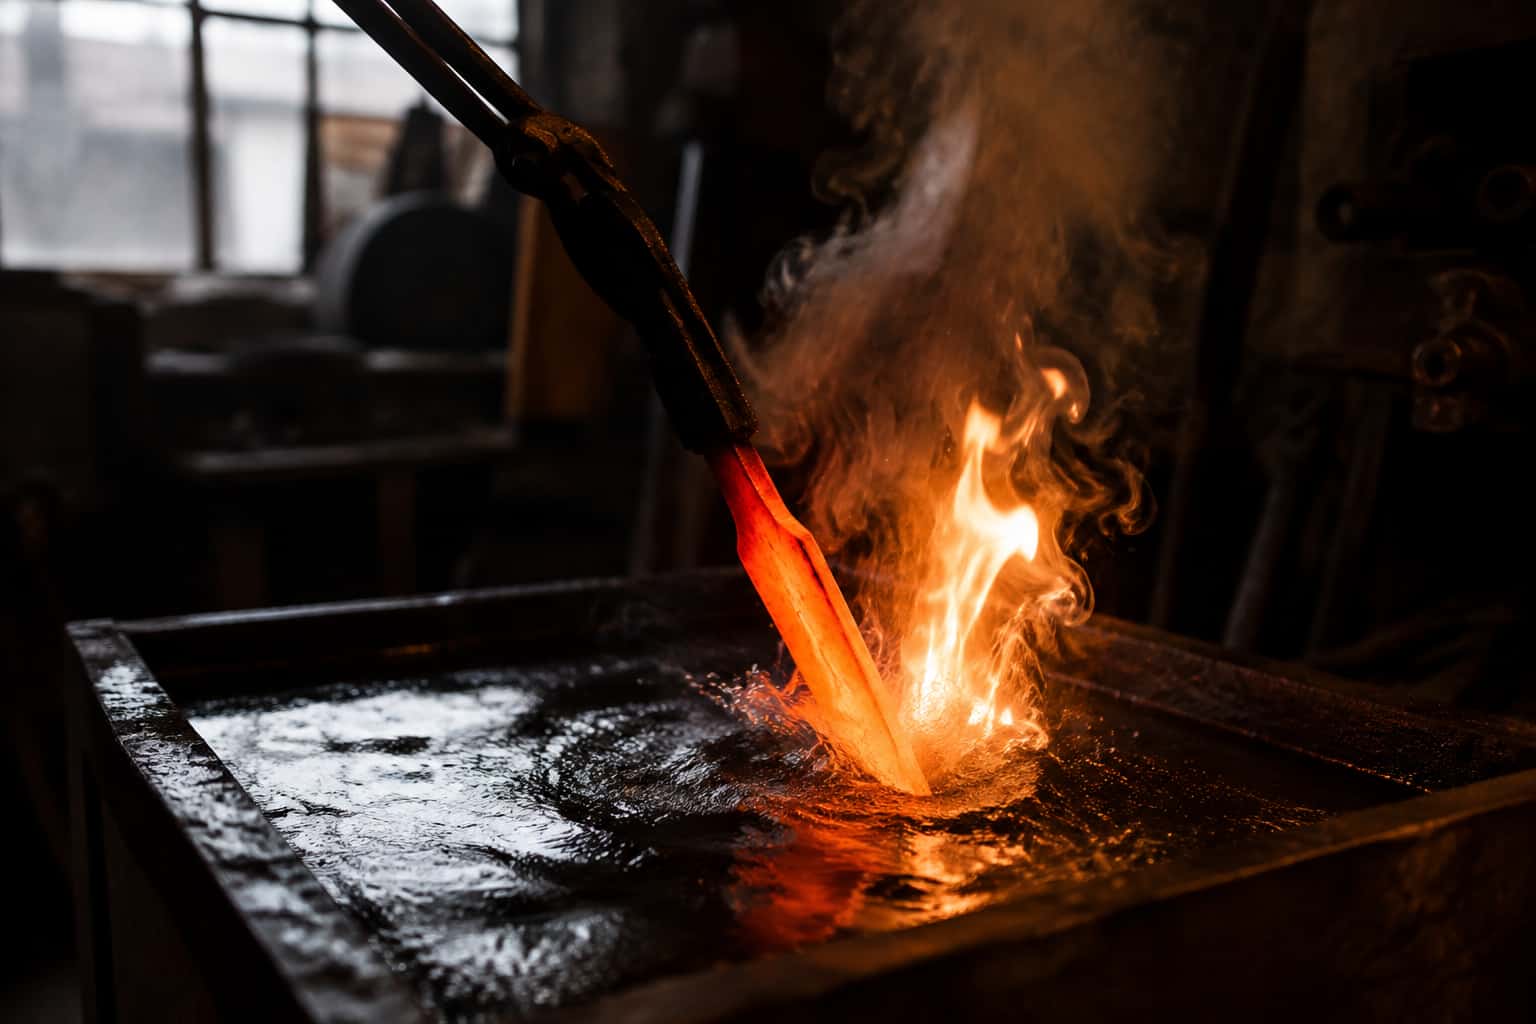
Heat treating is what turns a piece of flat bar stock into a functional knife blade. Done correctly, it transforms the steel’s internal crystal structure…
Same bench
I machine the parts, hand-assemble, track and test Torus grinders in Sterling, Illinois. Most orders ship in seven to ten business days from time of order.

Current dual-axis platform with a fiber-laser-cut 6061 chassis and single-knob tracking.

Current dual-axis platform with a steel chassis, more mass and less vibration.

Prior-design aluminum chassis, 90-degree tilt and 1.5-inch tooling arms.

One-man shop
I answer my own email. Tell me the steel, the machine and what it is doing, and I will tell you what I would try next.