
Axes & Tomahawks
The Tomahawk: Trade Steel to Throwing Lanes
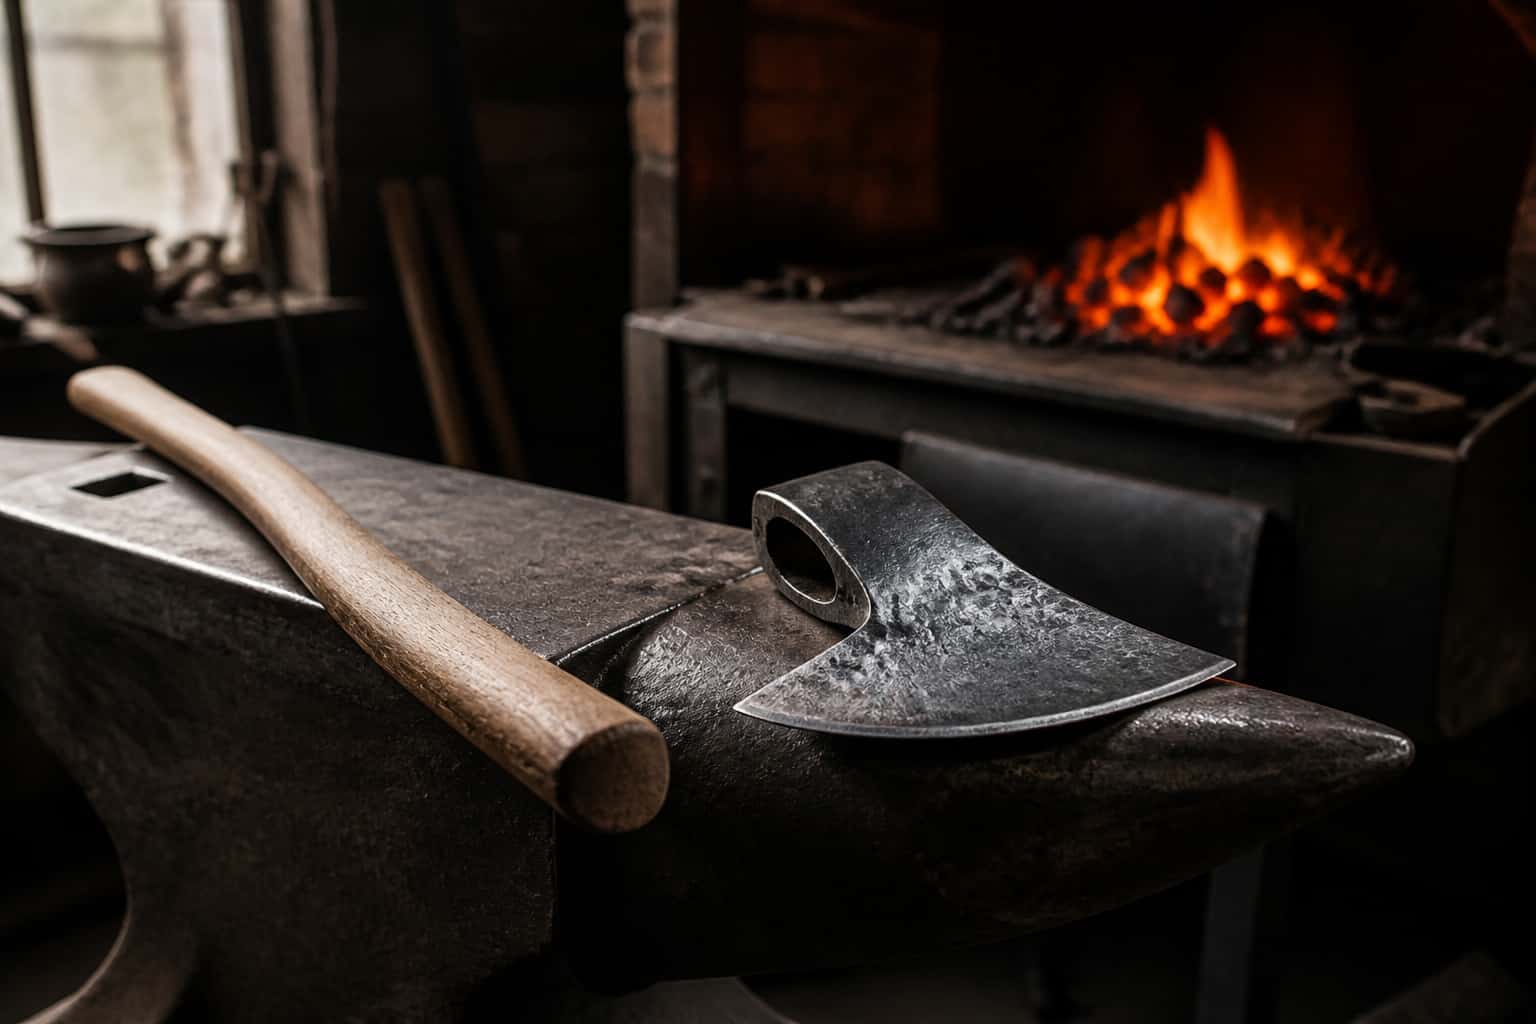
The tomahawk is North America’s own axe: born from the meeting of Native fighting clubs and European trade steel, refined into something lighter, faster…
Axes & Tomahawks
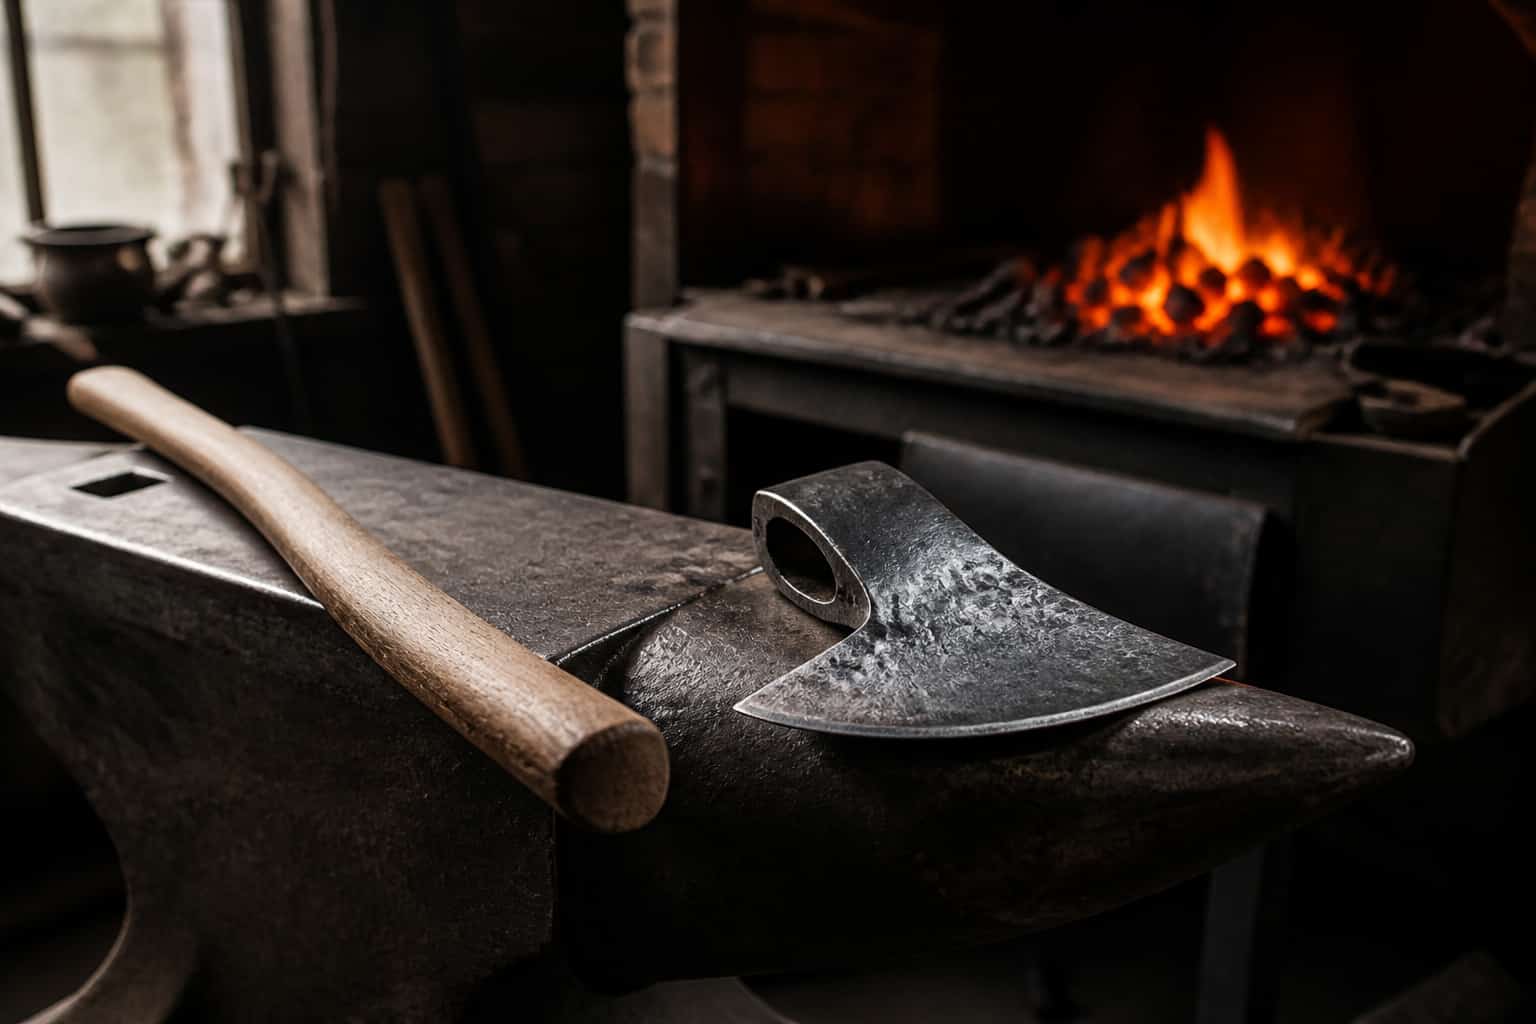
The classic first forge-weld: wrap a mild steel eye around a drift, weld in a high-carbon bit, draw the blade, heat treat the bit - step by step.
2 min readWritten by Rich LinvilleFree to read
Ask a hundred smiths for the best first forge-welding project and the tomahawk wins by a landslide: one weld, generous target, forgiving geometry, and a finished object with three centuries of story and a waiting market. This is the classic wrapped-eye method, start to finish.
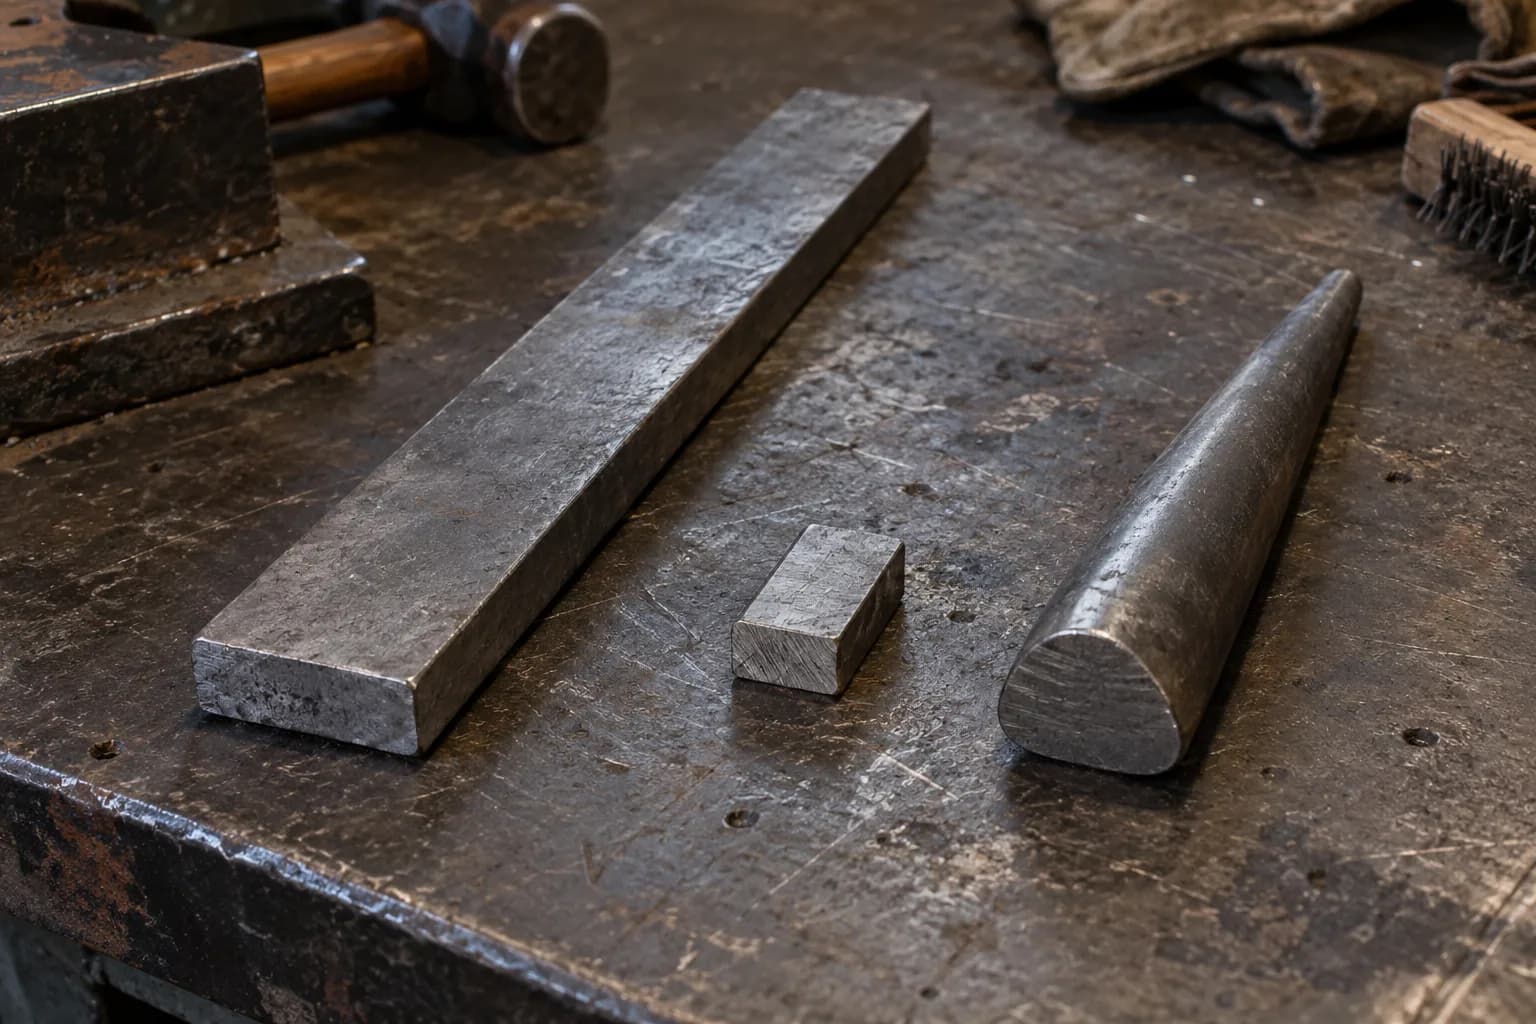
The body: mild steel or 1018, commonly 3/8 x 1.5 inch bar about 10-12 inches — soft, weldable, tough, historically correct (trade hawks were exactly this with a steel bit). The bit: a slip of high-carbon steel — 1084 or 80CrV2, 1/4 x 1 x 2 inches or so. The drift: the teardrop-eye mandrel the wrap forms around — bought, or forged from 4140 as its own project. The drift IS the eye spec; commercial hawk hafts expect the standard teardrop, so match the drift to the hafts you can buy unless whittling your own forever, per the hafting guide.
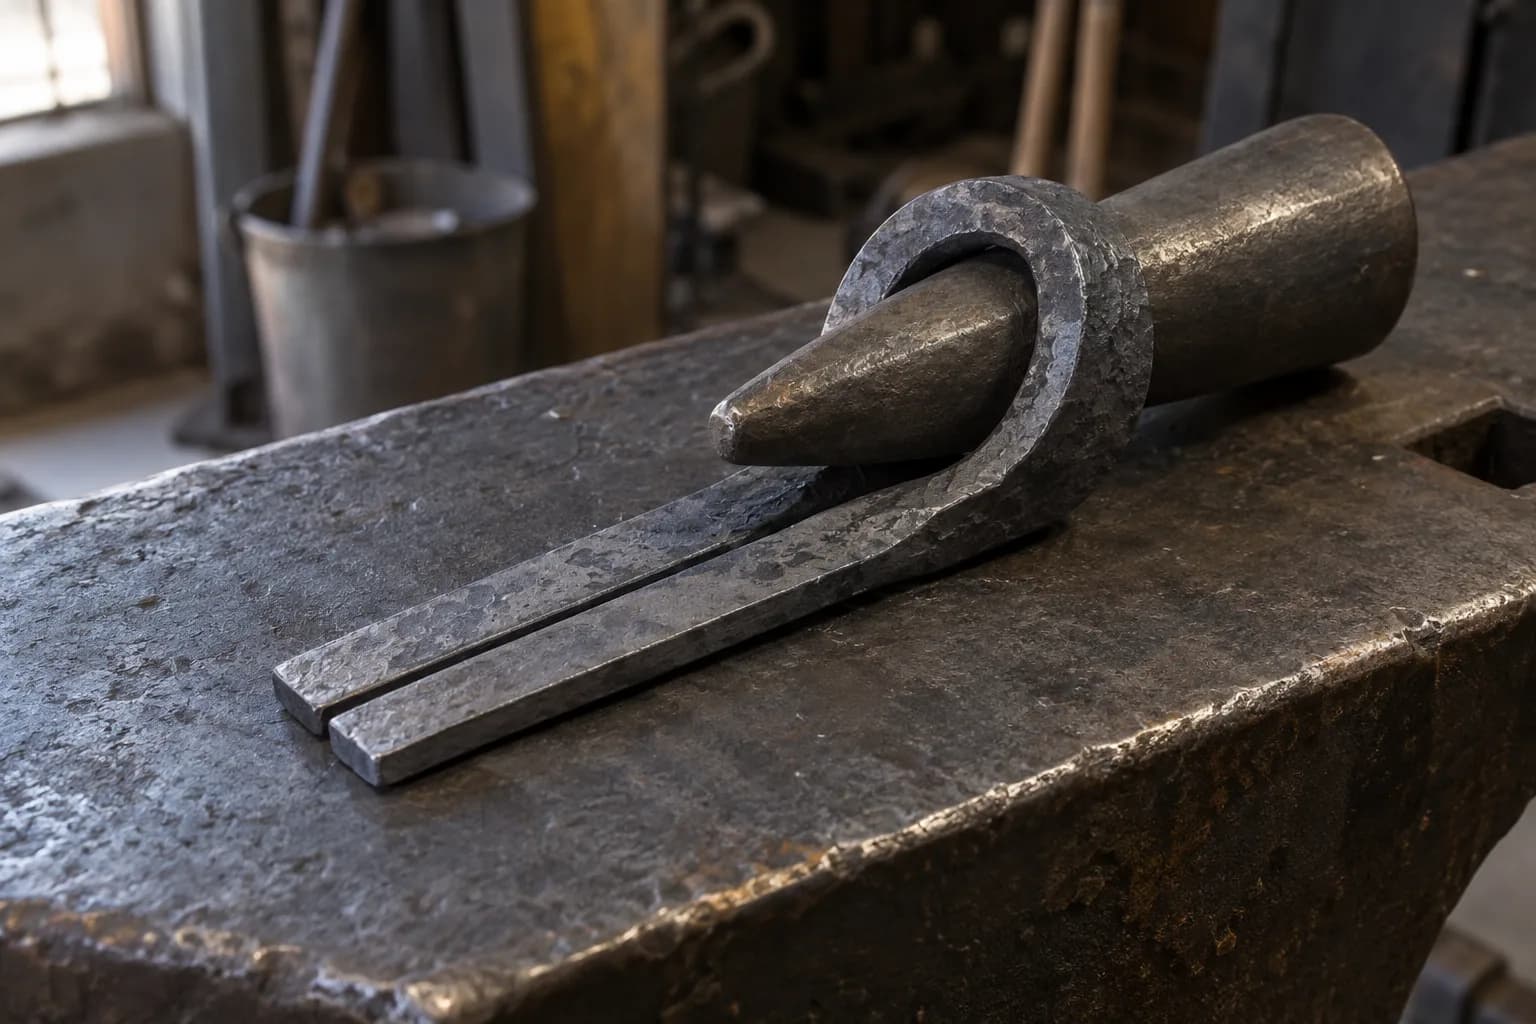
Draw both ends of the bar to flat tongues, leaving mass in the middle for the eye’s cheeks. Bend the bar around the drift — over the horn or a bending jig — until the tongues meet and align, a clean U with the drift captured. Some makers thin the fold zone first so the eye walls run even. Knock the drift out before welding heats; its job alternates with the hammer’s throughout.
Scarf the mating tongues, flux (or run a clean dry-weld fire if that is your practice), bring to welding heat — the color and tacky-sparkle judgment covered in the damascus section’s welding fundamentals — and set the weld with firm, fast, overlapping blows from the eye outward. Then the bit: split the welded tongues’ end (hot cut or saw), scarf, insert the high-carbon slip, and weld again in the same sequence. The steeled-bit insert is the historical construction and the practical one — carbon steel exactly where the edge lives, soft body everywhere shock lives; the same soft-hard logic as a differential heat treat, built by welding instead of clay. (The simpler variant — fold the high-carbon slip into the wrap itself as an overcoat bit — trades one weld for slightly more finicky alignment; both are legitimate.)
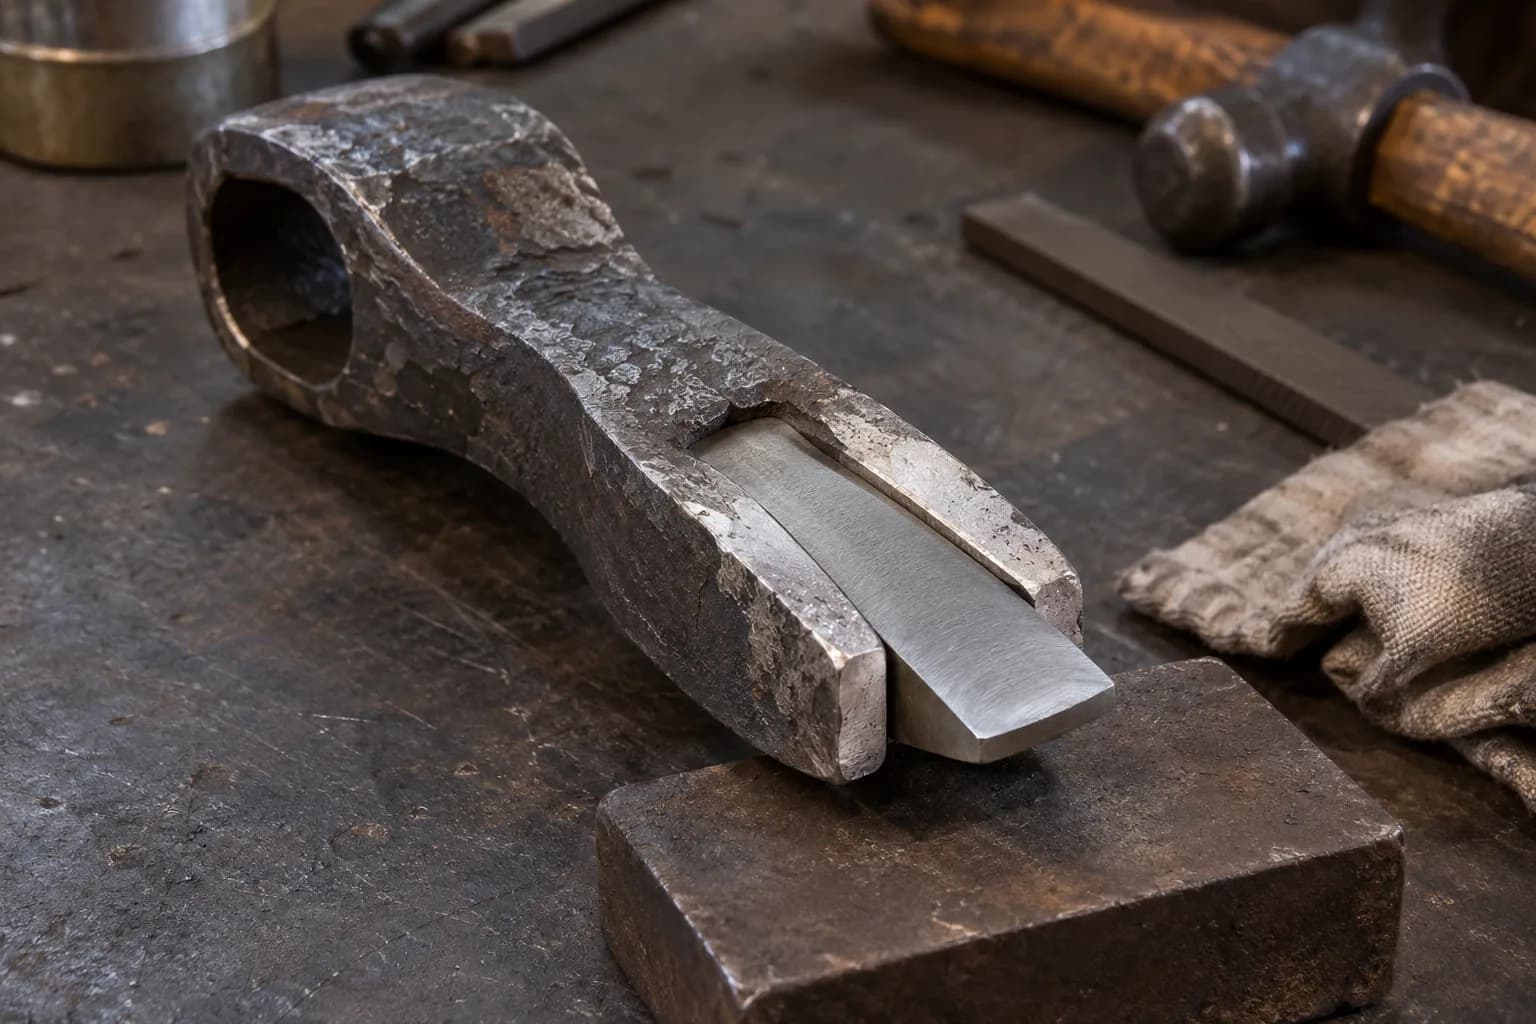
Draw the welded blade to shape: spread toward the edge for the flared trade-hawk profile, keep the cheeks lean, and re-seat the drift regularly so the eye stays true — the head should sit square on the drift when sighted, or the finished hawk will cant on its haft. The beard, if the pattern wants one, forges by drawing the heel down. Normalize the whole head (per thermal cycling) before any grinding.
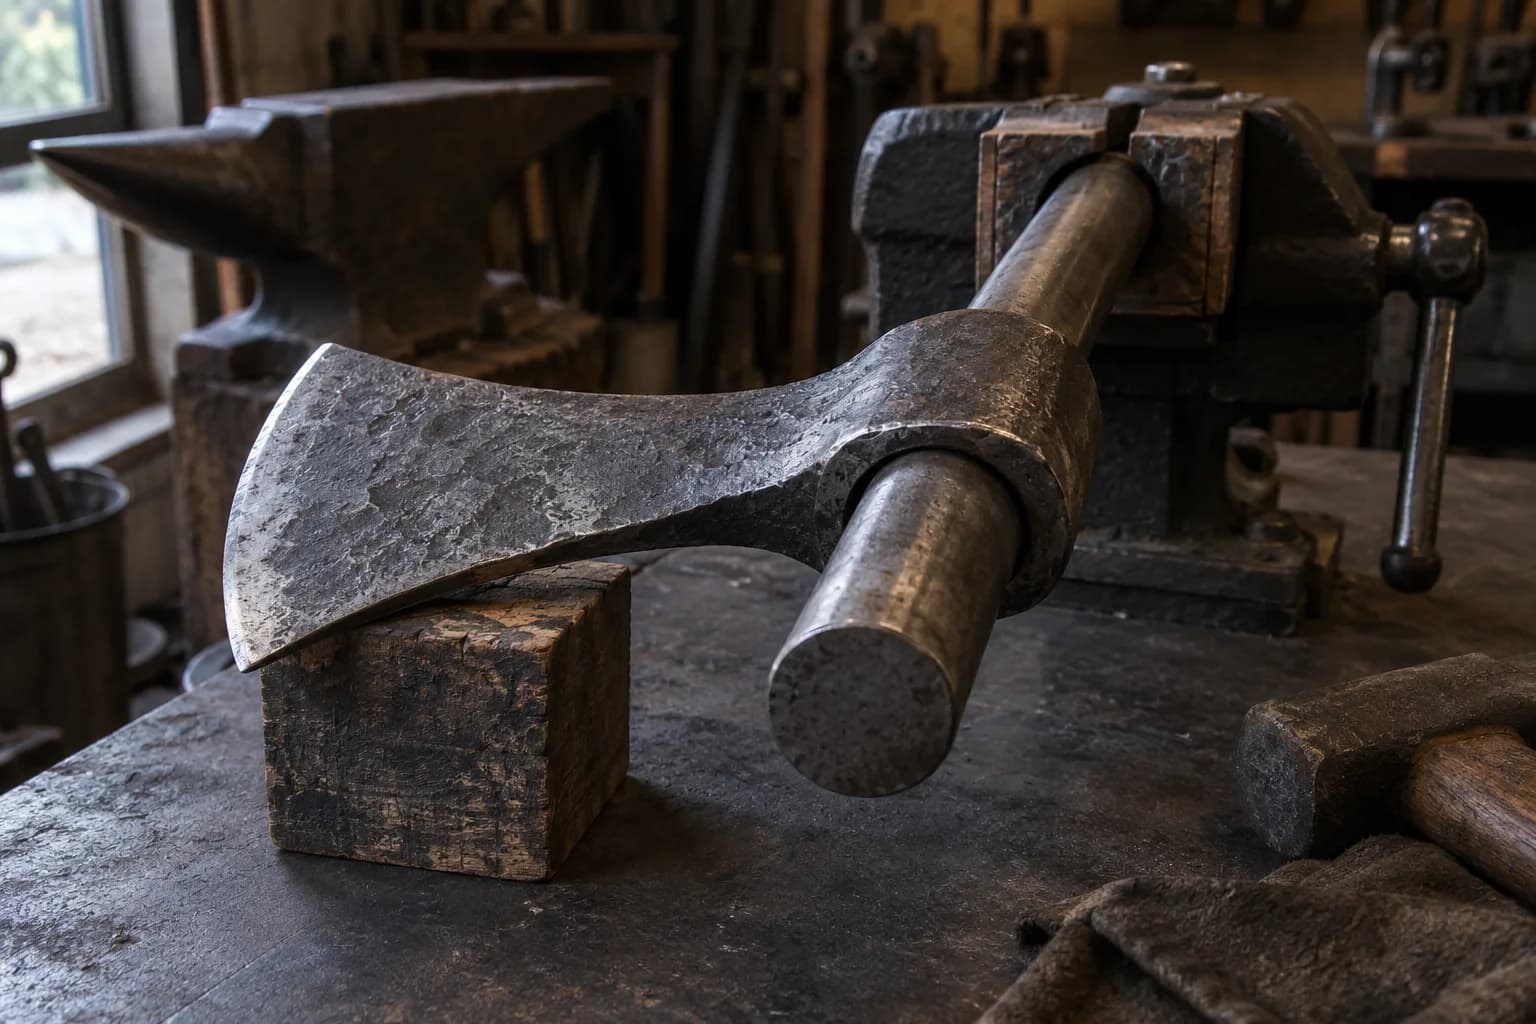
Harden the BIT only: heat the edge zone to critical, quench in fast oil, and temper immediately — twice — toward the low-to-mid 50s HRC; the bit-hardness reasoning lives in Bit Steels and Heat Treat. The mild body neither hardens nor cares, which is the design’s entire genius. Grind the convex edge on the slack belt, ease everything sharp except the edge itself, burn or oil the haft, seat it with a firm tap — and go throw it into a stump with the ceremony the moment deserves. The market notes: throwers buy in threes, reenactors want hand-forged texture left honest, and the history guide is the product-page copy waiting to happen.
Keep reading
Three more from the same bench.
The tomahawk is North America’s own axe: born from the meeting of Native fighting clubs and European trade steel, refined into something lighter, faster…
The axe is the knife’s working-class cousin: same steel, same edge physics, ten times the leverage and none of the pretension. It is also the deepest…
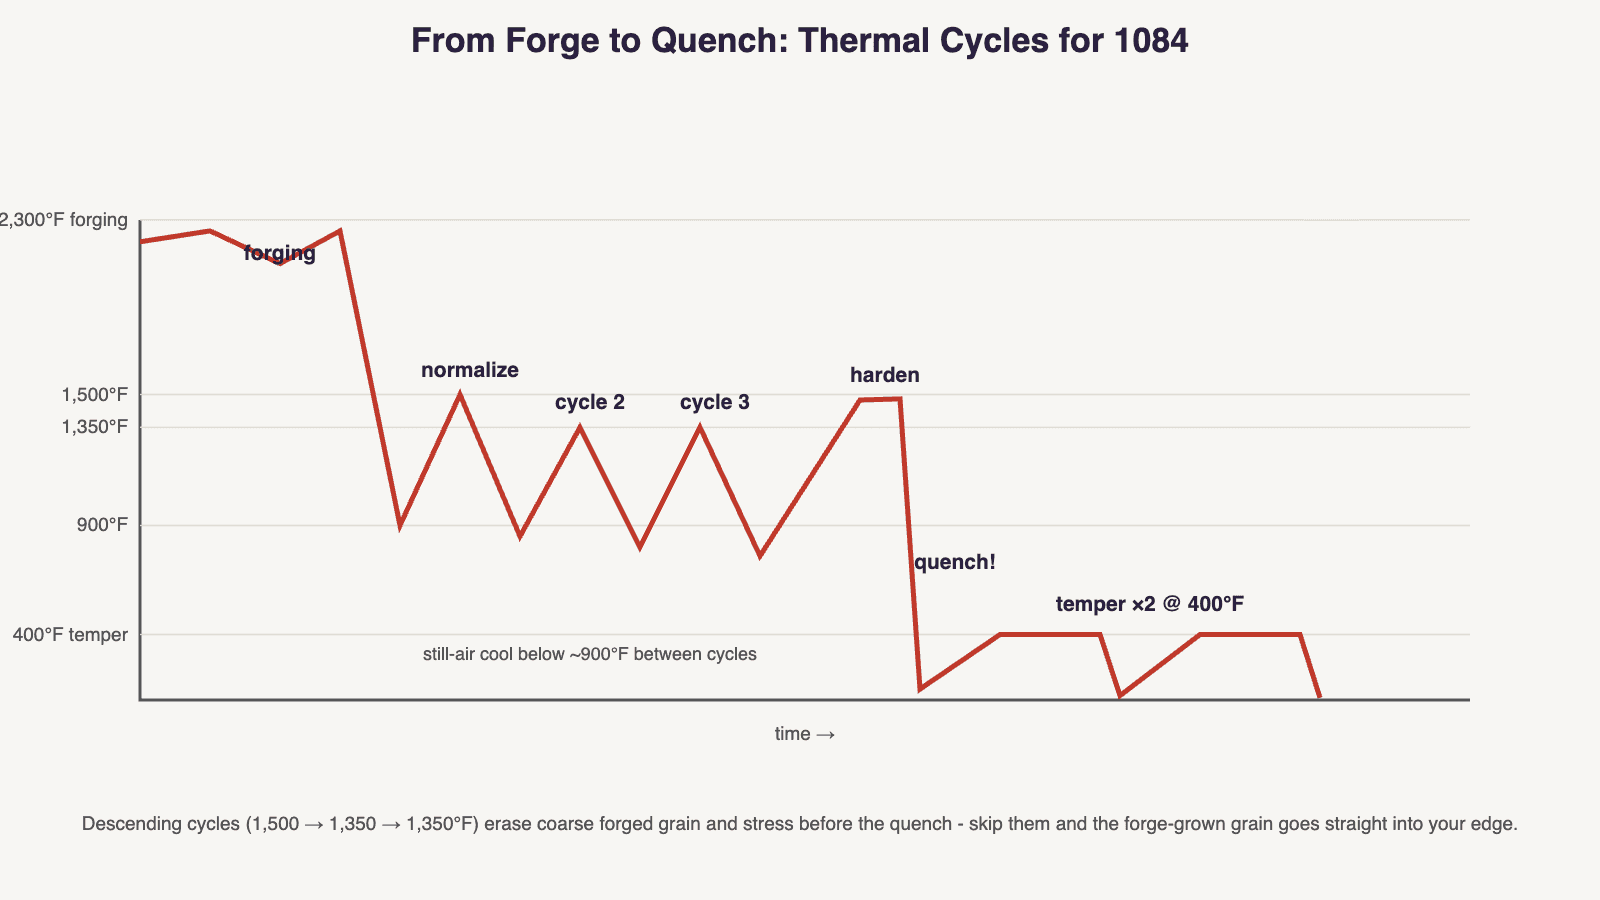
Between the last hammer blow and the quench sits the least glamorous, most skipped, most important step in forging: normalizing. Forging happens way up at…
Same bench
I machine the parts, hand-assemble, track and test Torus grinders in Sterling, Illinois. Most orders ship in seven to ten business days from time of order.

Current dual-axis platform with a fiber-laser-cut 6061 chassis and single-knob tracking.

Current dual-axis platform with a steel chassis, more mass and less vibration.

Prior-design aluminum chassis, 90-degree tilt and 1.5-inch tooling arms.

One-man shop
I answer my own email. Tell me the steel, the machine and what it is doing, and I will tell you what I would try next.