
Leatherwork
Leatherworking for Knifemakers: Start Here
Every knifemaker meets the same moment: a finished blade, a proud photo — and nothing to put it in. A knife without a sheath is half a product, and…
Leatherwork
Build a fold-over sheath: pattern from the knife, the welt that protects stitches, glue-up, stitching, wet fit and finishing - two evenings.
2 min readWritten by Rich LinvilleFree to read
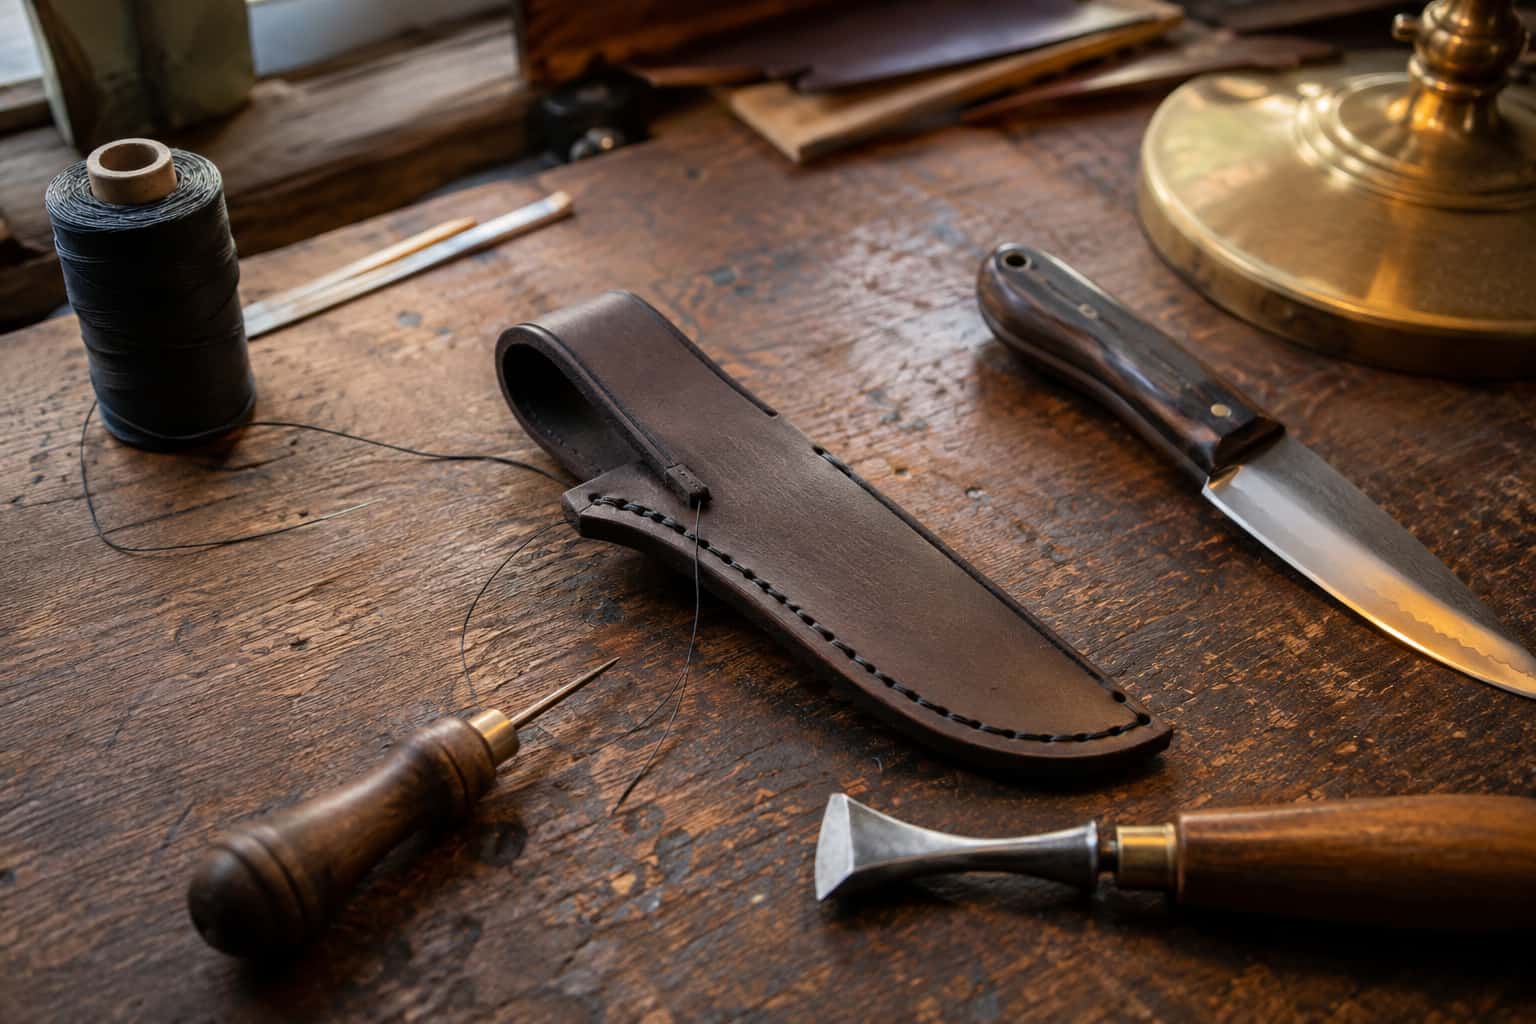
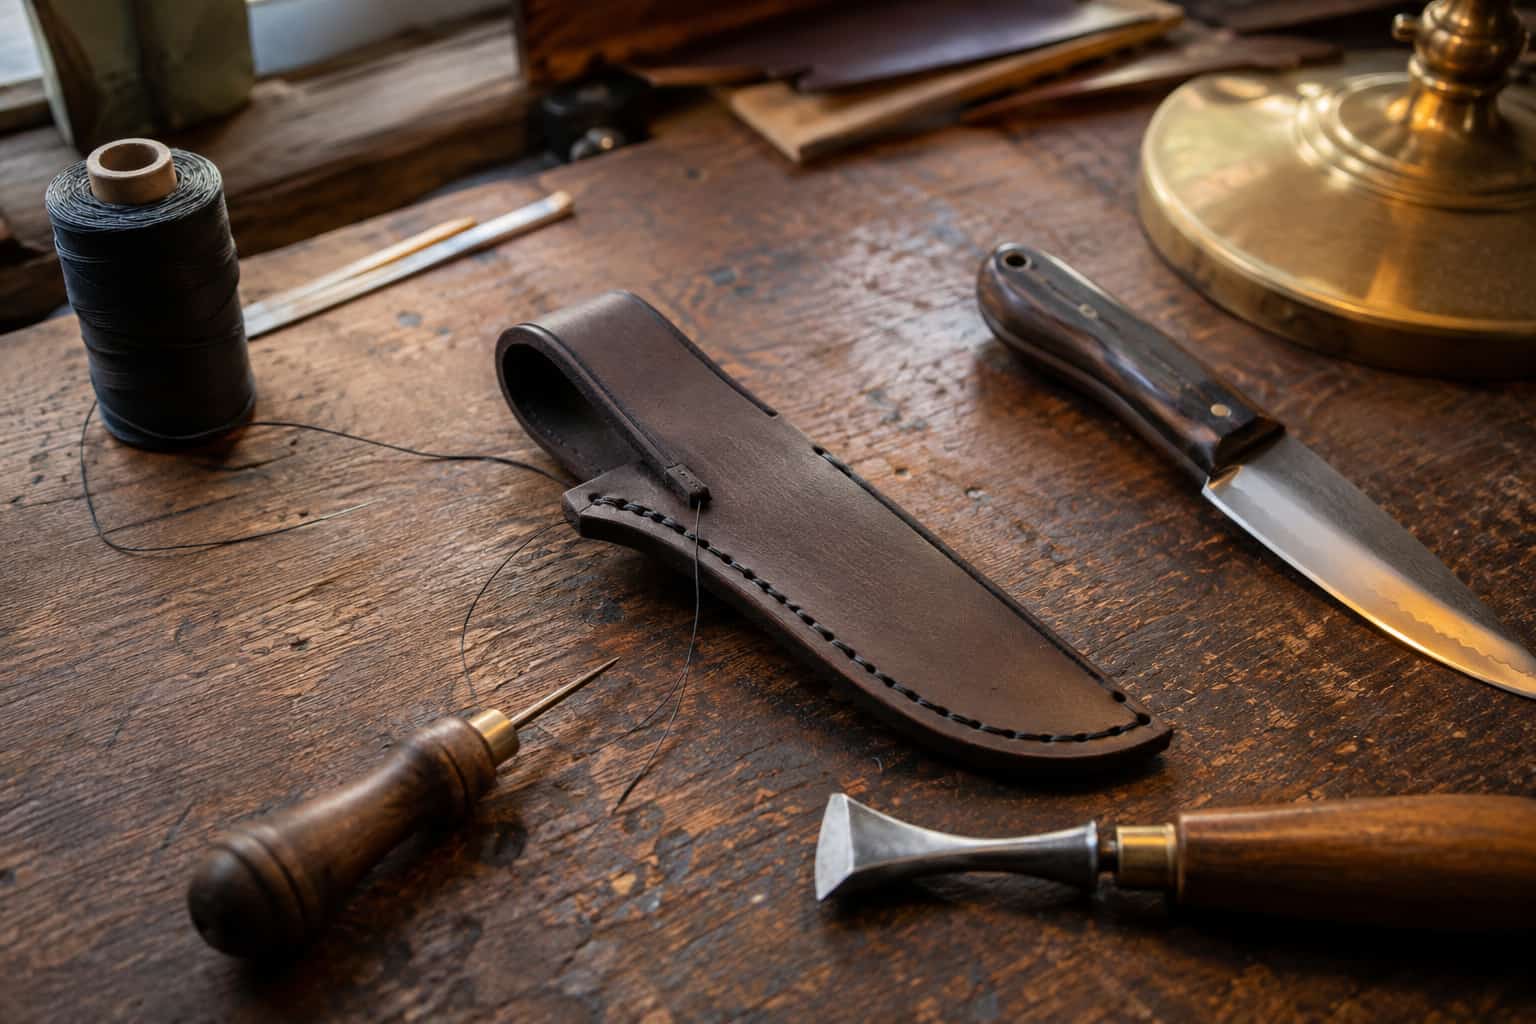
The fold-over (or centerback) sheath is leatherwork’s first-knife project: one piece of leather folded around the blade, a welt guarding the stitches, one stitch line, done. Every skill the craft runs on appears once, in order, and the result is a working sheath for a knife off your own bench. Two evenings; here is the sequence.
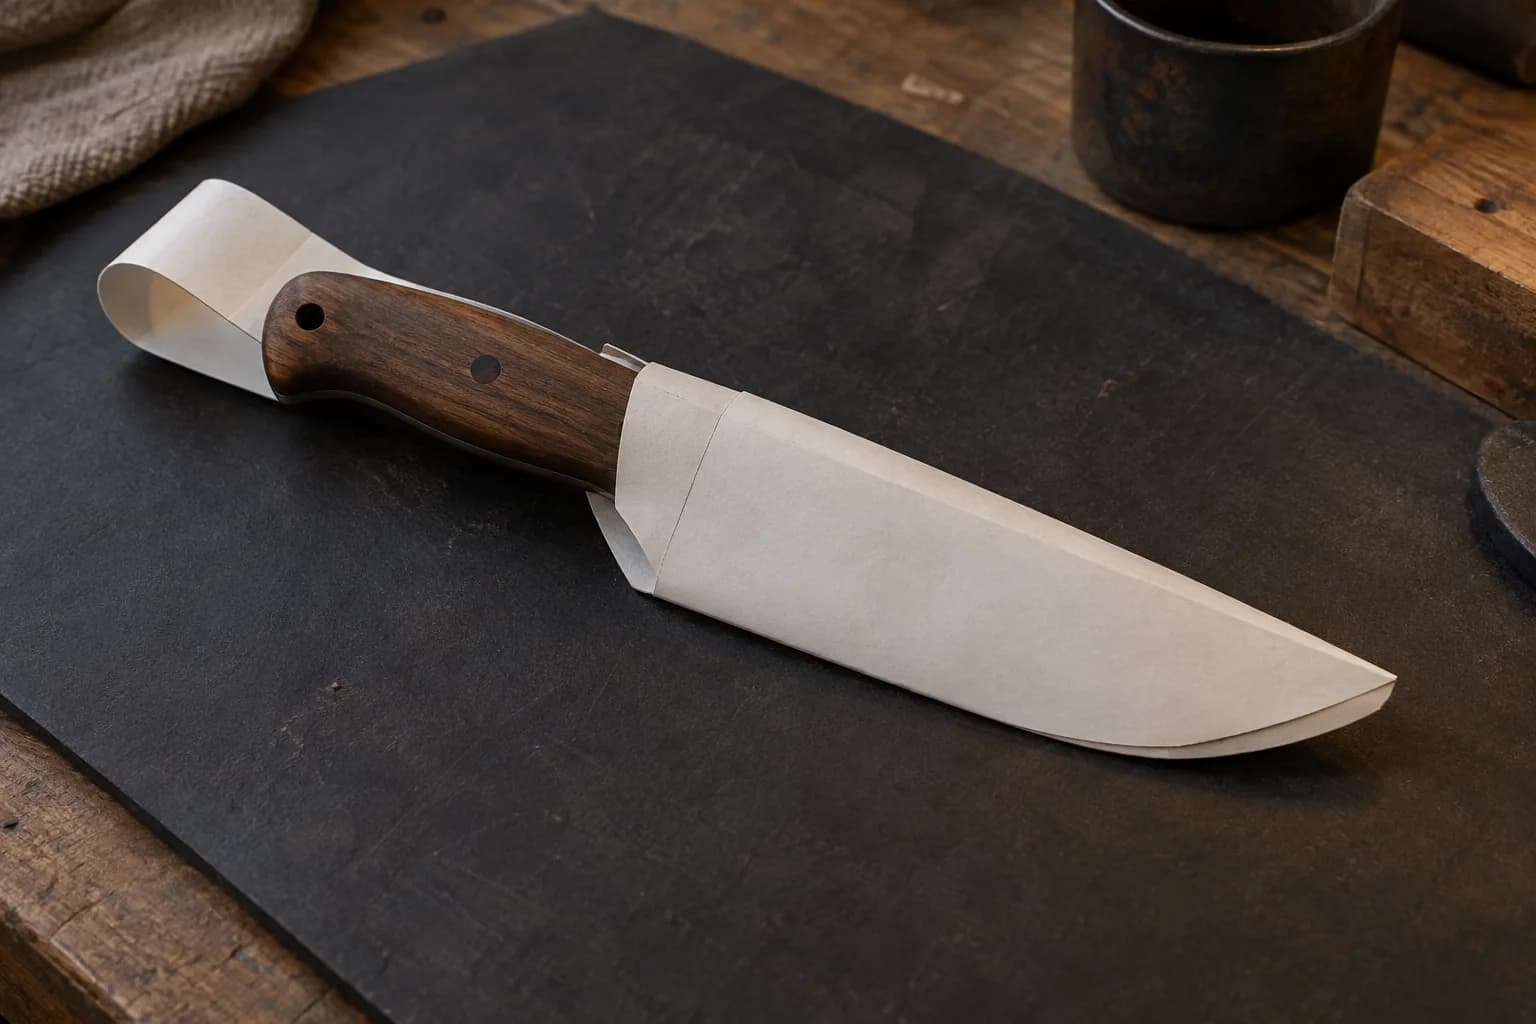
Lay the actual knife on paper, trace with 3/8 inch margin around the edge side, then mirror the shape across the spine line — the fold. Add the belt loop as an extension of the top rear (folded down and stitched, the integral loop) or plan a separate stitched loop. Cut the paper, fold it, check the knife fits with the handle proud enough to draw. Ten minutes of paper saves leather every time; keep the pattern — customers reorder.
Transfer to the flesh side of your 8-9 oz veg-tan, cut with a sharp knife and straightedge in firm multiple passes. Cut the welt now from the same leather: a strip matching the edge-side margin, wide as your stitch line placement. If dyeing the interior or edges, this bare-flat stage is the easy moment — full color logic in Edges, Dyes and Finishes.
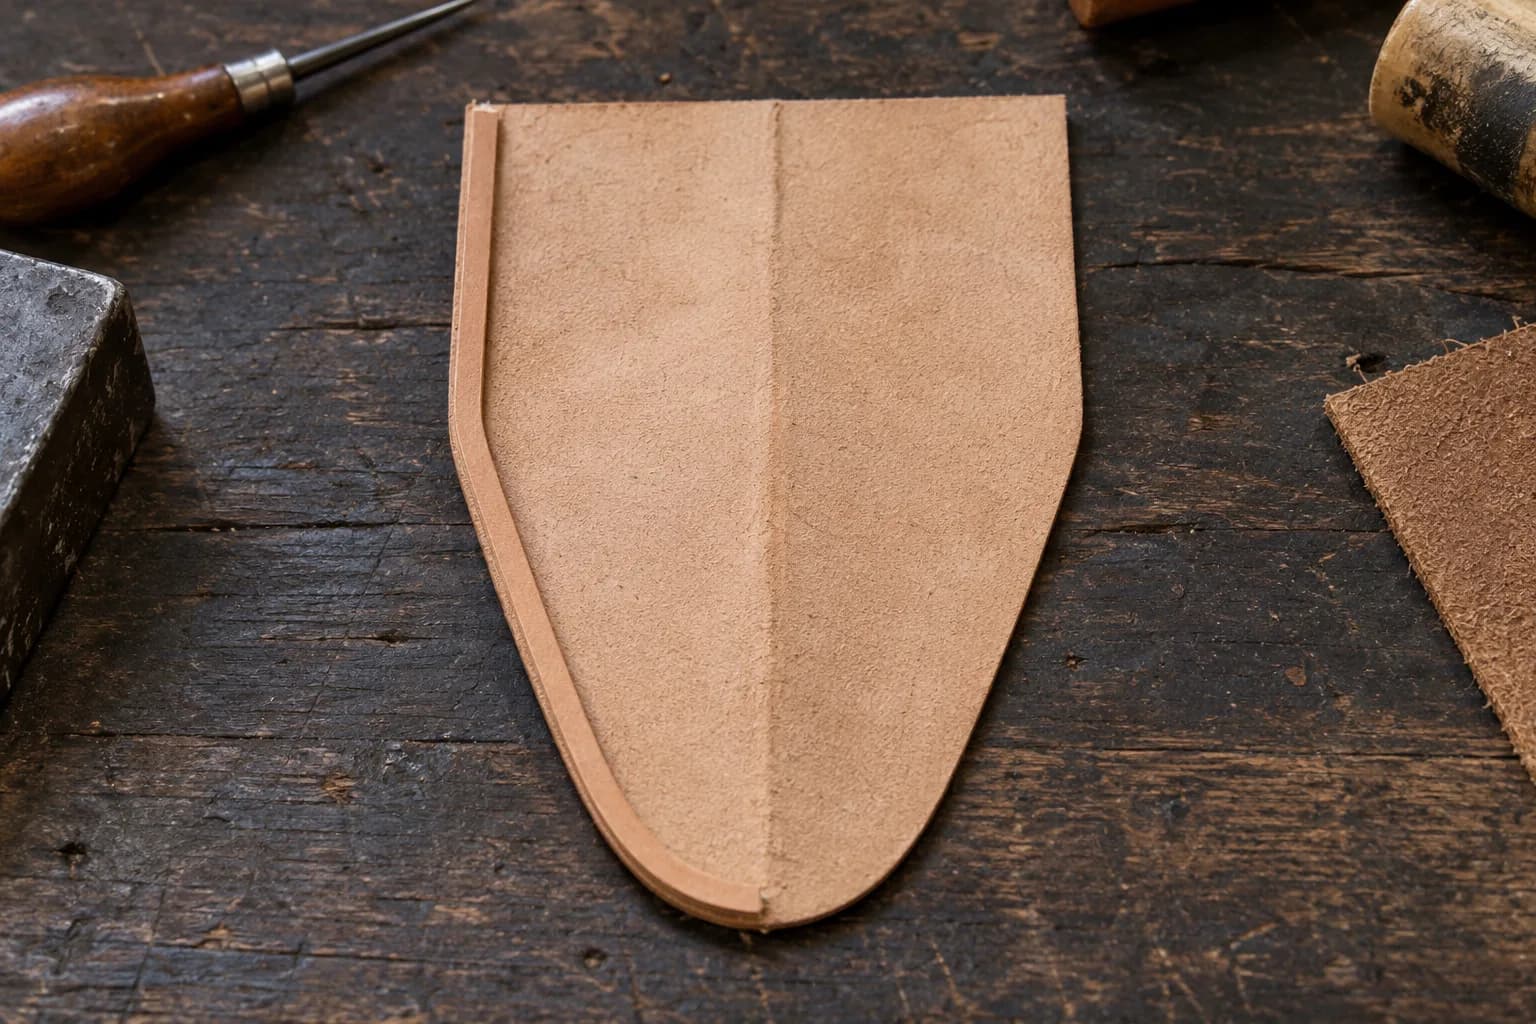
The welt — the leather strip sandwiched along the edge side — is the sheath’s whole safety system: it spaces the two faces so the edge rides between leather walls and CANNOT reach the stitching. A sheath without one cuts its own threads from inside, then cuts its owner. Glue the welt to one face with contact cement (both surfaces coated, flashed dry, pressed once — it does not forgive repositioning), then glue the fold closed the same way.
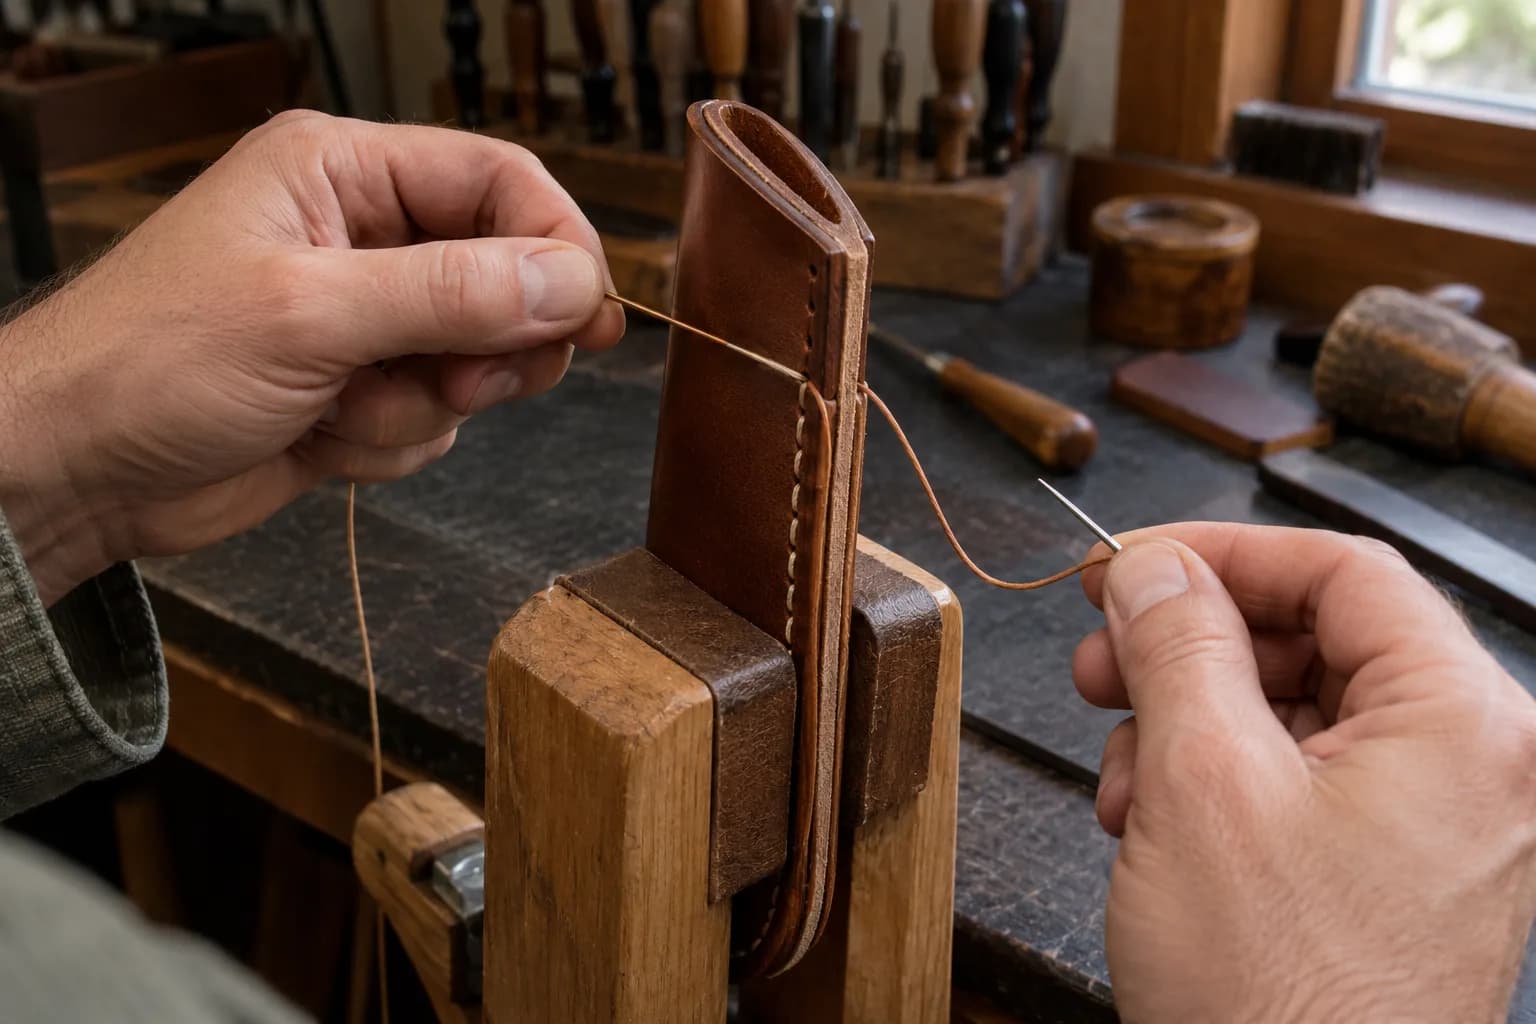
Run the stitching groover along the welt line — the groove recesses thread below the surface, out of abrasion’s reach — then mark holes with the overstitch wheel, pierce with the awl (or the drill-press cheat: 1/16 bit, slow, vertical), and saddle stitch the line: two needles, one thread, locked at every hole. Backstitch the last three holes and the seam outlives the leather.
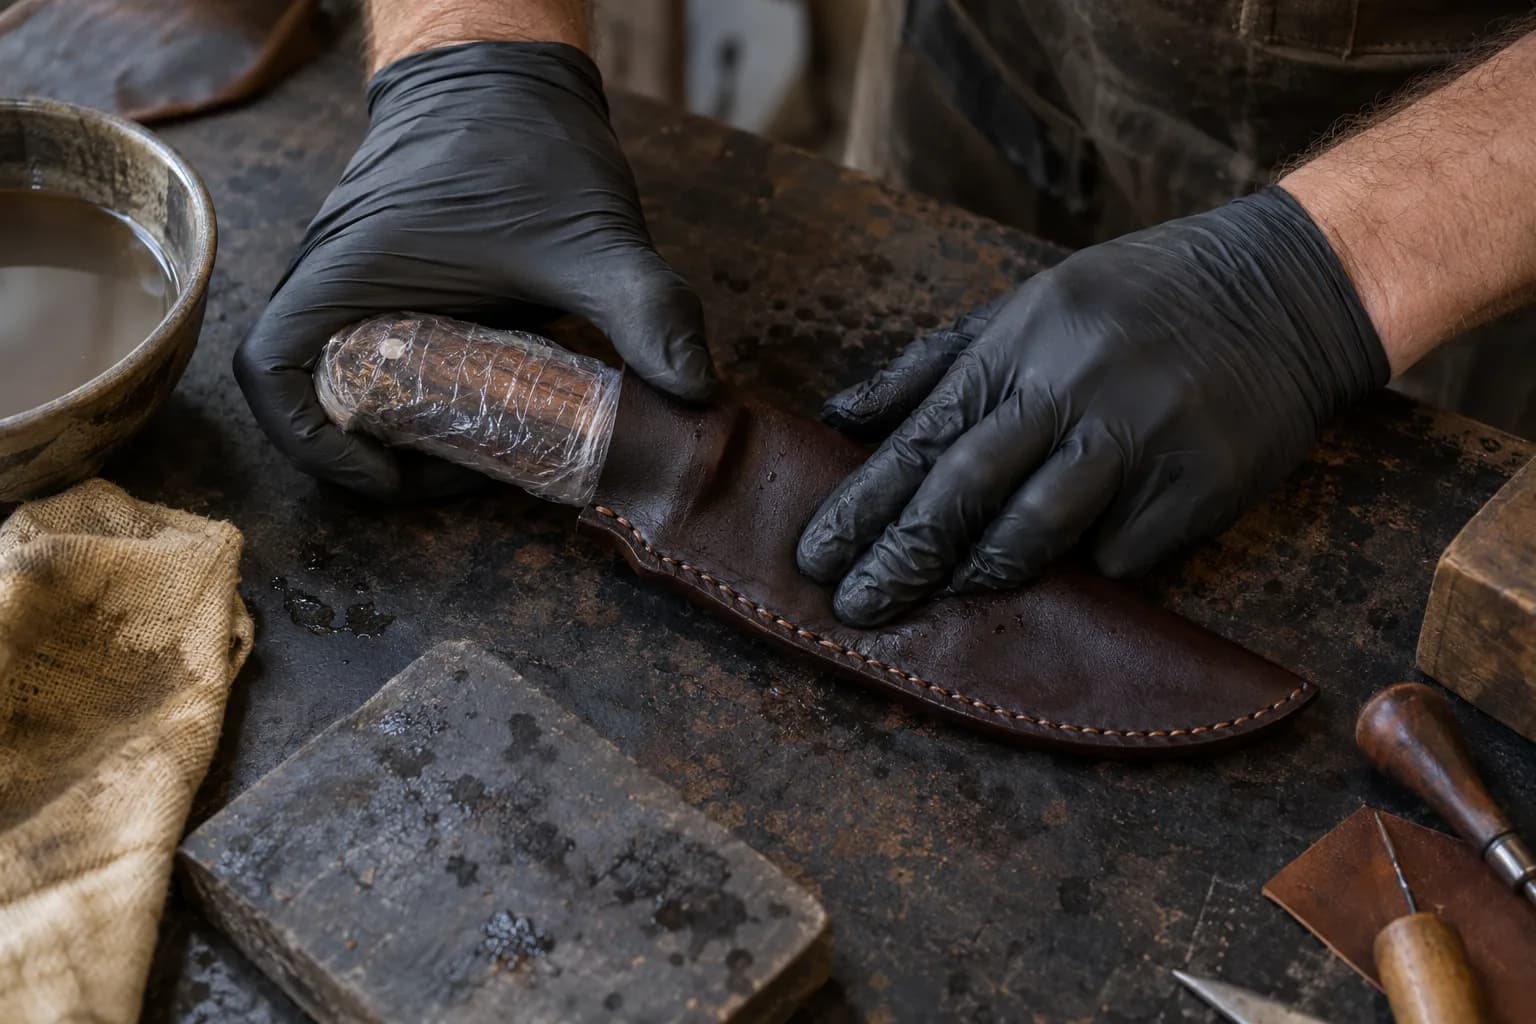
Now the transformation: dampen the sheath, slide in the plastic-wrapped knife, and press the leather to the handle and guard contours — the wet forming guide covers casing and drying. Once dry it holds the knife with a click. Sand the edges flush (the 2×72 with a worn 220 belt, light touch), then burnish; dye and top-coat; attach or fold the loop. The blade goes in oiled — and the finished sheath goes in the product photo, where it quietly raises the knife’s price.
Keep reading
Three more from the same bench.
Every knifemaker meets the same moment: a finished blade, a proud photo — and nothing to put it in. A knife without a sheath is half a product, and…

Leather buying has its own jargon wall: tannages, ounces, cuts, grades, temper. Here is the wall taken down — and the one warning in this craft that…
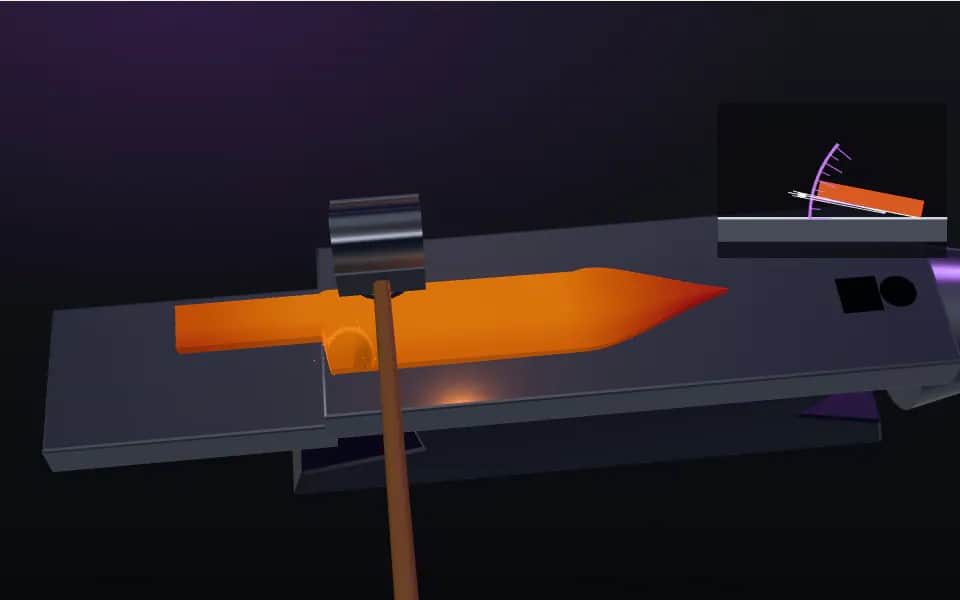
Forging a knife is not sculpting with sparks — it’s a sequence, and once you know the sequence, every session has a plan. This guide walks a first forged…
Same bench
I machine the parts, hand-assemble, track and test Torus grinders in Sterling, Illinois. Most orders ship in seven to ten business days from time of order.

Current dual-axis platform with a fiber-laser-cut 6061 chassis and single-knob tracking.

Current dual-axis platform with a steel chassis, more mass and less vibration.

Prior-design aluminum chassis, 90-degree tilt and 1.5-inch tooling arms.

One-man shop
I answer my own email. Tell me the steel, the machine and what it is doing, and I will tell you what I would try next.