Knife Making
Pre-Grinding Before Heat Treat vs After: Pros and Cons
Grind too much before heat treat and the edge warps in the quench. Grind too little and you spend hours on hardened steel. Here are the pros and cons, and the order I use on the 2×72 for every blade.
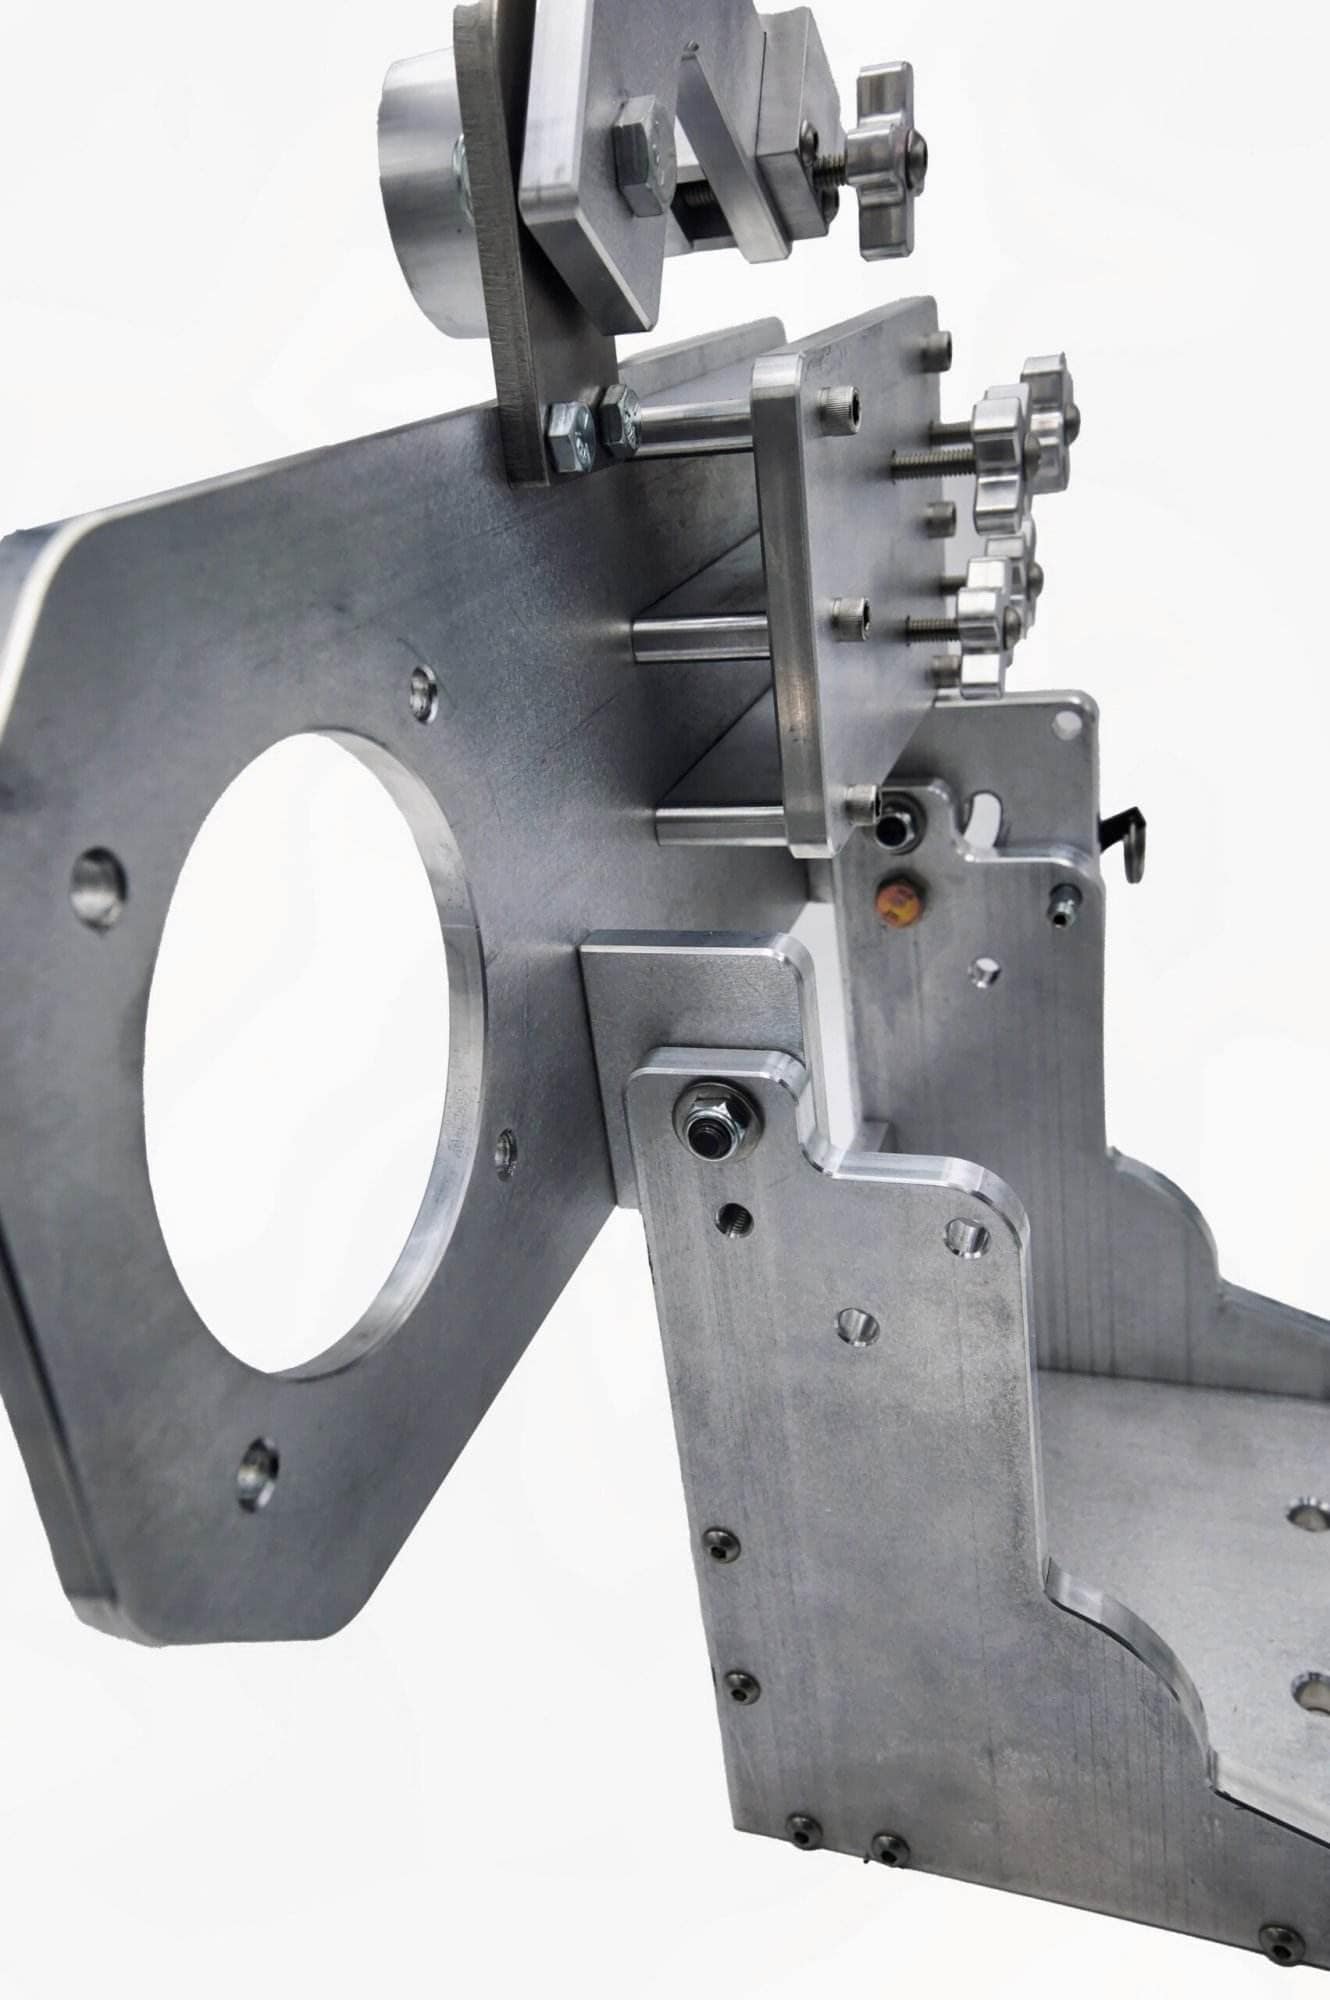
Every blade gets ground twice: once soft, once hard. Take too much before heat treat and the edge warps or cracks in the quench. Take too little and you spend an hour on 62 Rockwell steel with belts that hate it. Here are the pros and cons of grinding before versus after heat treat, where I stop on the soft steel, and the order I use on the 2×72 for every blade I make.
Conversely, post-heat treat grinding occurs after the blade has been hardened, allowing for final adjustments to be made to the edge and surface finish. The decision of when to grind can have profound implications on the overall quality of the knife. Each approach has its own set of advantages and disadvantages that can affect not only the efficiency of production but also the performance characteristics of the blade.
Key Takeaways
- Pre-grinding before heat treat involves grinding the material before it undergoes the heat treatment process.
- The process of pre-grinding before heat treat includes rough grinding, stress relieving, and final grinding.
- The pros of pre-grinding before heat treat include improved material stability, reduced distortion, and better surface finish.
- The cons of pre-grinding before heat treat include the risk of material damage during heat treat and the need for additional handling.
- Pre-grinding after heat treat involves grinding the material after it has undergone the heat treatment process.
- The process of pre-grinding after heat treat includes final grinding and finishing operations.
- The pros of pre-grinding after heat treat include reduced risk of material damage during heat treat and the ability to achieve precise dimensional accuracy.
- The cons of pre-grinding after heat treat include potential distortion and the need for additional finishing processes.
- Comparing the results of pre-grinding before and after heat treat involves evaluating factors such as material stability, dimensional accuracy, and surface finish.
- Factors to consider when deciding whether to pre-grind before or after heat treat include material type, heat treat process, and desired final product specifications.
- Best practices for pre-grinding before or after heat treat include careful material handling, precise grinding techniques, and thorough quality control measures.
- The decision to pre-grind before or after heat treat should be based on a thorough evaluation of the specific material and process requirements, with a focus on achieving the desired final product quality.
The Process of Pre-Grinding Before Heat Treat
Pre-grinding before heat treatment involves shaping the blade while it is still in its softer, more malleable state. This process typically includes rough grinding to establish the basic profile of the knife, as well as finer grinding to refine the edge geometry. The softer state of the steel allows for easier material removal, enabling manufacturers to achieve precise shapes and contours without excessive wear on grinding tools.
During this stage, various grinding techniques may be employed, including belt grinding, wheel grinding, or even water jet cutting, depending on the desired outcome and the type of steel being used. The goal is to create a blade that is close to its final shape while still allowing for adjustments after heat treatment. This method not only streamlines the subsequent heat treatment process but also helps in achieving a more uniform hardness across the blade, as the material has been prepped for optimal heat absorption.
The Pros of Pre-Grinding Before Heat Treat
One of the primary advantages of pre-grinding before heat treatment is the ease with which material can be removed. Since the steel is in a softer state, it requires less effort and time to achieve the desired profile. This can lead to increased efficiency in production, allowing manufacturers to produce more blades in a shorter timeframe.
Pre-grinding can help in reducing tool wear, as grinding softer materials typically results in less strain on equipment. Another significant benefit is that pre-grinding allows for better control over the final properties of the blade. By shaping the knife before it undergoes hardening, manufacturers can ensure that any potential warping or distortion during heat treatment is minimized.
The Cons of Pre-Grinding Before Heat Treat
Despite its advantages, pre-grinding before heat treatment is not without its drawbacks. One notable concern is that any mistakes made during this stage can be more challenging to correct after hardening. If a blade is ground too thin or unevenly, it may not be possible to rectify these issues without compromising the integrity of the steel during subsequent processes.
Pre-grinding can introduce residual stresses into the material. These stresses may lead to warping or cracking during heat treatment if not properly managed. Manufacturers must be diligent in their techniques to ensure that they do not inadvertently create weaknesses in the blade that could affect its performance or longevity.
The Process of Pre-Grinding After Heat Treat
In contrast, pre-grinding after heat treatment involves shaping and refining the blade once it has been hardened. This process typically requires more sturdy grinding equipment due to the increased hardness of the material. Techniques such as diamond grinding or specialized abrasives may be necessary to effectively remove material from a hardened blade.
The Pros of Pre-Grinding After Heat Treat
One of the most significant advantages of pre-grinding after heat treatment is that it allows for precise adjustments based on the actual properties of the hardened steel. Manufacturers can assess how well the blade holds its edge and make necessary refinements accordingly. This adaptability can result in a superior final product that meets stringent performance standards.
Post-heat treat grinding can help eliminate any warping or distortion that may have occurred during hardening. By addressing these issues after heat treatment, manufacturers can ensure that their blades are not only aesthetically pleasing but also functionally sound. This approach often leads to improved edge geometry and surface finish, enhancing both performance and user satisfaction.
The Cons of Pre-Grinding After Heat Treat
While there are clear benefits to pre-grinding after heat treatment, this method also presents challenges. One major drawback is that grinding hardened steel requires more time and effort due to its increased hardness. This can lead to longer production times and potentially higher costs associated with tool wear and maintenance.
If significant material removal is required during post-heat treat grinding, there is a risk of overheating the blade. Excessive heat generated during this process can compromise the tempering of the steel, leading to reduced hardness or brittleness in certain areas. Manufacturers must take care to manage their grinding techniques effectively to avoid these pitfalls.
Best Practices for Pre-Grinding Before or After Heat Treat
To maximize efficiency and quality in either pre-grinding or post-heat treat processes, manufacturers should adhere to best practices tailored to each method. For pre-grinding before heat treatment, it is essential to maintain consistent pressure and speed during grinding to avoid introducing unwanted stresses into the material. Regularly inspecting tools for wear will also help ensure optimal performance throughout this stage.
In contrast, when pre-grinding after heat treatment, operators should focus on using appropriate cooling methods to prevent overheating during grinding. Employing techniques such as intermittent grinding or using coolant can help mitigate risks associated with excessive heat generation. Careful monitoring of blade geometry during this stage will ensure that any adjustments made enhance rather than detract from overall performance.
Conclusion and Recommendations for Pre-Grinding Before or After Heat Treat
Both pre-grinding before heat treatment and post-heat treat grinding offer unique advantages and challenges that can significantly impact knife manufacturing outcomes. The choice between these methods should be guided by specific production goals, material properties, and available resources. For manufacturers seeking efficiency and uniformity in their blades, pre-grinding before heat treatment may be advantageous; however, those prioritizing precise adjustments based on real-world performance may find post-heat treat grinding more beneficial.
In the end, understanding these processes in depth will empower manufacturers to make informed decisions that enhance their production capabilities while delivering high-quality knives that meet user expectations. By adhering to best practices tailored to each method, manufacturers can optimize their processes and achieve superior results in their knife-making endeavors.
FAQs
What is pre-grinding before heat treat?
Pre-grinding before heat treat refers to the process of grinding a metal part to its final dimensions before it undergoes heat treatment. This is done to remove any surface imperfections and to achieve the desired shape and size.
What is post-grinding after heat treat?
Post-grinding after heat treat refers to the process of grinding a metal part to its final dimensions after it has undergone heat treatment. This is done to remove any distortion or warping that may have occurred during the heat treatment process and to achieve the desired shape and size.
Shop notes and practical details
BEFORE HEAT TREAT: MOVE THE METAL
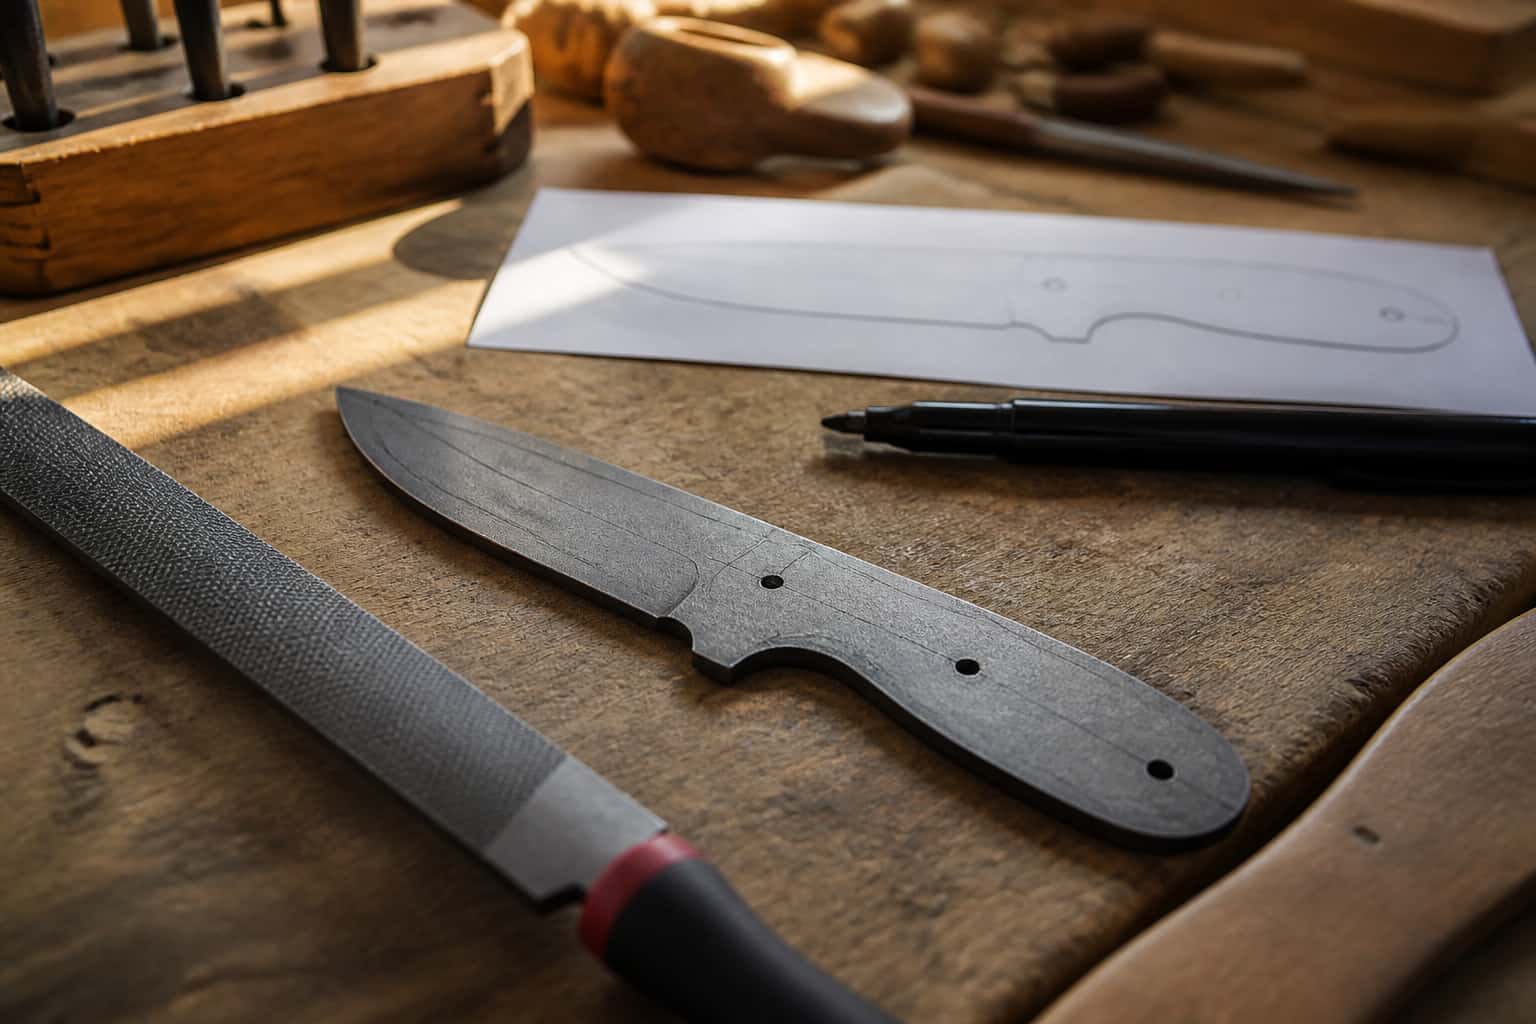
Annealed steel is soft. It grinds like it wants to be a knife. This is where the profile gets cut, every hole gets drilled, and the bevels get roughed in to about 80 or 90 percent. Fresh coarse belts eat soft steel with light pressure. Save your money grits for later — this stage is about moving metal, not making it pretty.
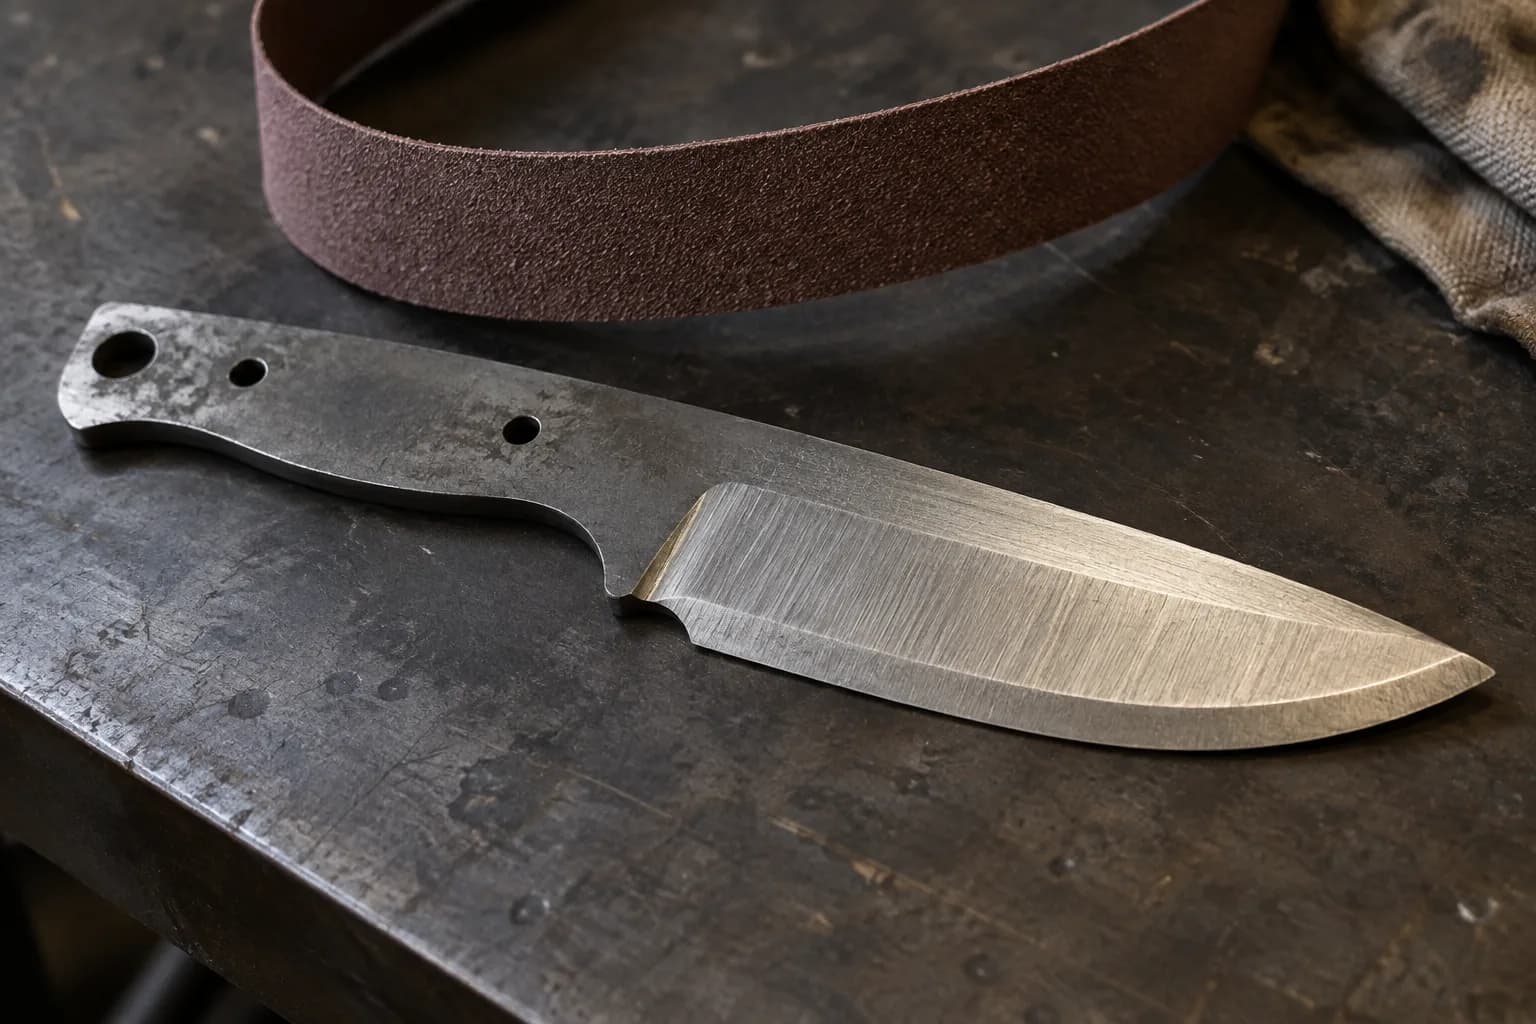
One number matters here: leave the edge about the thickness of a dime. Around 0.030 inches. That margin is what keeps the quench from turning your work into a potato chip. It also leaves room to grind past decarb — the soft skin the fire puts on your steel.
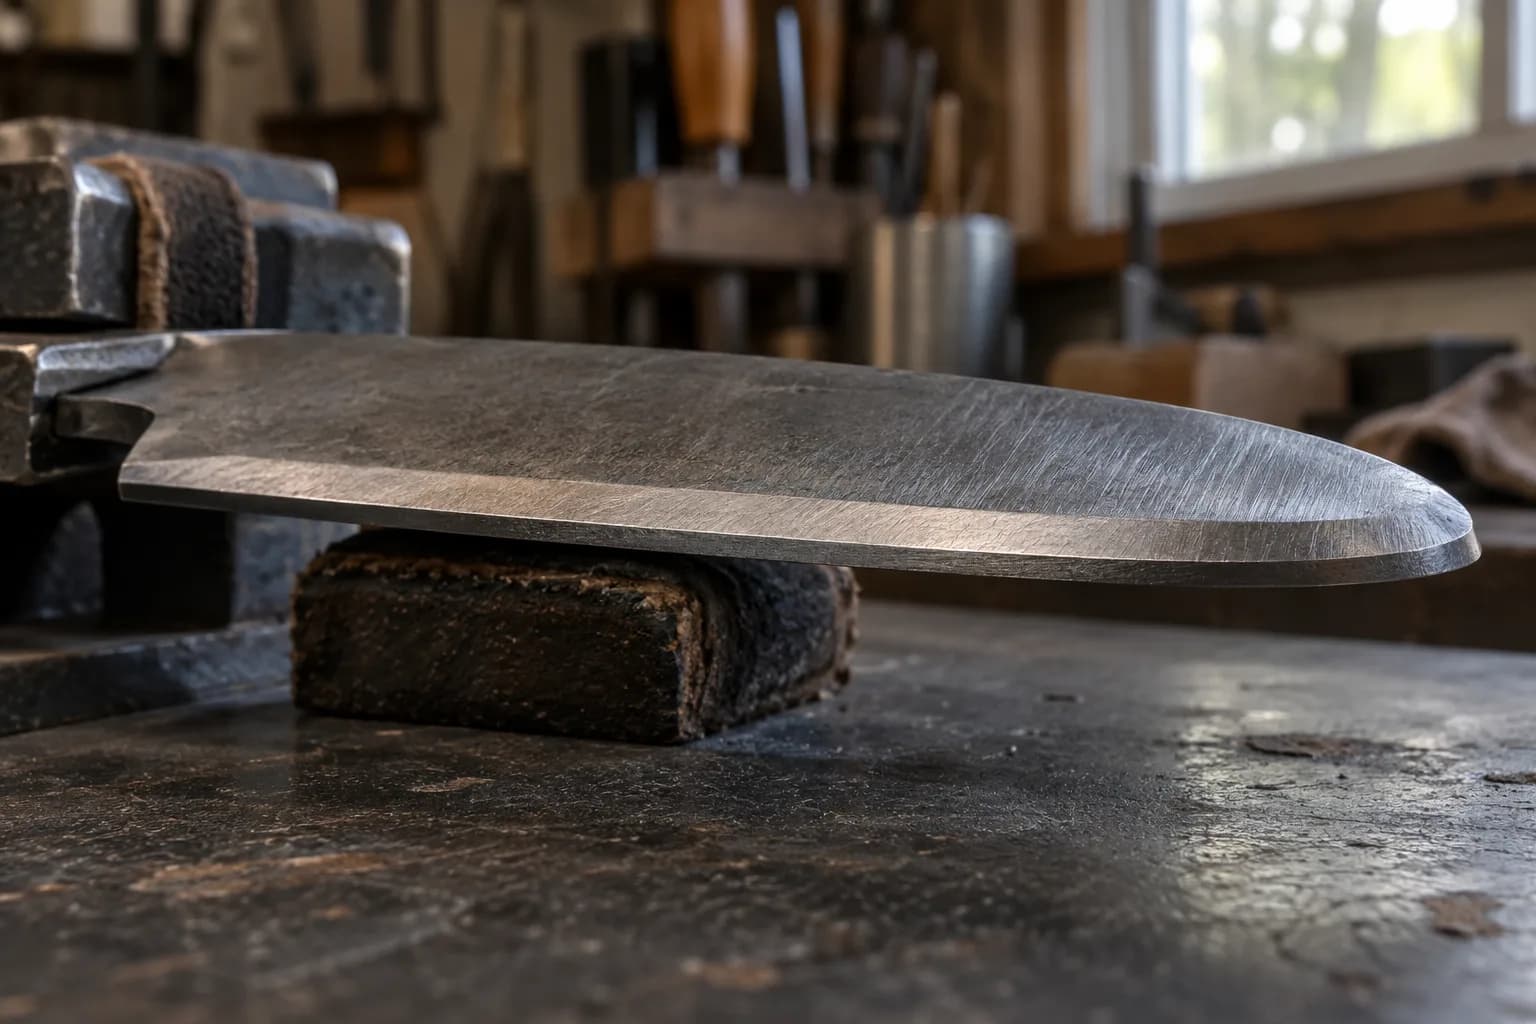
WHY YOU STOP EARLY
A finished edge going into the quench is a bet you will lose. Thin sections cool faster than thick ones, and uneven cooling means warps at best and cracks at worst. The full walkthrough lives in our heat treating guide, but the short version is simple: hardening punishes whatever you thinned too soon.
AFTER HEAT TREAT: FINESSE, NOT FORCE
Now the steel is hard, and the rules change. Hard steel grinds slower and heats faster — and past a certain temperature you are quietly un-tempering your own blade. So the pace changes. Slower belt speed. Sharper belts. Lighter passes. Dunk the blade in water more often than feels necessary.
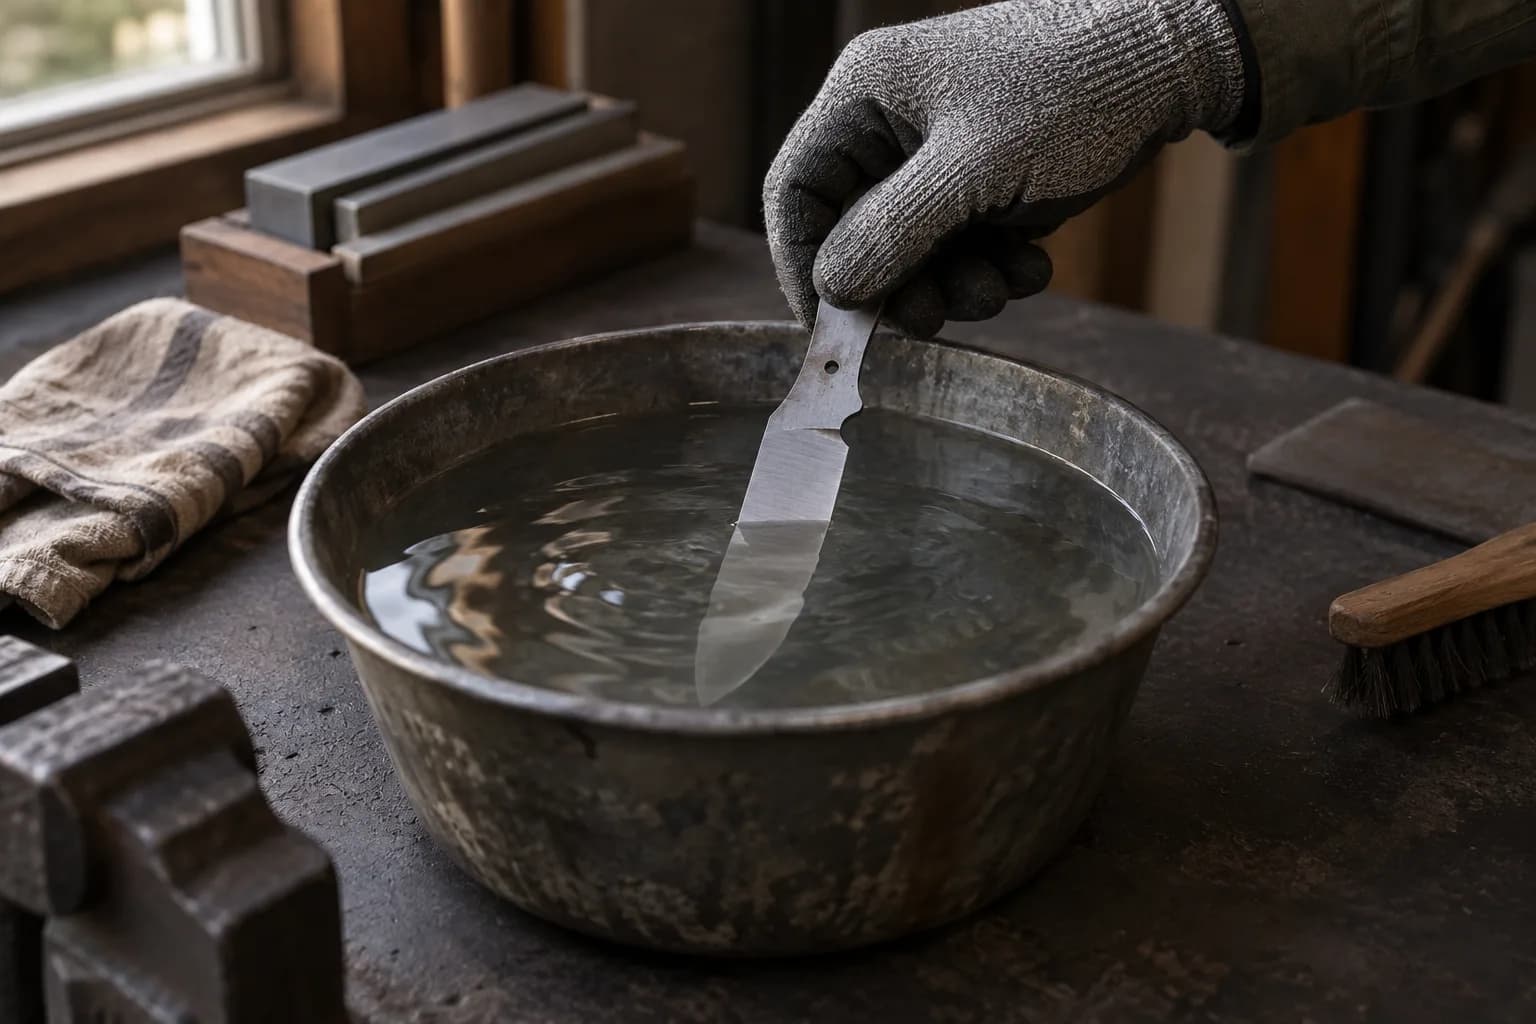
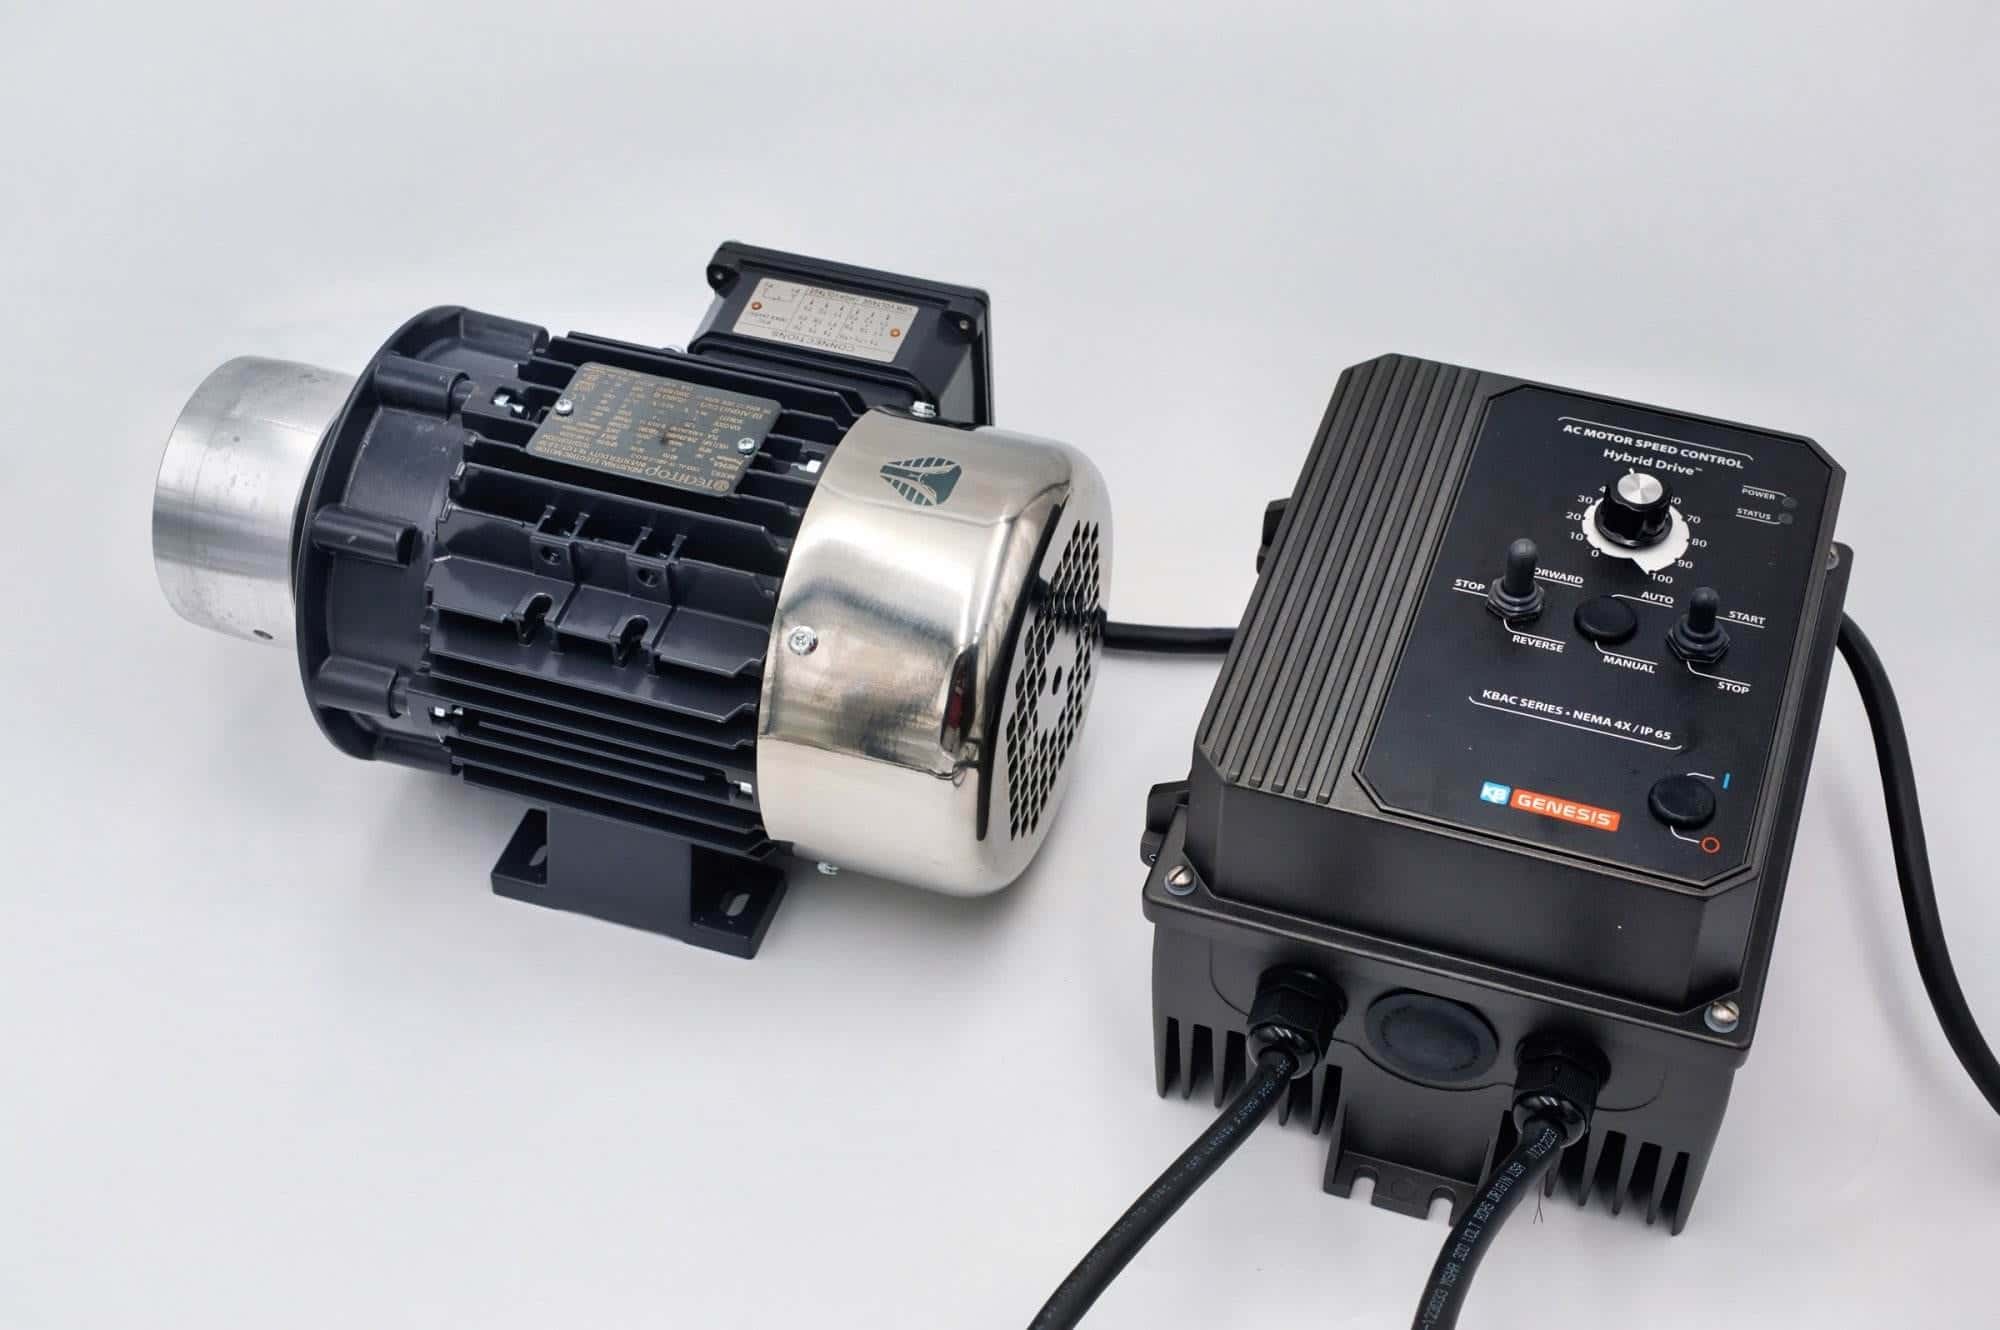
This is the stage where variable speed stops being a luxury. Finishing bevels at full speed on hardened steel is how edges burn before you ever see the color change. It is also where equipment that supports repeatable results earns its keep — a grinder that tracks true and holds its settings lets you take the same pass twice.
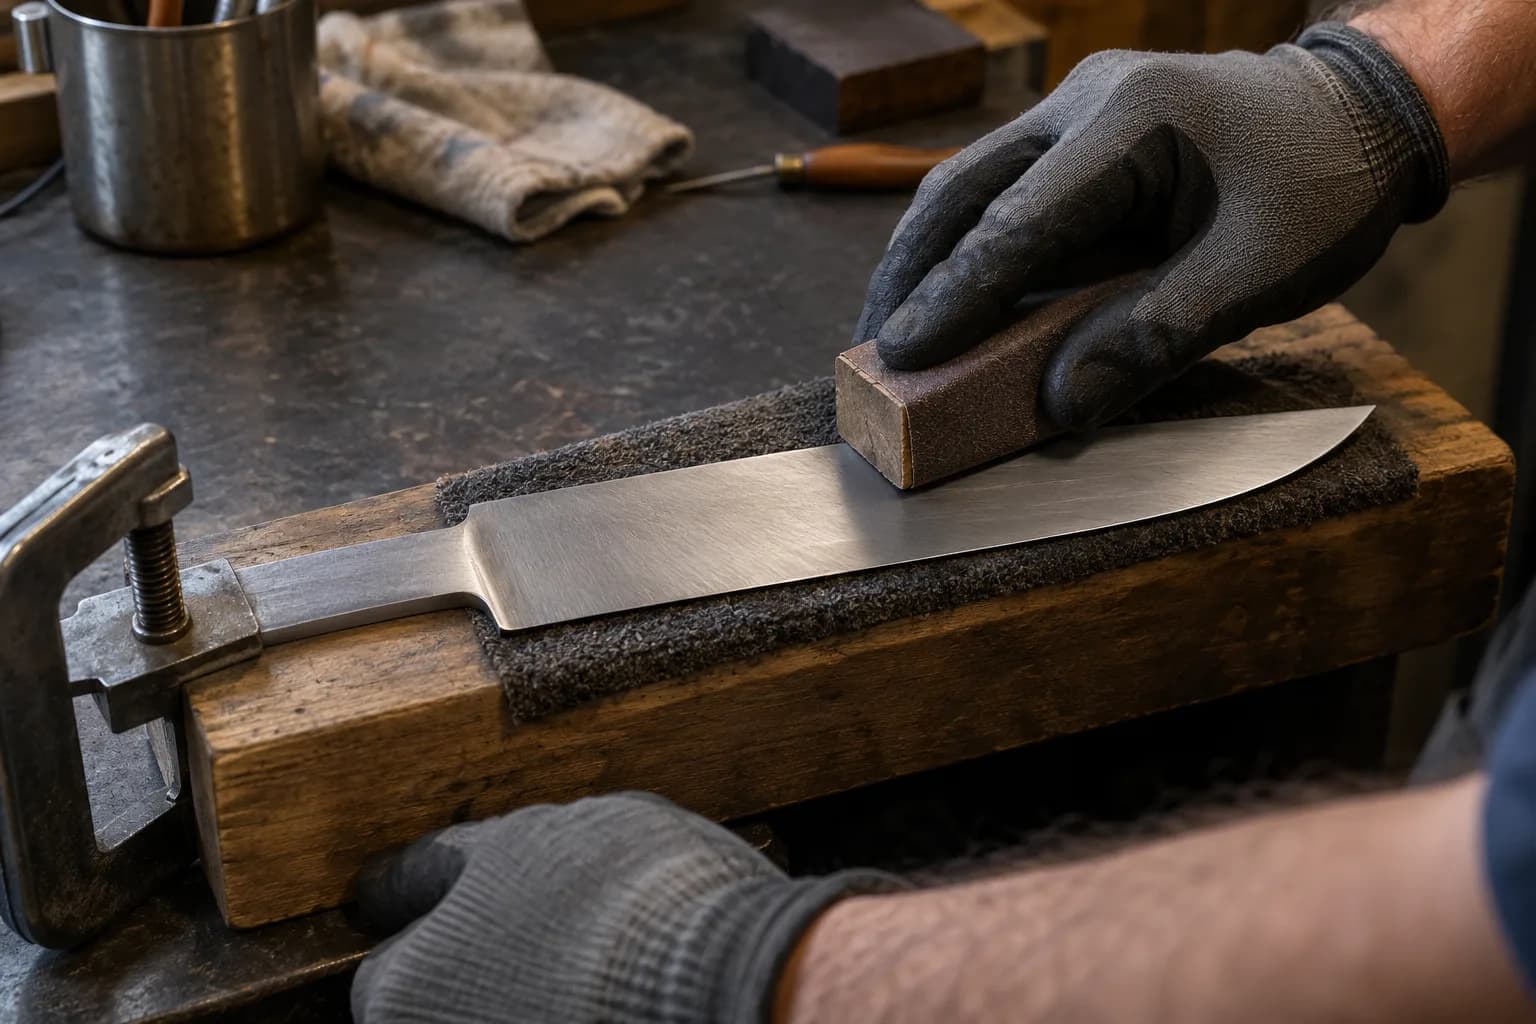
Work through your grits, then put the machine down. The last refinements are hand work — our hand sanding guide covers the method. Sharpening comes at the very end, after handle work. The edge is the last thing you make.
THE ORDER, ON ONE LINE
Profile. Drill. Rough bevels to dime-thick. Heat treat. Finish grind, cool and slow. Hand sand. Handle. Sharpen. That order has built a lot of good knives, and it will build yours. It is also a big part of why the 2×72 saves so much time — one machine handles both sides of the quench, if it has the speed control to do the second side right.
THE MACHINE SIDE OF THE EQUATION
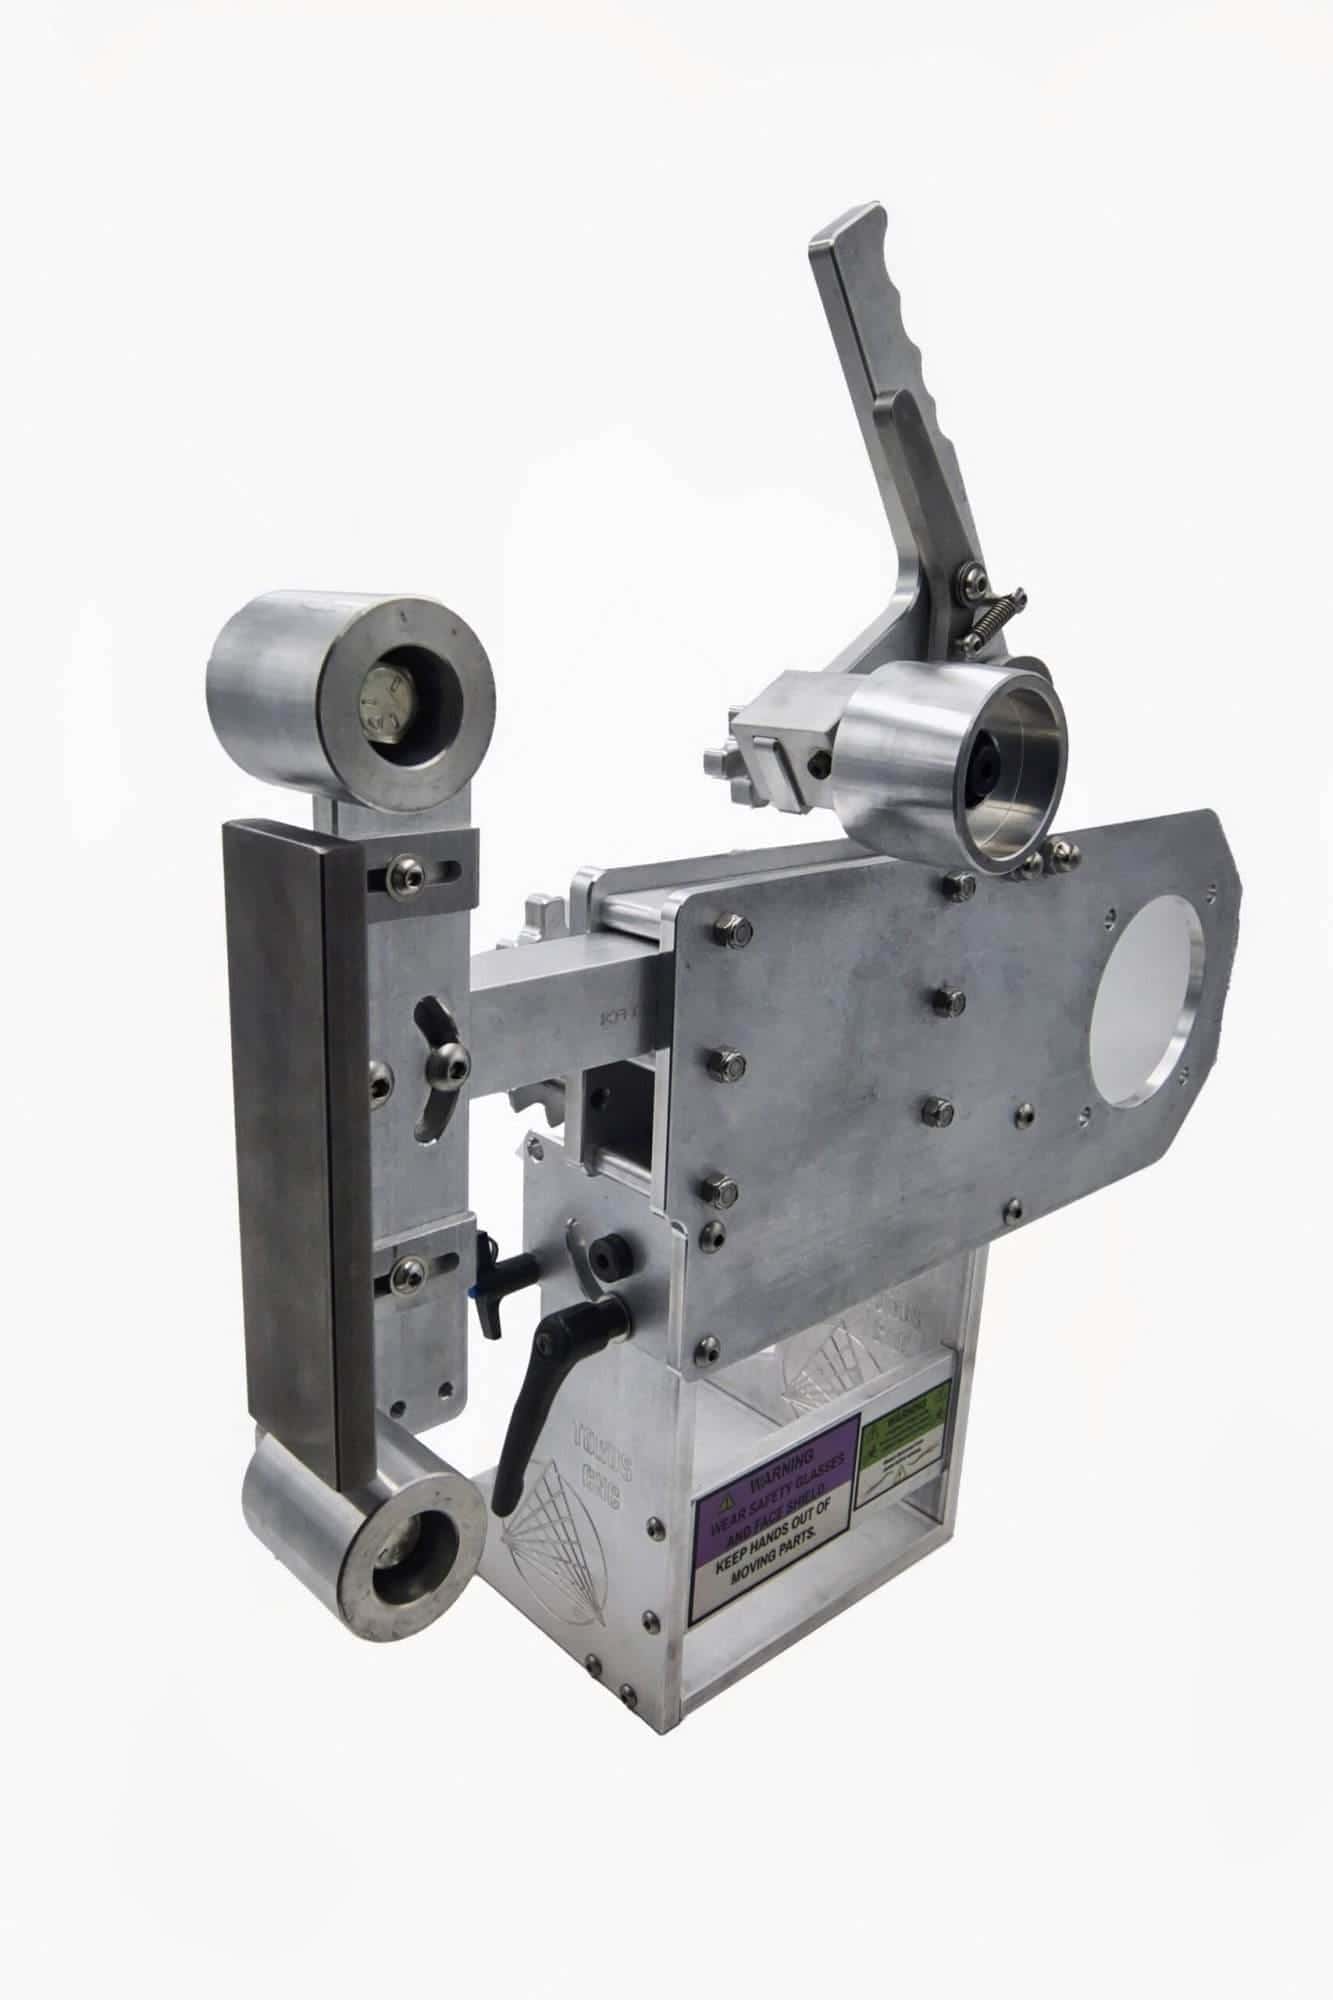
Any solid 2×72 with variable speed can run this order of operations all day. That is what the NOVA was built for — maximum machine, minus the weight. And if you want a proven machine at closeout money, the original Torus 2×72 Steel is $845, fully assembled, while stock lasts.
Whatever you grind on: respect the order. The quench divides your build into two different jobs. Work them like it.
Soft steel wants coarse ceramics and a fast belt; hardened steel wants sharp belts, low speed and a flat platen. A Nova 2×72 with the motor and VFD combo does both jobs, and the Quench Master 2500 keeps the blade straight between them.