
Forging & Bladesmithing
Forging a Knife, Step by Step: From Bar Stock to Blade
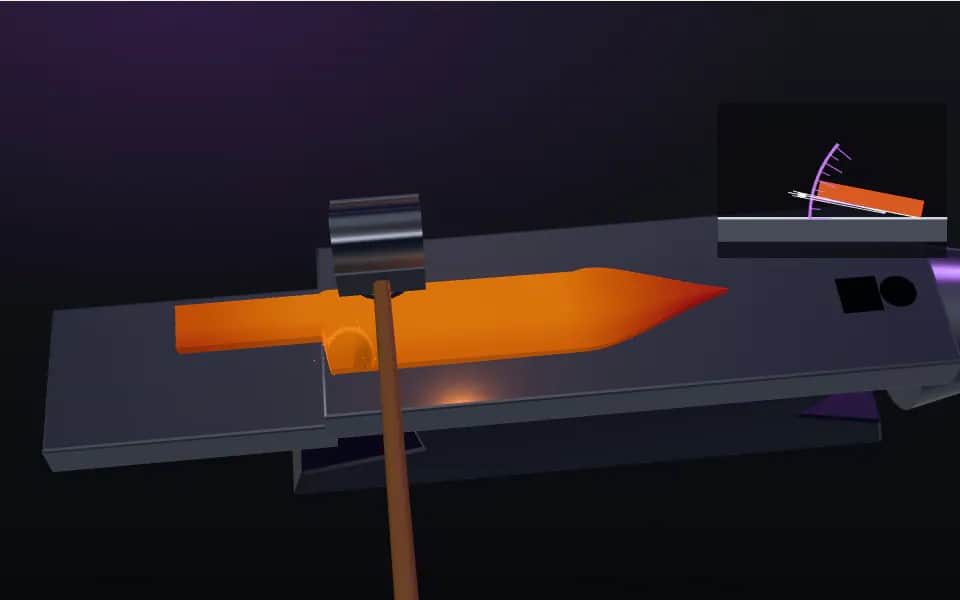
Forging a knife is not sculpting with sparks — it’s a sequence, and once you know the sequence, every session has a plan. This guide walks a first forged…
Forging & Bladesmithing
After forging, run three descending thermal cycles: about 1,500°F then 1,350°F twice, cooled in still air. How to do it by magnet and color, and the decarb tax.
2 min readWritten by Rich LinvilleFree to read
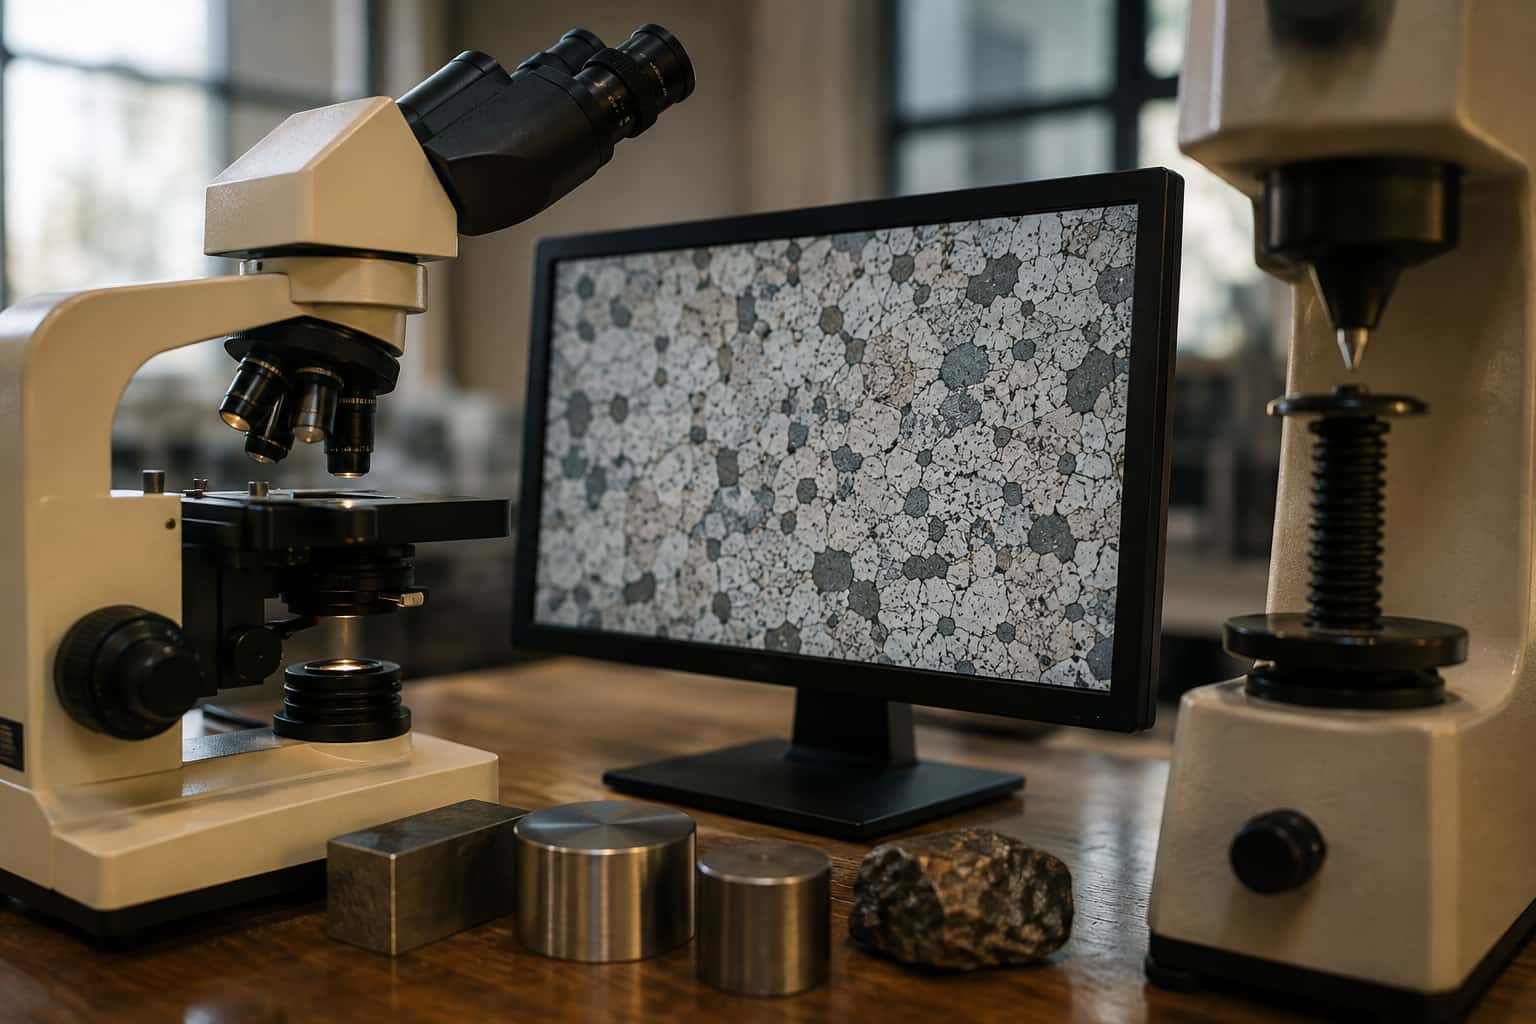
Between the last hammer blow and the quench sits the least glamorous, most skipped, most important step in forging: normalizing. Forging happens way up at 2,000°F+, and steel pays for that convenience with coarse grain and locked-in stress. Quench a blade in that state and you harden the damage into it — coarse grain makes brittle edges (the metallurgy is in our grain refinement guide), and banked stress comes out as warps and cracks. Three short heating cycles erase the debt. Stock-removal makers get to skip this; forgers don’t.
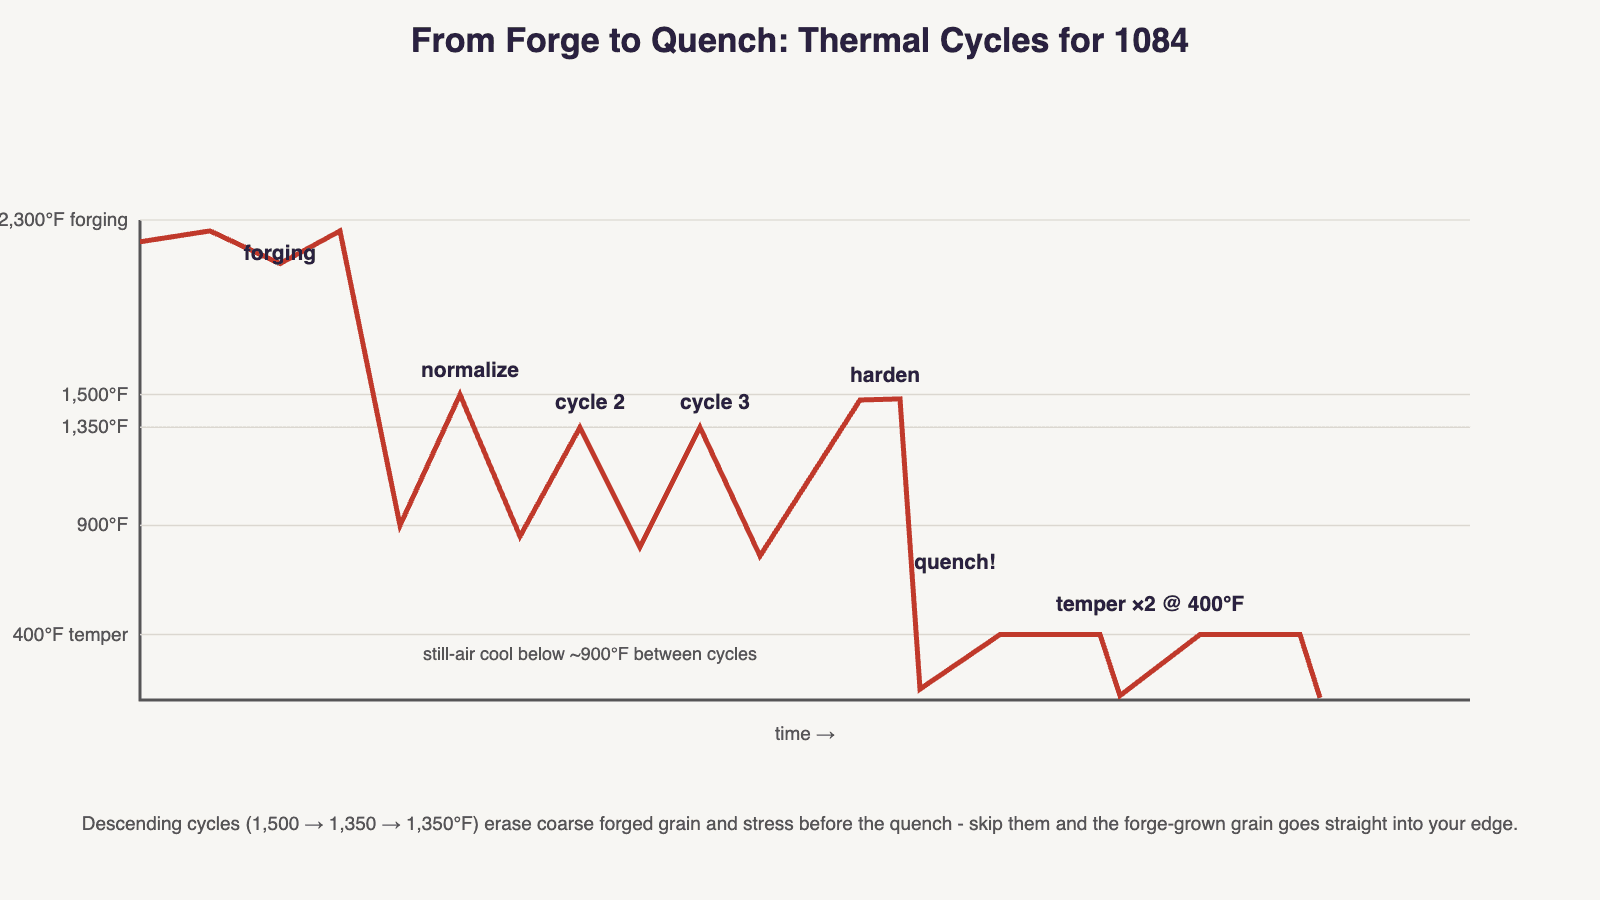
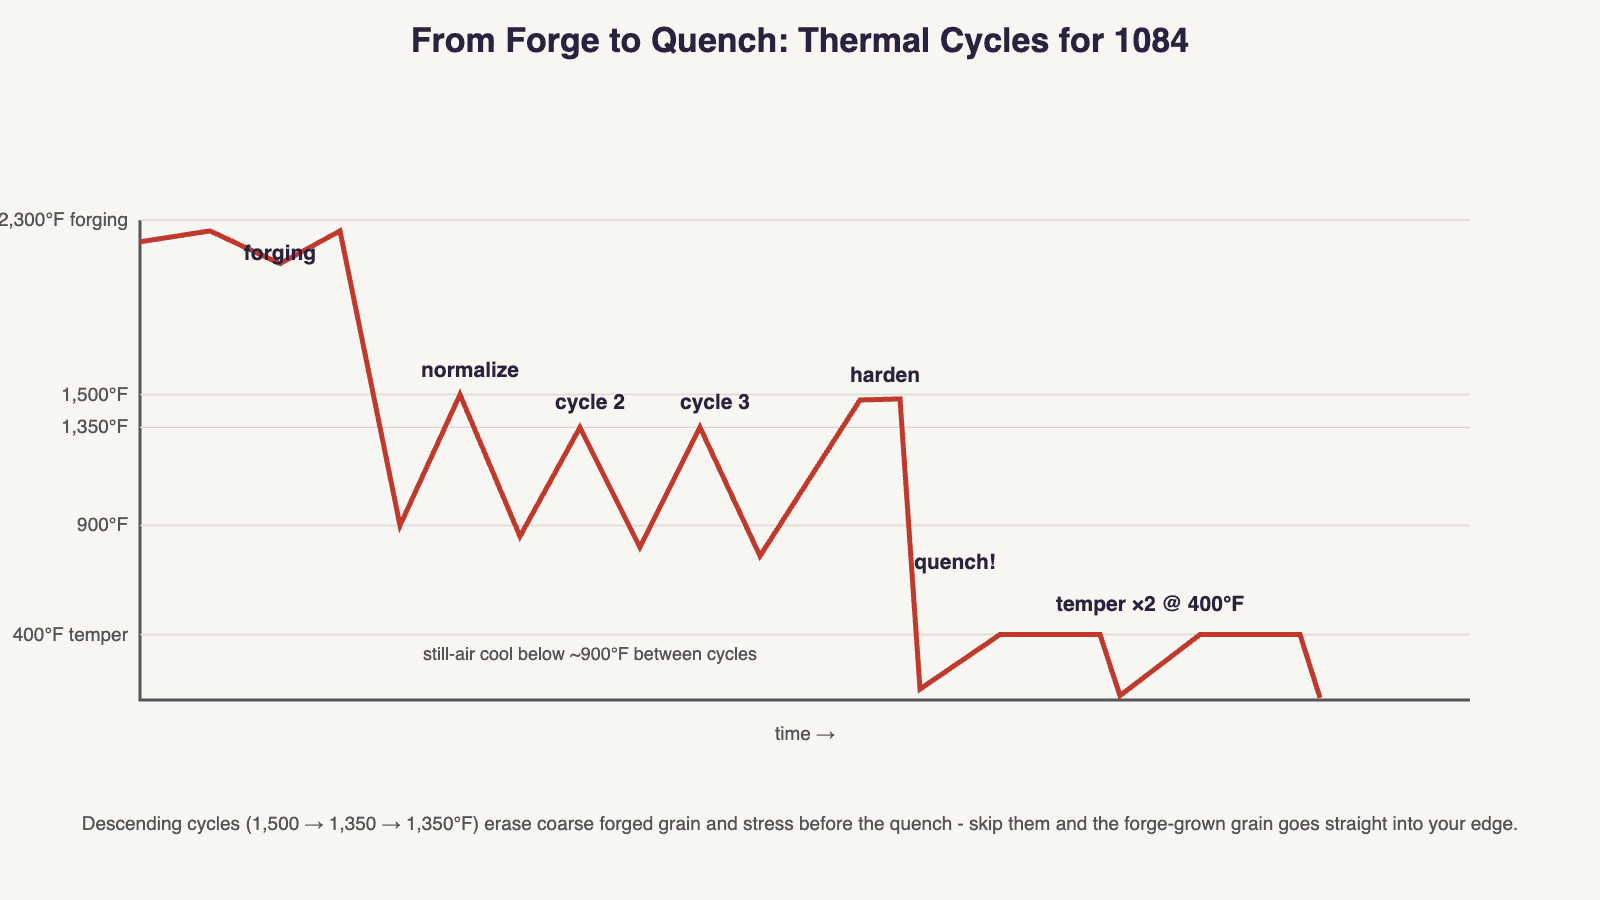
The commonly used sequence for 1084-class steels, matching the datasheets and Knife Steel Nerds’ guidance:
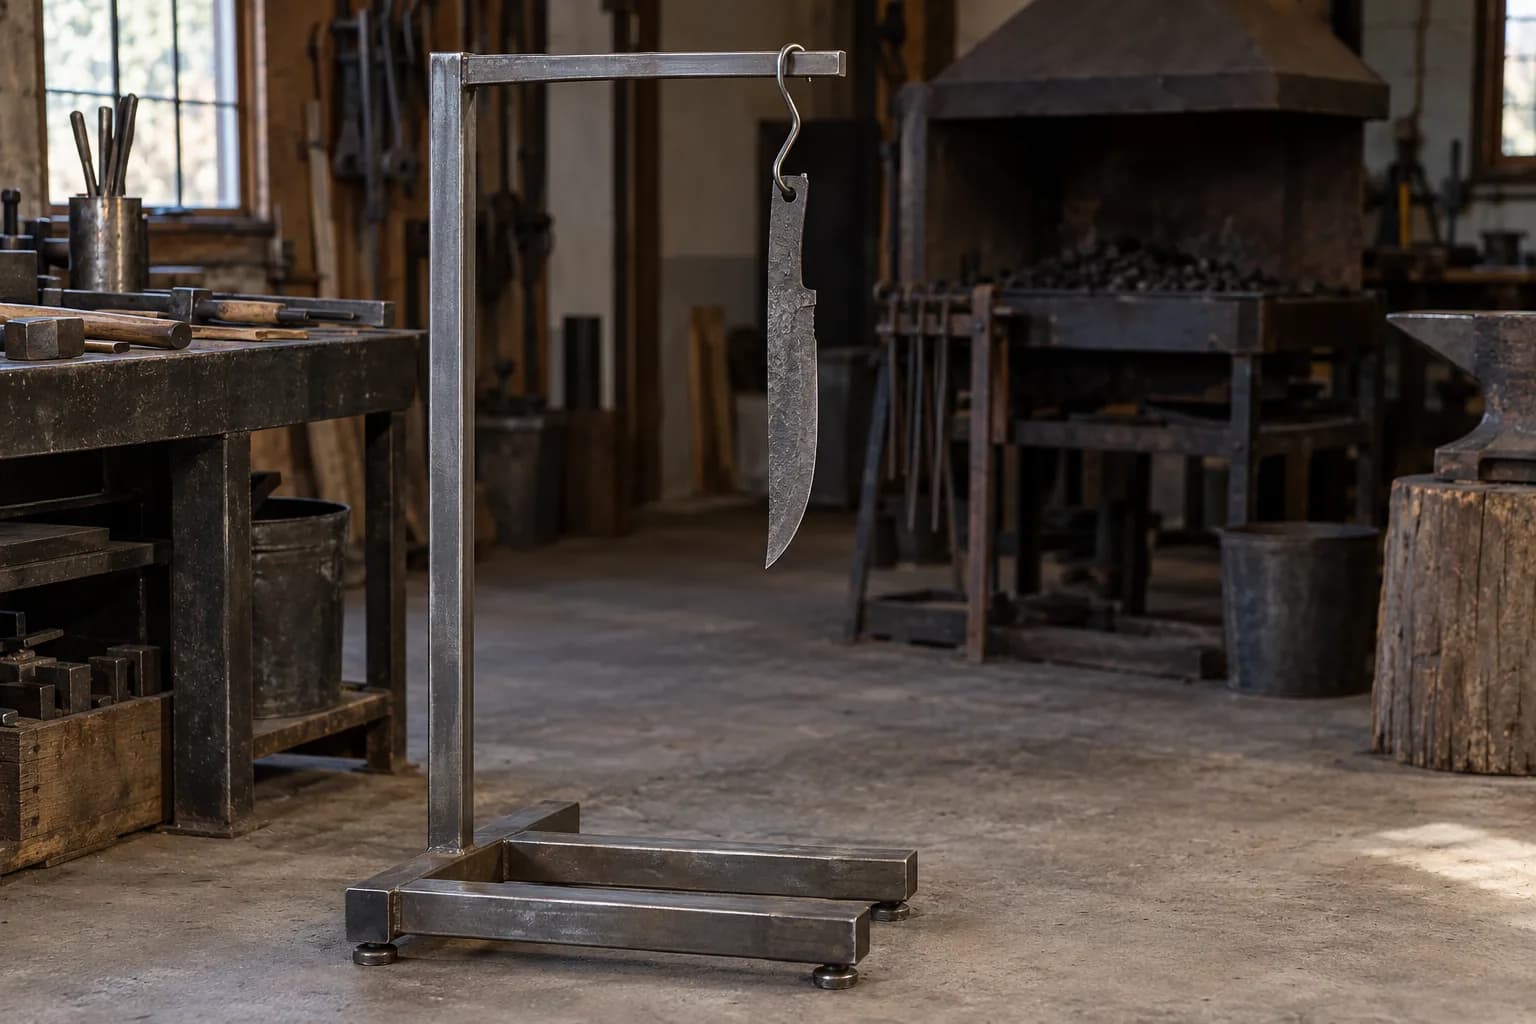
Still air means still: hang or tong-hold the blade point-down out of drafts — no fan, no quench, no laying it on cold steel. And keep the peaks honest: overshooting the first cycle’s temperature grows grain instead of refining it. When in doubt, cooler beats hotter on cycles two and three.
The same skills from torch-and-forge heat treating apply: ~1,500°F is just past non-magnetic (magnet releases ~1,425°F, go a shade brighter); ~1,350°F is below non-magnetic — bring the blade to where the magnet just still grabs, a dull-to-medium red in a dim shop. Precision within ±50°F is fine here; evenness along the blade matters more than hitting a number. A dim shop, patience between cycles, and a magnet cover it.
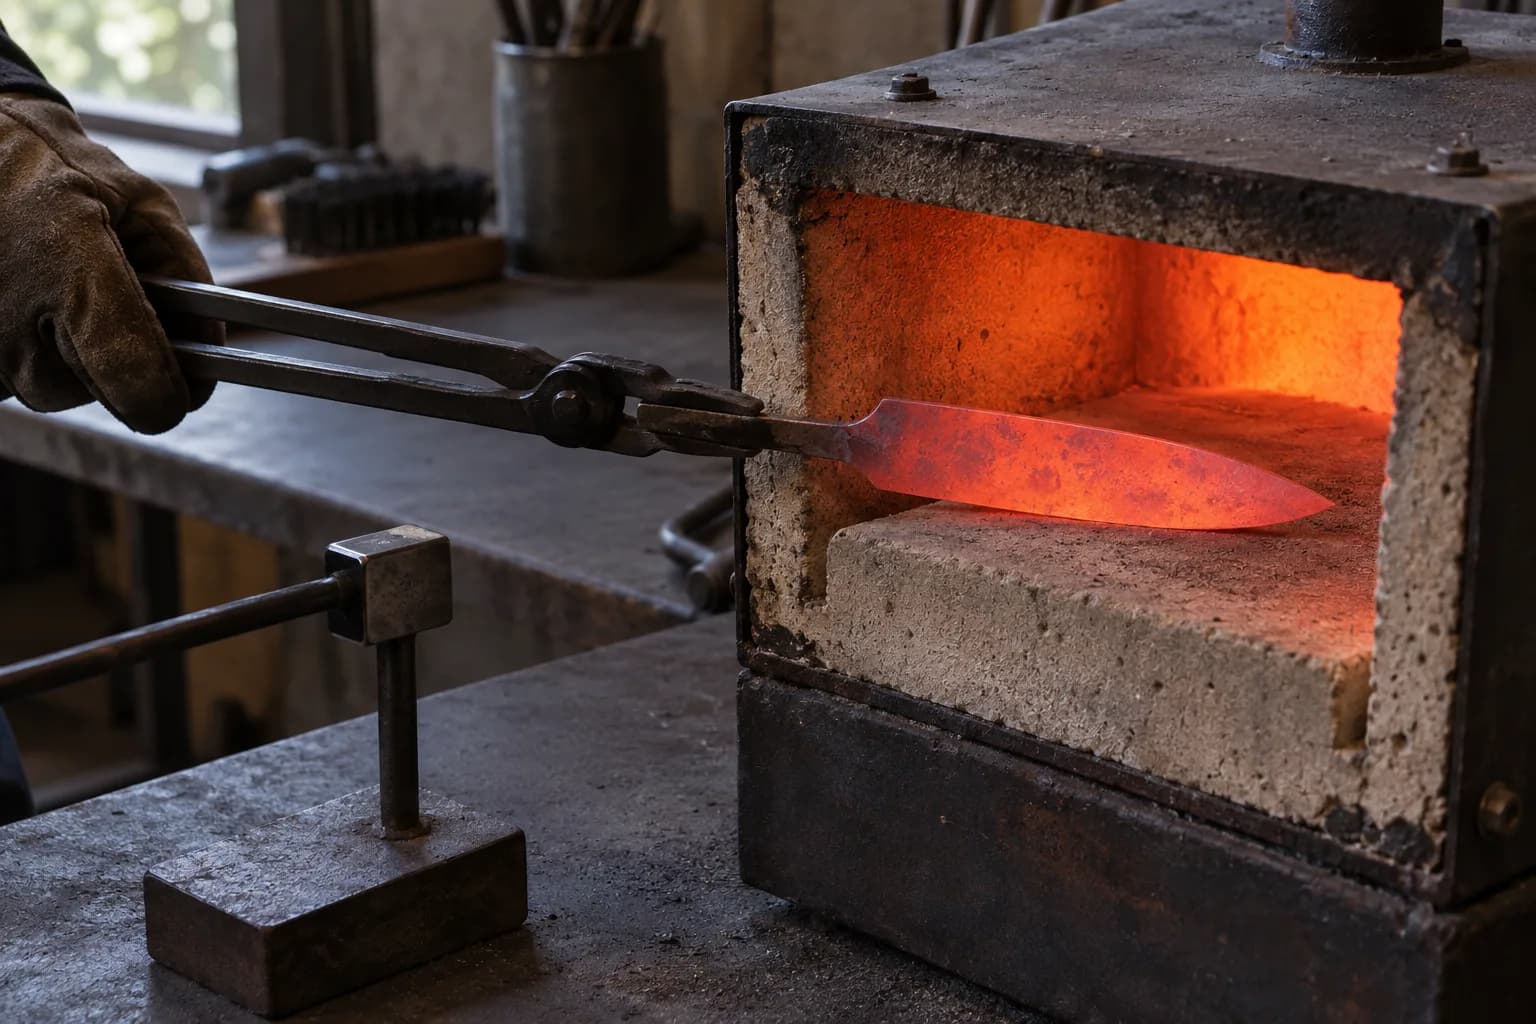
All that time at heat burns carbon out of the blade’s outer skin (“decarburization”) — a soft gray layer a few thousandths deep that will not harden no matter how perfect your quench. The cure is in the plan: forge with grinding stock in reserve, and grind past scale and decarb before or after hardening. A blade that files soft in spots after a confident heat treat is often just wearing its decarb skin — check that before blaming the quench.
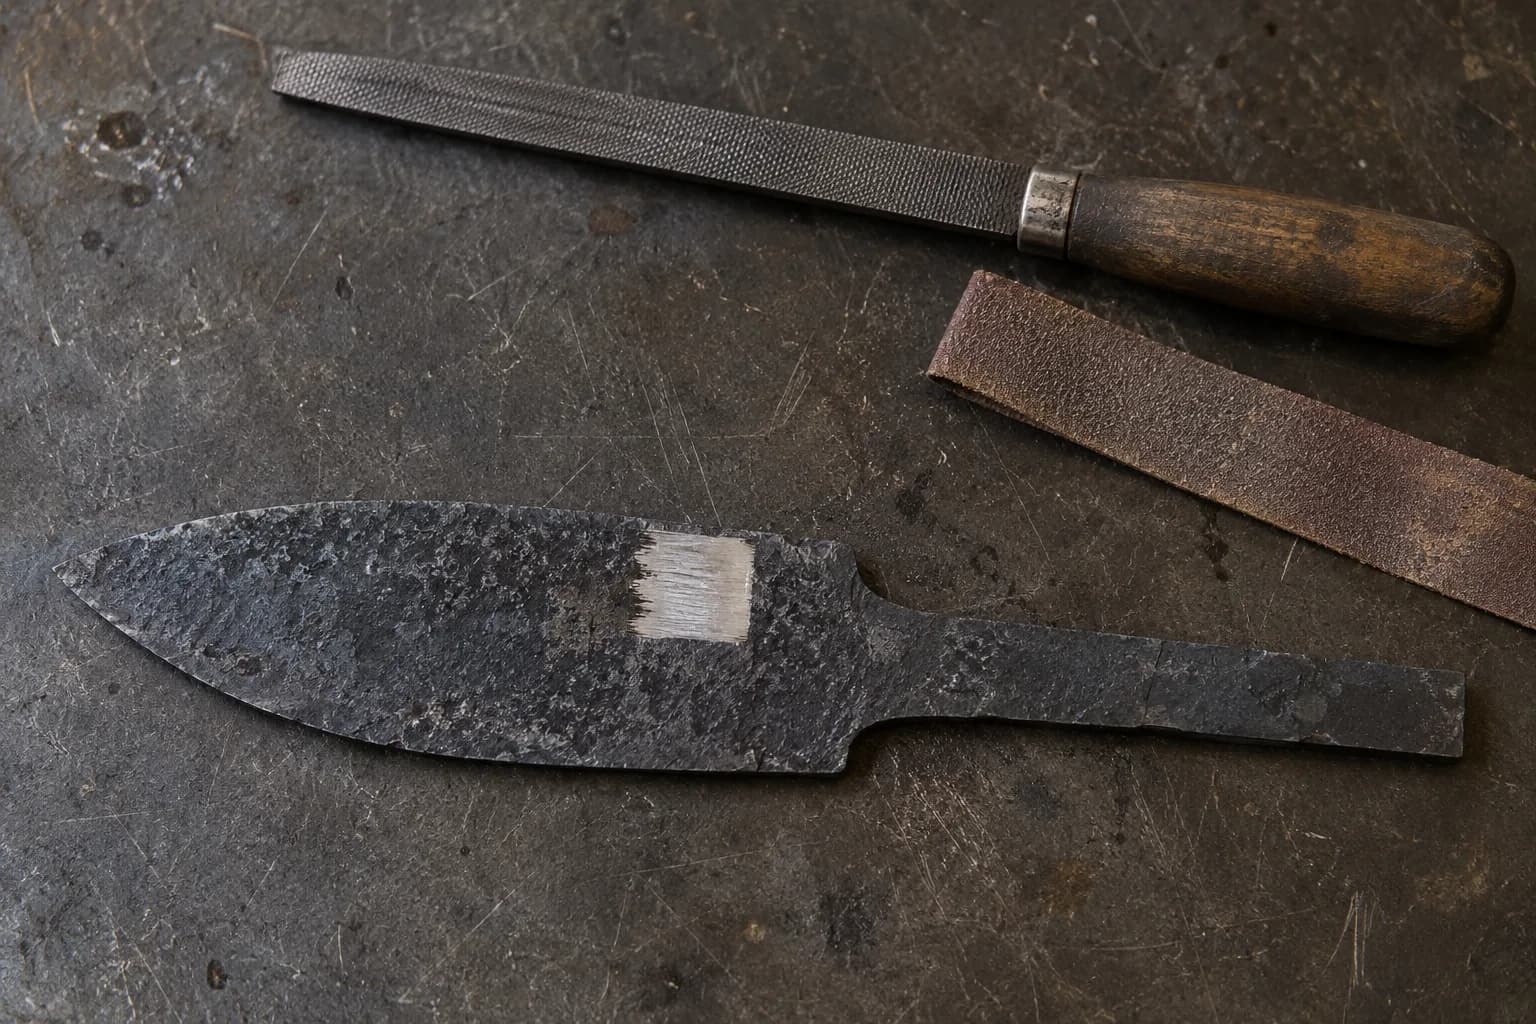
Normalized 1084, properly hardened, snaps a test coupon with fine silky-gray grain and hits full hardness (mid-60s HRC as-quenched, tempered down to working hardness — see choosing HRC). Skipped normalizing shows up as glittery coarse break surfaces, chippy edges, and quench drama. Ten extra minutes at the forge buys the whole difference — and once these cycles are habit, you’re doing exactly what the damascus workflow demands anyway.
Keep reading
Three more from the same bench.
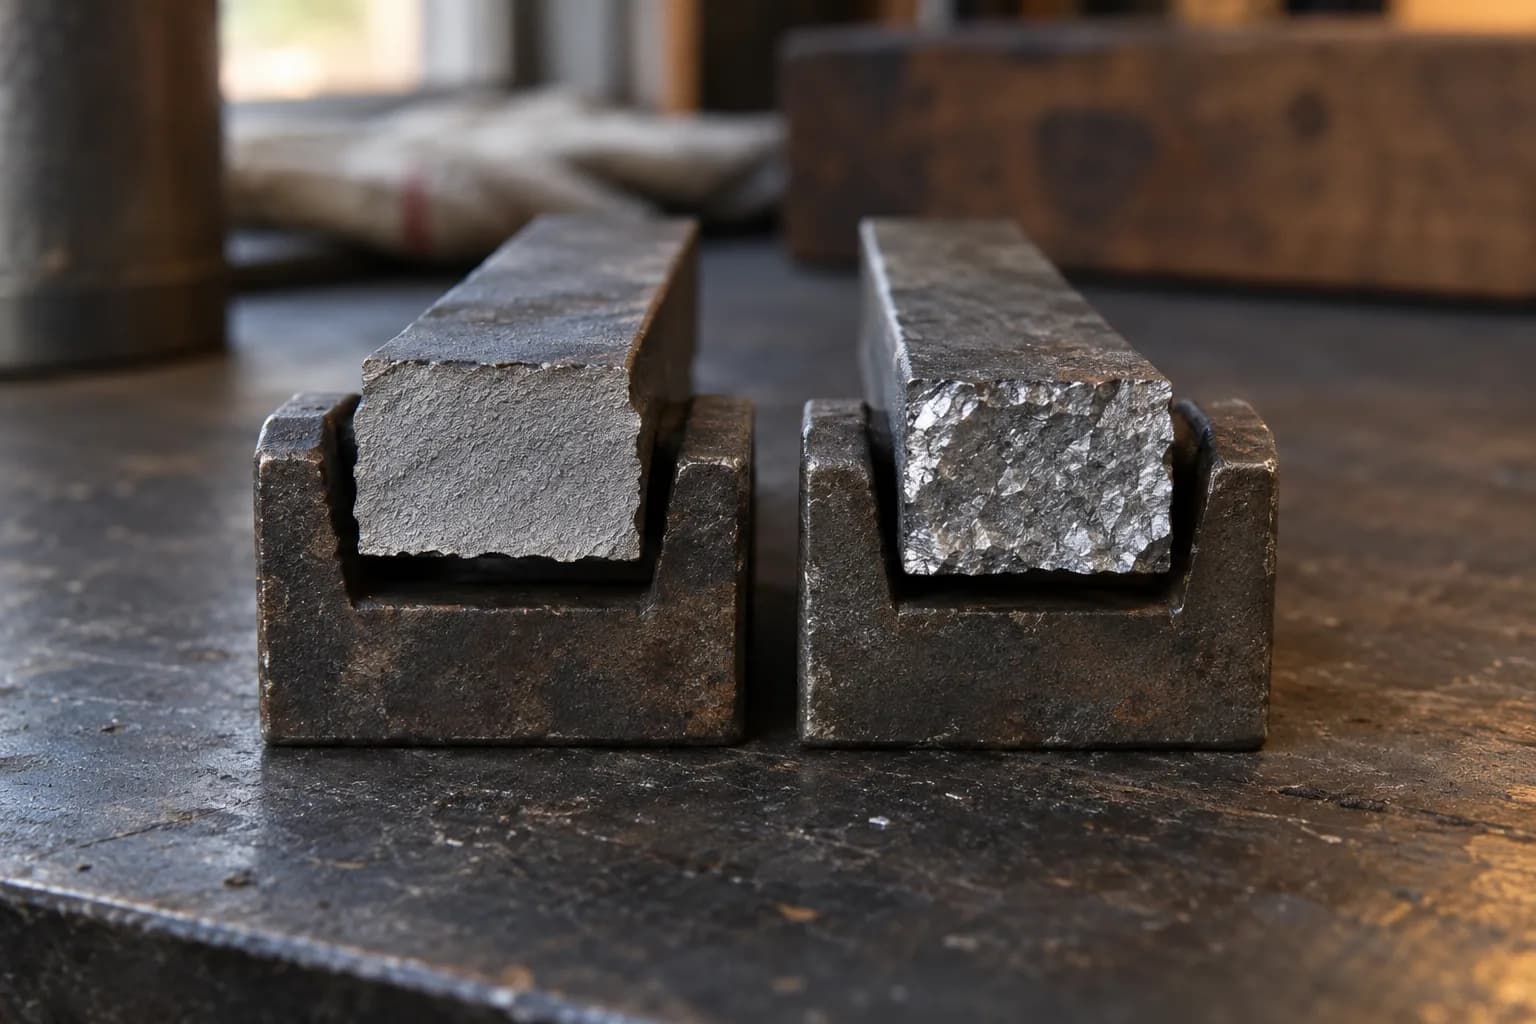
Forging a knife is not sculpting with sparks — it’s a sequence, and once you know the sequence, every session has a plan. This guide walks a first forged…
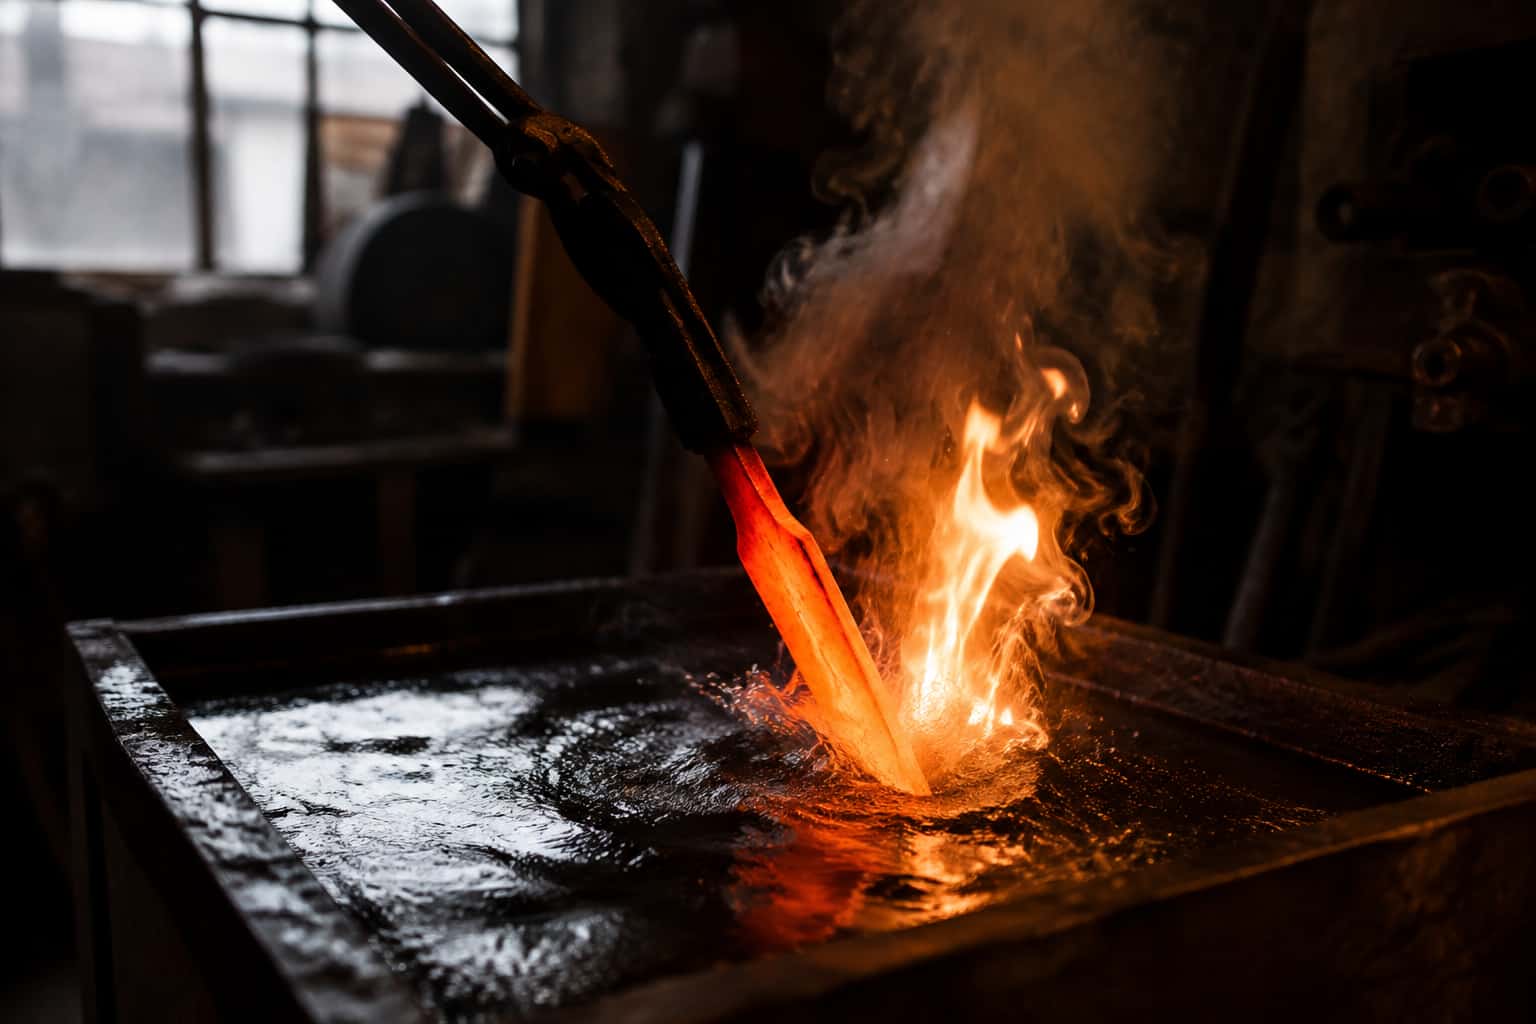
Heat treating is what turns a piece of flat bar stock into a functional knife blade. Done correctly, it transforms the steel’s internal crystal structure…
“Grain” comes up constantly in heat-treat discussions, fine grain is good, coarse grain is bad, normalizing refines it, but it’s rarely explained what…
Same bench
I machine the parts, hand-assemble, track and test Torus grinders in Sterling, Illinois. Most orders ship in seven to ten business days from time of order.

Current dual-axis platform with a fiber-laser-cut 6061 chassis and single-knob tracking.

Current dual-axis platform with a steel chassis, more mass and less vibration.

Prior-design aluminum chassis, 90-degree tilt and 1.5-inch tooling arms.

One-man shop
I answer my own email. Tell me the steel, the machine and what it is doing, and I will tell you what I would try next.