
Heat Treat
Heat Treating Knife Steel: Complete Guide
Heat treating is what turns a piece of flat bar stock into a functional knife blade. Done correctly, it transforms the steel’s internal crystal structure…
Metallurgy
Clay insulation lets an edge harden while the spine stays soft. Why the hamon line shows, which steels show it best, and the trade-offs involved.
3 min readWritten by Rich LinvilleFree to read
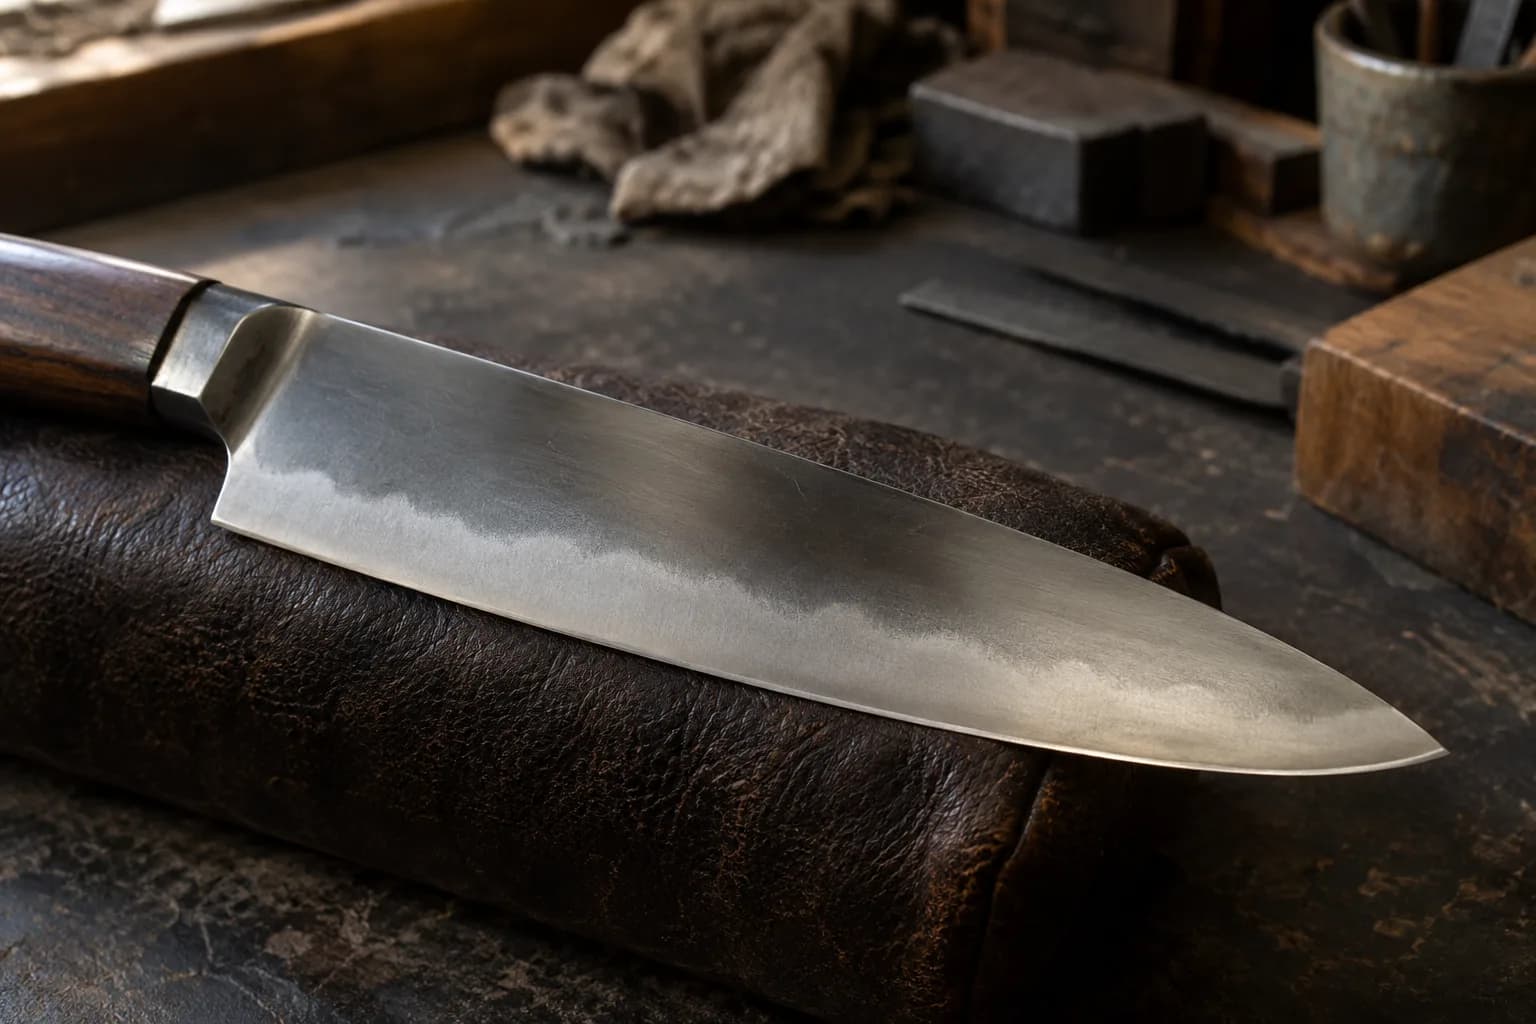
The wavy line visible along a hamon-bearing blade isn’t decoration applied after the fact, it’s a direct visual record of which parts of the steel actually hardened during quench and which didn’t. Understanding how it forms explains both the look and the real functional tradeoff behind it.
Normally, an entire blade is heated to austenitizing temperature and quenched as one uniform piece, hardening evenly from edge to spine. Differential hardening deliberately hardens only part of the blade, almost always the edge, while leaving the spine softer, by controlling how quickly each area cools during the quench.
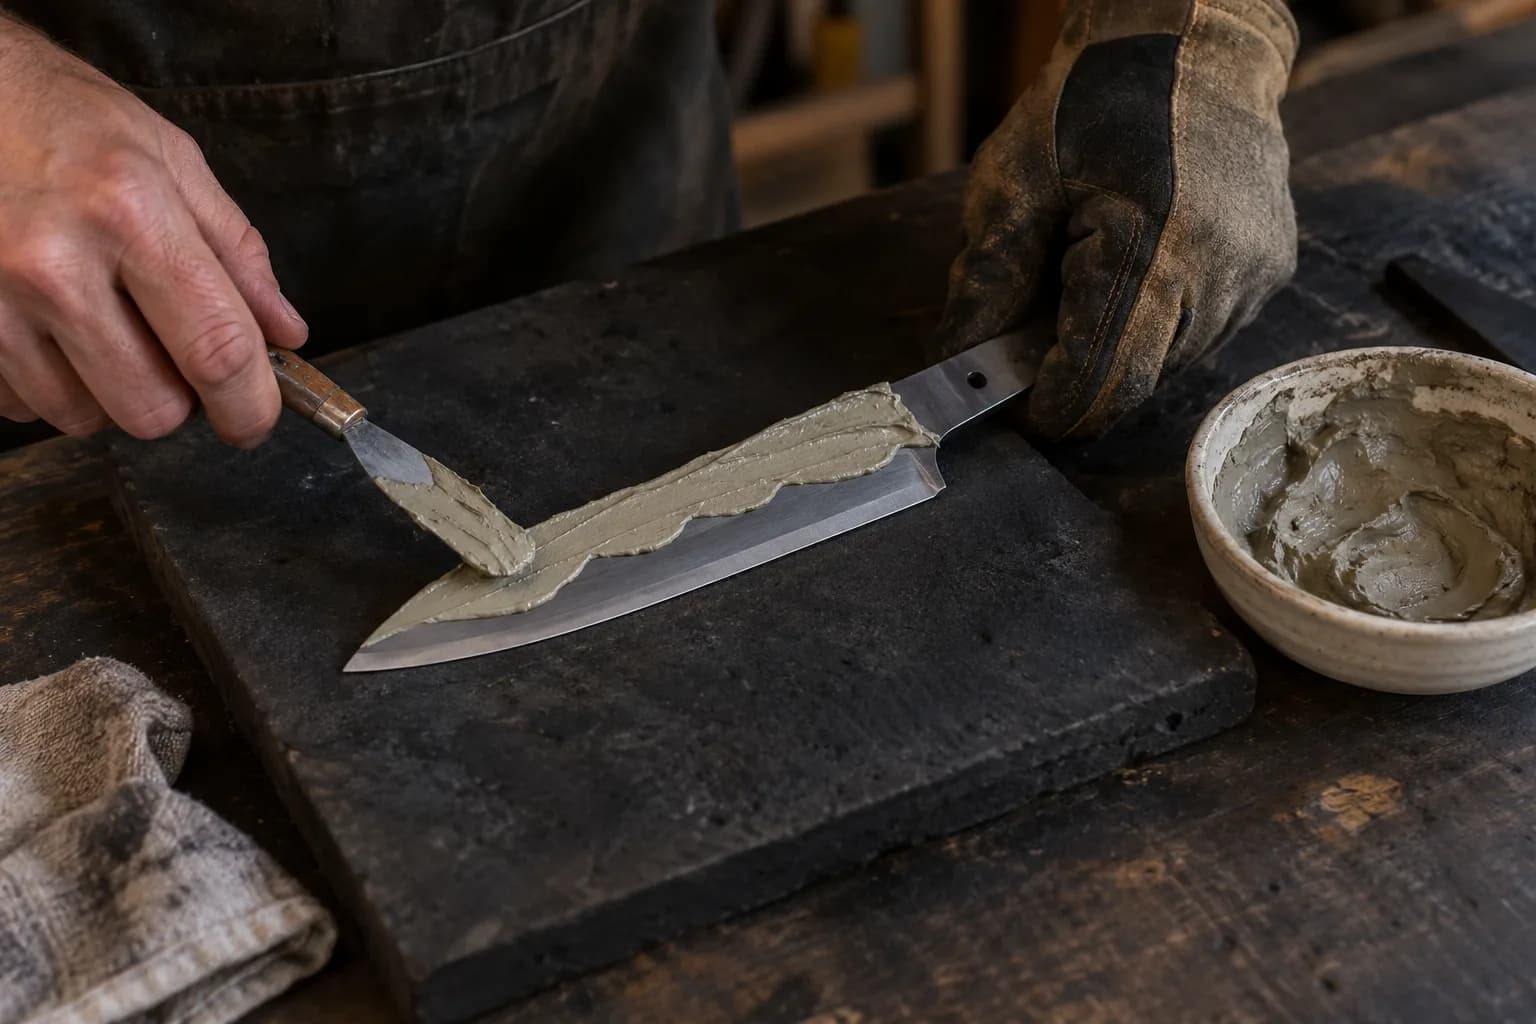
The most common method coats the spine (and sometimes the sides) of the blade with a layer of clay or a similar insulating compound before heat treat, leaving the edge bare. During the quench, the bare edge loses heat rapidly and converts fully to hard martensite, while the insulated spine cools more slowly and stays largely in a softer, tougher structure (often pearlite or bainite rather than martensite). The boundary between those two structures, where fast-cooled martensite meets the slower-cooled spine, is what shows up visually as the hamon.
Martensite and the softer structures next to it reflect light slightly differently and etch differently when exposed to an acid etchant, which is why hamon are brought out and made more visible with an etch or careful polishing rather than being obvious on a raw ground surface. The line’s shape (straight, wavy, or elaborate) comes directly from the clay application pattern, not from anything applied after hardening.
A hard edge and a soft spine combine two properties a uniformly-hardened blade has to compromise between: the edge gets the wear resistance and sharpness retention of a hard structure, while the spine keeps the flexibility and impact resistance of a softer one. This was the original, practical reason differential hardening developed in traditional Japanese sword-making, not primarily for appearance.
Differential hardening adds real process complexity: clay application has to be controlled precisely, the quench itself is more sensitive to technique, and results are less predictable than a uniform hardening cycle, especially for a first attempt. A botched differential quench can produce an uneven, weak hamon or, in worse cases, cracking at the hardness transition zone from uneven stress. It’s a technique worth building up to once standard heat-treat fundamentals are solid, not a good starting point for a first few blades.
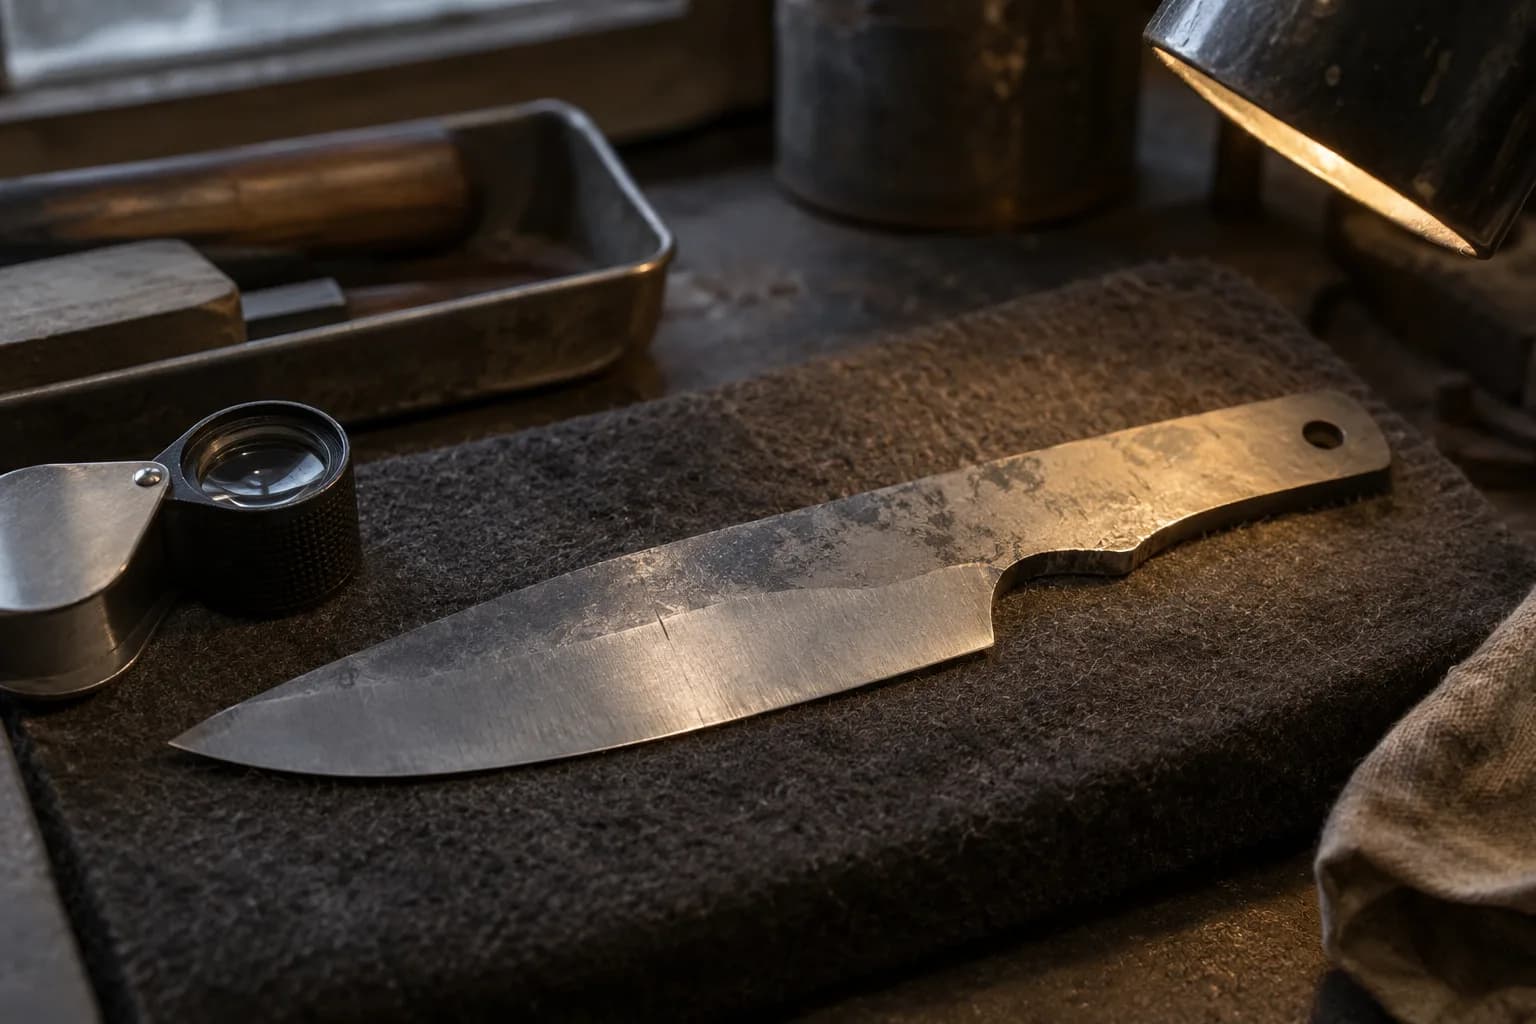
Simple, shallow-hardening carbon steels (1084, 1095, W2) are the traditional and most forgiving choice, since their hardenability is sensitive enough to cooling rate that clay insulation produces a real, visible difference. Highly alloyed steels with deep hardenability, many stainless and powder-metallurgy steels, resist this kind of differential effect since they tend to harden fully even through some insulation, muting or eliminating the visible line entirely.
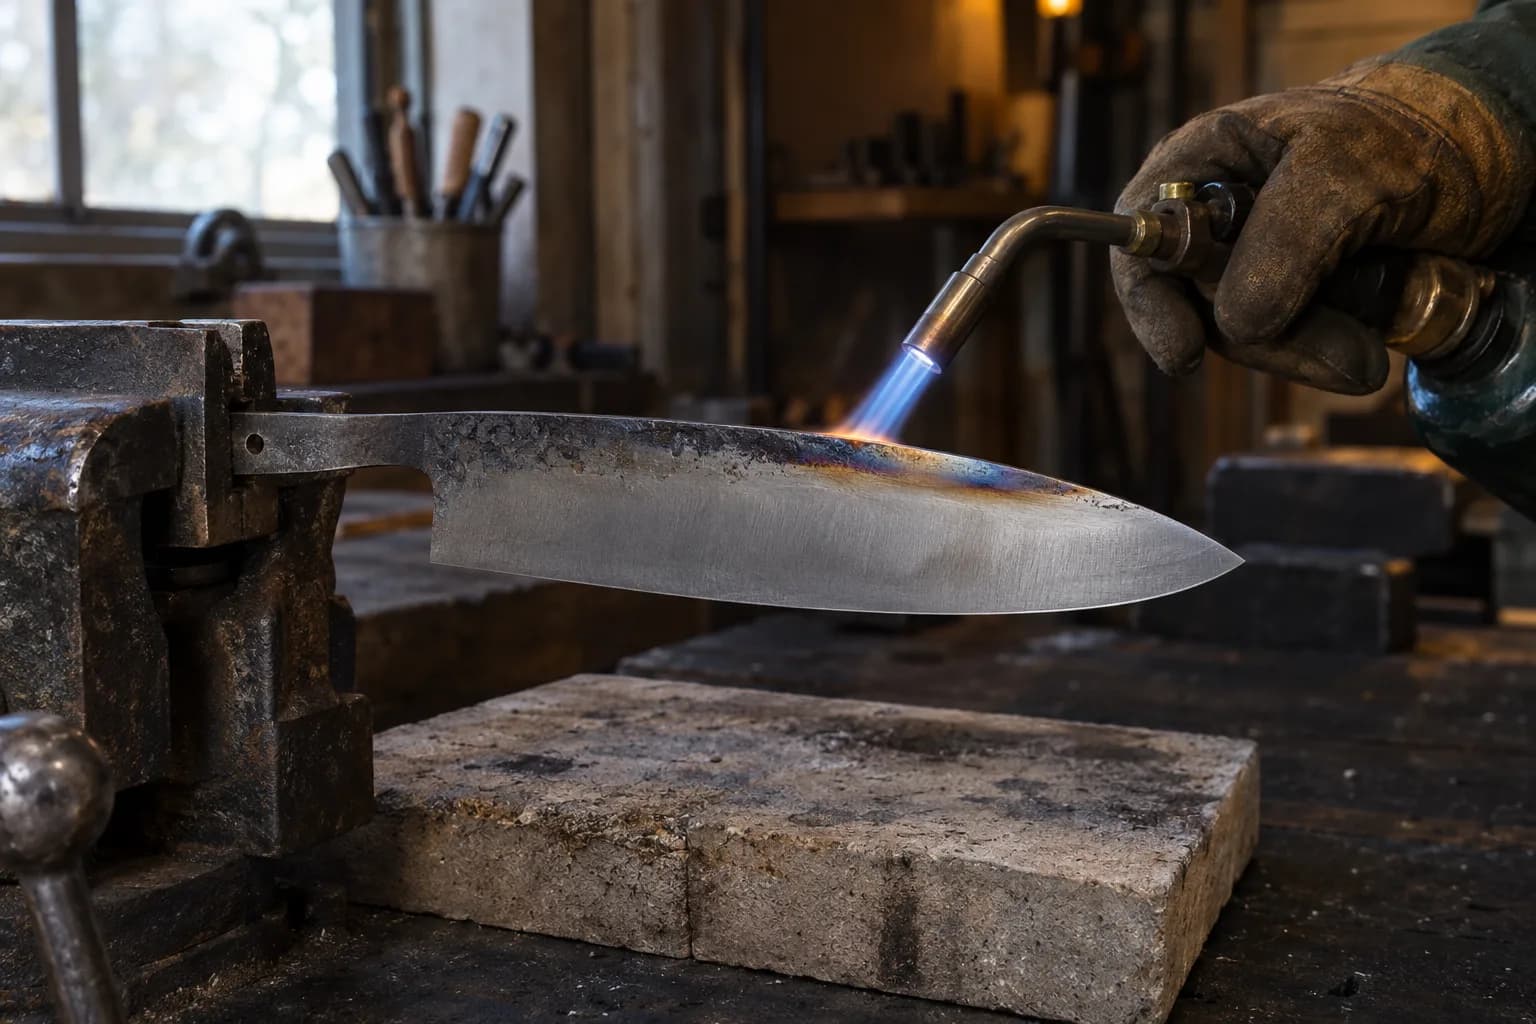
Some makers achieve a similar aesthetic and functional idea without clay, using a torch to selectively temper the spine after a full hardening quench (softening it back down after the fact) rather than preventing it from hardening in the first place. This produces a more controllable, if visually different, soft-spine/hard-edge result.
No, though it’s often chosen partly for the look today. Its origin and continued functional value come from combining a hard, wear-resistant edge with a tougher, more flexible spine in a single blade.
Not clearly. Simple, shallow-hardening carbon steels show the clearest lines. Deep-hardening alloy and stainless steels often harden too evenly through clay insulation to produce a visible hamon, even if the maker follows the same clay-coating process.
Not on a first few blades. It adds real variables (clay application, quench sensitivity) on top of the fundamentals still being learned; building solid, consistent uniform heat-treat skills first makes differential hardening far more likely to succeed when it’s attempted.
Keep reading
Three more from the same bench.
Heat treating is what turns a piece of flat bar stock into a functional knife blade. Done correctly, it transforms the steel’s internal crystal structure…
The Heat Treating Guide covers the practical steps: normalize, austenitize, quench, temper. This guide covers what’s actually happening inside the steel…

Cryogenic treatment gets talked about as a mysterious extra step that makes steel better, but what it actually does is straightforward metallurgy…
Same bench
I machine the parts, hand-assemble, track and test Torus grinders in Sterling, Illinois. Most orders ship in seven to ten business days from time of order.

Current dual-axis platform with a fiber-laser-cut 6061 chassis and single-knob tracking.

Current dual-axis platform with a steel chassis, more mass and less vibration.

Prior-design aluminum chassis, 90-degree tilt and 1.5-inch tooling arms.

One-man shop
I answer my own email. Tell me the steel, the machine and what it is doing, and I will tell you what I would try next.