
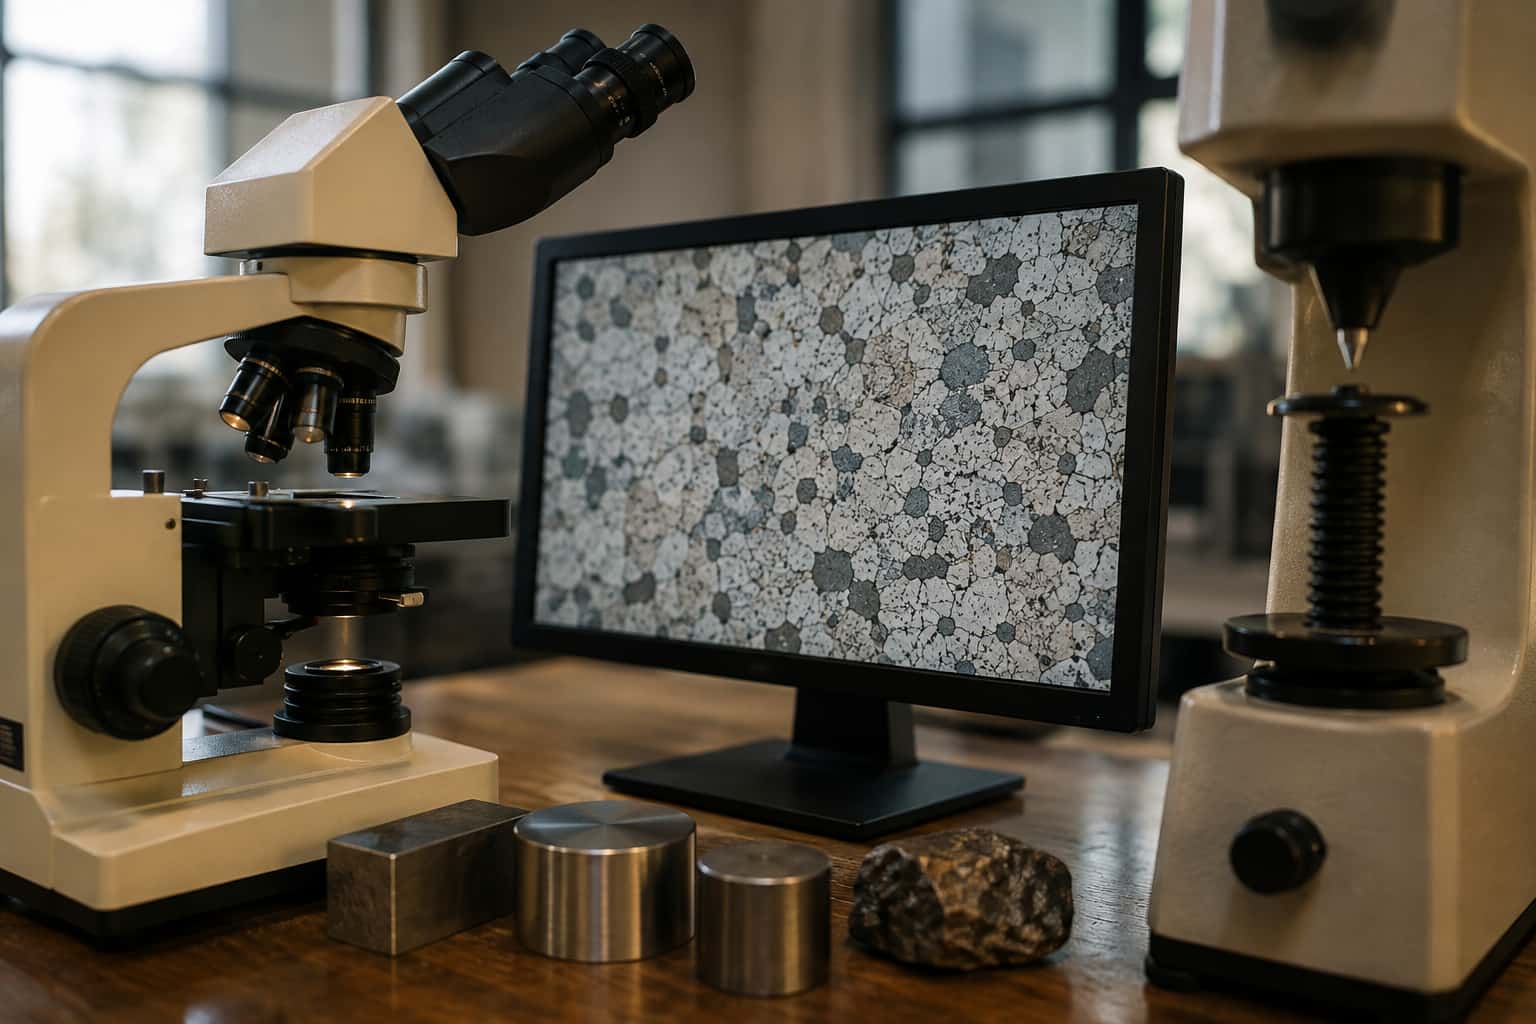
Metallurgy
Carbide Size and Sharpening: Why Some Steels Feel Different
Two steels with similar hardness numbers can feel completely different under a sharpening stone, one glides along smoothly, another feels like it’s…
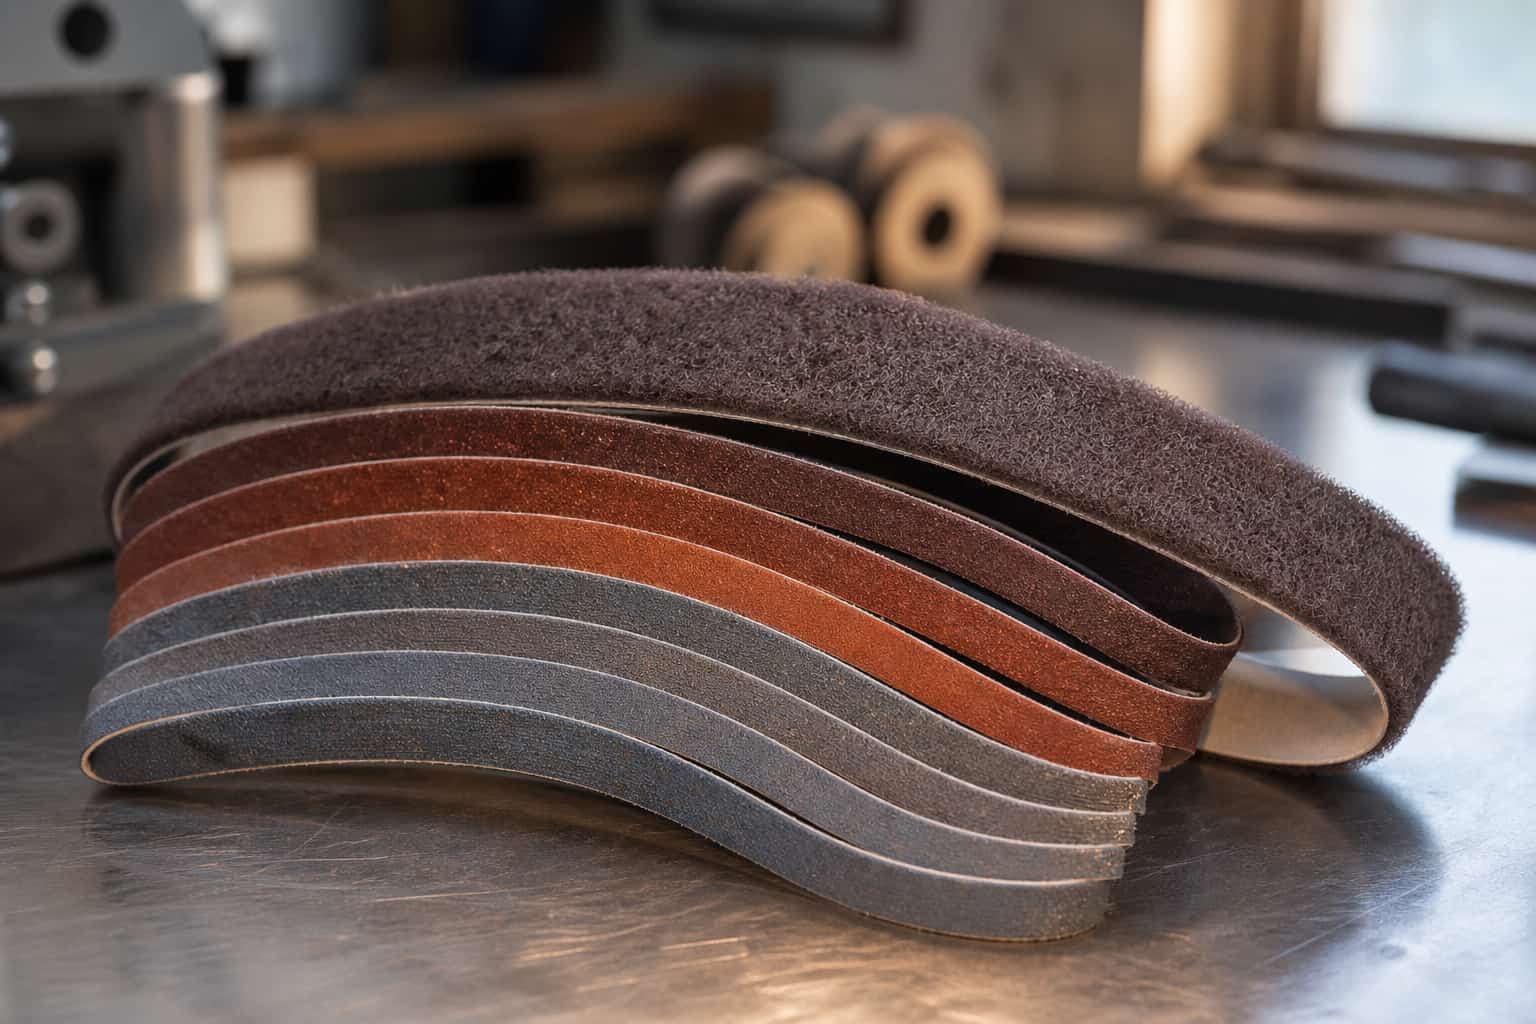
Abrasives
A knifemaker's sharpening guide: choosing angles, raising and removing the burr, stones vs. guided systems vs. belt sharpening, and testing.
5 min readWritten by Rich LinvilleFree to read
Sharpening is where knifemaking gets humbled: you can grind a flawless blade and still hand someone a knife that won’t slice paper. The good news — sharpening isn’t magic or “feel.” It’s three learnable ideas: hold a consistent angle, raise a burr, remove the burr. Everything else — stones, systems, belts, strops — is just different hardware for doing those three things. This guide is the foundation; every steel page on ForgeBrain also has a steel-specific sharpening guide (like MagnaCut, D2, or 1095) with belt and abrasive specifics.
An edge is just two ground surfaces meeting at a clean line (the apex). A knife is dull when that line is rounded, chipped, or covered by leftover burr. Sharpening = grinding both sides until they truly meet, then cleaning up the meeting line. That’s the whole job. If a blade never seems to get sharp no matter how long you work, one of those two steps isn’t happening — see Blade Won’t Take a Sharp Edge.
Two things matter more than the exact number. First, consistency beats precision: a steady 18° beats a wobbling “exactly 15°” every time — angle wobble rounds the apex you’re trying to create. Second, the steel and its hardness set the floor: a soft or tough-but-coarse steel folds or chips at angles a hard, fine-grained steel holds happily. That’s the hardness-toughness tradeoff from our HRC guide showing up at the apex. Edge chipping in use is its own diagnosis — see the troubleshooting entry.
Grind one side of an edge long enough and the steel at the apex bends away from the stone, forming a tiny wire — the burr. Feel for it by dragging fingertips away from the edge (never along it) on the side opposite the one you’re grinding. The burr is the single most useful signal in sharpening: it proves you’ve reached the apex on that side. Work one side until the burr runs the full edge length, flip, repeat, then remove the burr with progressively lighter alternating strokes. Most “I sharpened for an hour and it’s still dull” stories are either a burr never raised (never reached the apex) or a burr never removed (the wire folds over in the first cut).
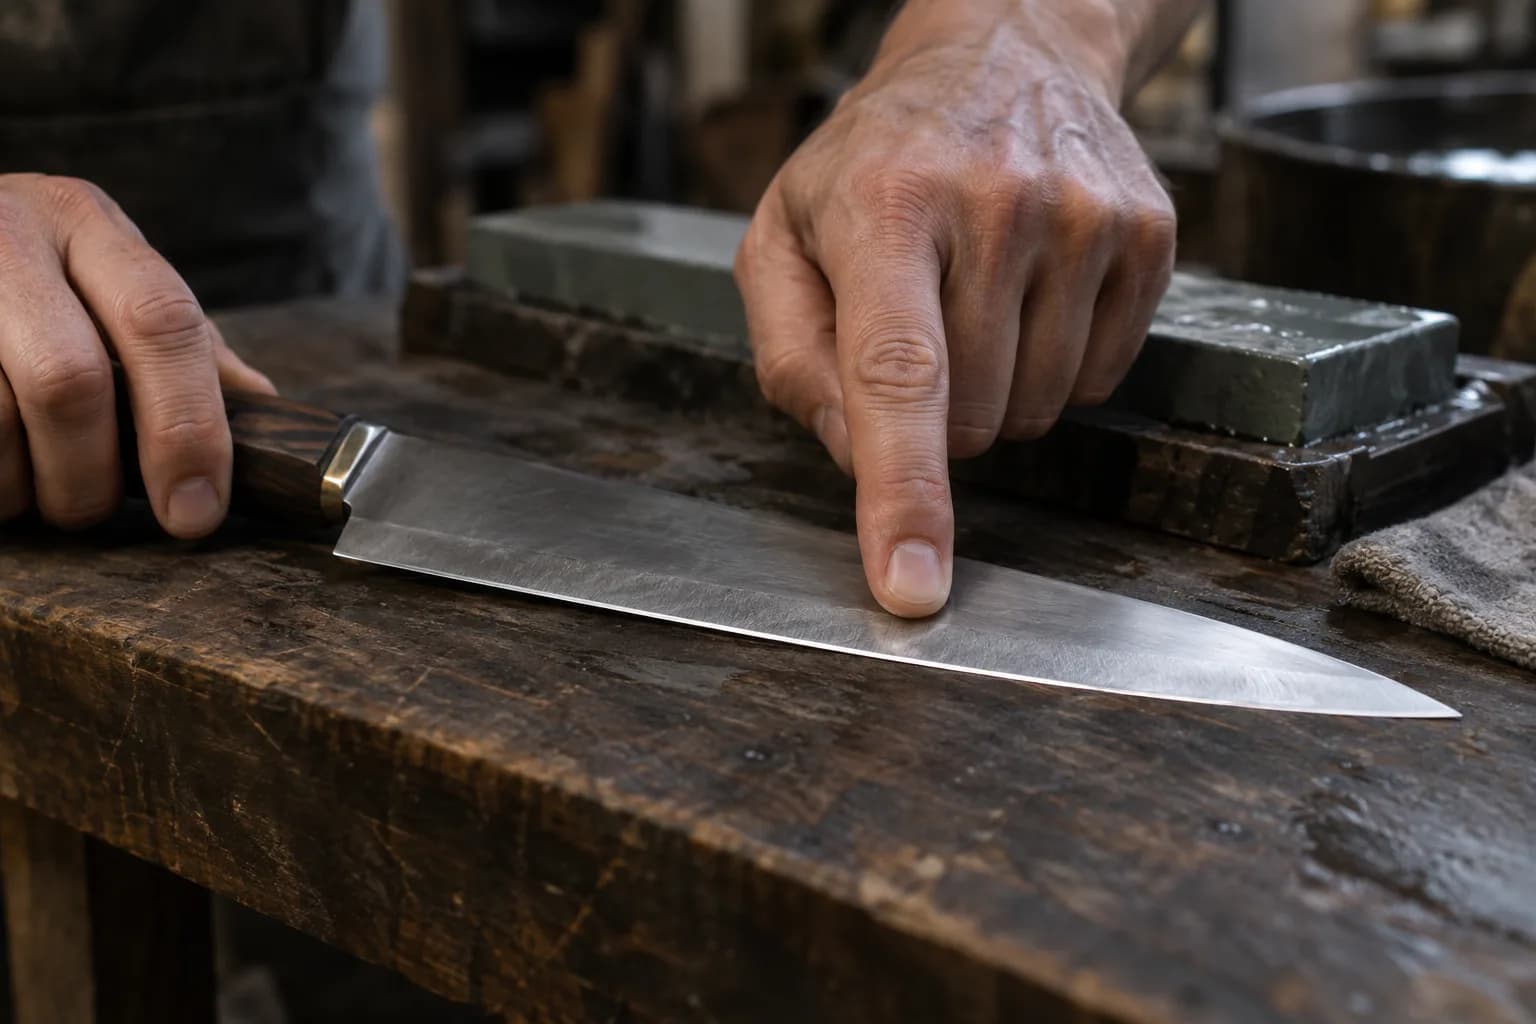
A practical progression: coarse (220–400) to set the bevel or fix damage, medium (~1,000) to refine, fine (3,000+) only if the knife’s job rewards polish. Not every knife should be polished to a mirror: a ~400–1,000 grit “toothy” edge out-slices a polished one on rope, cardboard, and tomatoes, while polished edges excel at push cuts and wood. Match the finish to the work.
Steel choice caps this decision too: carbide structure determines how fine an edge a steel can actually hold — the full explanation is in Carbide Size and Sharpening, one of the most useful metallurgy reads on this site. The short version: fine-grained steels (AEB-L, 52100, MagnaCut) reward high polish; big-carbide steels (D2) do their best work with a toothy finish.
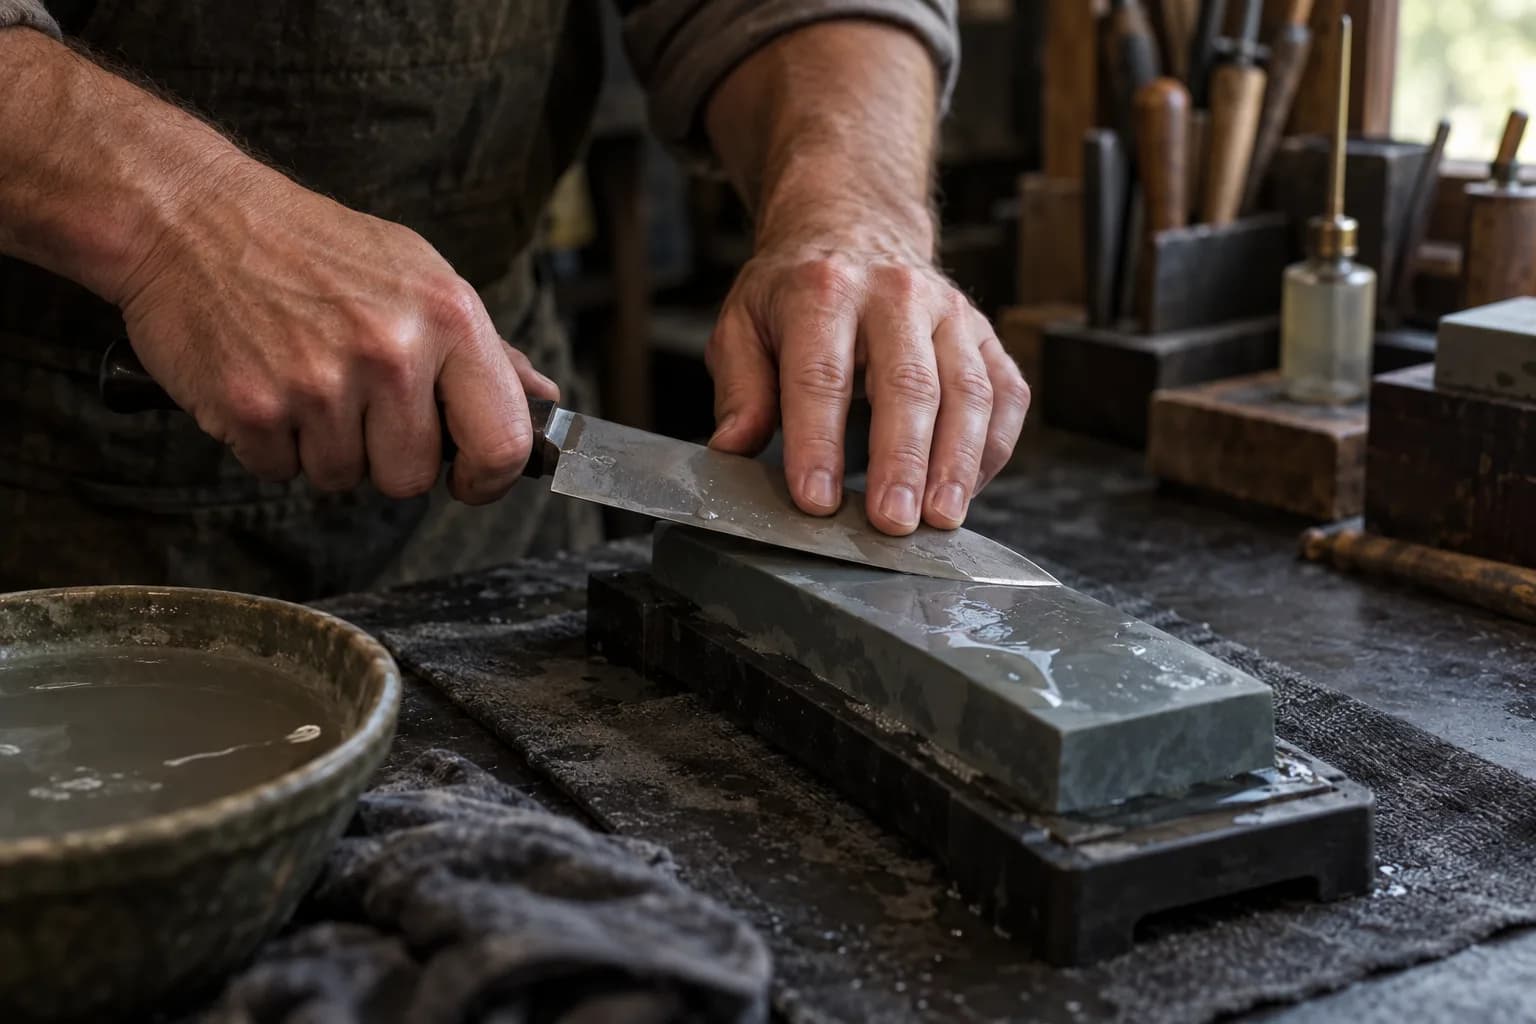
The traditional skill: oil stones, water stones, or diamond plates plus your own hands holding the angle. Slowest to learn, most versatile forever after. One non-negotiable: high-vanadium PM steels (S30V, S90V, Maxamet-class) need diamond or CBN abrasives — their vanadium carbides are harder than natural and aluminum-oxide stones, which just polish around them (again, see carbide size). Simple carbon steels sharpen happily on anything.
Lansky, KME, Work Sharp Precision Adjust, Wicked Edge, TSPROF and similar clamp the blade and fix the stone’s angle mechanically — solving the consistency problem with hardware. Excellent for learning what a properly apexed edge feels like, and how many makers sharpen the knives they sell. Tradeoffs: setup time per knife, and re-clamping variance between sessions.
The knifemaker’s home advantage: you already own the tool. A fine belt (400+ through leather), slack section, edge trailing, light pressure, slow speed — and a knife goes from dull to shaving in two minutes. This is how many working makers sharpen every knife out the door. Two cautions: a belt convexes the edge slightly (fine — arguably better — for working knives), and heat kills edges: thin apex steel overheats in a blink at high SFPM, so slow the machine down and dip often. A leather stropping belt loaded with compound is the finishing touch. Belt specifics live in the Belt Buyer’s Guide; if you’re evaluating machines with slow-speed control for exactly this kind of finesse work, that’s a core spec covered in our 2×72 buyer’s guide.
Leather (or basswood) plus honing compound, edge trailing, feather-light. Strops don’t sharpen a dull knife — they realign and refine an already-apexed edge and remove the last whisper of burr. A loaded strop between real sharpenings keeps a working knife shaving for weeks.
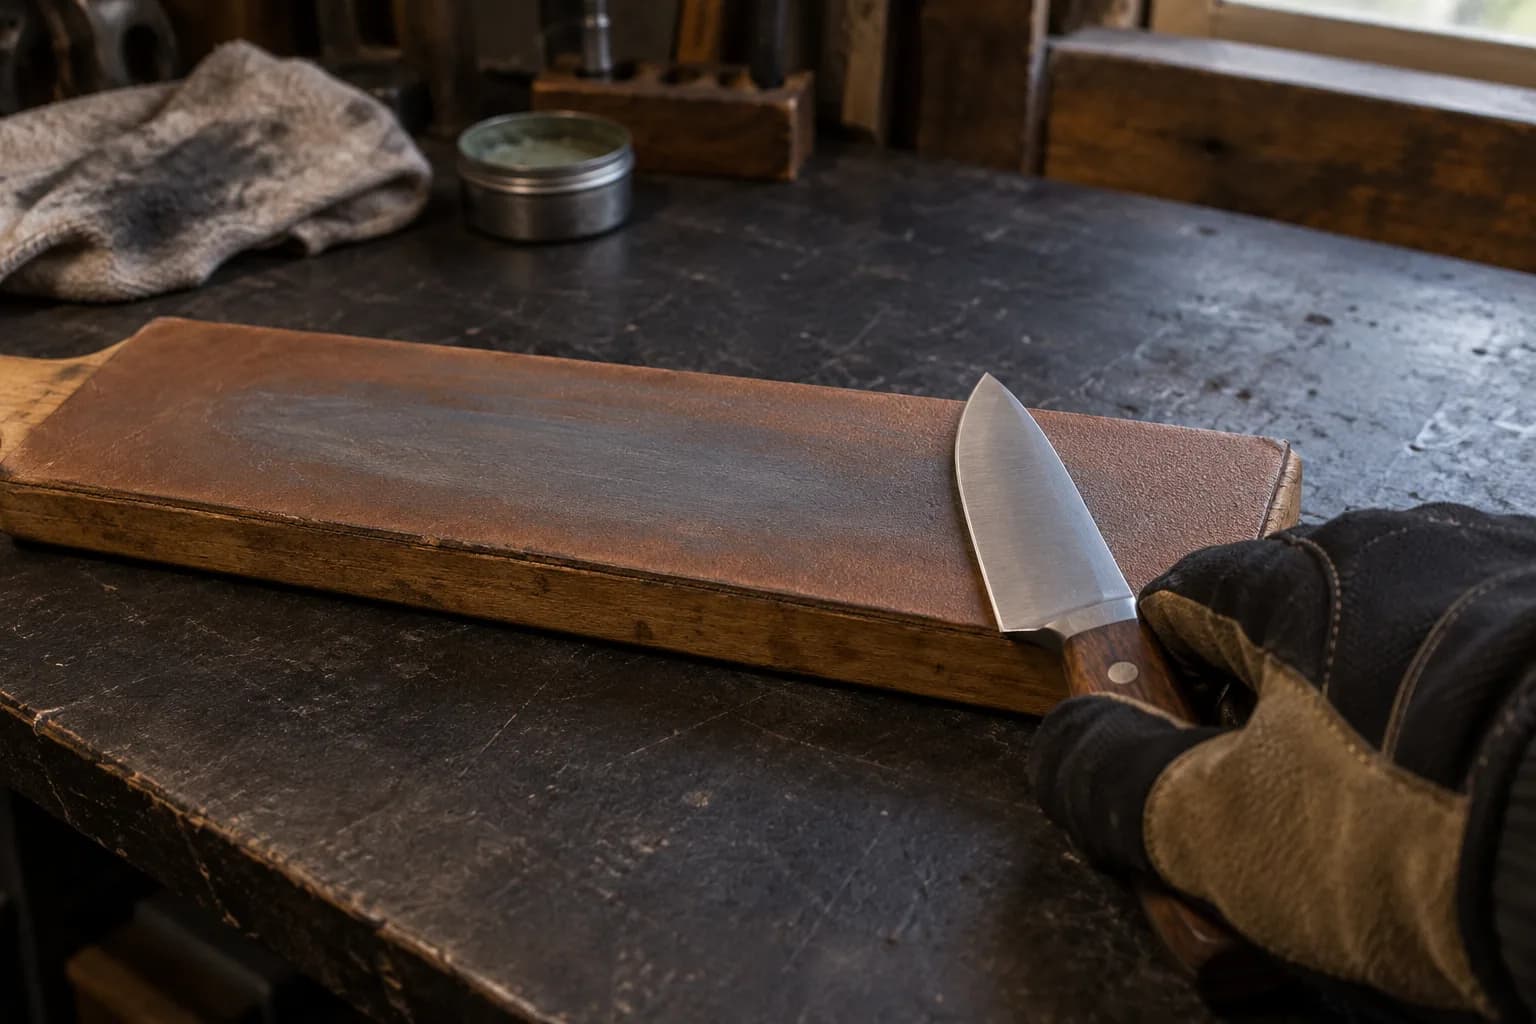
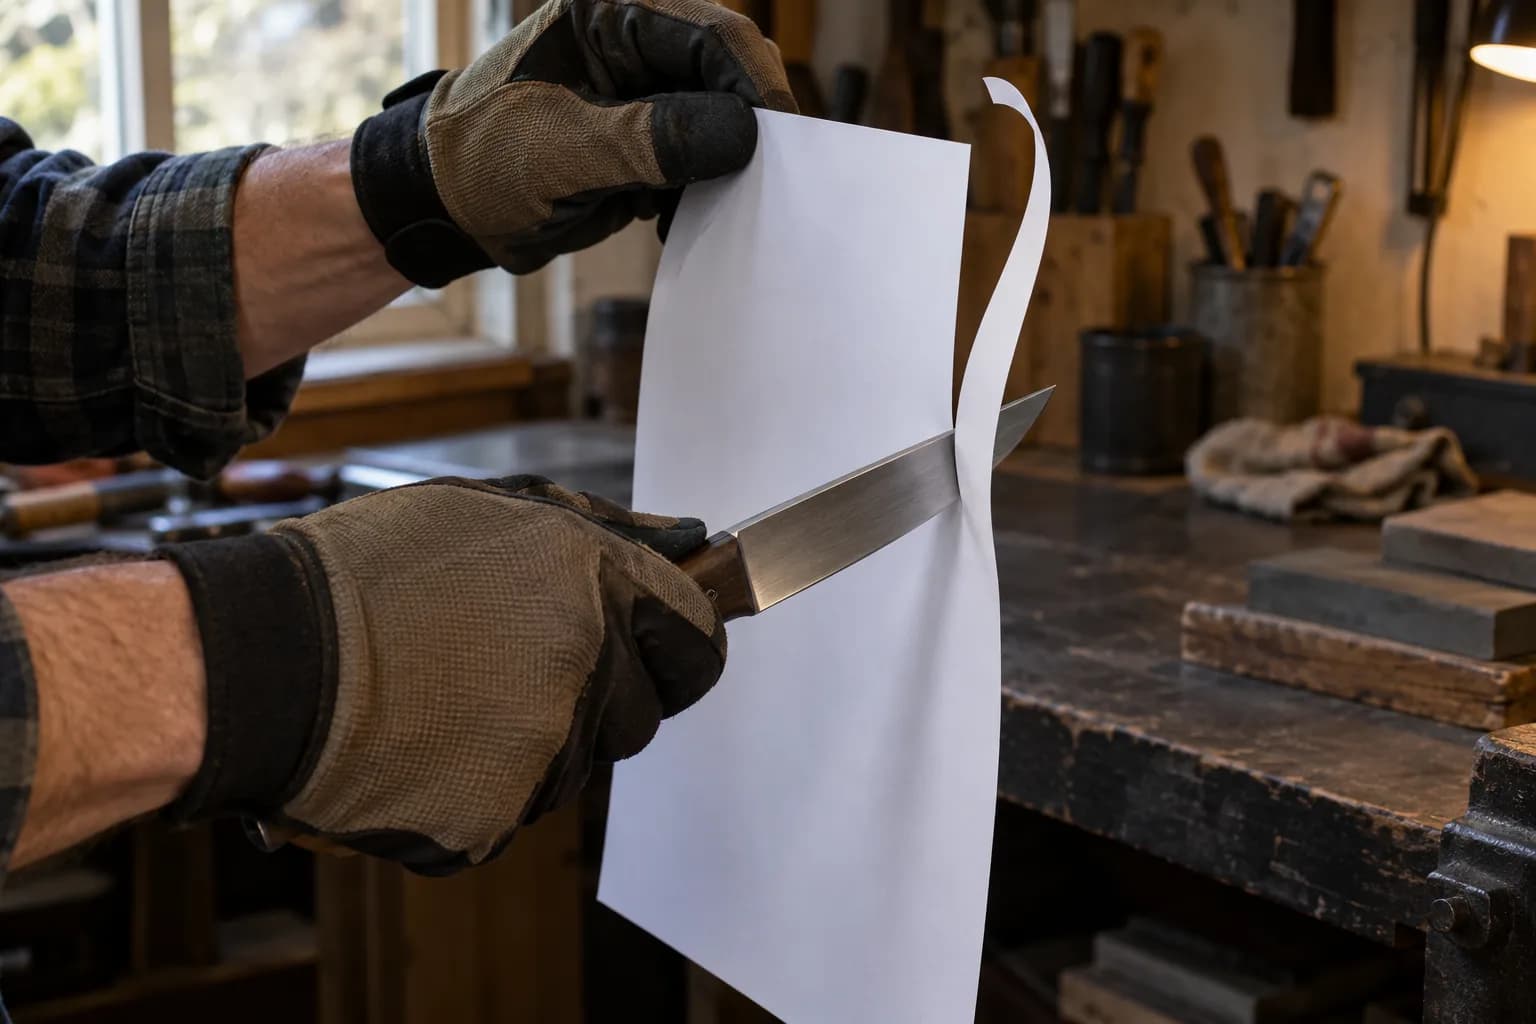
A freshly ground bevel — even at 400 grit — is not an edge; it’s two surfaces that almost meet. New makers routinely under-appreciate this: after heat treat and final grinding, every knife needs a true sharpening (apex, burr, deburr) before it leaves the shop. A “finished” knife that won’t shave isn’t finished. Grind geometry sets how easily a knife cuts (see grind types and single vs. double bevel); the sharpening puts the actual cutting line on it.
Keep reading
Three more from the same bench.
Two steels with similar hardness numbers can feel completely different under a sharpening stone, one glides along smoothly, another feels like it’s…
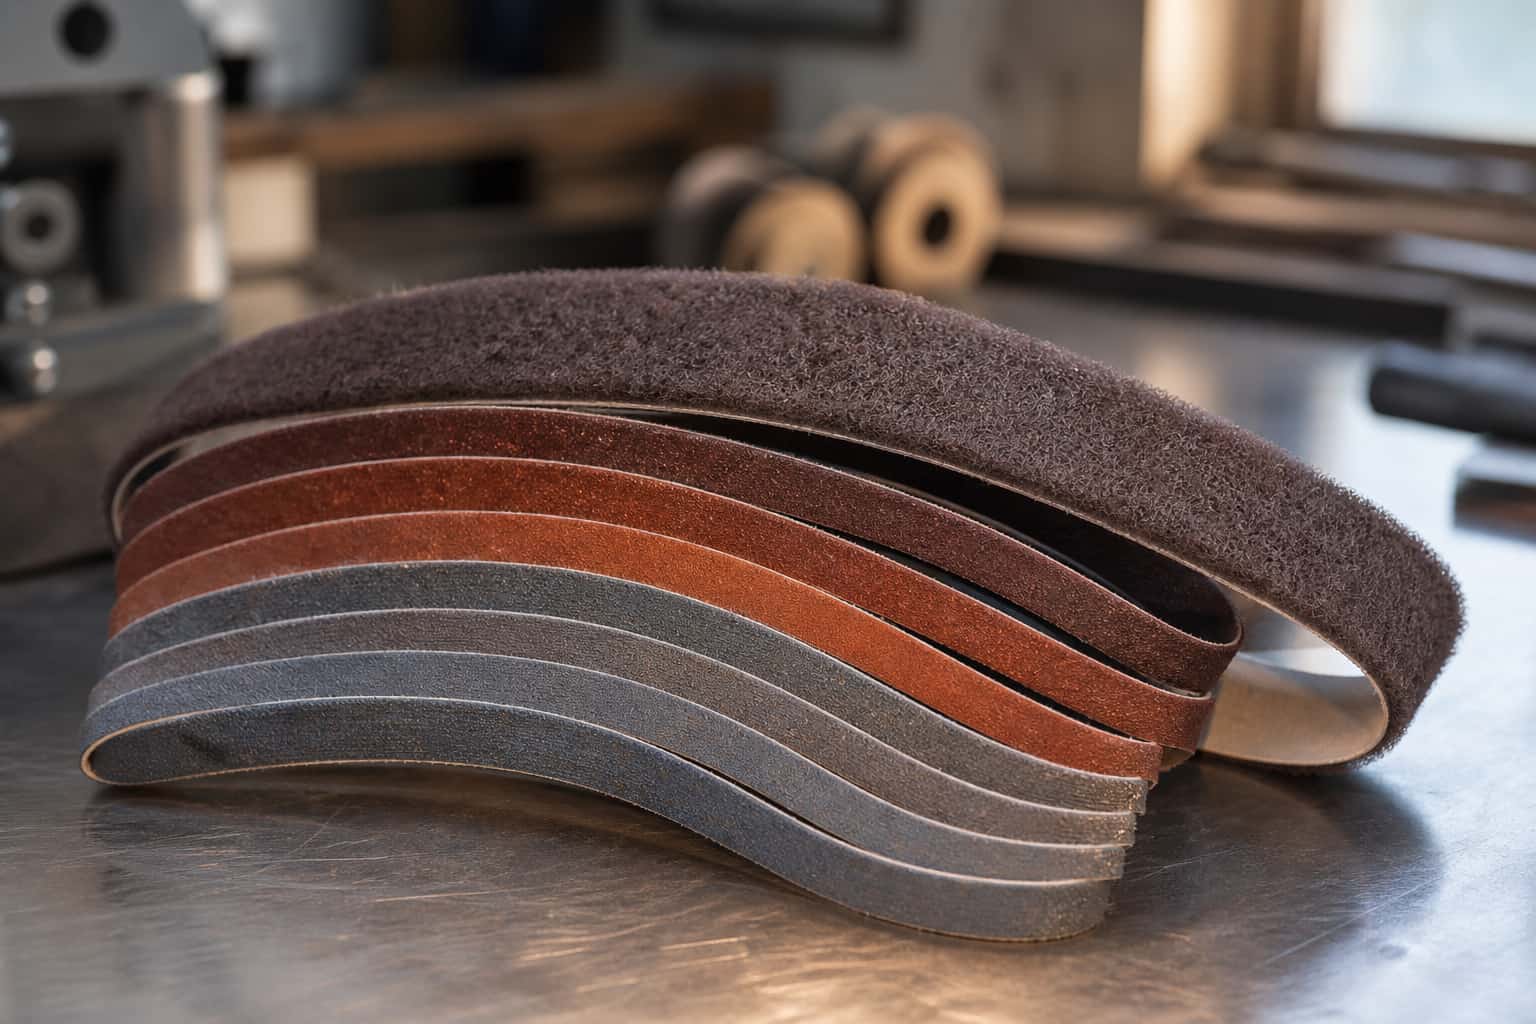
Belts are the single biggest recurring cost in this hobby, and buying the wrong ones wastes money twice: once on belts that wear out fast, and again on…
Every Torus ships as a complete assembled chassis with the motor sold separately — which hands you the one decision that shapes the machine’s personality…
Same bench
I machine the parts, hand-assemble, track and test Torus grinders in Sterling, Illinois. Most orders ship in seven to ten business days from time of order.
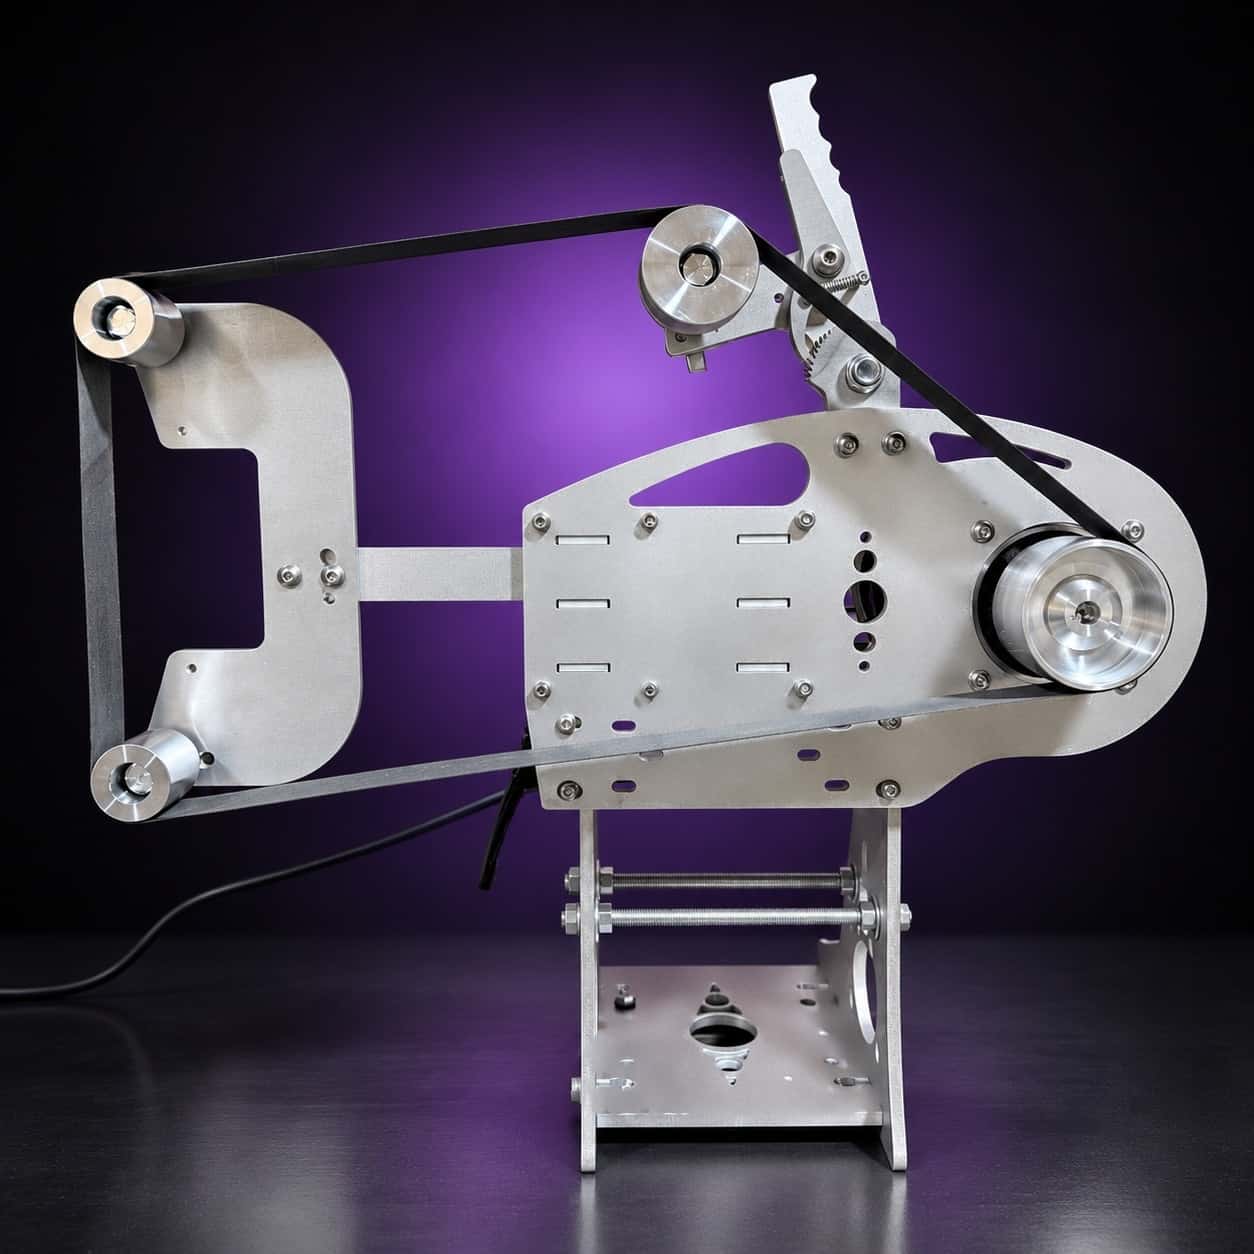
Current dual-axis platform with a fiber-laser-cut 6061 chassis and single-knob tracking.
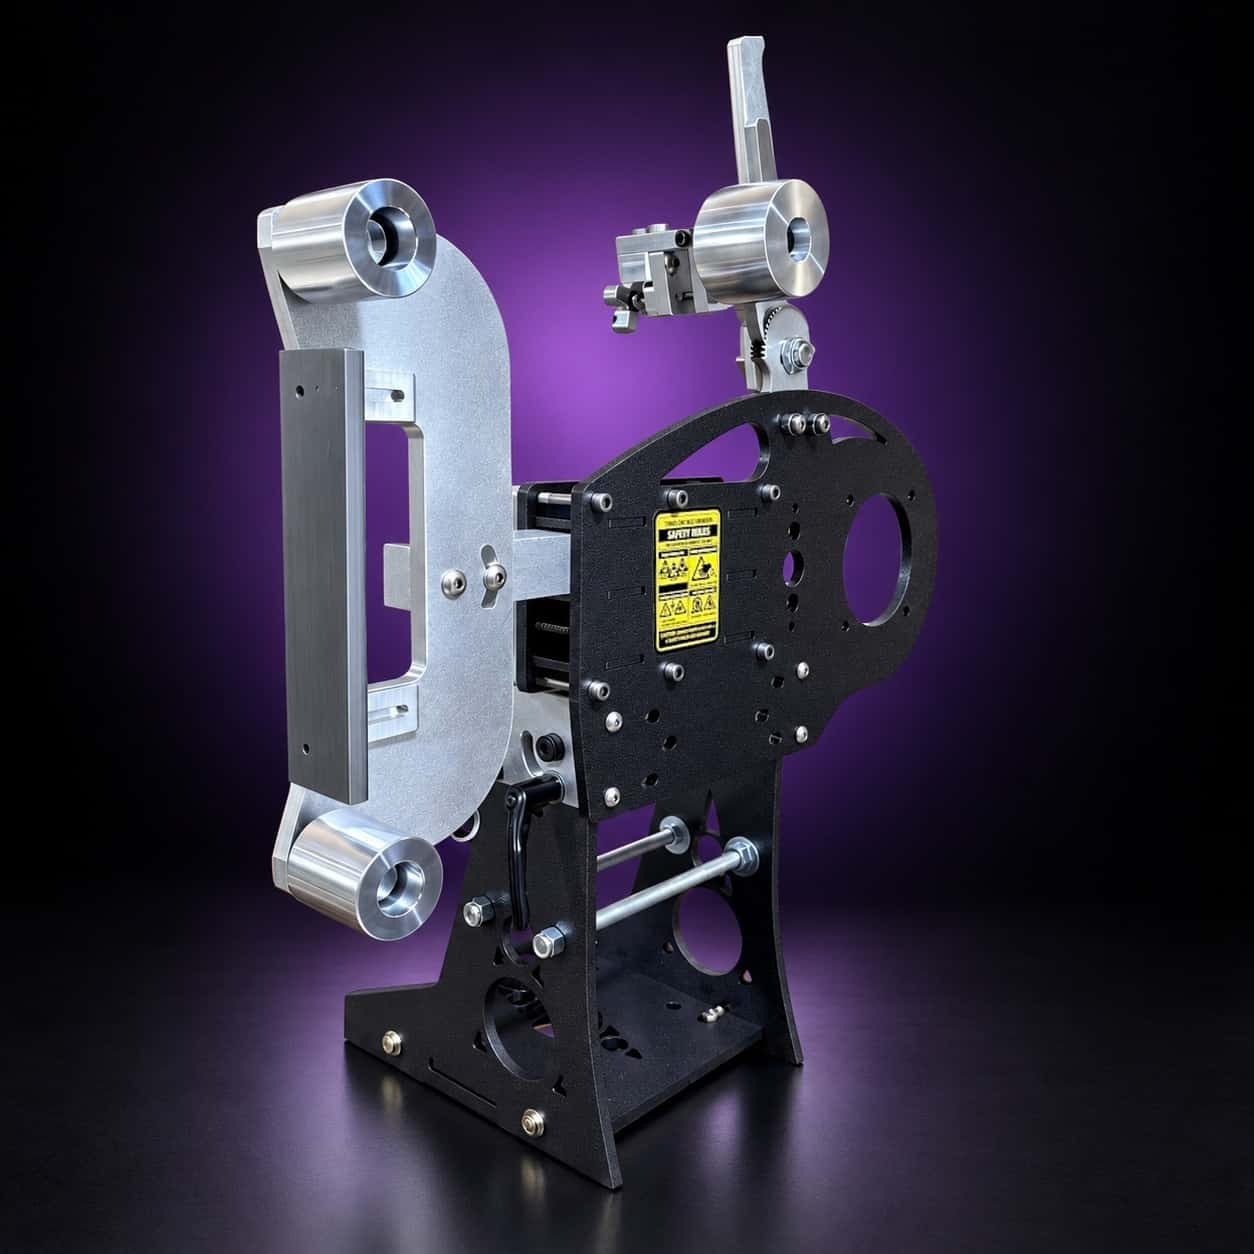
Current dual-axis platform with a steel chassis, more mass and less vibration.
These are the last Nebula chassis available until the next release. Once this run sells out, availability pauses until the next run is ready.
Next release: 10 more chassis expected Nov 17–Nov 24 (3–4 weeks from Oct 27).
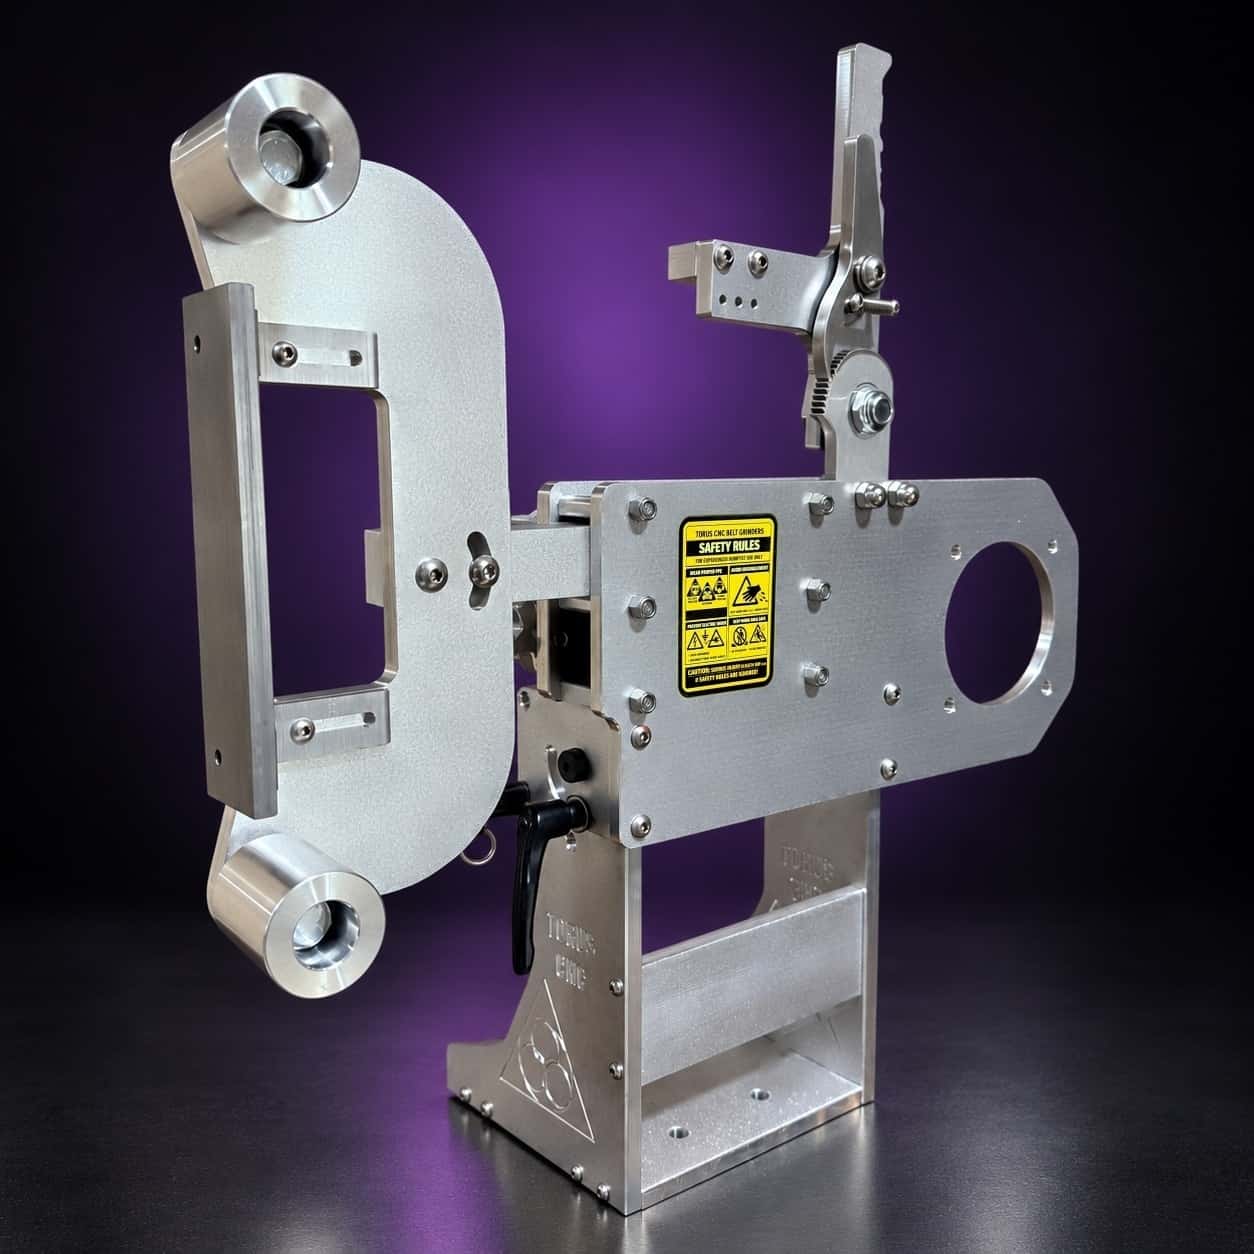
Prior-design aluminum chassis, 90-degree tilt and 1.5-inch tooling arms.
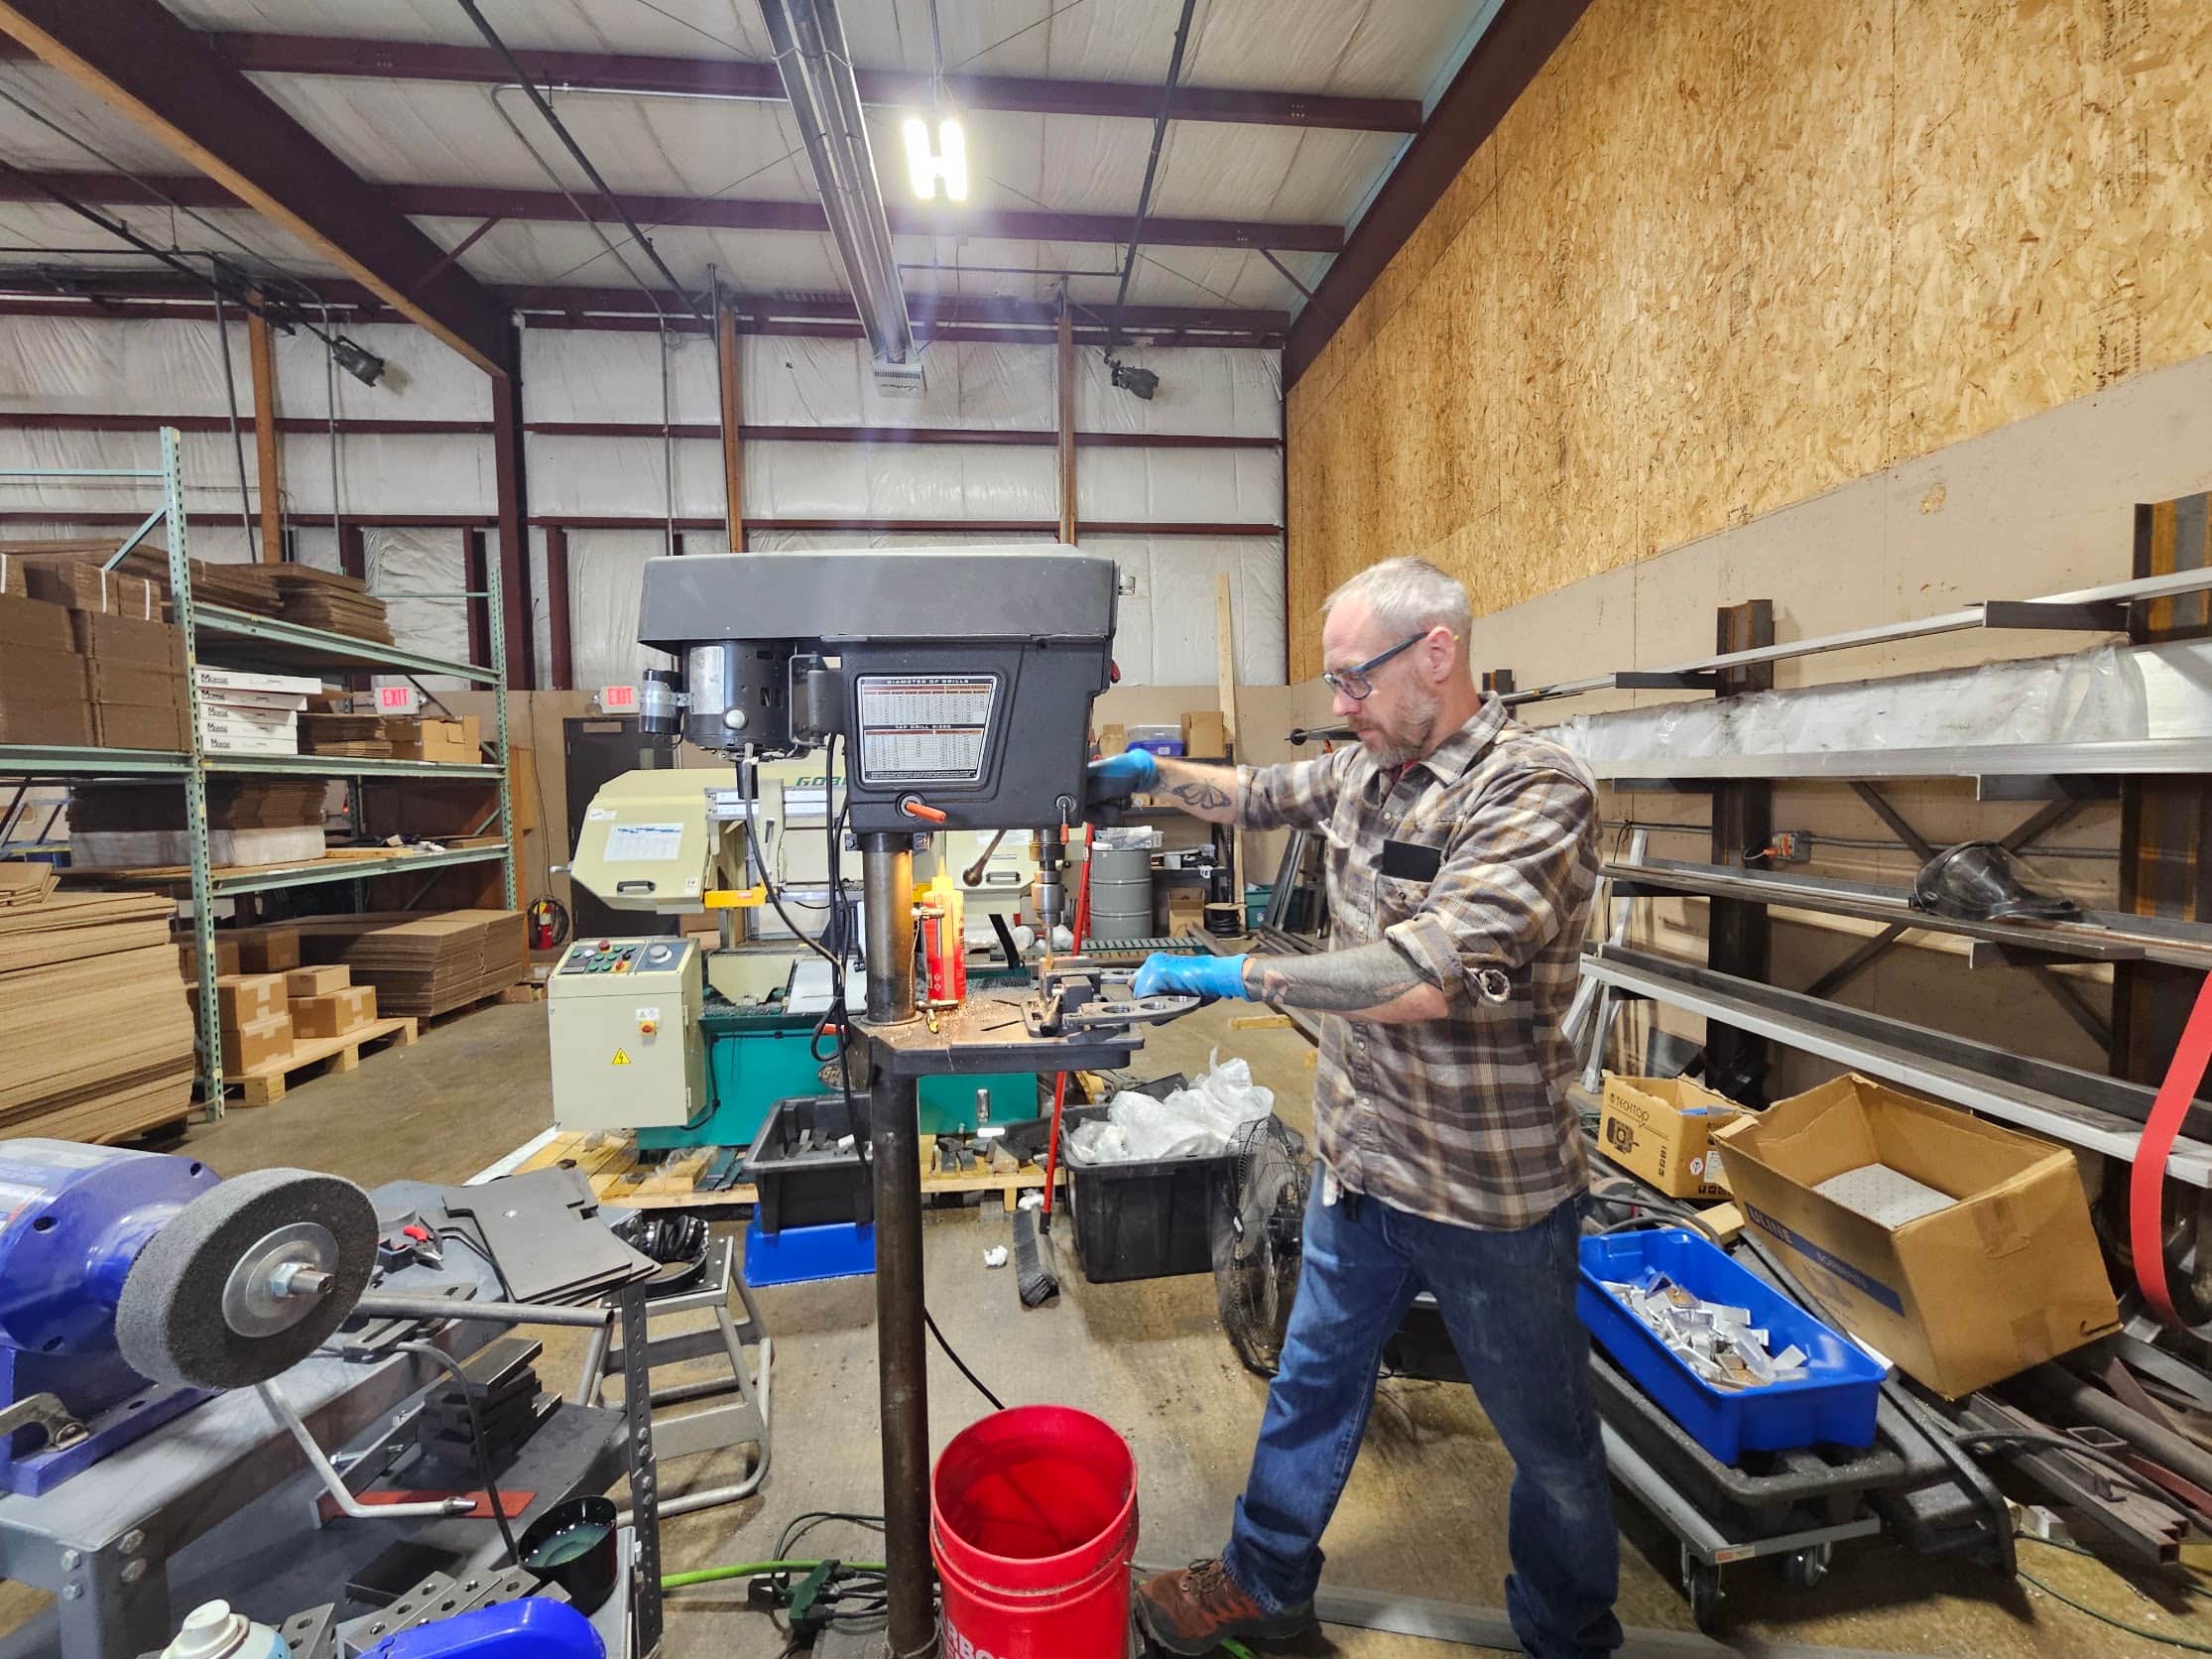
One-man shop
I answer my own email. Tell me the steel, the machine and what it is doing, and I will tell you what I would try next.