
Heat Treat
Heat Treating Knife Steel: Complete Guide
Heat treating is what turns a piece of flat bar stock into a functional knife blade. Done correctly, it transforms the steel’s internal crystal structure…
Heat Treat
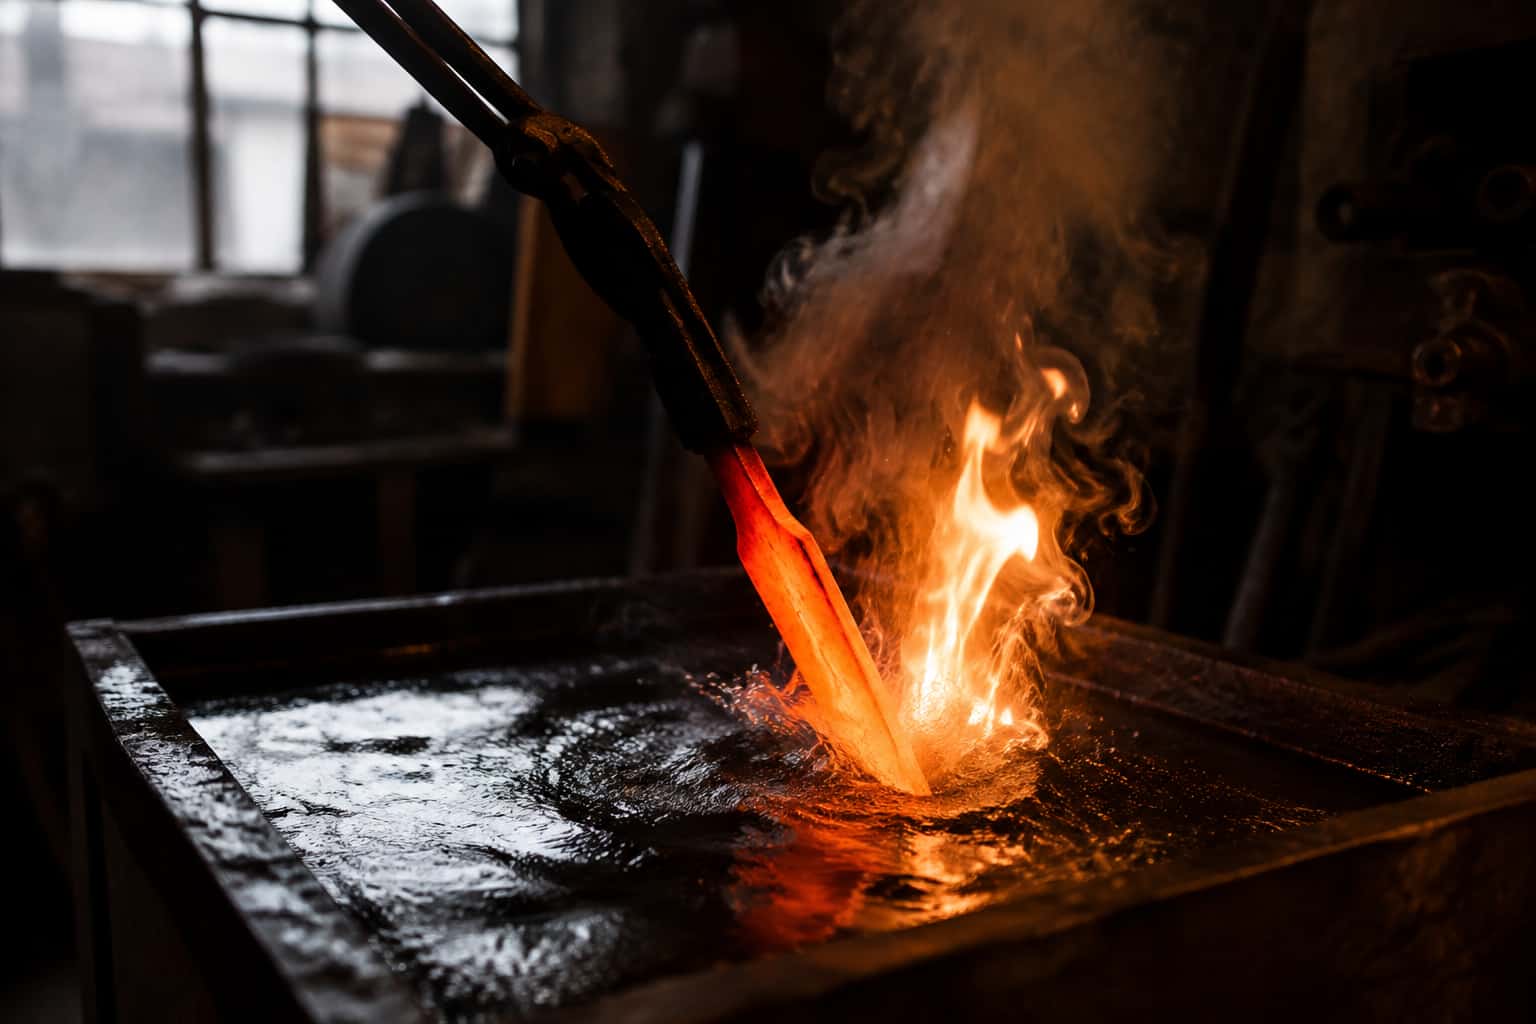
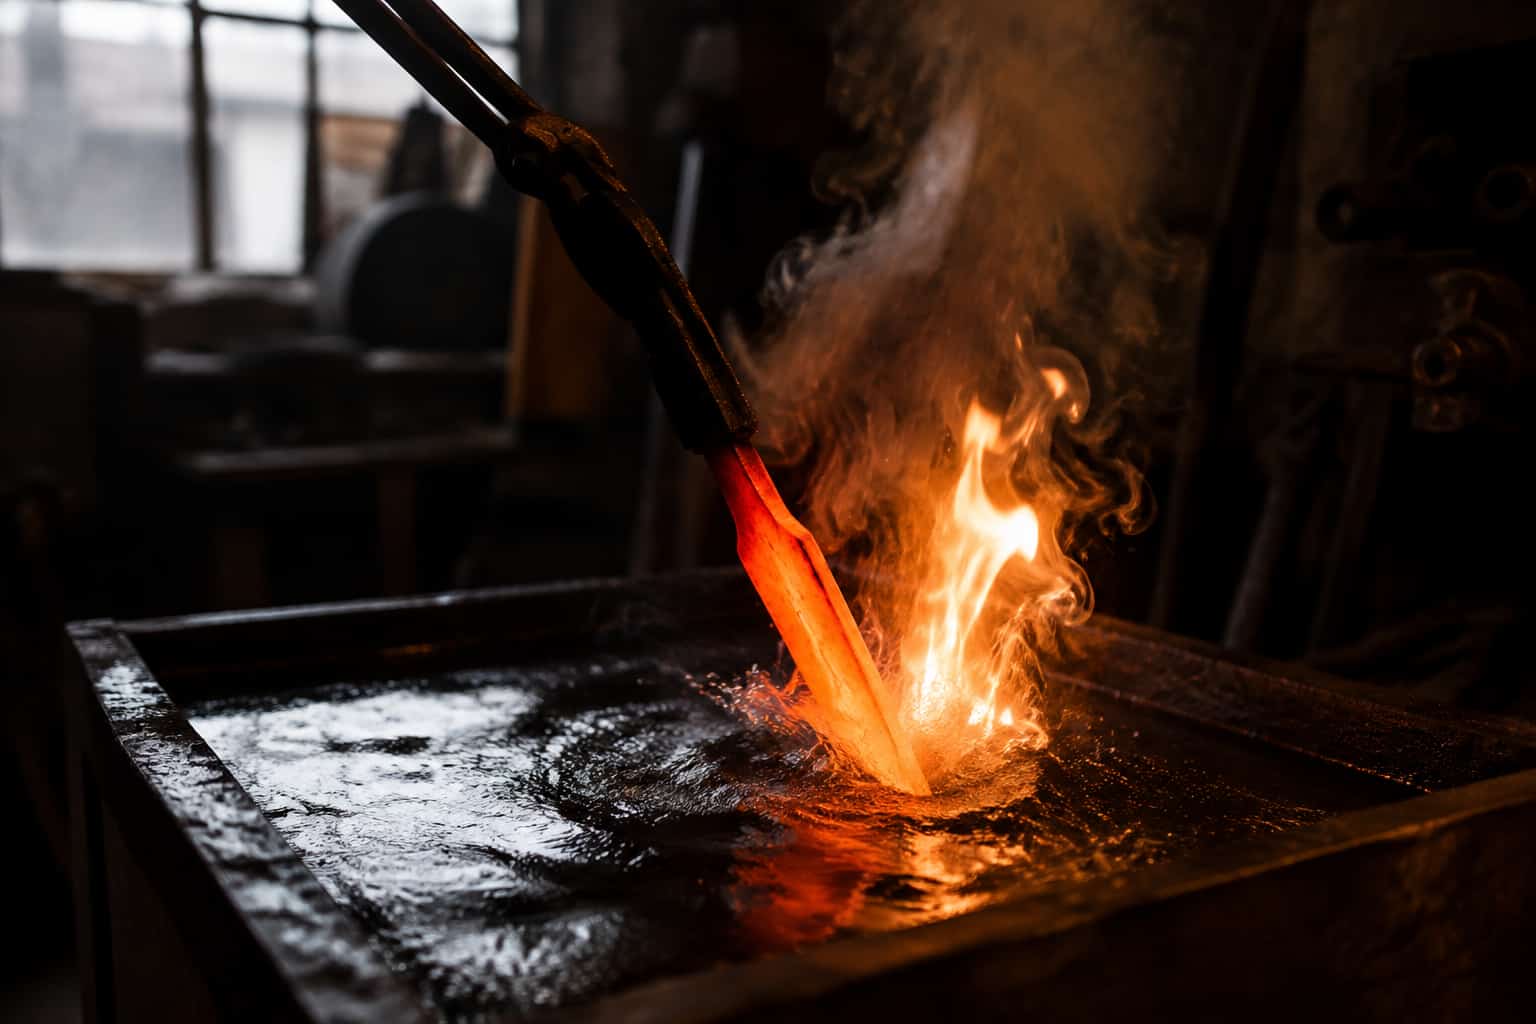
Harden 1084 with a propane torch and a magnet: heat evenly past non-magnetic, quench in warmed fast oil, temper twice, and know which steels need a pro.
4 min readWritten by Rich LinvilleFree to read
“Do I need a $1,000+ kiln to heat treat a knife?” No — and pretending otherwise keeps a lot of people from ever making their first blade. Makers hardened steel over open flames for centuries, and with the right steel, a propane torch, a magnet, and a proper quench oil, you can produce a genuinely hard, tough blade in a garage. This guide covers what actually works without a kiln, the exact process, and — just as important — where the no-kiln approach honestly hits its limits.
A heat treat kiln does three things a torch can’t: it holds an exact temperature, it holds it evenly across the whole blade, and it holds it for time (the soak). Simple carbon steels tolerate imprecision on all three. Complex steels don’t — which is why the steel choice below matters more than technique. For the metallurgy behind all of this, see what’s actually happening during heat treat.
Low-carbide stainless: forge yes, torch no. AEB-L, 14C28N and Nitro-V harden from a forge. Bring the blade to about 1925 to 1975°F (1050 to 1080°C), give it a short soak, and quench in fast oil or between plates. The magnet is no help here (stainless goes non-magnetic far below that heat), so you judge it by color and practice. Expect a point or two less hardness and consistency than a kiln gives, around 58 to 60 HRC against 60 to 62. Still a good knife. A hand torch can’t hold that heat evenly enough.
What doesn’t work: high-carbide stainless and powder metallurgy steels. MagnaCut, CPM steels, M390, VG-10, 154CM — these need precise high-temperature soaks, foil wrap, plate quenching, and usually cryo. No torch or forge can do it. For those steels, send your blades to a professional heat treating service — it costs less than you’d think.
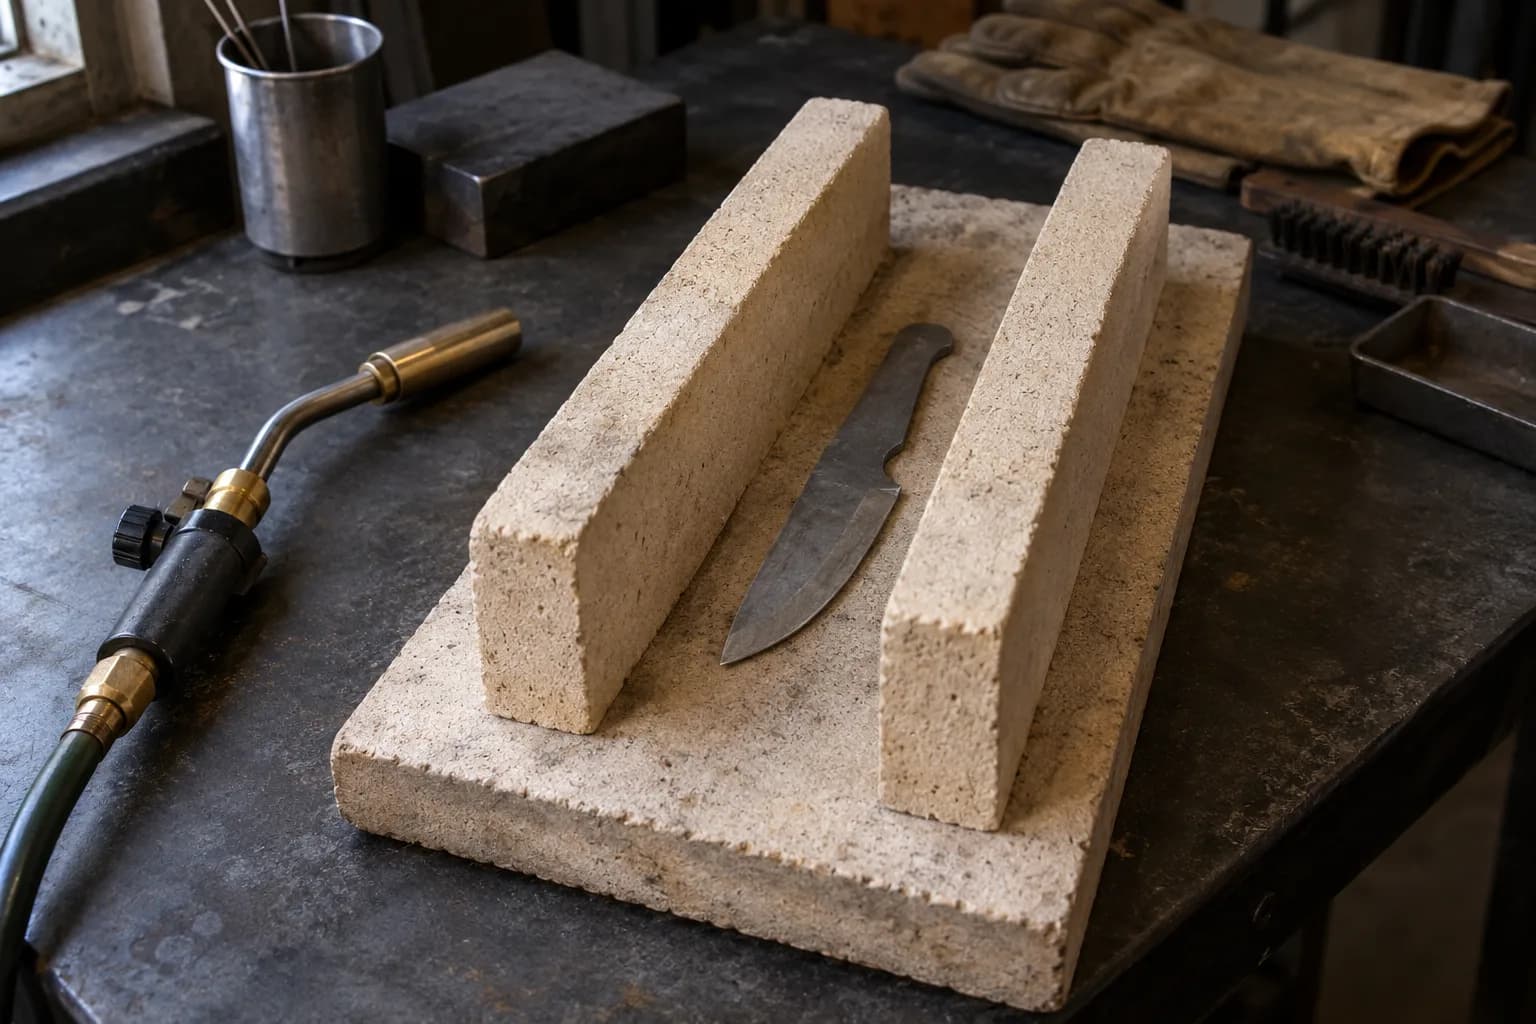
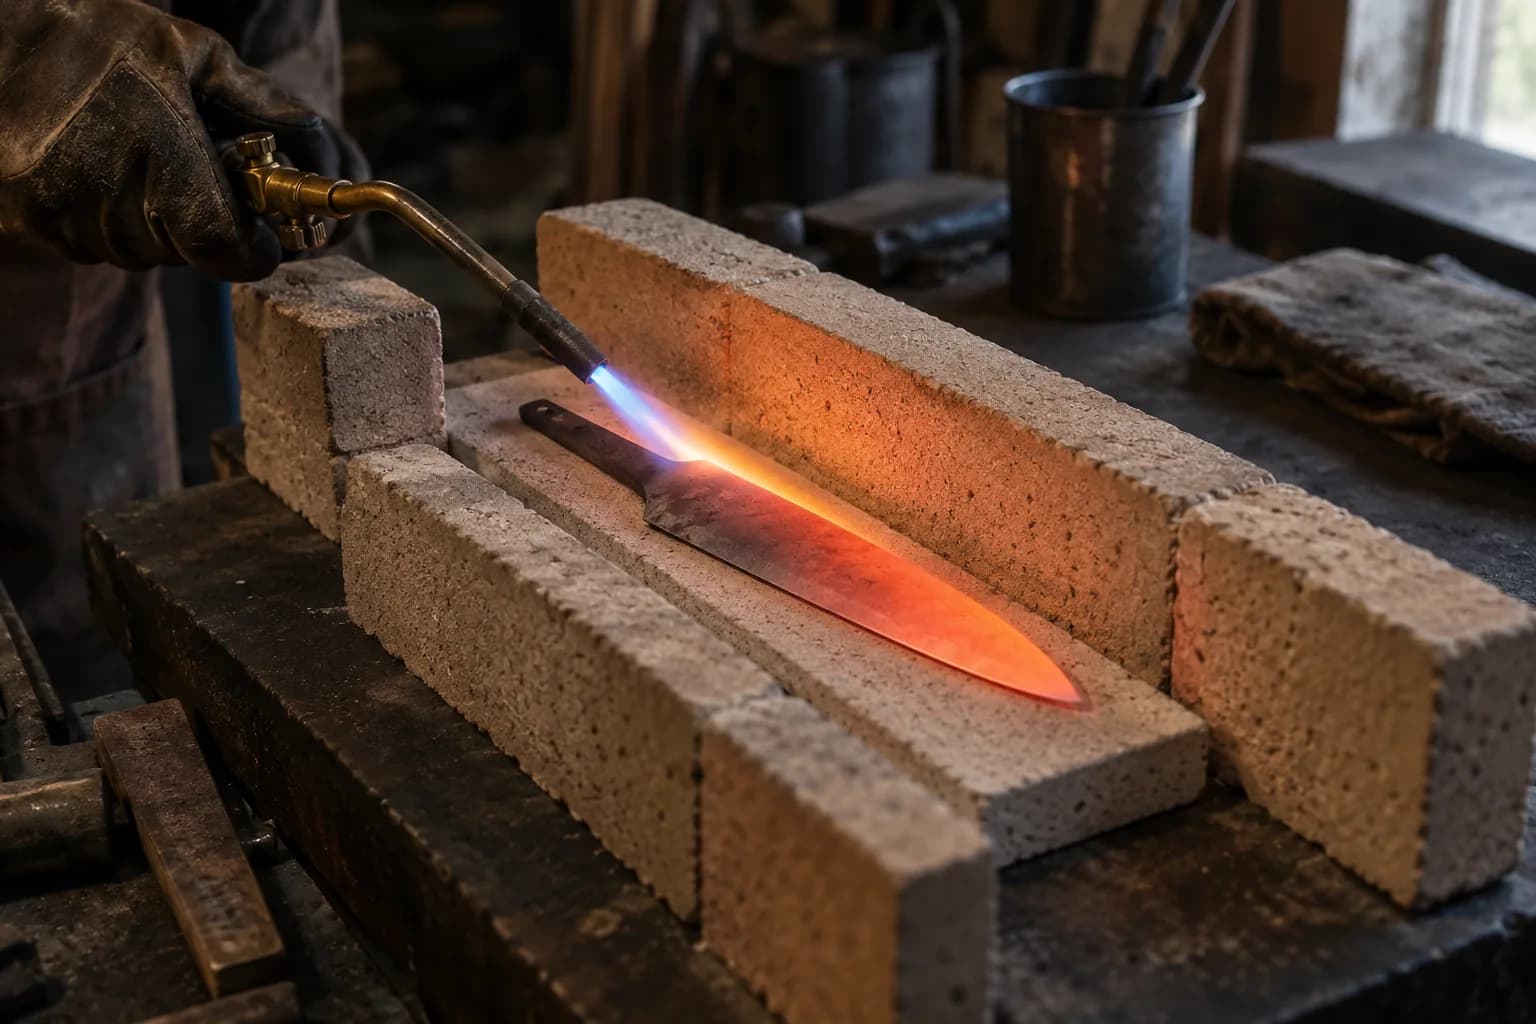
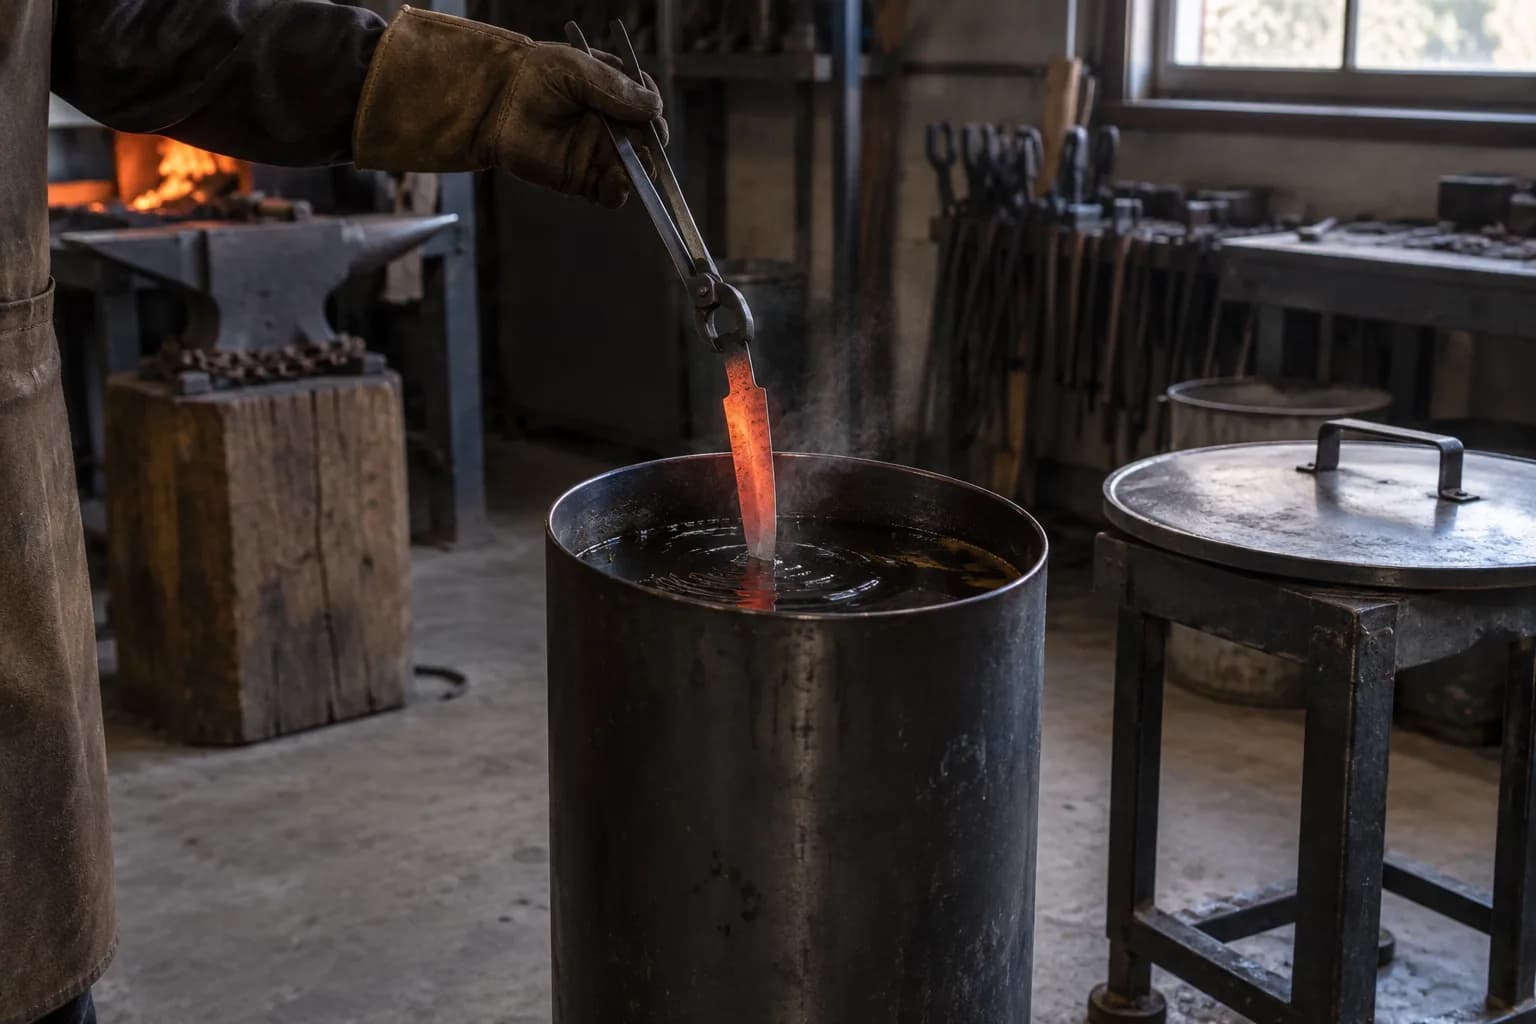
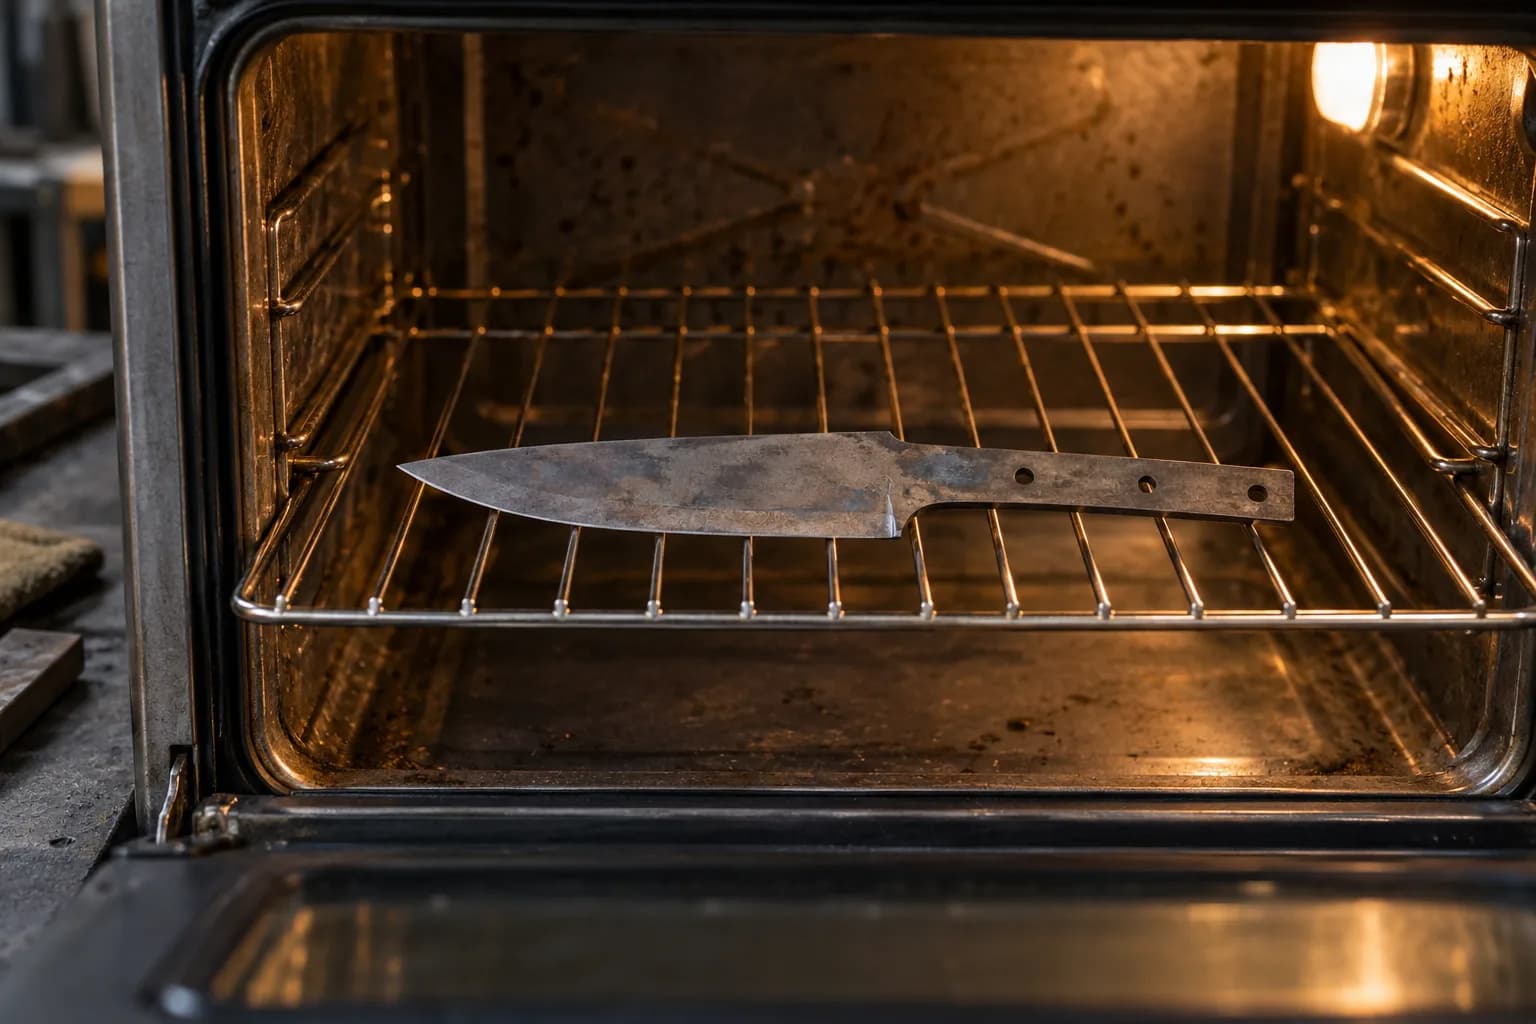
A torch heat treat done carefully makes a real knife. But know the tradeoffs: without a controlled soak and exact temperature you give up a point or two of potential hardness and some consistency blade-to-blade; edge geometry near the tip is easy to overheat; and thick-to-thin blades can harden unevenly. If your blades keep warping or cracking in the quench, the fix is usually more even heat, not more heat.
When you’re ready for repeatability — or want the high-carbide stainless — the upgrade path is a real kiln (see the heat treat oven buyer’s guide) or outsourcing to the pros while you spend the kiln money on a better grinder.
Keep reading
Three more from the same bench.
Heat treating is what turns a piece of flat bar stock into a functional knife blade. Done correctly, it transforms the steel’s internal crystal structure…

Every new maker eventually stands in front of a hot blade holding the same question: what do I actually quench this in? The forum answers range from…
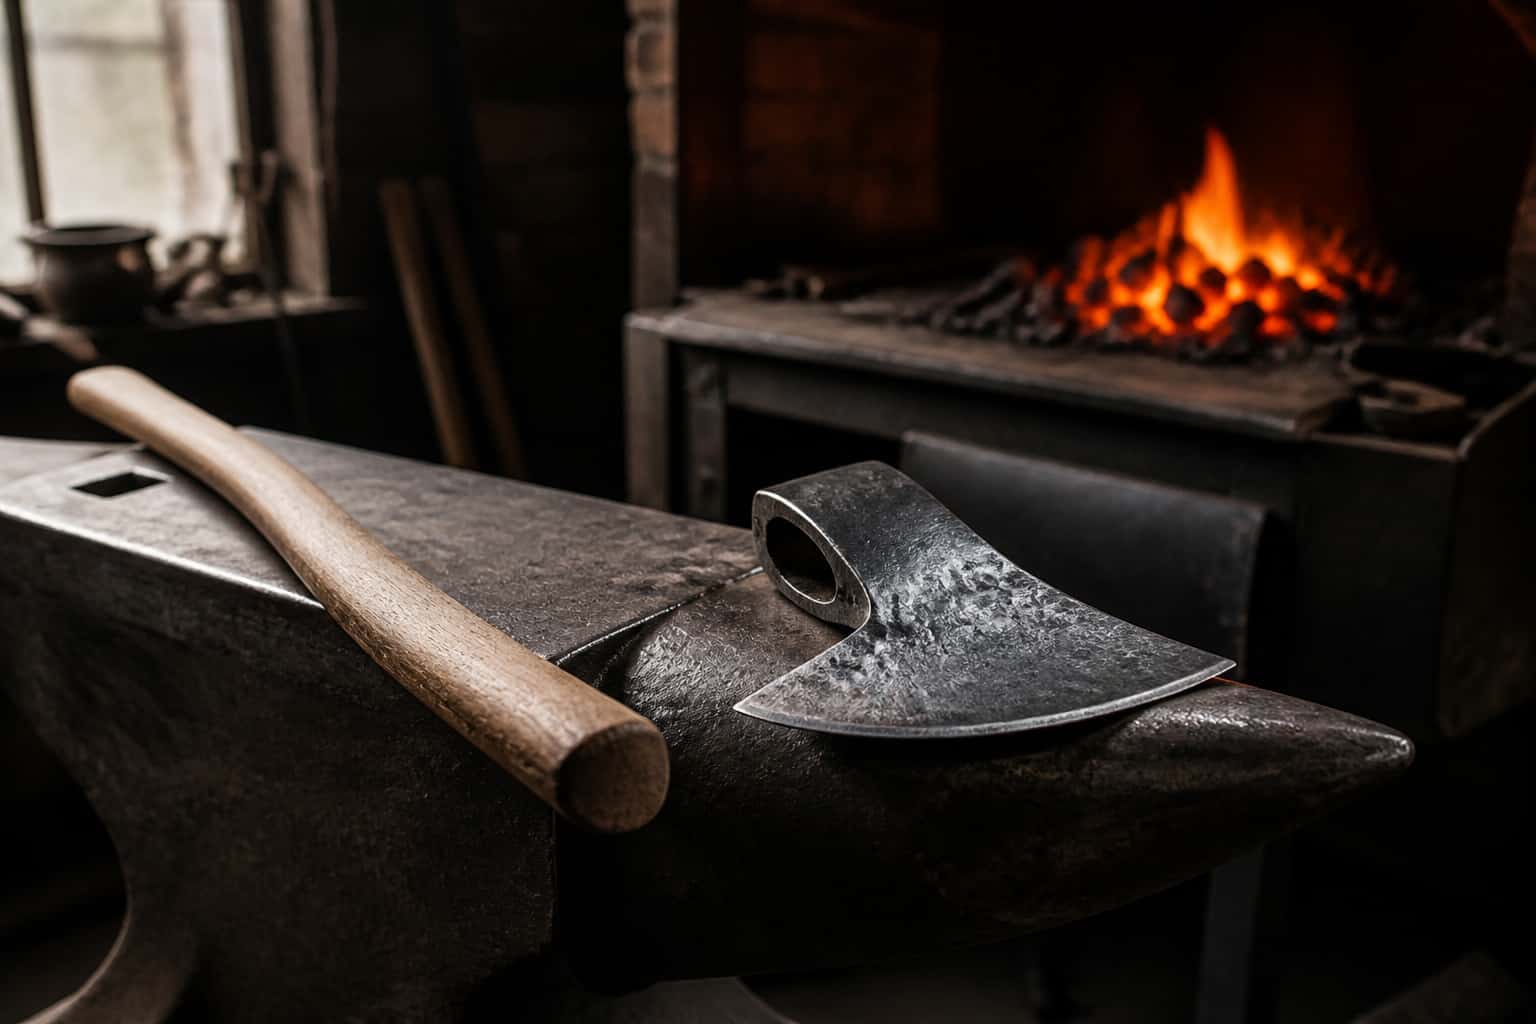
Here’s the secret experienced makers wish beginners learned sooner: you don’t have to do your own heat treating. Professional heat treating services exist…
Same bench
I machine the parts, hand-assemble, track and test Torus grinders in Sterling, Illinois. Most orders ship in seven to ten business days from time of order.

Current dual-axis platform with a fiber-laser-cut 6061 chassis and single-knob tracking.

Current dual-axis platform with a steel chassis, more mass and less vibration.

Prior-design aluminum chassis, 90-degree tilt and 1.5-inch tooling arms.

One-man shop
I answer my own email. Tell me the steel, the machine and what it is doing, and I will tell you what I would try next.