Blade Sharpening
Mastering the 400-Grit Hand-Sanded Finish
A 400-grit hand-sanded finish is the working knifemaker’s standard: clean, even and easy to maintain. Here is how I set it up on the 2×72, the hand-sanding technique, and how to chase out the stray scratch.
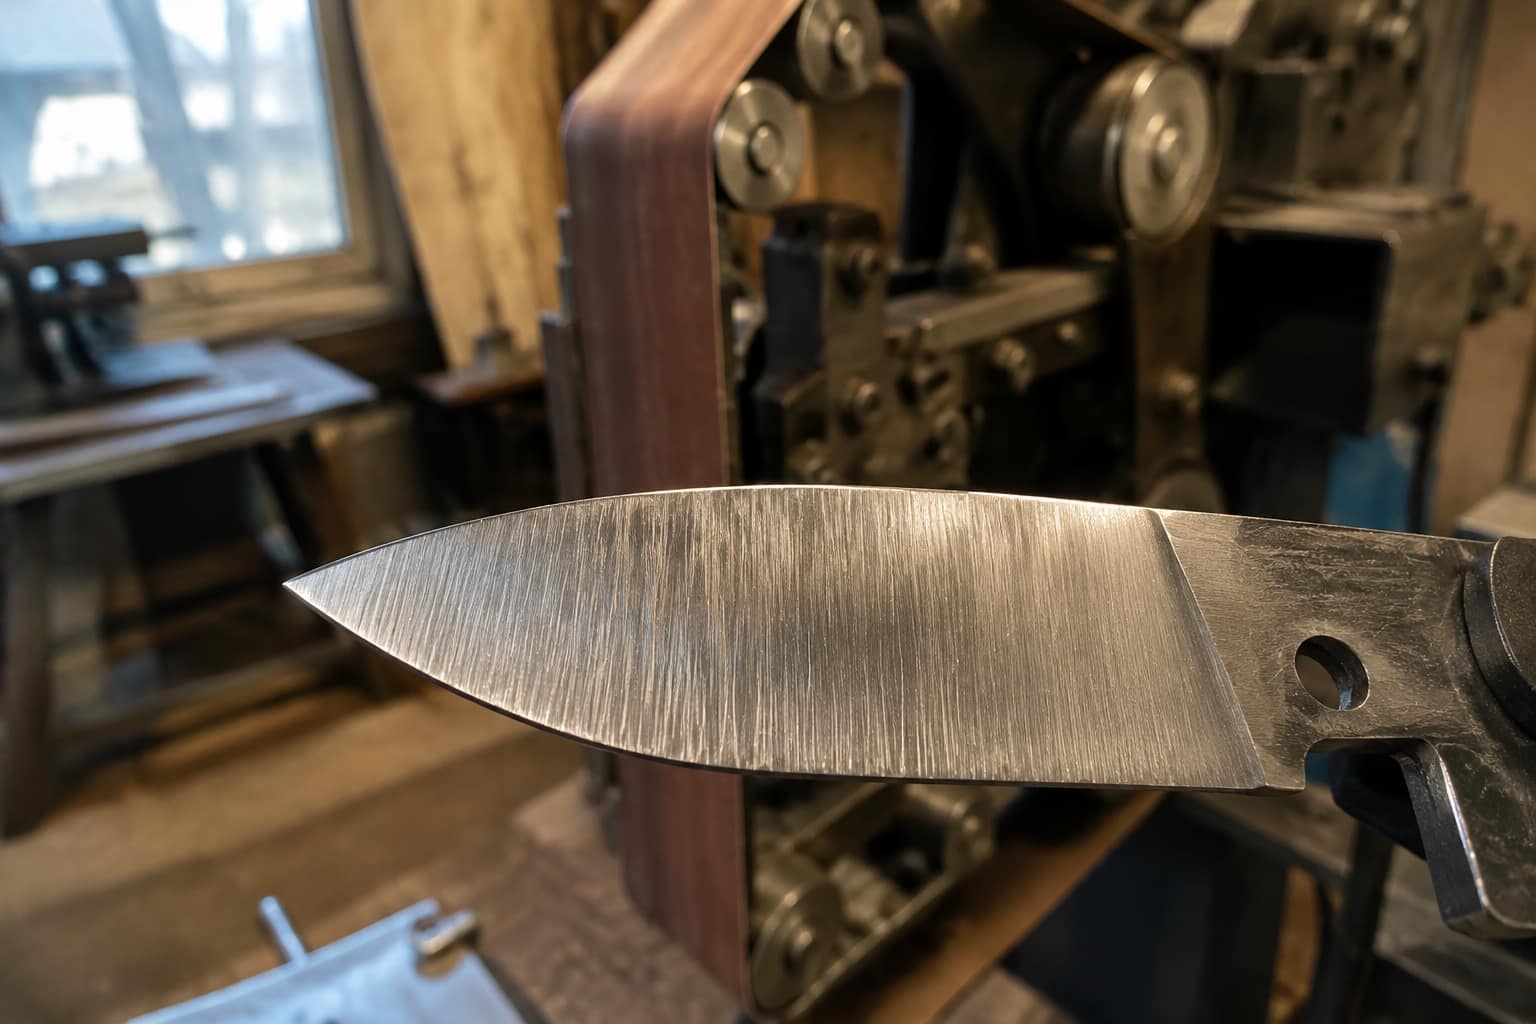
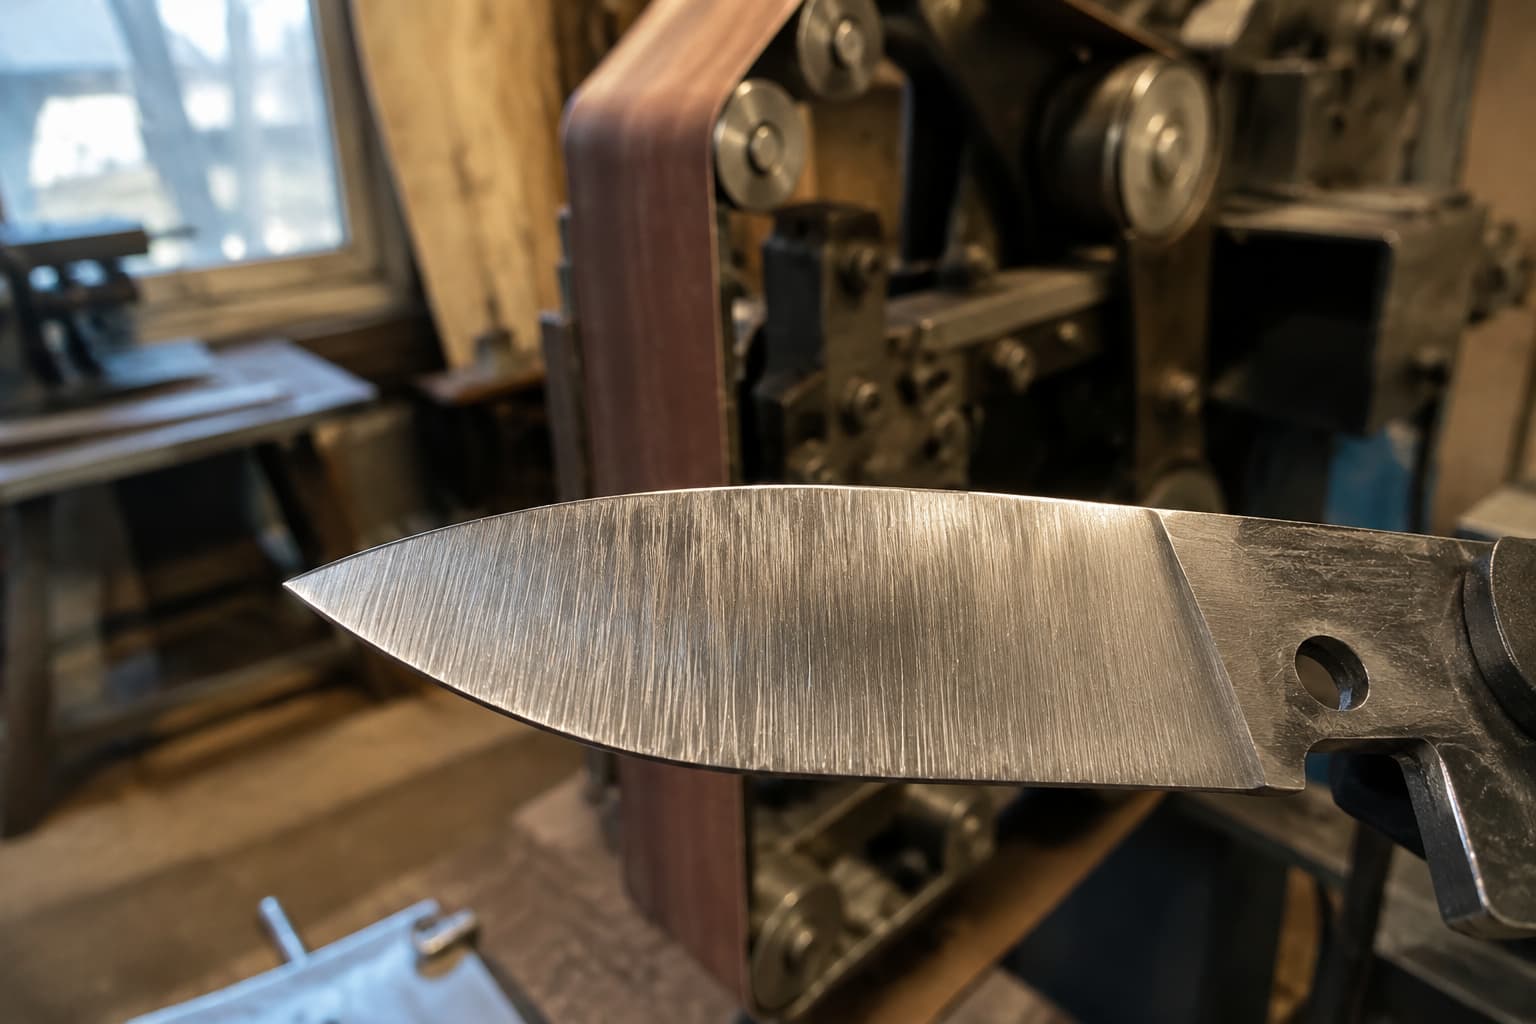
A 400-grit hand-sanded finish is the working knife standard for a reason: it is clean, it is even, and a customer can touch it up with a sheet of paper. The belt does most of the work and your hands do the rest. Here is how I set the blade up on the 2×72 so the hand sanding goes fast, the technique that keeps the lines straight, and how to chase out the one stray scratch that always shows.
Key Takeaways
- Understanding the 400-Grit Hand-Sanded Finish: It is a fine sanding technique that creates a smooth and even surface for finishing.
- Choosing the Right Sandpaper for the Job: Select the appropriate grit for the material and the level of sanding required.
- Preparing the Surface for Sanding: Clean and smooth the surface before sanding to ensure a consistent finish.
- Proper Hand-Sanding Technique: Use even pressure and smooth, consistent strokes for a professional-looking result.
- Achieving a Consistent Finish: Pay attention to detail and take your time to ensure an even and uniform appearance.
Choosing the Right Sandpaper for the Job
Selecting the appropriate sandpaper is crucial for achieving the desired finish. Sandpaper comes in various materials, including aluminum oxide, silicon carbide, and garnet, each offering unique properties suited for different applications. For a 400-grit hand-sanded finish, aluminum oxide is often recommended due to its durability and versatility.
It can be used on both wood and metal surfaces, making it an excellent choice for a wide range of projects. In addition to material, the backing of the sandpaper plays a significant role in its performance. A flexible backing allows for better conformity to the surface being sanded, which is particularly important when working on intricate designs or contours.
Preparing the Surface for Sanding
Before beginning the sanding process, it is essential to prepare the surface adequately. This preparation involves cleaning the area to remove any dust, dirt, or grease that could interfere with the sanding process. A clean surface ensures that the sandpaper can make direct contact with the material, allowing for an even finish.
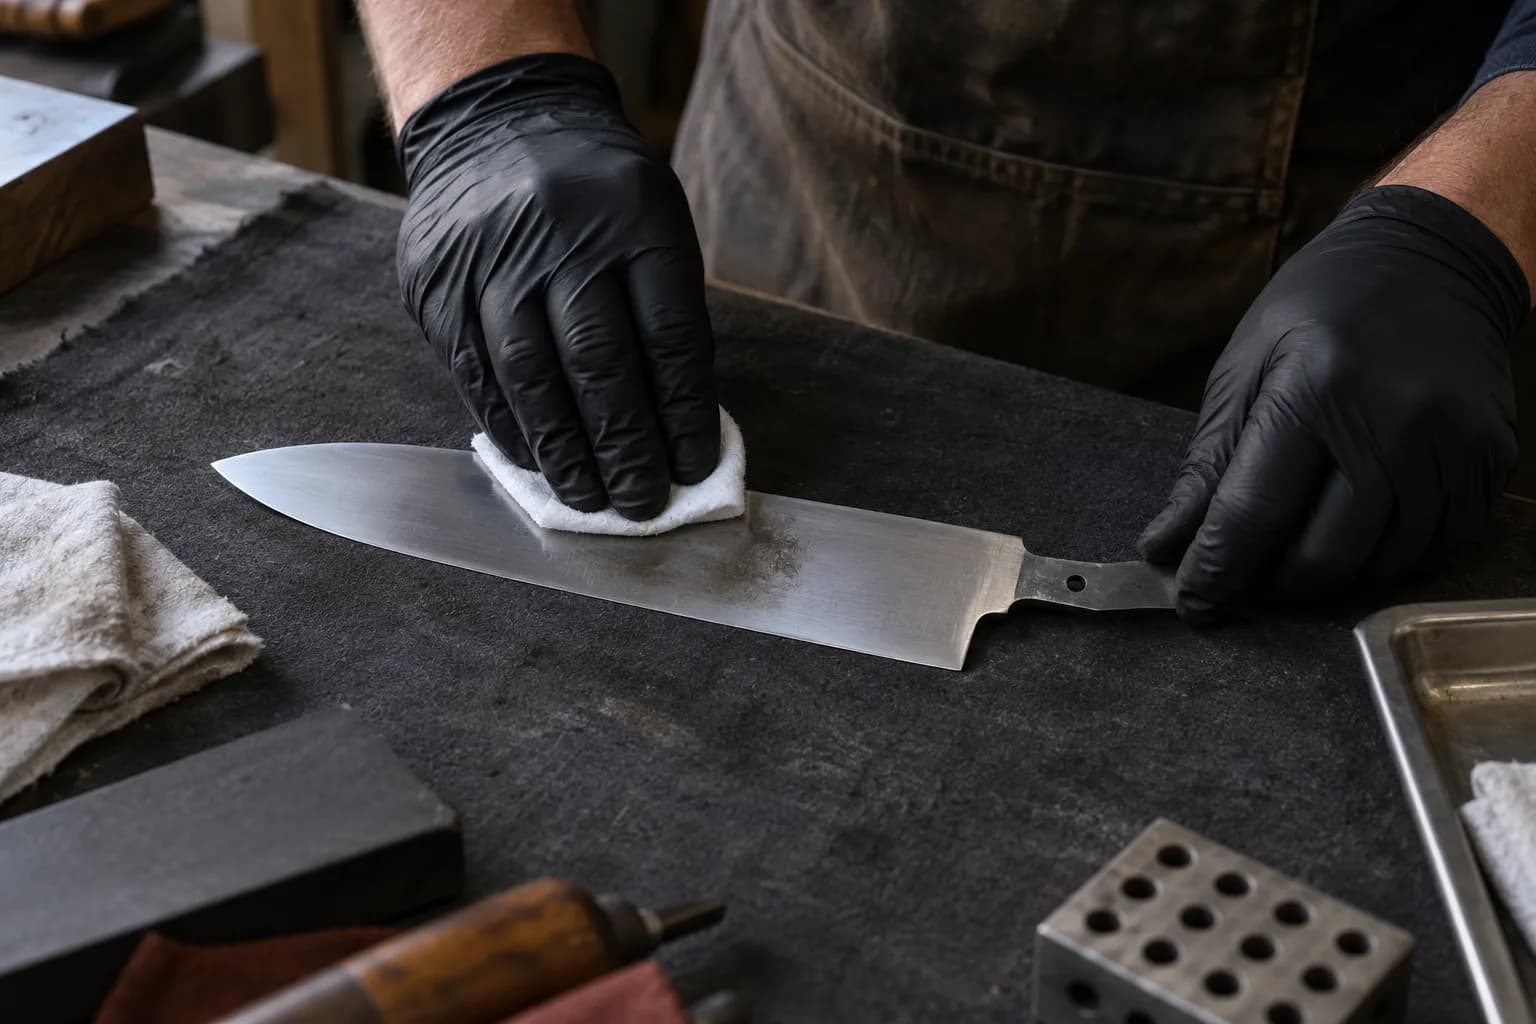
For wooden surfaces, it may be beneficial to wipe them down with a damp cloth and allow them to dry completely before proceeding. Inspecting the surface for any existing imperfections is crucial. Dents, scratches, or rough patches should be addressed before applying the 400-grit sandpaper.
Depending on the severity of these imperfections, you may need to start with a coarser grit to level out the surface before transitioning to the finer 400-grit paper. Taking these preparatory steps will not only enhance the effectiveness of your sanding but also contribute to a more polished final product.
Proper Hand-Sanding Technique
Mastering proper hand-sanding technique is vital for achieving a consistent and high-quality finish. When hand-sanding with 400-grit paper, it is important to use even pressure across the surface. Applying too much force can lead to uneven sanding and create unwanted grooves or scratches.
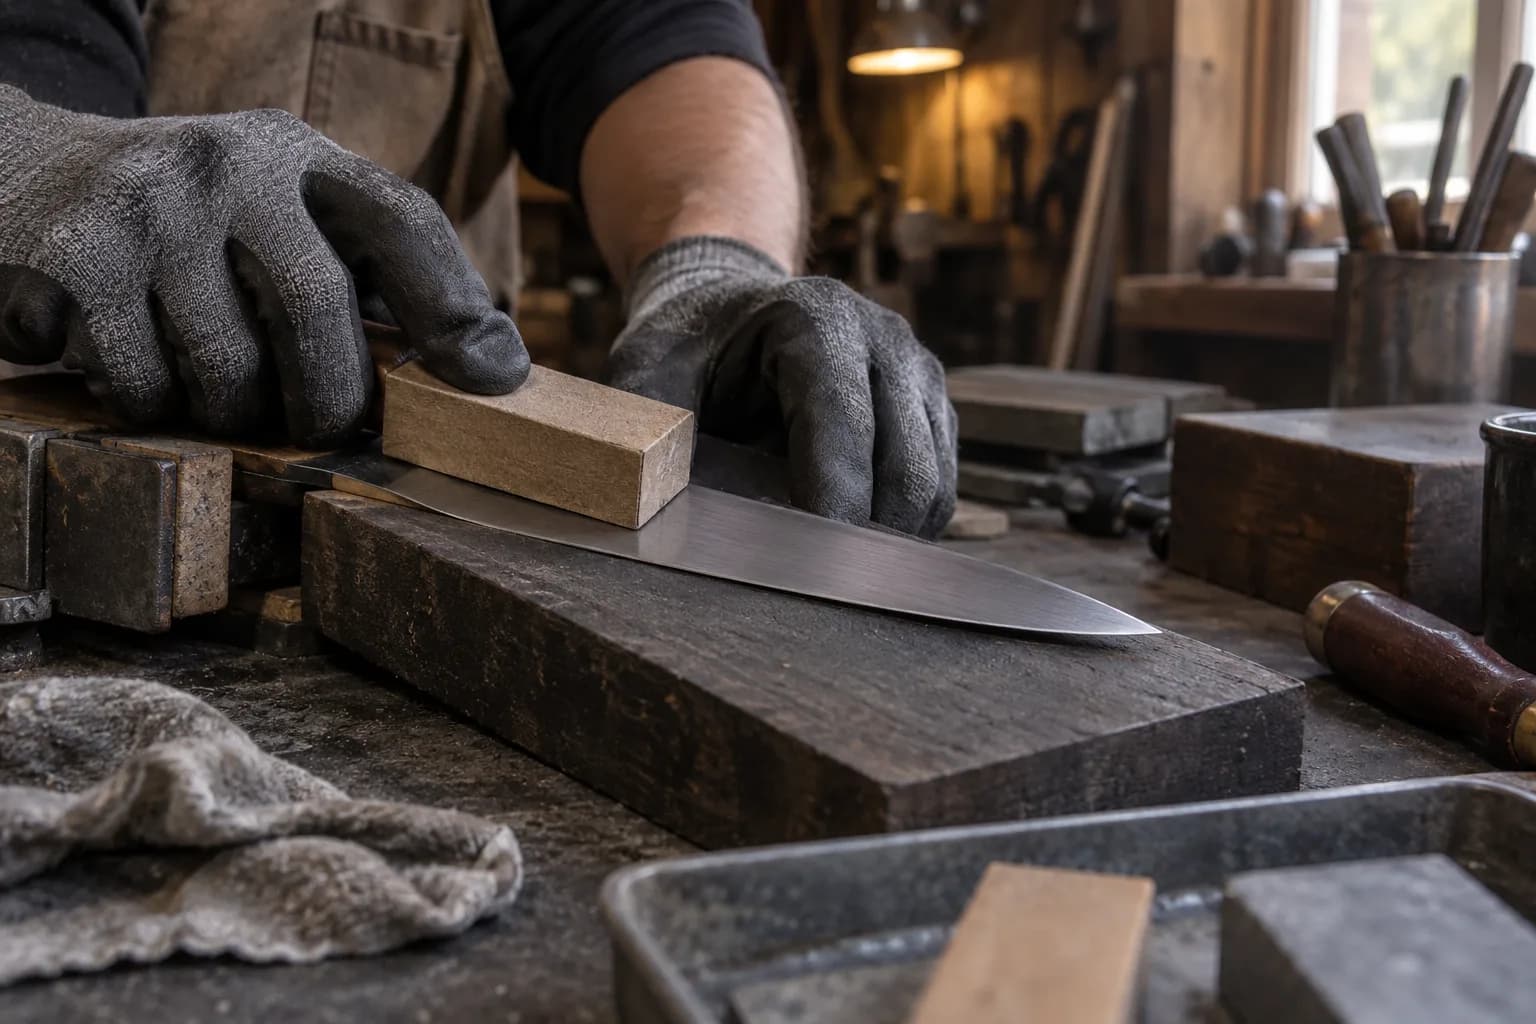
Instead, use a light touch and allow the sandpaper to do the work. This approach will help maintain an even finish while minimizing the risk of over-sanding. Another key aspect of hand-sanding technique is the direction in which you sand.
For wood surfaces, it is generally best to sand along the grain rather than against it. Sanding with the grain helps prevent scratches from becoming more pronounced and ensures a smoother finish. If you are working with metal or other materials, follow any specific guidelines regarding sanding direction to achieve optimal results.
Achieving a Consistent Finish
Achieving a consistent finish requires attention to detail and patience throughout the sanding process. One effective method for ensuring uniformity is to periodically check your progress as you sand. After completing a section, take a moment to inspect it closely for any inconsistencies or areas that may require additional attention.
This practice allows you to address issues as they arise rather than waiting until the entire surface has been sanded. Another strategy for achieving consistency is to use overlapping strokes when sanding. By slightly overlapping each pass with your sandpaper, you can create a more uniform surface and reduce the likelihood of leaving behind uneven patches.
Consider using a sanding block or other tool to help maintain even pressure across larger surfaces. This approach can significantly improve your results and contribute to a polished final appearance.
Dealing with Imperfections and Blemishes
Despite careful preparation and technique, imperfections may still arise during the sanding process. It is essential to have strategies in place for addressing these blemishes effectively. For minor scratches or dents, additional sanding with 400-grit paper may be sufficient to smooth out the area.
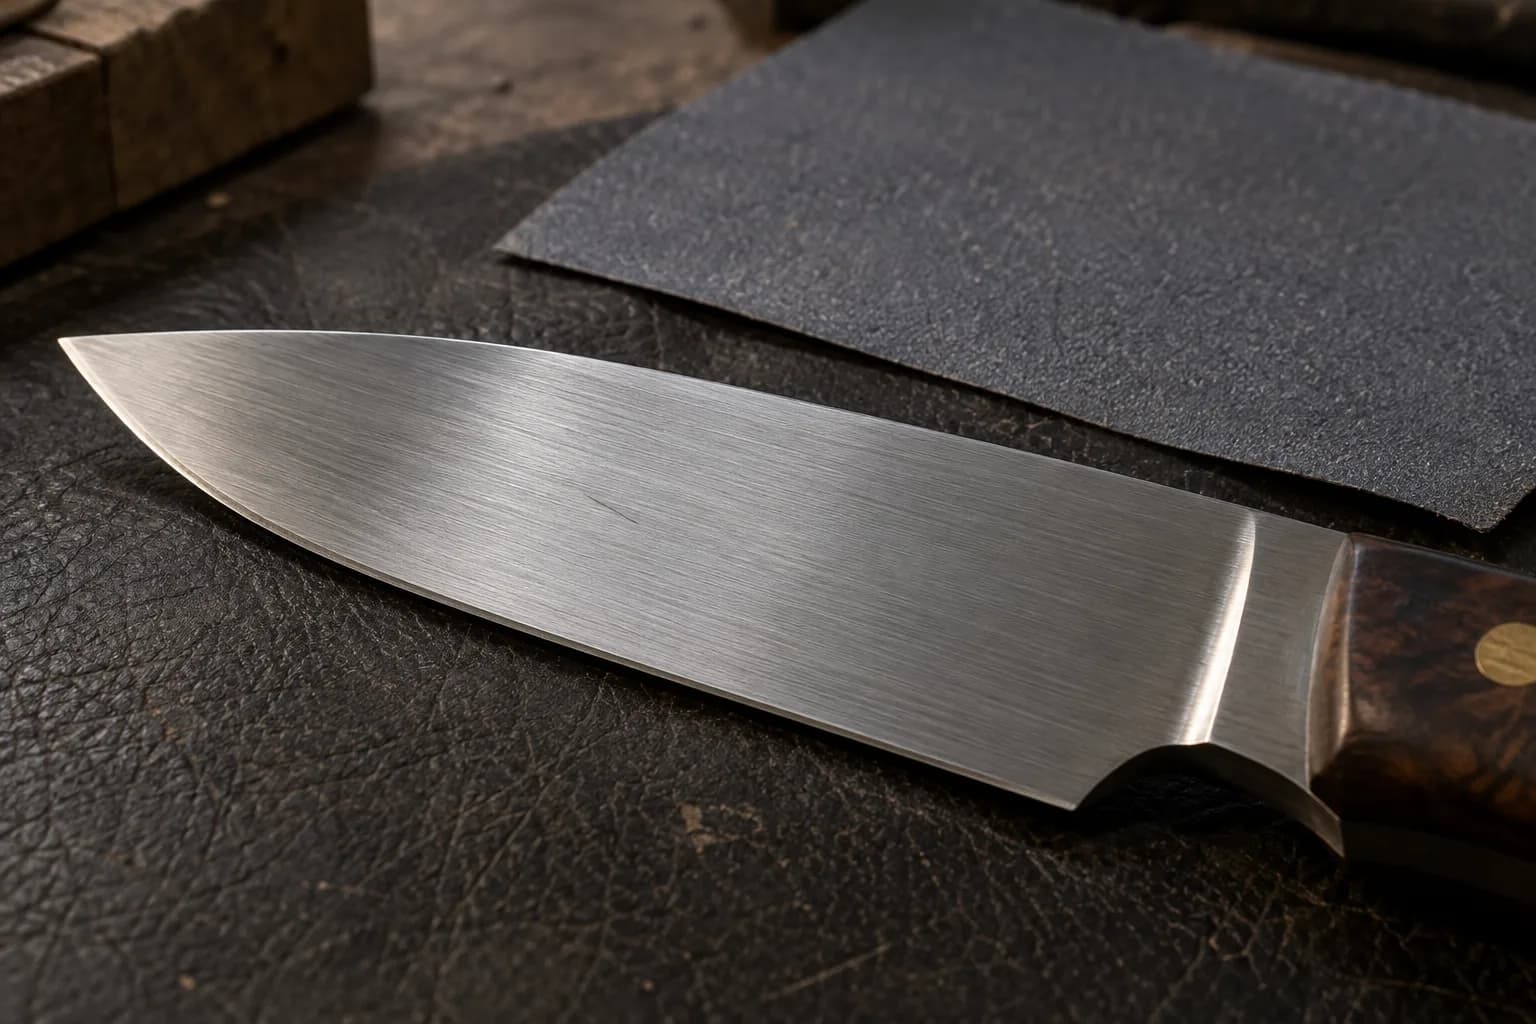
However, if you encounter deeper imperfections, you may need to revert to a coarser grit to level the surface before returning to 400-grit for finishing. In some cases, blemishes may be caused by contaminants on the surface or issues with the material itself. If you notice persistent problems that cannot be resolved through sanding alone, consider evaluating your materials or cleaning methods.
Avoiding Over-sanding
One of the most common pitfalls in hand-sanding is over-sanding, which can lead to unwanted damage and an uneven finish. It is crucial to monitor your progress closely and avoid excessive pressure or prolonged sanding in one area. Over-sanding can create low spots or remove too much material, compromising the integrity of your project.
Using the Proper Tools for the Job
In addition to selecting the right sandpaper, using appropriate tools can significantly impact your sanding results. While hand-sanding is often preferred for its precision and control, certain tools can enhance efficiency and effectiveness. For larger surfaces or more extensive projects, consider using an orbital sander or detail sander equipped with 400-grit paper.
When using power tools, it is essential to maintain control and avoid applying excessive pressure. Power tools can remove material quickly, so it’s crucial to keep an eye on your progress and switch back to hand-sanding as needed for finer details or touch-ups. By combining hand-sanding techniques with appropriate tools, you can achieve a professional-quality finish while maximizing efficiency.
Tips for Achieving a Professional-Looking Finish
Consider using multiple sheets of 400-grit sandpaper throughout your project rather than trying to make one sheet last too long. As sandpaper wears down, its effectiveness diminishes, which can result in an uneven finish. Regularly replacing worn sheets will help maintain consistent results and ensure that you achieve the desired level of smoothness.
Finishing Touches and Final Inspection
Once you have completed sanding with 400-grit paper, it’s time for finishing touches and final inspection before applying any protective coatings. Carefully inspect your work under good lighting conditions to identify any remaining imperfections or areas that may require additional attention. This step is crucial in ensuring that your final product meets your standards.
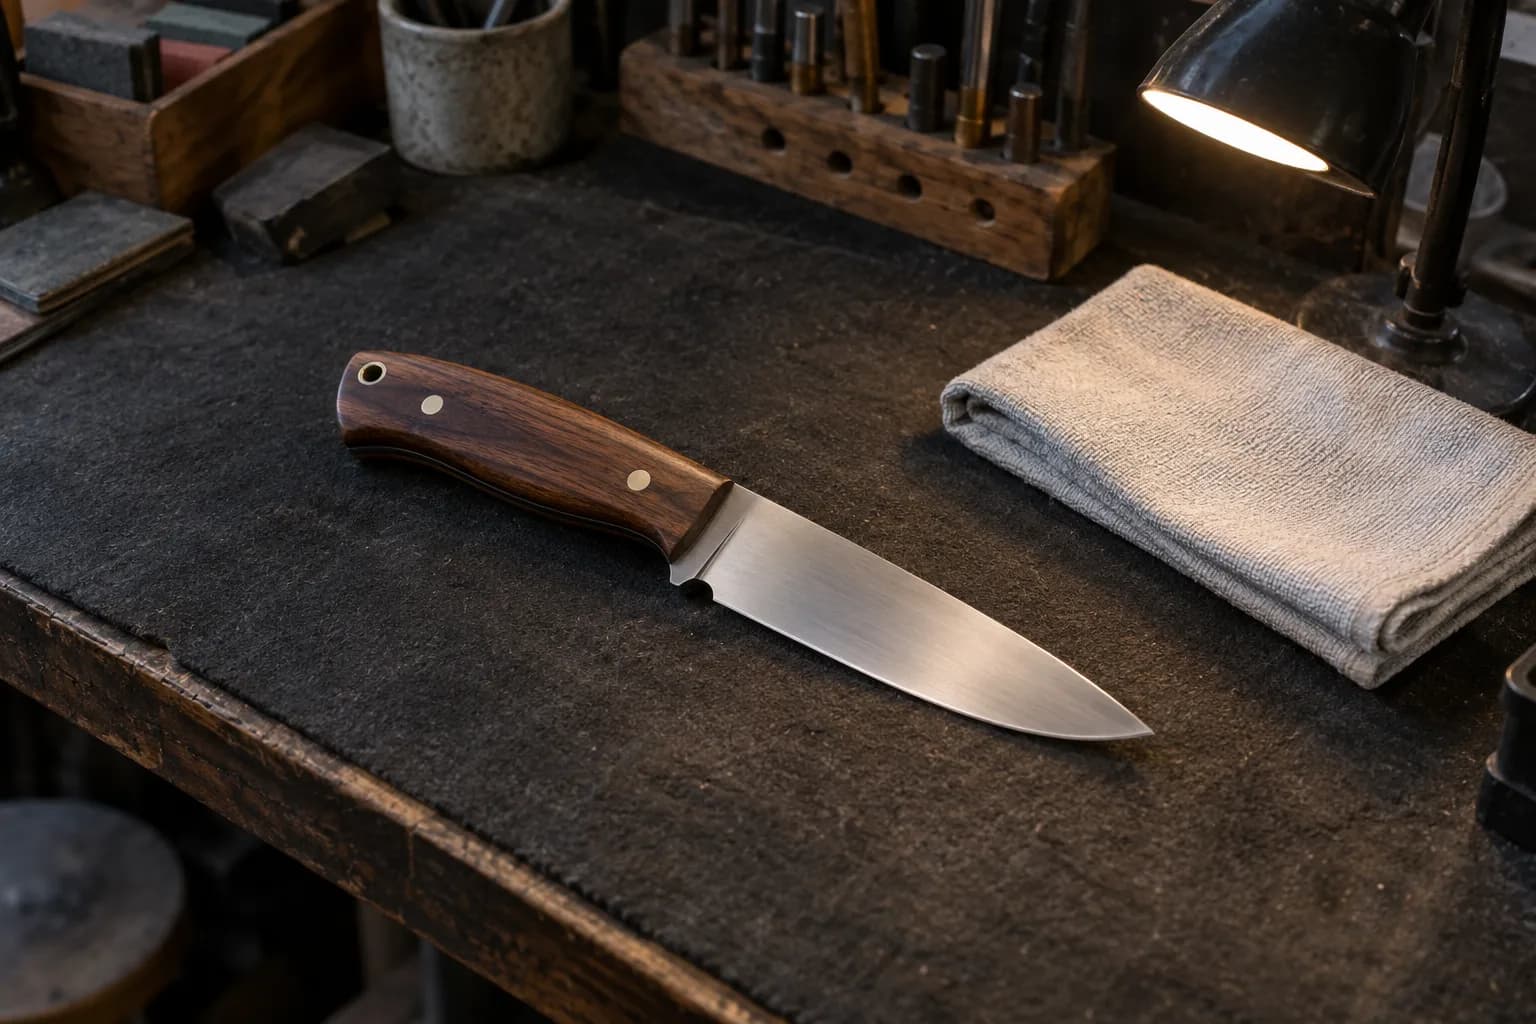
After addressing any last-minute details, consider wiping down the surface with a clean cloth or tack cloth to remove any dust particles generated during sanding. This preparation will help ensure that any subsequent finishes adhere properly and result in an even application.
Maintaining the 400-Grit Hand-Sanded Finish
Maintaining a 400-grit hand-sanded finish requires ongoing care and attention after completion of your project. Regular cleaning is essential; dust and debris can accumulate over time and dull the appearance of your finish. Use a soft cloth or brush to gently clean surfaces without scratching them.
In addition to regular cleaning, consider applying protective coatings as needed based on the material used in your project. Oils or sealants can help preserve the integrity of your finish while enhancing its visual appeal. By following these maintenance practices, you can ensure that your 400-grit hand-sanded finish remains beautiful and functional for years to come.
FAQs
What is a 400-grit hand-sanded look?
A 400-grit hand-sanded look refers to the smooth and fine finish achieved by sanding a surface with 400-grit sandpaper. This process creates a satin-like appearance with a subtle sheen.
How can I achieve a 400-grit hand-sanded look straight off the belt?
To achieve a 400-grit hand-sanded look straight off the belt, you can use a belt sander with 400-grit sandpaper. Start by sanding the surface in a consistent and even manner, making sure to remove any previous sanding marks. Then, gradually increase the pressure as you sand to achieve a smooth and uniform finish.
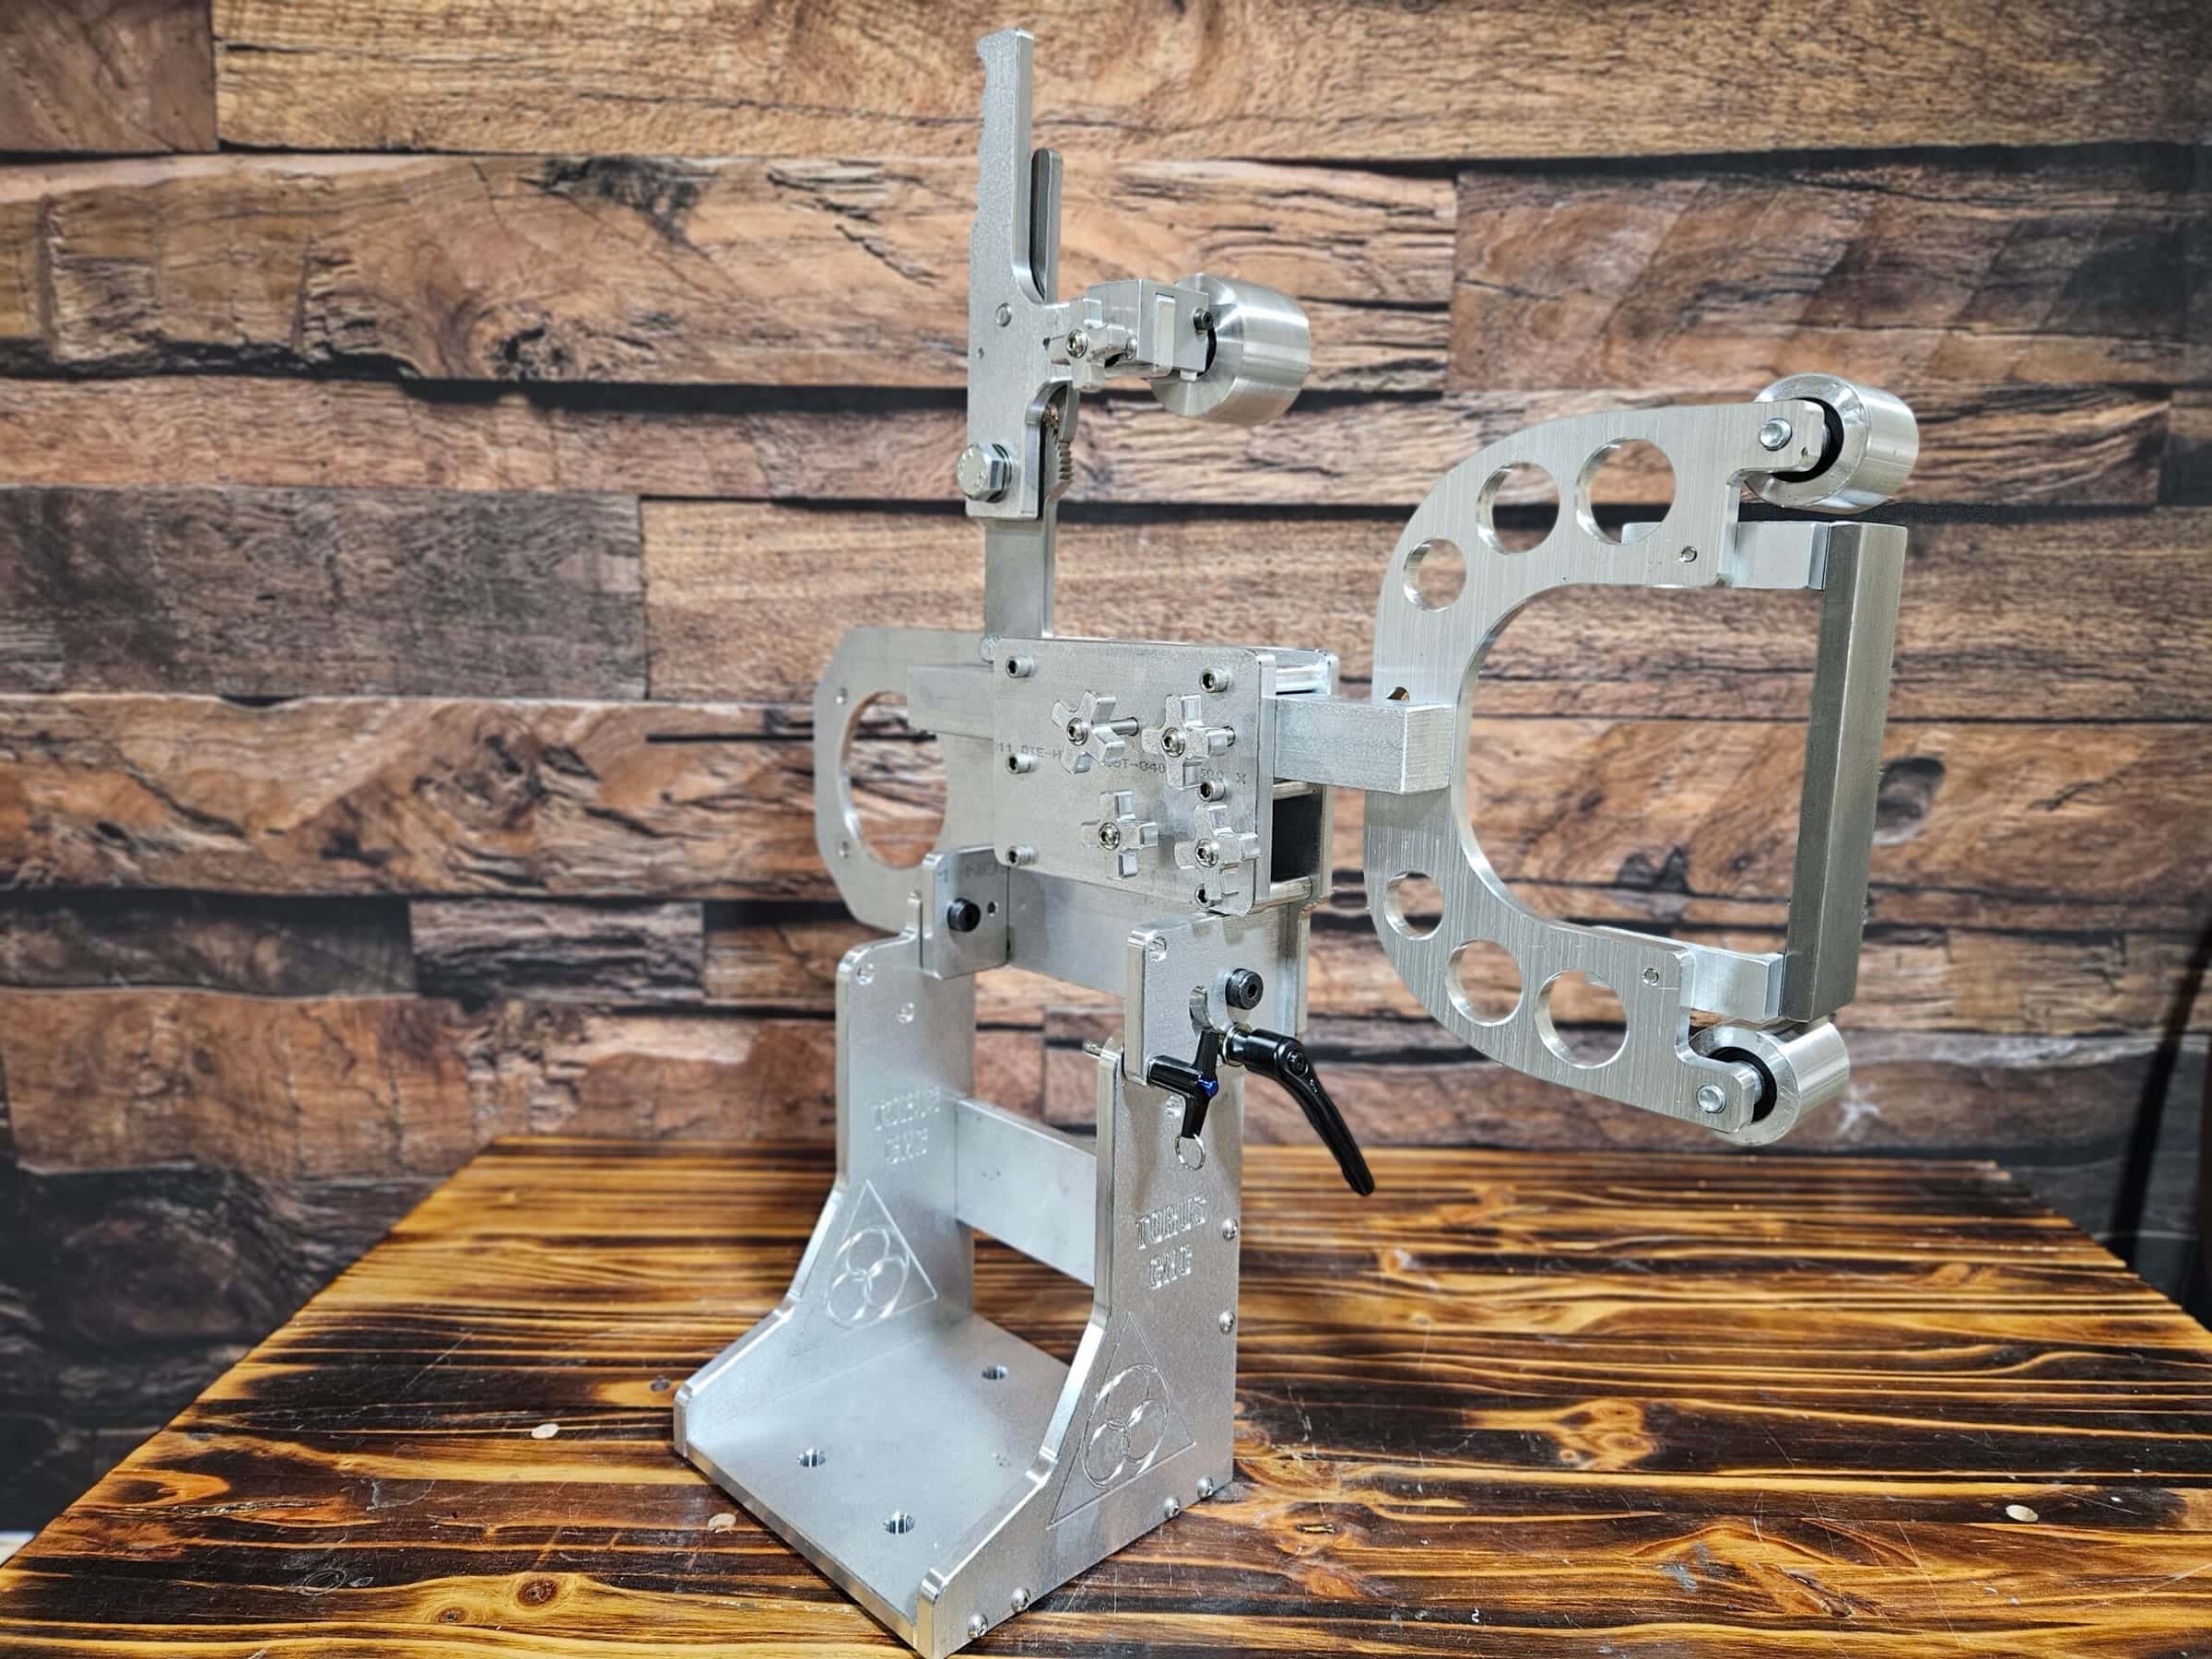
Hand sanding goes quick when the belt left a flat, even 220 behind it. The Nova 2×72 ships with a deep flat platen that stays flat, and a VFD lets you slow the last belt down so it does not gouge. Assembled and tested in Sterling, Illinois.