2x72 Grinder Tips
Mastering Mirror Knife Finishes: Best Belt Progressions
A mirror finish shows every scratch you skipped. Here is the belt progression I use on the 2×72 to get there, 120 grit through 1200, when to switch to hand sanding, how to buff, and the shortcuts that leave haze.
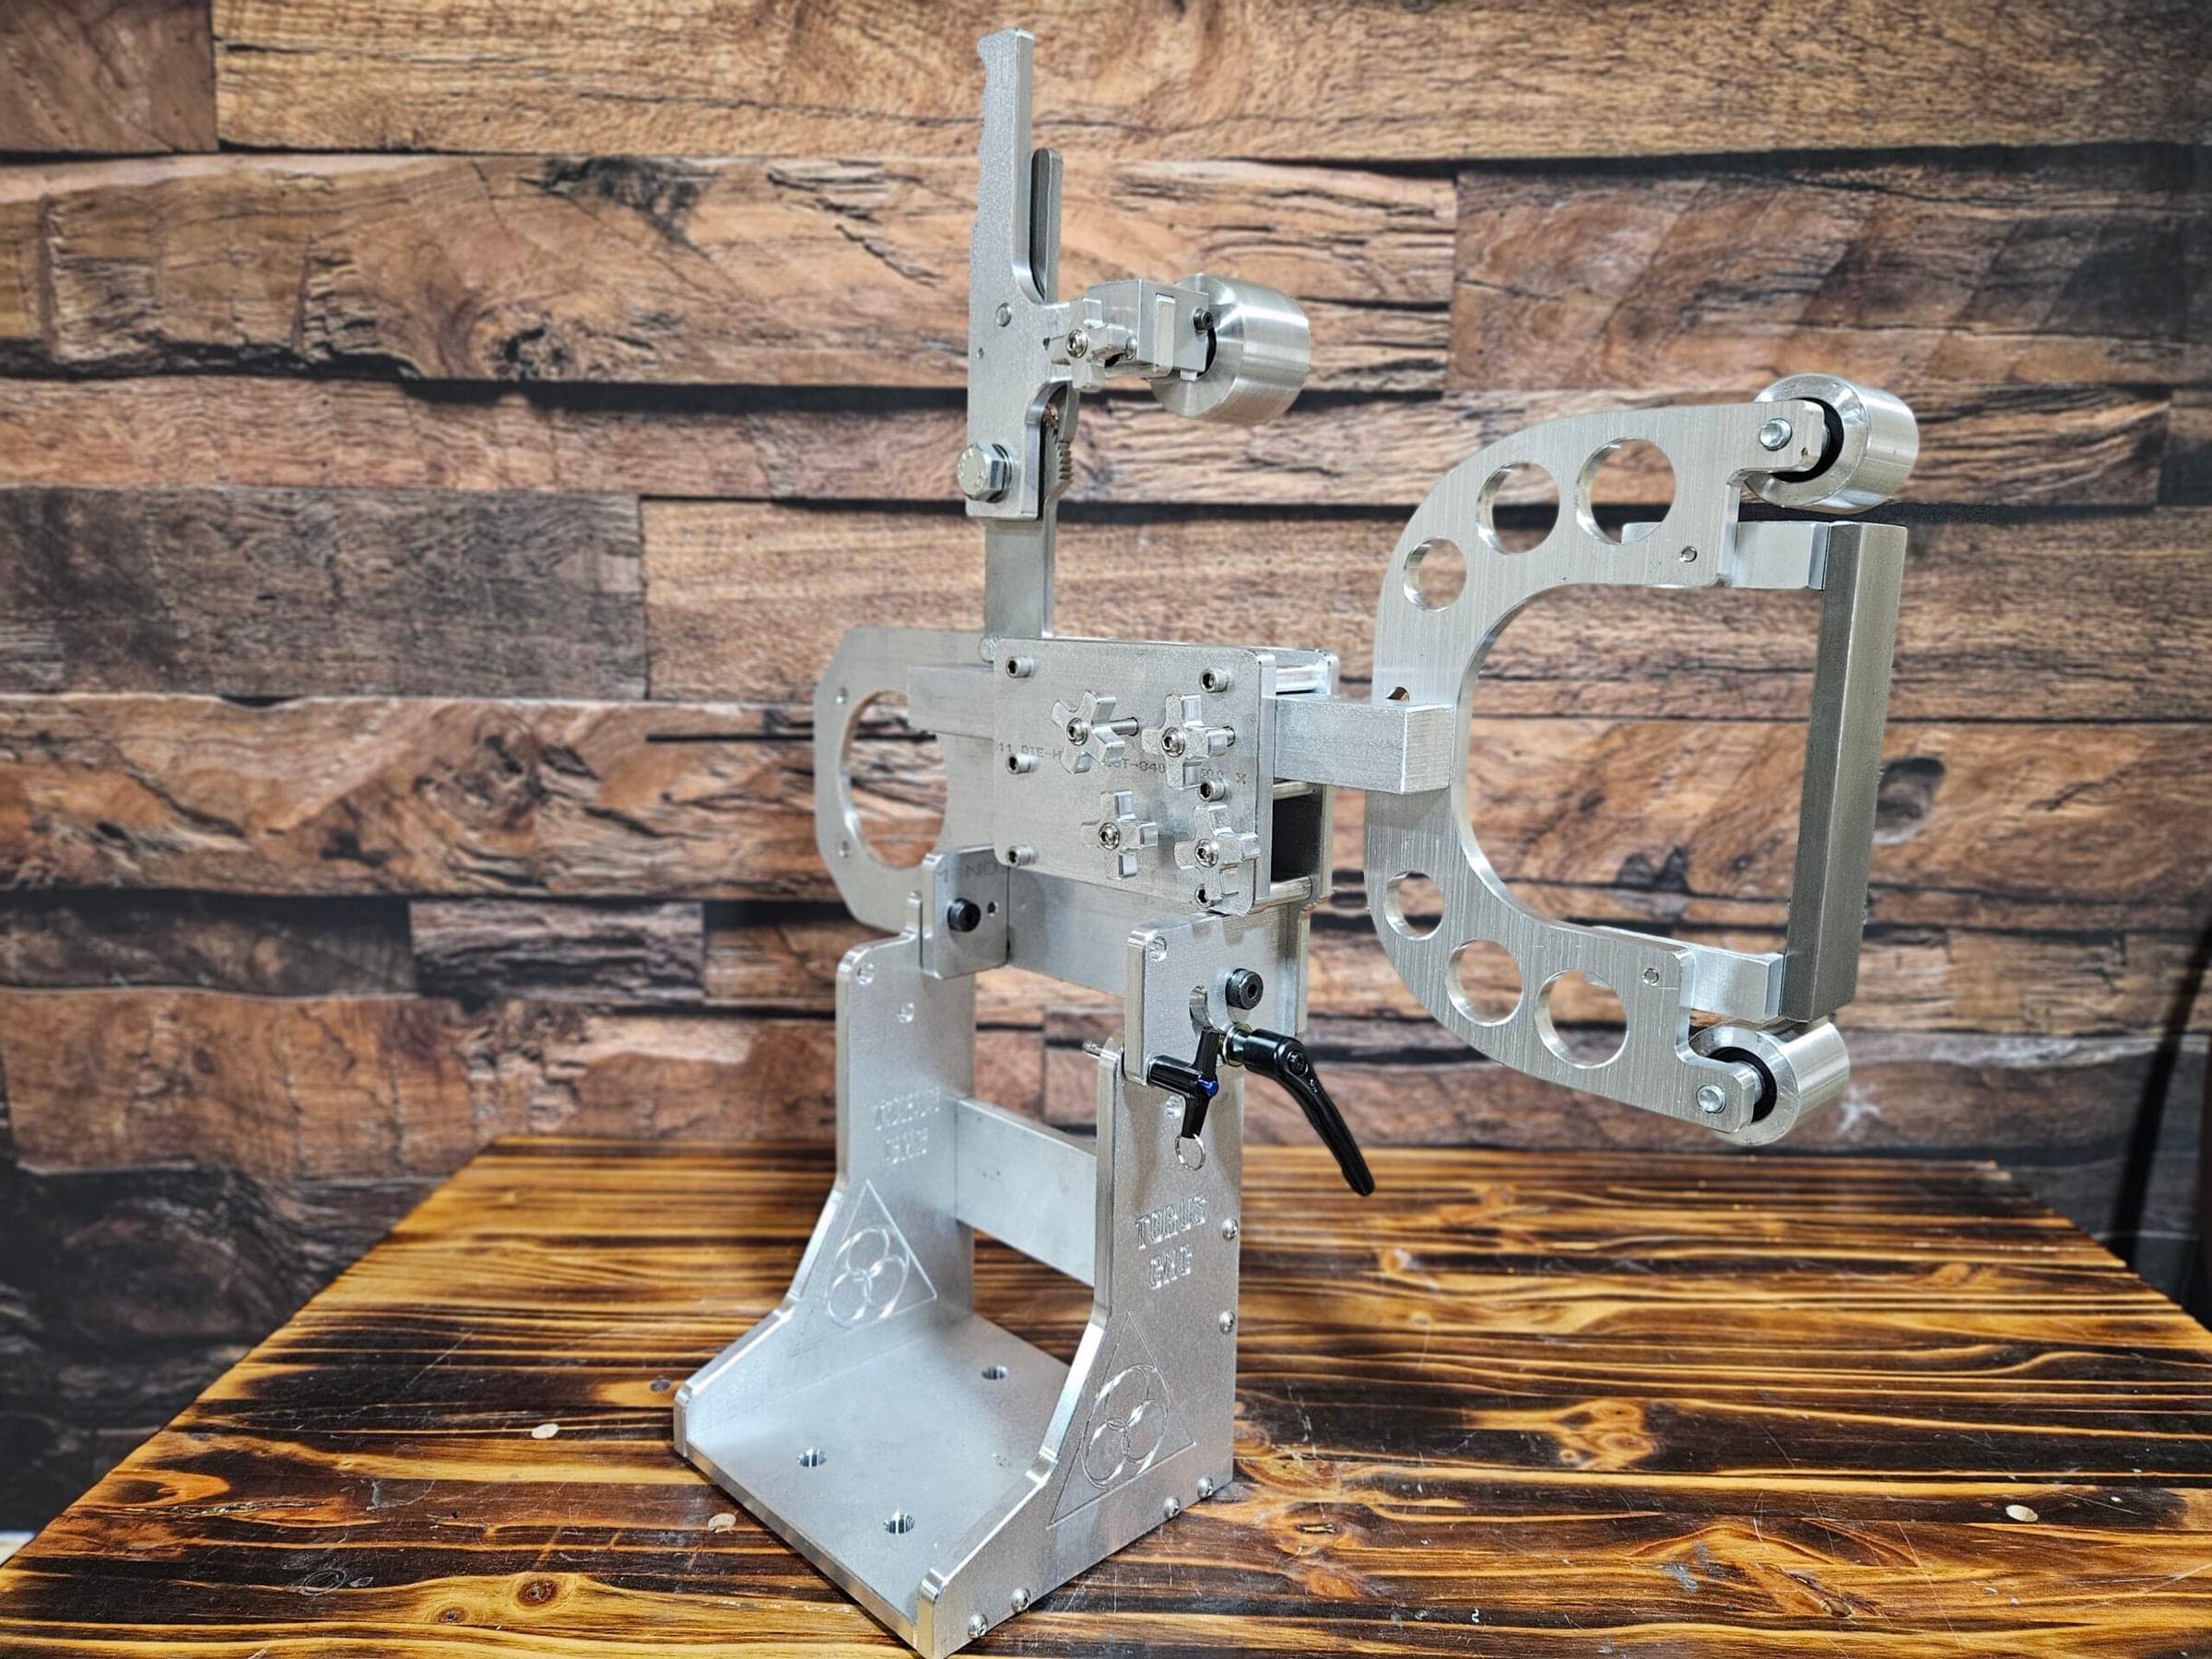
A mirror finish is honest: every scratch you skipped at 220 shows up at 1200. Getting there is a progression, not a trick. Here is the belt ladder I run on the 2×72 for a mirror, where I stop machine work and switch to hand sanding, how I buff the last haze out, and the shortcuts that cost me hours because I had to go back down the ladder.
The reflective quality of a mirror finish can also help in identifying any flaws or damage to the blade, making maintenance easier. The process of achieving a mirror finish involves several stages, starting from coarse grinding to finer polishing. Each stage plays a crucial role in eliminating scratches and imperfections, in the end leading to that coveted reflective surface.
Key Takeaways
- Mirror knife finishes are achieved through a series of abrasive belt grits and proper technique
- Select the right belt grits for mirror finishing based on the condition of the knife edge
- Prepare the knife for mirror finishing by removing any existing scratches and ensuring a clean surface
- Use the correct technique for mirror finishing, including consistent pressure and proper angle
- Consistent pressure is crucial for achieving a flawless mirror finish on the knife edge
- Achieve a uniform edge with belt progressions to ensure a consistent mirror finish
- Avoid overheating and burning the edge by using light pressure and keeping the knife cool
- Finish with polishing compounds and leather strops for a flawless mirror finish
- Maintain mirror finishes by regularly stropping the knife and avoiding abrasive materials
- Common mistakes to avoid in mirror finishing include using the wrong grits and applying uneven pressure
- Mastering mirror knife finishes results in a sharp, durable, and visually appealing edge
Selecting the Right Belt Grits
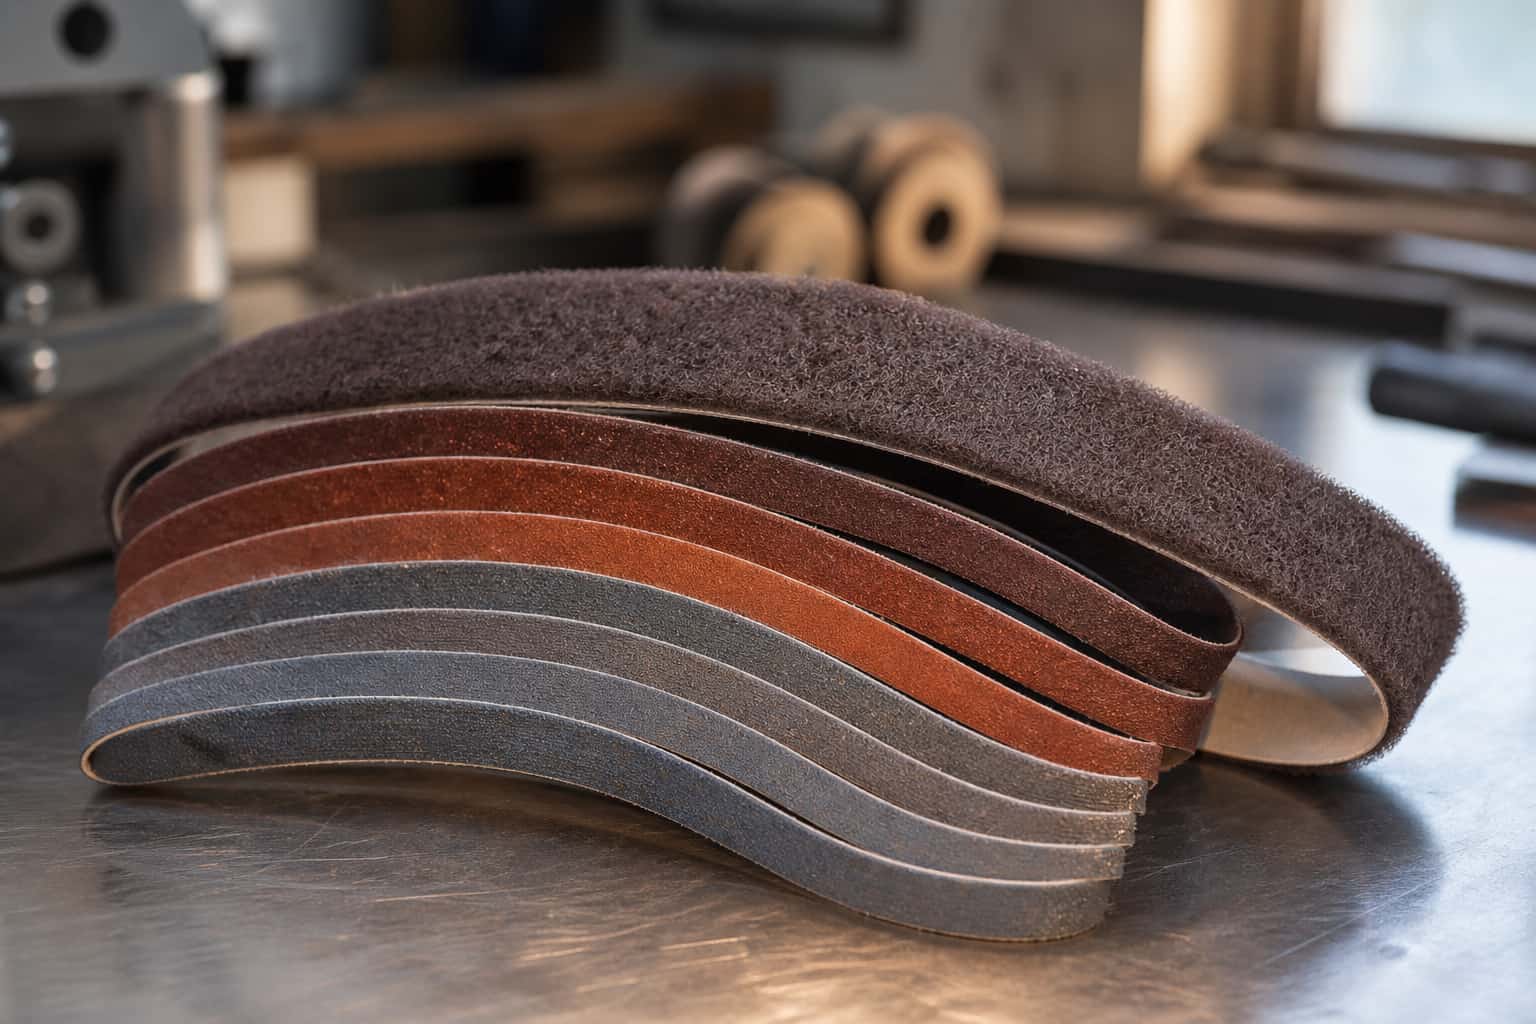
Choosing the appropriate belt grits is fundamental to achieving a successful mirror finish on knives. The grit size determines how aggressively the material is removed from the blade and influences the final outcome. Starting with a coarser grit, such as 120 or 220, allows for the initial shaping and removal of larger imperfections.
As one progresses through the grits, moving to finer options like 400, 600, and eventually up to 2000 or higher, the surface becomes increasingly smooth. Each transition between grits should be made with care, ensuring that all previous scratches are eliminated before moving on to the next finer grit. It is also important to consider the type of material being worked on when selecting belt grits.
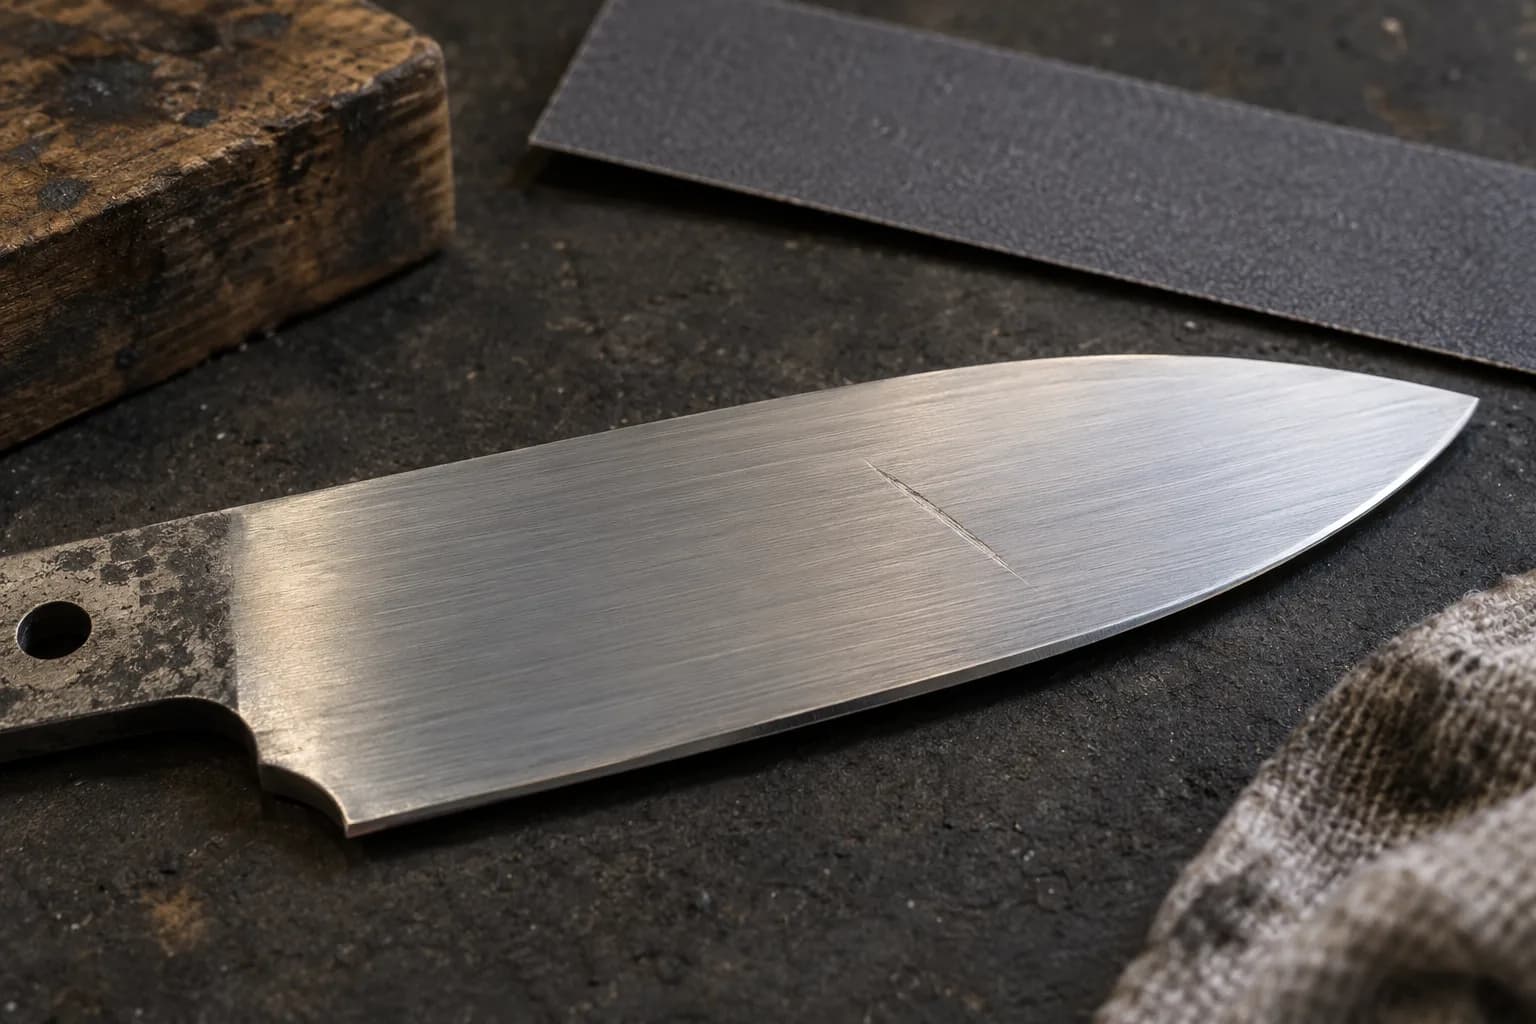
Different steels may respond differently to various grits, and understanding these nuances can significantly impact the quality of the finish. For instance, harder steels may require more aggressive grits initially but can achieve a mirror finish more quickly than softer materials. Therefore, having a well-rounded selection of belts on hand is essential for any knife maker aiming for that flawless mirror finish.
Preparing the Knife for Mirror Finishing
Before embarking on the journey to achieve a mirror finish, proper preparation of the knife is crucial. This involves thoroughly cleaning the blade to remove any oils, dirt, or residues that could interfere with the polishing process. A clean surface ensures that the abrasives used during finishing can effectively contact the metal without obstruction.
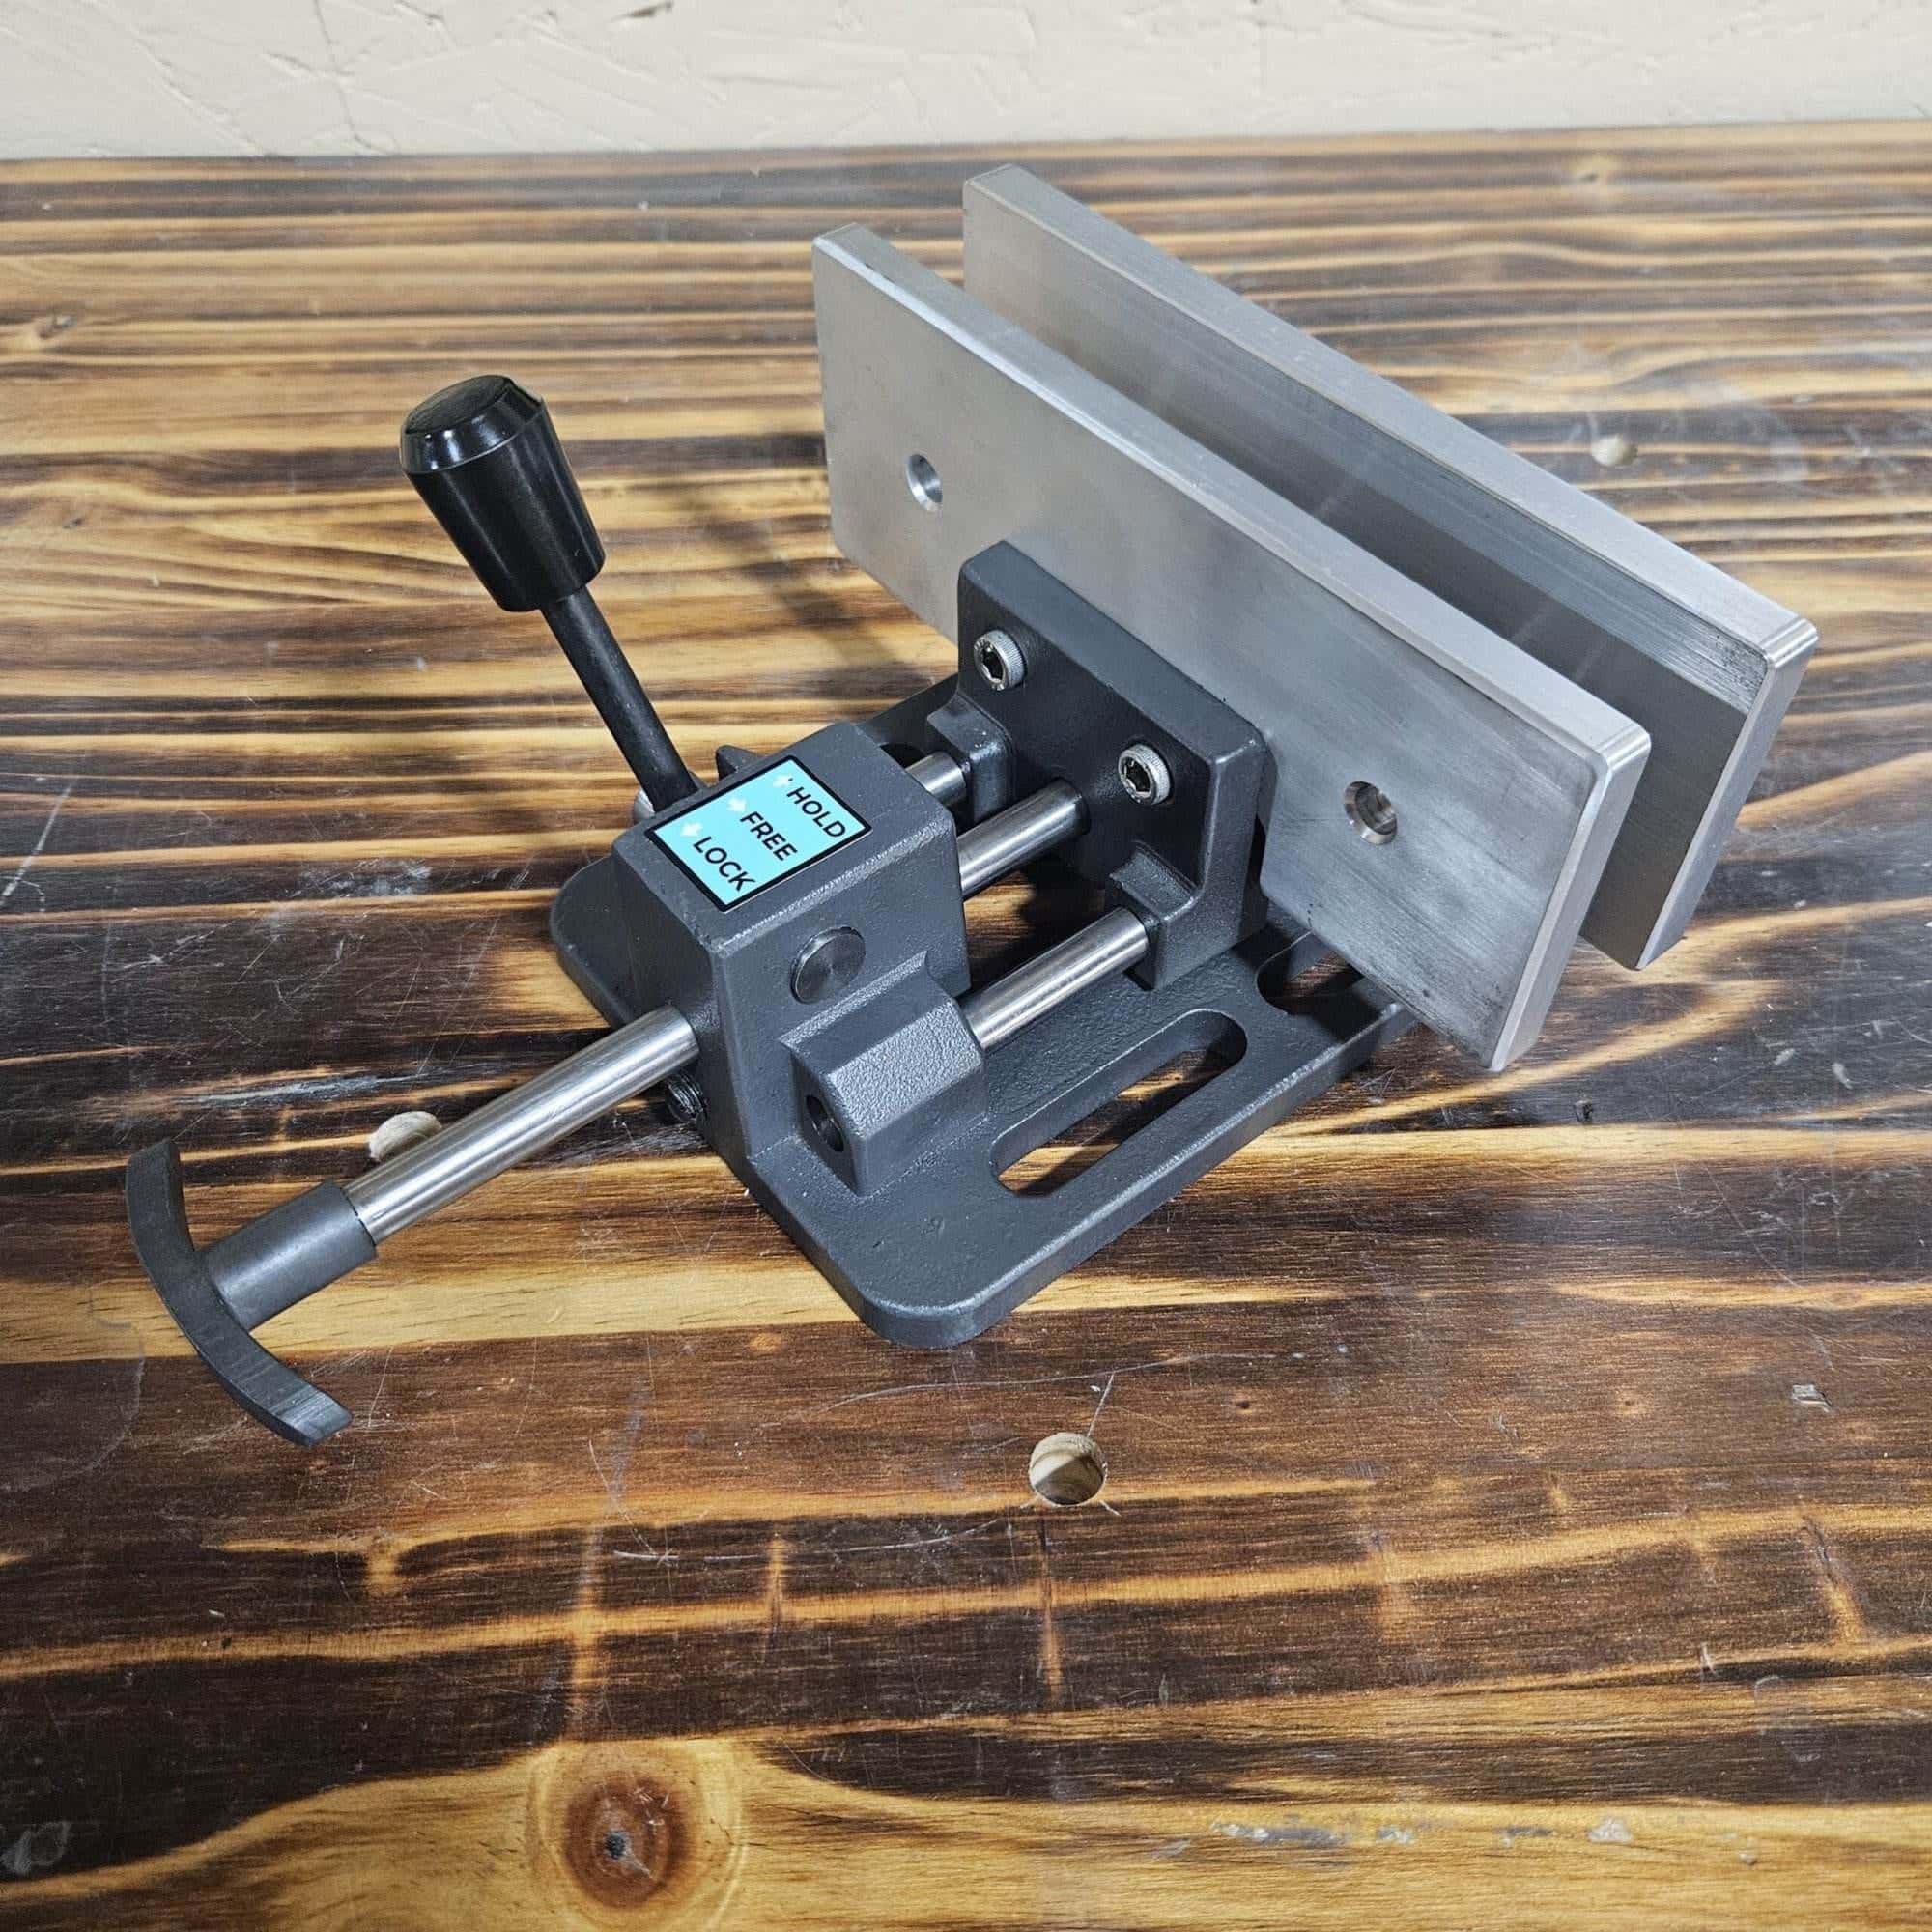
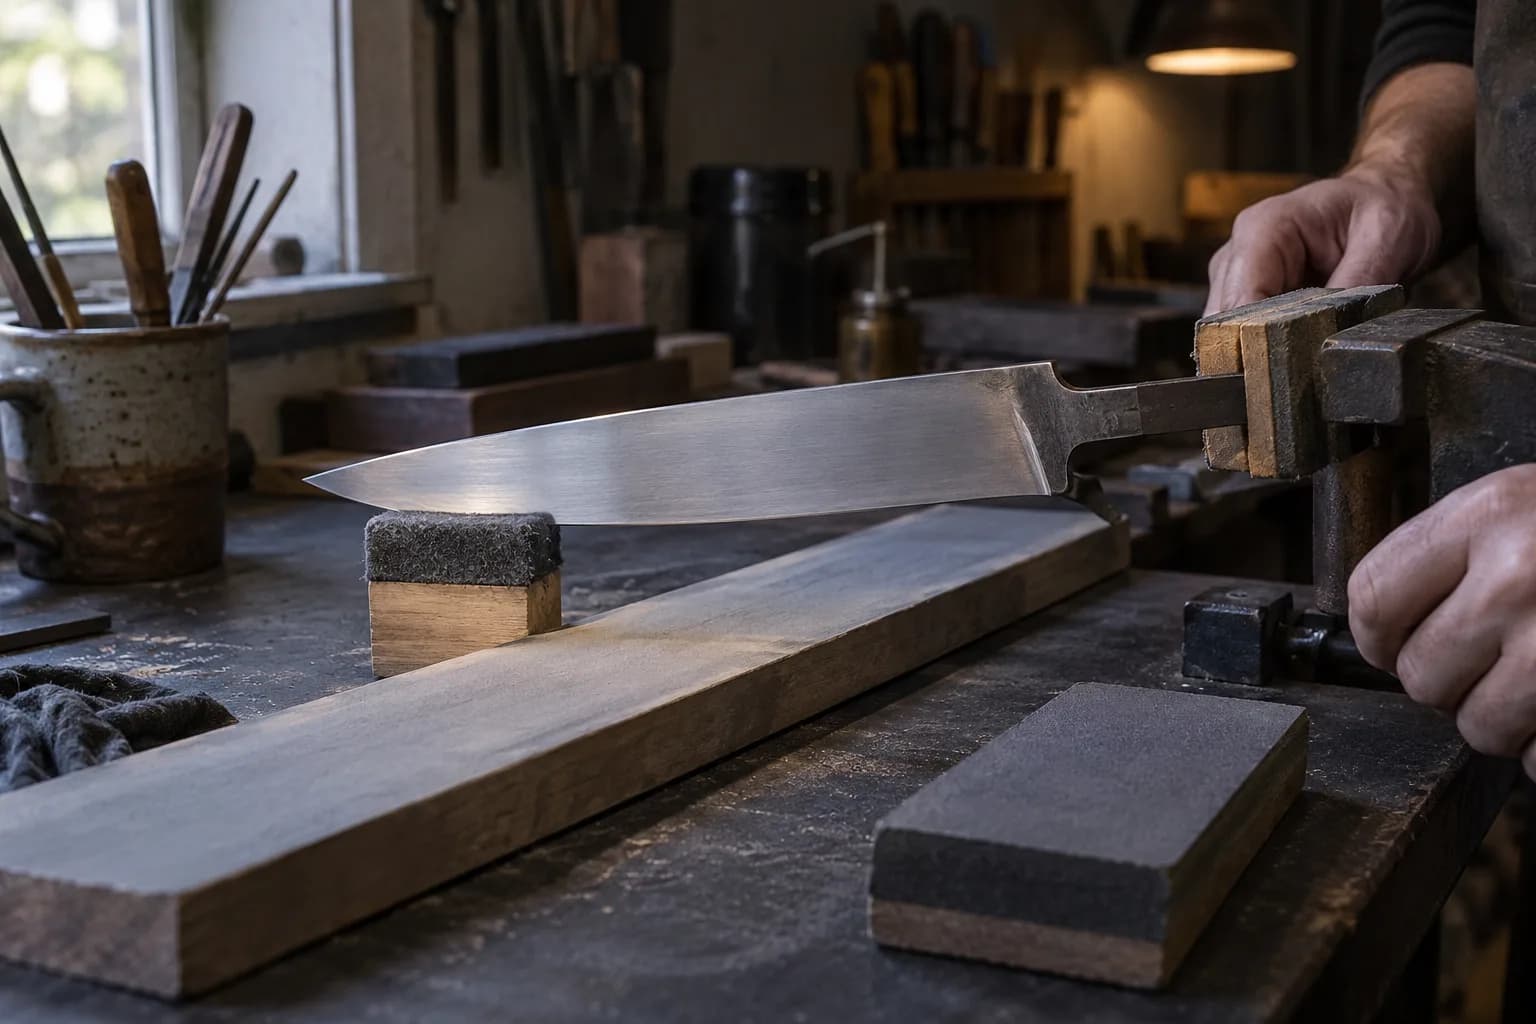
Inspecting the blade for any nicks or deep scratches is vital; these imperfections must be addressed before moving forward with finer grits. Once the knife is clean and inspected, it’s time to secure it properly for polishing. Using a stable work surface and appropriate clamps can prevent movement during the finishing process, allowing for greater control and precision.
Using the Correct Technique for Mirror Finishing
The technique employed during mirror finishing can significantly influence the final result. It is essential to maintain a consistent angle while working on the blade to ensure uniformity in the finish. Typically, a 15 to 20-degree angle is ideal for most knives, but this may vary depending on the specific design and intended use of the blade.
Employing a steady hand and smooth motions will help in achieving an even polish without creating additional scratches. It’s beneficial to work in sections rather than attempting to polish the entire blade at once. Focusing on smaller areas allows for more detailed attention and ensures that each section receives adequate treatment with each grit progression.
The Importance of Consistent Pressure
Maintaining consistent pressure throughout the polishing process is critical for achieving a uniform mirror finish. Uneven pressure can lead to variations in the surface texture, resulting in an inconsistent appearance that detracts from the overall quality of the knife. It’s important to apply enough pressure to effectively remove material without overdoing it, which could lead to unwanted gouges or scratches.
Practicing consistent pressure also aids in prolonging the life of your belts. When pressure is applied evenly, it allows for more efficient use of abrasives, ensuring that they wear down uniformly. This not only saves time and resources but also contributes to a more polished end product.
Achieving a Uniform Edge with Belt Progressions
As one transitions through different belt grits, it’s crucial to ensure that each stage effectively removes scratches left by previous grits. This means taking the time to inspect the edge after each progression and making sure that no visible marks remain before advancing to finer belts. By adhering to this methodical approach, knife makers can achieve a sharp and uniform edge that complements the overall mirror finish.
Avoiding Overheating and Burning the Edge
One of the most common pitfalls during mirror finishing is overheating the blade, which can lead to burning or damaging the edge. Excessive heat can alter the temper of the steel, resulting in a loss of hardness and compromising its performance. To avoid this issue, it’s essential to monitor both speed and pressure during polishing.
Taking breaks between grits can also help manage heat buildup. Allowing the blade to cool down prevents overheating and ensures that each stage of polishing is effective without risking damage to the steel. Using lubricants or cooling agents during polishing can further mitigate heat generation, allowing for a smoother and safer finishing process.
Finishing Touches for a Flawless Mirror Finish
Once the primary polishing stages are complete, it’s time to focus on those finishing touches that will improve your mirror finish to perfection. This often involves using ultra-fine grits or specialized polishing compounds designed specifically for achieving high-gloss finishes. These final steps are crucial as they can make all the difference between a good finish and an exceptional one.
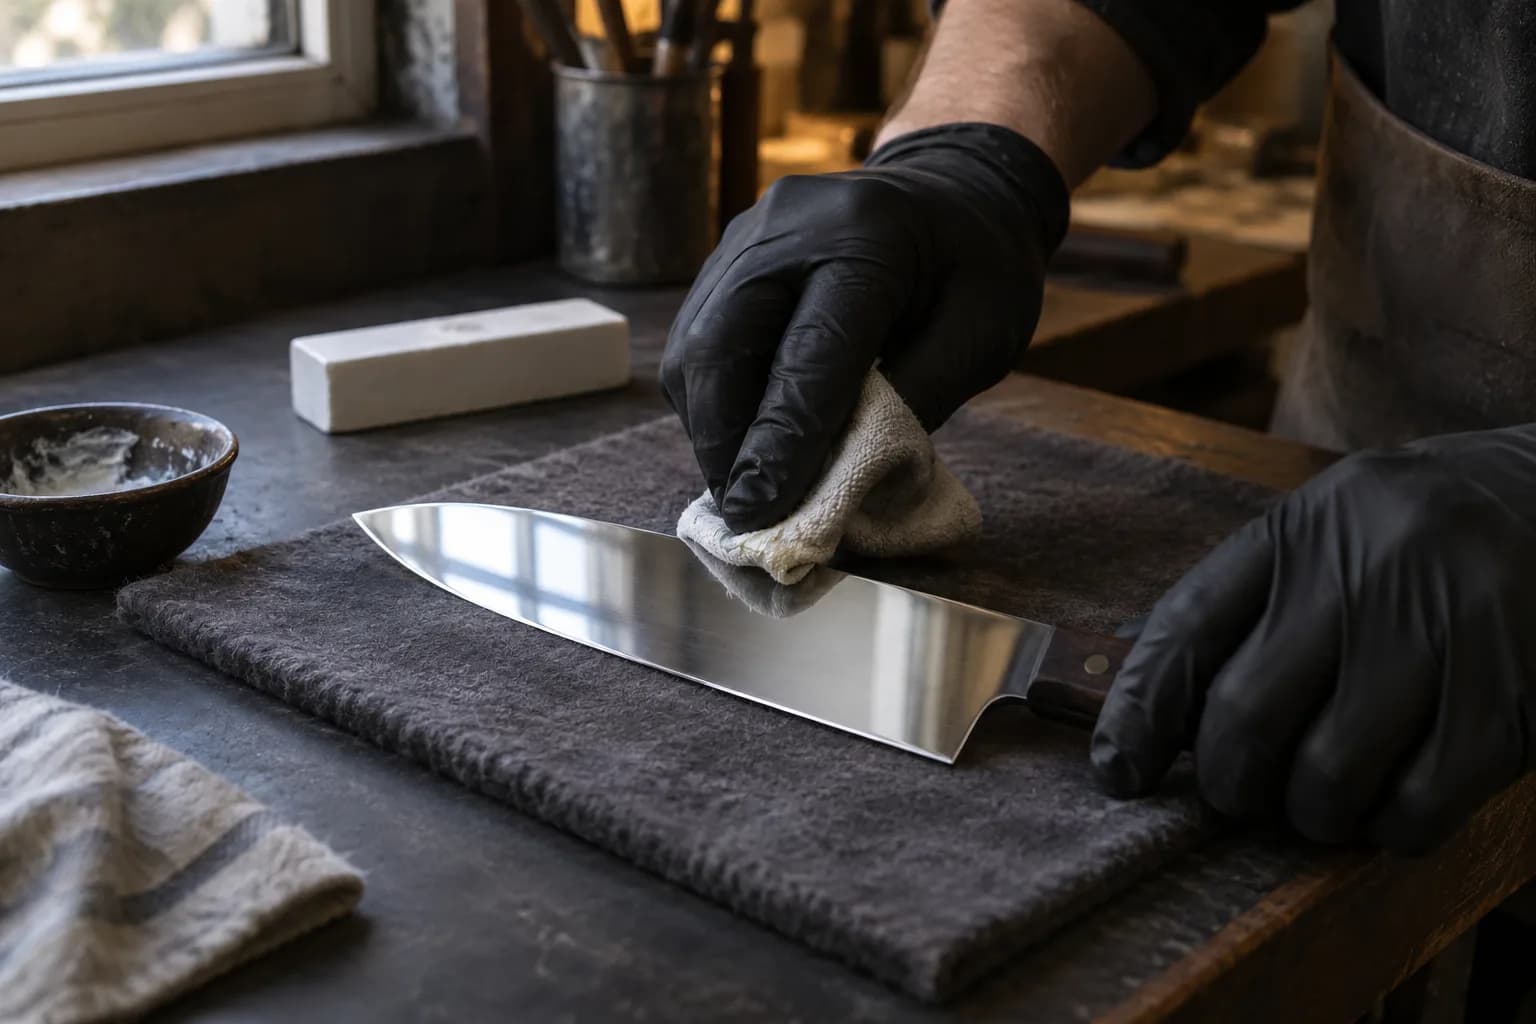
Incorporating techniques such as buffing with soft cloths or using rotary tools equipped with polishing wheels can enhance the reflective quality of the blade even further. Careful attention during these final stages ensures that any remaining micro-scratches are eliminated, resulting in a flawless mirror finish that showcases both skill and craftsmanship.
Tips for Maintaining Mirror Finishes
Maintaining a mirror finish requires ongoing care and attention. Regular cleaning after use is essential; food particles and moisture can dull even the most polished surfaces over time. Using gentle cleaning agents and soft cloths will help preserve that reflective quality without scratching or damaging the finish.
Storing knives properly can prevent scratches and other forms of wear that could compromise their appearance. Using knife blocks or sheaths designed specifically for storage can protect blades from contact with other utensils or surfaces that may cause damage. By implementing these maintenance practices, one can ensure that their mirror finishes remain pristine for years to come.
Common Mistakes to Avoid in Mirror Finishing
While pursuing a mirror finish can be rewarding, there are several common mistakes that can hinder progress or lead to unsatisfactory results. One frequent error is rushing through grit progressions without thoroughly addressing imperfections left by coarser belts. Skipping steps may save time initially but often results in more work later on when flaws become apparent.
Another mistake is neglecting proper cooling techniques during polishing. Overheating not only risks damaging the blade but can also lead to uneven finishes due to warping or changes in steel properties. Taking time to understand these pitfalls will help knife makers avoid frustration and achieve better results in their finishing endeavors.
FAQs
What are the best belt progressions for a mirror knife finish?
The best belt progressions for a mirror knife finish typically include starting with a coarse grit belt, such as 60 or 80 grit, and then progressing to finer grits such as 120, 220, 400, 600, 800, 1000, and 1500 grit. Some knife makers may even go up to 3000 or 5000 grit for an ultra-fine mirror finish.
What type of abrasive belts are recommended for achieving a mirror knife finish?
For achieving a mirror knife finish, it is recommended to use high-quality abrasive belts made from materials such as aluminum oxide, ceramic, or diamond. These belts are known for their durability and ability to produce a smooth and reflective surface on the knife blade.
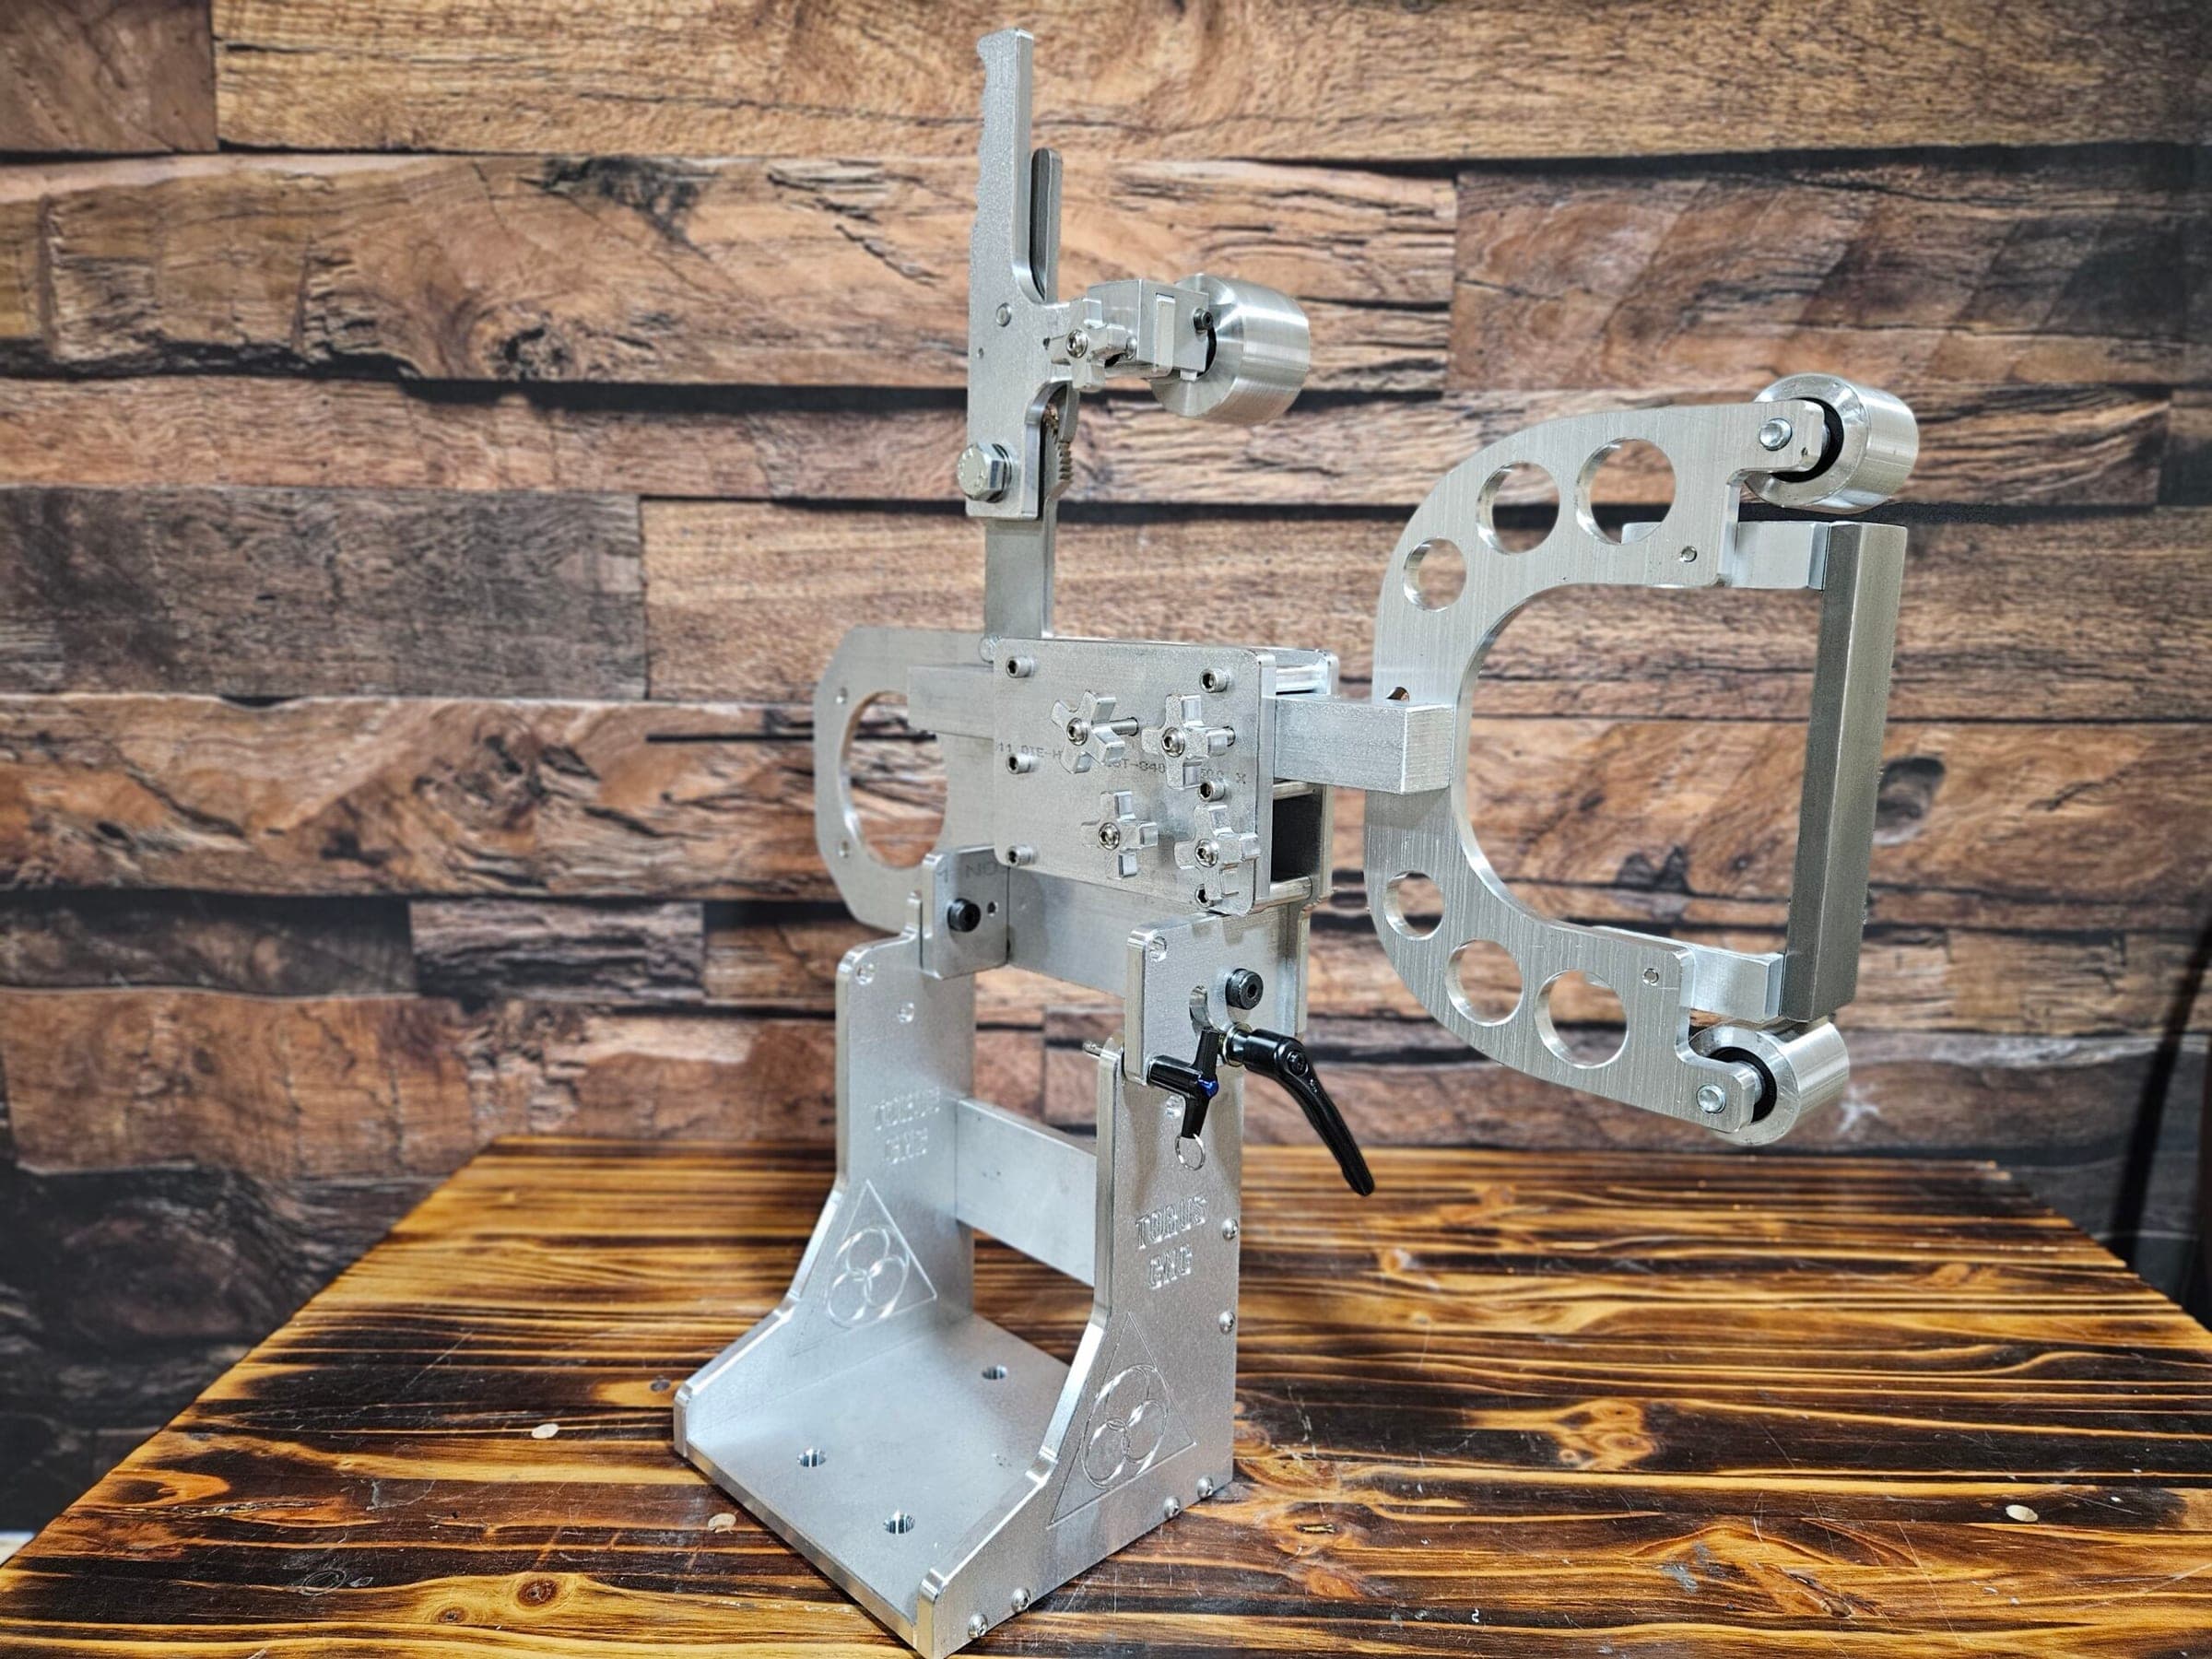
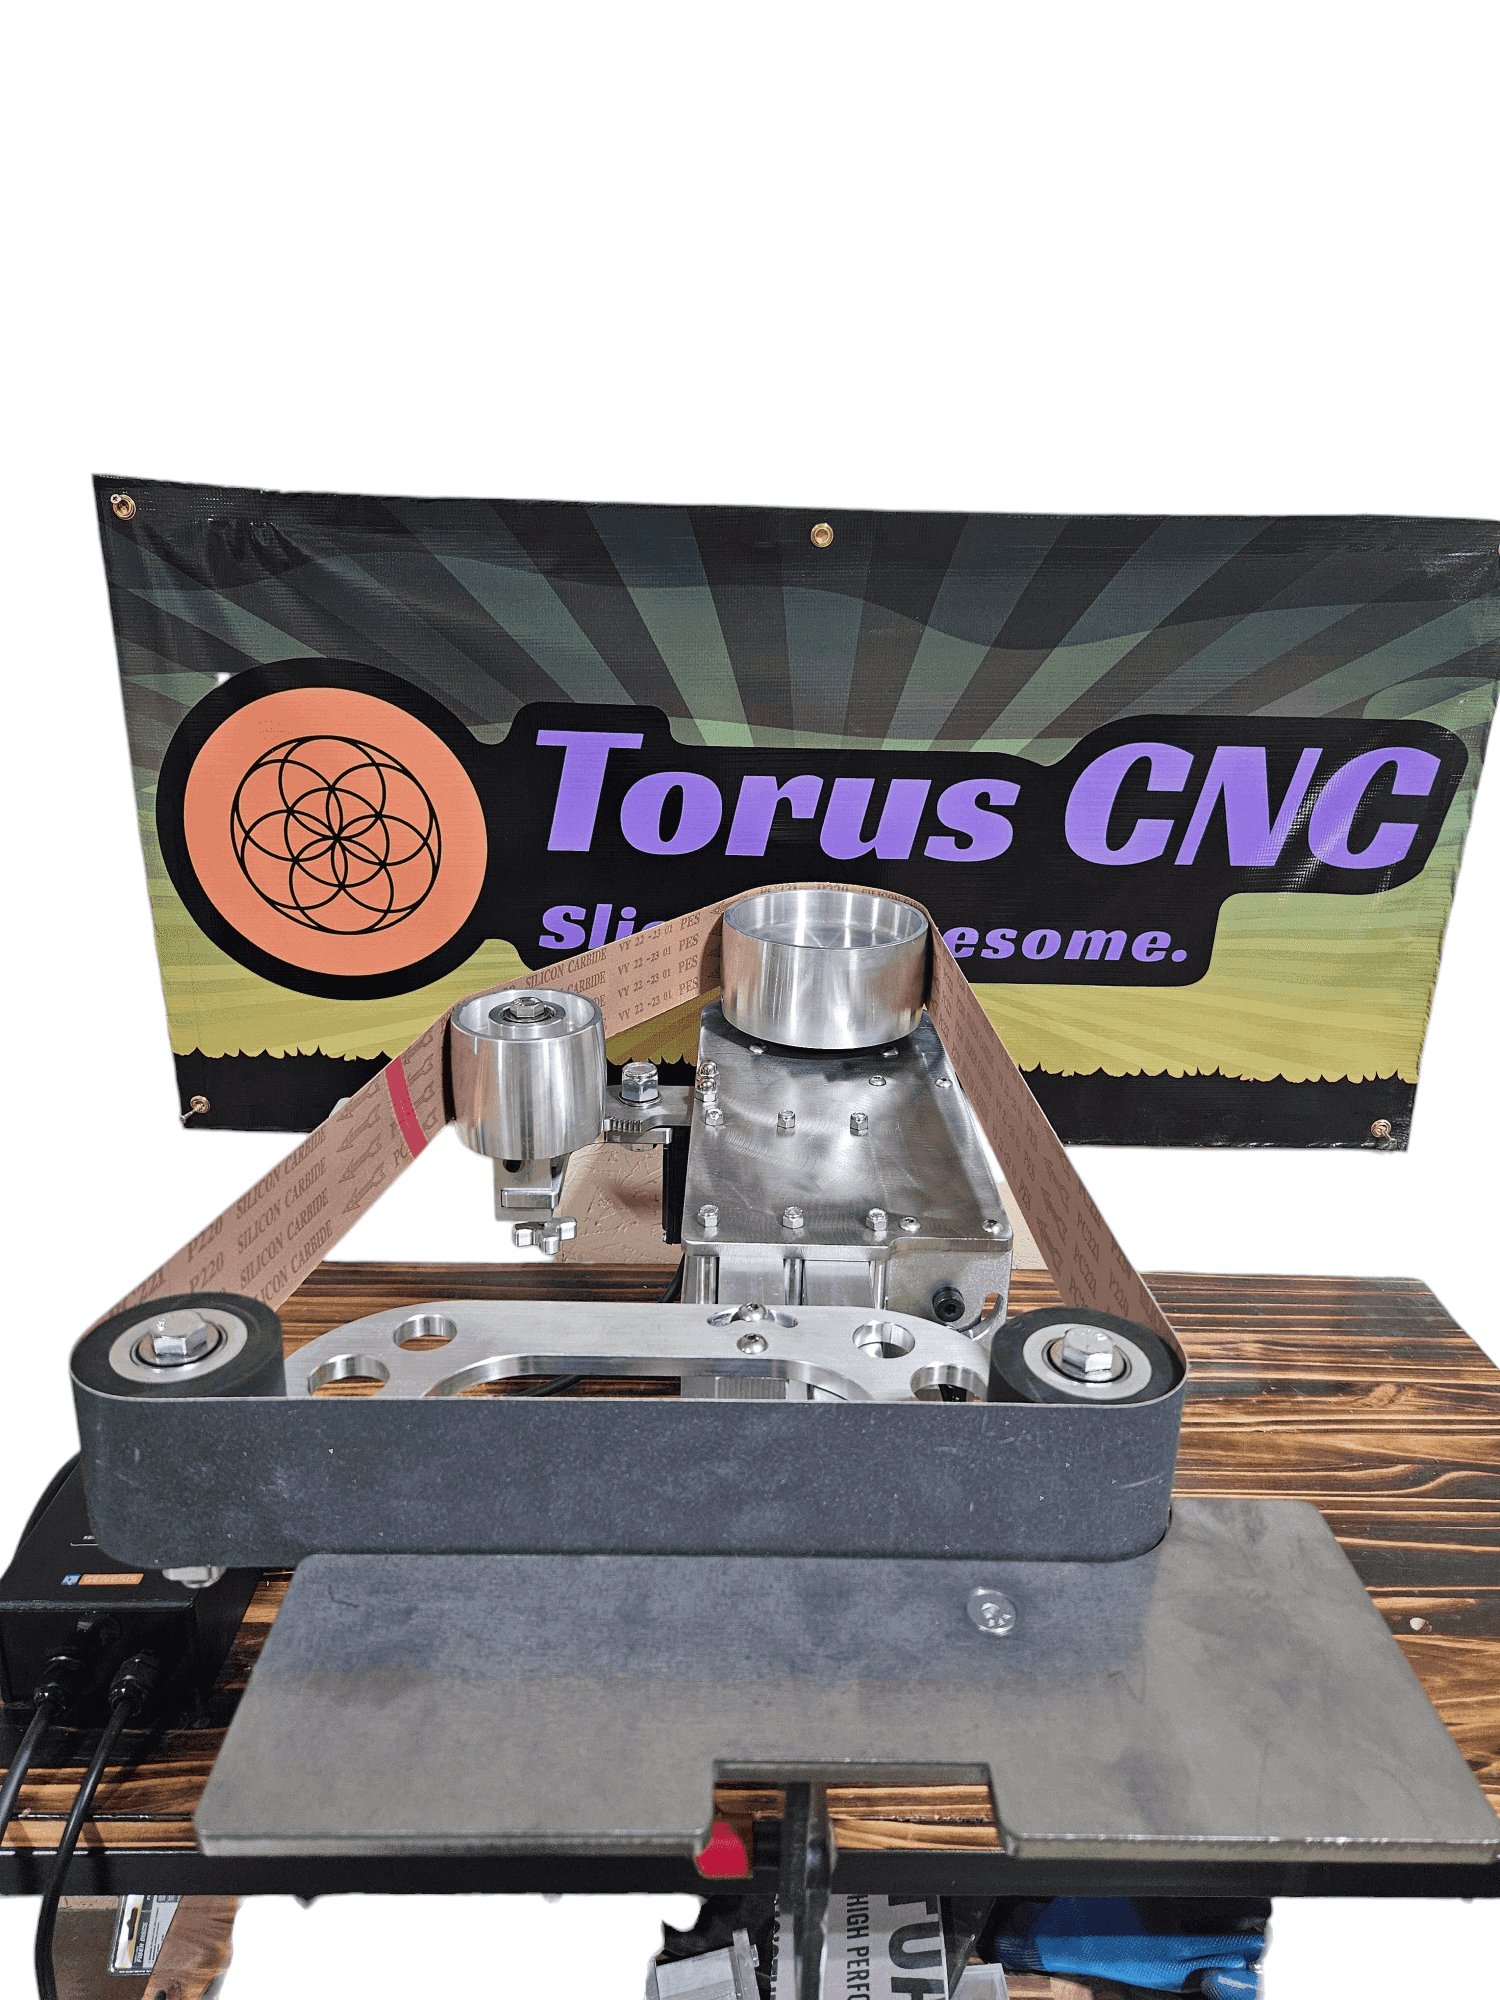
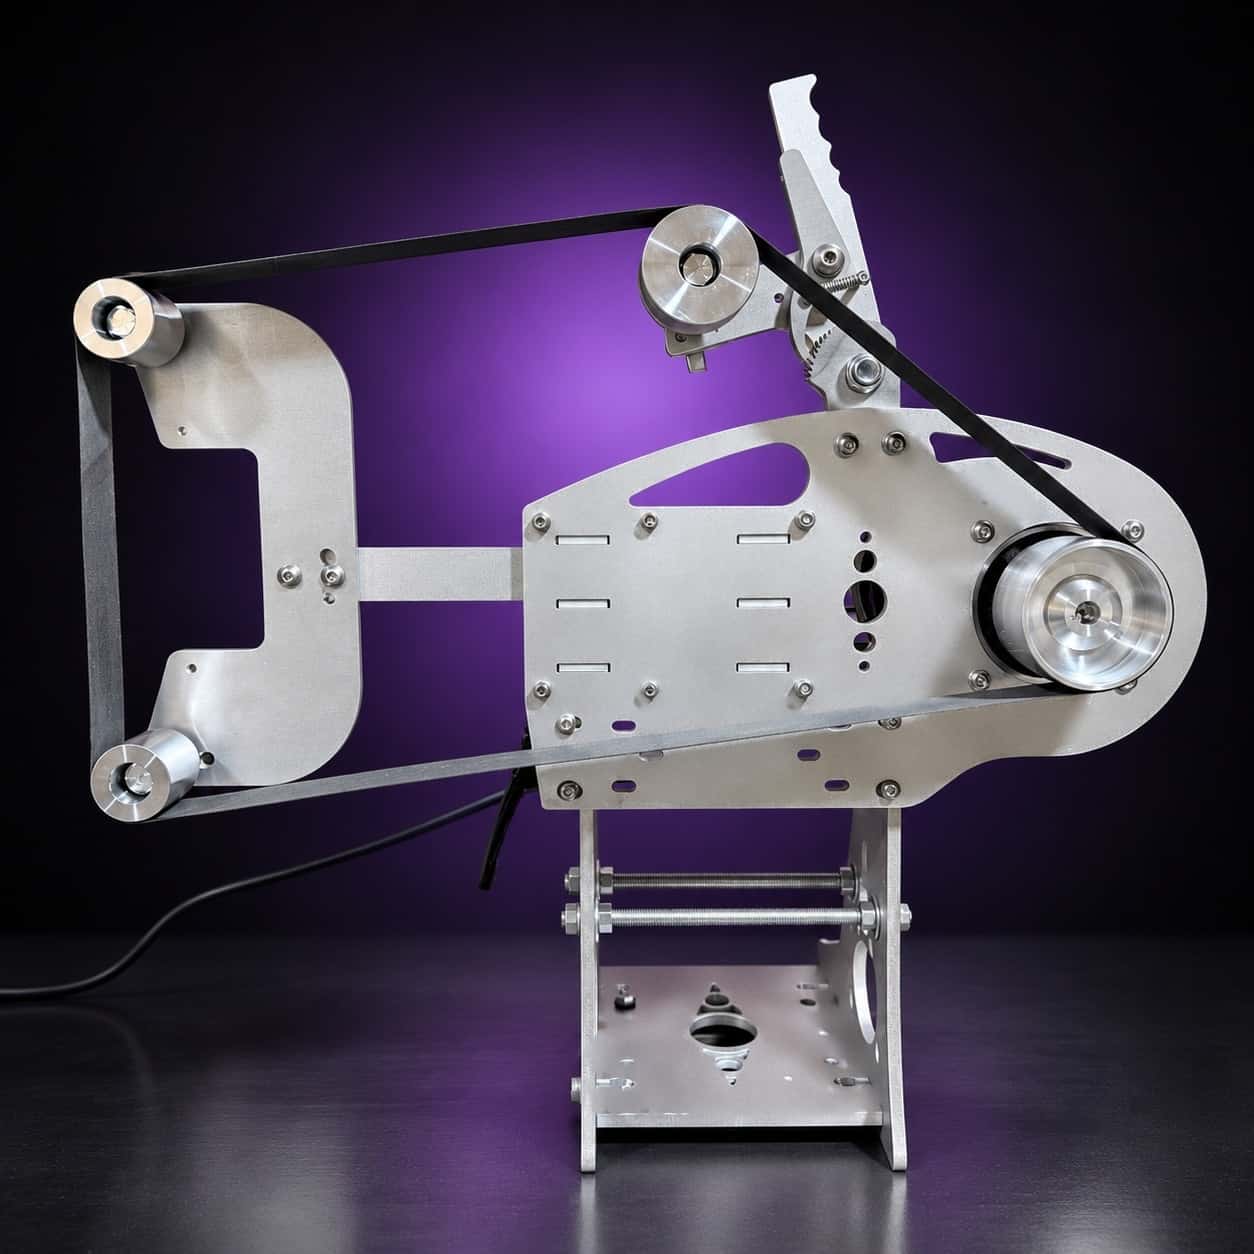
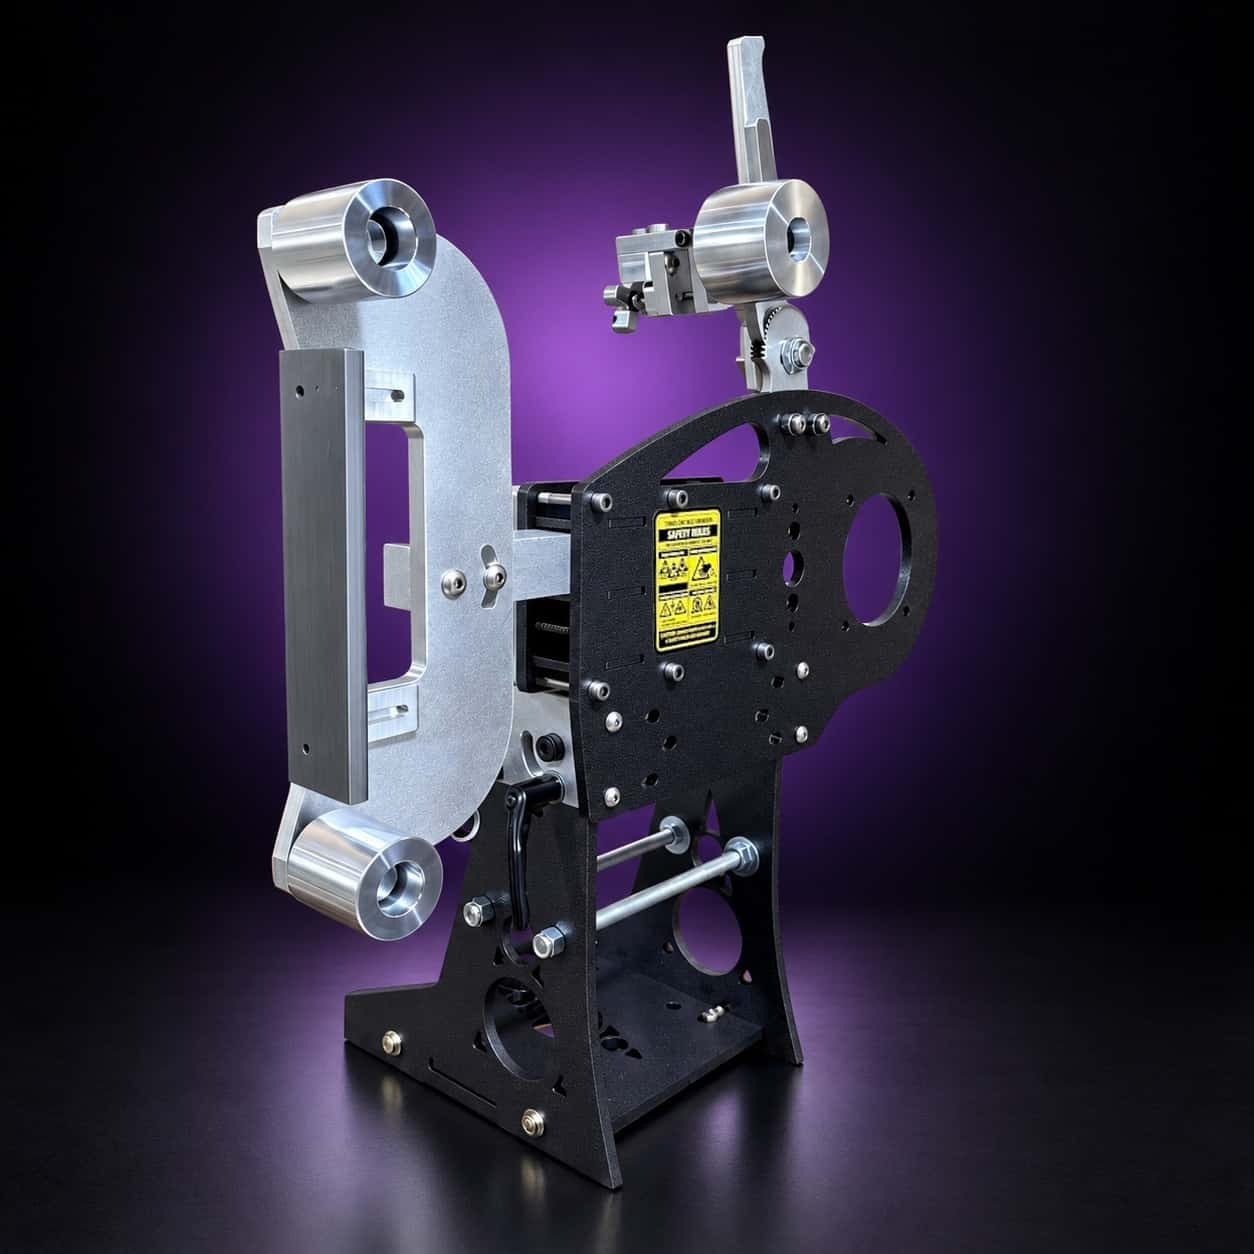
Mirror work punishes a grinder that vibrates. The Nebula 2×72 is 3/8-inch steel and the Nova is fiber-laser-cut 6061, and both run on a stainless ratchet tensioner that holds even pressure through the fine grits. Add a VFD to slow down for the last belts.