Blade Sharpening
Mastering Knife Edge Thinness: Avoiding Burn‑Through
Thin cuts better, right up until the edge turns blue. Here is how I take a knife edge thin without burn-through: where to stop before heat treat, what changes at 220 grit, how I check thickness, how often I dip.
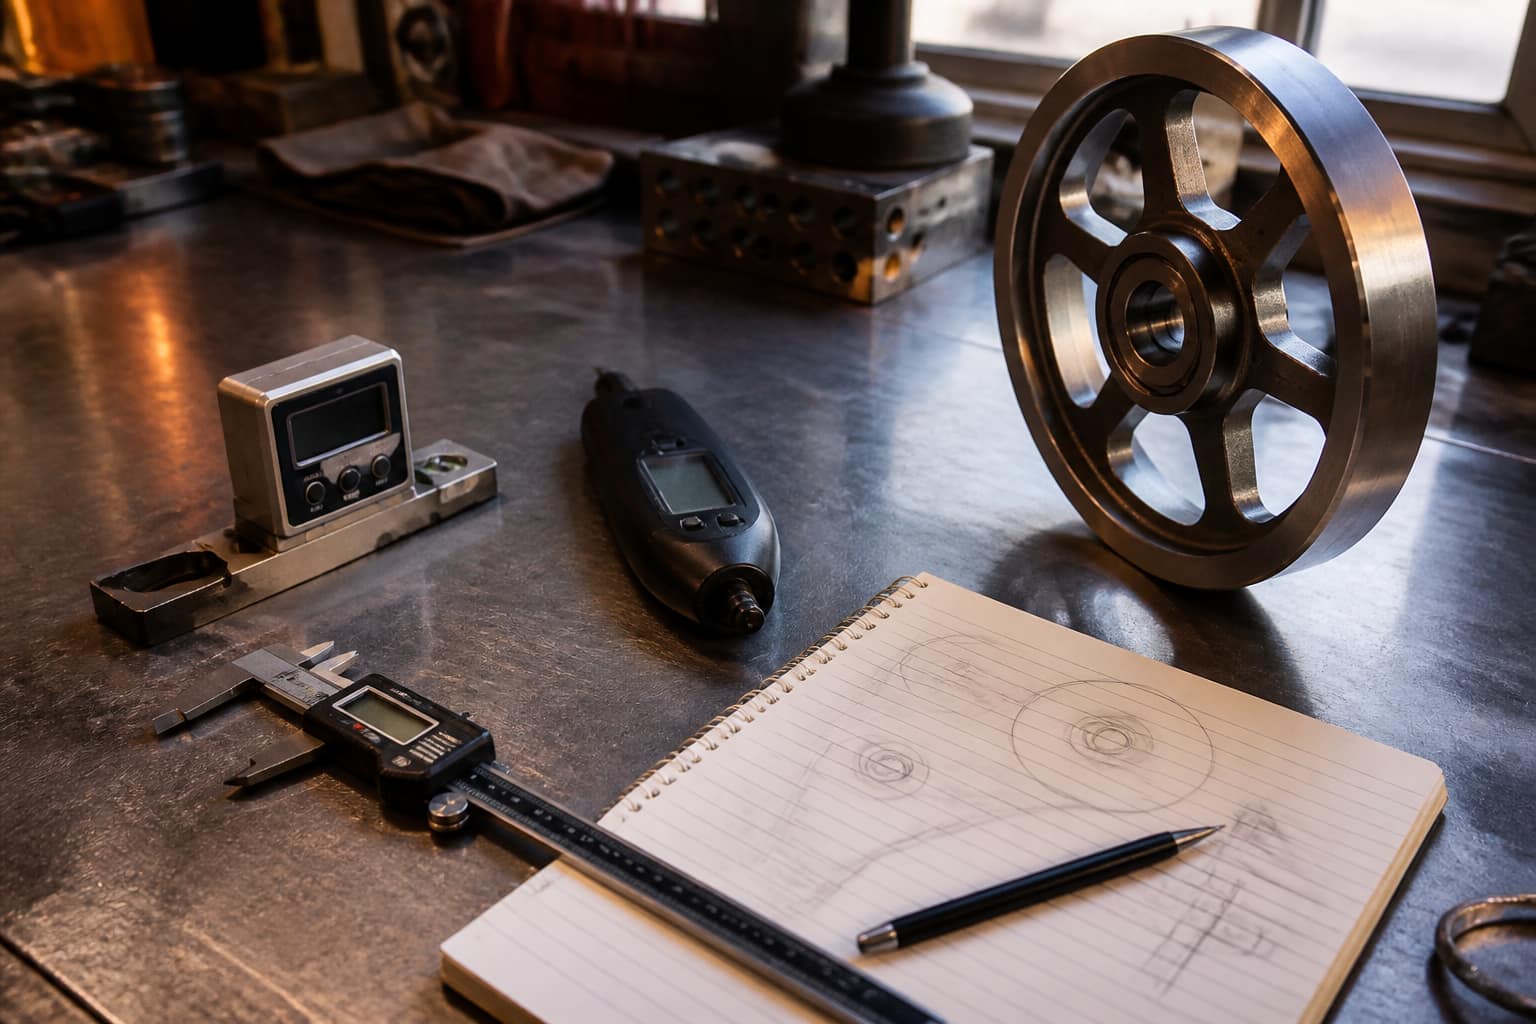
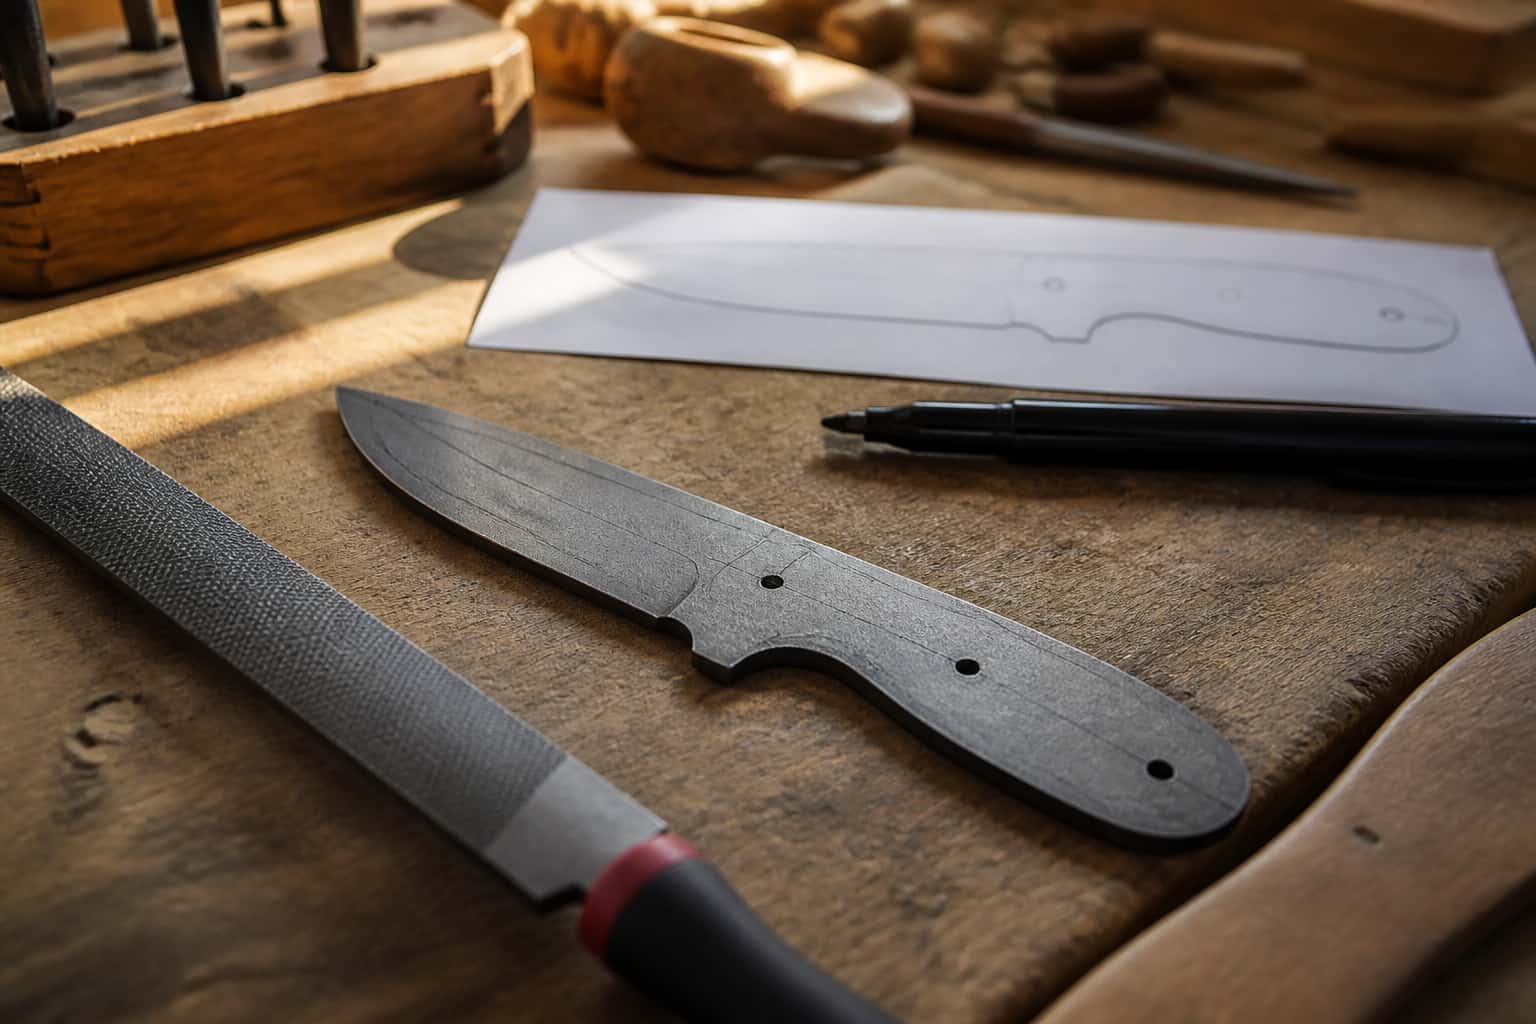
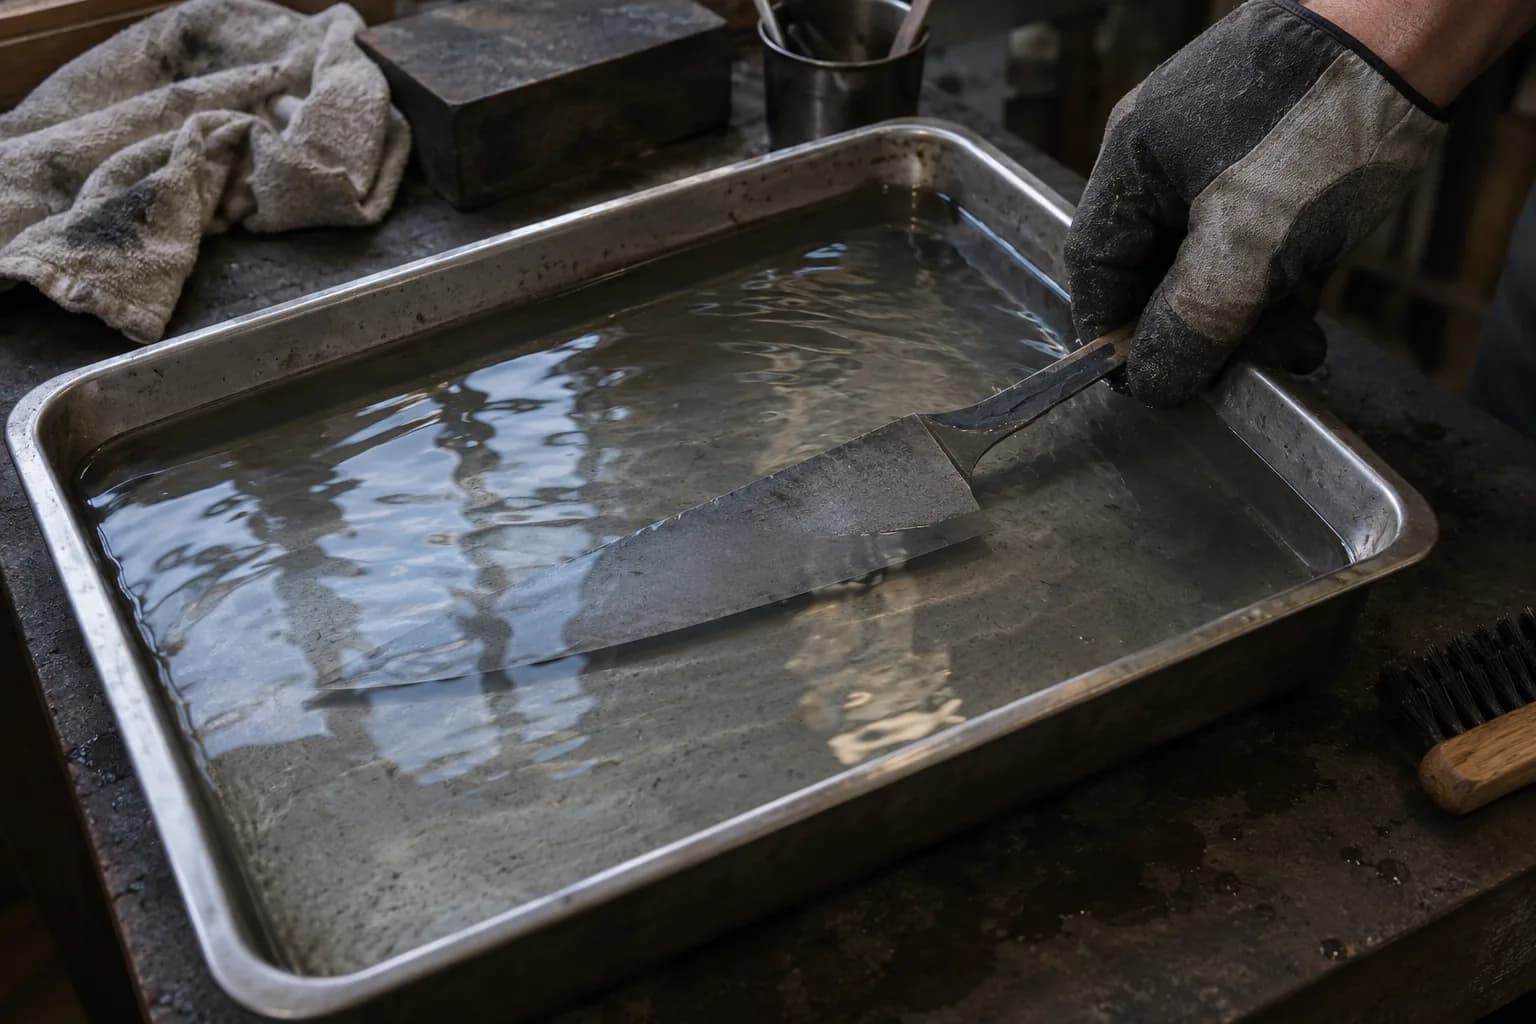
A thin edge slices; a burned edge is scrap. The line between them is a few thousandths and a few degrees. Here is how I grind a knife edge thin on the 2×72 without burning through: how much to leave before heat treat, why 220 grit is where most edges get ruined, how I check thickness with calipers as I go, and how often the blade goes in the water.
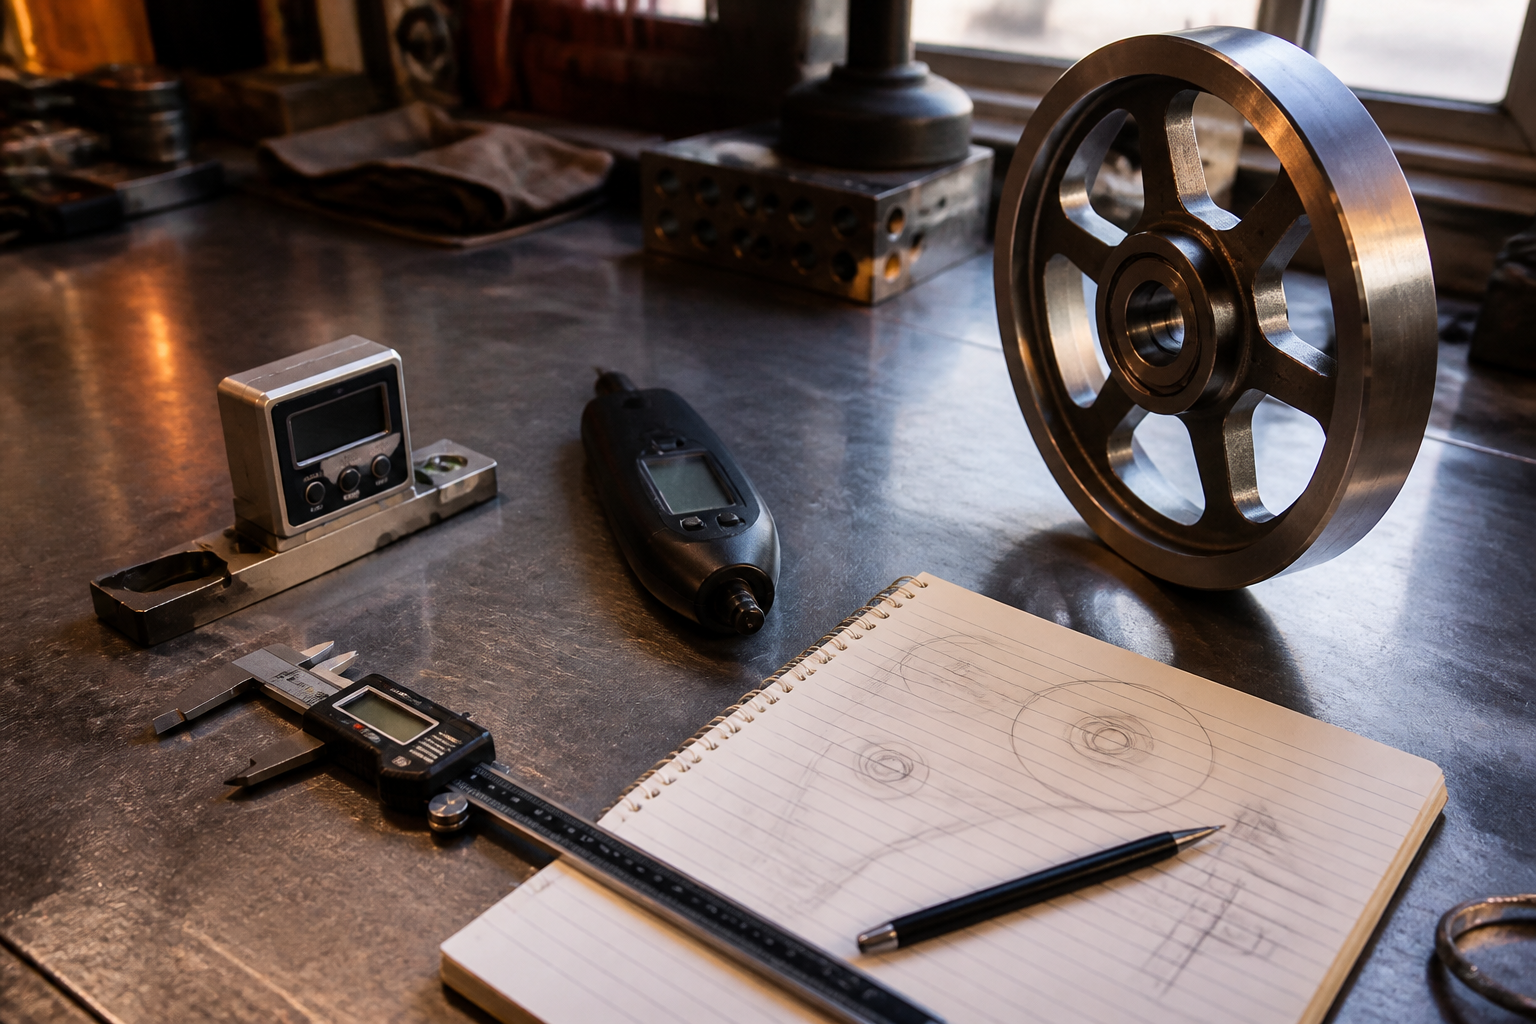
Key Takeaways
- Achieving knife edge thinness is important for precision in cooking and presentation.
- Choose a blade with a thin, flexible, and sharp edge for making thin cuts.
- Proper technique, such as using a slicing motion and maintaining a steady hand, is crucial for achieving thinness.
- Control heat to avoid burn-through and maintain the integrity of the cut.
- Use a cutting surface that is gentle on the blade to prevent damage and maintain thinness.
Choosing the Right Blade for Thin Cuts
Selecting the appropriate blade for achieving thin cuts is paramount to success in any cutting endeavor. Different materials require different types of blades, and understanding these distinctions can lead to better outcomes. For instance, a flexible fillet knife is ideal for fish, as its thin, pliable blade allows for precise cuts along the bone and skin.
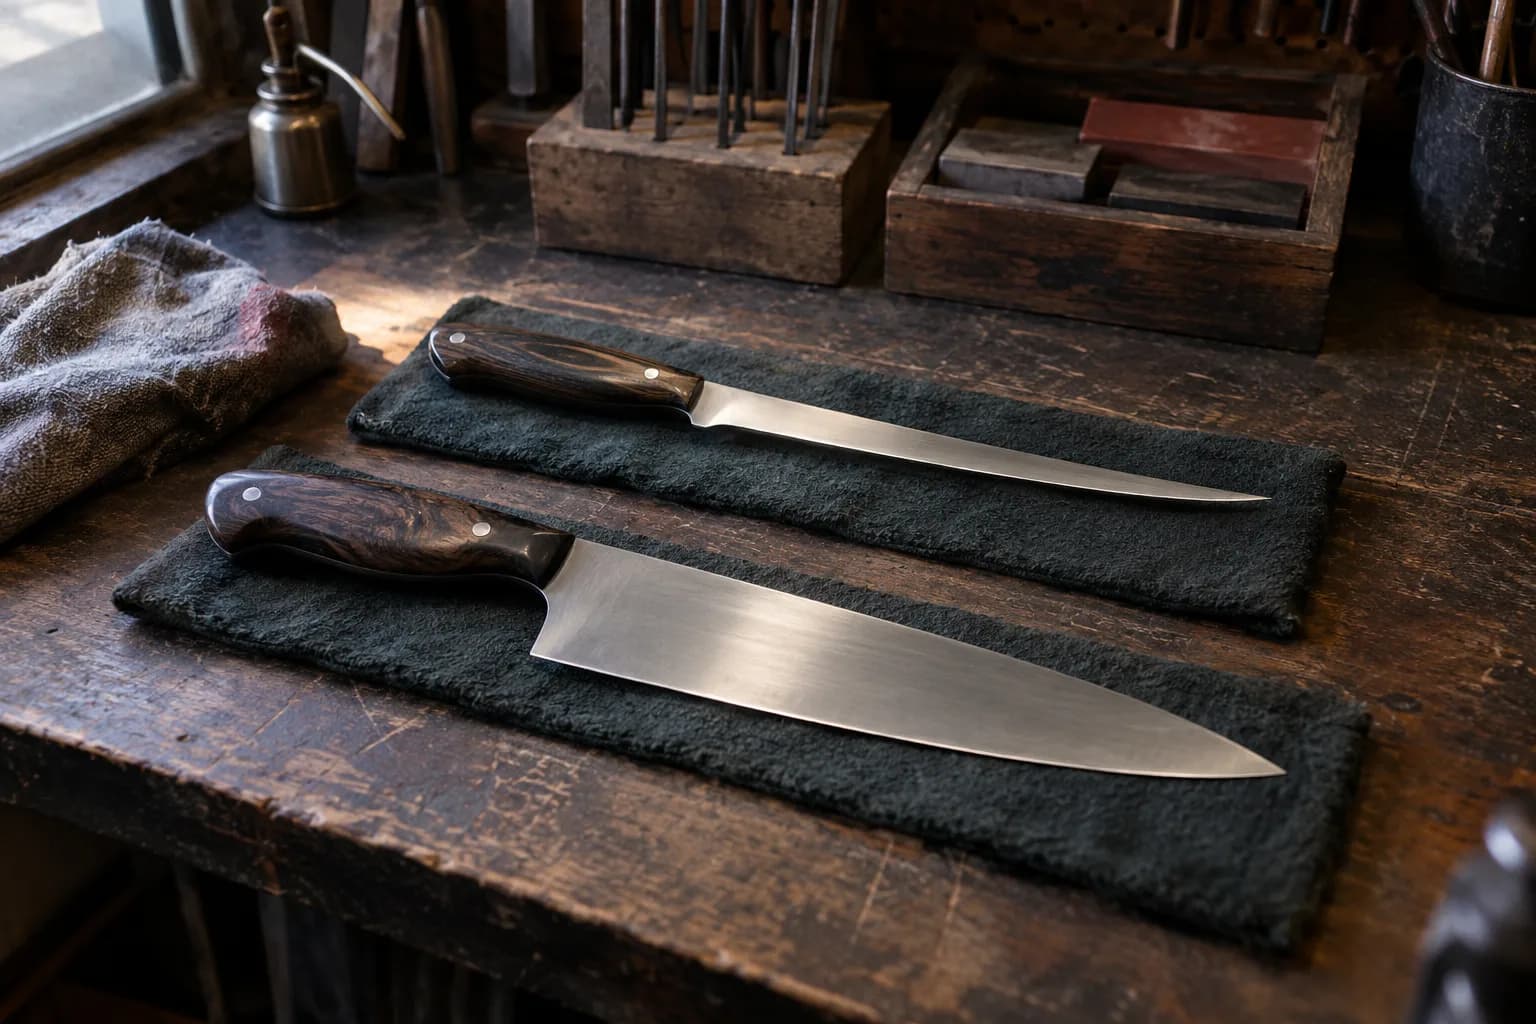
Conversely, a straight-edged chef’s knife may be more suitable for vegetables, providing the necessary control and stability for clean slices. In addition to material considerations, the design of the blade plays a significant role in its effectiveness for thin cuts. Blades with a narrow profile and a fine edge are generally more adept at producing thin slices.
Proper Technique for Achieving Thinness
Mastering the proper technique is crucial for achieving thin cuts consistently. One of the fundamental aspects of this technique involves maintaining a steady hand and applying even pressure throughout the cutting process. A common mistake is to press too hard on the knife, which can lead to uneven cuts and a compromised edge.
Instead, using a gentle sawing motion can help guide the blade through the material without forcing it, allowing for more controlled and precise slices. Angle and posture play significant roles in achieving thinness. Holding the knife at an appropriate angle relative to the cutting surface can greatly influence the thickness of each slice.
For instance, angling the blade slightly downward can help create thinner cuts by allowing the edge to engage more effectively with the material. Practicing these techniques regularly will not only improve one’s ability to achieve thin cuts but also enhance overall knife skills.
The Role of Heat Control in Avoiding Burn-Through
Heat control is an often-overlooked aspect of achieving thin cuts, particularly when working with materials that are sensitive to temperature changes. Excessive heat can lead to burn-through, where the material becomes charred or damaged due to prolonged exposure to high temperatures. This is especially relevant in culinary applications, where overcooking or burning can ruin the flavor and texture of food.
To avoid burn-through, it is essential to monitor heat levels during cutting processes. This can be achieved by using tools that minimize friction and heat generation, such as high-quality knives designed for specific tasks. Taking breaks during prolonged cutting sessions can help prevent overheating and maintain optimal conditions for achieving thin cuts.
Using the Right Cutting Surface to Prevent Damage
The choice of cutting surface is another critical factor that influences both the quality of cuts and the longevity of knives. Using an inappropriate surface can lead to damage not only to the knife but also to the material being cut. For instance, cutting on hard surfaces like glass or metal can dull a knife’s edge quickly, while softer surfaces like wood or plastic provide a more forgiving environment that helps maintain sharpness.
Selecting the right cutting board can enhance one’s ability to achieve thin cuts effectively. A board with a textured surface can provide better grip on materials, preventing them from slipping during cutting. This stability allows for more controlled movements and in the end leads to cleaner slices.
Avoiding Overheating and Warping of the Blade
Overheating is a significant concern when working with knives, as it can lead to warping and other forms of damage that compromise performance. When a blade becomes too hot, it may lose its tempering, resulting in a softer edge that dulls more quickly. This not only affects the knife’s ability to achieve thin cuts but also shortens its lifespan.
To avoid overheating and warping, it is essential to use proper techniques during cutting sessions. This includes maintaining a steady pace and avoiding excessive pressure on the blade. Regularly sharpening and honing the knife can help maintain its edge without generating unnecessary heat.
The Importance of Sharpness in Maintaining Thinness
Sharpness is perhaps one of the most critical elements in achieving and maintaining thinness in cuts. A sharp knife requires less force to slice through materials, allowing for cleaner and more precise cuts. When a knife loses its sharpness, it becomes more challenging to achieve thin slices, as greater pressure must be applied to force the blade through the material.
Regular maintenance of knife sharpness is essential for anyone looking to improve their cutting skills. This can be achieved through various methods such as honing with a whetstone or using a professional sharpening service when necessary. By prioritizing sharpness, one can ensure that their knives remain effective tools for achieving thin cuts consistently.
Recognizing Signs of Burn-Through and How to Correct Them
Recognizing signs of burn-through is crucial for maintaining quality during cutting processes. Common indicators include discoloration or charring on the edges of materials, which suggest that excessive heat has been applied during cutting. In culinary applications, this may manifest as an unpleasant taste or texture in food items that have been overcooked or scorched.
To correct burn-through issues, it is essential to adjust cutting techniques immediately. This may involve reducing pressure on the blade or taking breaks to allow materials to cool down before continuing. Reassessing heat levels and ensuring proper ventilation during cutting sessions can help prevent future occurrences of burn-through.
Utilizing Protective Gear for Safety
Safety should always be a priority when working with knives and other cutting tools. Utilizing protective gear can significantly reduce the risk of accidents and injuries during cutting processes. Common protective equipment includes cut-resistant gloves, which provide an added layer of safety while handling sharp blades.
In addition to gloves, wearing appropriate footwear and ensuring that workspaces are free from clutter can further enhance safety during cutting tasks. It is also advisable to use protective eyewear when working with power tools or when there is a risk of debris flying during cutting operations. By incorporating protective gear into one’s routine, individuals can create a safer environment that allows them to focus on achieving thin cuts without unnecessary distractions or hazards.
Incorporating Rest Periods to Prevent Overheating
Taking short breaks allows both the individual and their tools to recover from prolonged use. During these rest periods, one can assess their technique and make necessary adjustments before resuming work. Allowing knives to cool down helps maintain their sharpness and prevents warping caused by excessive heat buildup.
FAQs
What is burn-through in knife making?
Burn-through in knife making occurs when the metal becomes too thin and heats up too quickly during the grinding process, leading to the metal burning and potentially ruining the blade.
How can burn-through be avoided at 220 grit?
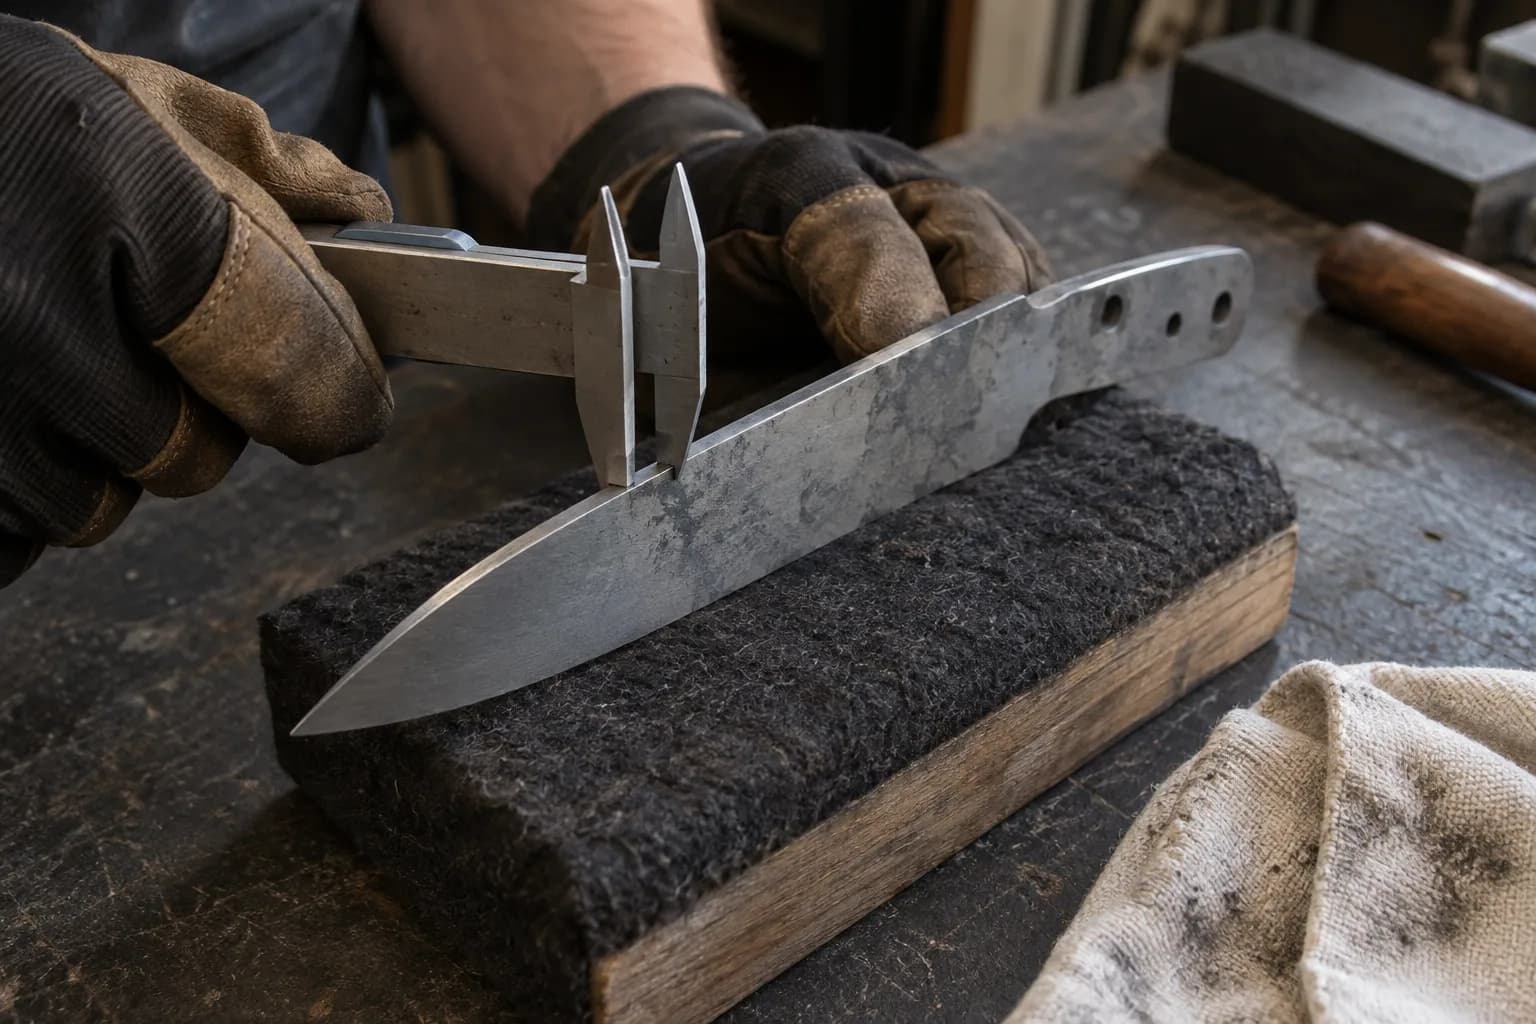
To avoid burn-through at 220 grit, knife makers should use a light touch and take their time when grinding the blade. It’s important to keep the blade cool and to frequently check the thickness of the edge to prevent it from becoming too thin.
Why is 220 grit significant in knife making?
220 grit is a significant stage in the knife making process because it is the point at which the blade starts to take on its final shape and thinness. It is crucial to avoid burn-through at this stage to ensure the quality of the blade.
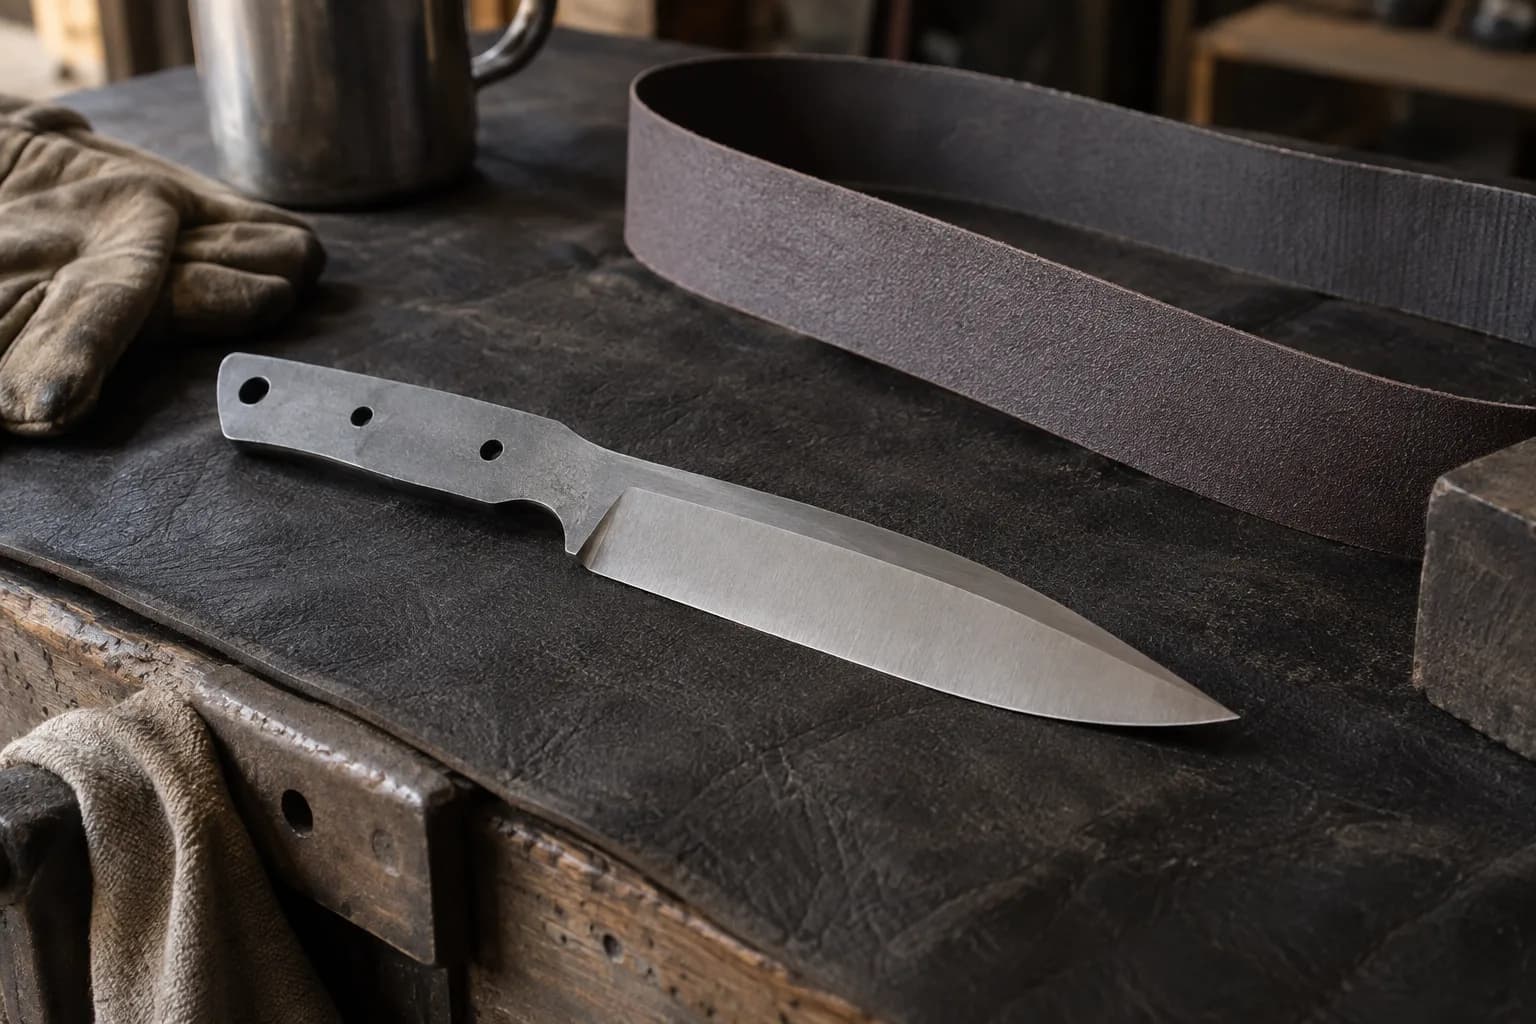
What are some tips for achieving knife edge thinness without burn-through?
Some tips for achieving knife edge thinness without burn-through include using a slow and steady grinding technique, frequently checking the thickness of the blade, and keeping the blade cool by dipping it in water or using a coolant during the grinding process.
Achieving Perfect Knife Edge Thinness: Techniques to Prevent Burn-Through
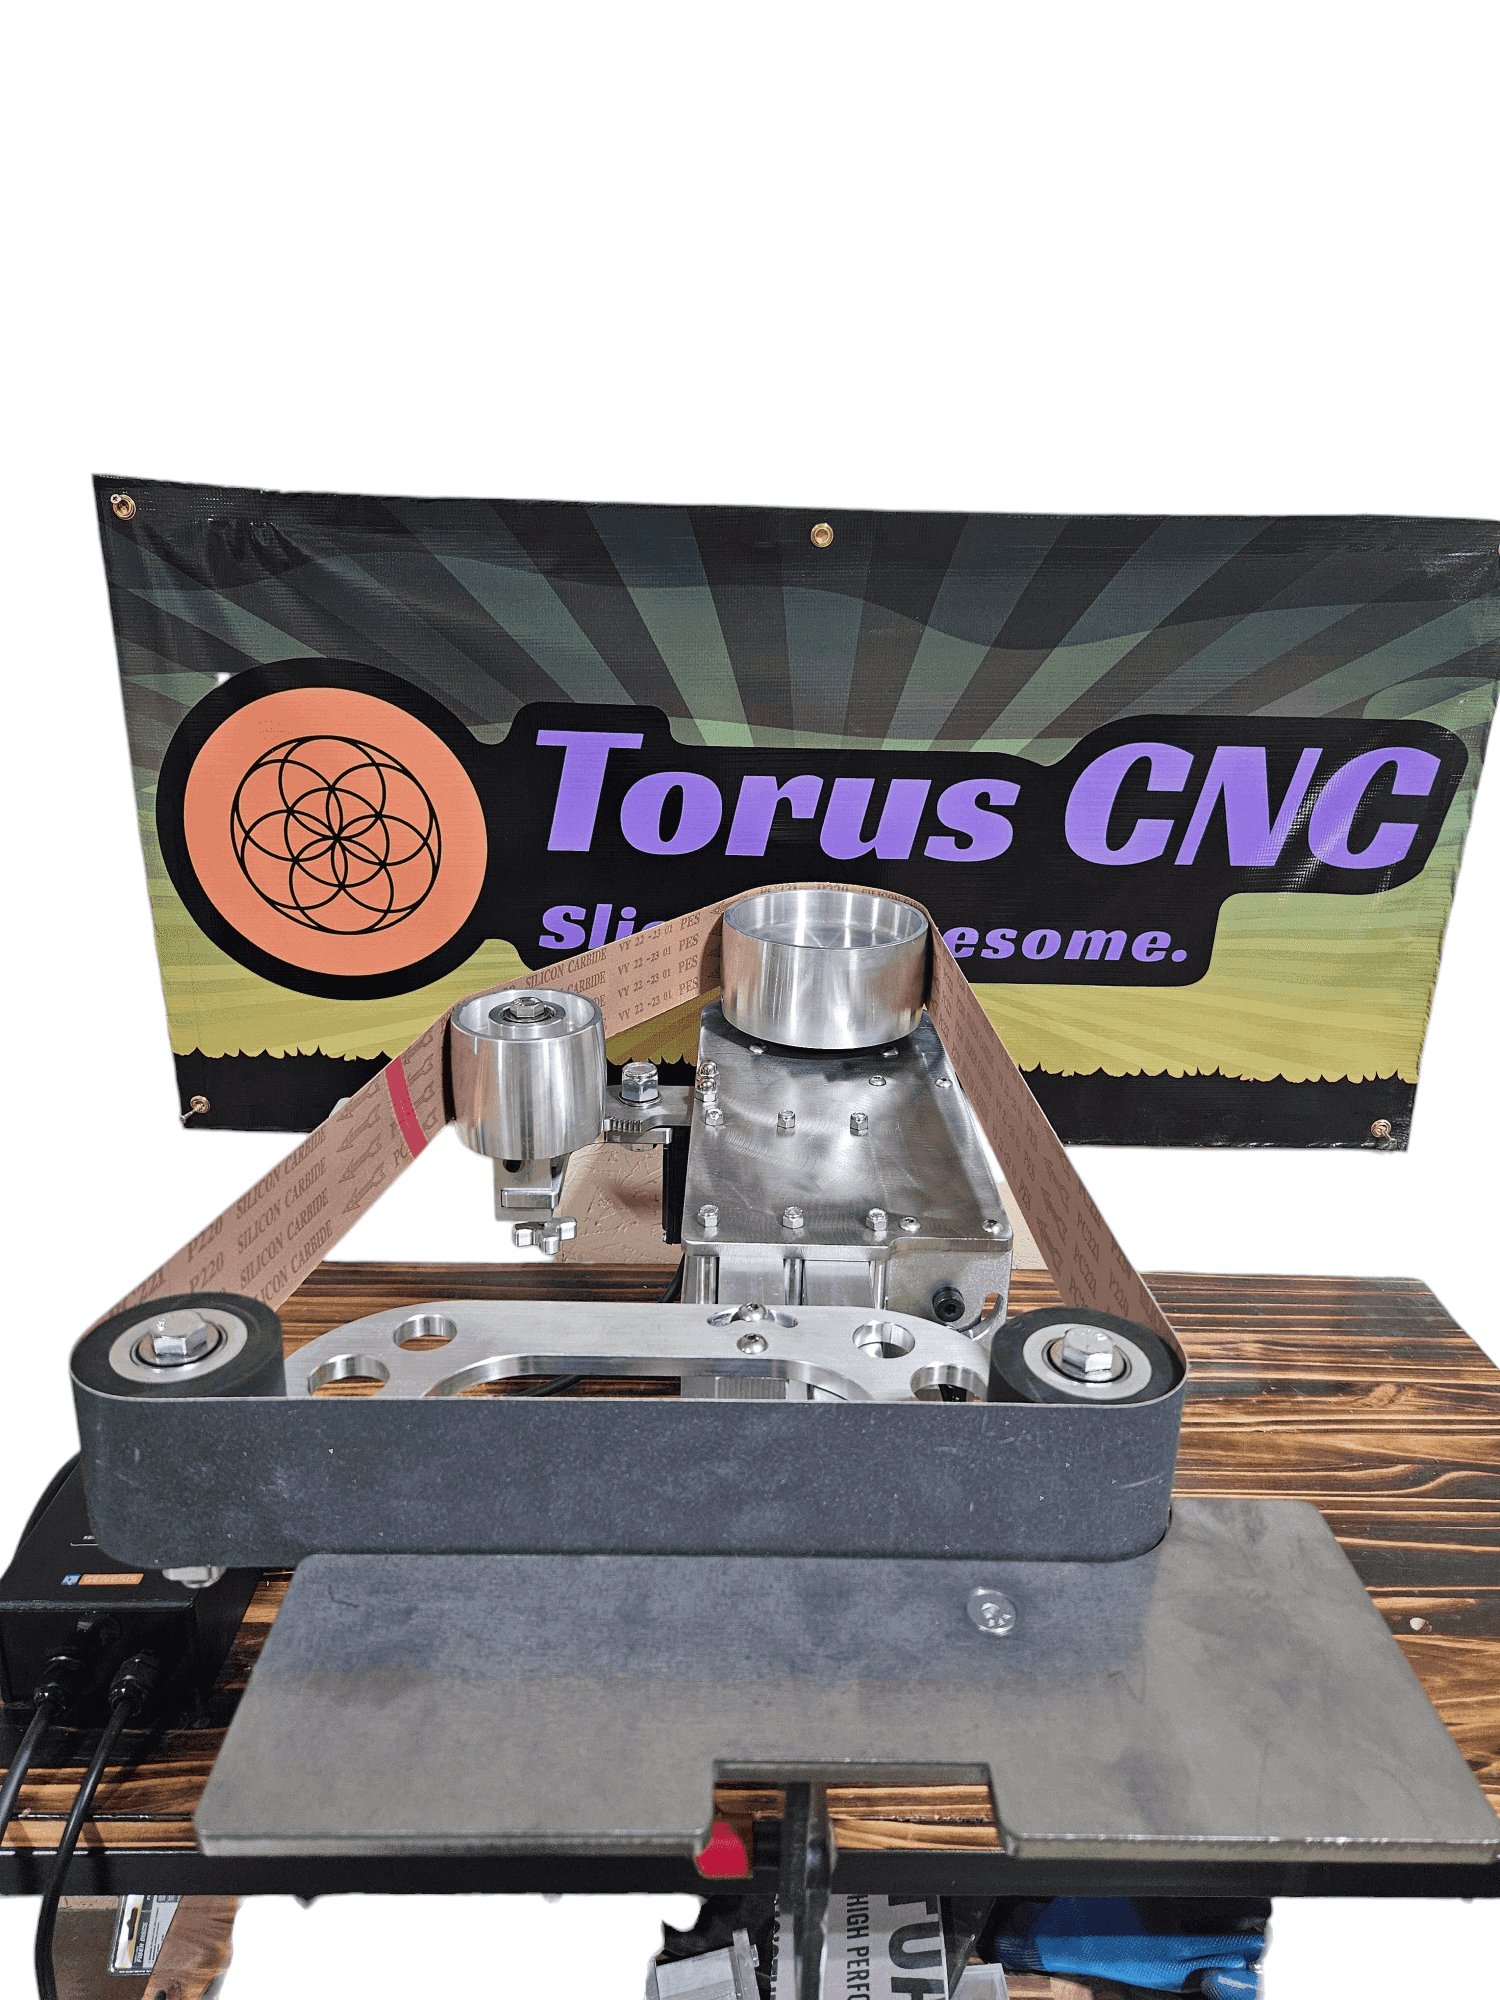
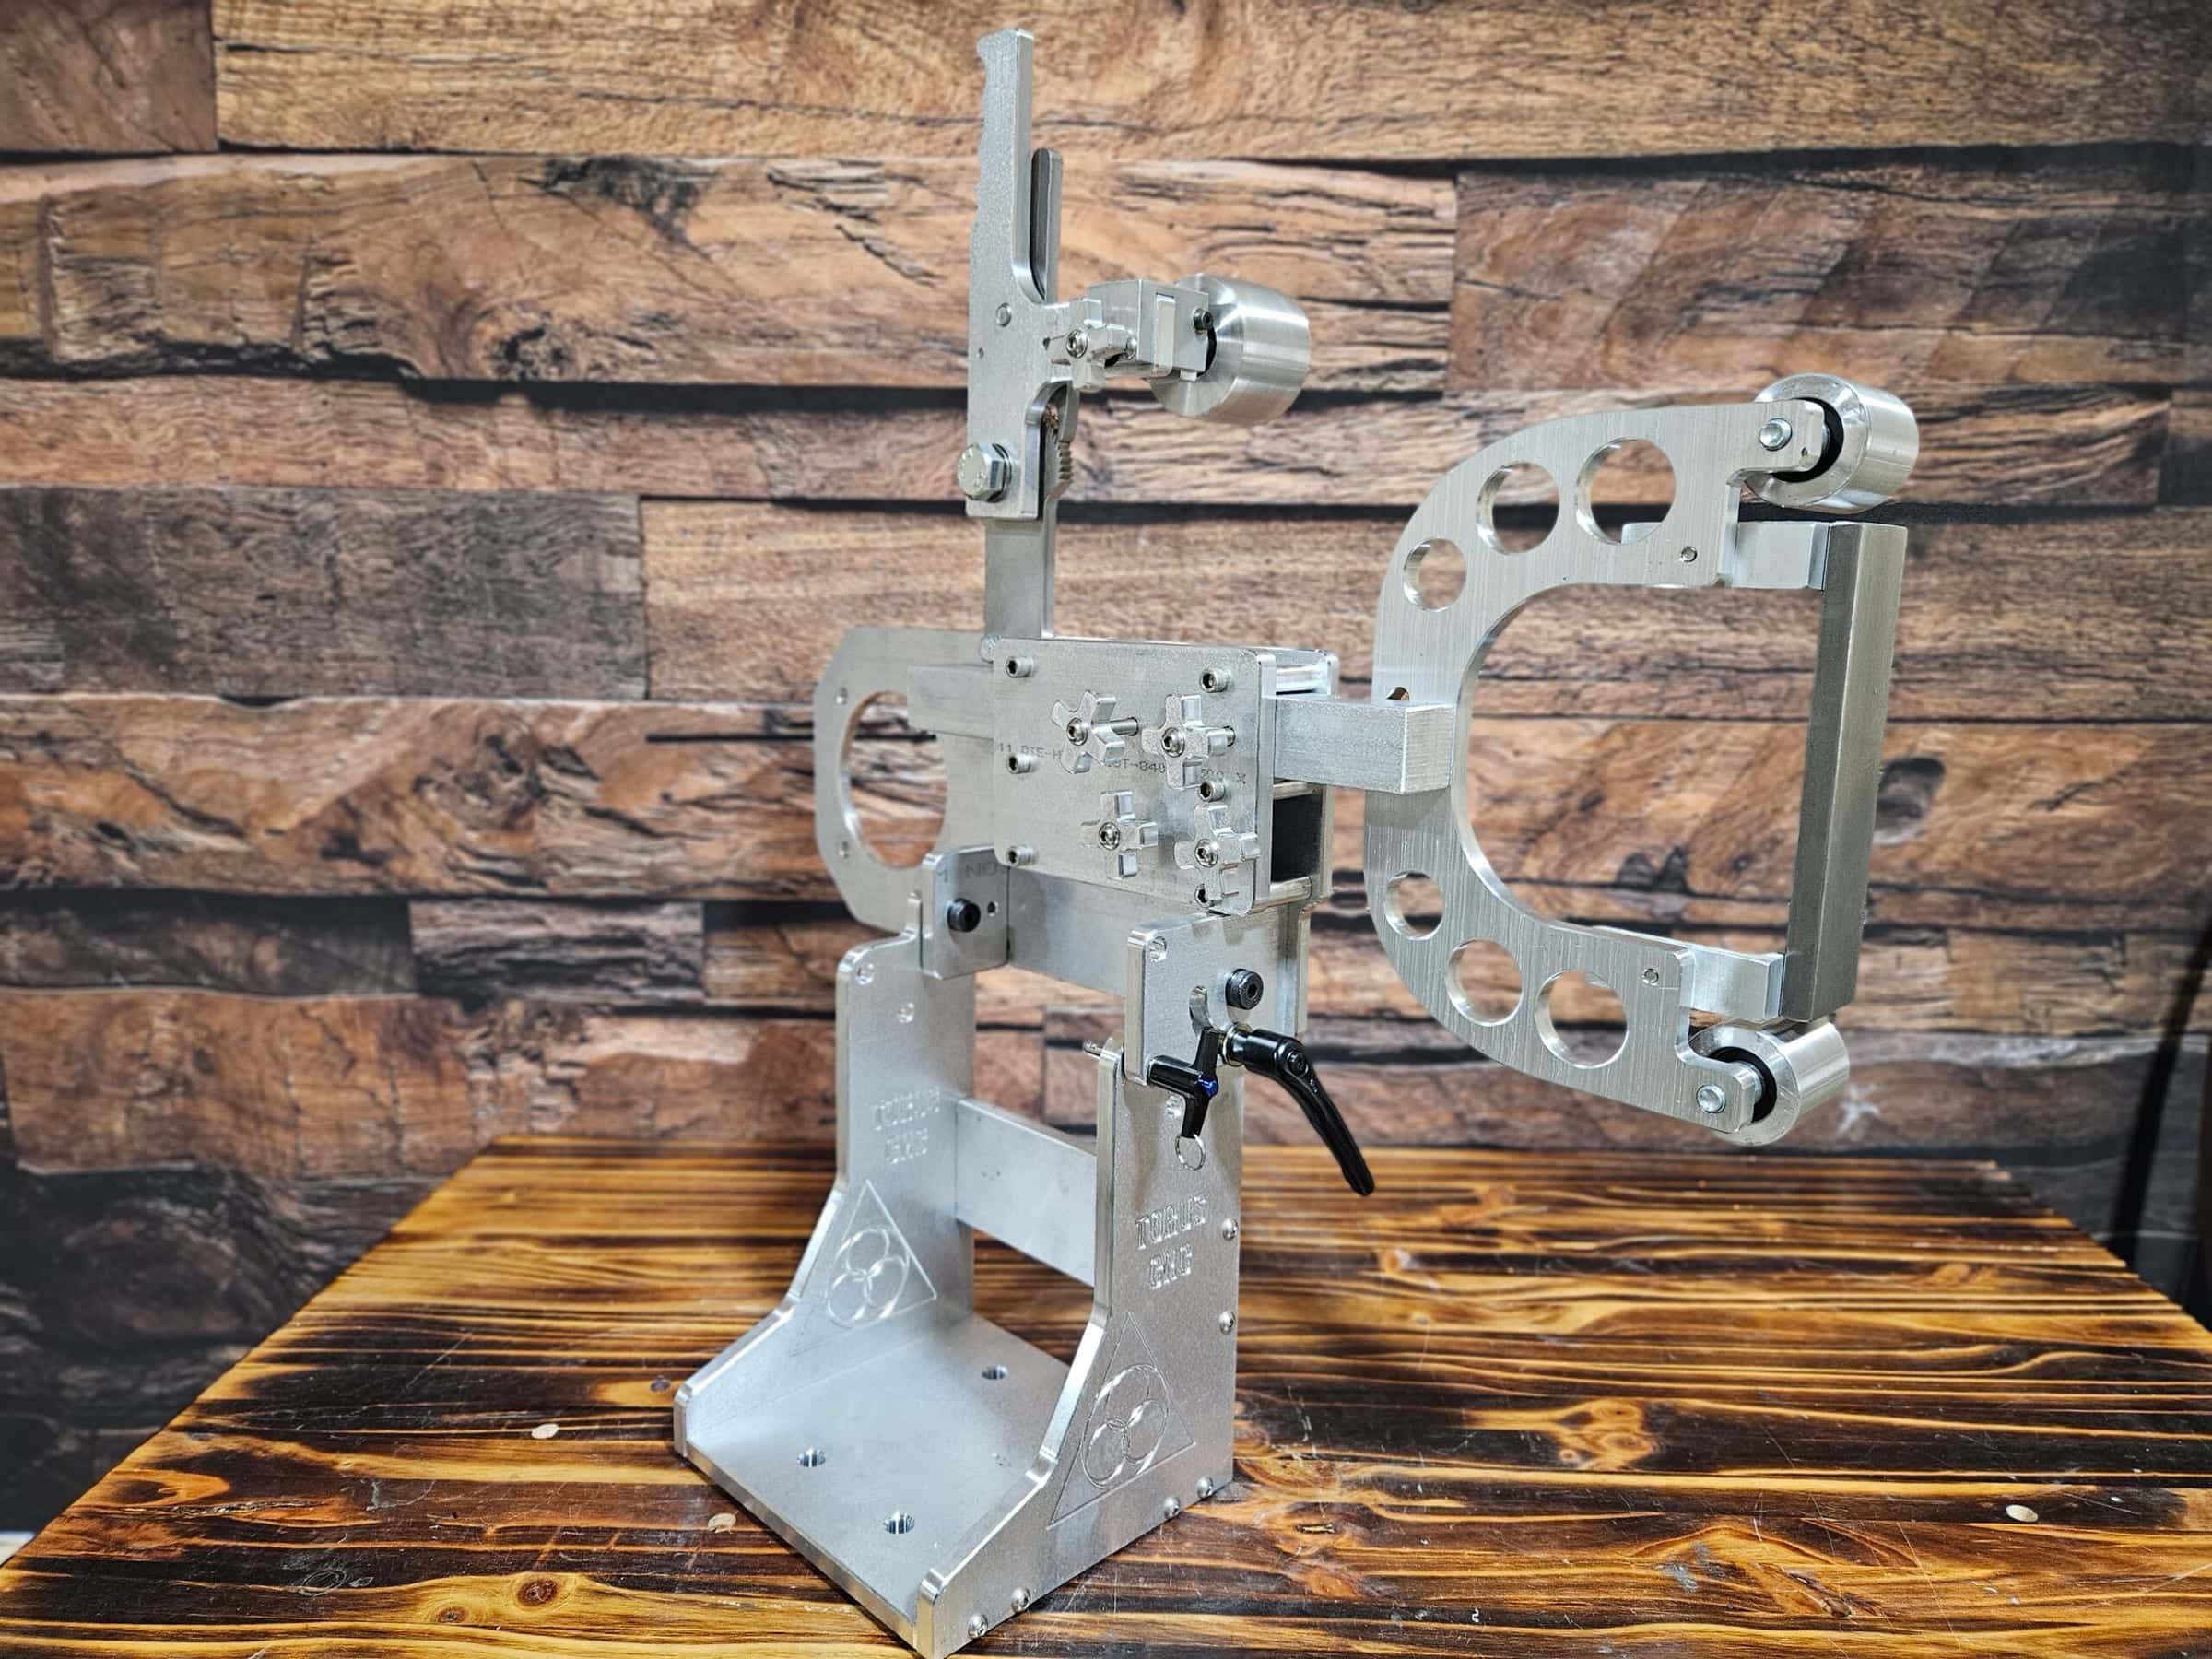
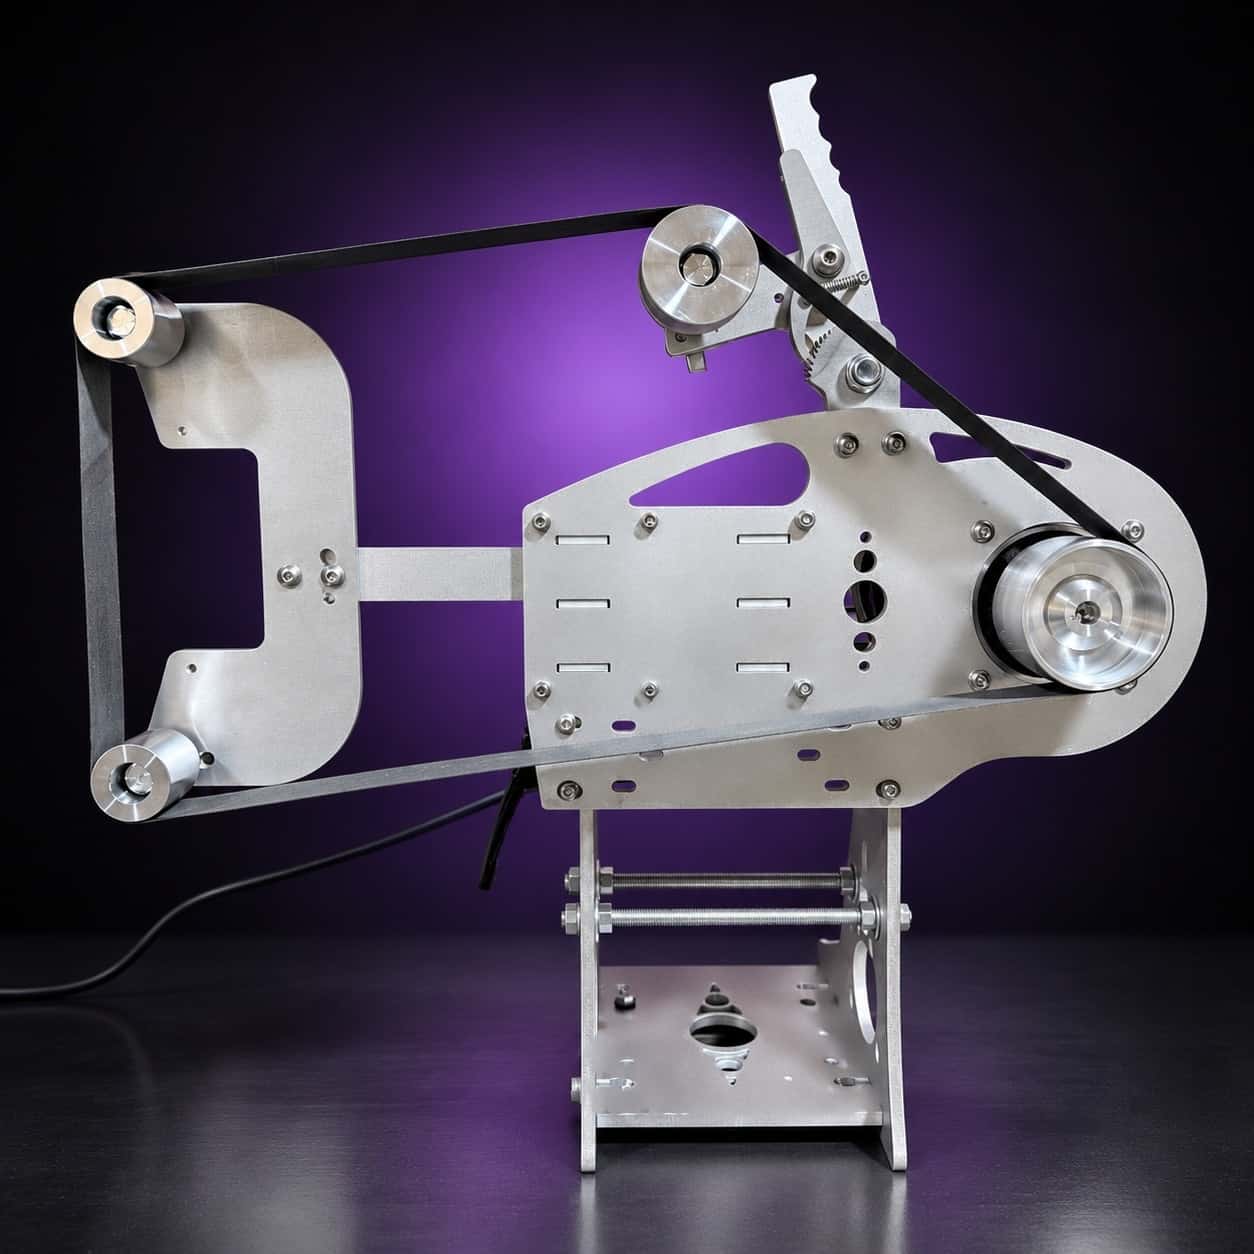
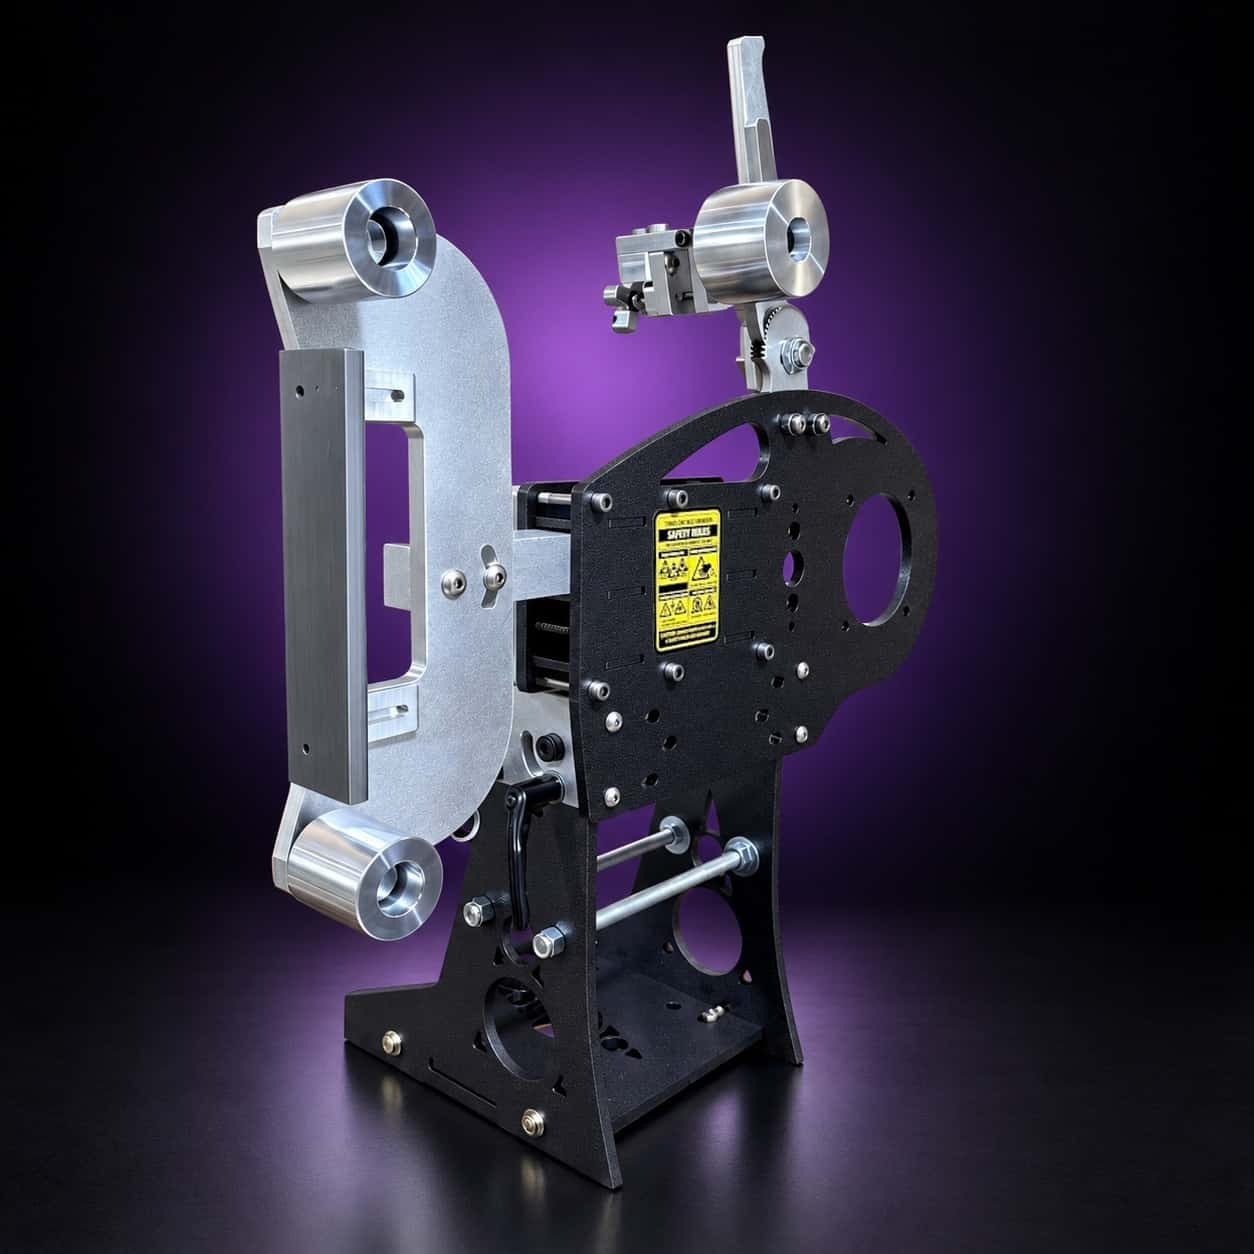
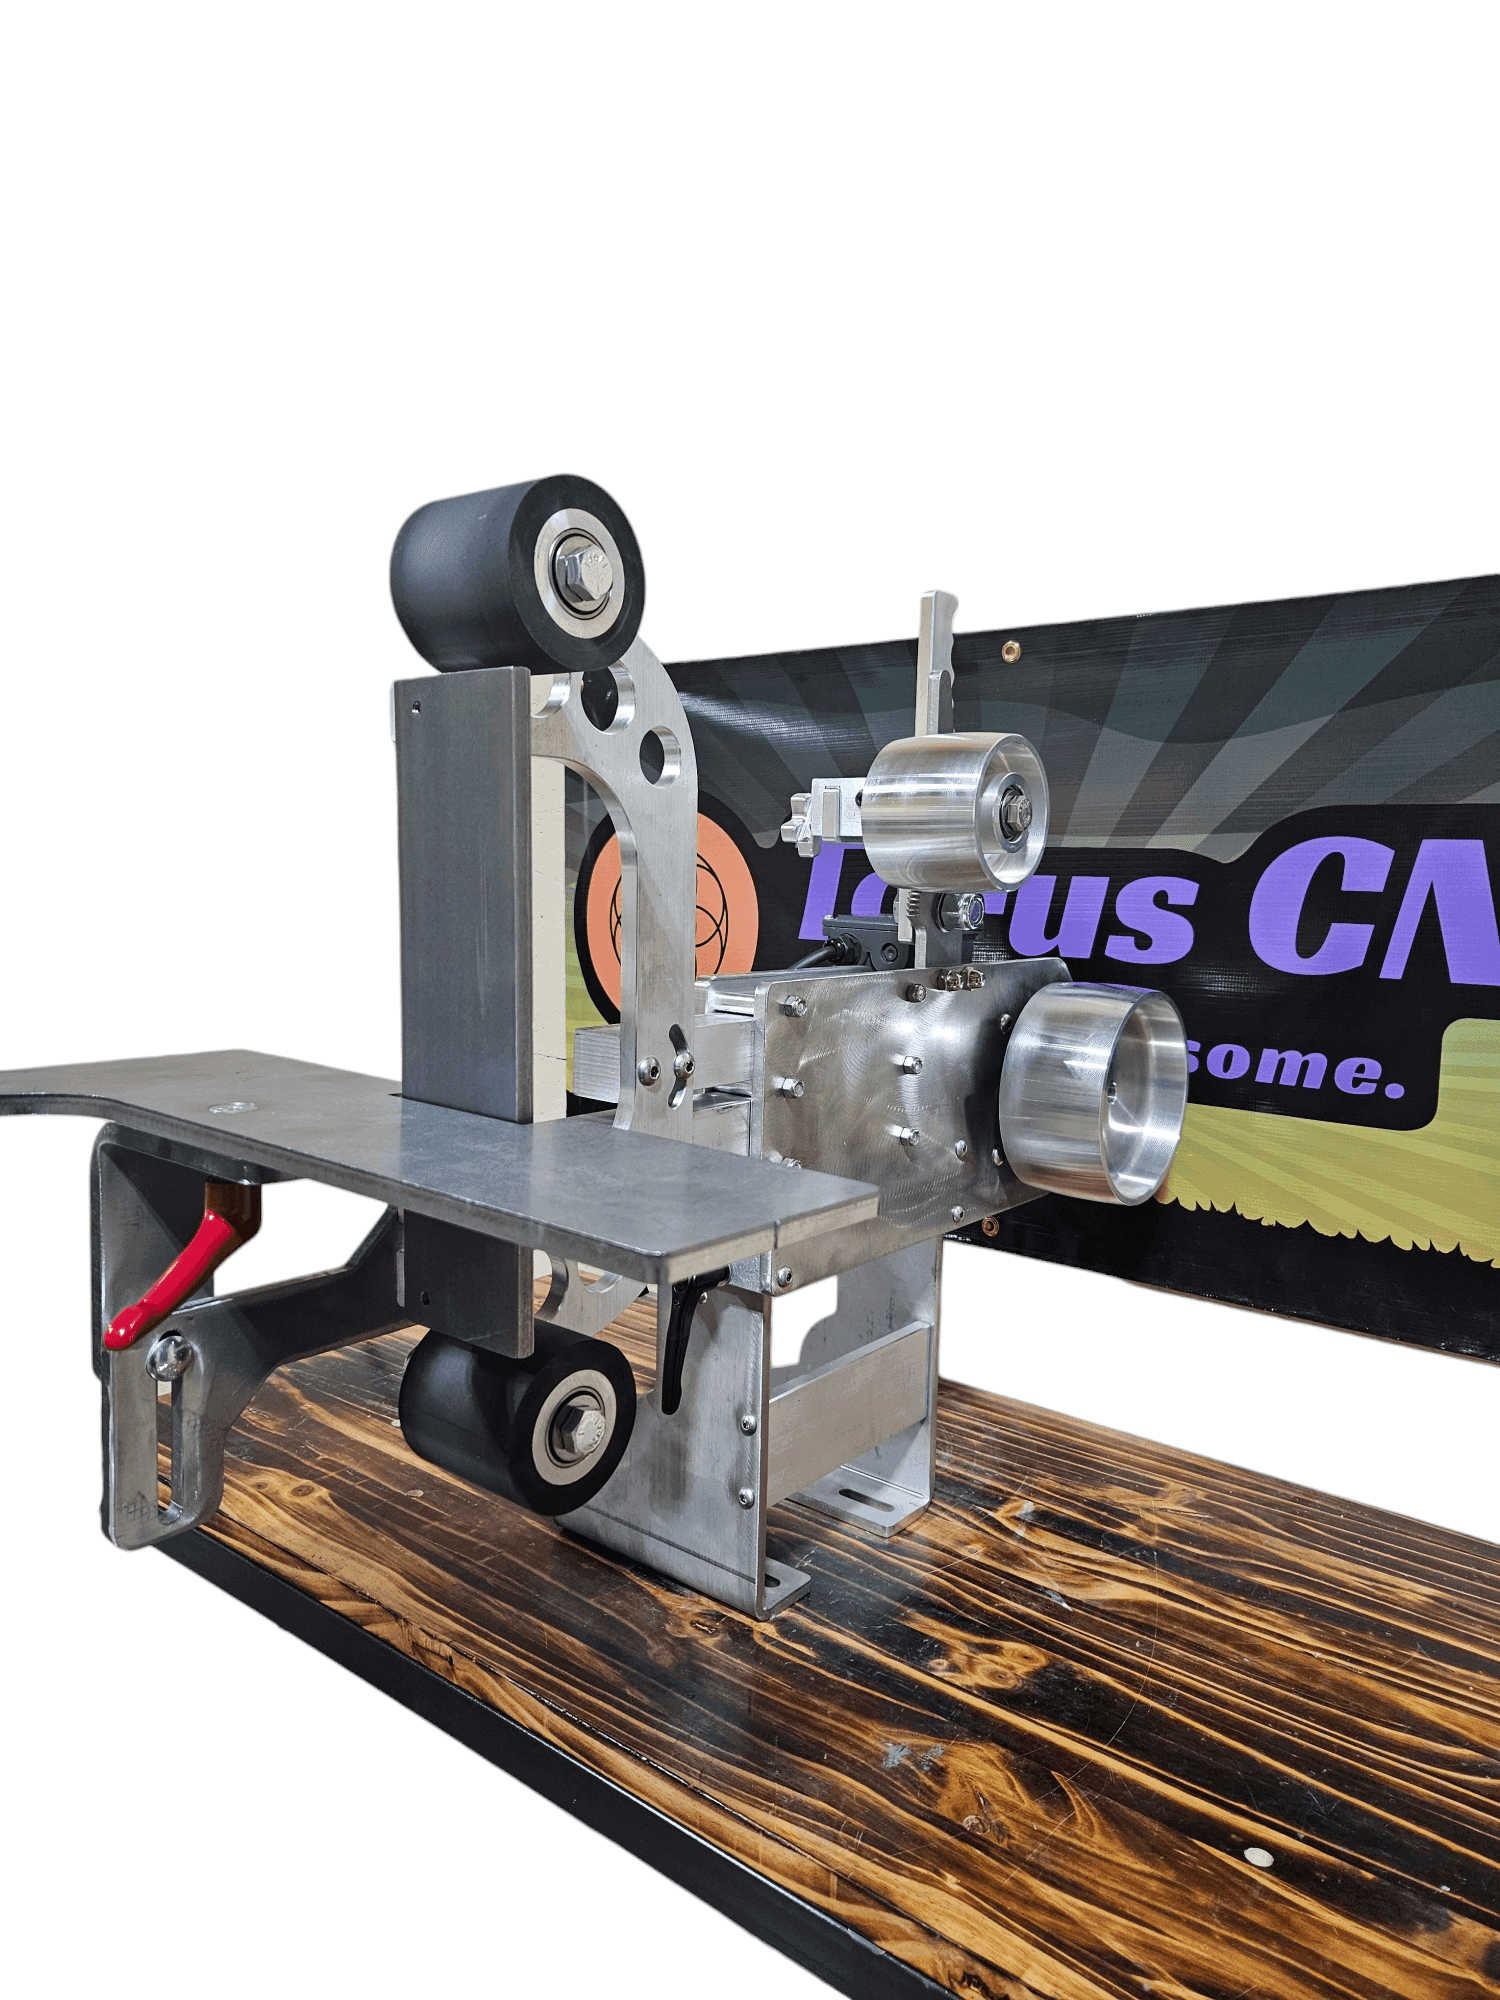
shop nowThin edges want a slow belt and a platen that stays flat. The Nova 2×72 paired with my variable-speed motor and VFD gives you both, and the whole package ships assembled and tested from Sterling, Illinois. Grind thinner and keep the temper.