2x72 Grinder Tips
Perfecting Knife Spine Radiusing with the 2×72 Slack Belt
A rounded spine feels better in the hand and looks finished, and the slack belt is the fastest way to get one. Here is how I radius a knife spine on the 2×72: grit, the rolling motion, and polish.
A sharp-cornered spine is uncomfortable in the hand and it tells a buyer the knife was not finished. Rounding it takes a few passes on the slack belt if you know the motion. Here is how I radius a knife spine on the 2×72: which grit to start with, the roll that keeps the radius even from plunge to tip, how to keep the plunge crisp, and how to polish the rounded spine to match the flats.
A well-rounded spine can improve grip comfort, reduce weight, and provide a smoother transition when using the knife for various tasks. This process is essential for achieving a balance between form and function, ensuring that the knife is not only beautiful but also practical. Radiusing the spine can help in reducing stress concentrations during use.
Key Takeaways
- Understanding the importance of knife spine radiusing:
- Radiusing the spine of a knife is crucial for enhancing its performance and ergonomics.
- A radiused spine provides a more comfortable grip and reduces the risk of hand fatigue during prolonged use.
- The basics of using the 2×72 slack belt for knife spine radiusing:
- The 2×72 slack belt grinder is a versatile tool for achieving consistent and precise radii on knife spines.
- Proper technique and control are essential when using the slack belt grinder for radiusing.
- Choosing the right grit for knife spine radiusing:
- Selecting the appropriate grit for radiusing depends on the material and hardness of the knife spine.
- Coarser grits are ideal for initial shaping, while finer grits are used for refining and polishing the radius.
- Techniques for achieving a consistent radius:
- Maintaining a steady hand and applying even pressure are key to achieving a uniform radius along the entire length of the spine.
- Using guide blocks or jigs can help ensure consistent results when radiusing knife spines.
- Tips for maintaining control and precision:
- Keeping the knife spine and grinder platen clean and free of debris is essential for maintaining control and precision during radiusing.
- Light, controlled passes with the slack belt grinder can help prevent overgrinding and maintain the desired radius.
- Common mistakes to avoid when radiusing knife spines:
- Overheating the knife spine can lead to loss of temper and compromise the blade’s integrity.
- Inconsistent pressure or angle during radiusing can result in uneven or lopsided radii.
- Advanced techniques for fine-tuning the radius:
- Using finer grits and progressively lighter pressure can help achieve a smoother and more refined radius on the knife spine.
- Hand sanding or polishing can be used to further refine and enhance the radiused spine.
- Experimenting with different angles and pressure:
- Varying the angle and pressure during radiusing can produce different effects, allowing for customization of the spine’s shape and feel.
- It’s important to experiment cautiously and gradually to avoid overdoing it and compromising the knife’s integrity.
- Achieving a polished finish on the radiused spine:
- Using successively finer grits and polishing compounds can help achieve a mirror-like finish on the radiused spine.
- Proper buffing and polishing techniques can enhance the aesthetics and functionality of the radiused spine.
- Using the radiused spine to enhance knife performance:
- A well-executed radiused spine can improve the overall handling and comfort of the knife, making it more user-friendly and ergonomic.
- The radiused spine can also contribute to a more refined and professional appearance of the knife.
- Troubleshooting and troubleshooting common issues with knife spine radiusing:
- Common issues such as uneven radii, overheating, or loss of temper can be addressed by adjusting technique, pressure, and equipment setup.
- Proper troubleshooting and corrective measures can help achieve the desired results and avoid potential pitfalls in knife spine radiusing.
The Basics of Using the 2×72 Slack Belt for Knife Spine Radiusing
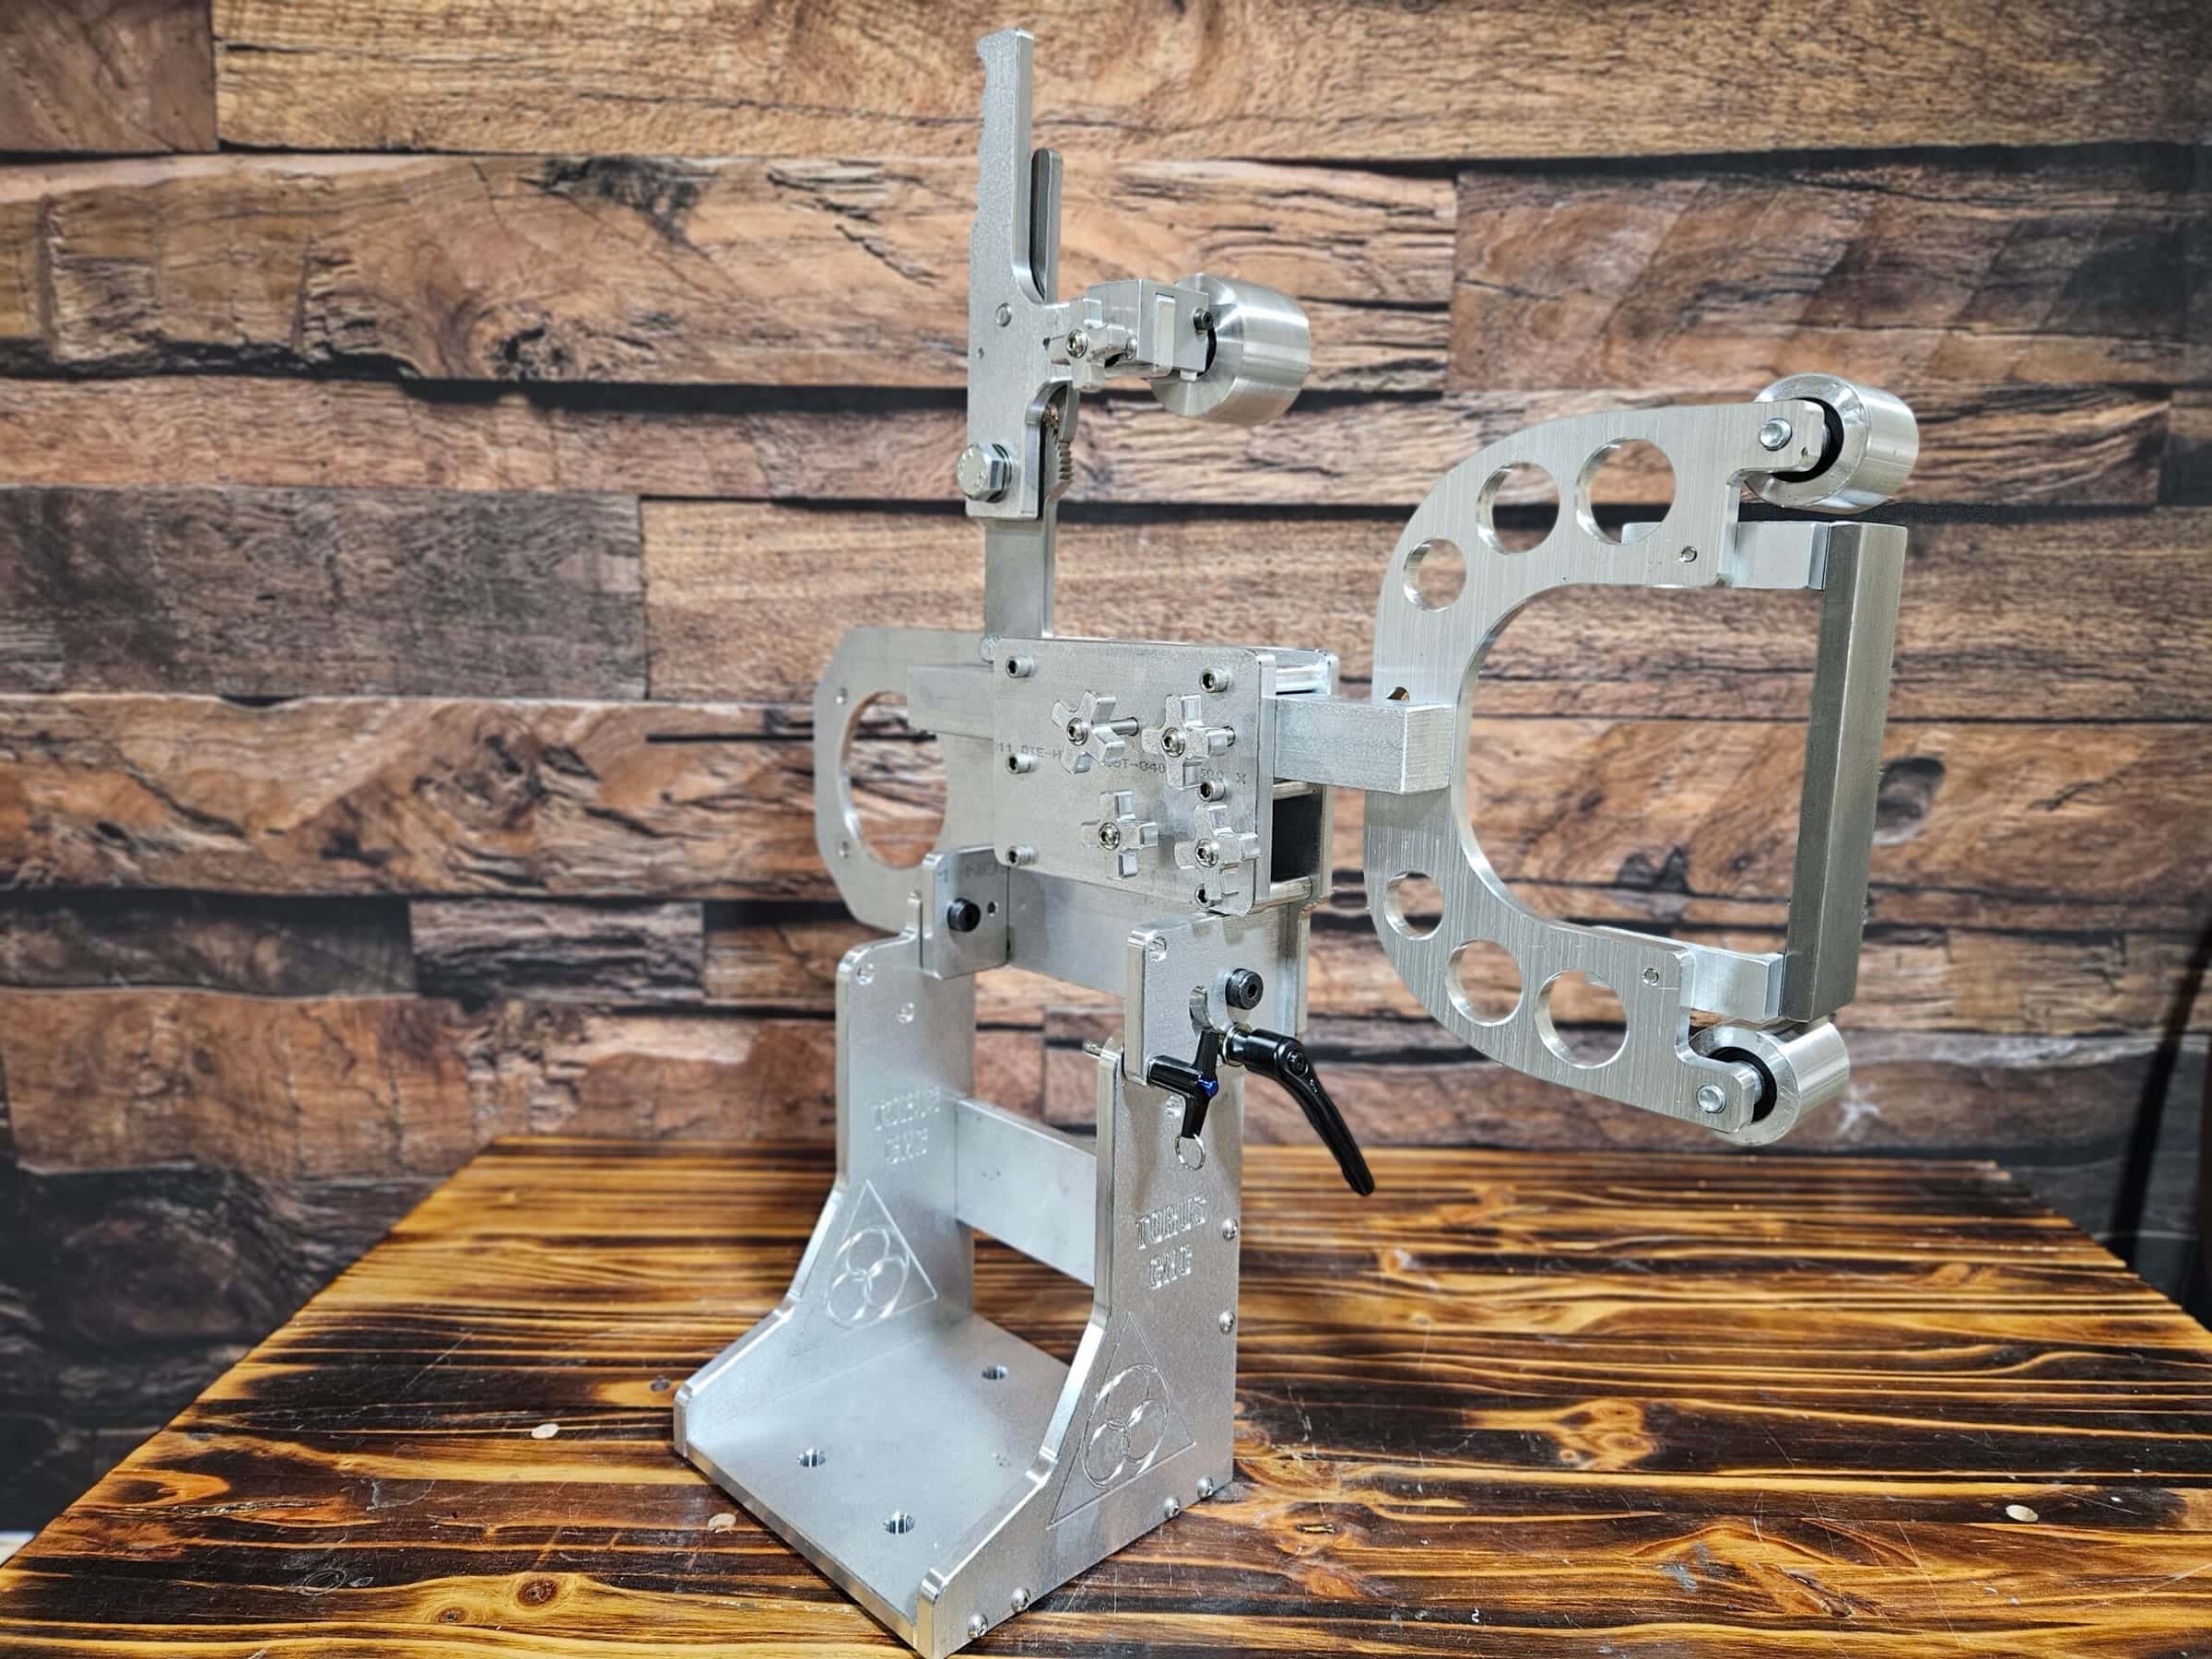
The 2×72 slack belt grinder is a versatile tool that has become a staple in the knife-making community. Its design allows for efficient material removal while providing a level of control that is essential for tasks like spine radiusing. The slack belt feature enables the belt to flex slightly, which is particularly beneficial when working on curved surfaces such as the spine of a knife.
This flexibility allows for a more uniform radius to be achieved without risking damage to the blade itself. To begin the radiusing process, it is crucial to set up your 2×72 slack belt grinder correctly. Ensure that the belt is properly tensioned and aligned, as this will affect both performance and safety.
Start with a coarse grit belt to remove material quickly and establish the initial radius. As you progress, gradually switch to finer grits to refine the shape and smooth out any imperfections. The key is to maintain a consistent angle and pressure throughout the process, allowing for an even radius that enhances both aesthetics and functionality.
Choosing the Right Grit for Knife Spine Radiusing
Selecting the appropriate grit for knife spine radiusing is vital for achieving the desired results. The grit of the belt determines how aggressively it will remove material from the knife spine. For initial shaping, coarser grits such as 60 or 80 are ideal as they allow for rapid material removal and help establish the basic radius.
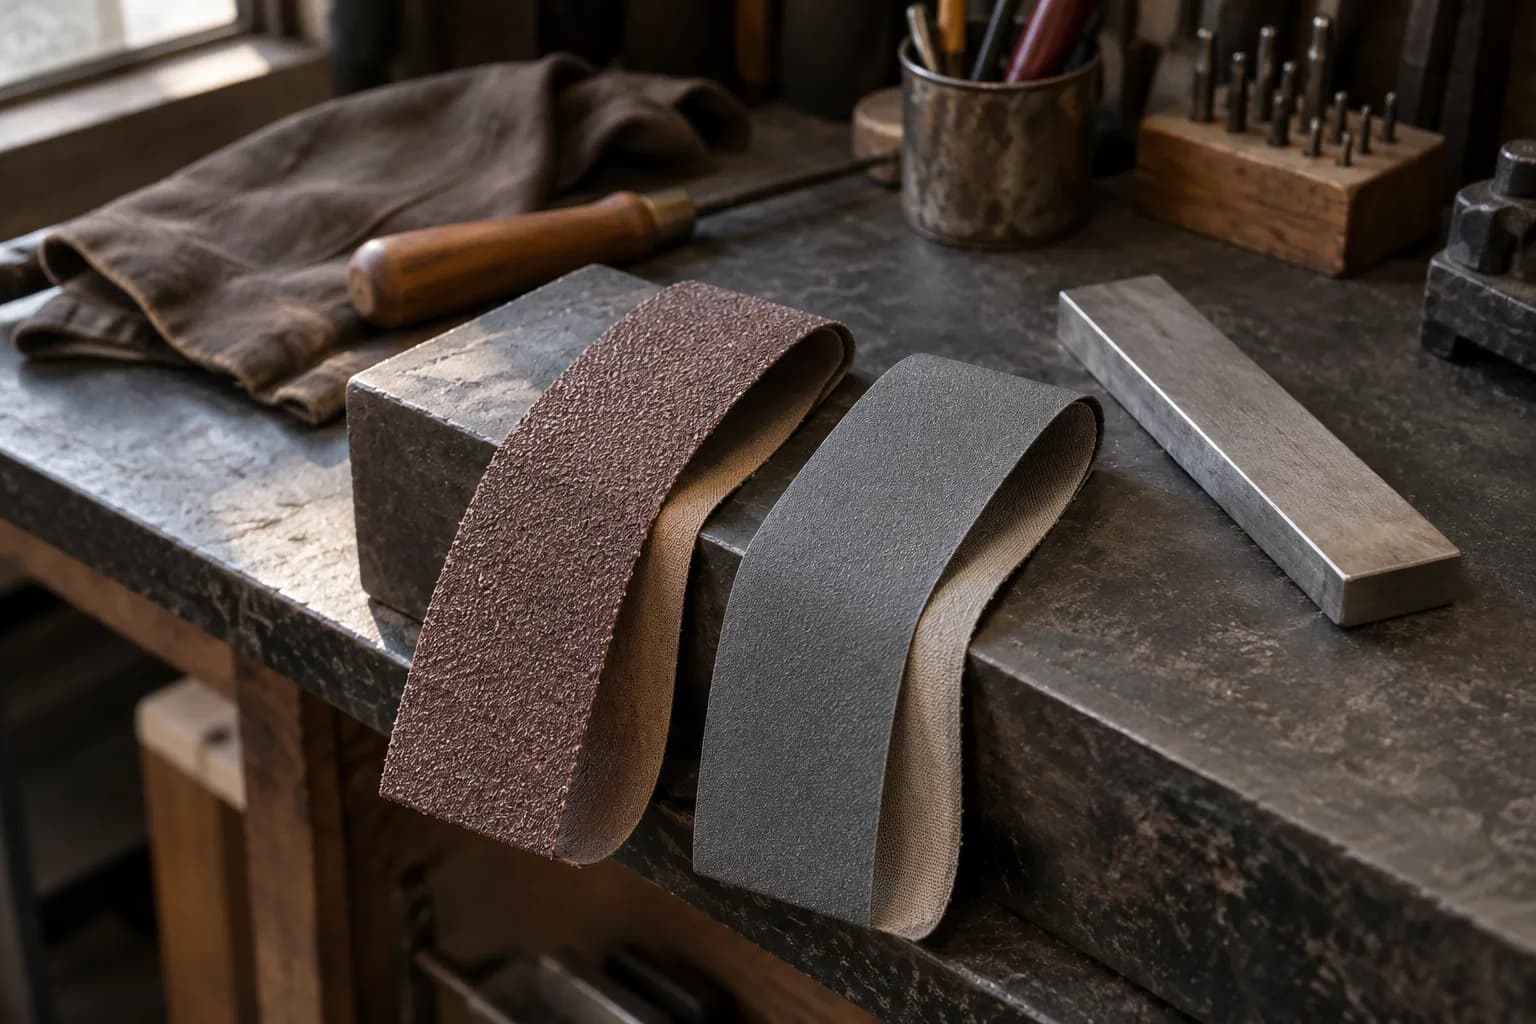
However, it is essential to be cautious during this stage; too much pressure or an incorrect angle can lead to uneven surfaces or unwanted gouges. Once the initial radius has been established, transitioning to finer grits becomes necessary for refining the finish. Grits ranging from 120 to 400 are commonly used in this phase.
These finer belts help smooth out any rough edges left by the coarser grits and prepare the surface for polishing. The choice of grit should also depend on the type of steel being used; harder steels may require more aggressive grits initially, while softer steels can often be shaped with finer grits from the start. In the end, understanding how different grits affect material removal will enable you to achieve a well-rounded and aesthetically pleasing knife spine.
Techniques for Achieving a Consistent Radius
Achieving a consistent radius on a knife spine requires both technique and practice. One effective method is to use a steady hand and maintain a consistent angle throughout the grinding process. It can be helpful to visualize or mark reference points on the spine to guide your movements.
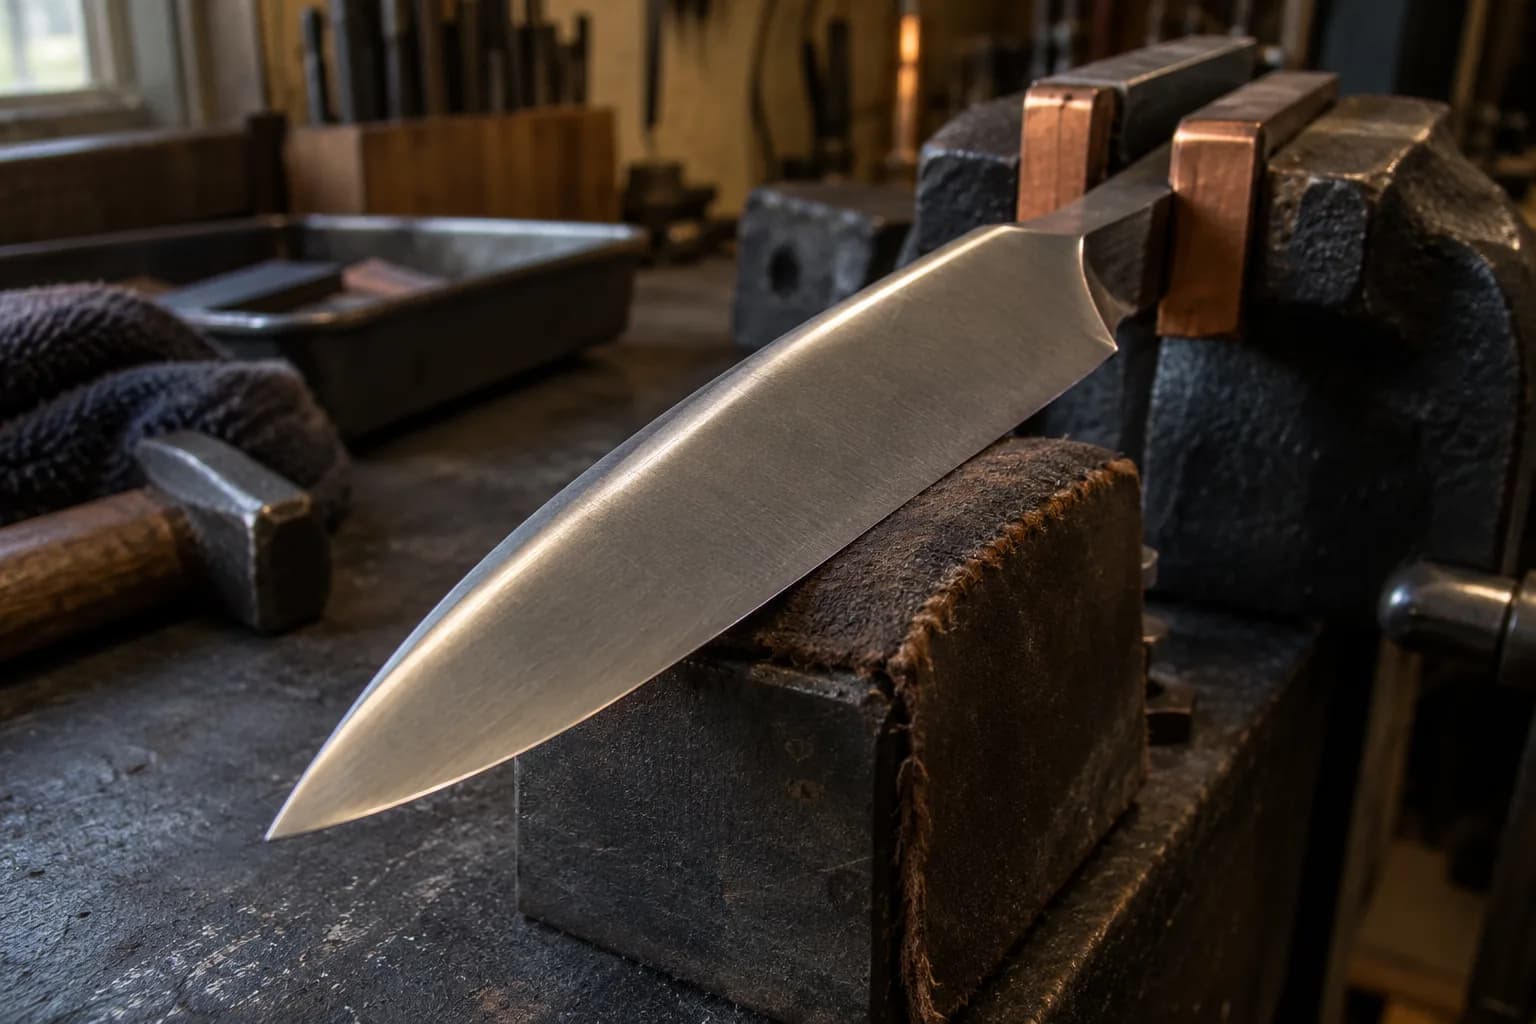
This mental image can assist in maintaining uniformity as you work through different sections of the blade. Another technique involves using a jig or fixture that holds the knife at a predetermined angle while you grind. This approach can significantly enhance consistency, especially for those who may struggle with freehand grinding.
By securing the knife in place, you can focus on applying even pressure along the spine without worrying about maintaining an angle manually. Regardless of the method chosen, patience and practice are key components in mastering this skill.
Tips for Maintaining Control and Precision
Take breaks if needed; stepping back can provide a fresh perspective on your work and help identify areas that require further attention. Using both hands while grinding can enhance control over the knife’s position and angle. One hand can guide the blade while the other applies pressure on the grinder’s handle or lever.
This dual-hand approach allows for greater stability and reduces the risk of accidental slips or misalignments. Consider wearing protective gear such as gloves and goggles to ensure safety while working with power tools.
Common Mistakes to Avoid when Radiusing Knife Spines
For radiusing knife spines, several common mistakes can hinder your progress or compromise your results. One frequent error is applying too much pressure during grinding, which can lead to uneven surfaces or even damage to the blade itself. It’s essential to let the grinder do most of the work; excessive force can create heat buildup that may warp or discolor the steel.
Another mistake is neglecting to check your progress regularly. Failing to assess your work at various stages can result in an inconsistent radius that may require extensive rework later on. Make it a habit to pause periodically and inspect your progress under good lighting conditions.
Advanced Techniques for Fine-Tuning the Radius
Once you have mastered basic radiusing techniques, you may want to explore advanced methods for fine-tuning your knife spine’s radius. One such technique involves using a combination of different belt grits in succession to achieve a more refined finish. For instance, after establishing your initial radius with a coarse grit, you might switch between finer grits while varying your angle slightly with each pass.
This approach can create subtle variations in curvature that enhance both aesthetics and functionality. Another advanced technique is utilizing different types of belts designed specifically for polishing or finishing work. These belts often contain specialized materials that can produce a mirror-like finish on your radiused spine.
Experimenting with Different Angles and Pressure
Experimentation is an essential part of mastering knife spine radiusing techniques. Varying angles and pressure during grinding can lead to unique results that may enhance your knife’s performance or aesthetic appeal. For instance, adjusting your angle slightly while grinding can create different curvature profiles along the spine, allowing you to tailor each knife according to its intended use.
Similarly, varying pressure can affect how aggressively material is removed from the blade. Lighter pressure may yield smoother finishes but could take longer to achieve desired results, while heavier pressure might expedite material removal at the risk of creating uneven surfaces. Finding a balance between these variables will require practice and experimentation but in the end leads to greater skill and versatility in your craft.
Achieving a Polished Finish on the Radiused Spine
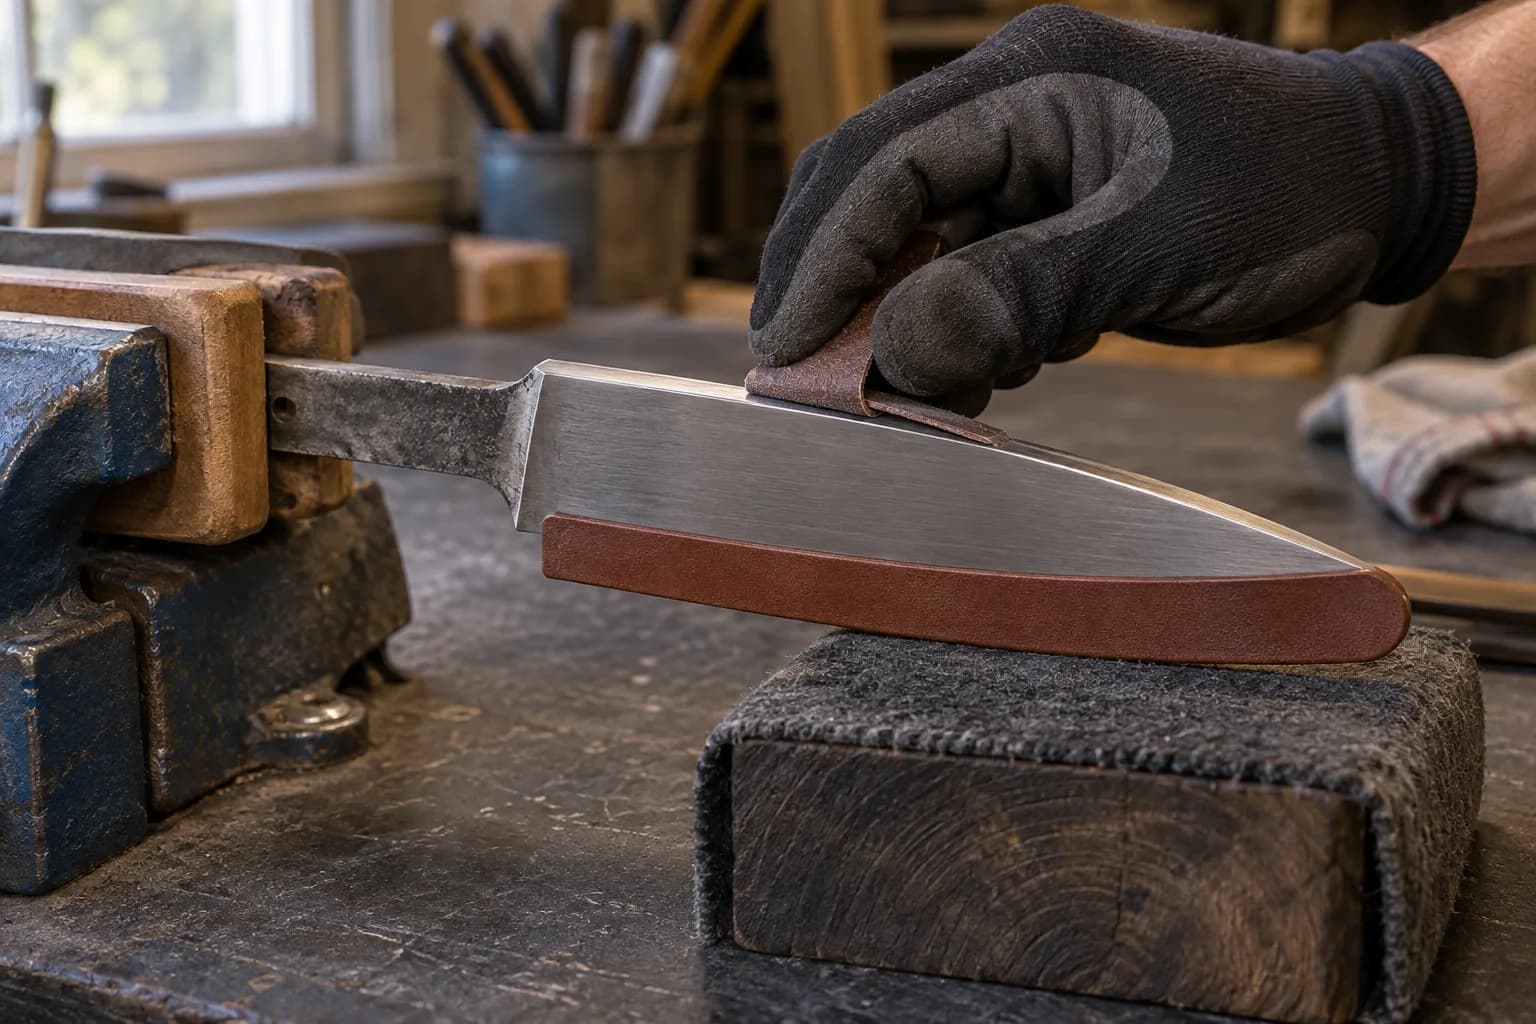
Achieving a polished finish on a radiused spine is often what separates amateur knives from professional-grade tools. After completing your radiusing work with various grits, transitioning into polishing requires careful attention to detail. Start by using finer grit belts designed specifically for polishing; these belts often contain materials like ceramic or diamond particles that provide superior finishing capabilities.
Once you have completed polishing with these belts, consider using additional techniques such as hand sanding or buffing with compounds designed for metal finishing. Hand sanding allows you to reach areas that may be difficult for machines while buffing can add an extra layer of shine that enhances visual appeal significantly. The goal is not just functionality but also creating an eye-catching piece that reflects your craftsmanship.
Troubleshooting Common Issues with Knife Spine Radiusing
Even experienced knife makers encounter challenges when radiusing spines, making troubleshooting an essential skill in this craft. One common issue is achieving an uneven radius despite careful grinding techniques; this may result from inconsistent pressure or angle during grinding sessions. If you notice discrepancies in curvature, take time to reassess your technique and make necessary adjustments before continuing.
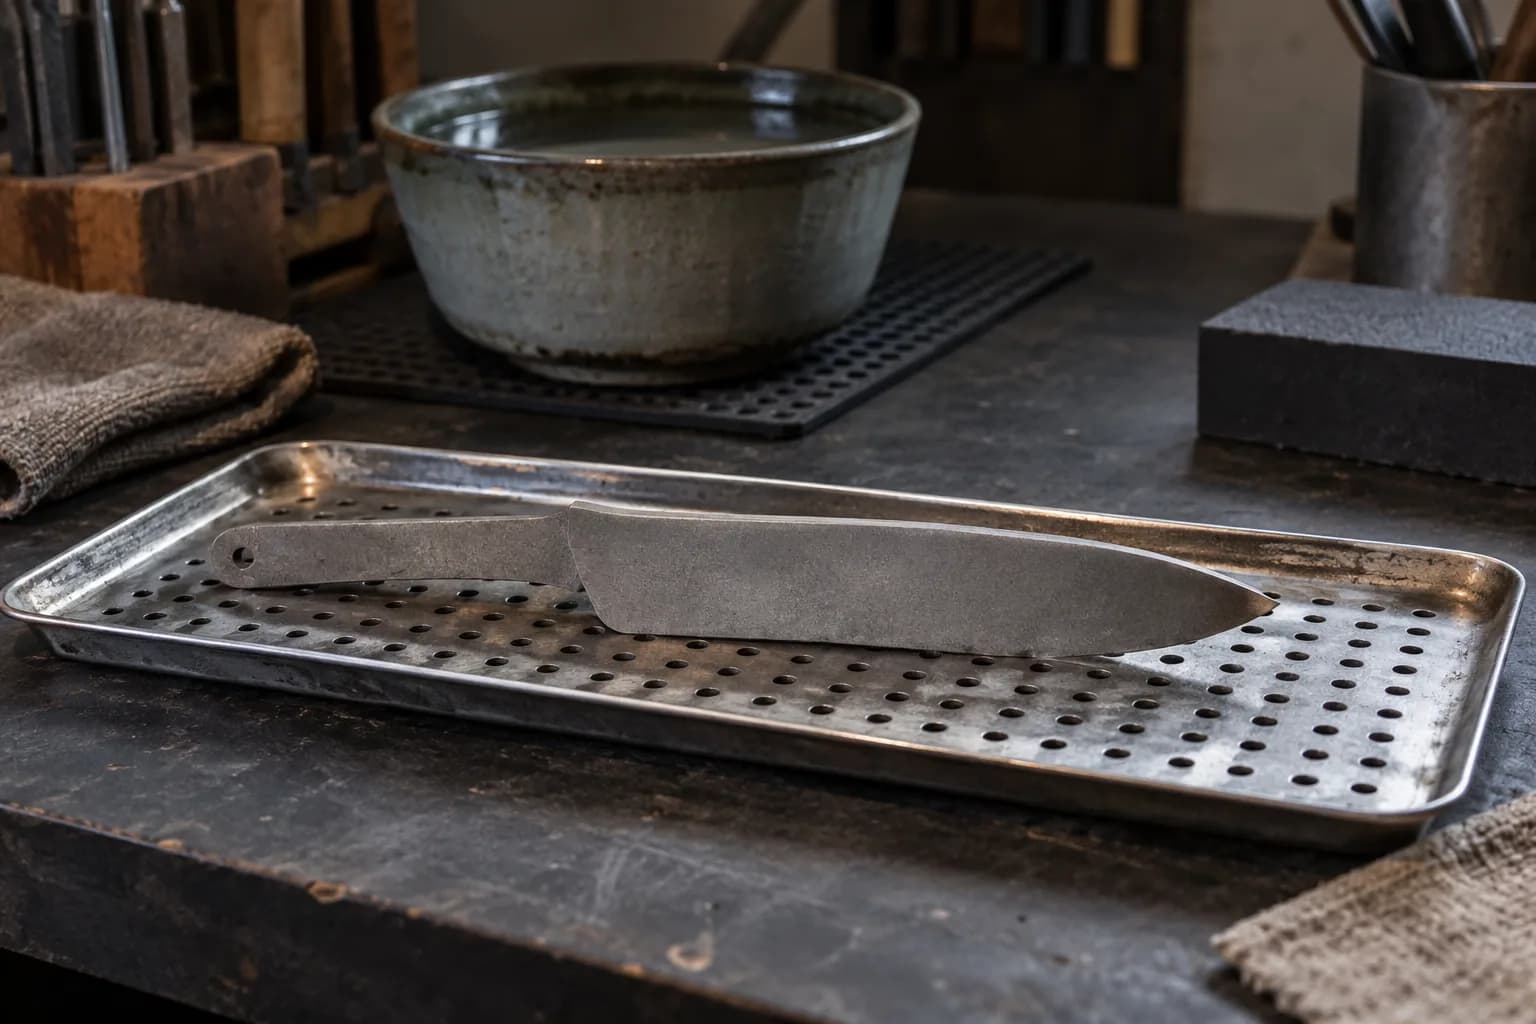
Overheating while grinding can warp or discolor the steel, so I alternate short grinding sessions with cooling periods for the blade.
FAQs
What is a 2×72 slack belt?
A 2×72 slack belt is a type of belt grinder commonly used in knife making and metalworking. It features a large 2×72 inch belt and a slack belt attachment that allows for more flexibility and control when grinding and shaping materials.
Are there any safety considerations when using the 2×72 slack belt to radius knife spines?
As with any power tool, it is important to follow safety guidelines when using the 2×72 slack belt grinder. This includes wearing appropriate safety gear such as eye protection and hearing protection, and being mindful of proper technique to avoid accidents or injury.
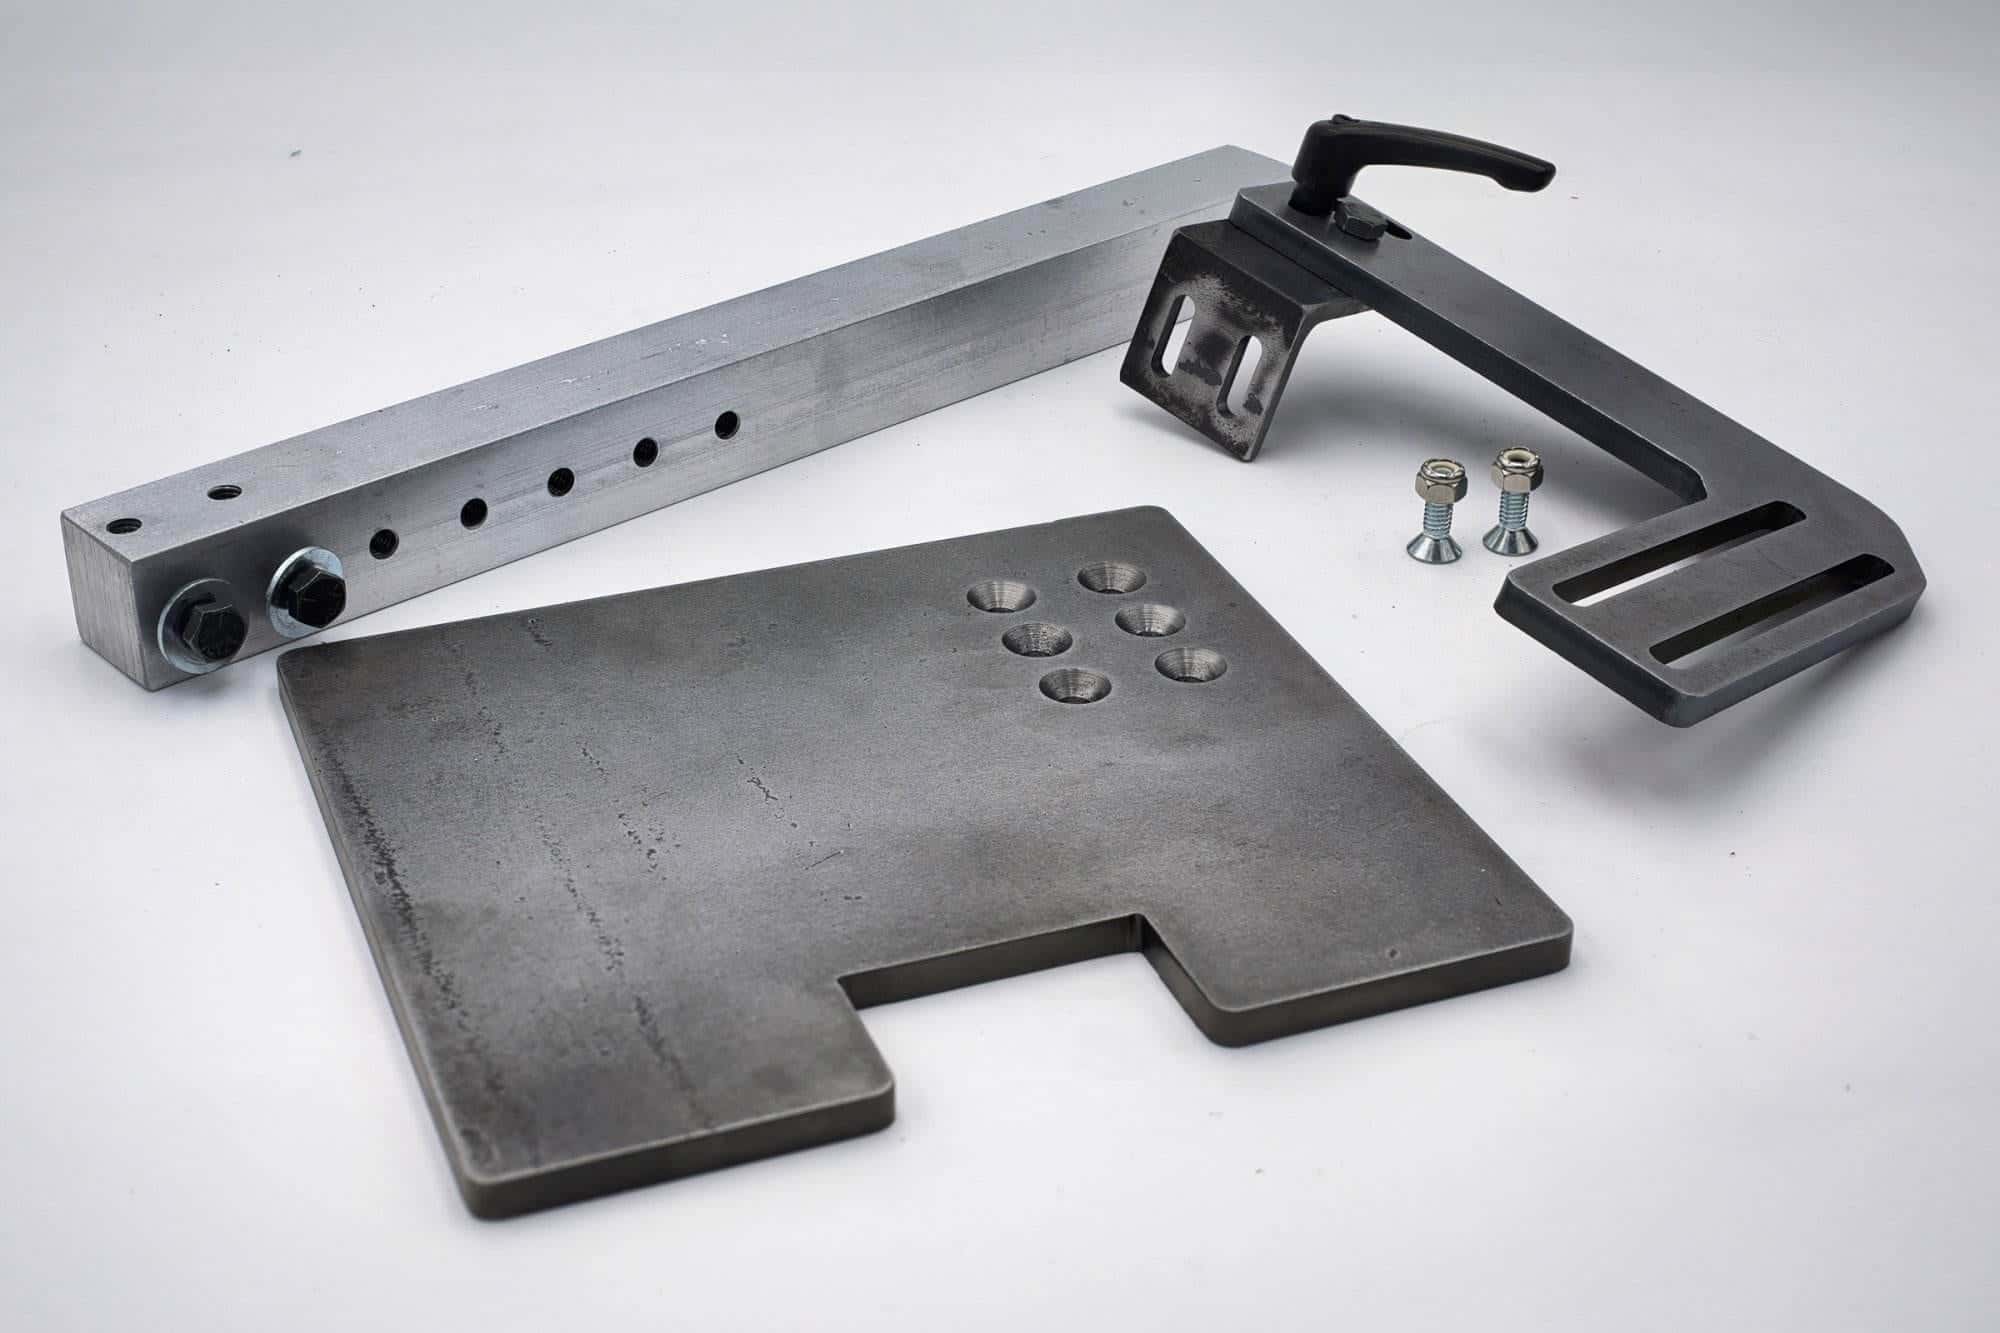
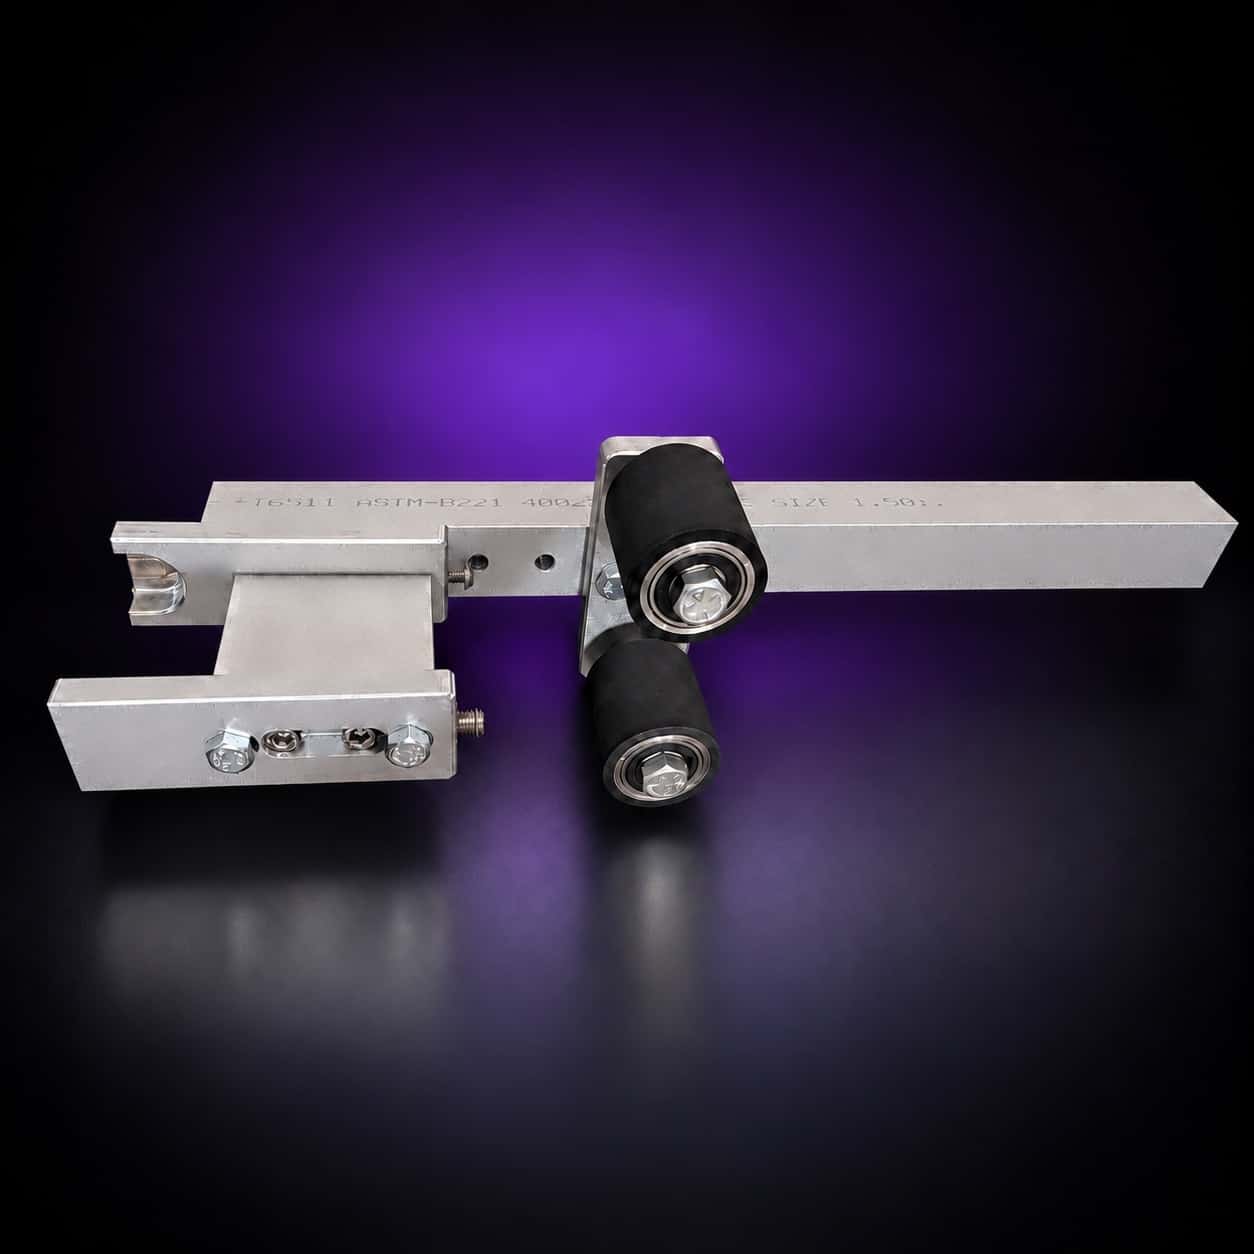
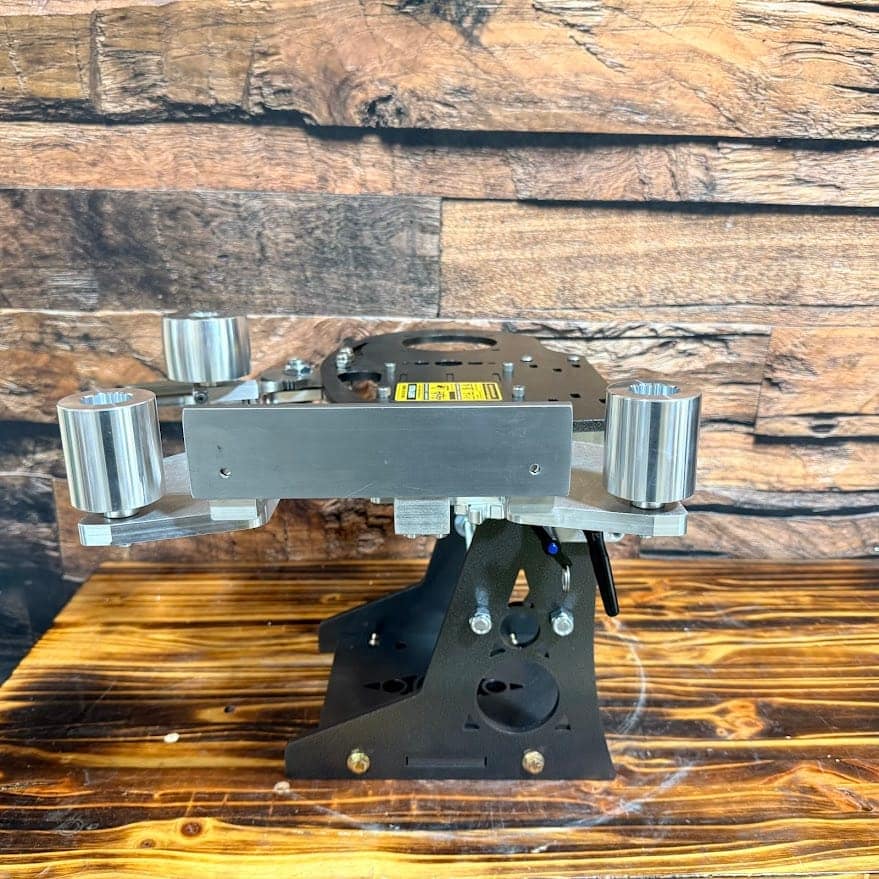
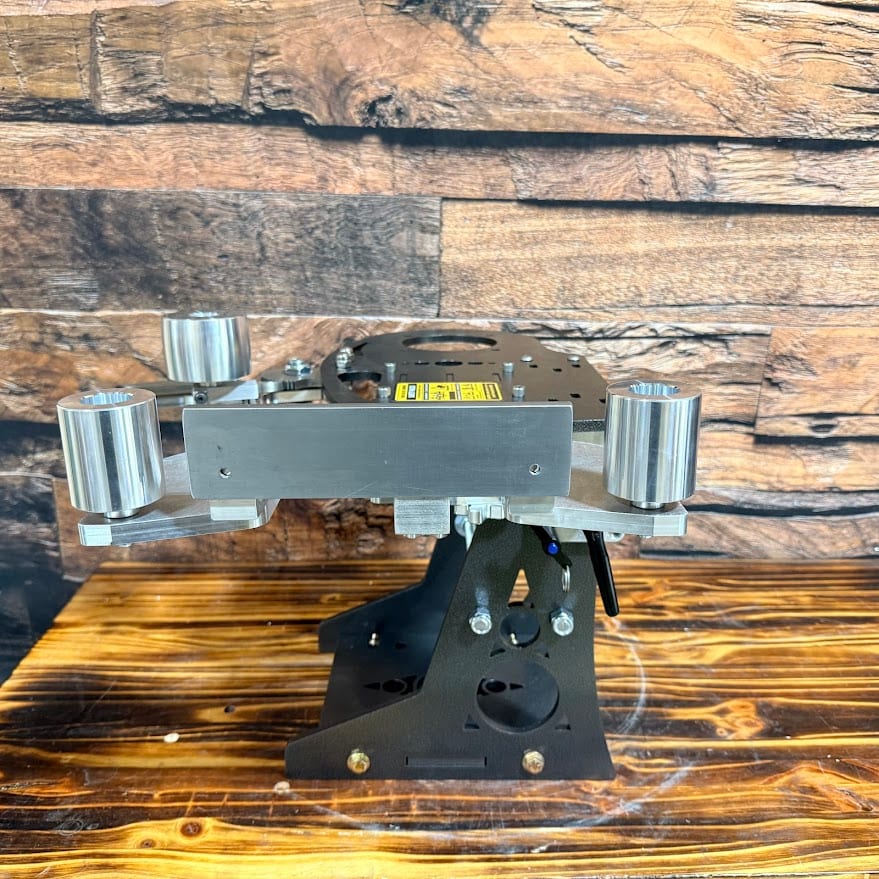
The rolling motion is easiest with the grinder horizontal and a deep slack section in front of you. The Nova 2×72 tilts on a pin, and the slack belt deep platen attachment adds a 4-inch throat. Both ship from Sterling, Illinois.