2x72 Grinder Tips
Restoring a Worn Contact Wheel: A Step-by-Step Guide
A contact wheel wears a groove, glazes over or loses its crown, and the grind goes with it. Here is how I assess a worn wheel, clean and re-face it, reinstall it true, and decide when to replace it.
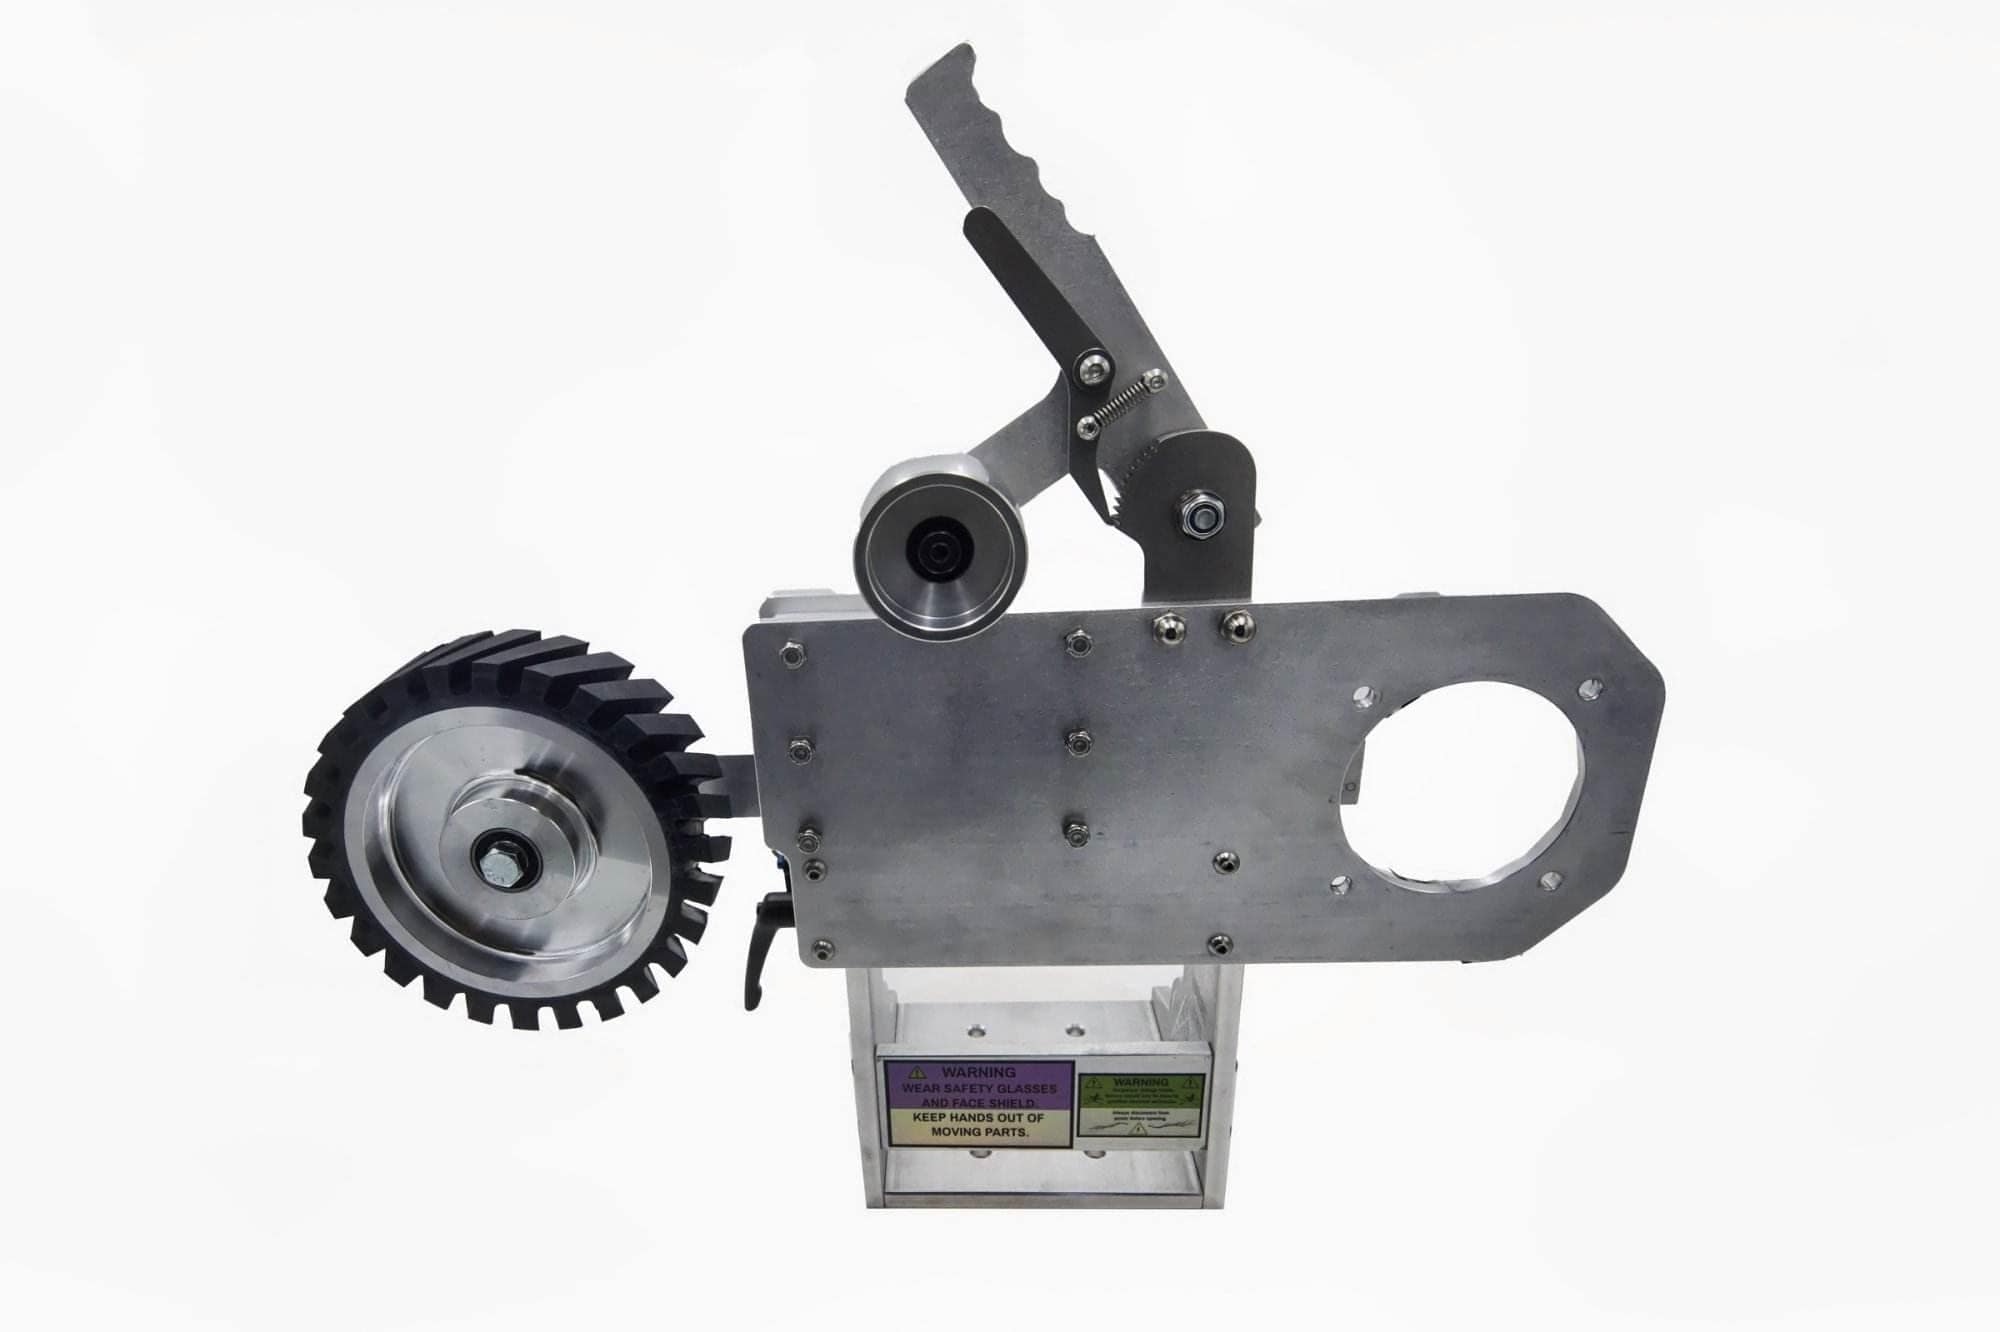
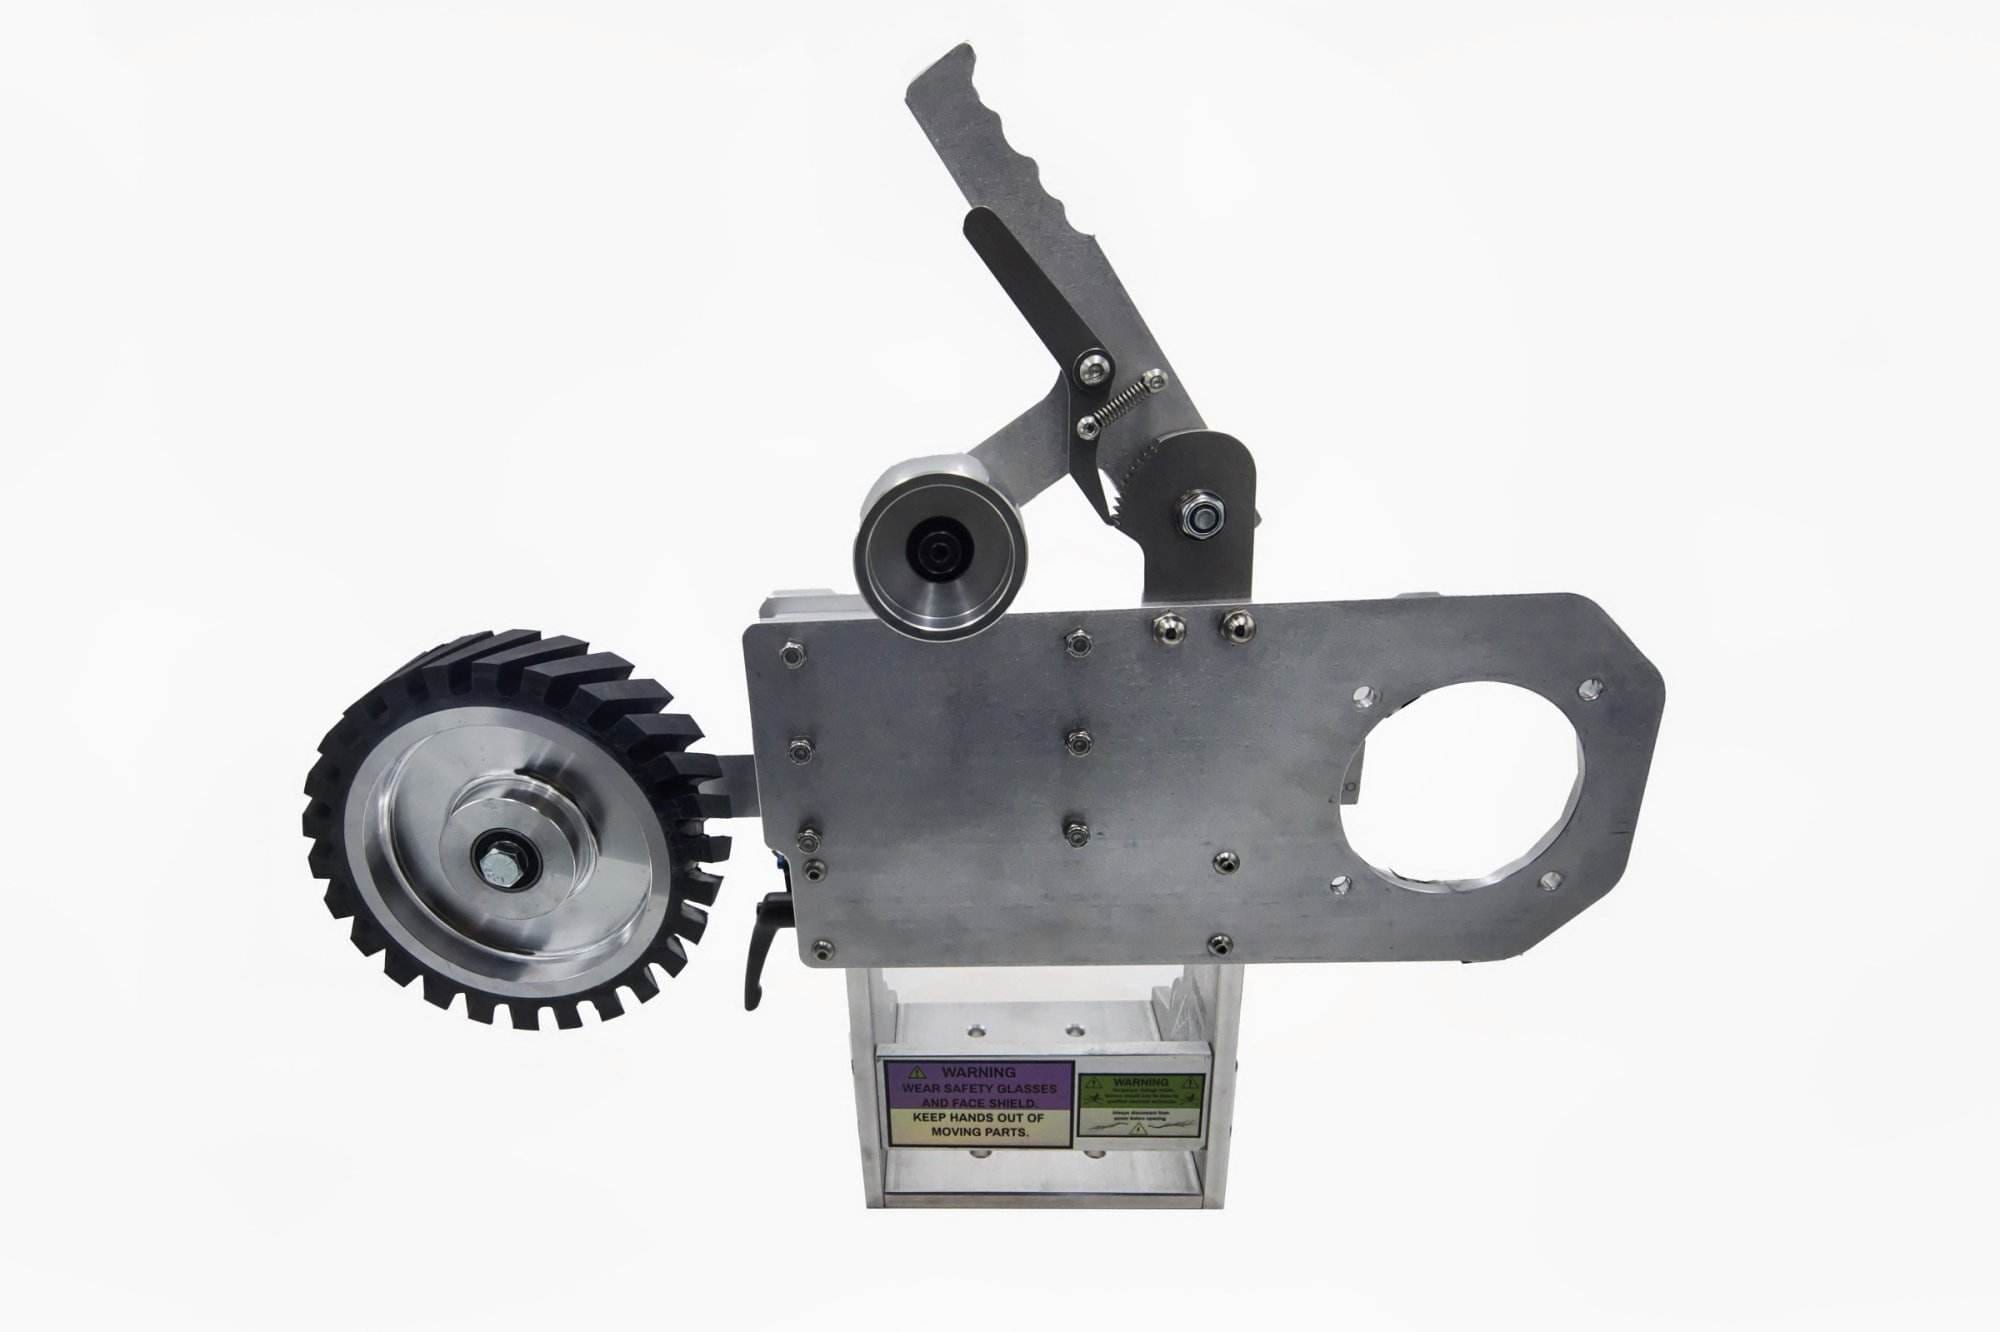
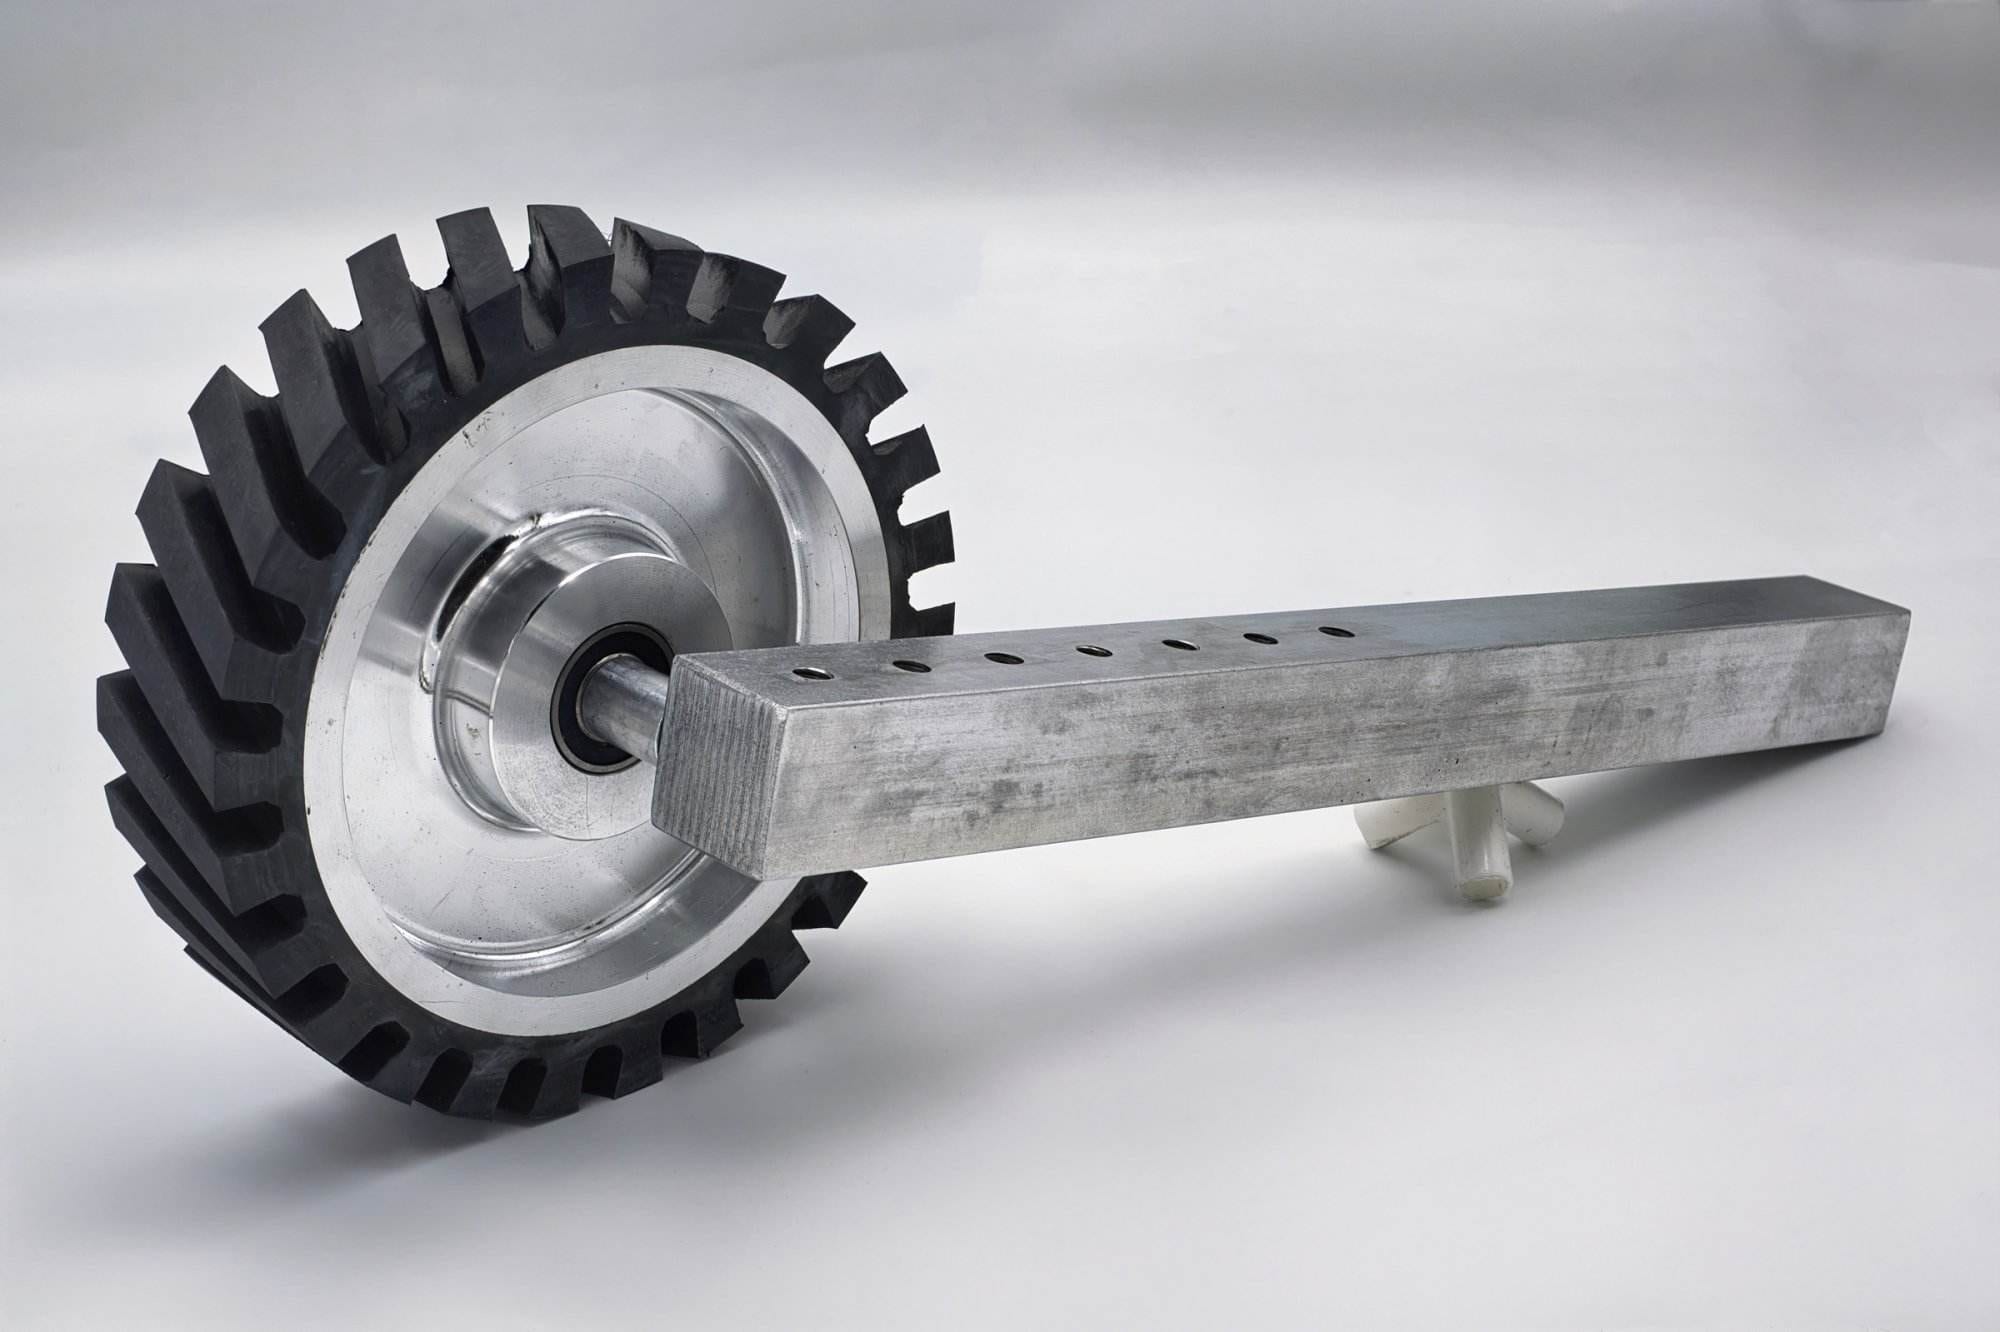
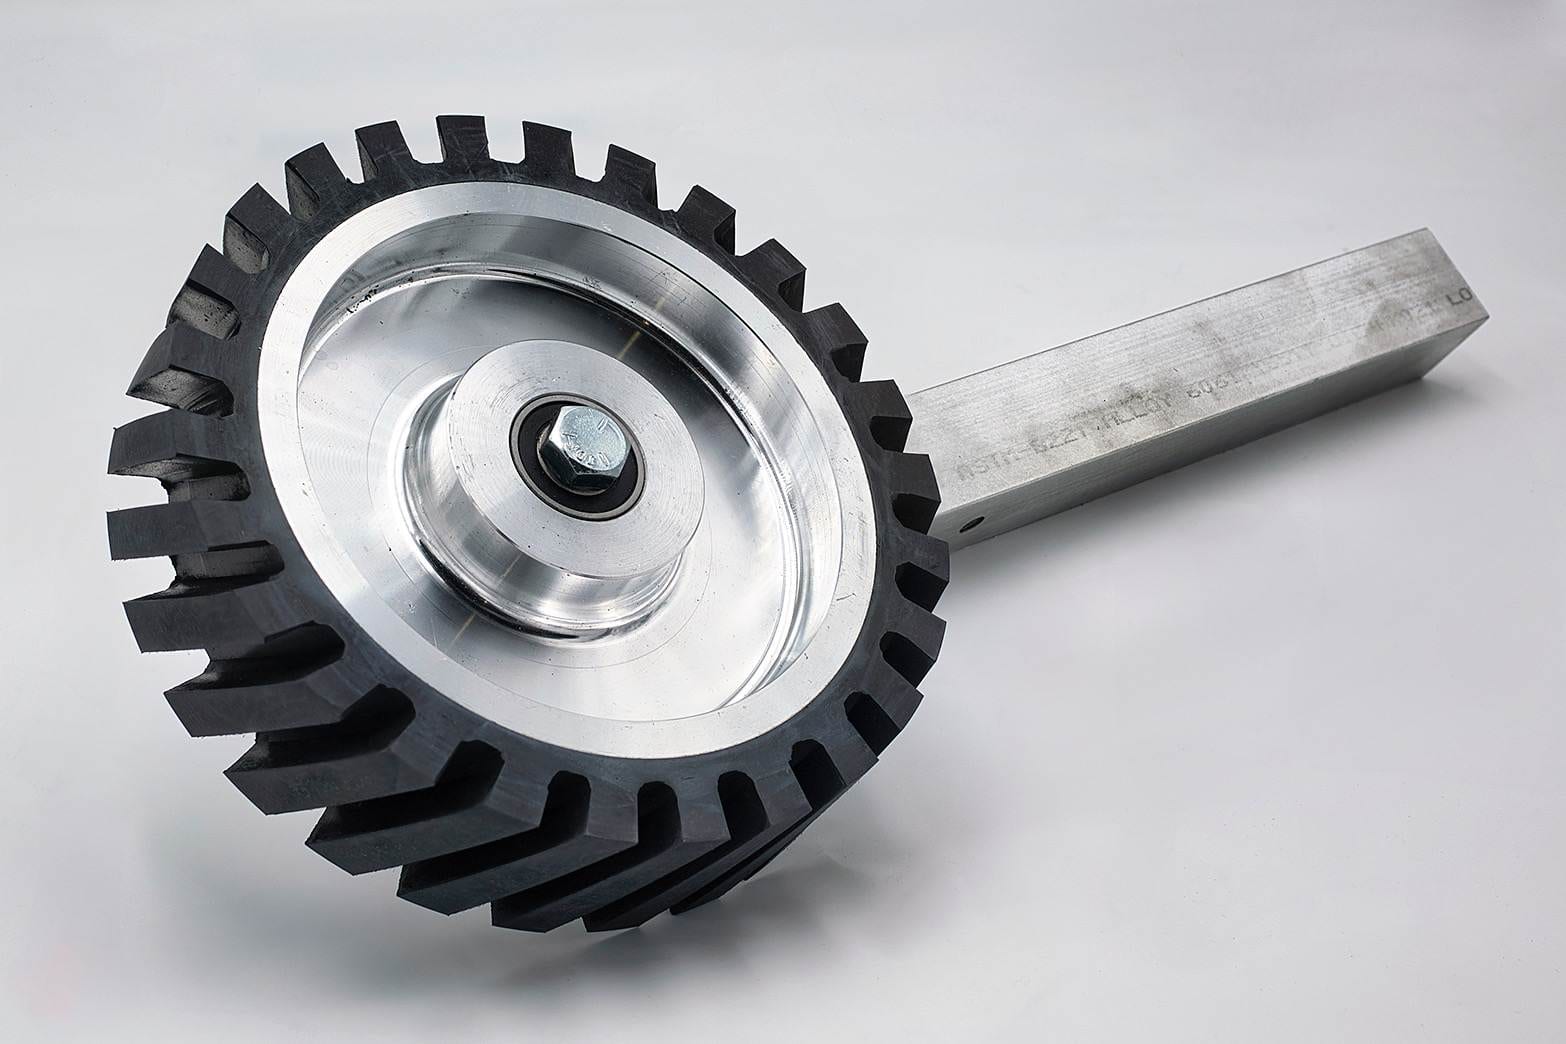
A contact wheel does not fail all at once. It grooves in the middle, glazes over, or slowly loses the crown that kept the belt centered, and your hollow grinds go wavy without any obvious reason. Here is how I check a worn contact wheel, clean and re-face the rubber, put it back on the 2×72 running true, and decide when restoration has stopped being worth it.
Key Takeaways
- Restoring a worn contact wheel is essential for maintaining machine performance and ensuring quality results.
- Assessing the condition of the contact wheel is crucial before beginning the restoration process to determine the extent of damage and necessary repairs.
- Gathering the necessary tools and materials, such as cleaning solutions, sandpaper, and a new coating, is important for a successful restoration.
- Removing the contact wheel from the machine requires careful attention to detail and following the manufacturer’s guidelines to avoid damage.
- Cleaning and preparing the contact wheel for restoration involves thorough removal of debris and old coatings to ensure a smooth surface for repairs.
Assessing the Condition of the Contact Wheel
Before diving into the restoration process, it is crucial to assess the condition of the contact wheel thoroughly. This initial evaluation will help you determine the extent of wear and damage, guiding your restoration efforts. Begin by visually inspecting the wheel for any signs of wear, such as uneven surfaces, cracks, or significant gouges.
Pay close attention to the edges and the surface texture, as these areas are often most affected by prolonged use. In addition to visual inspection, it is advisable to perform a tactile assessment. Run your fingers over the surface of the wheel to feel for any irregularities or rough patches.
Gathering the Necessary Tools and Materials
Once you have assessed the condition of your contact wheel, the next step is to gather all the necessary tools and materials for the restoration process. Having everything on hand before you begin will streamline your efforts and minimize downtime. Essential tools typically include a wrench or socket set for removing the wheel from the machine, cleaning supplies such as brushes and solvents, and repair materials like adhesives or fillers for any damage.
In addition to these basic tools, consider acquiring specialized equipment that may aid in the restoration process. For instance, a lathe can be beneficial for reshaping a worn wheel, while sandpaper or grinding discs can help smooth out rough surfaces. Depending on the extent of wear, you may also need a new coating material designed specifically for contact wheels.
Removing the Contact Wheel from the Machine
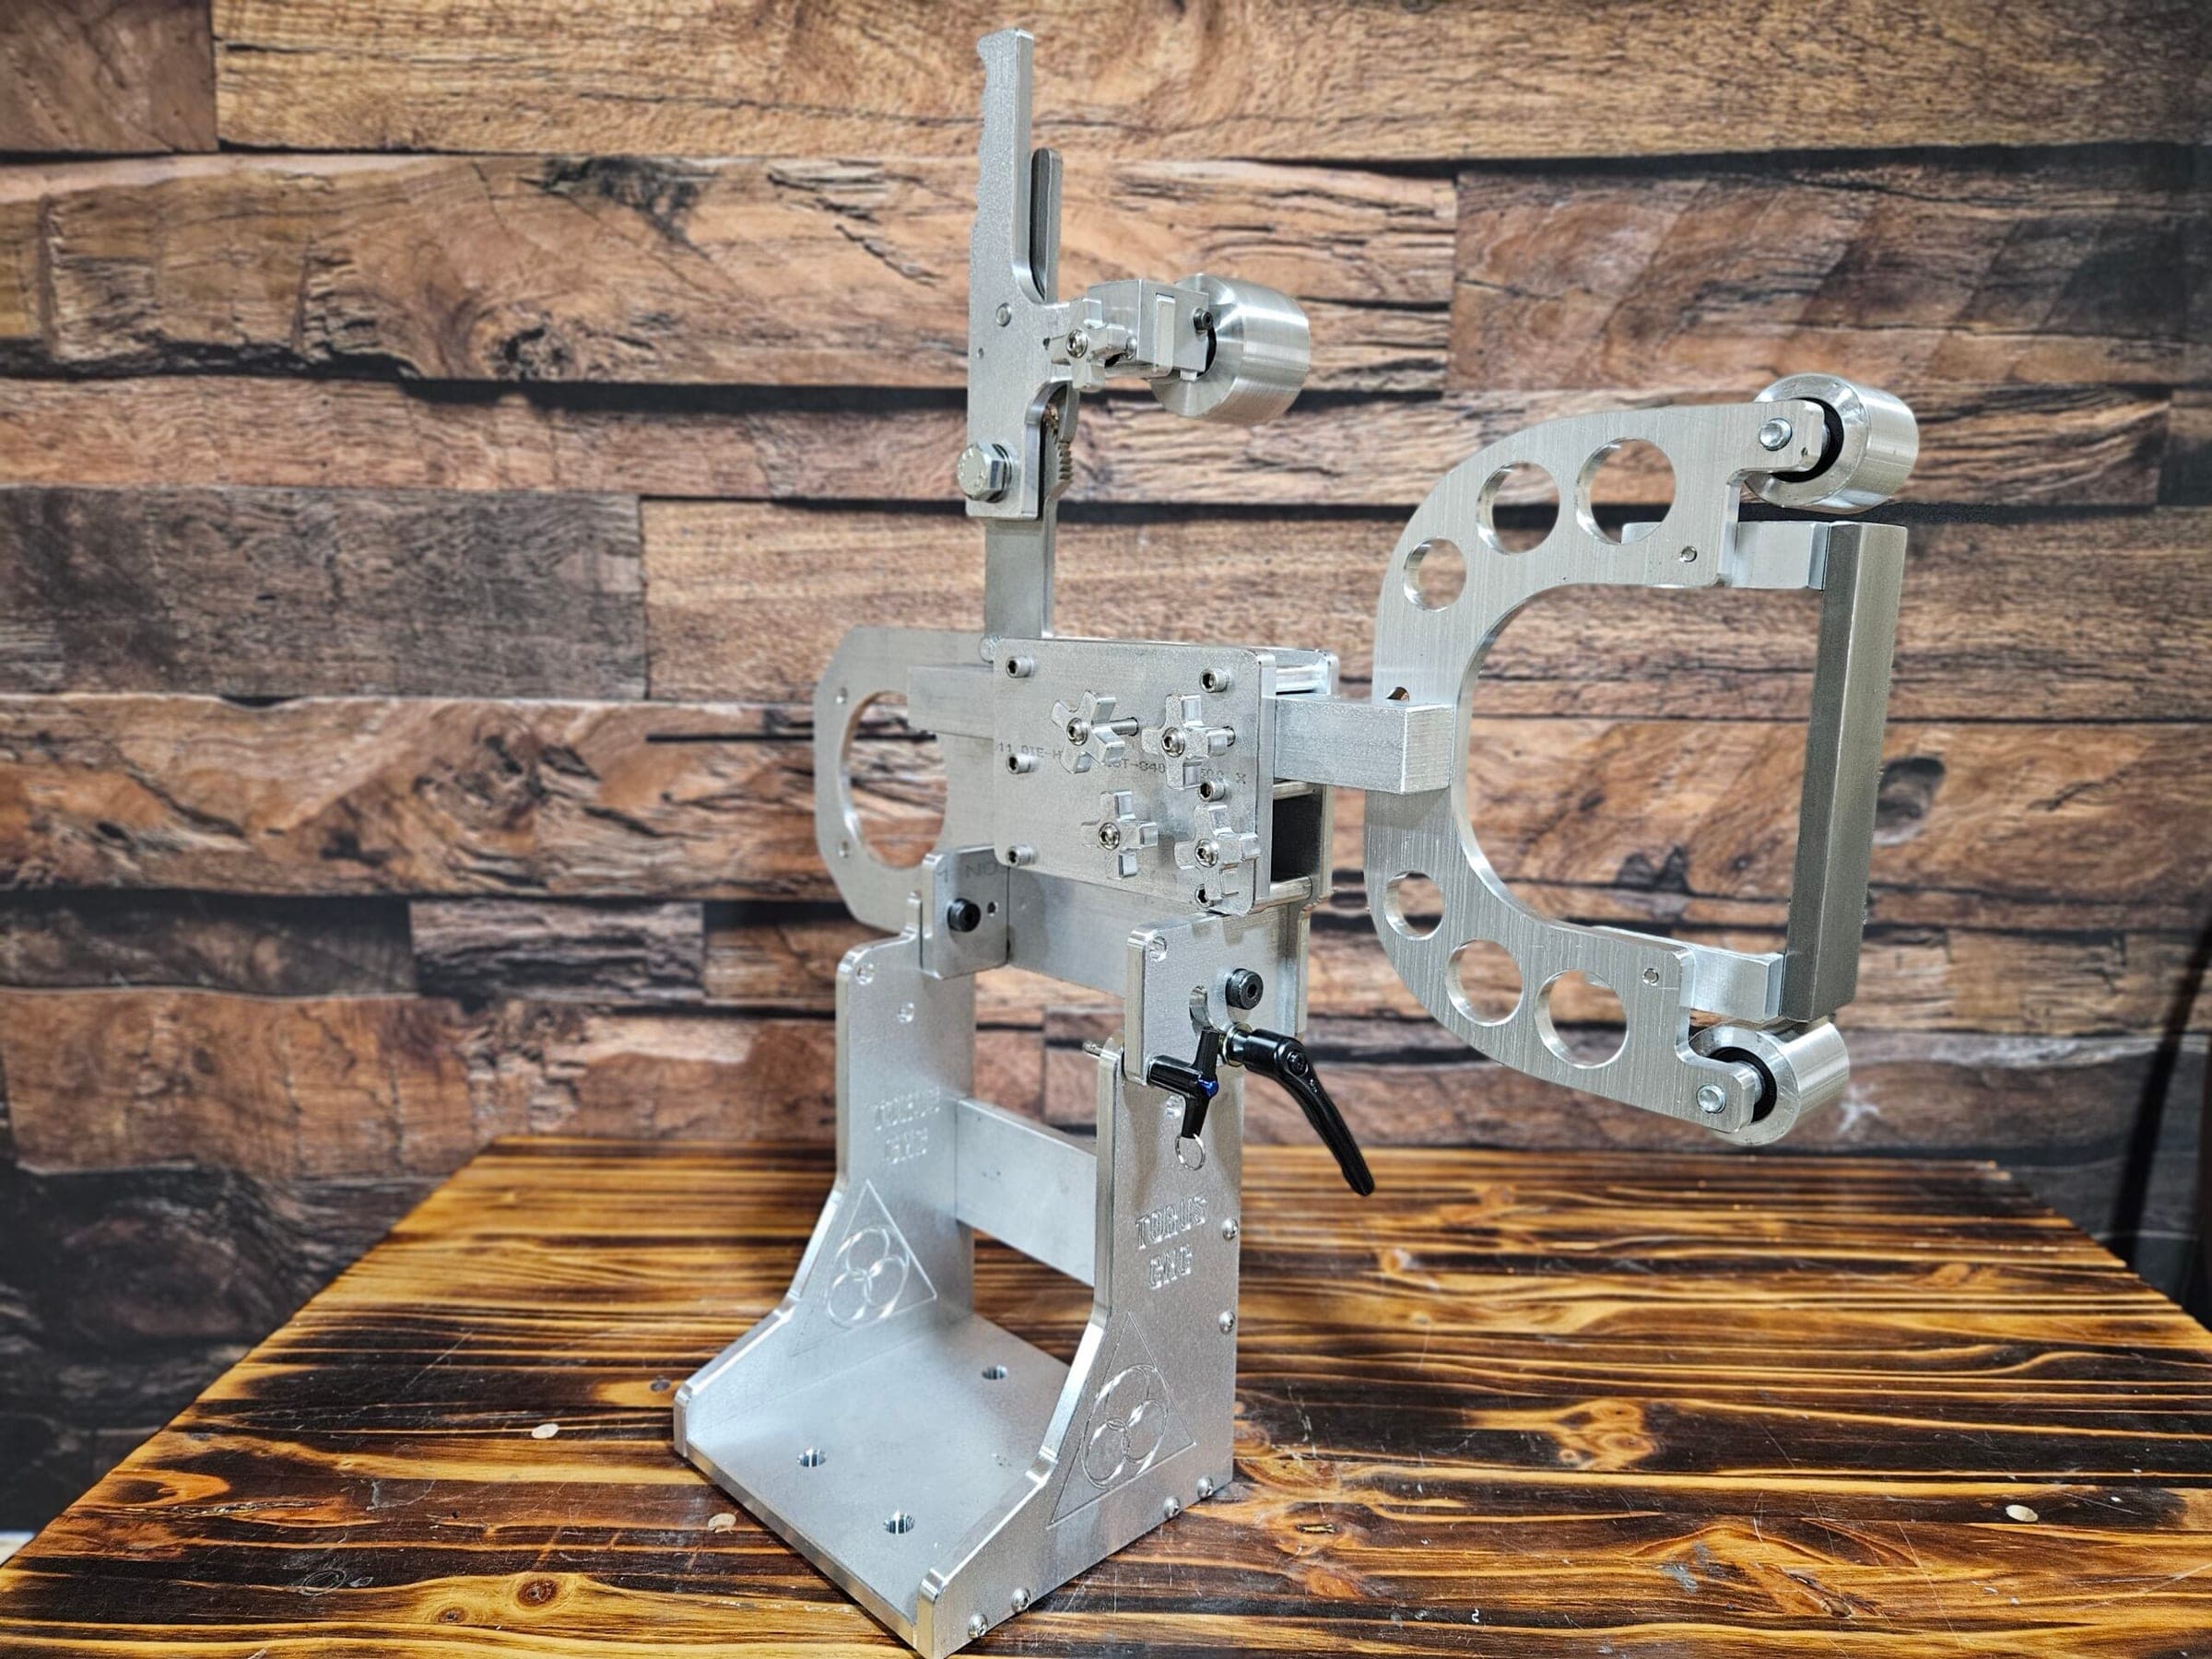
With your tools and materials ready, it’s time to remove the contact wheel from the machine. This step requires careful attention to detail to avoid damaging both the wheel and the machine itself. Begin by disconnecting any power sources to ensure safety during the removal process.
Once you have ensured that everything is powered down, locate the mounting hardware that secures the contact wheel in place. Using your wrench or socket set, carefully loosen and remove the bolts or screws holding the wheel in position. It is advisable to keep these fasteners organized so that you can easily reassemble everything later.
Once the hardware is removed, gently pull the contact wheel away from its mounting bracket. Take care not to apply excessive force, as this could lead to further damage. With the wheel successfully removed, you can now proceed with cleaning and preparing it for restoration.
Cleaning and Preparing the Contact Wheel for Restoration
Cleaning is a critical step in preparing your contact wheel for restoration. Over time, debris, dust, and residue can accumulate on the surface, hindering adhesion during repairs and coatings. Begin by using a soft brush or cloth to remove any loose particles from the wheel’s surface.
For more stubborn grime, consider using a solvent that is safe for the material of your contact wheel. Apply the solvent with a cloth and gently scrub until all contaminants are removed. Once cleaned, inspect the wheel again for any remaining imperfections or damage that may have been obscured by dirt.
Repairing any Damage to the Contact Wheel
After cleaning and drying your contact wheel, it’s time to address any damage that may have been identified during your assessments. Depending on the type of damage—be it cracks, chips, or uneven surfaces—different repair methods may be required. For minor cracks or gouges, a high-quality adhesive or filler can be used to fill in these imperfections.
Ensure that you choose a product compatible with the material of your contact wheel for optimal results. For more significant damage, such as deep gouges or large cracks, you may need to reshape or resurface the wheel entirely. This can be accomplished using a lathe or sanding equipment designed for this purpose.
Take care to maintain even pressure while working on these areas to avoid creating new imperfections. Once repairs are complete, inspect your work closely to ensure that all damaged areas have been adequately addressed before proceeding with coating application.
Applying a New Coating to the Contact Wheel
With repairs completed, applying a new coating is essential for restoring functionality and extending the life of your contact wheel. The type of coating you choose will depend on how you intend to use the wheel and its material composition. There are various options available, including rubberized coatings or specialized compounds designed for specific applications like sanding or grinding.
Before applying any coating, ensure that the surface is clean and free from dust or debris. Follow the manufacturer’s instructions carefully when mixing and applying your chosen coating material. It’s often best to apply multiple thin layers rather than one thick layer; this approach promotes better adhesion and durability.
Allow each layer to cure fully before applying subsequent coats, as this will ensure optimal performance once your contact wheel is back in action.
Reinstalling the Contact Wheel onto the Machine
After allowing sufficient time for your new coating to cure completely, it’s time to reinstall the contact wheel onto your machine. Begin by carefully aligning the wheel with its mounting bracket, ensuring that it fits snugly into place without forcing it. Reattach any mounting hardware that was removed during disassembly, taking care not to overtighten screws or bolts as this could lead to damage.
Once everything is securely fastened, double-check that all components are properly aligned and functioning as intended before reconnecting power sources. This step is crucial in preventing any operational issues once you begin using your machine again. With everything in place, you can now move on to testing your restored contact wheel.
Testing the Restored Contact Wheel
Testing your restored contact wheel is an important step in ensuring that all restoration efforts were successful. Begin by running your machine at low speeds while observing how well the contact wheel performs under light pressure against a test material. Pay attention to any vibrations or unusual noises that may indicate misalignment or improper installation.
As you gradually increase speed and pressure during testing, monitor how effectively the contact wheel interacts with different materials. A well-restored contact wheel should provide consistent results without causing excessive wear on either itself or the workpiece. If any issues arise during testing, take note of them so that you can address them before returning to regular use.
Maintaining the Contact Wheel to Prevent Future Wear
To ensure longevity and optimal performance from your restored contact wheel, regular maintenance is essential. Establishing a routine maintenance schedule will help prevent future wear and prolong its lifespan significantly. Start by cleaning the wheel after each use; this simple practice removes debris that can cause premature wear over time.
I also check the wheel for wear or damage now and then, even when it seems to be running fine, so small problems get fixed before they need another full restoration.
FAQs
What is a contact wheel?
A contact wheel is a crucial component of a belt grinder or sander, used to support and guide the sanding belt during operation.
What does it mean to re-crown a contact wheel?
Re-crowning a contact wheel involves restoring the curved shape of the wheel’s surface, which may have become worn or flattened over time.
Why is it important to re-crown a worn contact wheel?
Re-crowning a worn contact wheel is important to ensure that the sanding belt tracks properly and wears evenly, resulting in better performance and longer belt life.
How can I tell if my contact wheel needs to be re-crowned?
Signs that a contact wheel needs re-crowning include uneven wear on the sanding belt, tracking issues, and visible flattening or wear on the surface of the wheel.
What tools and materials are needed to re-crown a contact wheel?
To re-crown a contact wheel, you will need a lathe, a diamond-tipped tool, and a dial indicator to measure the curvature of the wheel’s surface.
Can I re-crown a contact wheel myself, or should I seek professional help?
Re-crowning a contact wheel can be a complex and precise process, so it is recommended to seek professional help unless you have experience and the necessary equipment to do it yourself.
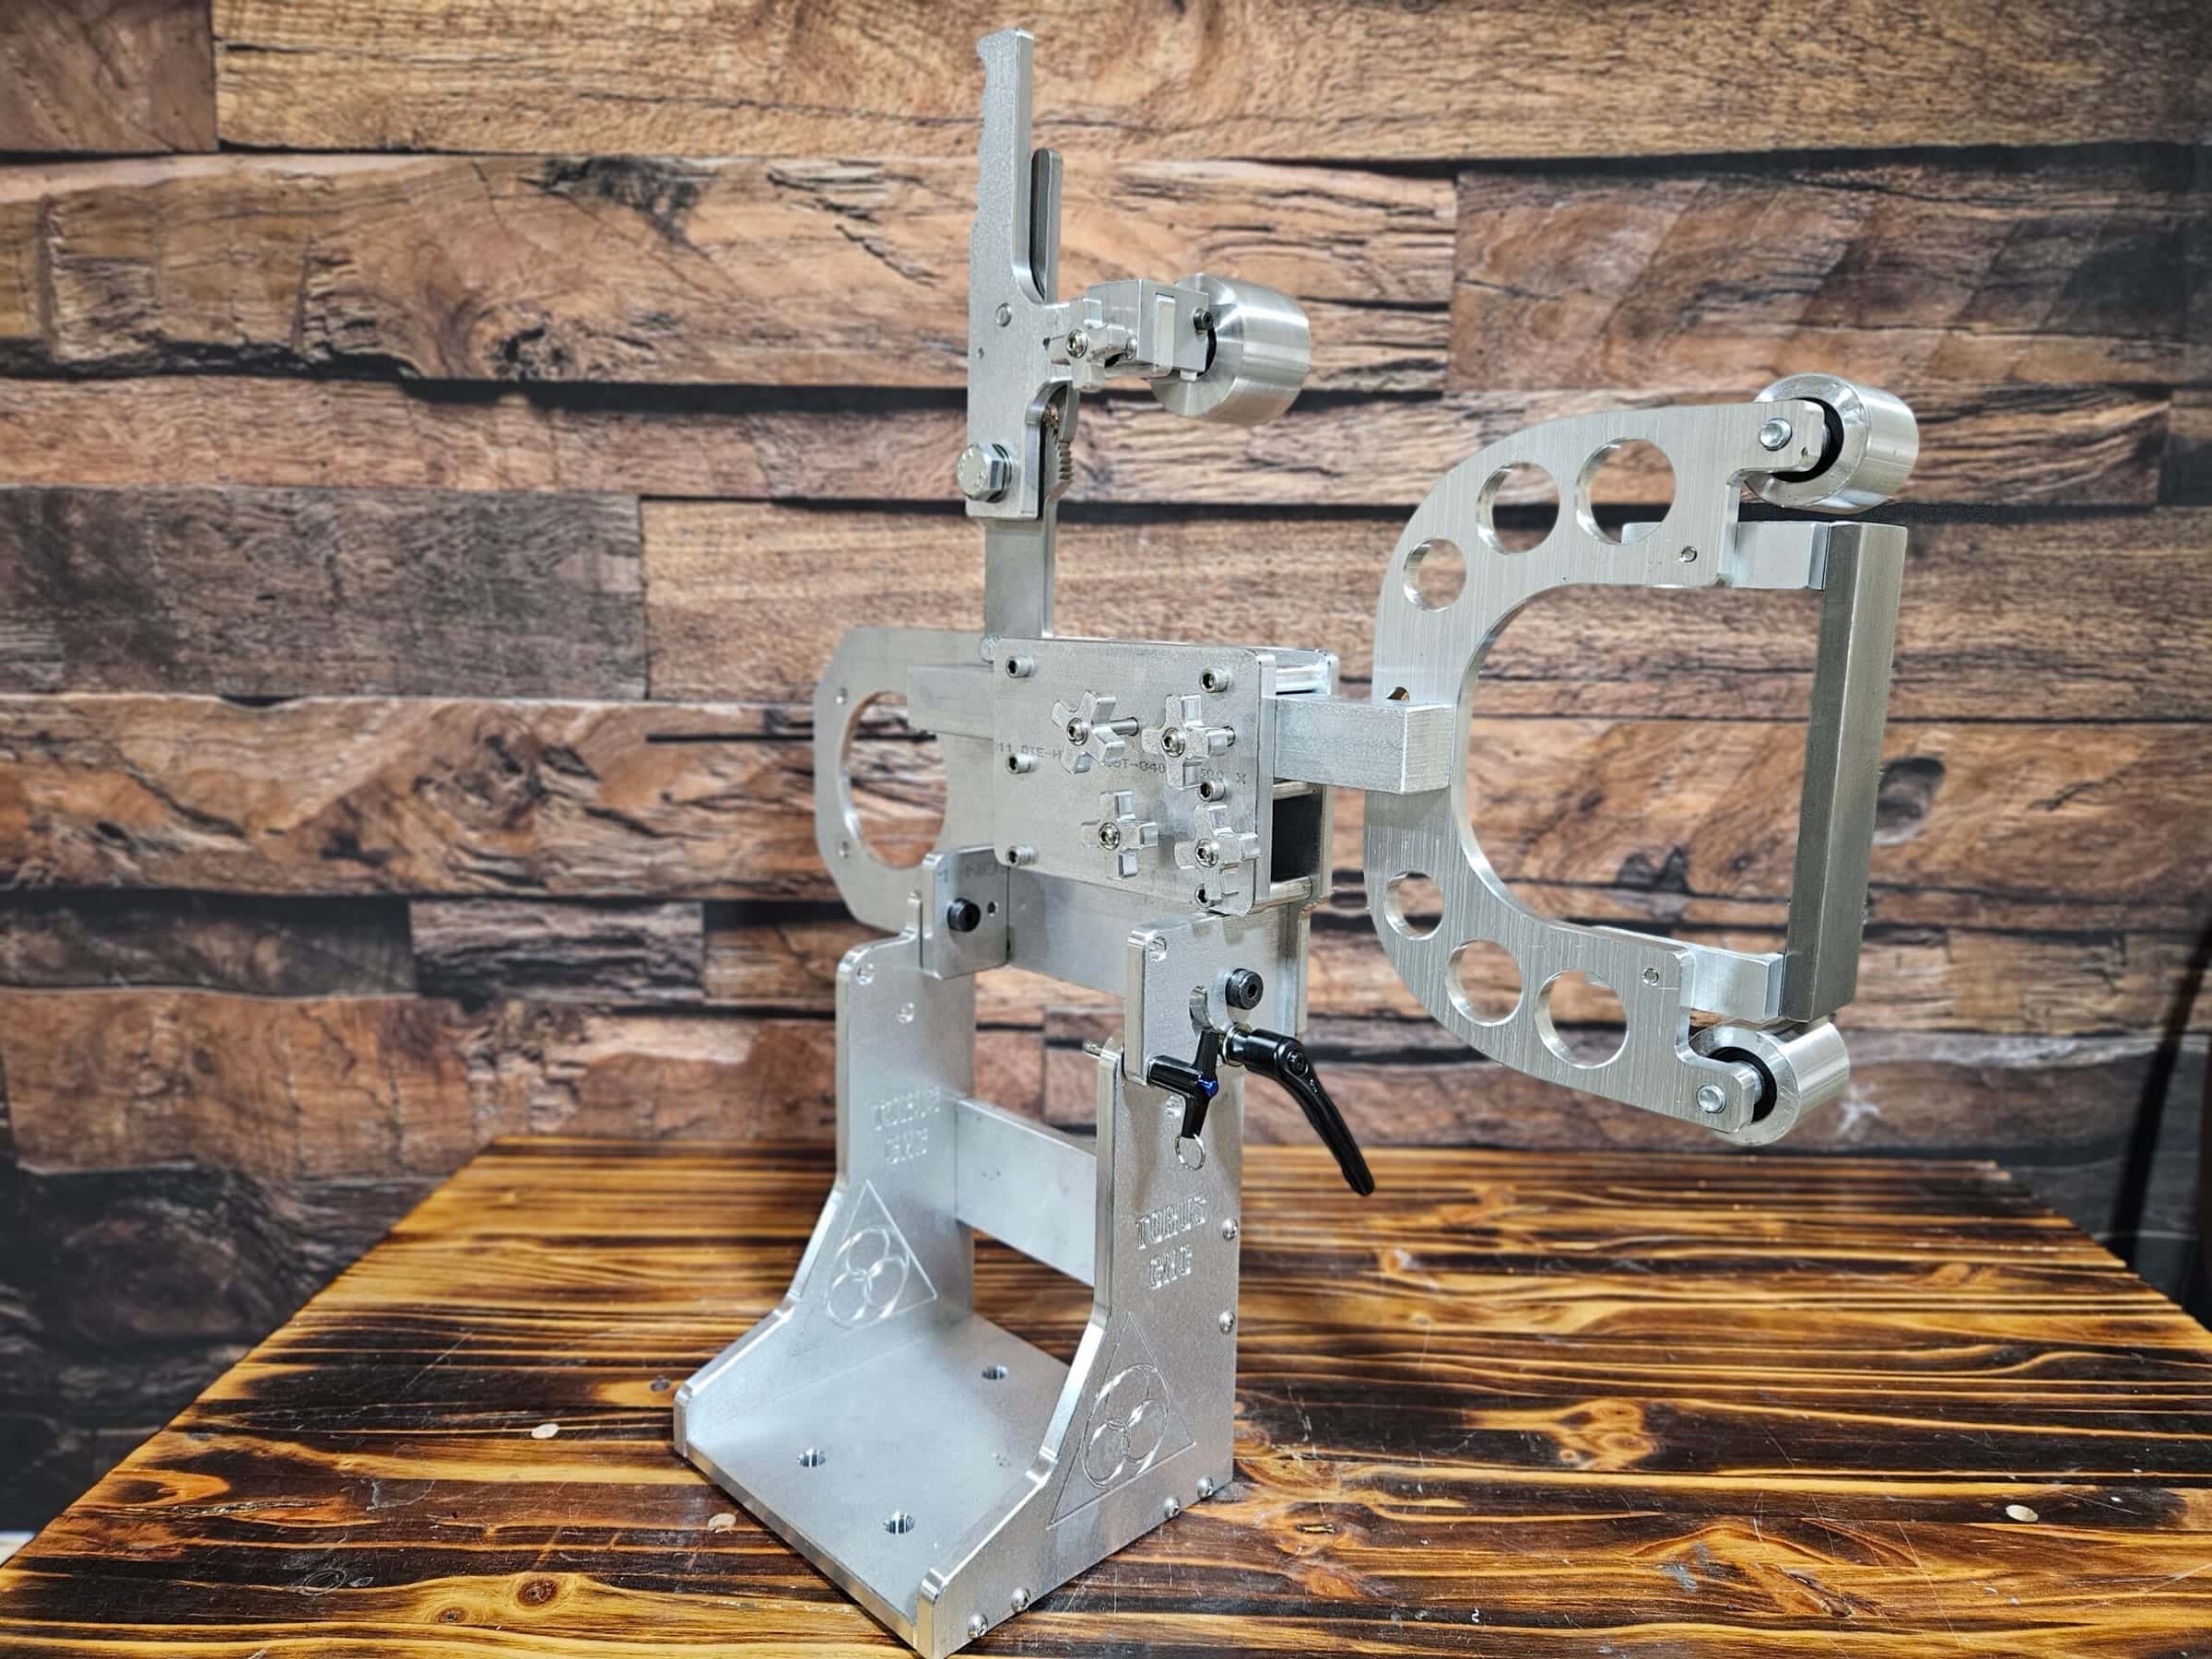
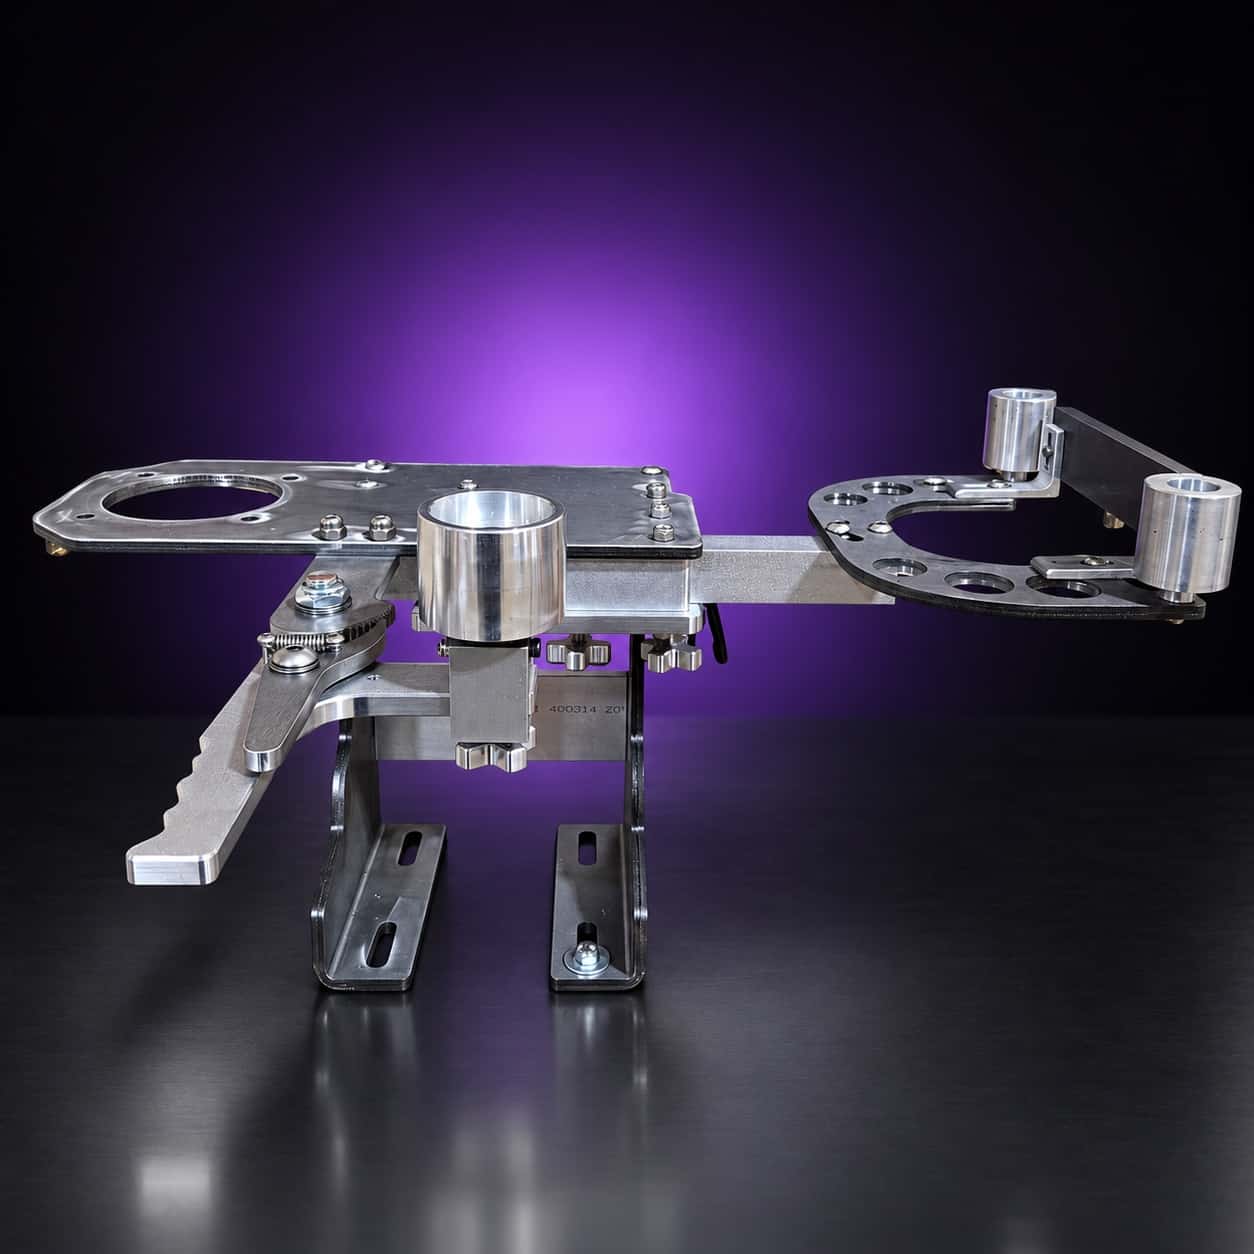
When a wheel is past saving, a new contact wheel attachment comes with an 8, 10, 12 or 14-inch wheel on its own solid 1.5-inch aluminum arm. It fits every Nova, Nebula and Classic, and ships in seven to ten business days from time of order.