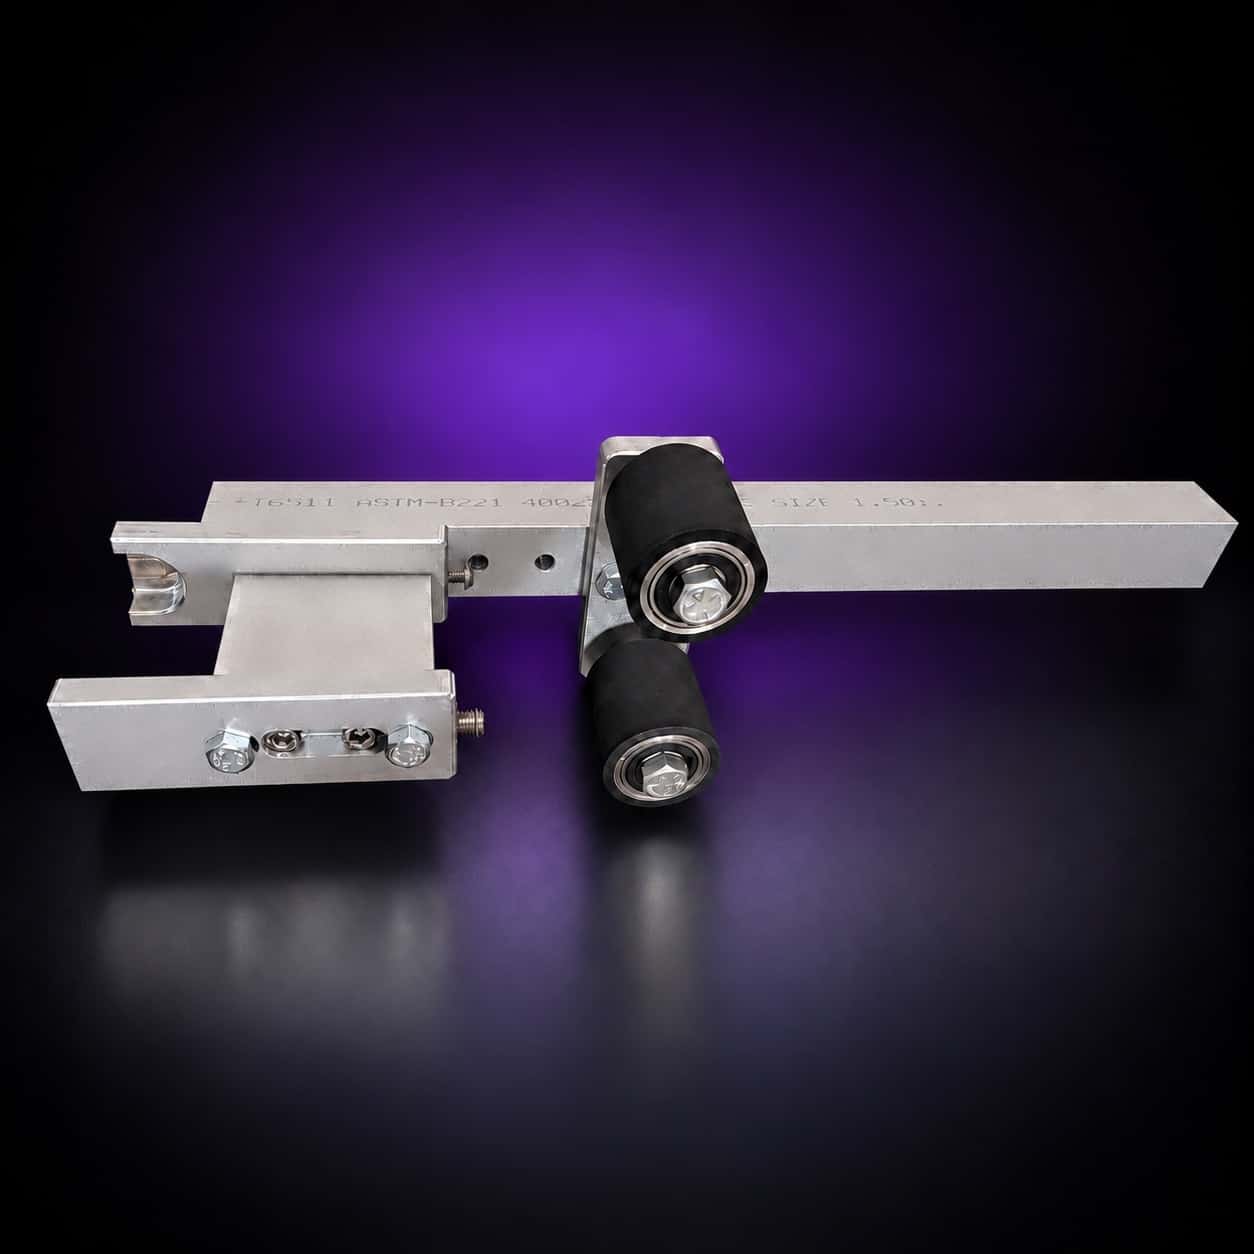
Blade Sharpening
Crafting the Perfect Edge: One Blade, One Grinder Workflow
Every blade I make follows the same path on one 2×72: profile, bevel, heat treat, finish, sharpen. Here is the one blade, one grinder workflow, the belt order, and the checks that keep each edge as good as the last.
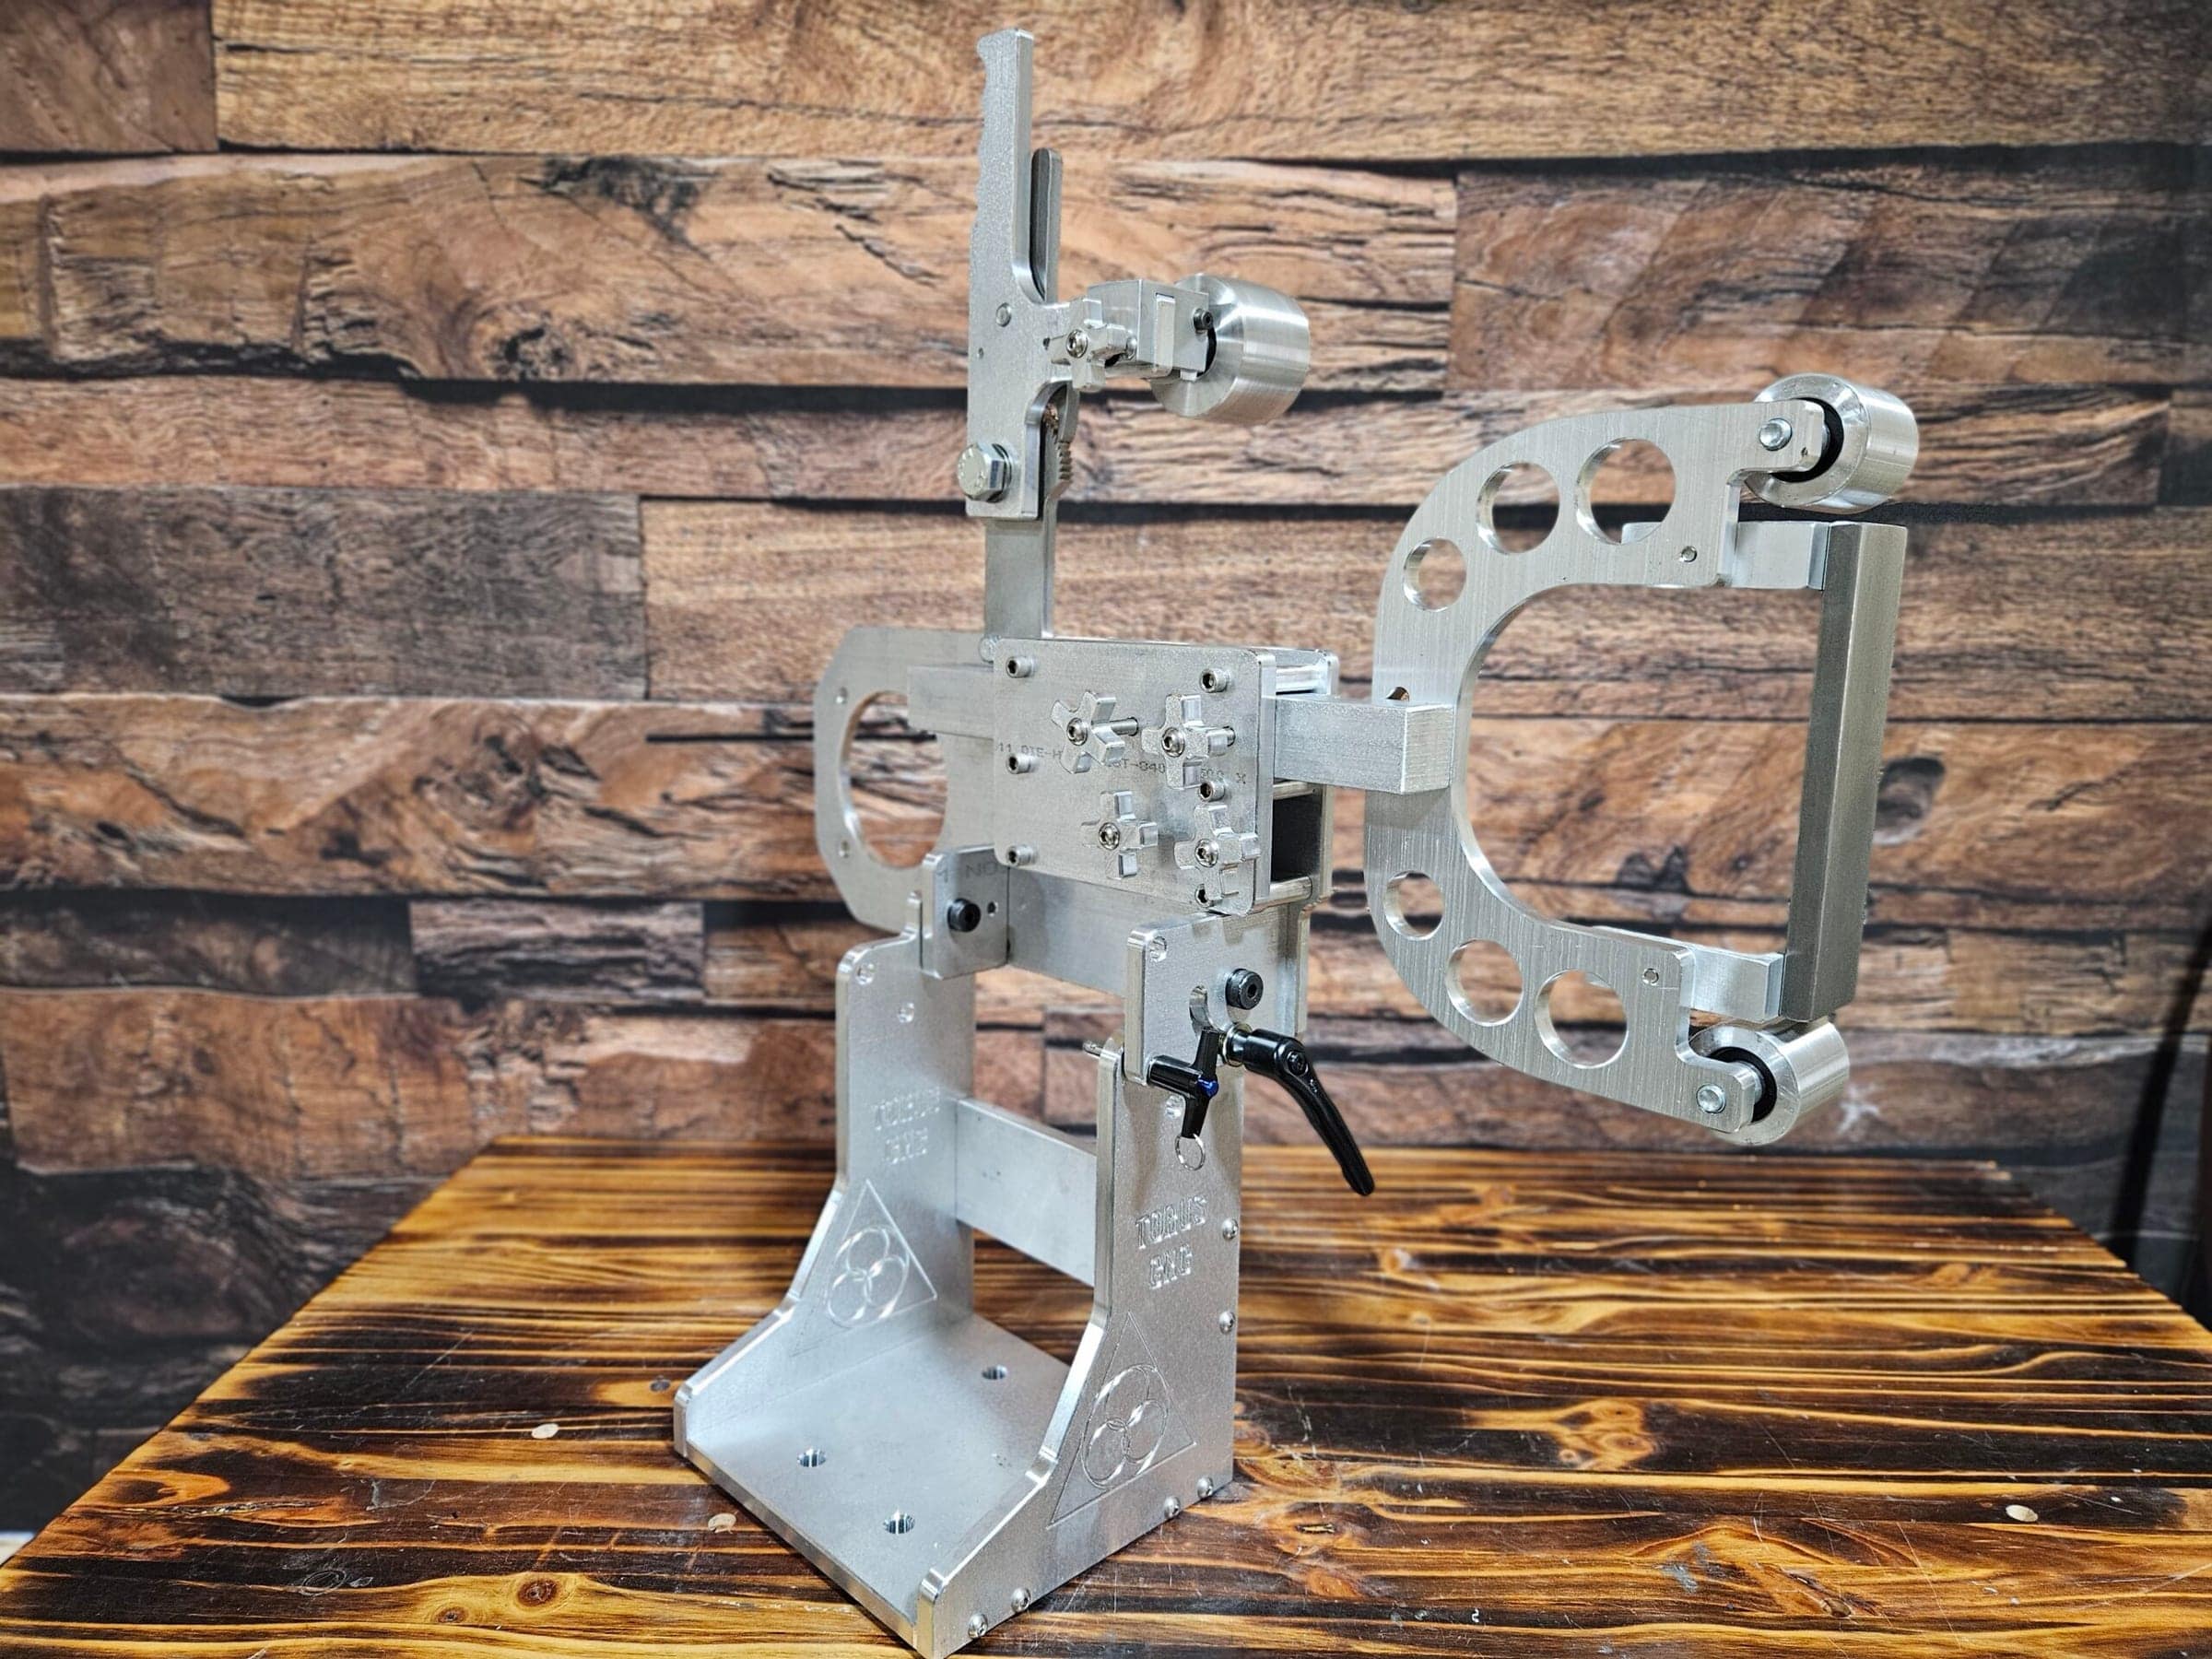
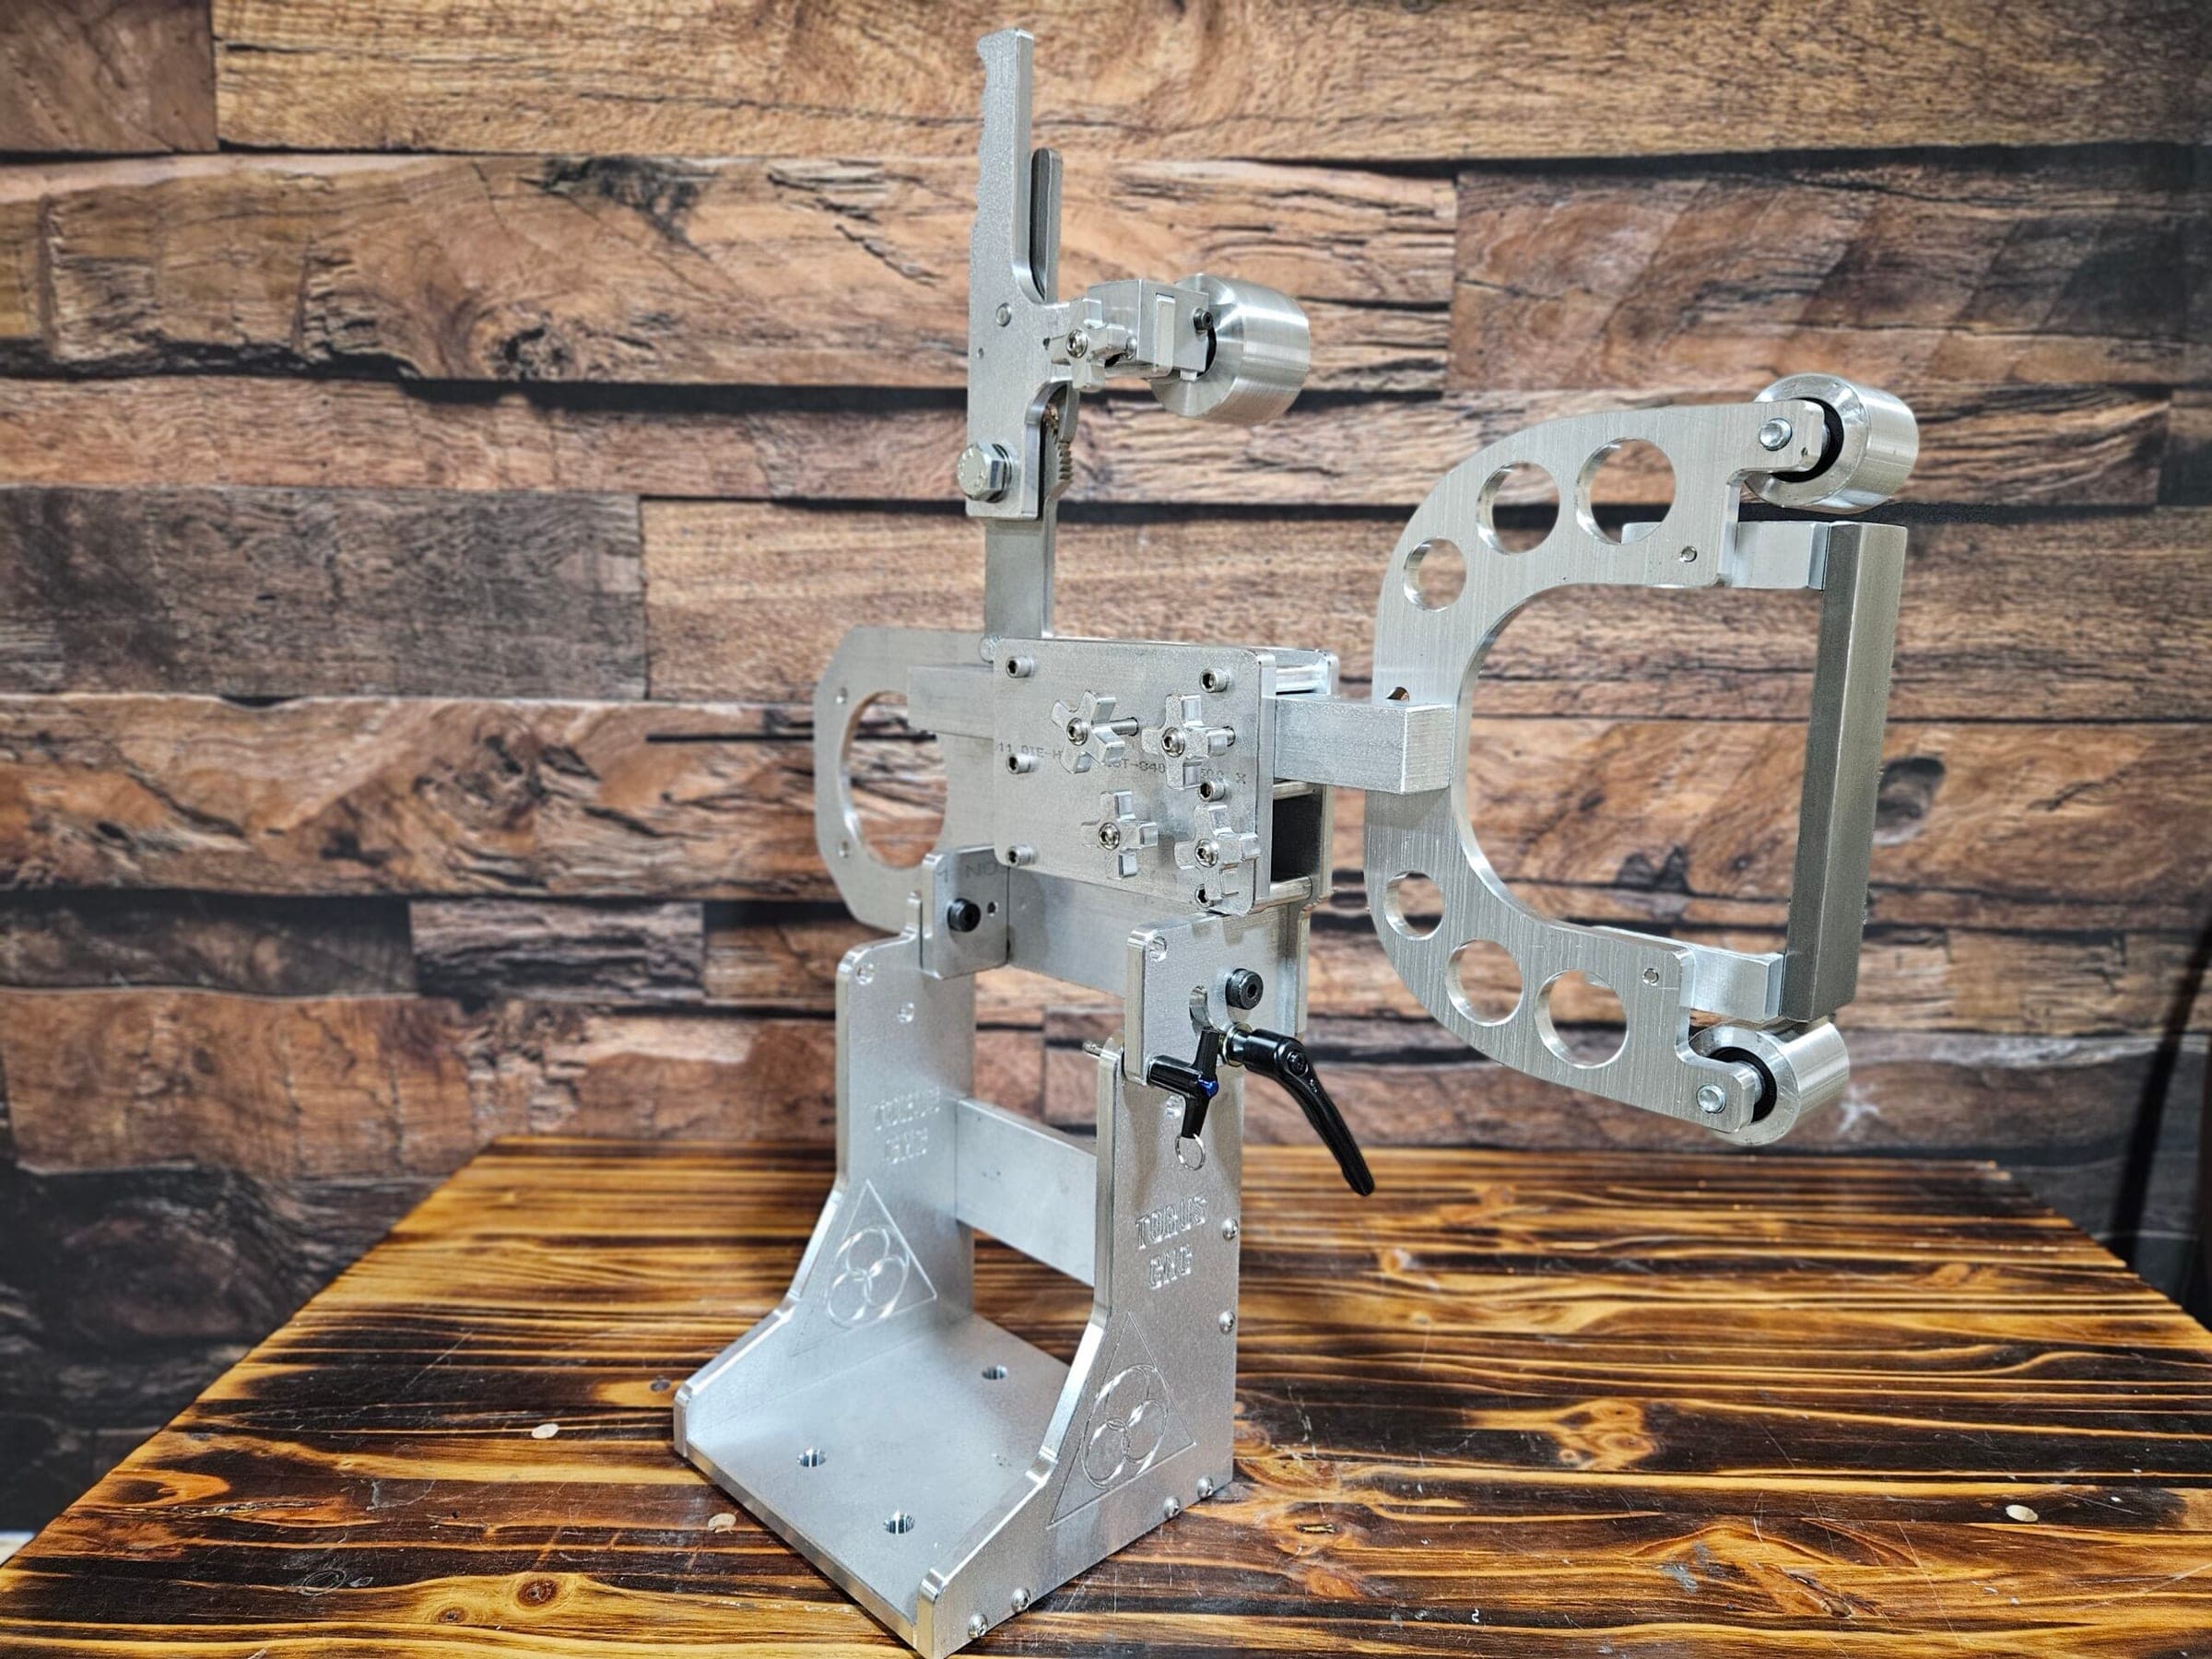
A good edge is not an accident, it is the last step in a workflow you can repeat. Every blade I make goes across one 2×72 in the same order: profile, rough bevel, clean up before heat treat, finish, then the edge. Here is that one blade, one grinder workflow, the belts I use at each step, how I control heat, and how I test the edge before it leaves the bench.
Key Takeaways
- Understanding the importance of a perfect edge:
- A perfect edge is crucial for achieving precision and efficiency in cutting and slicing tasks.
- Selecting the right blade for the job:
- Different blades are designed for specific materials and tasks, so it’s important to choose the right one for the job at hand.
- Choosing the right grinder for your blade:
- Select a grinder that is suitable for the type and size of your blade, ensuring a precise and efficient sharpening process.
- Safety precautions to take before grinding:
- Prioritize safety by wearing protective gear, securing the workspace, and following proper handling procedures for the grinder and blade.
- Techniques for achieving the perfect edge:
- Master the art of grinding by using the correct angle, pressure, and motion to achieve a sharp and durable edge on your blade.
Selecting the Right Blade for the Job
Choosing the right blade is crucial for achieving optimal results in any cutting task. Blades come in various shapes, sizes, and materials, each designed for specific applications. For instance, a chef’s knife is tailored for precision slicing and dicing in the kitchen, while a utility knife is better suited for general-purpose cutting tasks.
Understanding the intended use of the blade will guide you in selecting the most appropriate option for your needs. The material of the blade plays a significant role in its performance. High-carbon stainless steel blades offer excellent sharpness retention and corrosion resistance, making them popular among chefs and outdoor enthusiasts alike.
On the other hand, ceramic blades are known for their exceptional hardness and ability to maintain a sharp edge for extended periods. By considering both the design and material of the blade, you can ensure that you have the right tool for the job, in the end leading to better results and increased satisfaction in your work.
Choosing the Right Grinder for Your Blade
Once you have selected the appropriate blade, the next step is to choose the right grinder for sharpening it. The type of grinder you use can greatly influence the outcome of your sharpening process. There are various options available, including belt grinders, wheel grinders, and even manual sharpening stones.
Each type has its advantages and disadvantages, depending on your specific needs and preferences. Belt grinders are particularly popular among professionals due to their versatility and efficiency. They allow for quick material removal and can be adjusted to achieve different angles, making them suitable for various blade types.
Wheel grinders, on the other hand, provide a more traditional approach to sharpening and can be ideal for those who prefer a slower, more controlled process. In the end, selecting the right grinder involves considering factors such as your skill level, the type of blade you are working with, and the desired outcome.
Preparing Your Workspace for the Grinding Process
A well-organized workspace is essential for effective grinding. Before you begin sharpening your blade, take the time to set up your area to ensure safety and efficiency. Start by clearing any clutter from your work surface to create ample space for your grinder and tools.
Having a clean environment not only minimizes distractions but also reduces the risk of accidents during the grinding process. In addition to decluttering, consider the lighting in your workspace. Adequate lighting is crucial for accurately assessing the blade’s edge during sharpening.
Natural light is ideal, but if that’s not possible, invest in good-quality task lighting that illuminates your work area without causing glare. Finally, ensure that all necessary tools and materials are within reach before you start grinding. This preparation will help streamline your workflow and allow you to focus on achieving that perfect edge.
Safety Precautions to Take Before Grinding
Safety should always be a top priority when working with grinders and blades. Before you begin grinding, take a moment to assess your safety gear. Protective eyewear is essential to shield your eyes from flying debris or sparks generated during the grinding process.
Wearing gloves can help protect your hands from sharp edges and hot surfaces. It’s also important to familiarize yourself with the grinder’s operation manual before use. Understanding how to properly operate your equipment will not only enhance your safety but also improve your efficiency during grinding.
Ensure that all safety guards are in place and functioning correctly before starting the machine. By taking these precautions seriously, you can create a safer working environment that allows you to focus on honing your skills without unnecessary risks.
Techniques for Achieving the Perfect Edge
Achieving the perfect edge requires a combination of technique and practice. One effective method is to maintain a consistent angle while grinding. Most blades benefit from an angle between 15 to 20 degrees; however, this can vary based on the type of blade and its intended use.
Using a guide or jig can help maintain this angle throughout the sharpening process. Another important technique is to use even pressure while grinding. Applying too much force can lead to uneven wear on the blade or even damage it altogether.
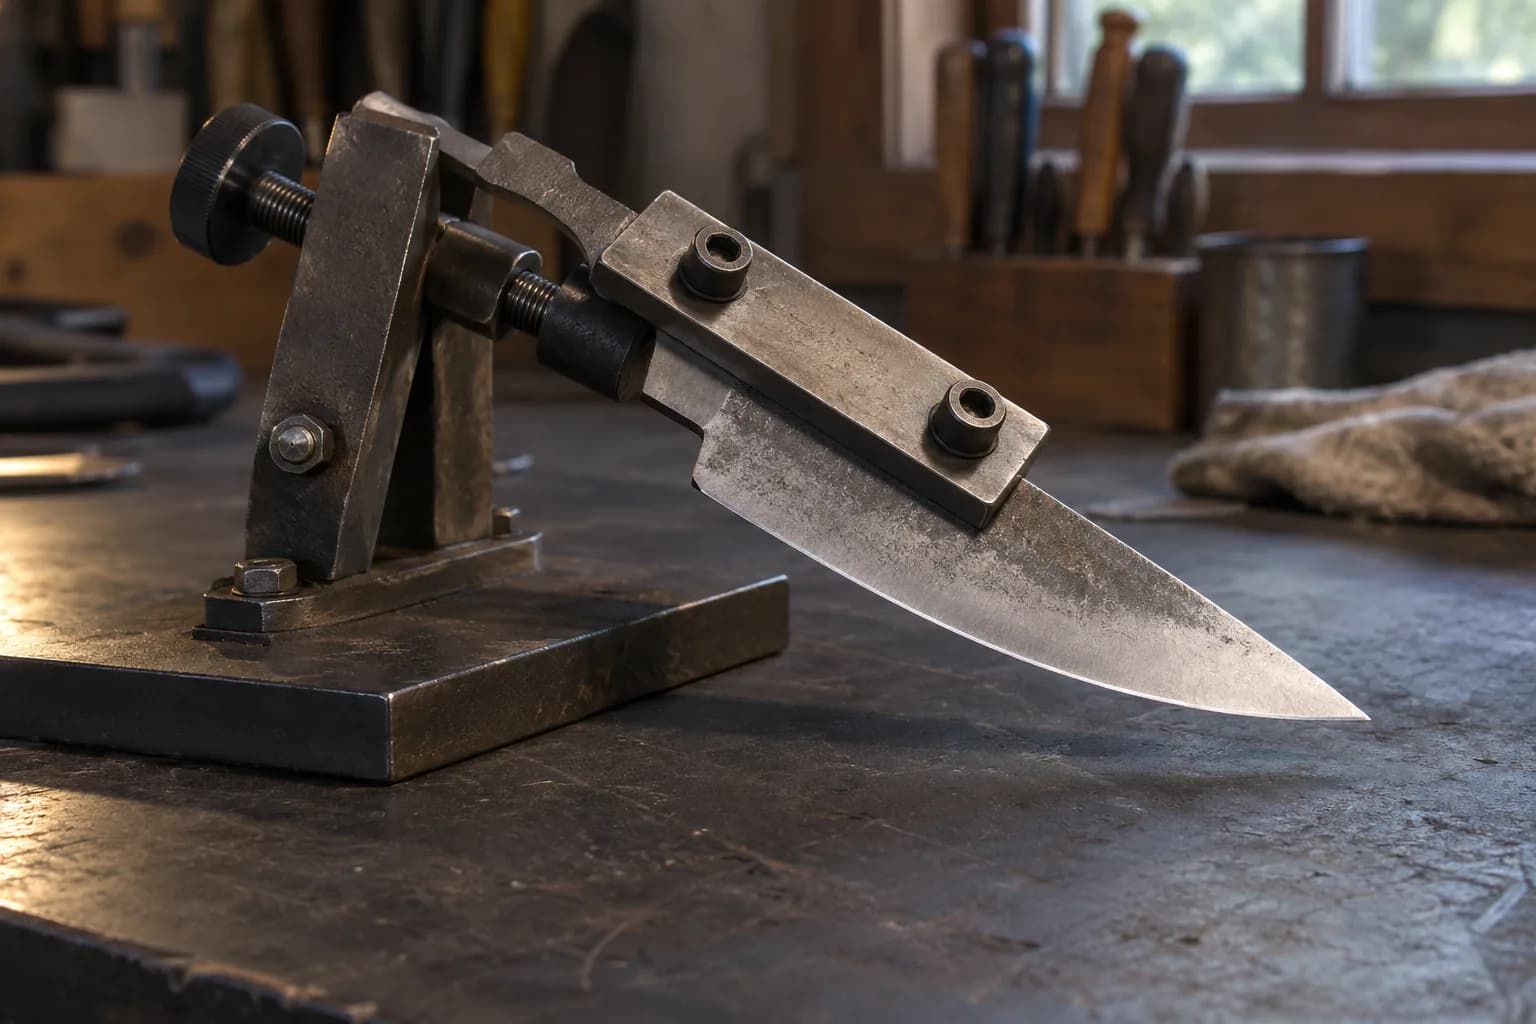
Instead, focus on using light pressure and allowing the grinder to do most of the work. It’s beneficial to alternate sides of the blade during sharpening to ensure an even edge on both sides. By mastering these techniques, you can significantly improve your sharpening skills and achieve that sought-after perfect edge.
Testing the Sharpness of Your Blade
Once you have finished grinding your blade, it’s essential to test its sharpness before putting it to use. There are several methods to assess how sharp your blade is effectively. One common technique is known as the paper test; simply try slicing through a piece of paper with minimal effort.
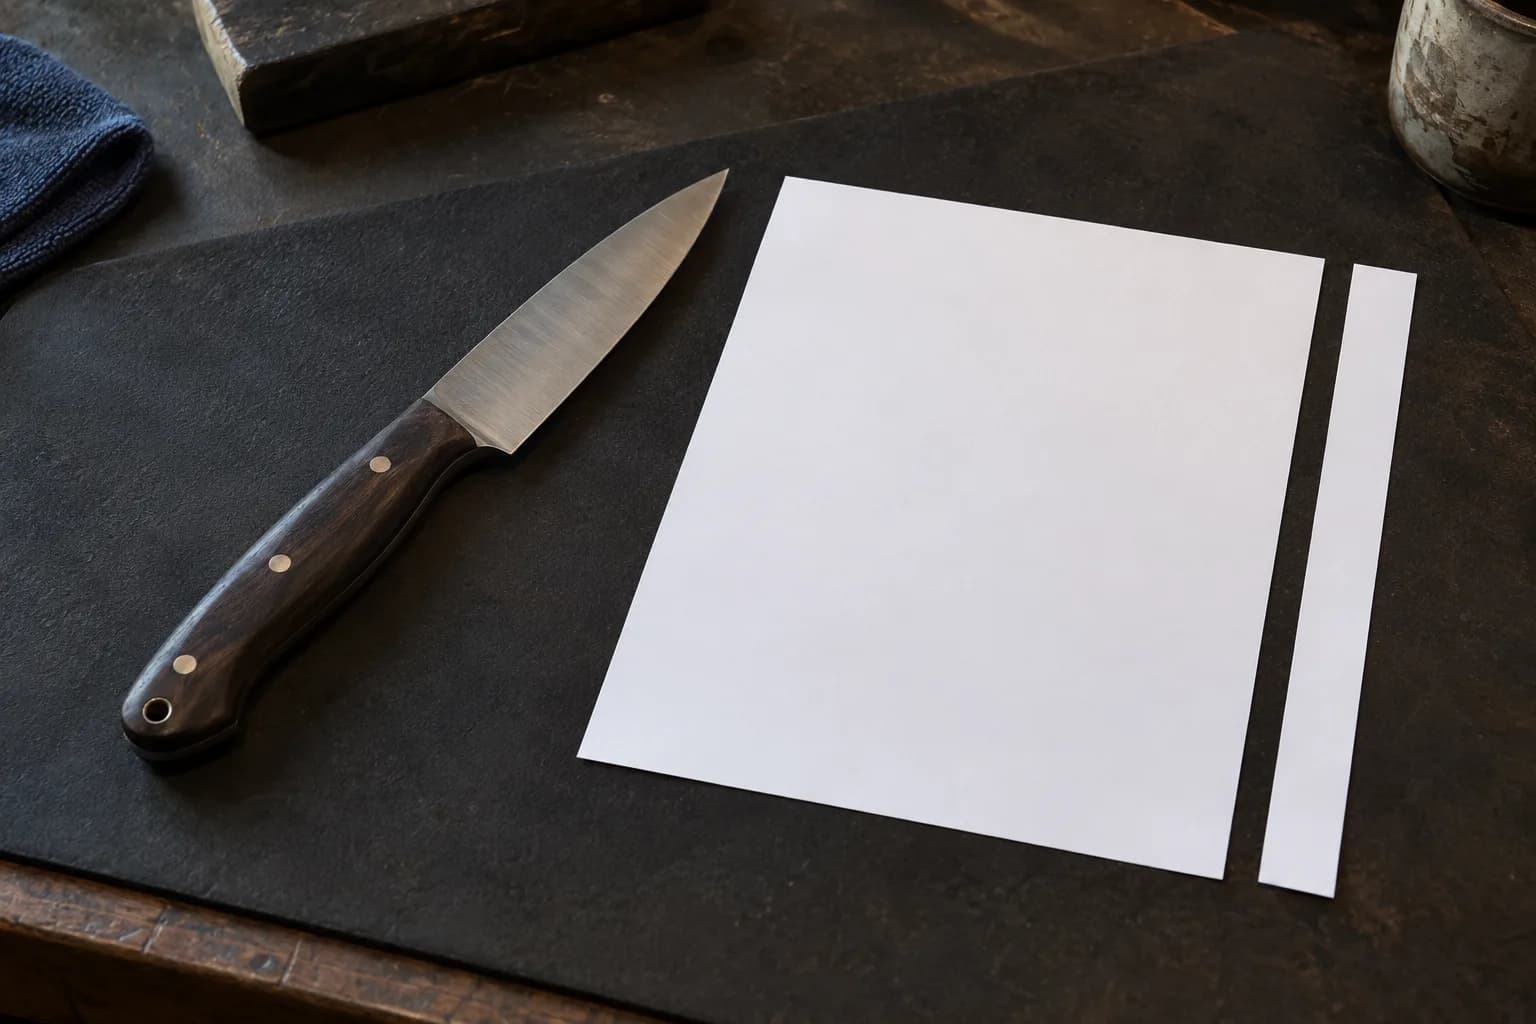
A sharp blade should glide through cleanly without tearing or dragging. Another method involves using your thumb or finger to lightly feel the edge of the blade. While this should be done with caution to avoid injury, a sharp edge will feel smooth without any noticeable nicks or dull spots.
Fine-Tuning and Polishing the Edge
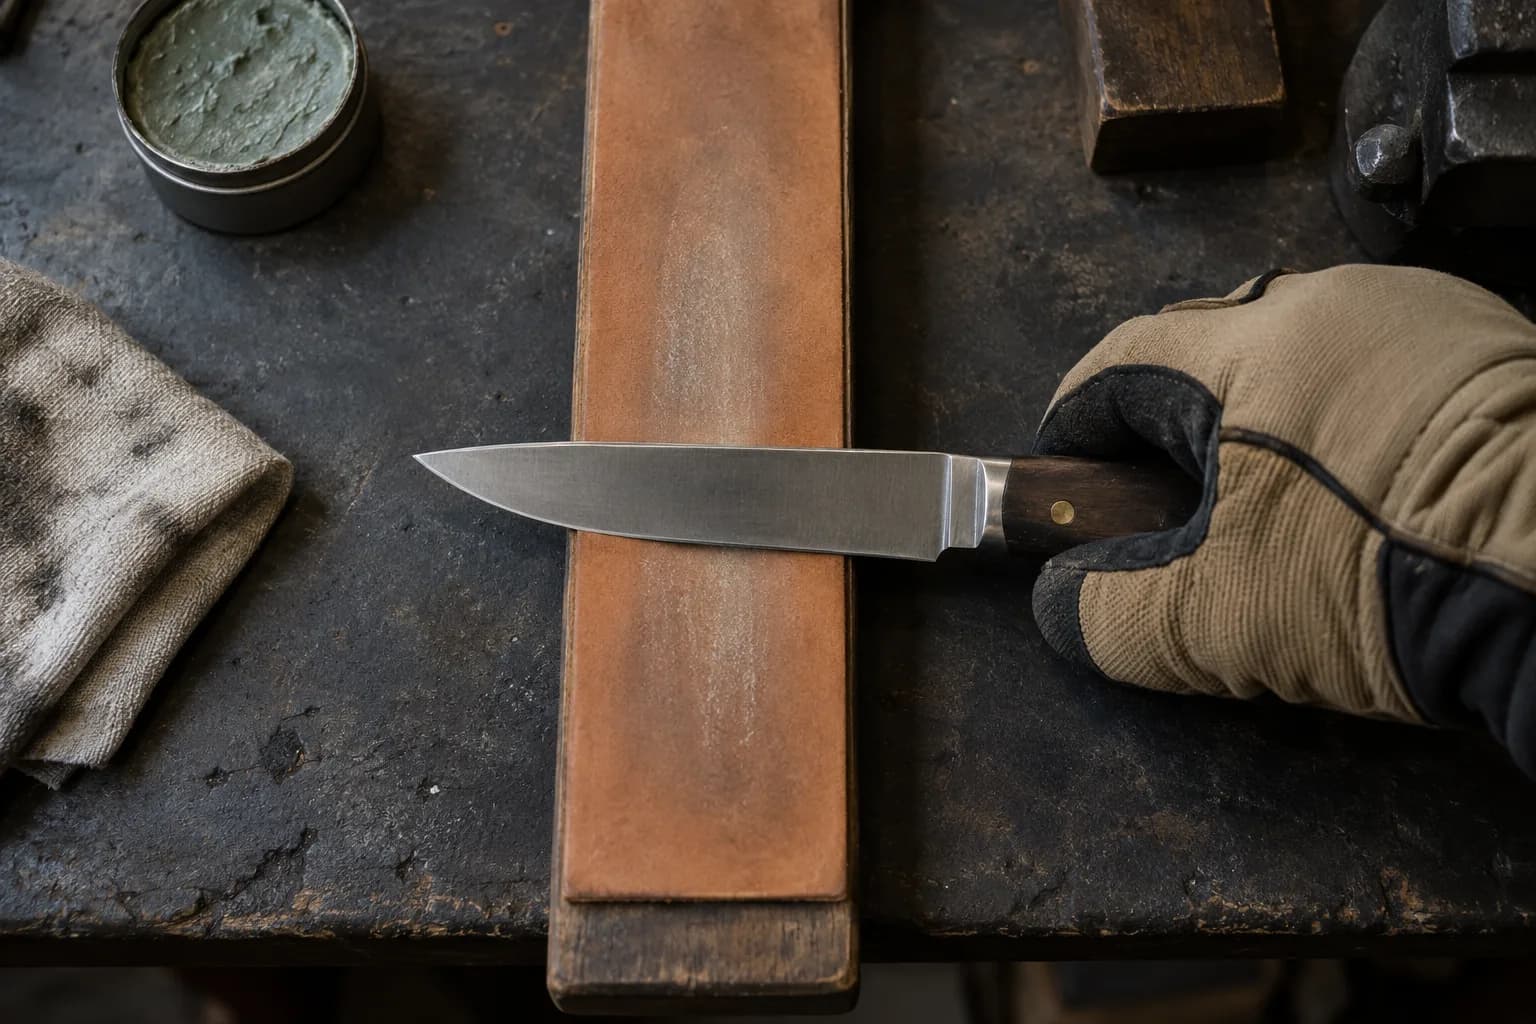
After testing your blade’s sharpness, fine-tuning and polishing are crucial steps in achieving an optimal edge. Fine-tuning involves making minor adjustments to correct any imperfections that may have occurred during grinding. This can be done using finer grit belts or stones to refine the edge further.
Polishing is equally important as it enhances both performance and aesthetics. A polished edge reduces friction during cutting tasks, allowing for smoother operation and cleaner cuts. You can use leather strops or polishing compounds specifically designed for blades to achieve this finish.
Maintaining the Sharpness of Your Blade
Maintaining sharpness is an ongoing process that requires regular attention. To keep your blade in optimal condition between sharpenings, consider implementing a routine maintenance schedule. This may include honing your blade with a honing steel after each use or periodically using a fine-grit stone for touch-ups.
Proper storage also plays a significant role in maintaining sharpness. Store your blades in protective sheaths or magnetic strips to prevent them from coming into contact with other objects that could dull their edges. Avoid using your blades on hard surfaces like glass or metal; instead, opt for cutting boards made from wood or plastic that are gentler on edges.
Troubleshooting Common Edge-Grinding Issues
Even experienced users may encounter issues during the edge-grinding process from time to time. One common problem is overheating, which can occur if too much pressure is applied or if grinding is done for too long without allowing the blade to cool down. Overheating can lead to loss of temper in steel blades, resulting in reduced hardness and performance.
Another issue may arise from uneven edges caused by inconsistent pressure or angle during grinding. If you notice that one side of your blade is sharper than the other, take time to reassess your technique and make necessary adjustments during future sharpenings. By being aware of these common issues and knowing how to troubleshoot them effectively, you can improve your sharpening skills over time.
FAQs
What is stock removal in blade making?
Stock removal is the process of removing excess material from a blade to shape it into the desired form. This is typically done using a grinder or other cutting tools.
What is the finish process in blade making?
The finish process in blade making involves refining the surface of the blade to achieve the desired smoothness, polish, and overall appearance. This can be done through grinding, sanding, and polishing.
What is a one blade, one grinder workflow?
A one blade, one grinder workflow refers to the process of using a single blade and a grinder to complete the entire stock removal and finish process for a blade. This streamlined approach can save time and resources in the blade making process.
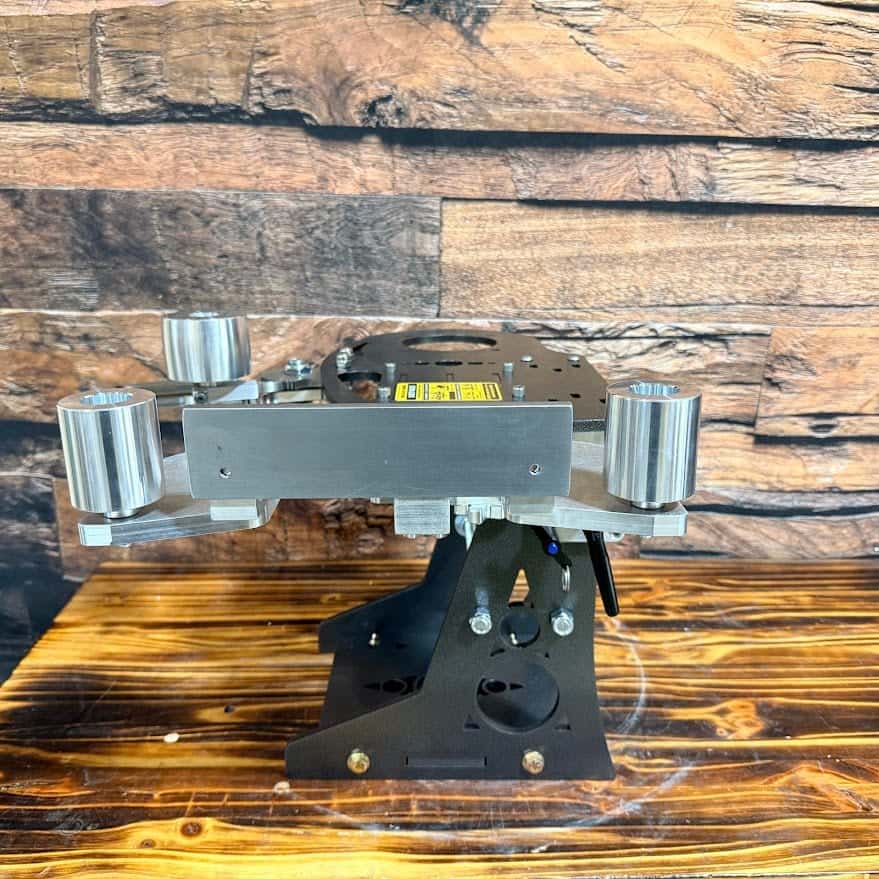
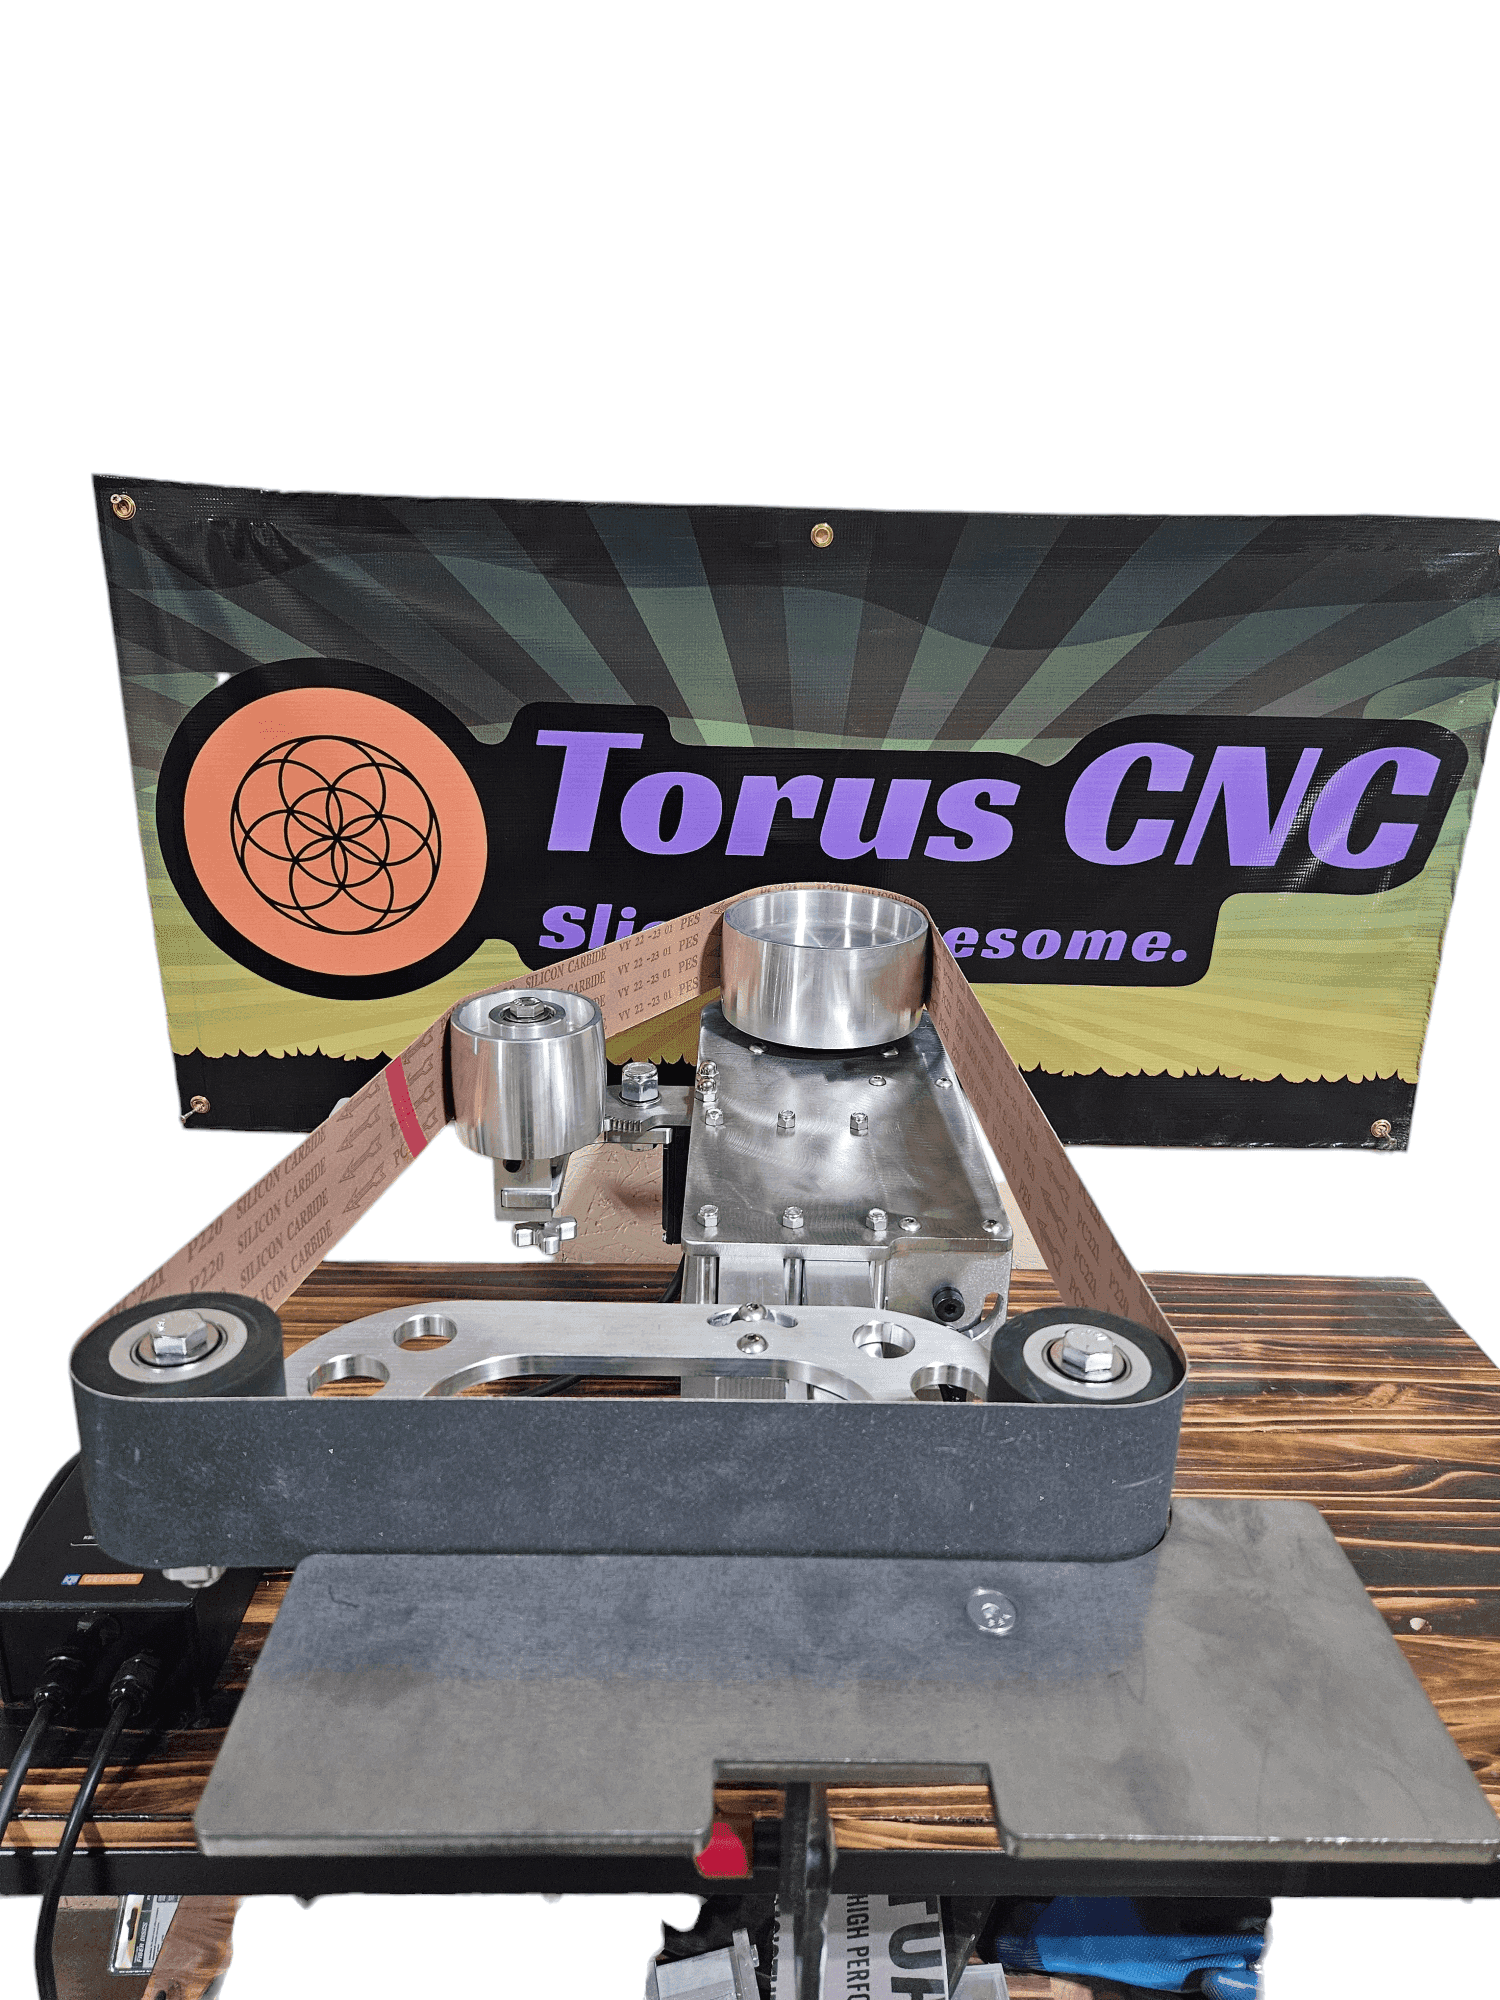
A workflow only repeats on a machine that repeats. The Nova 2×72 tilts between vertical and horizontal on a pin and holds tracking through every belt change. Add the variable-speed motor and VFD and you control heat at every step, from 36-grit profiling to the final edge.