2x72 Grinder Tips
Crafting Sculptures and Art Metalwork with a Belt Grinder
Knifemakers are not the only ones who need a 2×72. Sculptors use the same machine to rough out forms, add texture and polish bronze and steel. Here is how to set a belt grinder up for art metalwork.
A 2×72 does not care whether the steel becomes a knife or a sculpture. The same long belt that hogs a bevel will rough out a form, the same slack belt that rounds a spine will soften a curve, and the same Scotch-Brite belt puts a satin on bronze. Here is how I set a belt grinder up for art metalwork: belts for each metal, holding odd shapes safely, adding texture, and finishing.
Key Takeaways
- Belt grinders are versatile tools for sculpting and art metalwork, offering precision and control for shaping and carving metal.
- Choosing the right belt grinder for your projects involves considering factors such as motor power, belt speed, and available attachments.
- Safety precautions when using a belt grinder include wearing protective gear, securing workpieces, and avoiding distractions while operating the machine.
- Preparing materials for sculpting and metalwork with a belt grinder involves cleaning, deburring, and shaping the metal to desired dimensions.
- Techniques for shaping and carving metal with a belt grinder include using different grit belts, varying pressure, and experimenting with angles and movements.
Choosing the Right Belt Grinder for Your Projects
Selecting the appropriate belt grinder is crucial for achieving the desired results in your sculpting and metalwork projects. When considering a belt grinder, factors such as motor power, belt size, and speed control should be at the forefront of your decision-making process. A more powerful motor can handle tougher materials and larger projects, while a smaller, more compact model may be ideal for intricate work or limited workspace.
The size of the belt can influence the efficiency of material removal; wider belts can cover more surface area quickly, while narrower belts allow for finer detail work. Another important consideration is the type of belts available for your chosen grinder. Different grits and materials can significantly affect the outcome of your work.
Coarse grits are excellent for rapid material removal, while finer grits are essential for achieving smooth finishes. Some belts are designed specifically for metalwork, providing enhanced durability and performance. By carefully evaluating your project requirements and understanding the capabilities of various belt grinders, you can make an informed choice that aligns with your artistic vision.
Safety Precautions and Best Practices for Using a Belt Grinder
Safety should always be a top priority when operating a belt grinder. The high-speed operation of these machines can pose risks if proper precautions are not taken. First and foremost, wearing appropriate personal protective equipment (PPE) is essential.
This includes safety goggles to protect your eyes from flying debris, gloves to shield your hands from sharp edges, and a dust mask to prevent inhalation of harmful particles generated during grinding. It is advisable to wear hearing protection, as prolonged exposure to the noise produced by belt grinders can lead to hearing damage. Beyond personal protective gear, maintaining a clean and organized workspace is vital for safe operation.
Ensure that your work area is free from clutter and that all tools are stored properly when not in use. Familiarize yourself with the machine’s controls and features before starting any project, and always follow the manufacturer’s guidelines for operation. Regularly inspecting the grinder for wear and tear can also prevent accidents caused by malfunctioning equipment.
Preparing Your Materials for Sculpting and Metalwork with a Belt Grinder
Before diving into sculpting or metalwork with a belt grinder, proper preparation of your materials is essential for achieving optimal results. Start by selecting the right type of metal for your project; common choices include aluminum, steel, and brass, each offering unique properties that can influence your design. Once you have chosen your material, ensure it is clean and free from contaminants such as oil or rust.
This step is crucial as impurities can affect the grinding process and lead to unsatisfactory finishes. Next, consider cutting your material into manageable sizes before attaching it to your workbench or grinder. This not only makes handling easier but also allows for more precise control during the grinding process.
If you are working with larger pieces, securing them firmly will help prevent movement while you work. Marking out your design on the material can serve as a helpful guide during shaping and carving. By taking these preparatory steps, you set yourself up for success as you begin to transform raw materials into stunning works of art.
Techniques for Shaping and Carving Metal with a Belt Grinder
The versatility of belt grinders allows artists to employ various techniques for shaping and carving metal effectively. One fundamental technique is using the grinder’s edge to create contours and curves in your material. By angling the piece against the moving belt, you can achieve smooth transitions between different shapes.
This method is particularly useful when working on organic forms or abstract designs that require fluidity in their lines. Another effective technique involves utilizing different belt grits to achieve specific effects during shaping. Starting with a coarse grit can help remove excess material quickly, while transitioning to finer grits allows for refining details and smoothing surfaces.
Varying the angle at which you approach the material can yield different results; for instance, grinding at a steeper angle may create deeper cuts or grooves, while a shallower angle can produce more subtle changes in texture. By mastering these techniques, you can unlock new possibilities in your sculpting practice.
Creating Intricate Details and Textures with a Belt Grinder
Once the basic shape of your sculpture or metalwork is established, it’s time to focus on adding intricate details and textures that improve your piece. The belt grinder excels in this area due to its ability to manipulate surfaces with precision. One effective method is to use specialized belts designed for texturing; these belts often feature unique patterns or abrasives that create distinct finishes on metal surfaces.
Experimenting with different belts can lead to exciting discoveries in texture that enhance the overall aesthetic of your work. In addition to using specialized belts, varying your technique can also contribute to creating intricate details. For example, employing a technique known as “feathering” involves lightly grazing the surface with a fine grit belt to create soft transitions between textures.
Finishing and Polishing Your Sculptures and Art Metalwork with a Belt Grinder
The finishing stage is where your sculpture truly comes to life, and a belt grinder plays a pivotal role in achieving that polished look. After shaping and detailing your piece, transitioning to finer grit belts will help eliminate any scratches or imperfections left from previous grinding stages. This process not only enhances the visual appeal but also prepares the surface for any additional treatments or coatings you may wish to apply.
Polishing is another critical aspect of finishing that can be effectively accomplished with a belt grinder. Using polishing belts or compounds specifically designed for metalwork allows you to achieve a high-gloss finish that highlights the beauty of your material. It’s important to maintain consistent pressure and speed during this stage to ensure an even polish across the entire surface.
Regular cleaning of the belt during polishing will prevent buildup that could mar your finish. By dedicating time to this final stage, you ensure that your sculpture stands out with a professional-quality appearance.
Incorporating Other Tools and Equipment into Your Belt Grinder Workflow
While belt grinders are powerful tools on their own, integrating other equipment into your workflow can enhance efficiency and expand your creative possibilities. For instance, using a bandsaw or plasma cutter in conjunction with a belt grinder allows you to quickly cut large pieces into manageable sizes before refining them on the grinder. This combination not only saves time but also reduces wear on your grinding belts by minimizing excessive material removal.
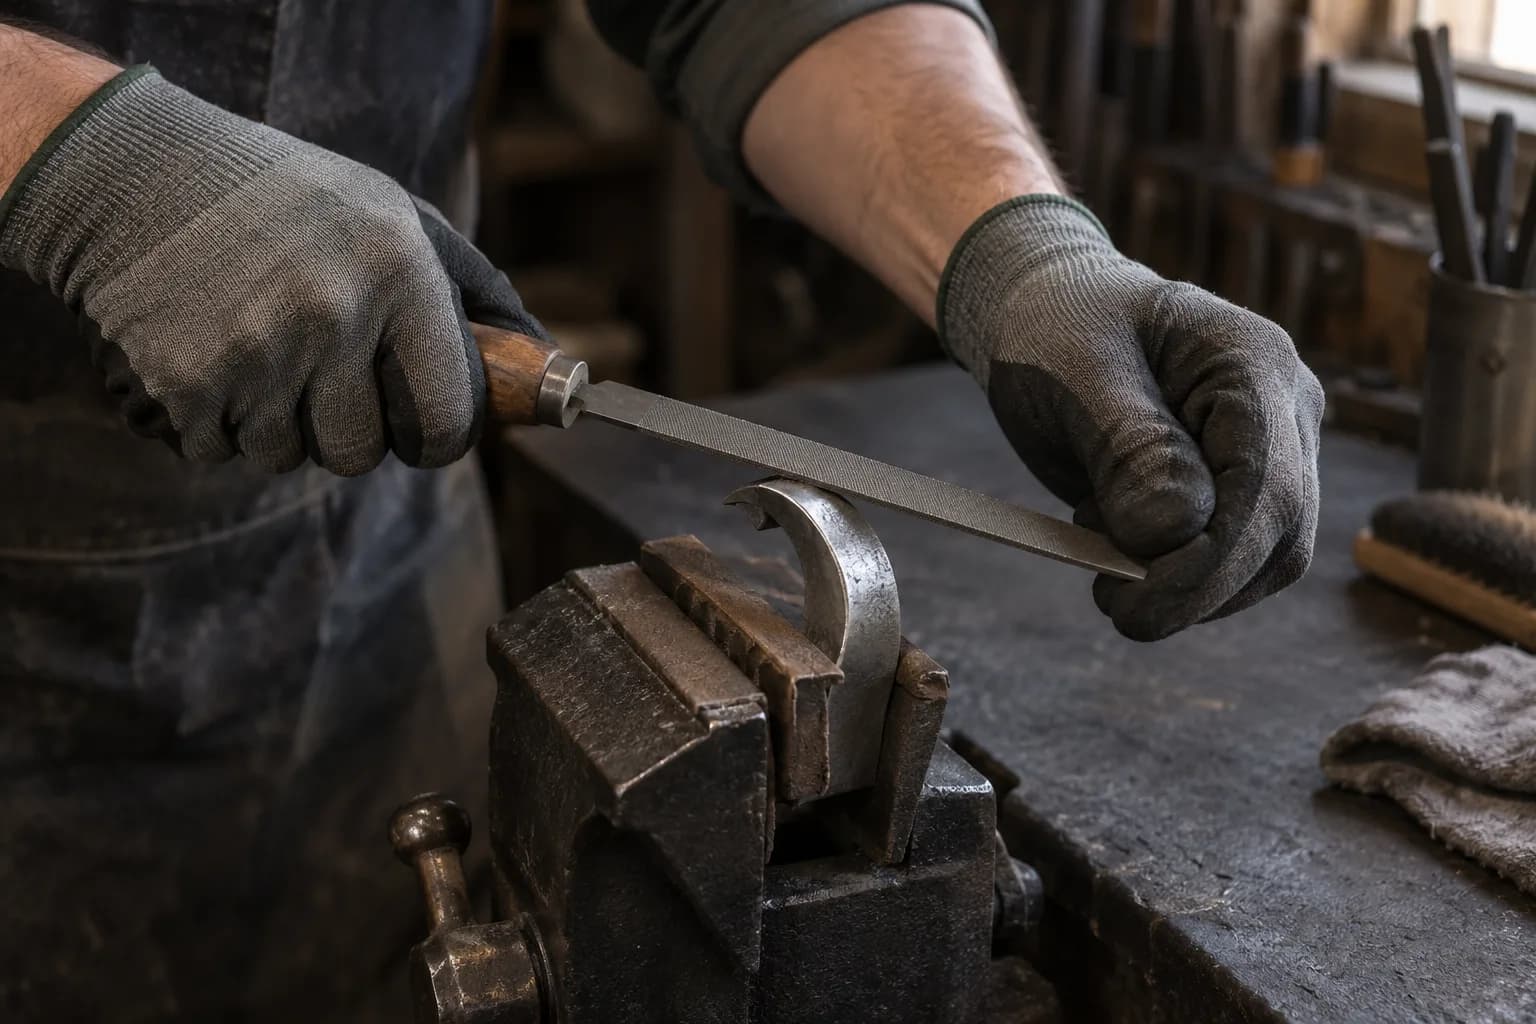
Incorporating hand tools such as files or rotary tools can provide greater control over intricate details that may be challenging to achieve solely with a belt grinder. These tools allow for precision work in tight spaces or delicate areas where a grinder might be too aggressive. By creating a well-rounded toolkit that includes both power tools and hand tools, you can streamline your workflow while maintaining flexibility in your artistic process.
Troubleshooting Common Issues and Challenges When Using a Belt Grinder
Even experienced users may encounter challenges when operating a belt grinder; however, understanding common issues can help mitigate frustration during projects. One frequent problem is uneven wear on grinding belts, which can lead to inconsistent finishes on your workpiece. To address this issue, regularly inspect belts for signs of wear and replace them as needed.
Ensuring proper alignment of the belt on its wheels can prevent uneven wear patterns. Another challenge may arise from overheating during prolonged use, which can damage both the material being worked on and the grinding belt itself. To combat this issue, take breaks between grinding sessions to allow both the machine and material to cool down.
Employing techniques such as using lighter pressure or adjusting speed settings can also help manage heat buildup during operation. By being proactive about these common challenges, you can maintain productivity while achieving high-quality results.
Maintenance and Care for Your Belt Grinder to Ensure Longevity and Performance
Proper maintenance is essential for ensuring that your belt grinder remains in optimal working condition over time. Regularly cleaning the machine after use helps prevent dust buildup that could interfere with its performance. Pay special attention to areas where debris may accumulate, such as around pulleys or inside housing compartments.
Lubricating moving parts according to manufacturer recommendations will help reduce friction and prolong the life of your machine. Another critical aspect of maintenance involves checking electrical components and connections periodically for signs of wear or damage. Ensuring that all parts are functioning correctly not only enhances performance but also contributes to safety during operation.
Keeping an eye on belt tension is equally important; loose belts can slip or cause uneven grinding while overly tight belts may lead to premature wear on both the belt and machine components. By committing to regular maintenance practices, you can maximize both longevity and performance in your belt grinder.
FAQs
What is a belt grinder?
A belt grinder is a power tool used for shaping and finishing metal and other materials. It consists of a motor-driven abrasive belt that is used for grinding, sanding, and polishing.
Can a belt grinder be used for different types of metal?
Yes, a belt grinder can be used for a variety of metals, including steel, aluminum, brass, and copper. Different types of abrasive belts can be used to accommodate the specific metal being worked on.
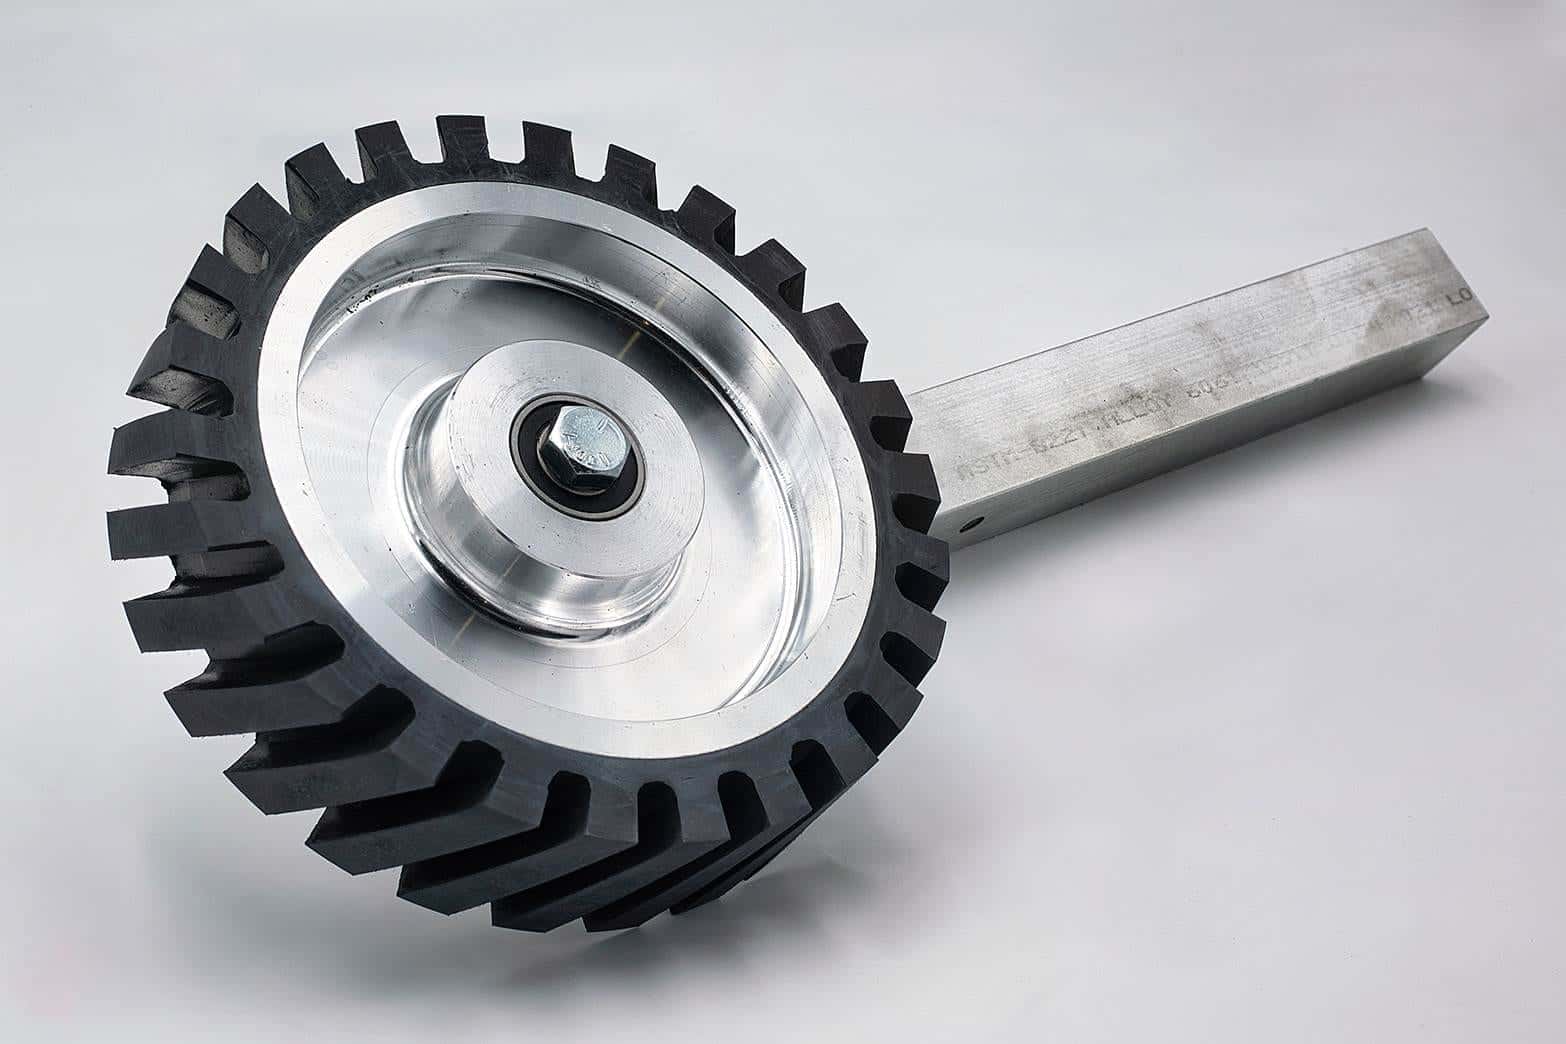
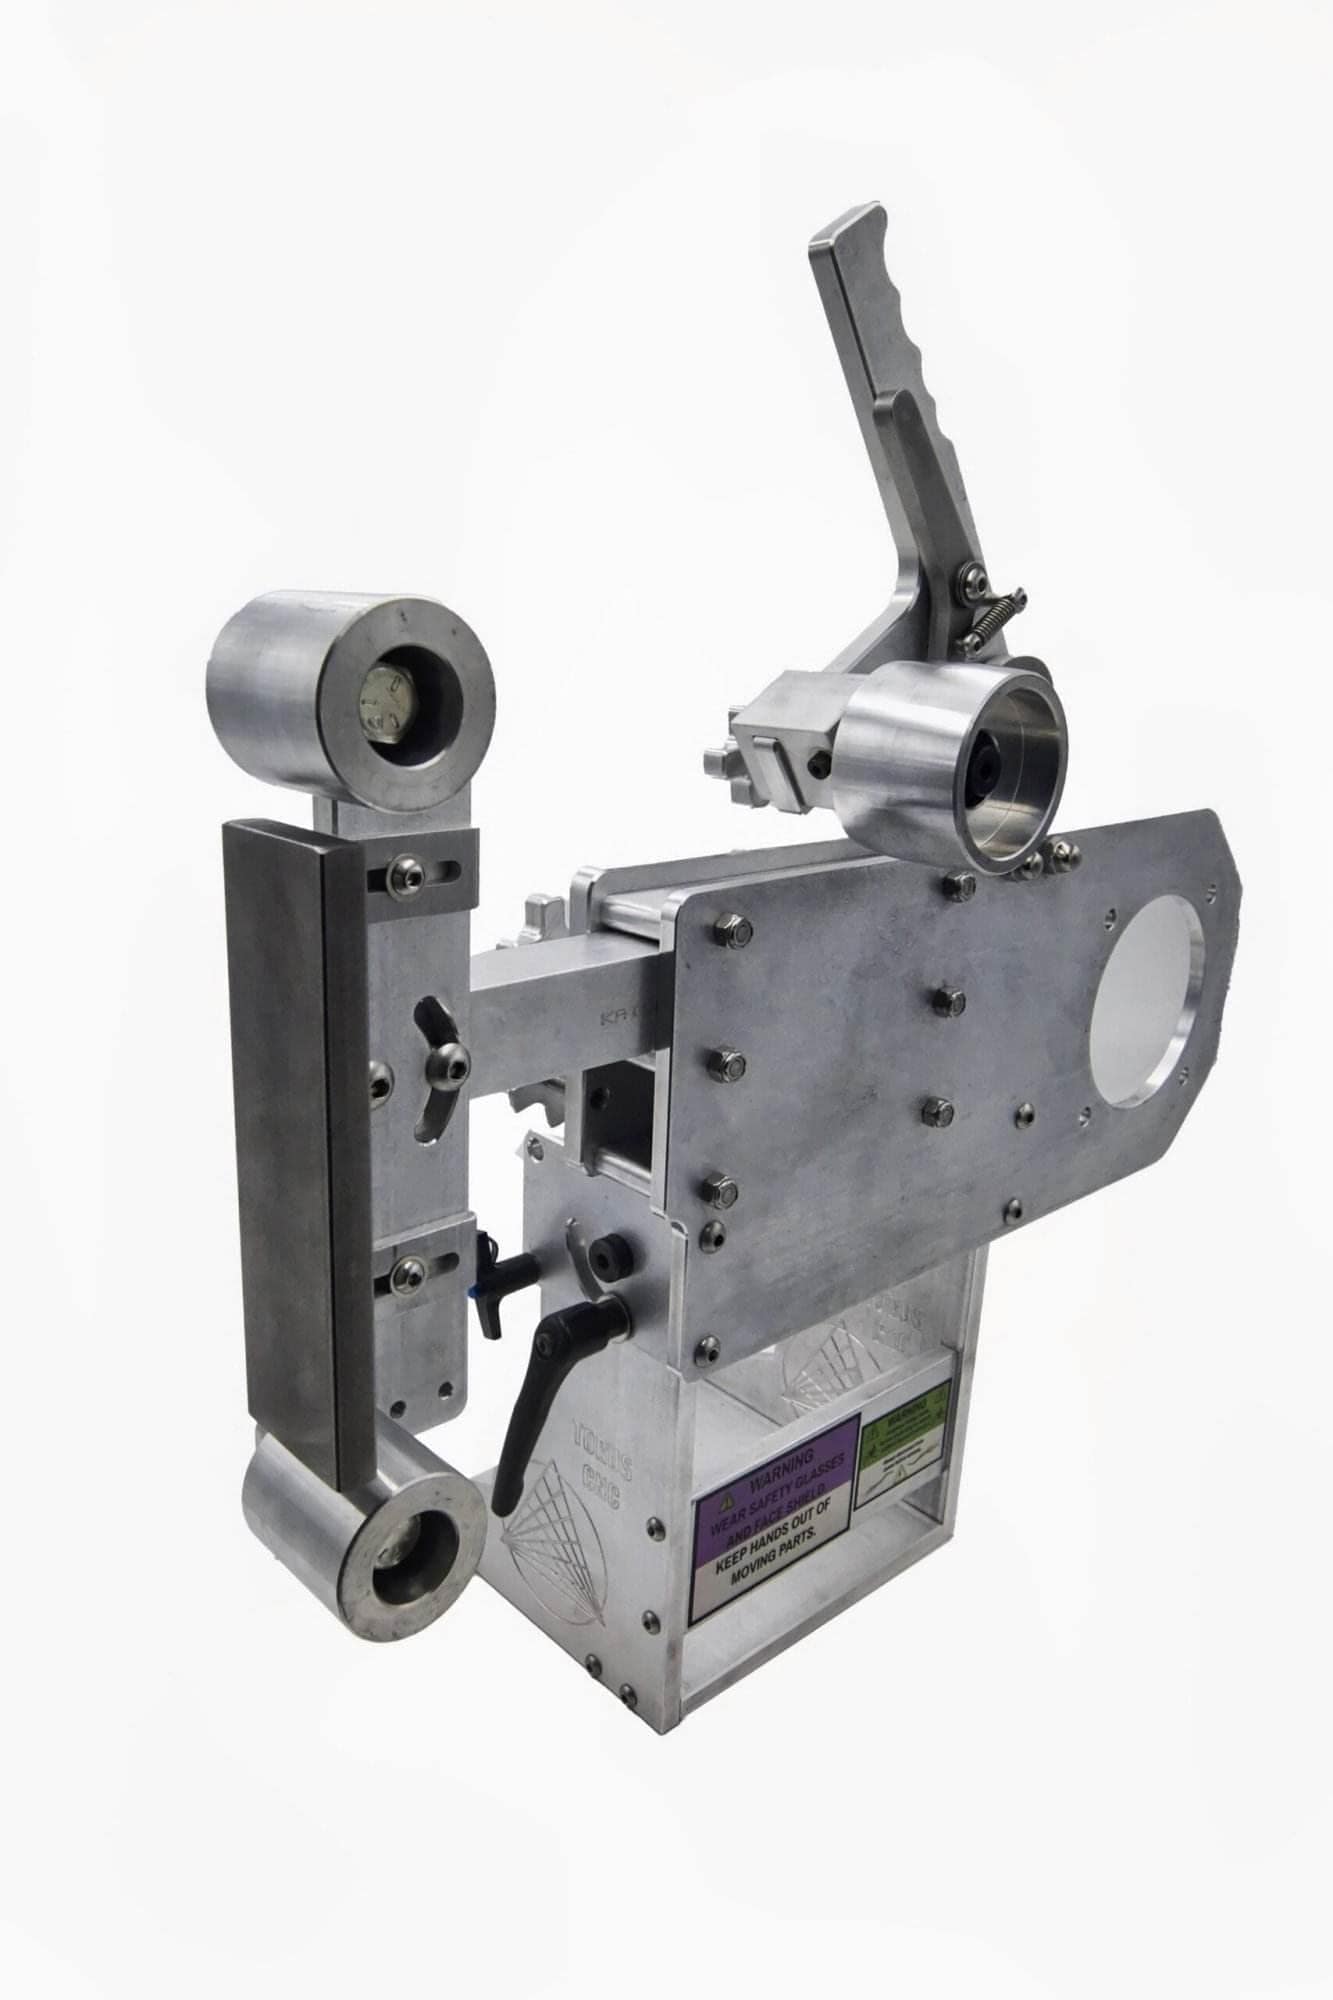
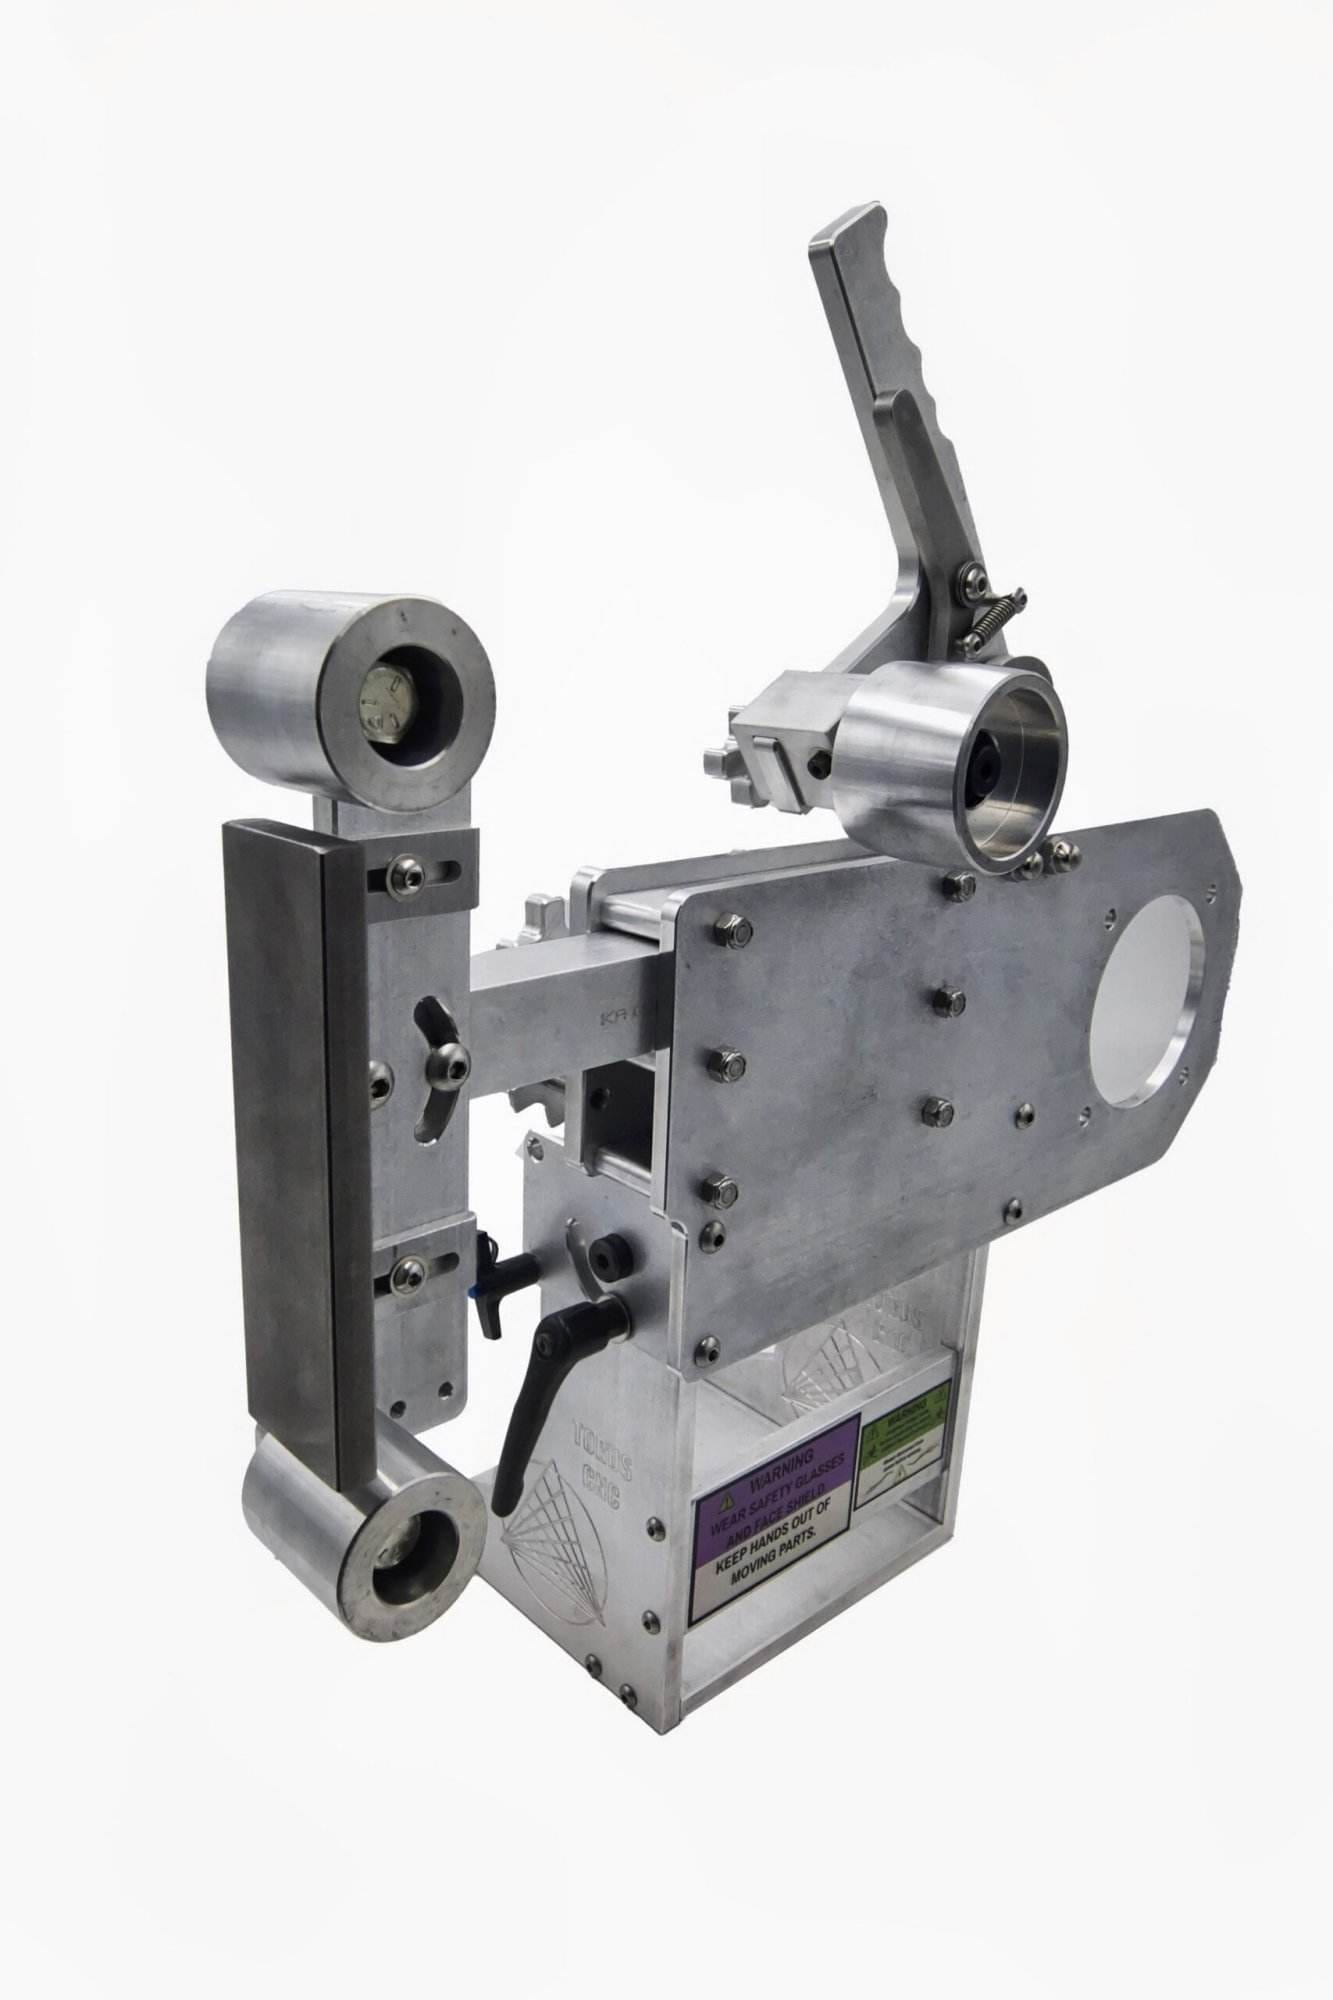
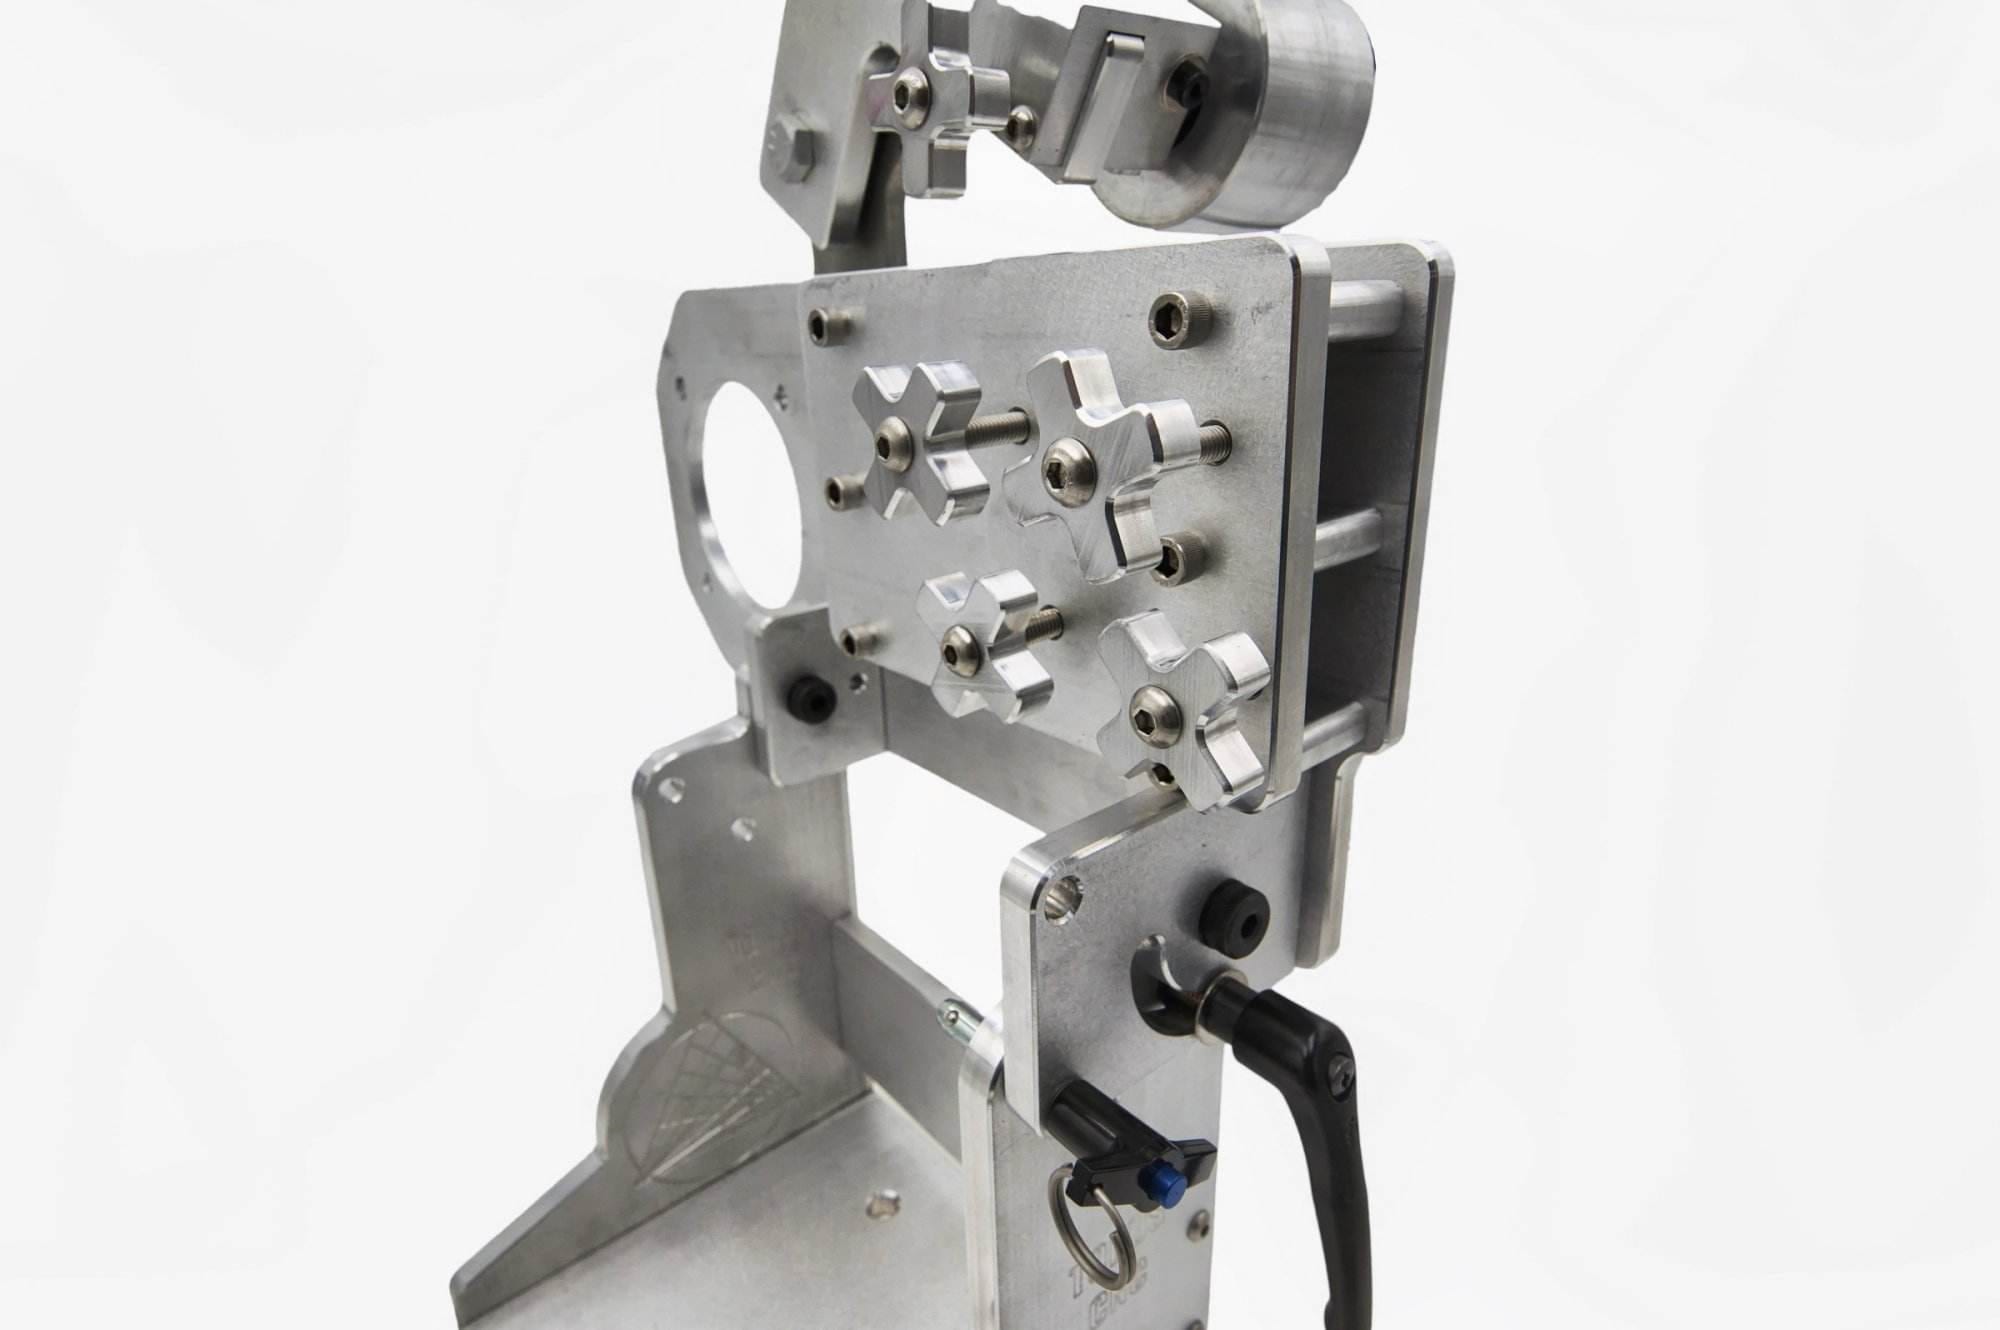
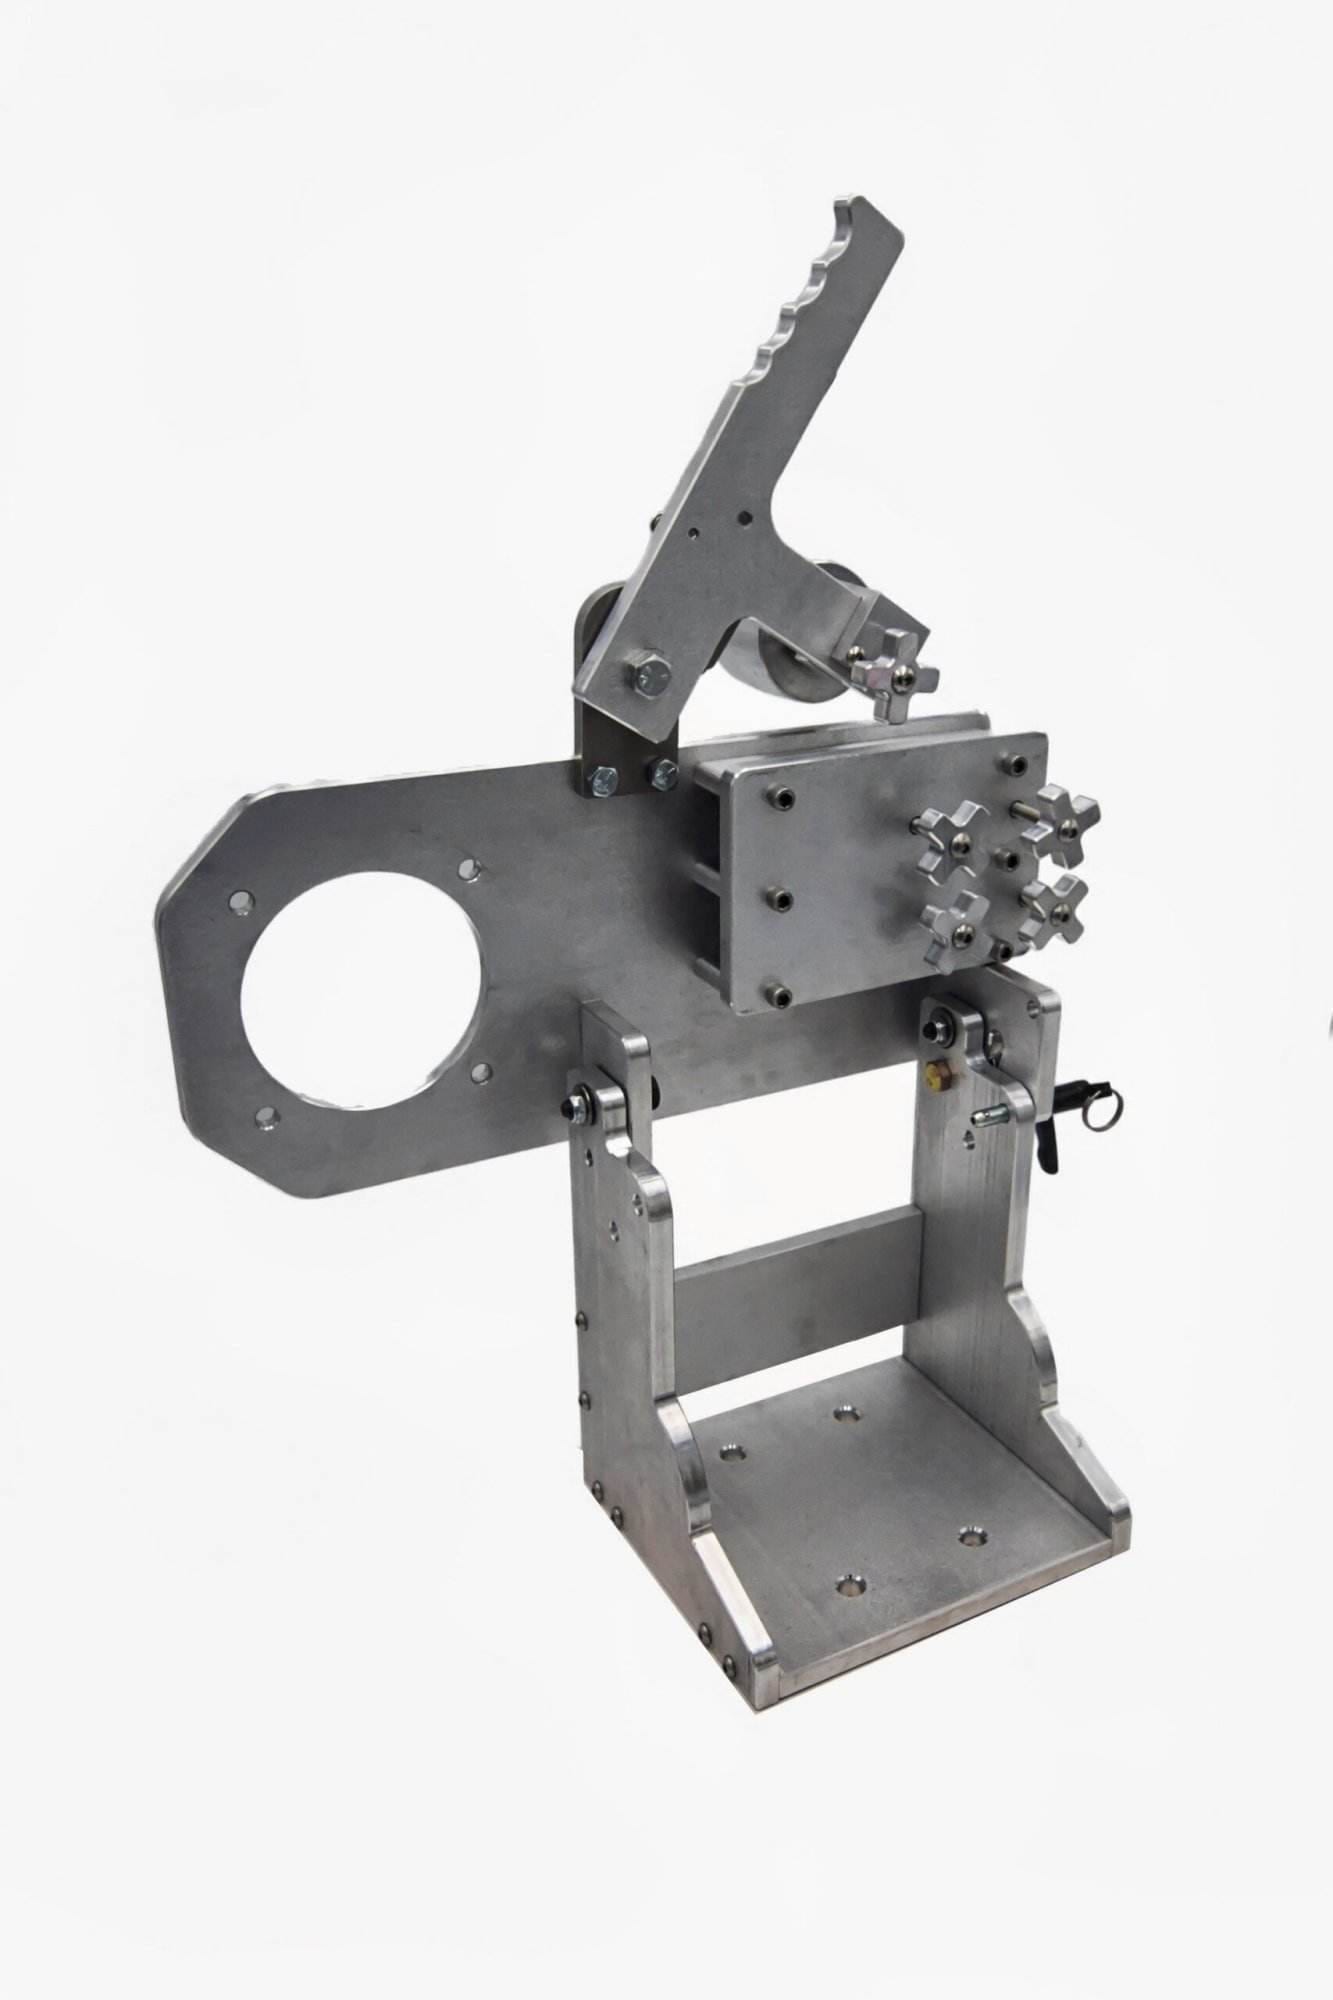
Art metalwork means odd shapes and soft metals, which is where a tilting grinder with a slack belt and a contact wheel shines. The Nova 2×72 tilts to horizontal for big pieces and takes an 8 to 14-inch contact wheel for sweeping curves. Assembled and tested in Sterling, Illinois.