
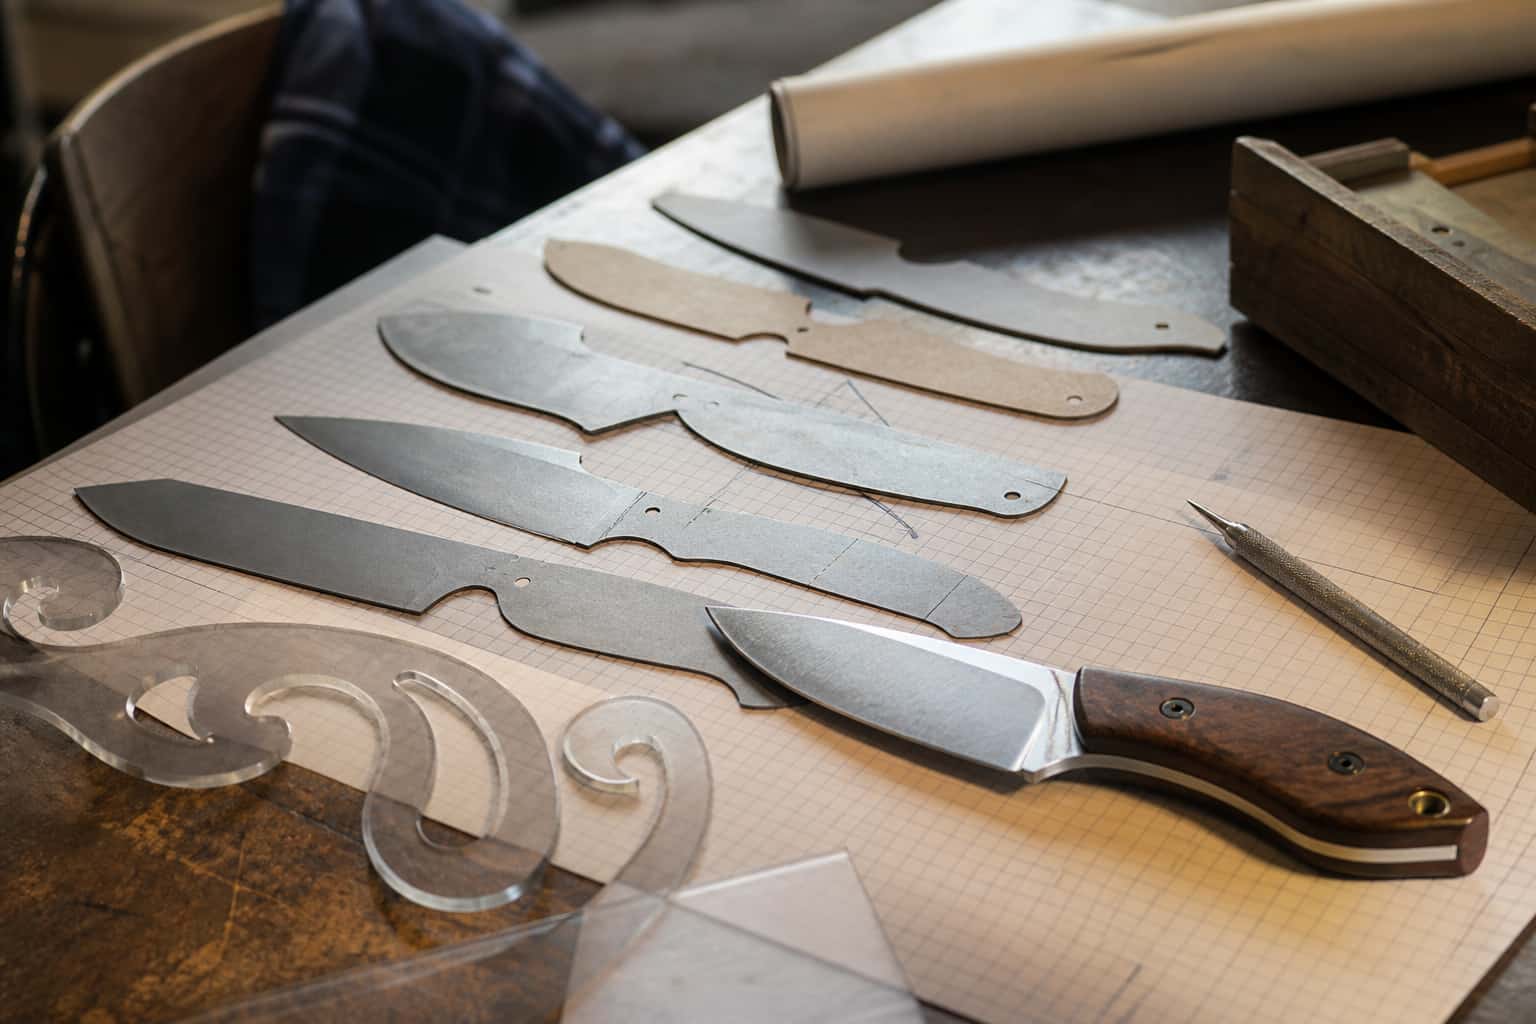
Blade Design
Survival Knife Geometry: Built for Abuse
A survival knife is designed for its worst day, not its best one: batoned through a knotty round, pried against a frozen hinge, hammered by a rock on the…
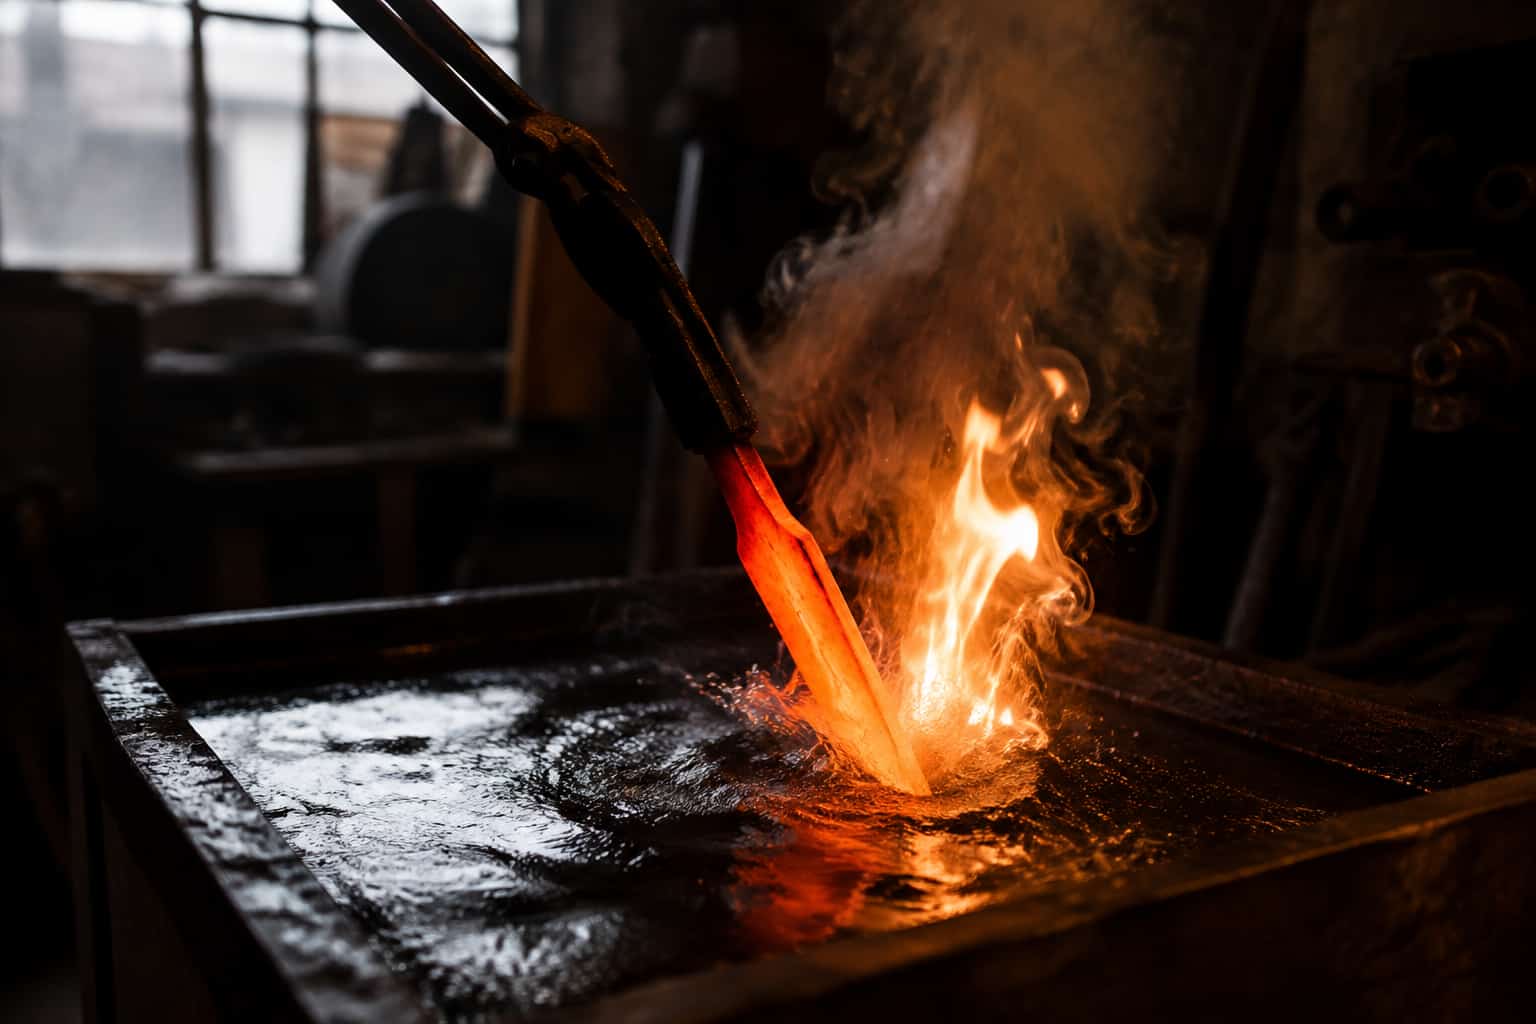
Heat Treat
Heat treating for impact survival: hardness targets by steel class, tempering for toughness, differential options, and testing what you built.
2 min readWritten by Rich LinvilleFree to read
A field knife’s heat treat inverts the kitchen-knife instinct: instead of chasing maximum hardness for edge life, you deliberately spend hardness to buy toughness — because the failure that matters is a chip or a snap under impact, not a dull edge. Here is how the targets shift and how to hit them, with every number reconciled to the steel pages it belongs to.
The working bands, by class: simple carbons and low-alloys (1095, 1084, 80CrV2) run 56-58 HRC for field duty — two to four points below their slicer settings, bought with hotter tempers in the 450-500°F zone. Spring-class steel (5160) lives 55-58 here, its natural neighborhood. CPM 3V is the exception that proves the class: its toughness is so deep it runs 58-60 and keeps both virtues — details on its page. Each steel’s exact austenitizing and temper numbers live on its database page and reconcile with the complete guide’s process; what changes for field duty is only the TARGET, reached by tempering hotter, never by quenching softer — an incomplete quench buys bad toughness, not good.
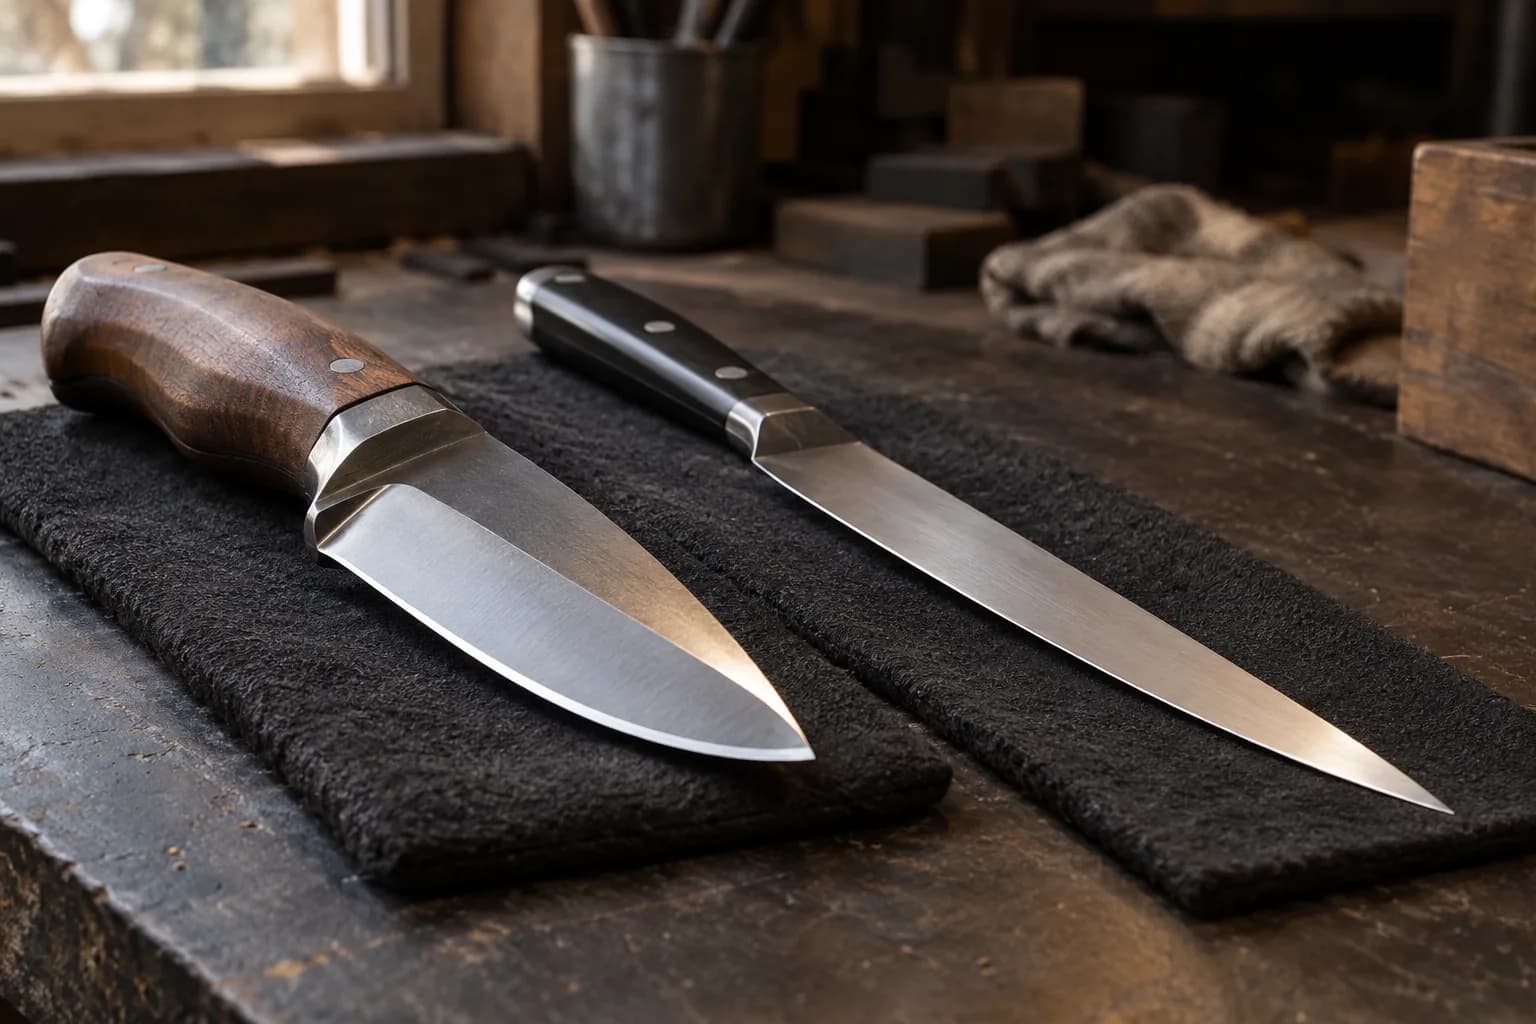
Full hardness at the quench then a generous double temper produces tough tempered martensite — the structure the category wants. Slack-quenching to a softer as-quenched state produces mixed structures with worse toughness AT THE SAME HARDNESS. So the field recipe is the normal recipe with a hotter finish: proper normalization, correct austenitize, full-speed quench for the steel (plate-quenched stainless field blades go into a quench vise), then two tempers at the class’s field band, and the temper chart if you draw spines by color.
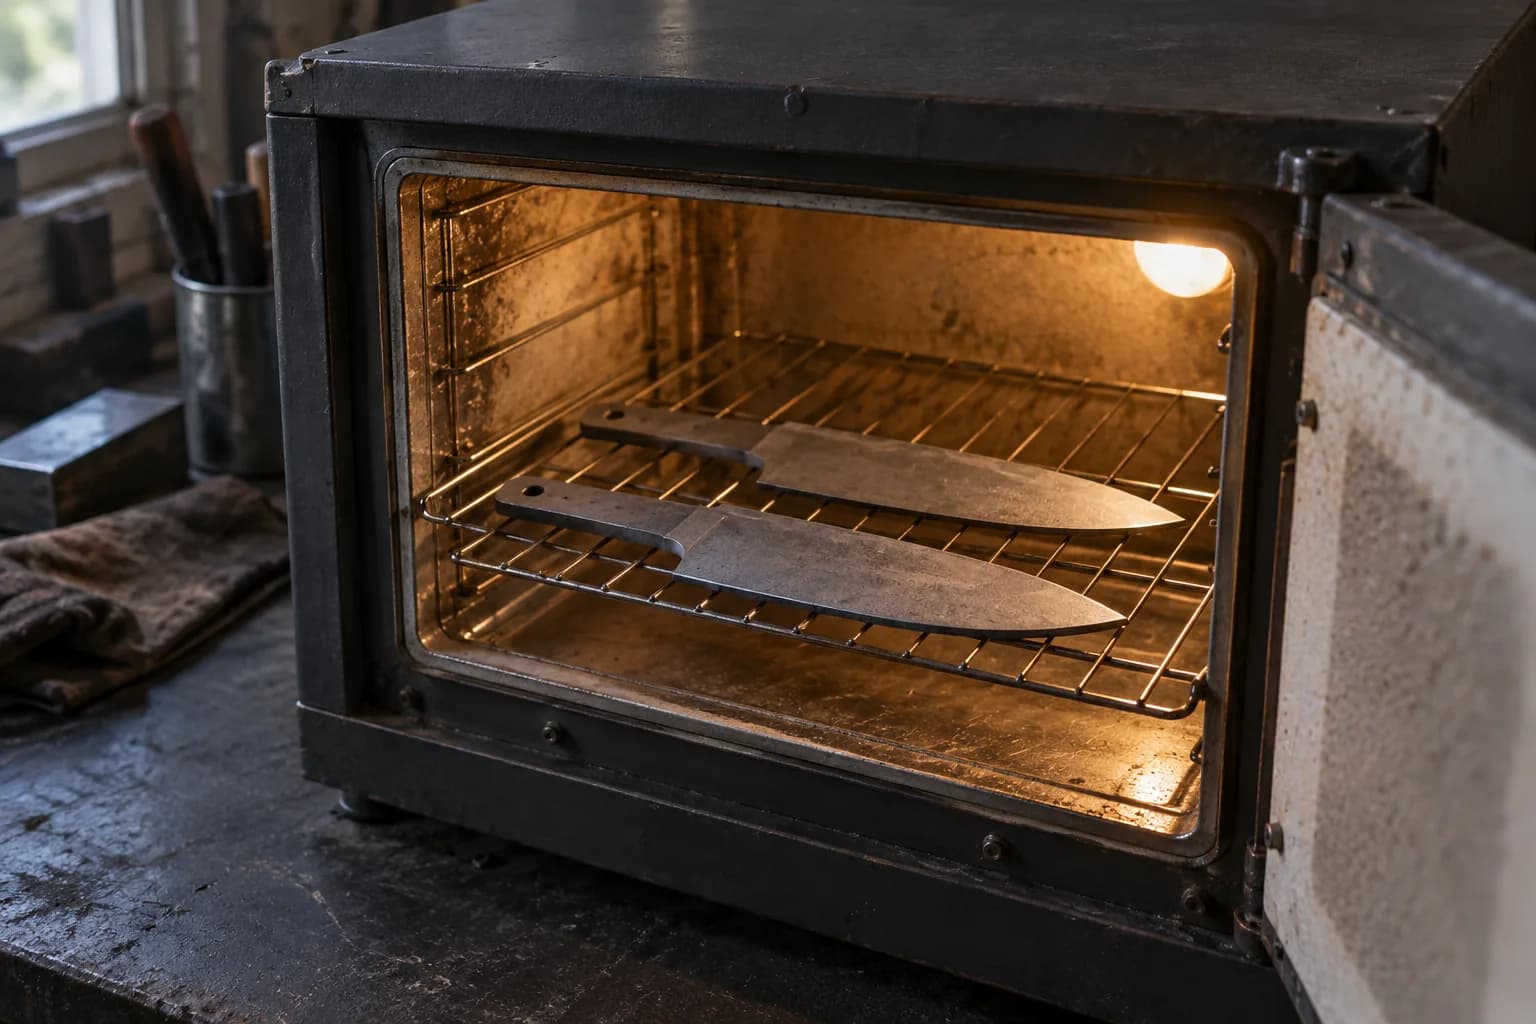
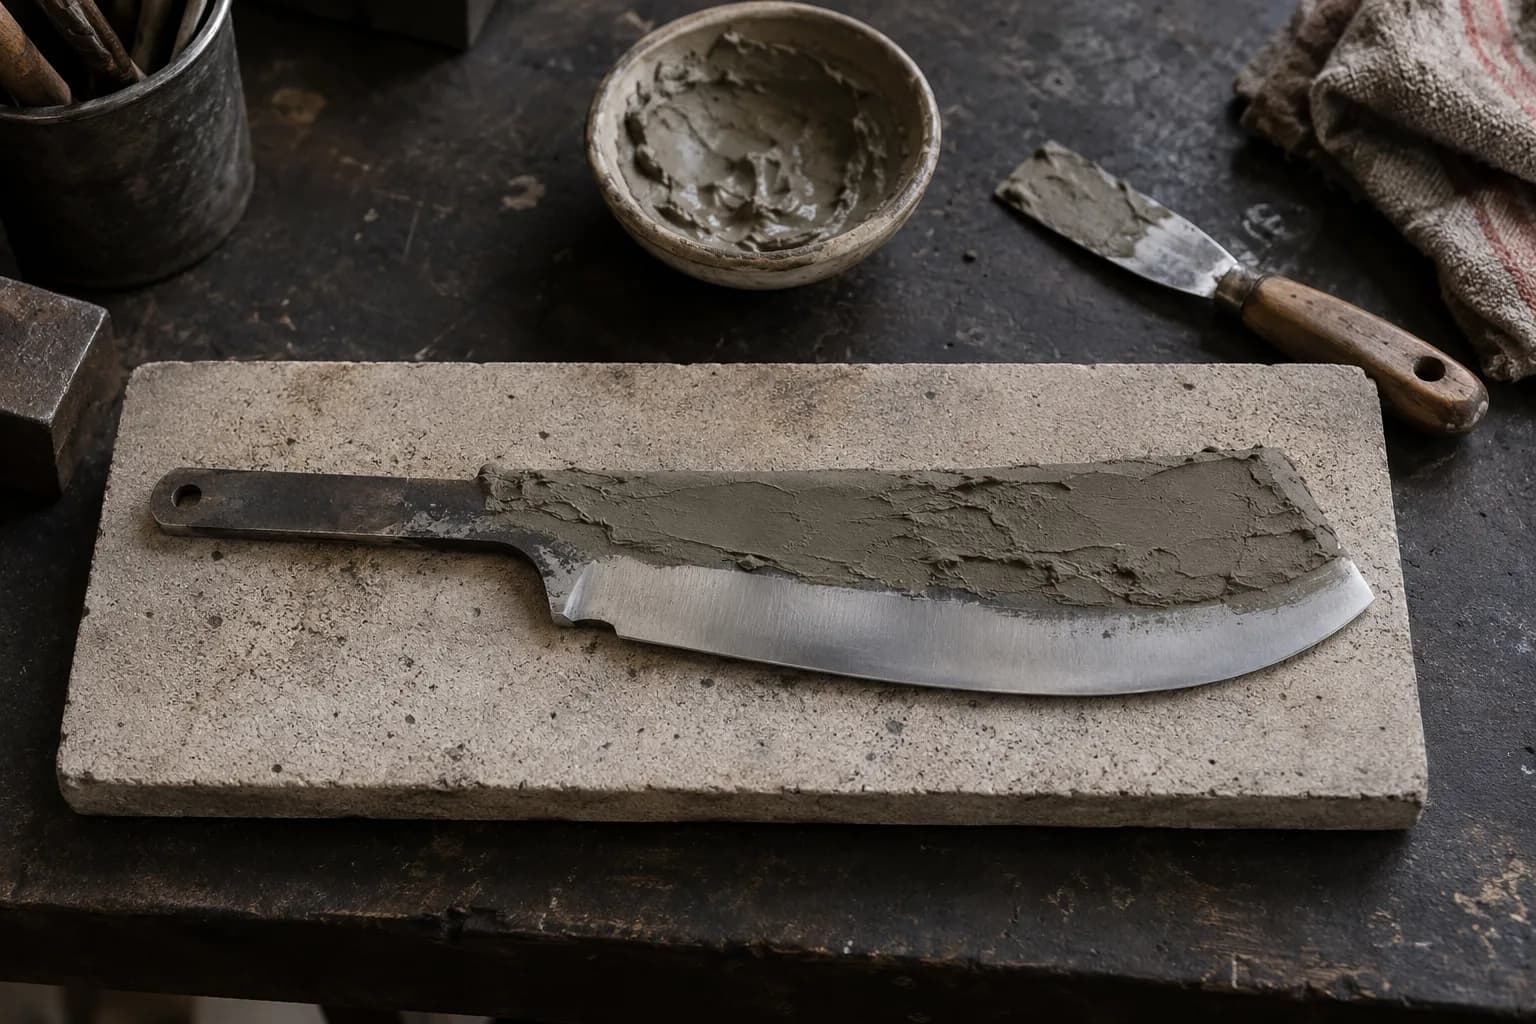
Differential hardness — hard edge, soft spine — is the traditional toughness multiplier for big field blades: an edge-quenched or clay-backed blade bends where a through-hard one breaks. The methods (edge quench, clay per the hamon guide, or a torch-drawn spine read by the color chart) suit the shallow-hardening carbons; deep-hardening alloys and 3V stay through-hardened at the class band. On a 6-inch, 3/16 survival blade the differential is optional insurance; on anything approaching chopper length it is cheap wisdom.
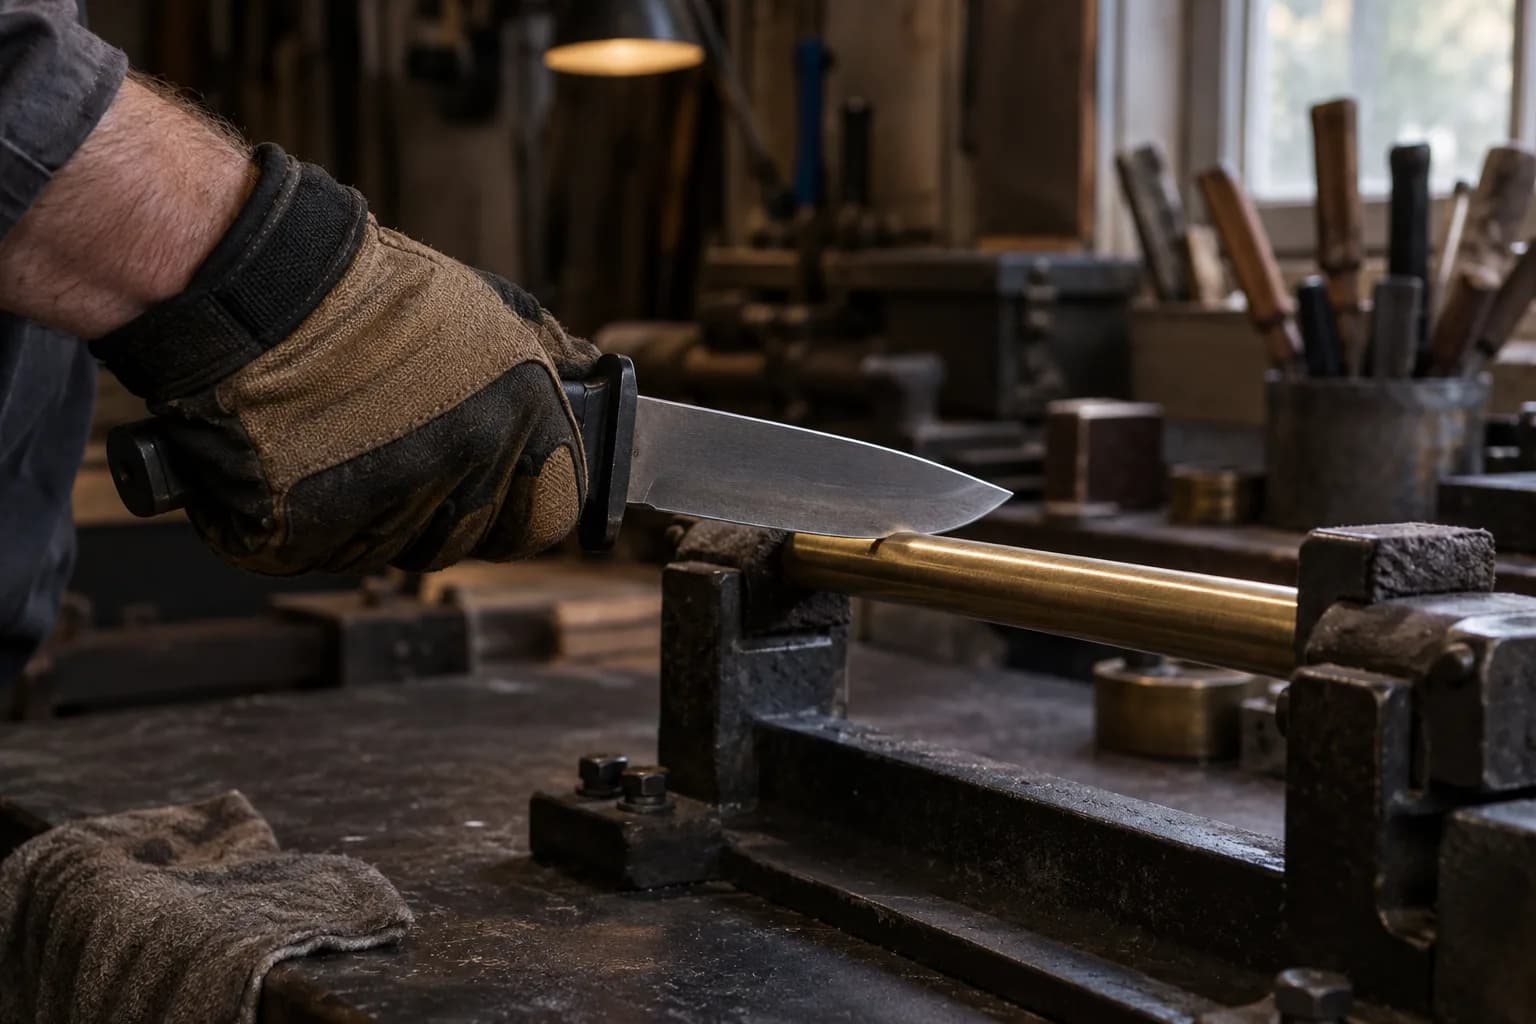
Field heat treats get tested, not trusted: file check at the edge (hard) and spine (per your design), a brass-rod or controlled flex check of edge stability, a baton session through knotty wood on the test blade, and — the classic — a controlled flex-to-failure of one sacrificial blade per new recipe so you KNOW where your combination lets go. Chips at the baton test mean temper hotter or thicken the edge geometry; bends that stay mean the spine draw went far. Adjust one variable at a time and write everything down — the maker’s log is the real heat-treat database.
Pick the steel’s field band off its page, run the full normal process with the hotter temper, consider the differential above 6 inches, and break one blade on purpose per recipe. Toughness-first is not a different craft — it is the same craft aimed at the worst day, which is the only day the customer bought the knife for.
Keep reading
Three more from the same bench.
A survival knife is designed for its worst day, not its best one: batoned through a knotty round, pried against a frozen hinge, hammered by a rock on the…
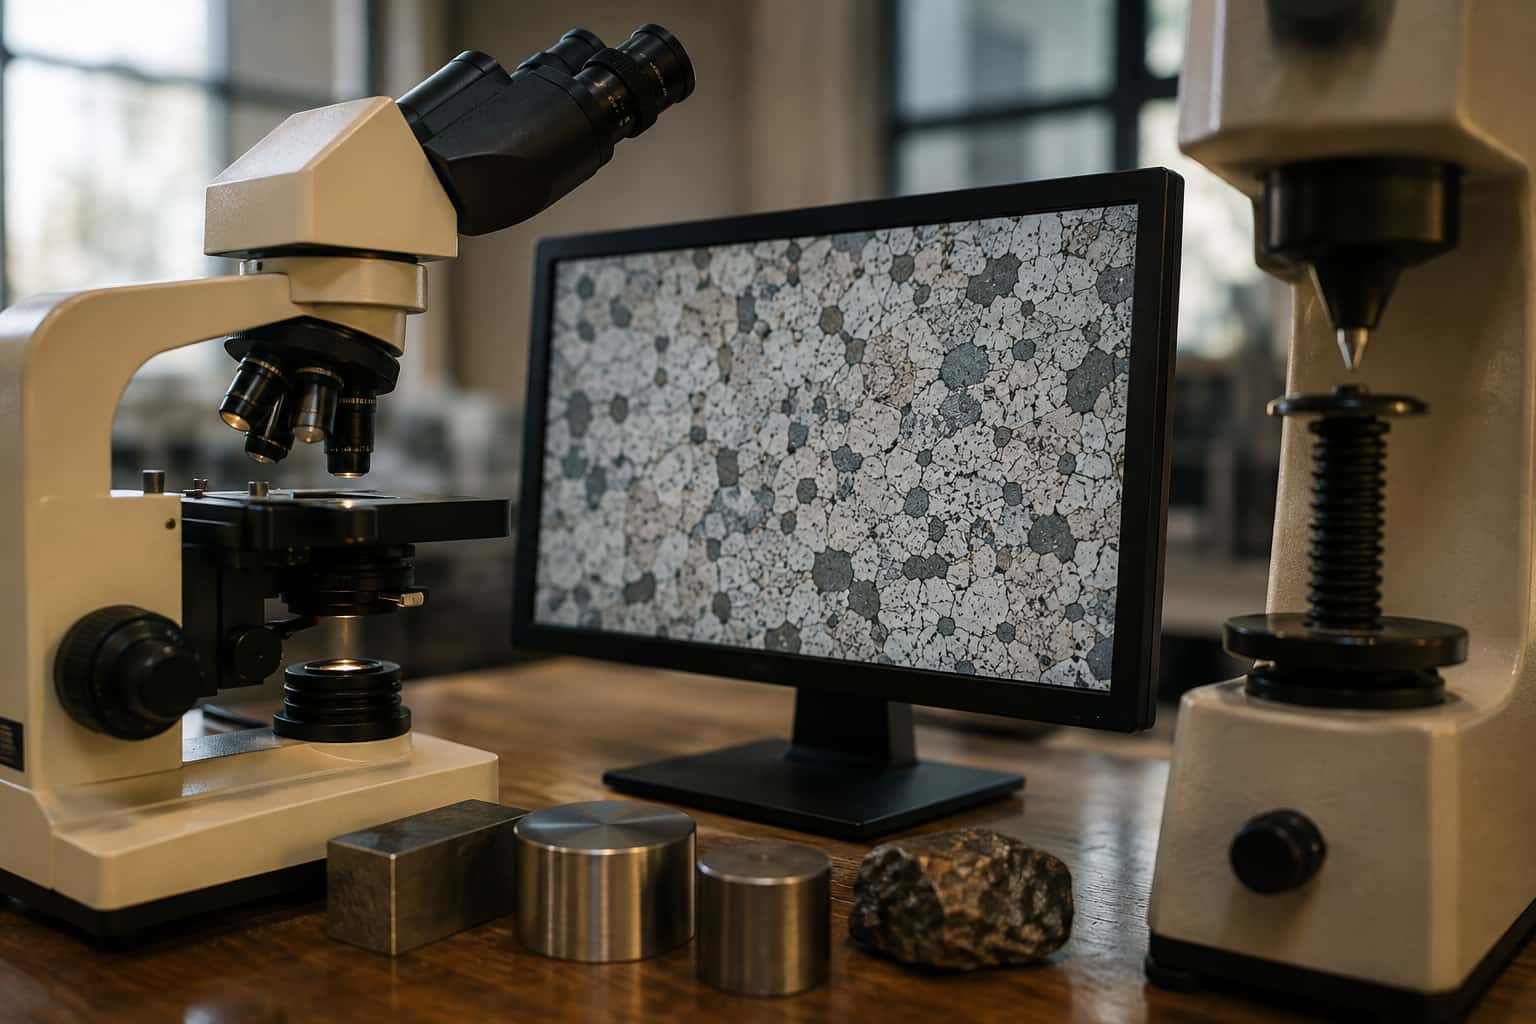
Survival steel selection is a toughness-first decision with a field-maintenance veto: the blade must survive impact and prying, and it must be sharpenable…
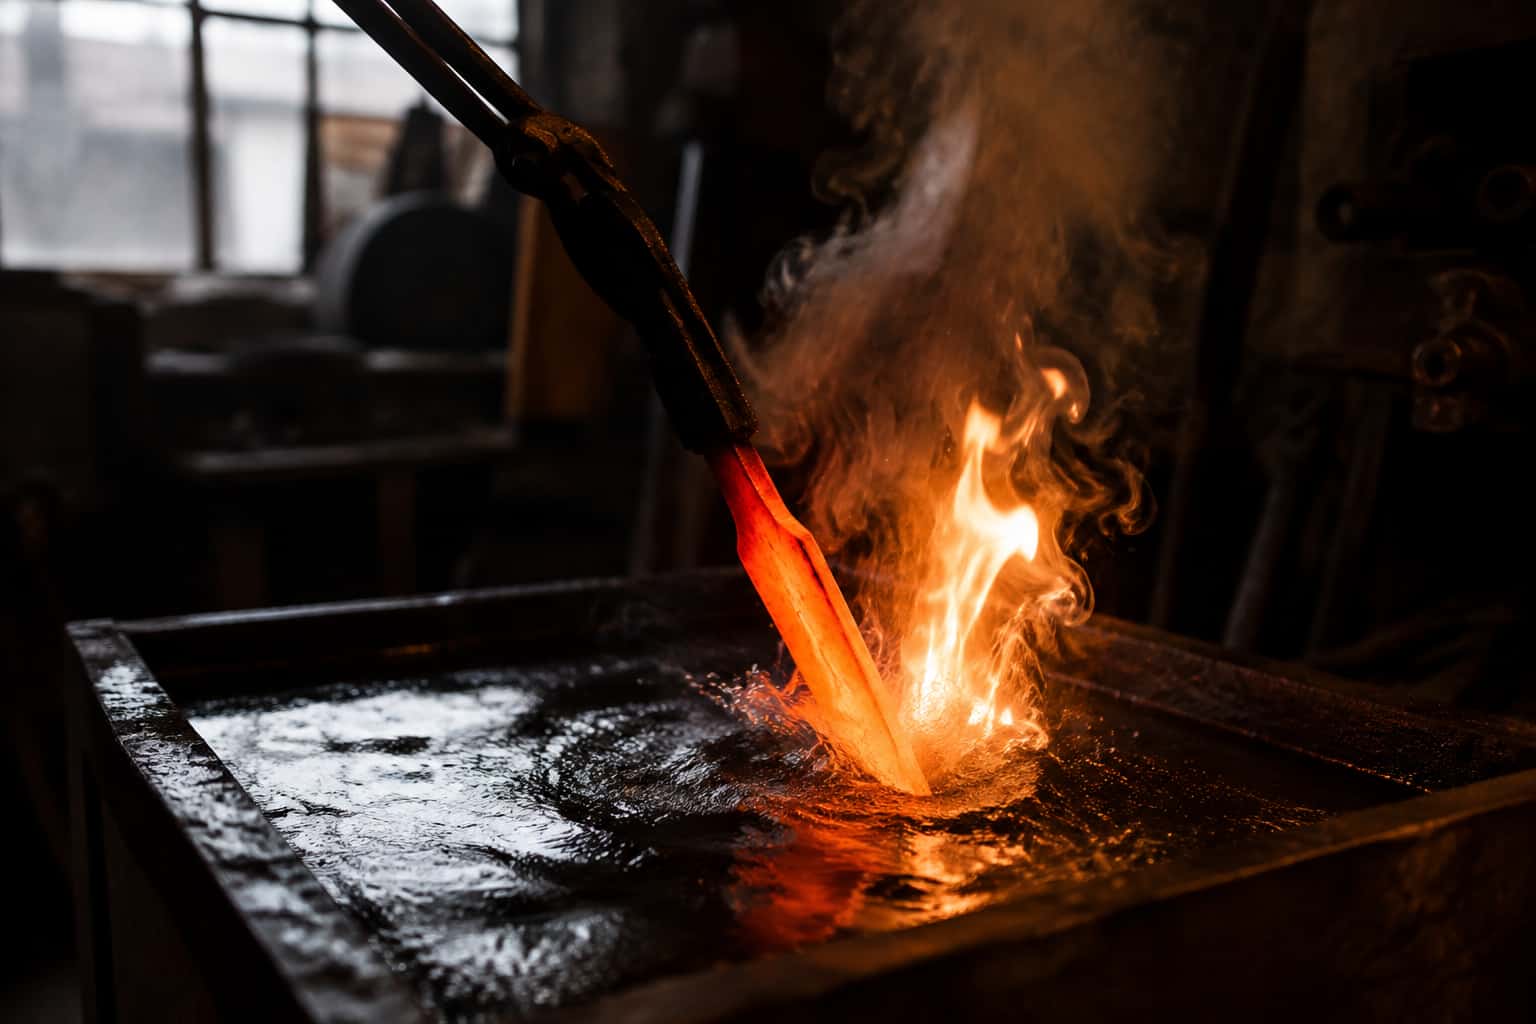
Heat treating is what turns a piece of flat bar stock into a functional knife blade. Done correctly, it transforms the steel’s internal crystal structure…
Same bench
I machine the parts, hand-assemble, track and test Torus grinders in Sterling, Illinois. Most orders ship in seven to ten business days from time of order.

Current dual-axis platform with a fiber-laser-cut 6061 chassis and single-knob tracking.

Current dual-axis platform with a steel chassis, more mass and less vibration.

Prior-design aluminum chassis, 90-degree tilt and 1.5-inch tooling arms.

One-man shop
I answer my own email. Tell me the steel, the machine and what it is doing, and I will tell you what I would try next.