How Damascus Is Actually Made: Your First Pattern-Welded Billet

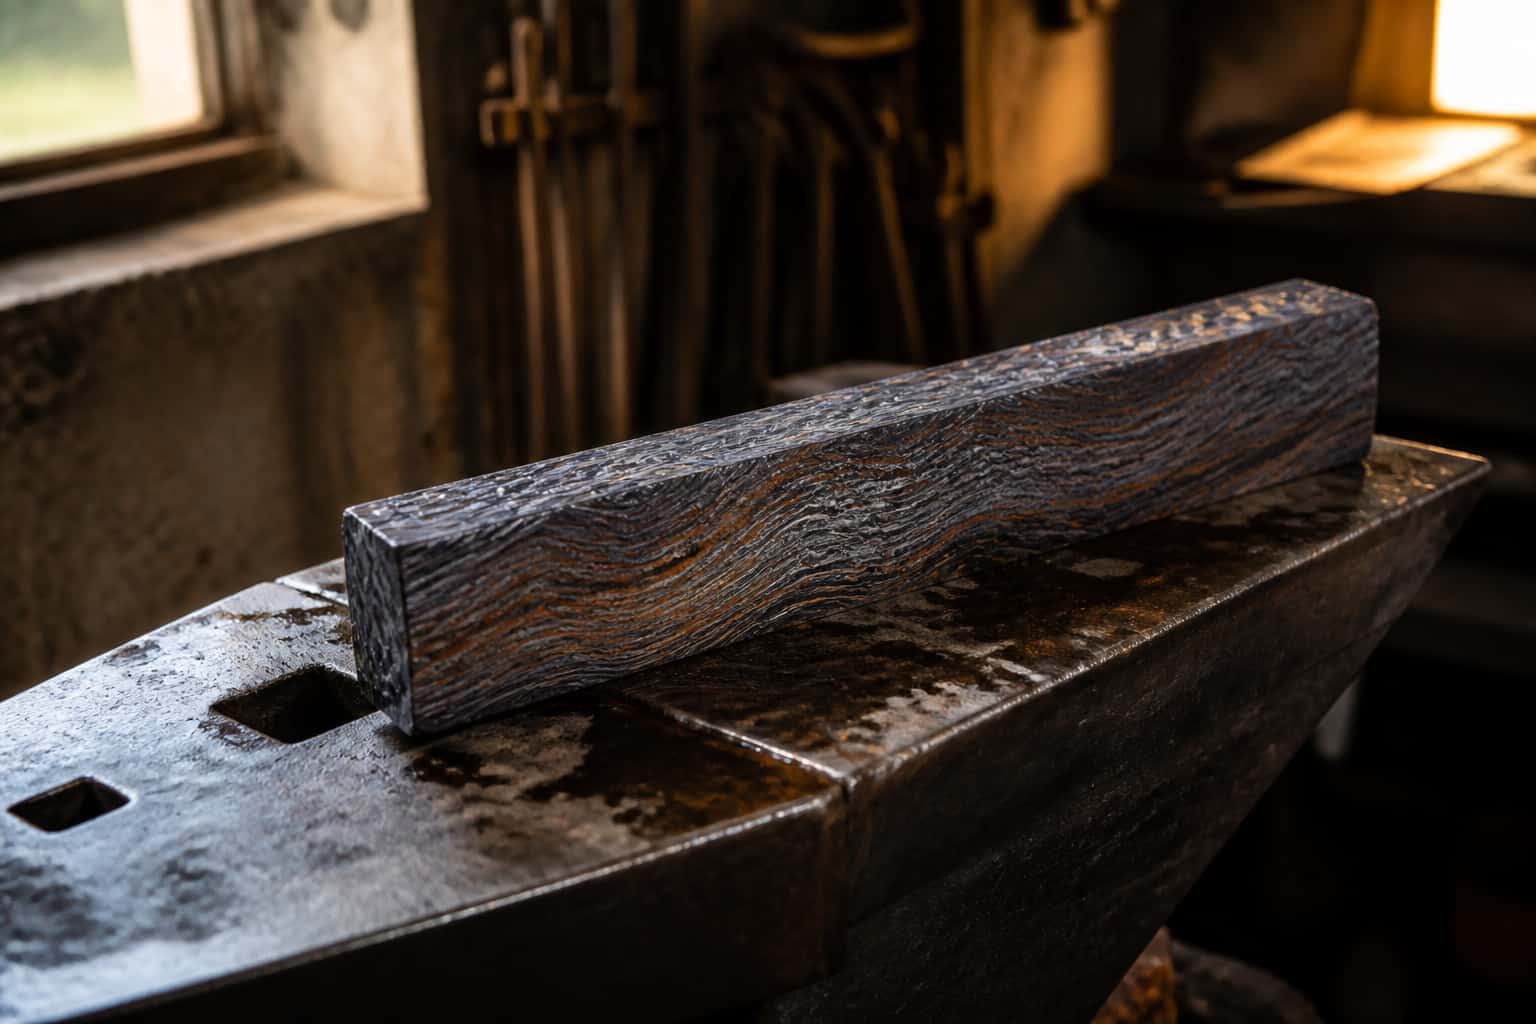
Modern damascus is pattern-welded steel: alternating layers of 1084 and 15N20 stacked, forge welded at ~2,300F, then drawn out, cut, and restacked until the bar carries 150-300 layers. The nickel in 15N20 resists etching, so acid reveals the layers as bright and dark bands - and the finished billet heat treats like ordinary 1084.

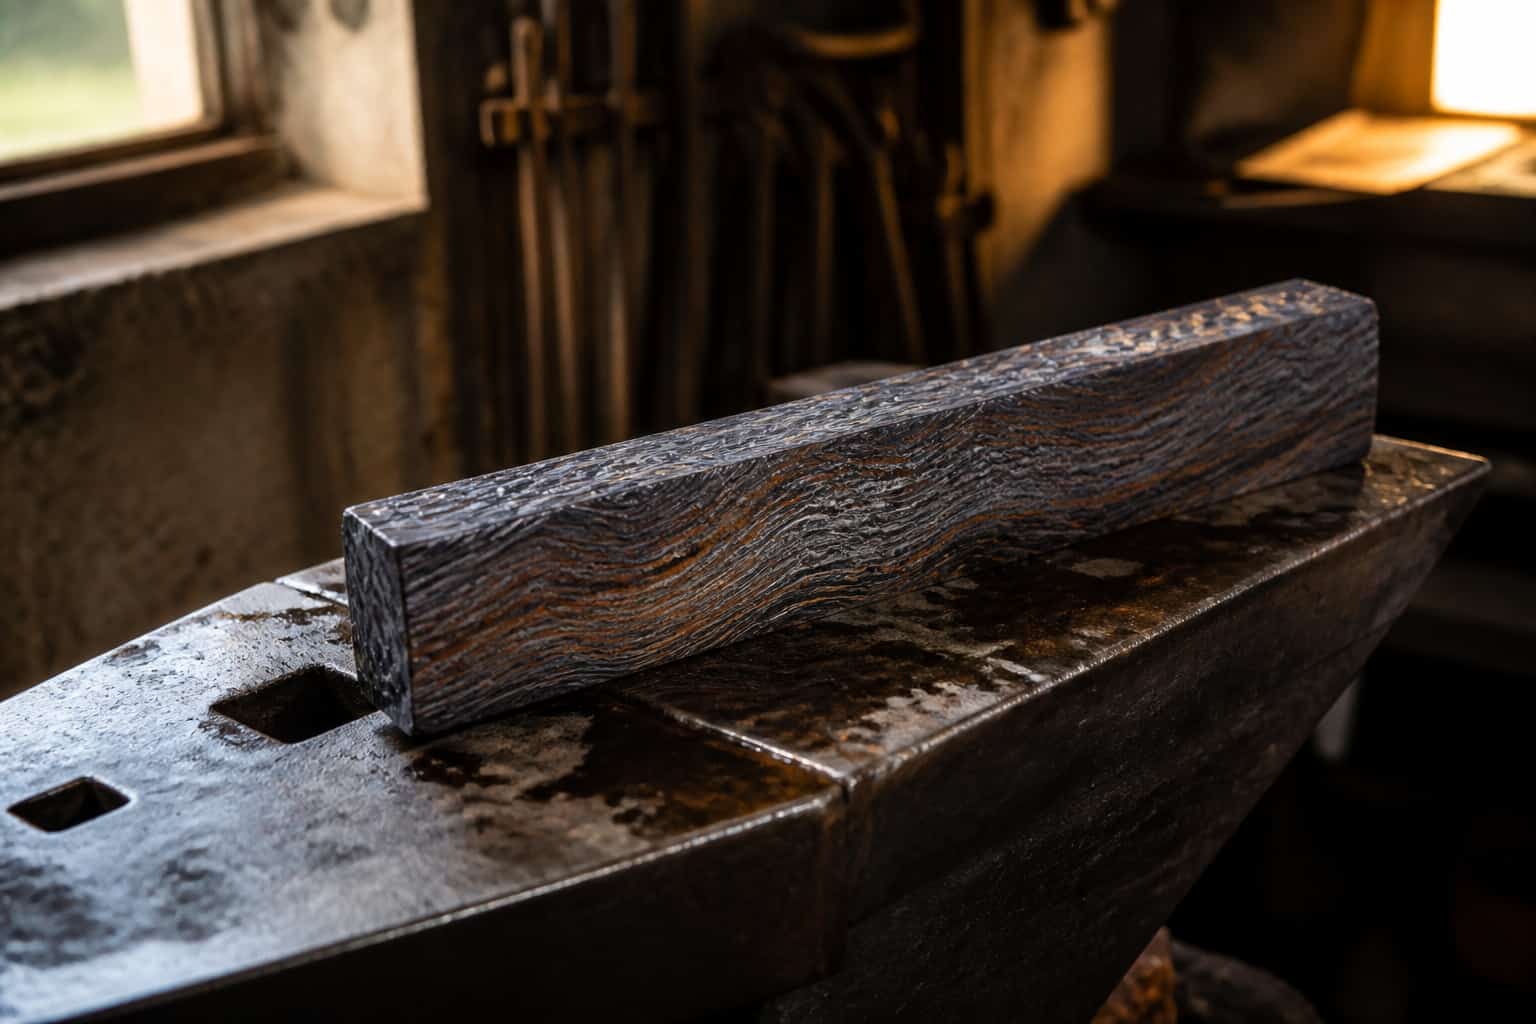
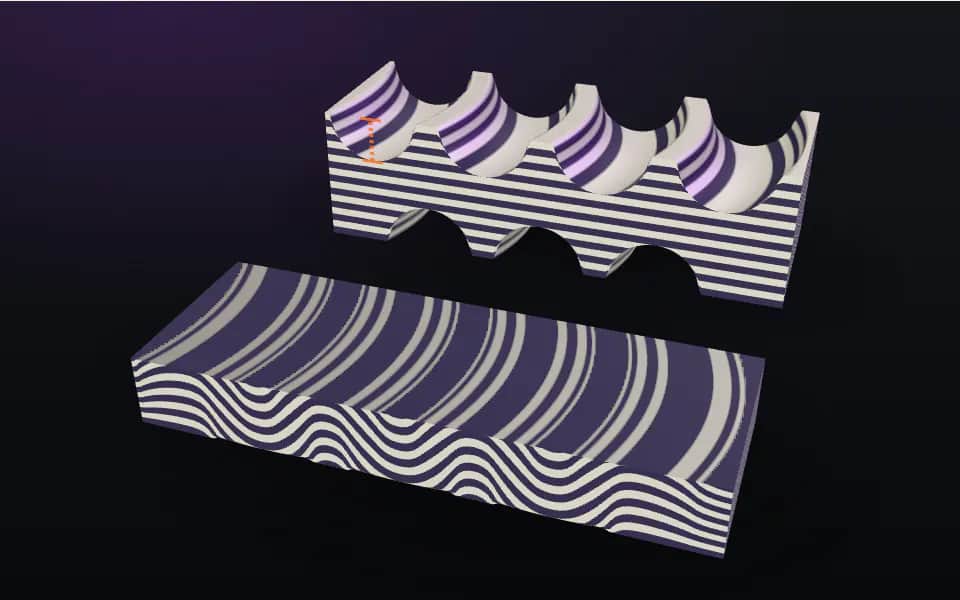
Modern “damascus” is pattern-welded steel: two different steels stacked, forge welded into one solid billet, and manipulated so that grinding and etching reveal layers as a visible pattern. (The ancient crucible “wootz” damascus is a different material — worth its own page another day.) Pattern welding looks like wizardry, but it’s a learnable sequence: stack, weld, draw, restack, repeat. This guide covers your first billet; the pattern guides that follow — ladder, twist, raindrop, and feather — all start from the billet you’ll build here.

Bladesmith forge welding a damascus billet under a power hammer in Solingen, Germany
Forge welding pattern-welded steel under a power hammer. Photo: NearEMPTiness, Wikimedia Commons, CC BY-SA 3.0

Why Everyone Starts with 1084 + 15N20

The classic beginner combination is 1084 paired with 15N20, and it earned that status for three reasons:

  • Contrast: 15N20 is essentially 1075 with ~2% nickel. Nickel resists the acid etch, so 15N20 layers stay bright silver while 1084 etches dark gray-black.
  • Matched chemistry: both weld in the same temperature range and — critically — heat treat together with the simple 1084 recipe. Your finished blade hardens like a normal carbon steel blade (see the heat treating guide).
  • Forgiveness: both are tolerant of the temperature swings a beginner’s forge welding involves.

Layer-thickness tip: for a dark-dominant look, run the 1084 layers roughly twice as thick as the 15N20 — the nickel steel resists compression, so it stays proportionally thicker as you forge. Both steels are stocked by the suppliers in our sourcing guide, often pre-cut for damascus stacks.
What You Need

  • A forge that genuinely reaches welding heat (~2,300°F) — most propane forges need good insulation and tuning to get there
  • Hammer and anvil (a press or power hammer helps enormously but isn’t required for a first small billet)
  • MIG welder or wire for tacking the stack (or wire it tight)
  • Anhydrous borax flux — or a dry-welding setup once you’re experienced
  • Grinder or angle grinder for cleaning mating faces between cycles
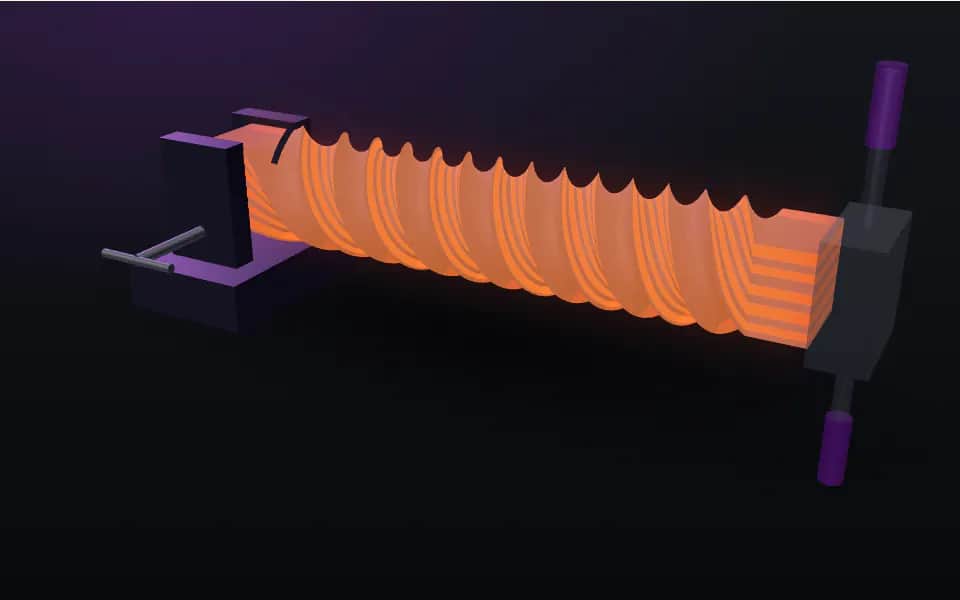
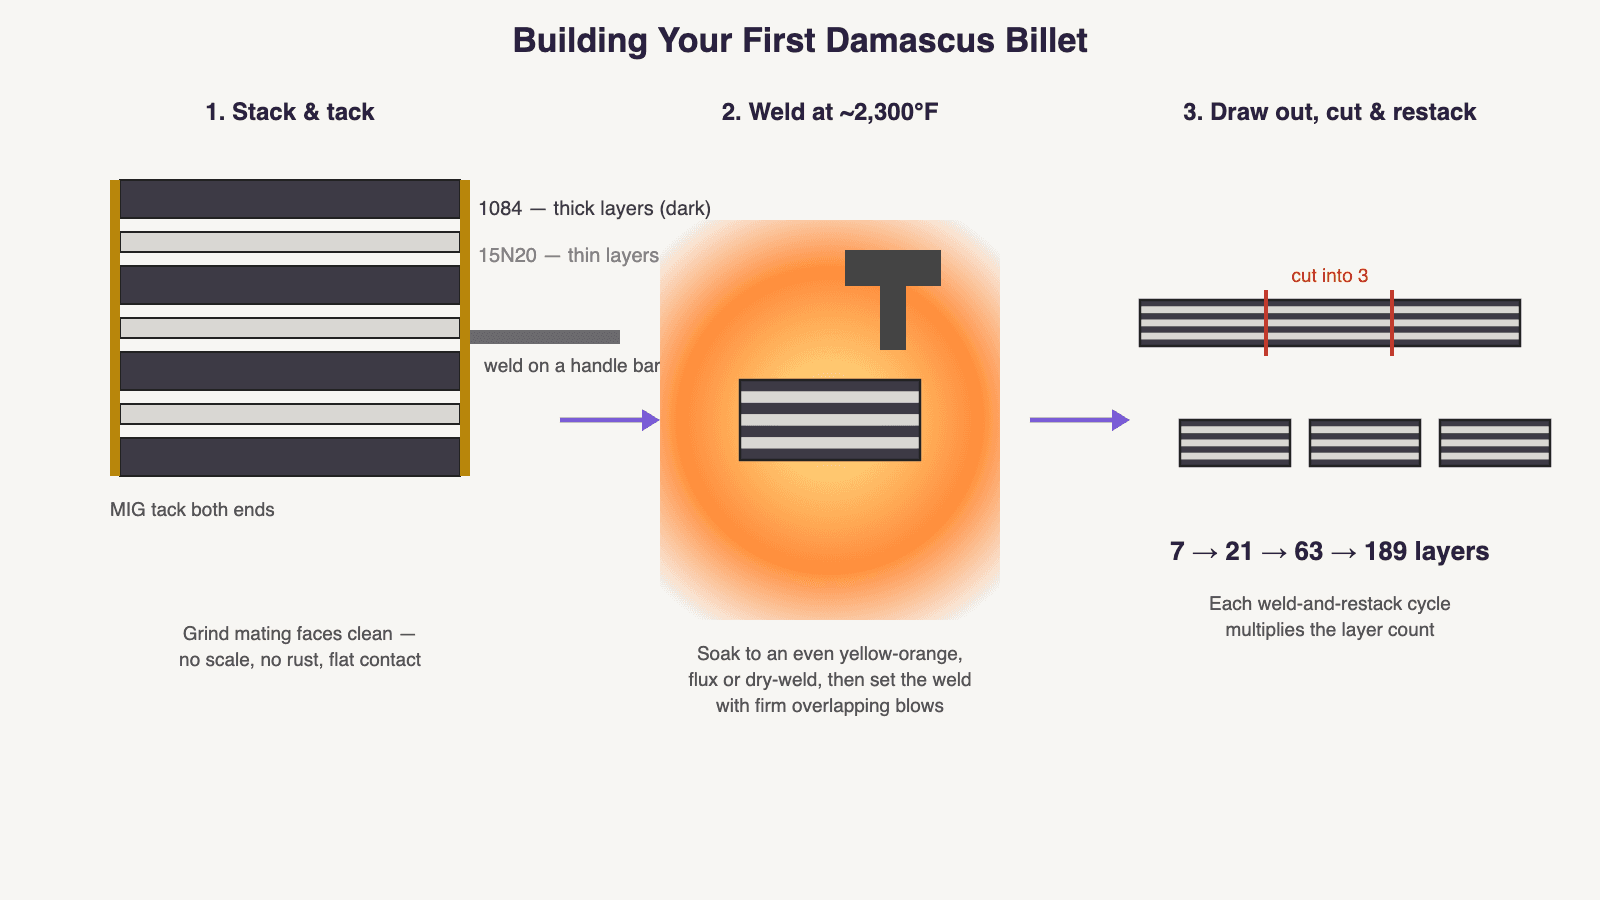
Diagram: building a first damascus billet — stacking 1084 and 15N20, forge welding at 2,300F, drawing out and restacking to multiply layers
The whole process in one picture: stack and tack, weld at ~2,300°F, then draw out, cut, and restack to multiply layers.

Step by Step: Your First Billet

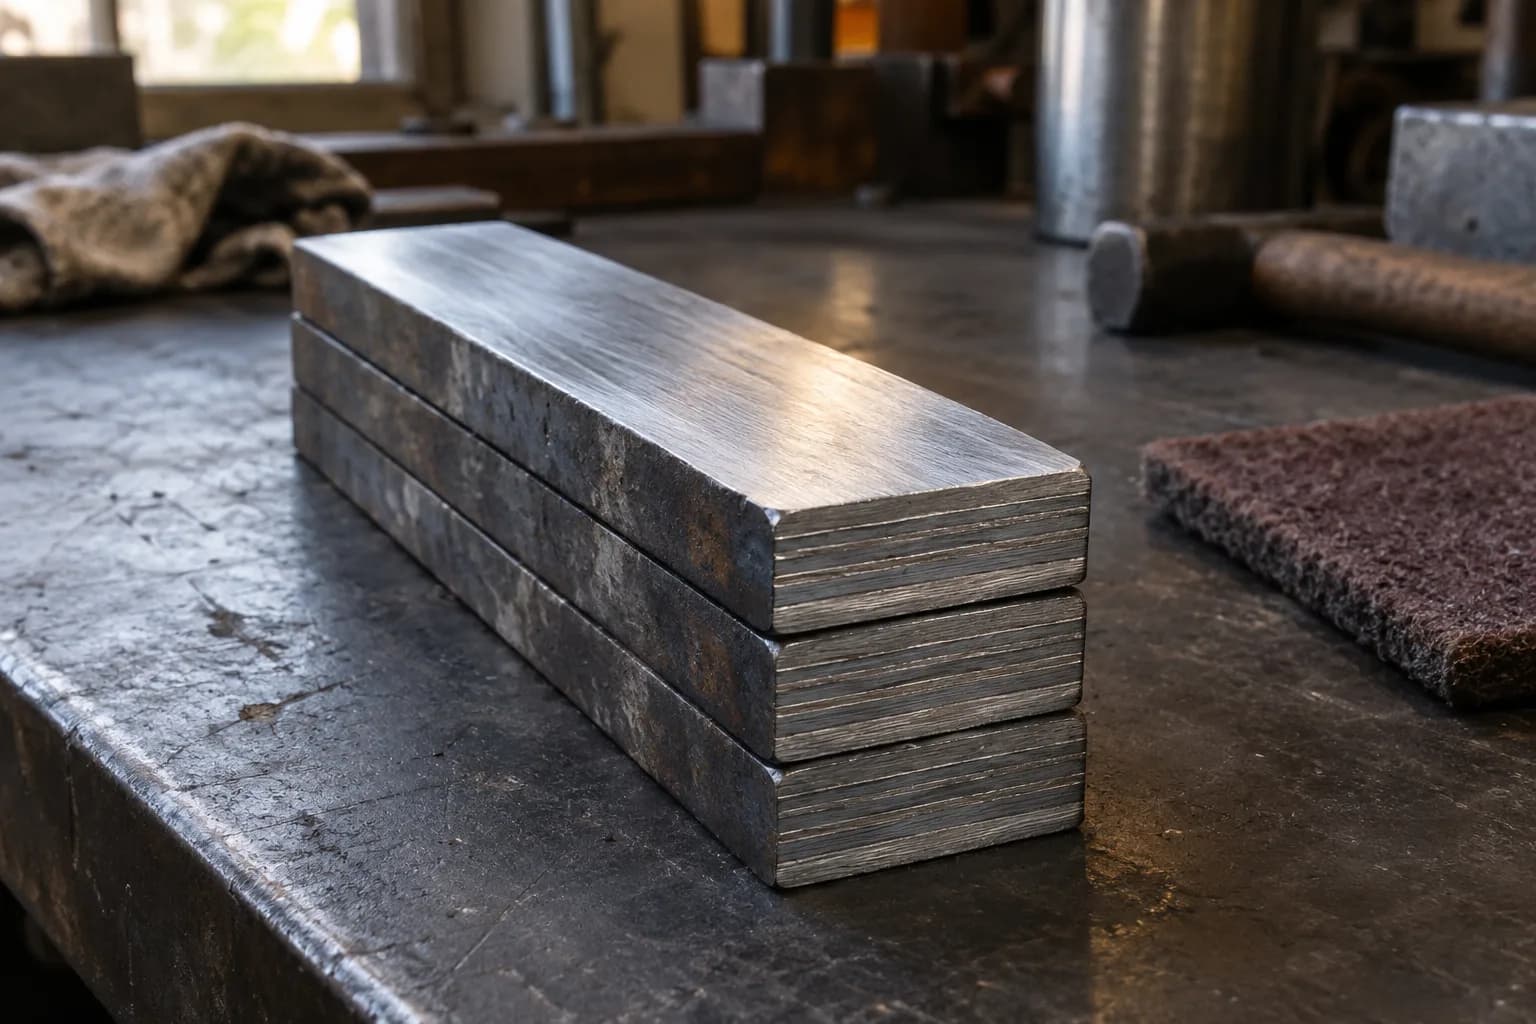
  1. Cut and clean. Cut equal-length pieces (a 7-layer stack of 1″-wide bar, 4–5″ long, is a manageable first billet). Grind every mating face clean — no mill scale, no rust — and degrease. Weld quality is decided right here: oxides and grime trapped between layers become permanent flaws.
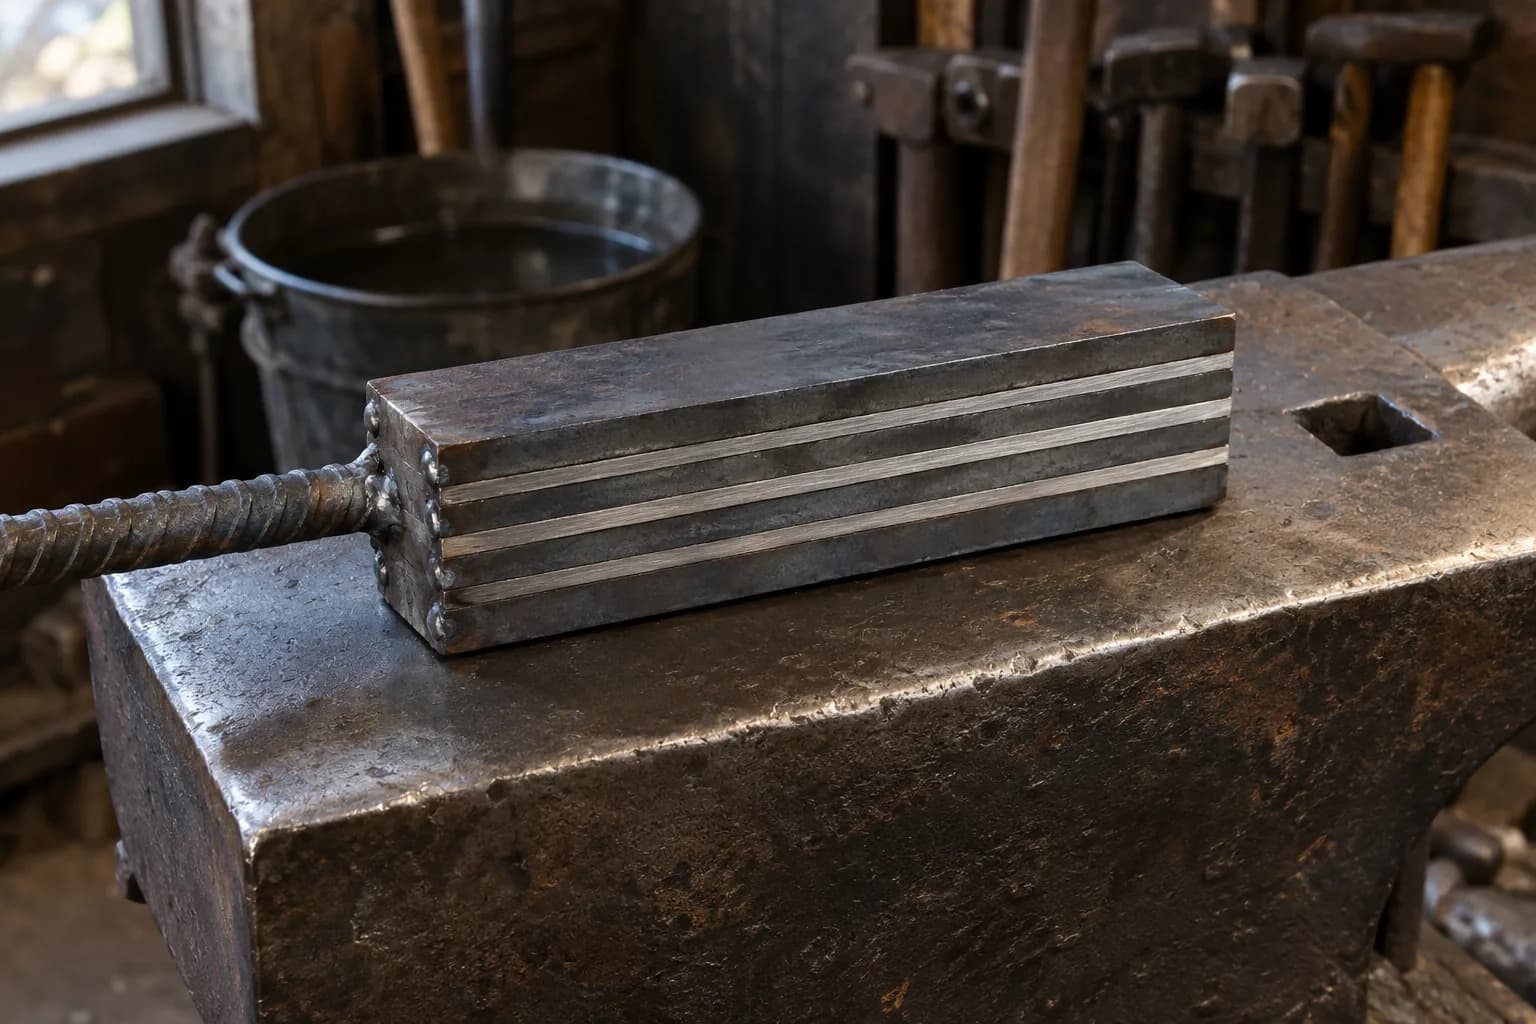
  2. Stack alternating layers and tack-weld the ends. Odd layer counts (1084 on both outsides) are conventional. MIG-tack both ends so nothing shifts during the first weld, and weld on a rebar handle — you cannot hold a welding-heat billet with tongs and concentrate on hammering at the same time.
  3. Flux (or don’t). The beginner-standard route: bring the billet to a low red, sprinkle anhydrous borax across the joints, and let it melt in — it dissolves surface oxides and seals out air. Experienced smiths often skip flux entirely (“dry welding”) using tight stacks and a slightly reducing forge atmosphere, but learn wet first: it’s more forgiving of an imperfect forge.
  4. Soak at welding heat. Bring the billet to roughly 2,300°F — an even, bright yellow-orange, with flux bubbling actively. Rotate it so both sides heat evenly, and be patient: the center of the stack must be at heat, not just the surface. Don’t push far past this — by ~2,400°F you’re burning the steel (sparks like a firework fizzing off the billet mean it’s already too late for that spot).
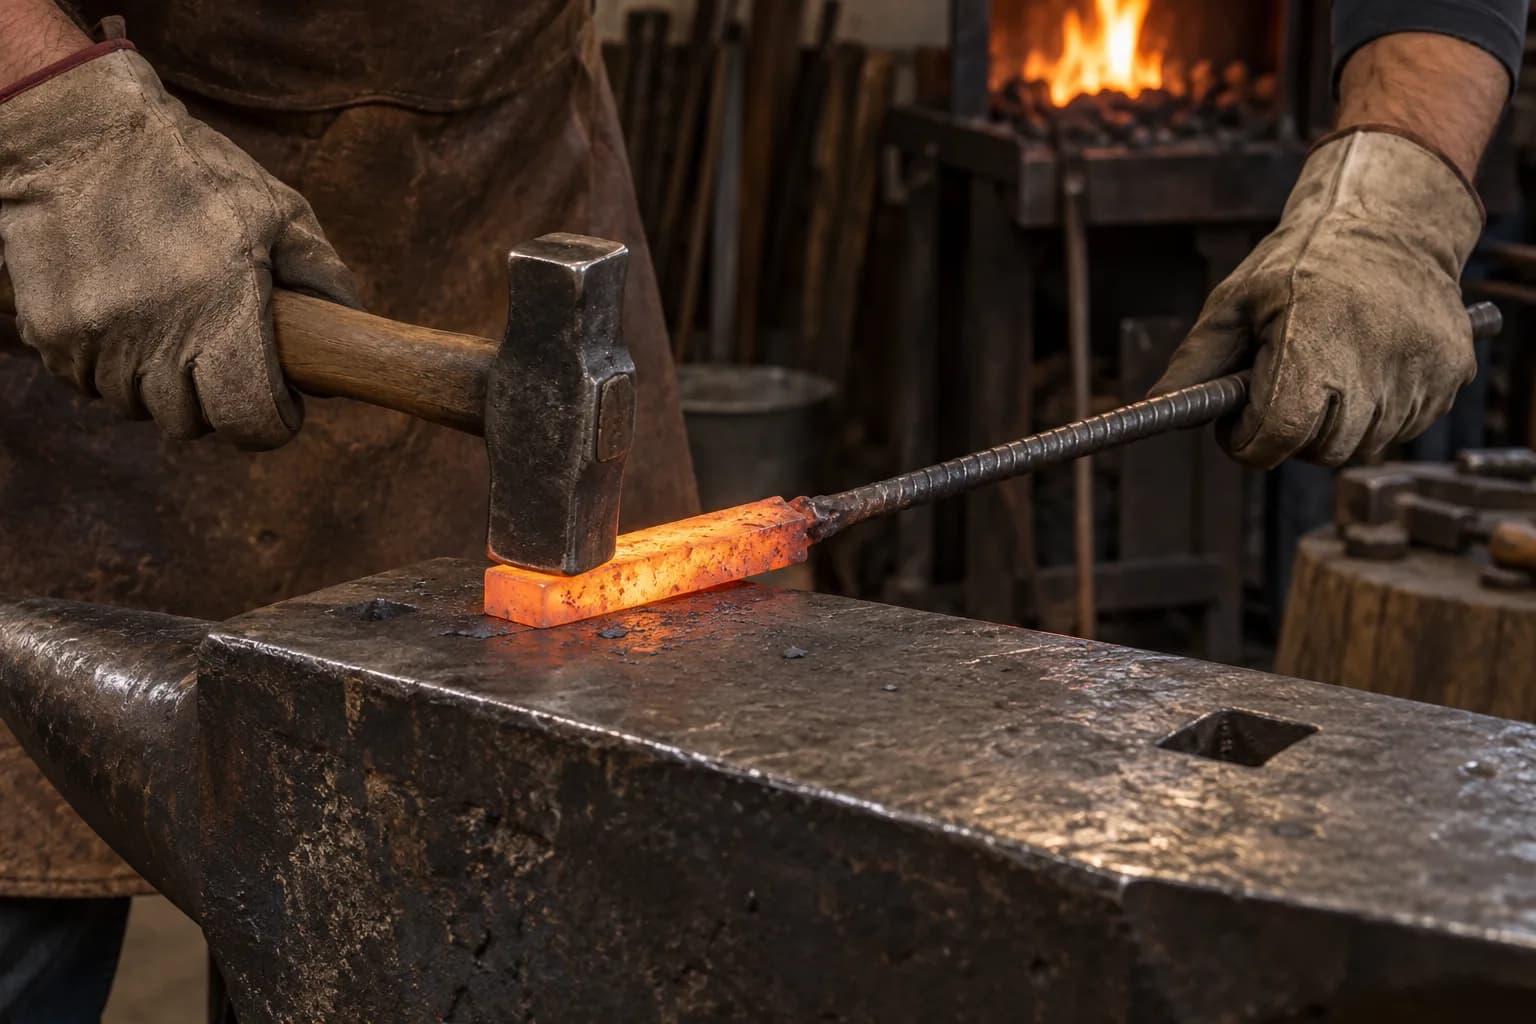
  5. Set the welds. Out of the forge, straight to the anvil, and strike with firm, overlapping, medium blows from the center outward (or one end to the other) — you’re squeezing the layers into contact and driving out flux, not moving metal yet. Molten flux will spray: apron, gloves, glasses, no bystanders. Return to the forge and repeat the soak-and-set cycle two or three times along the billet until it rings solid.
  6. Draw out, cut, and restack. Forge the welded billet longer, cut it into three with a hot cut or angle grinder (don’t cut quite through — leave a hinge to fold, or cut fully and re-grind faces), clean the mating surfaces, restack, and weld again: 7 layers become 21, then 63, then 189. Two to three welding cycles gets you to the classic 150–300 layer range. Even 20–50 layers shows a bold, handsome pattern — layer count is a style choice, not a score.

Reading Trouble Before It Ruins a Blade

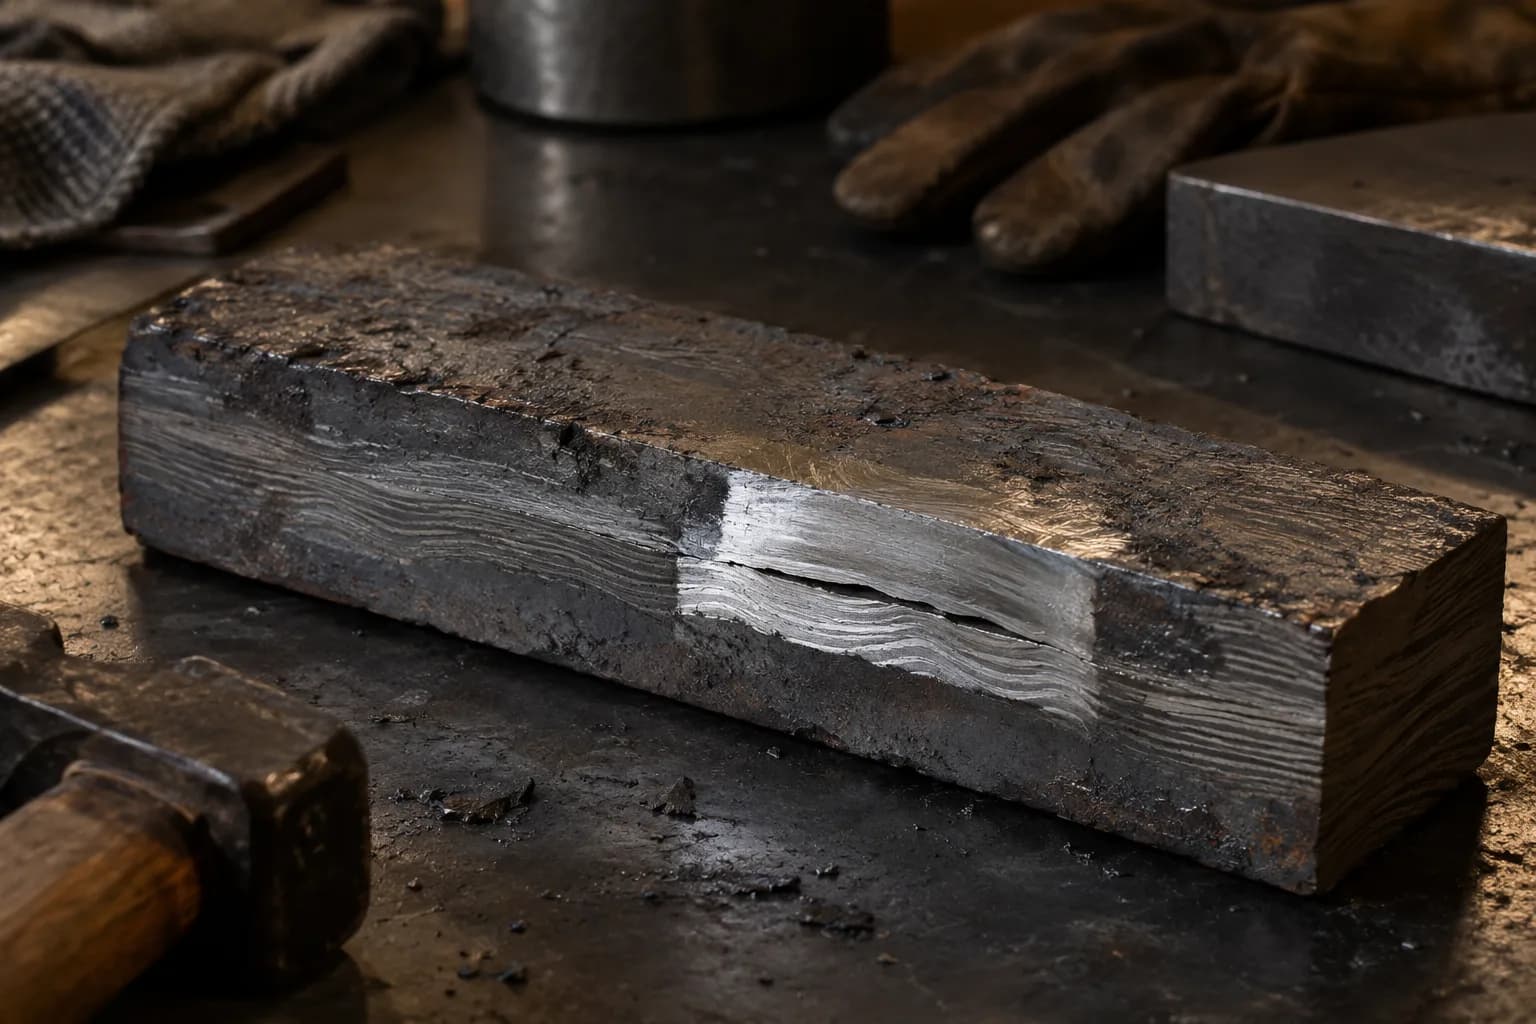
Grind a test window on the finished bar’s face and edge. Bright speckled lines or seams that open when flexed are delaminations — failed welds from trapped flux, scale, or a too-cold weld pass. Small ones can sometimes be fixed by grinding clean and re-welding; widespread ones mean the billet becomes practice material. Every smith scraps early billets — it’s tuition, not failure.
From Billet to Blade

A finished billet is just steel with better graphics: forge or grind it into a blade like any bar of 1084 (see stock removal vs. forging), heat treat on the 1084 recipe (torch methods work — use a proper quench oil), and then etch it to reveal what you built. Ready for deliberate patterns instead of random layers? Start with the ladder — it’s the classic first pattern for good reason.

Finished pattern-welded damascus knives by bladesmith Murray Carter
Where it all leads: finished pattern-welded blades. Photo: Murray Carter, Wikimedia Commons, CC BY 3.0

Sources

Common Mistakes

Welding dirty or scaled mating faces. Hammering full-force at welding heat instead of firm overlapping blows. Rushing the soak so only the outside is at heat. Pushing past ~2,400F and burning the billet. Chasing a huge layer count on a first billet instead of learning to weld 7 layers solidly.

Safety

Welding-heat steel and molten borax flux spray are serious burn hazards: full-coverage natural-fiber clothing, leather apron and gloves, and eye protection always. Keep the quench and walkways clear, work over concrete, and never let anyone stand in line with your hammer blows – flux ejects violently on the first weld strikes.

Related Pages