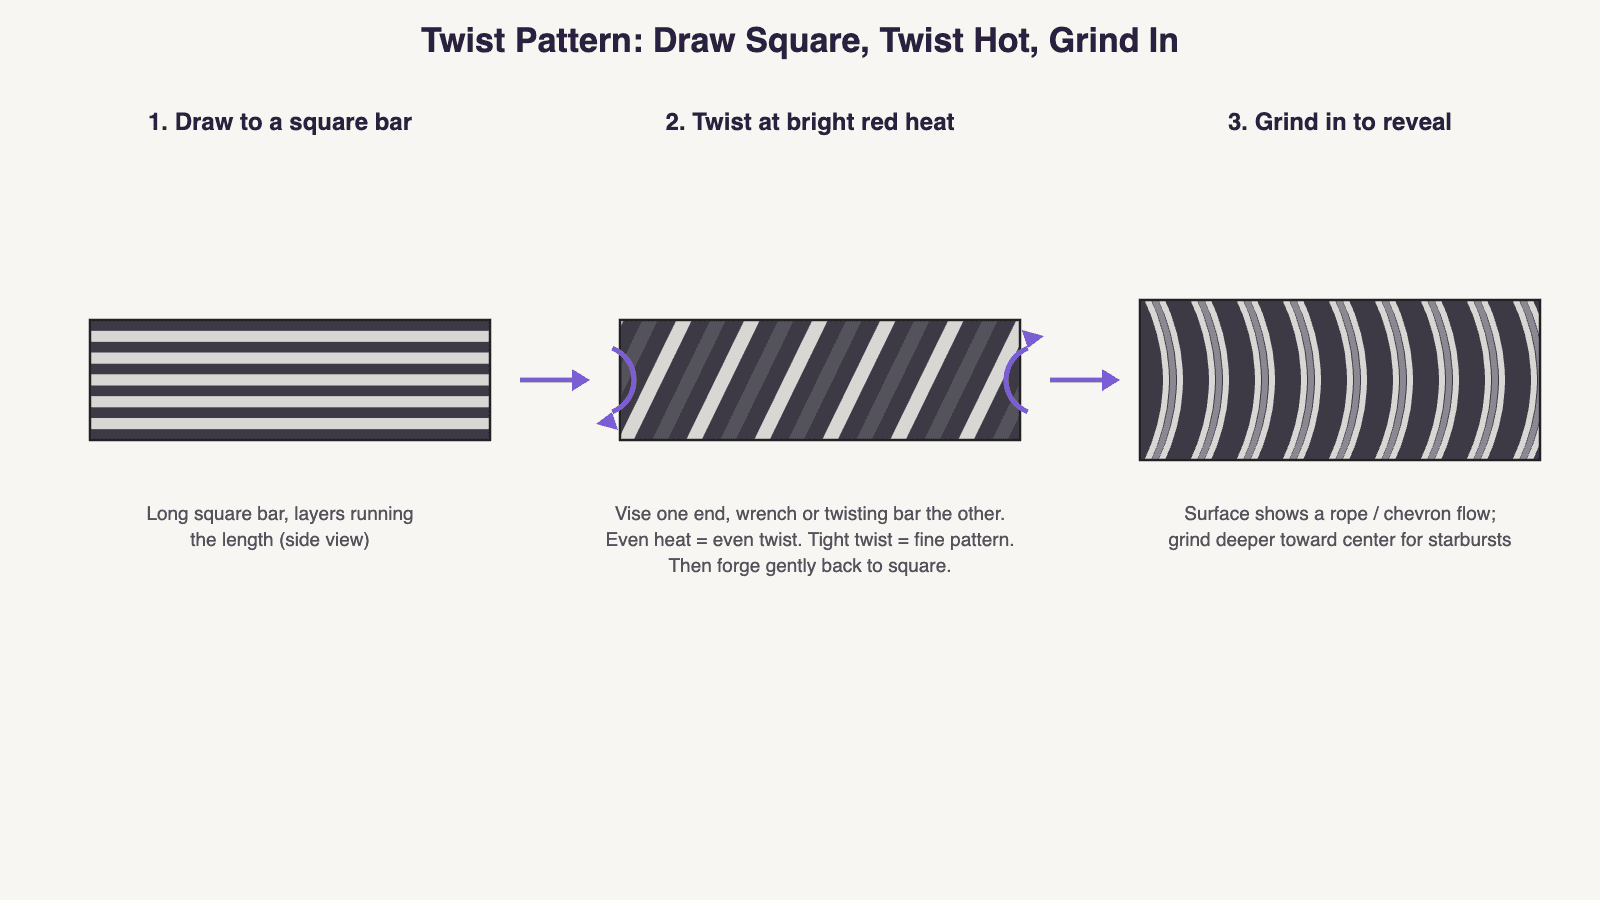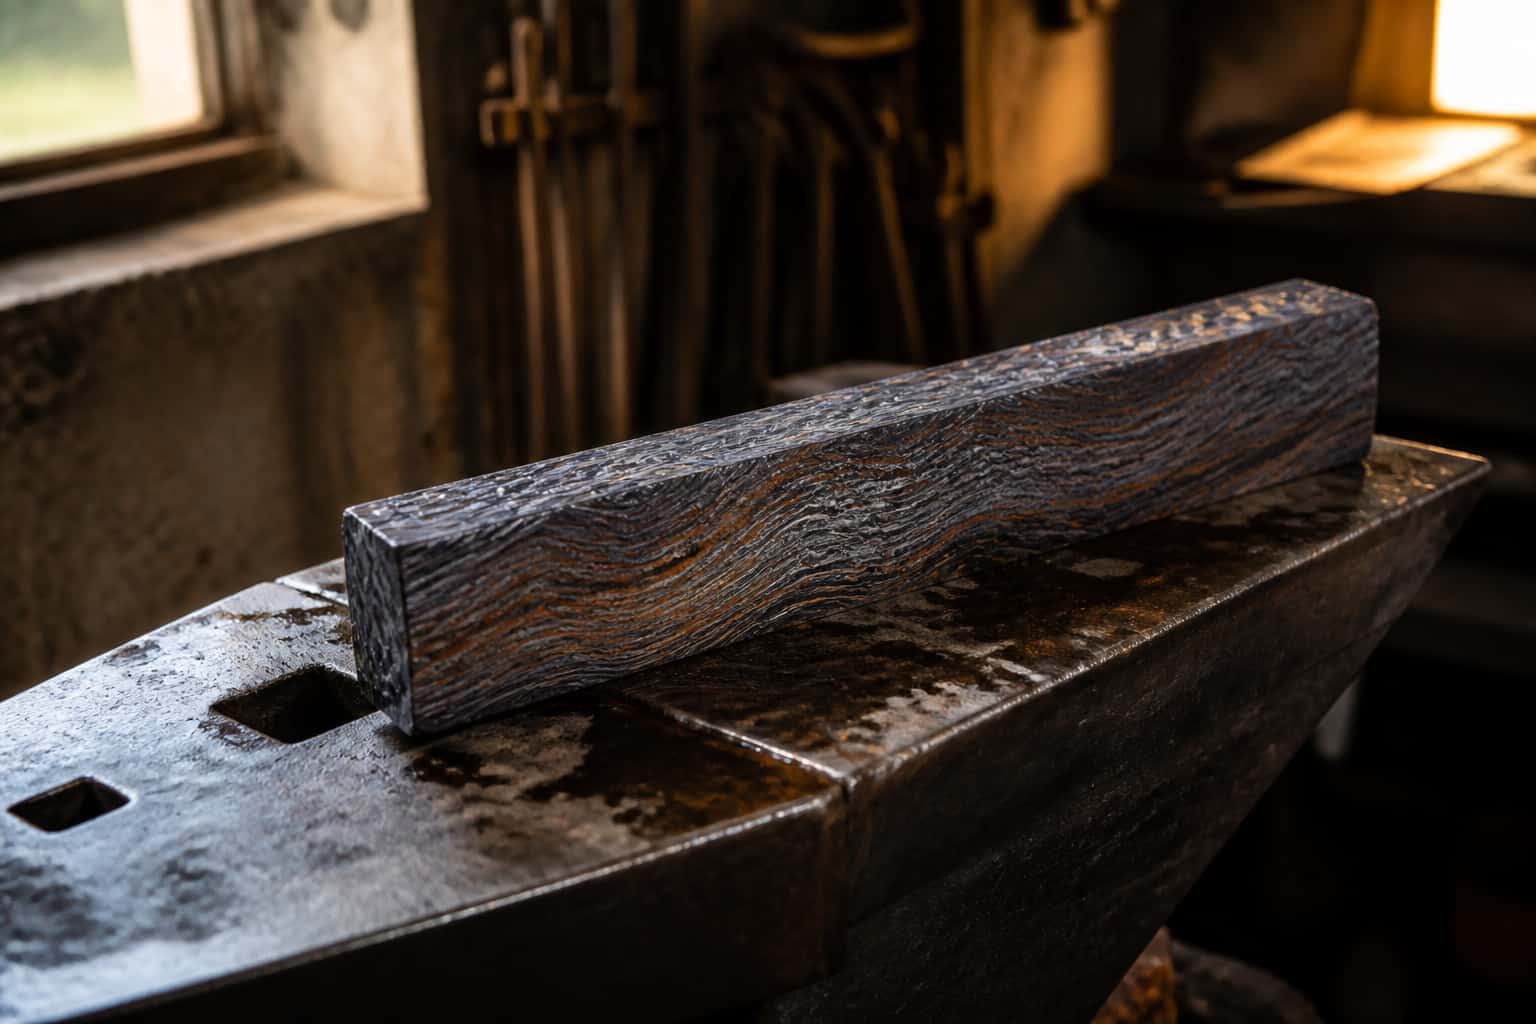
Diagram: twist pattern damascus — a layered billet drawn to a long square bar, twisted evenly at bright red heat, then forged square and ground in to reveal rope and star patterns

Damascus & Pattern Welding

Twist Pattern Damascus: Step by Step

Twist a welded bar into damascus: draw it square, heat evenly, count rotations, re-square at welding heat, and grind deeper to reveal chevrons and starbursts.

3 min readWritten by Rich LinvilleFree to read

Twist damascus is the pattern that looks like it required a wizard and turns out to require a pipe wrench. Twist the layered bar while it’s hot, grind it back flat, and the layers — now spiraling through the bar like a barber pole — surface as flowing rope, chevrons, and starbursts. It’s also the most forgiving pattern for makers without a press, because the twisting itself does most of the visual work.

Start from a solid billet (first billet guide). Twist rewards moderate layer counts — around 50–120 — since ultra-fine layers blur together once twisted.
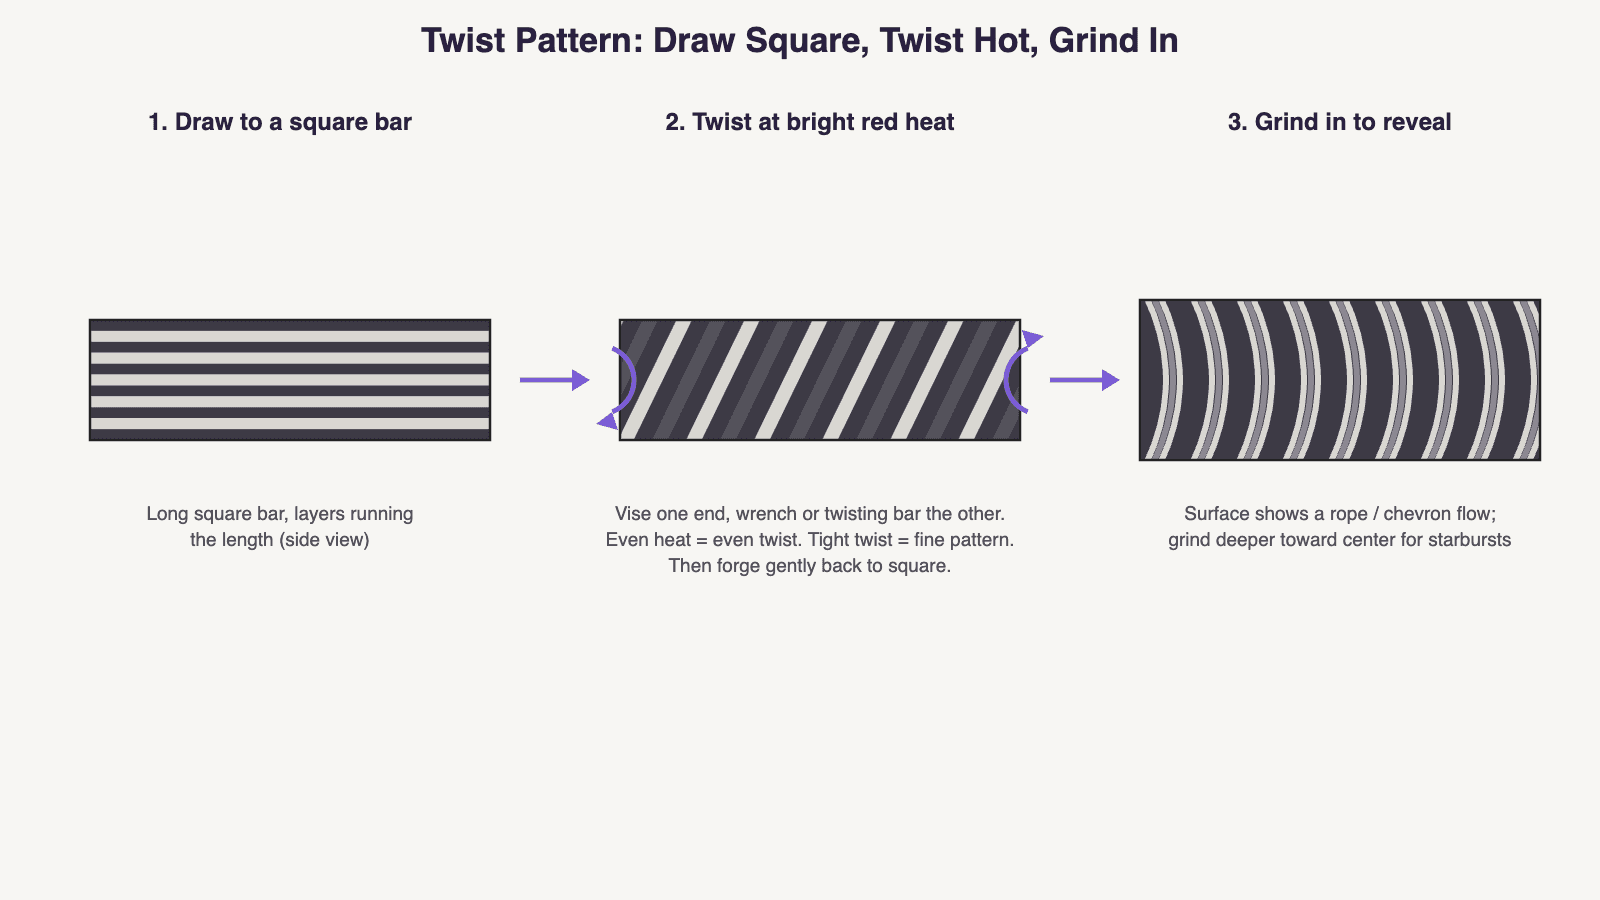
Twist Pattern: Draw Square, Twist Hot, Grind In

  1. 1. Draw to a square barLong square bar, layers running the length (side view)
  2. 2. Twist at bright red heatVise one end, wrench or twisting bar the other. Even heat = even twist. Tight twist = fine pattern. Then forge gently back to square.
  3. 3. Grind in to revealSurface shows a rope / chevron flow; grind deeper toward center for starbursts
Draw square, twist hot and evenly, then grind in to reveal the rope.

Step by Step

  1. Draw the billet into a long square bar, oversized in cross-section — twisting and re-truing eats dimension, so leave yourself margin (a 1″ square bar twisted hard can finish well under 7/8″). Keep it square and straight; a wandering bar twists unevenly.
  2. Knock the corners off slightly. A quick chamfer pass on the four corners at the anvil. Sharp corners fold over during twisting and trap crud against the bar — the classic source of twist-damascus cold shuts.
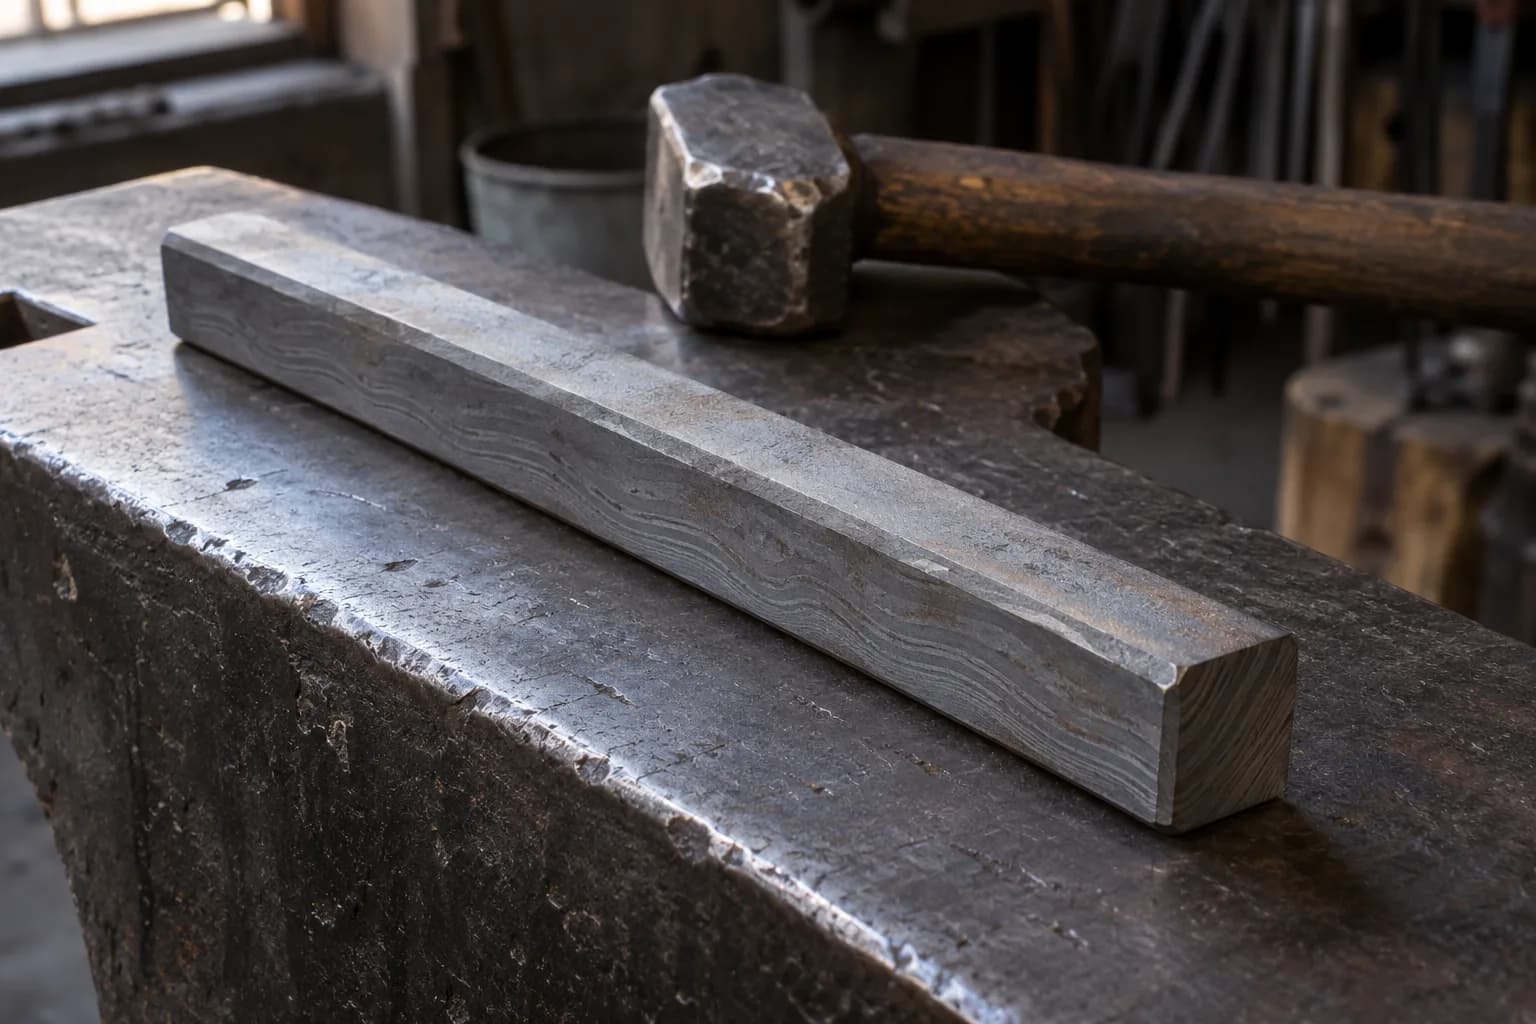
    Cold square pattern-welded bar with bevelled corners lying on an anvil face, a hammer resting behind it.
  3. Heat the twist zone to a bright, even heat. Bright red minimum, orange better, and even — the bar twists most where it’s hottest, so an uneven heat gives three tight rotations at the hot spot and nothing elsewhere. Work in sections if your forge is short: twist a section, move, match the count.
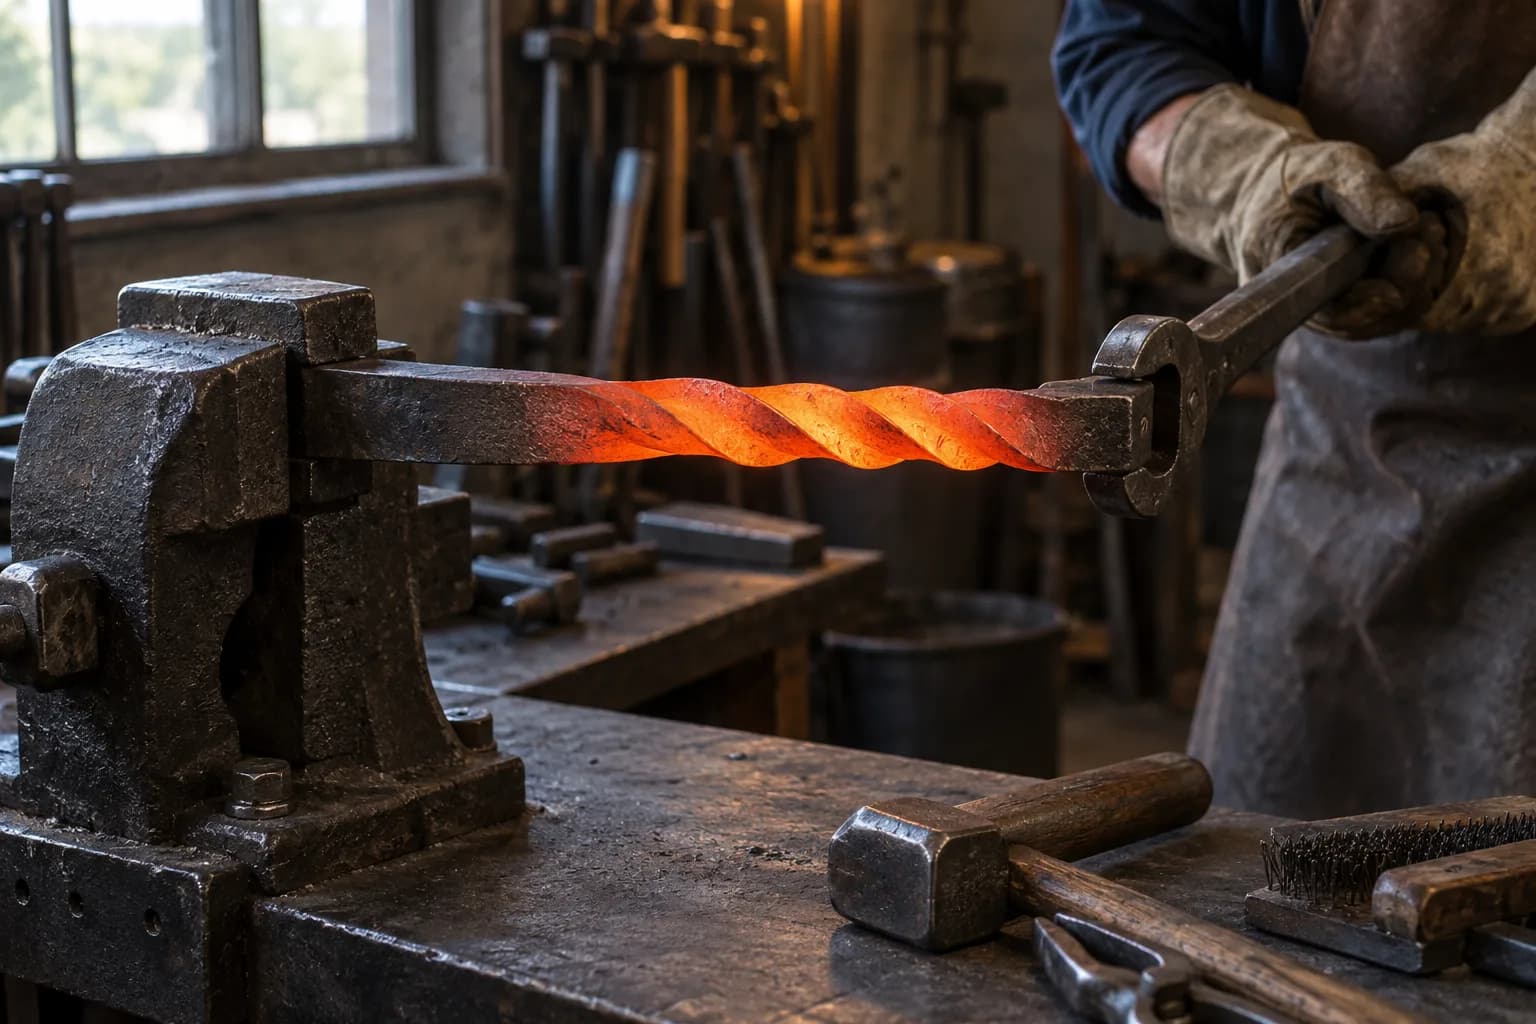
  4. Clamp one end in the vise, twist the other. Pipe wrench, adjustable wrench, or a purpose-made twisting bar. Twist smoothly and count your rotations so the pattern is even end to end (and reproducible next time). Direction is a style choice — just keep it consistent within the bar. Tight twist = fine, busy rope; a lazy half-turn per inch = broad sweeping lines.
    Orange-hot bar clamped in a bench vise while a gloved hand turns a wrench on its free end, twisting the glowing section.
  5. Do not twist cold steel. If the bar drops below red and you keep cranking, layers tear and welds open. Reheat as many times as it takes — patience is cheaper than a delaminated bar.
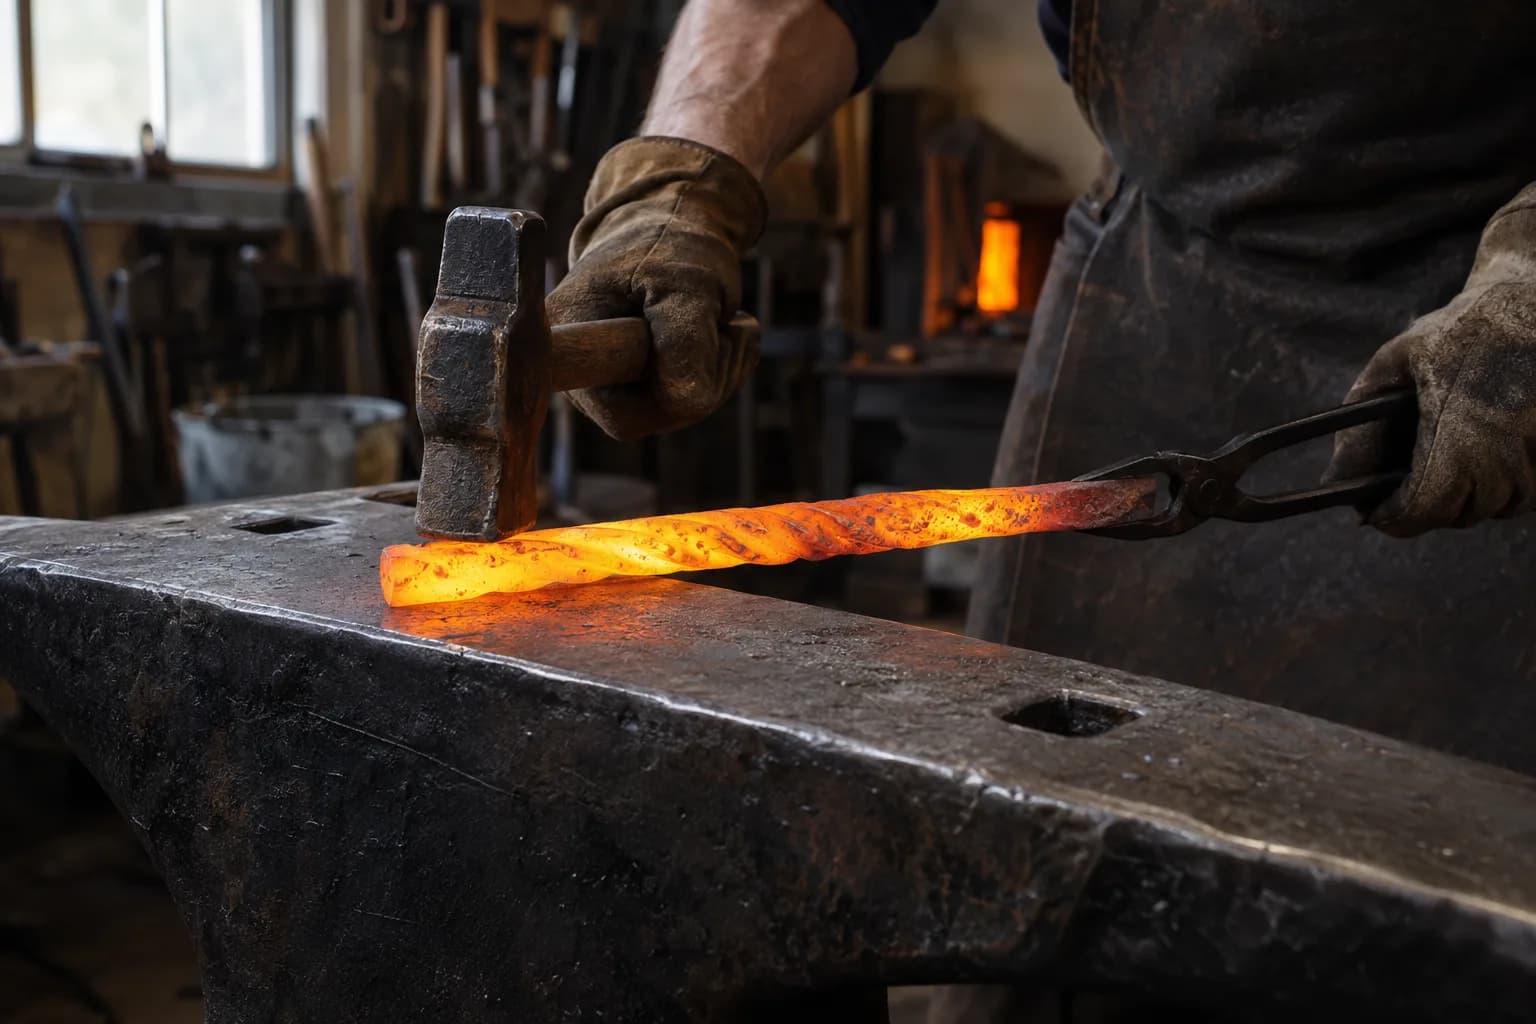
  6. Take a welding-heat pass after twisting. Bring the twisted bar back to welding heat and forge it gently back to square/rectangular with light blows. This re-sets any weld seams the twisting stressed and trues the bar for grinding. Skipping this is how twist bars delaminate at heat treat.
    Hammer face meeting a glowing yellow-orange twisted bar on an anvil while tongs hold the cooler end.
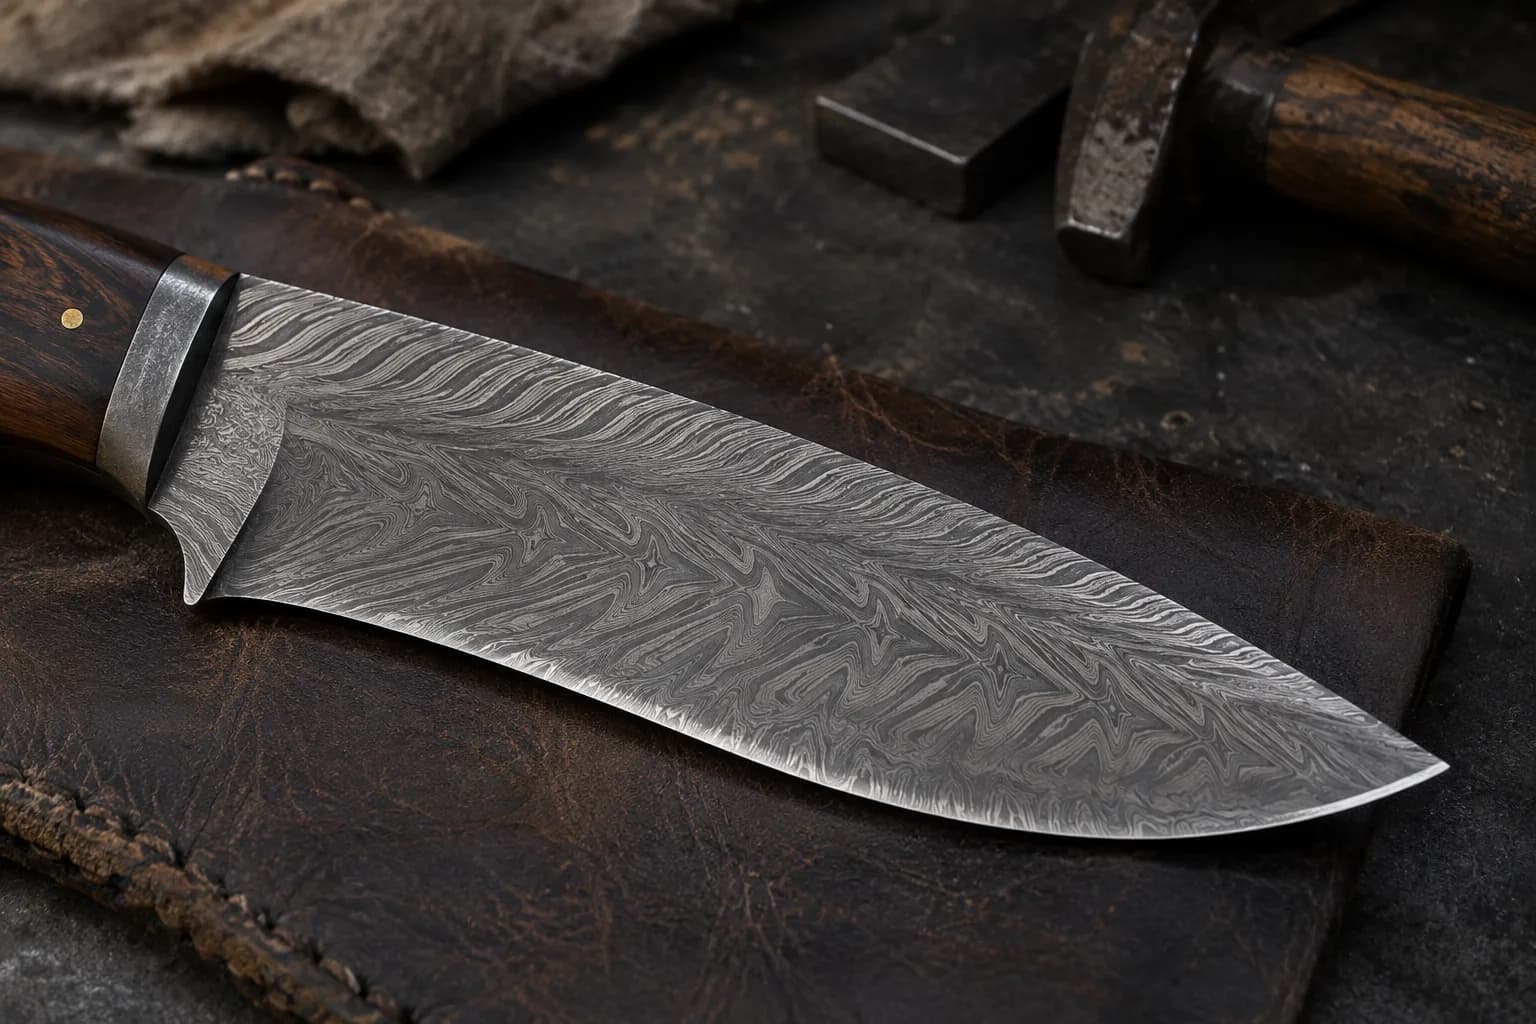
  7. Grind in to reveal. Here’s the magic of twist: depth changes the pattern. The bar’s surface shows a simple diagonal rope. Grind deeper and the spiraling layers open into nested chevrons; approach the center-line of the bar and starbursts bloom. Flat-grinding a blade from a twisted bar automatically gives you the full progression — rope at the spine, stars toward the center. Then heat treat and etch.
    Etched twist-pattern knife blade on dark leather, rope-like bands near the spine opening into chevrons and star shapes.

Level Up: Multi-Bar Twists

The advanced move: twist two or four bars — half clockwise, half counterclockwise — then weld them side by side and forge the composite into a blade. Opposing twists meeting at the centerline read as herringbone or a flowing W down the blade; it’s the foundation of the classic “turkish twist.” File it under “after your fifth successful twist bar,” not your first. The same billet skills also set you up for the feather pattern — a different advanced split-and-reweld trick.

Sources

Keep reading

Read these related guides

Three more from the same bench.

Same bench

Put the reference to work

I machine the parts, hand-assemble, track and test Torus grinders in Sterling, Illinois. Most orders ship in seven to ten business days from time of order.

  • Classic aluminum 2x72 grinder, side view with flat-platen tool arm and yellow Safety Rules label, on black with a purple glow

    Torus 2×72 Classic Aluminum Belt Grinder

    Prior-design aluminum chassis, 90-degree tilt and 1.5-inch tooling arms.

    Starts at$995View

One-man shop

Still stuck? Ask me.

I answer my own email. Tell me the steel, the machine and what it is doing, and I will tell you what I would try next.