
Damascus & Pattern Welding
How Damascus Is Actually Made: Your First Pattern-Welded Billet
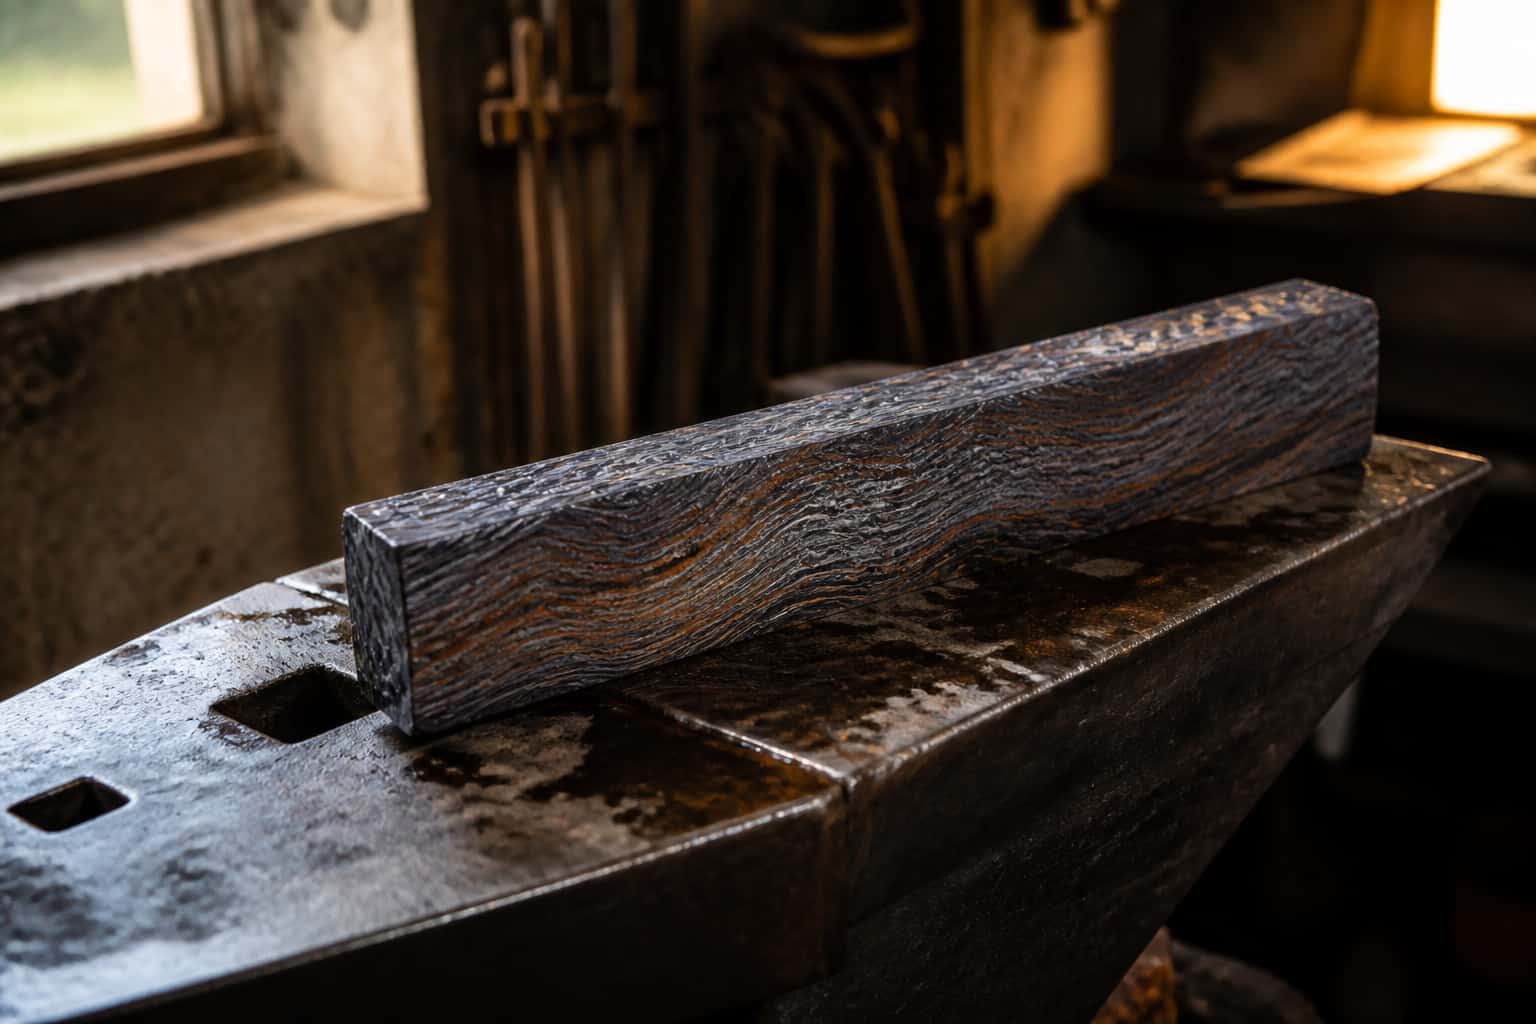
Modern “damascus” is pattern-welded steel: two different steels stacked, forge welded into one solid billet, and manipulated so that grinding and etching…
Damascus & Pattern Welding
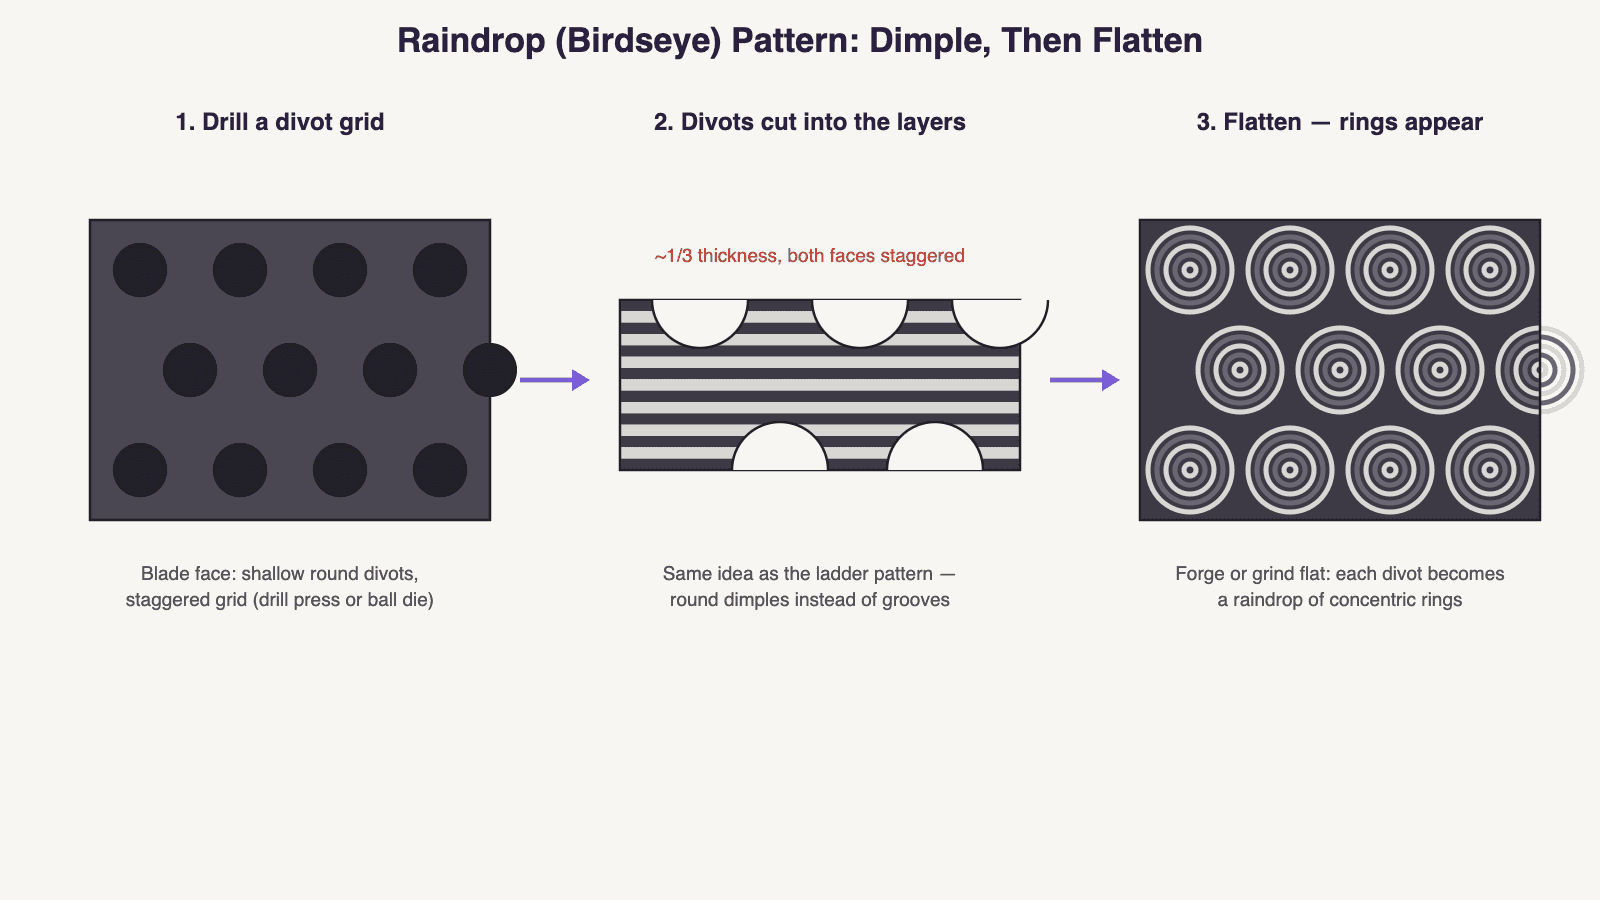
How to make raindrop (birdseye) damascus: staggered dimple grids, round-nose drilling to 1/3 depth, flattening routes, and etching the rings.
2 min readWritten by Rich LinvilleFree to read
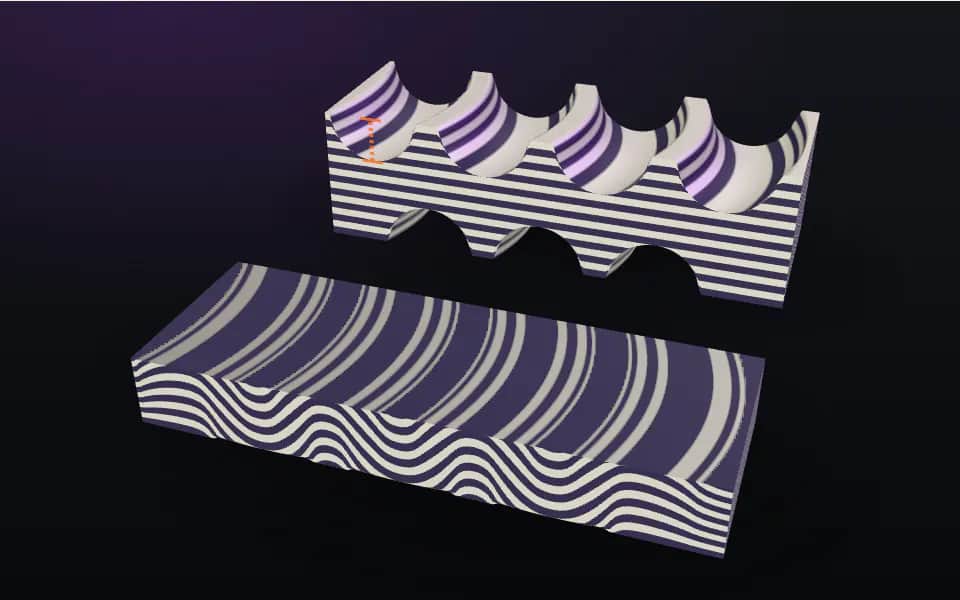
Raindrop damascus — also called birdseye or pool-and-eye — covers the blade in concentric rings, like rain hitting still water. If you’ve read the ladder pattern guide, you already know how this works: it’s the identical remove-material-and-flatten trick, with round dimples instead of straight grooves. Each dimple, once the bar is flattened, becomes a bullseye of exposed layers.
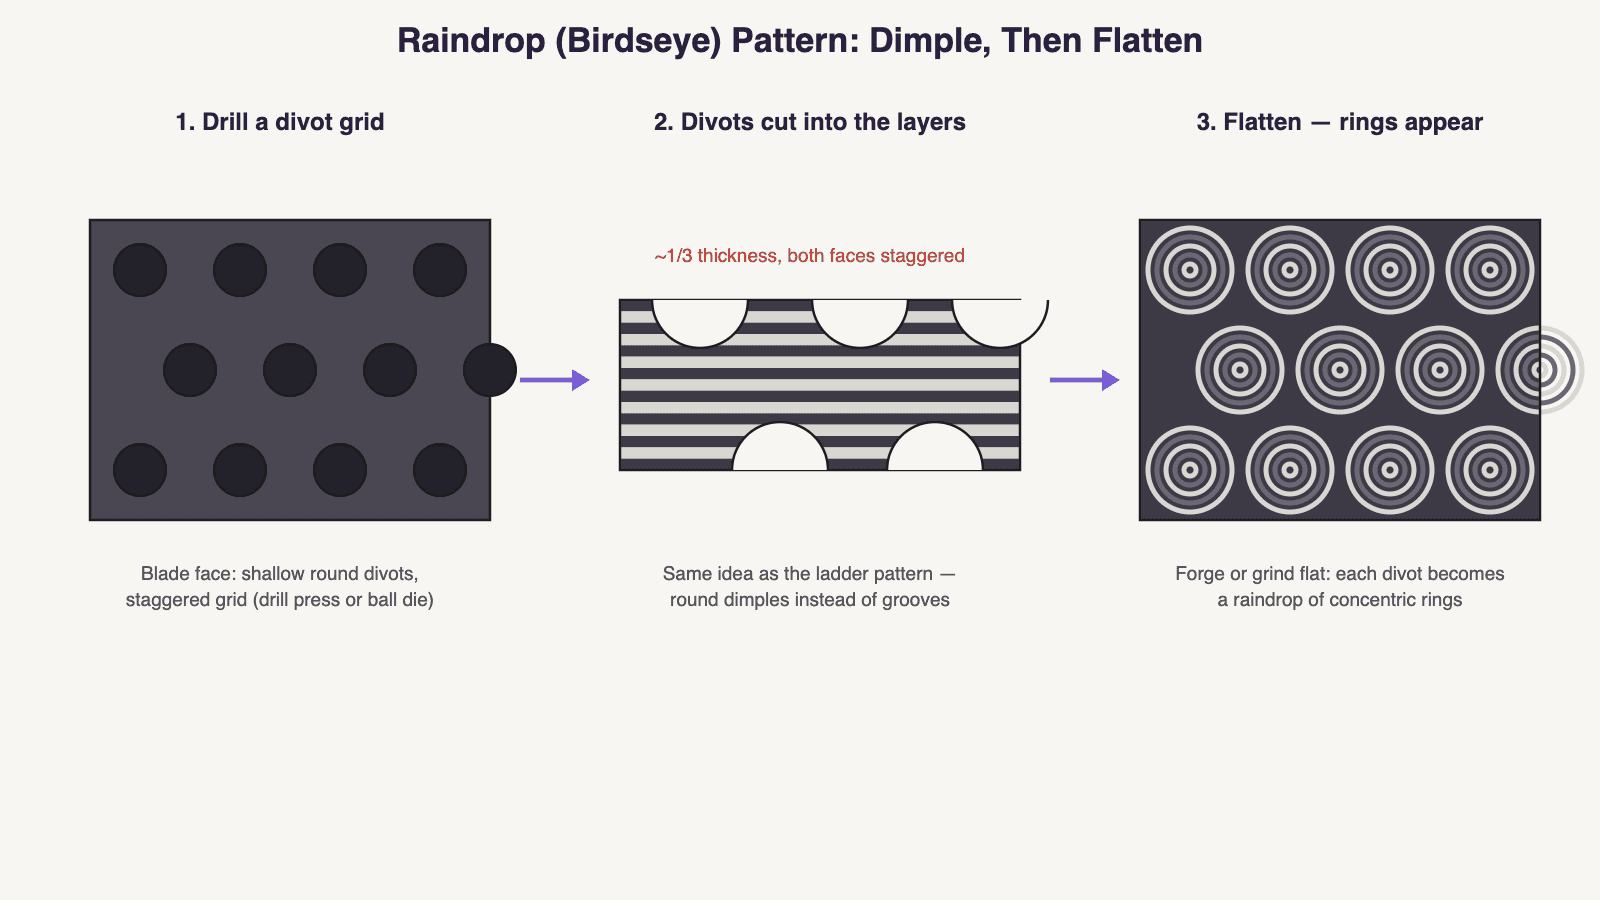
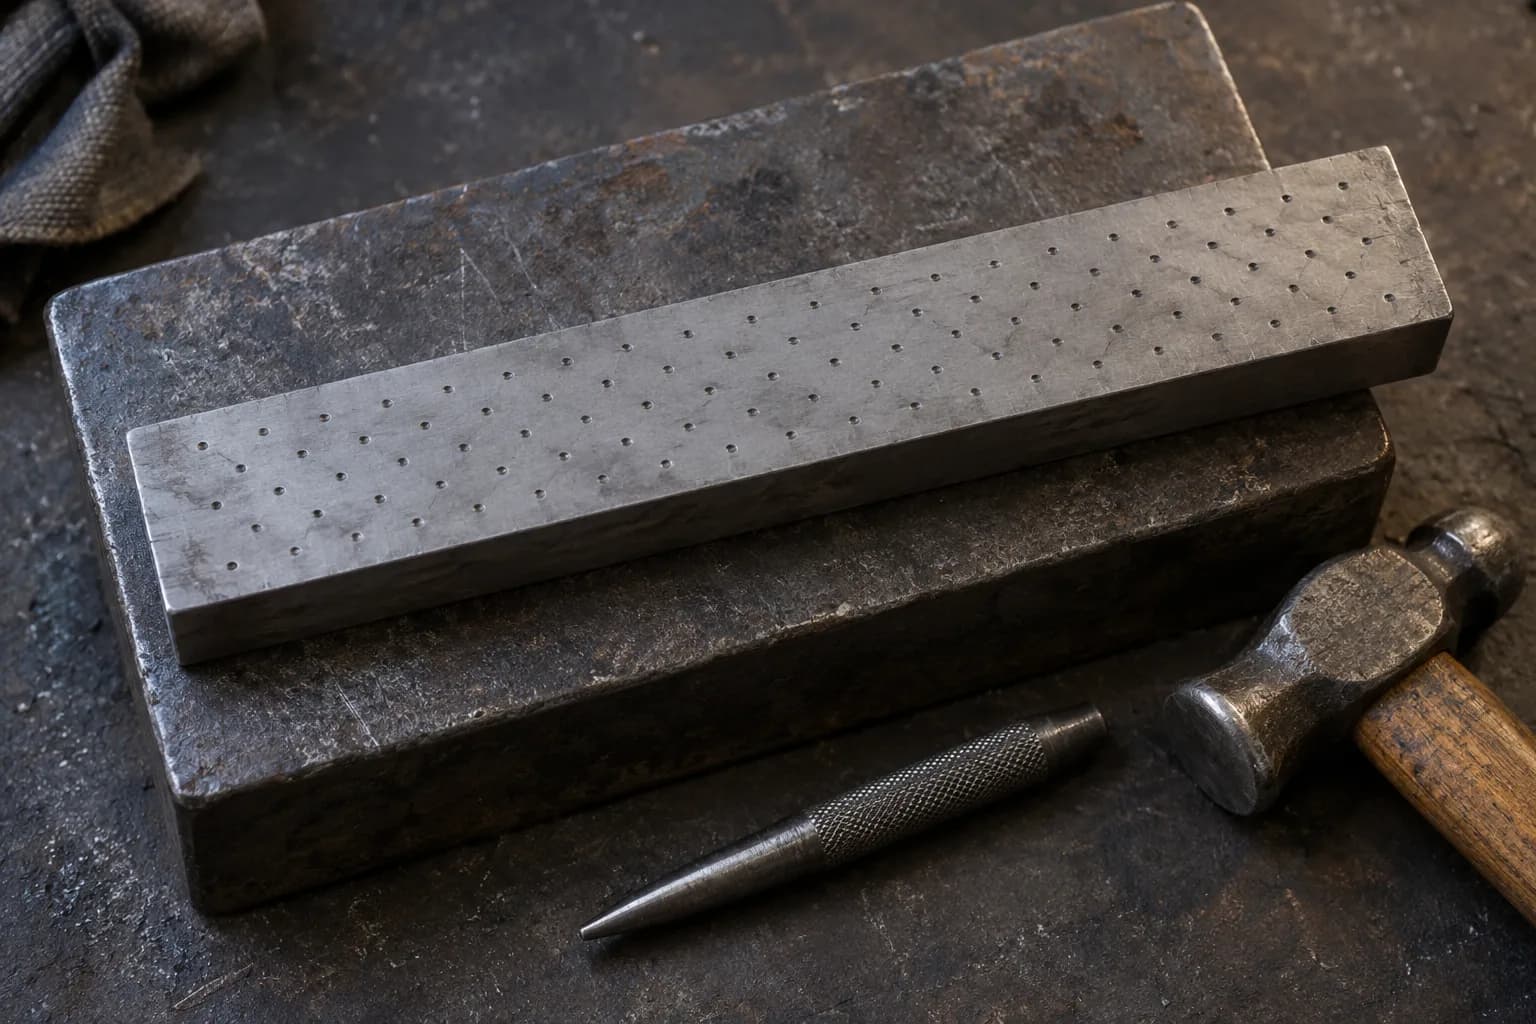
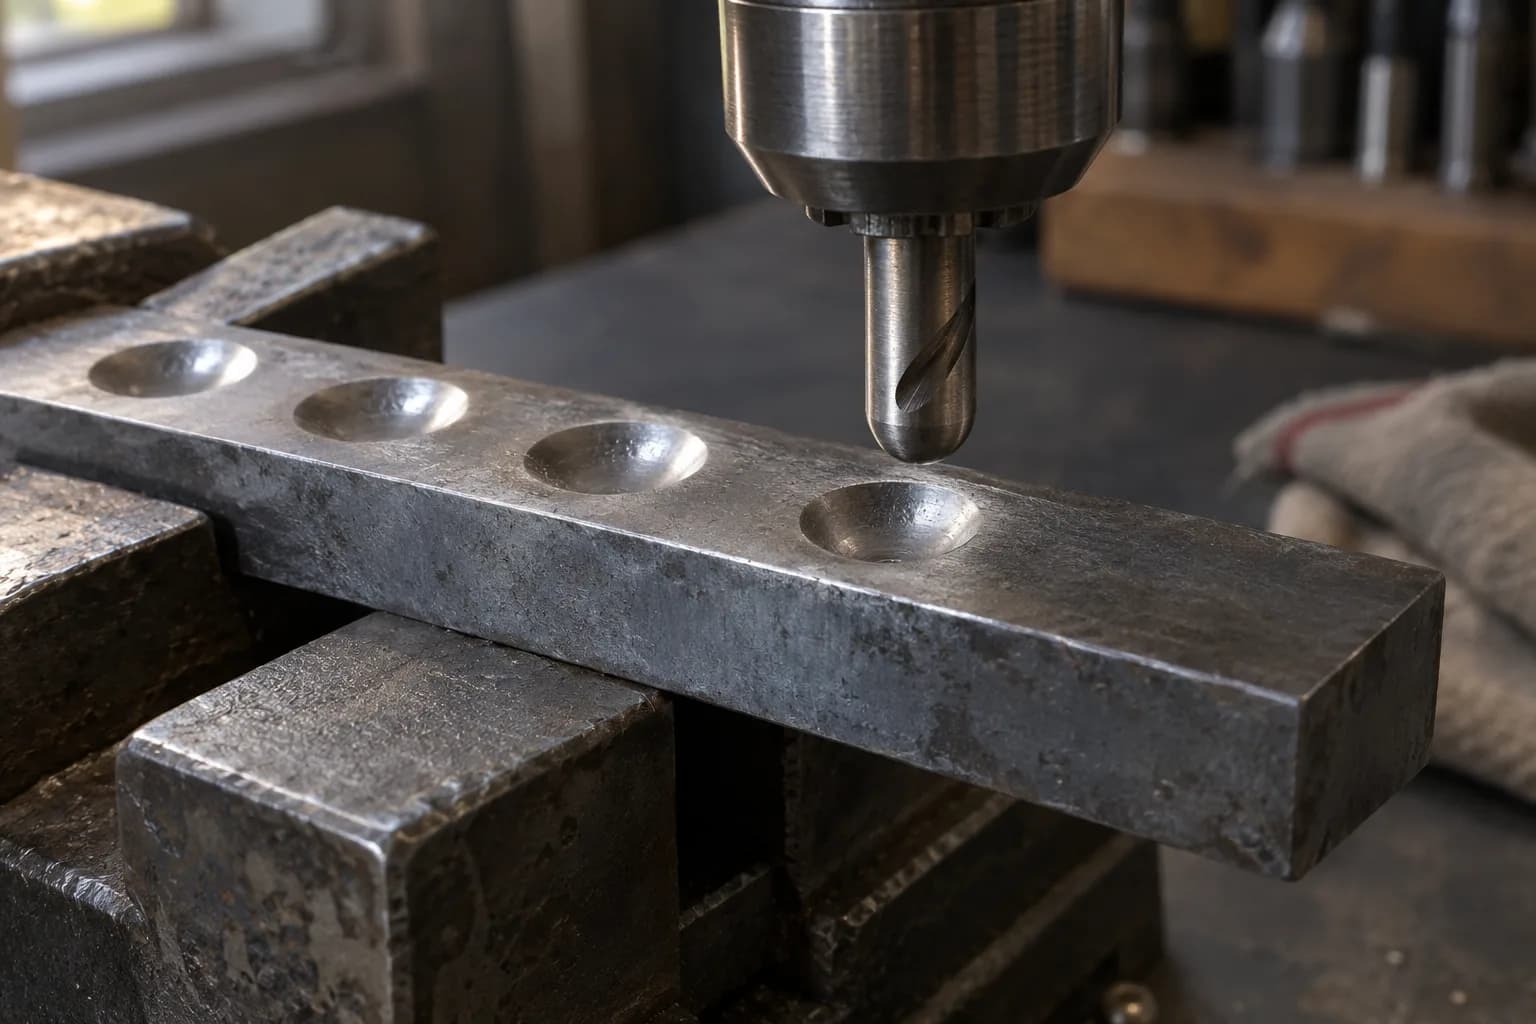
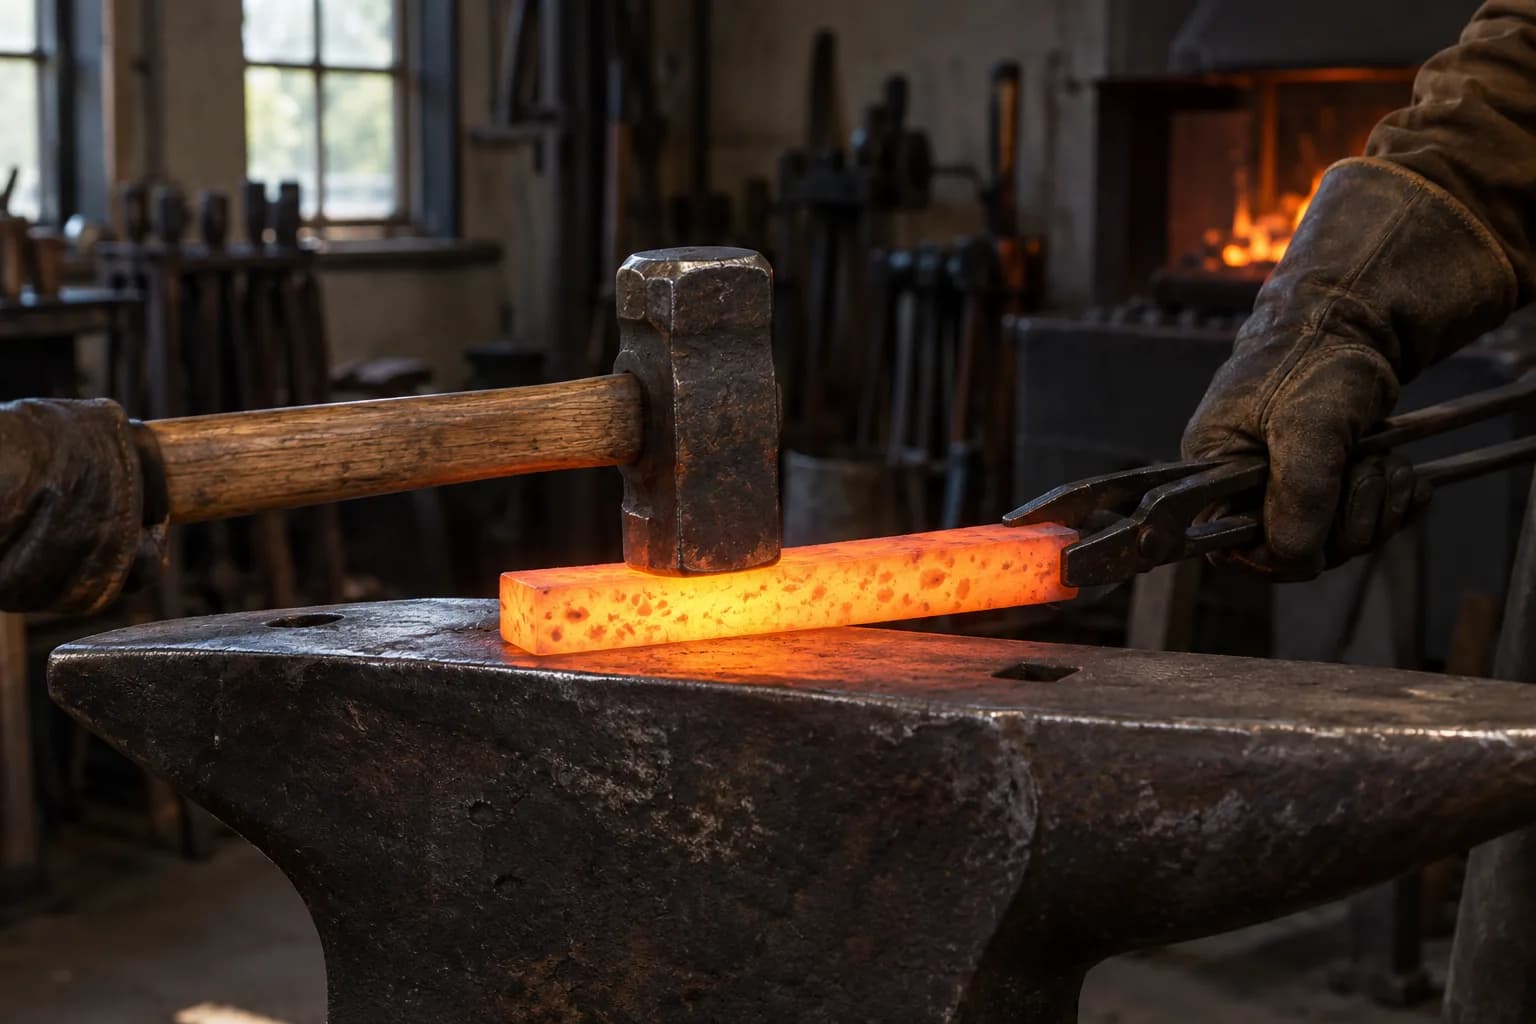
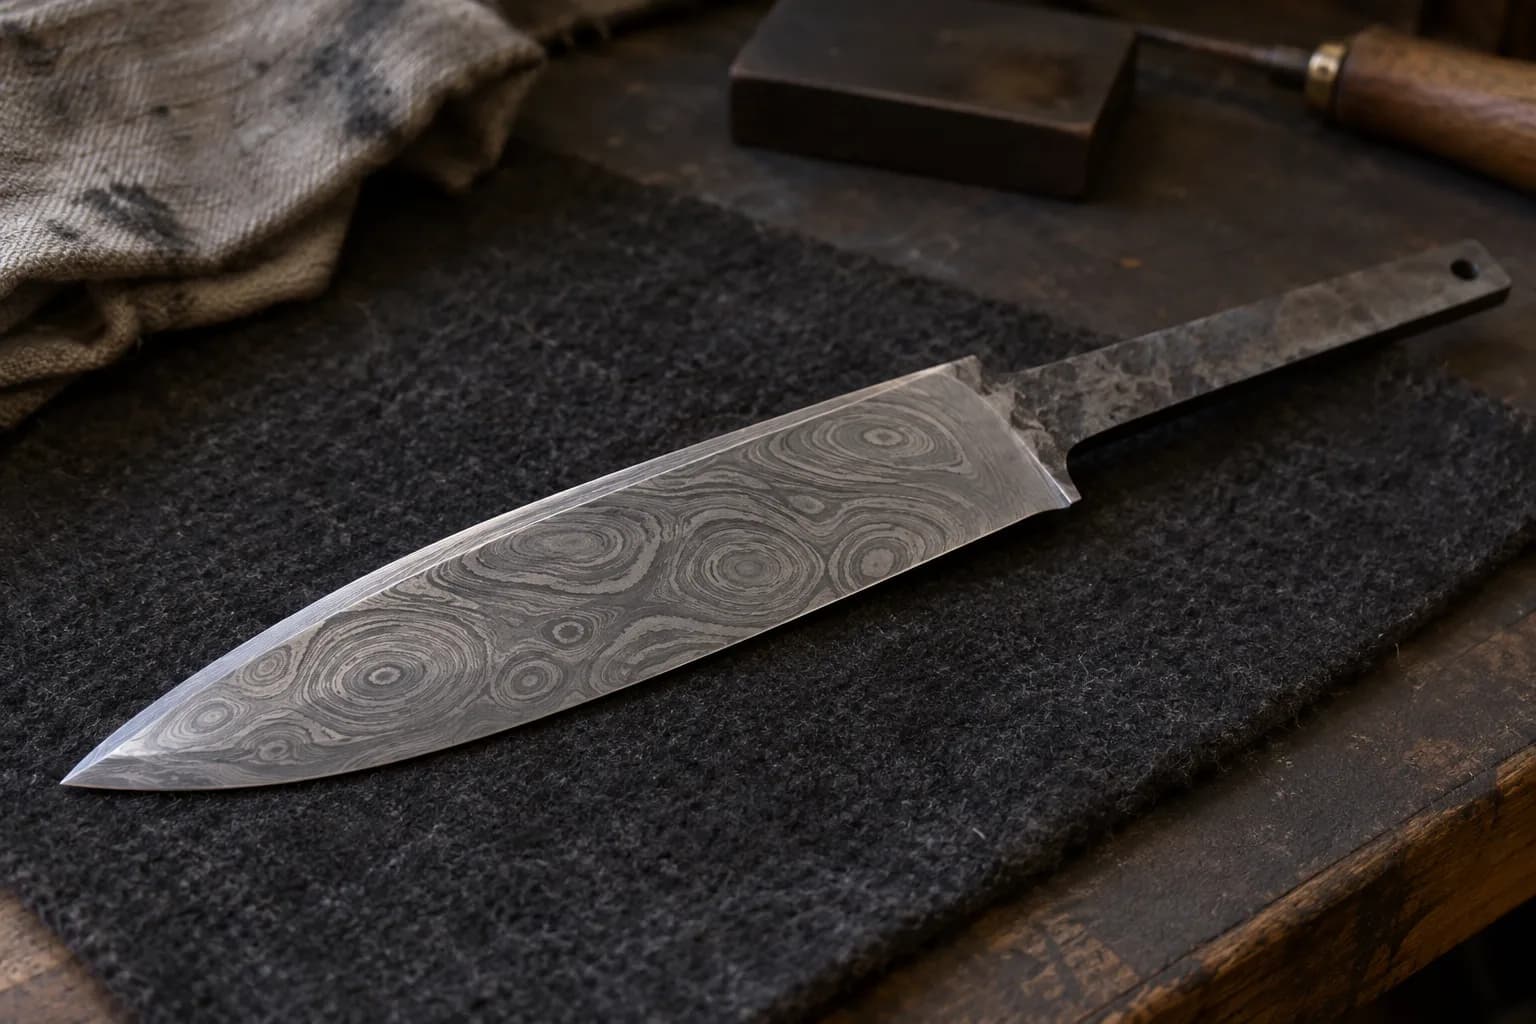
Dimple size controls drop size; depth controls how many rings each drop shows; density controls busyness. A sparse scatter of large drops over a fine-layer background is elegant; a dense grid of small drops reads almost like lace. And the combination move — raindrop over a lightly twisted bar — puts rings over flowing rope for serious visual depth.
Keep reading
Three more from the same bench.
Modern “damascus” is pattern-welded steel: two different steels stacked, forge welded into one solid billet, and manipulated so that grinding and etching…
The ladder is the classic first damascus pattern — bold, high-contrast rungs marching across the blade — and it’s the perfect introduction to the core…

Until it’s etched, a damascus blade is just gray steel with faint ghost lines — every bit of drama comes from the acid. Etching is simple chemistry done…
Same bench
I machine the parts, hand-assemble, track and test Torus grinders in Sterling, Illinois. Most orders ship in seven to ten business days from time of order.

Current dual-axis platform with a fiber-laser-cut 6061 chassis and single-knob tracking.

Current dual-axis platform with a steel chassis, more mass and less vibration.

Prior-design aluminum chassis, 90-degree tilt and 1.5-inch tooling arms.

One-man shop
I answer my own email. Tell me the steel, the machine and what it is doing, and I will tell you what I would try next.