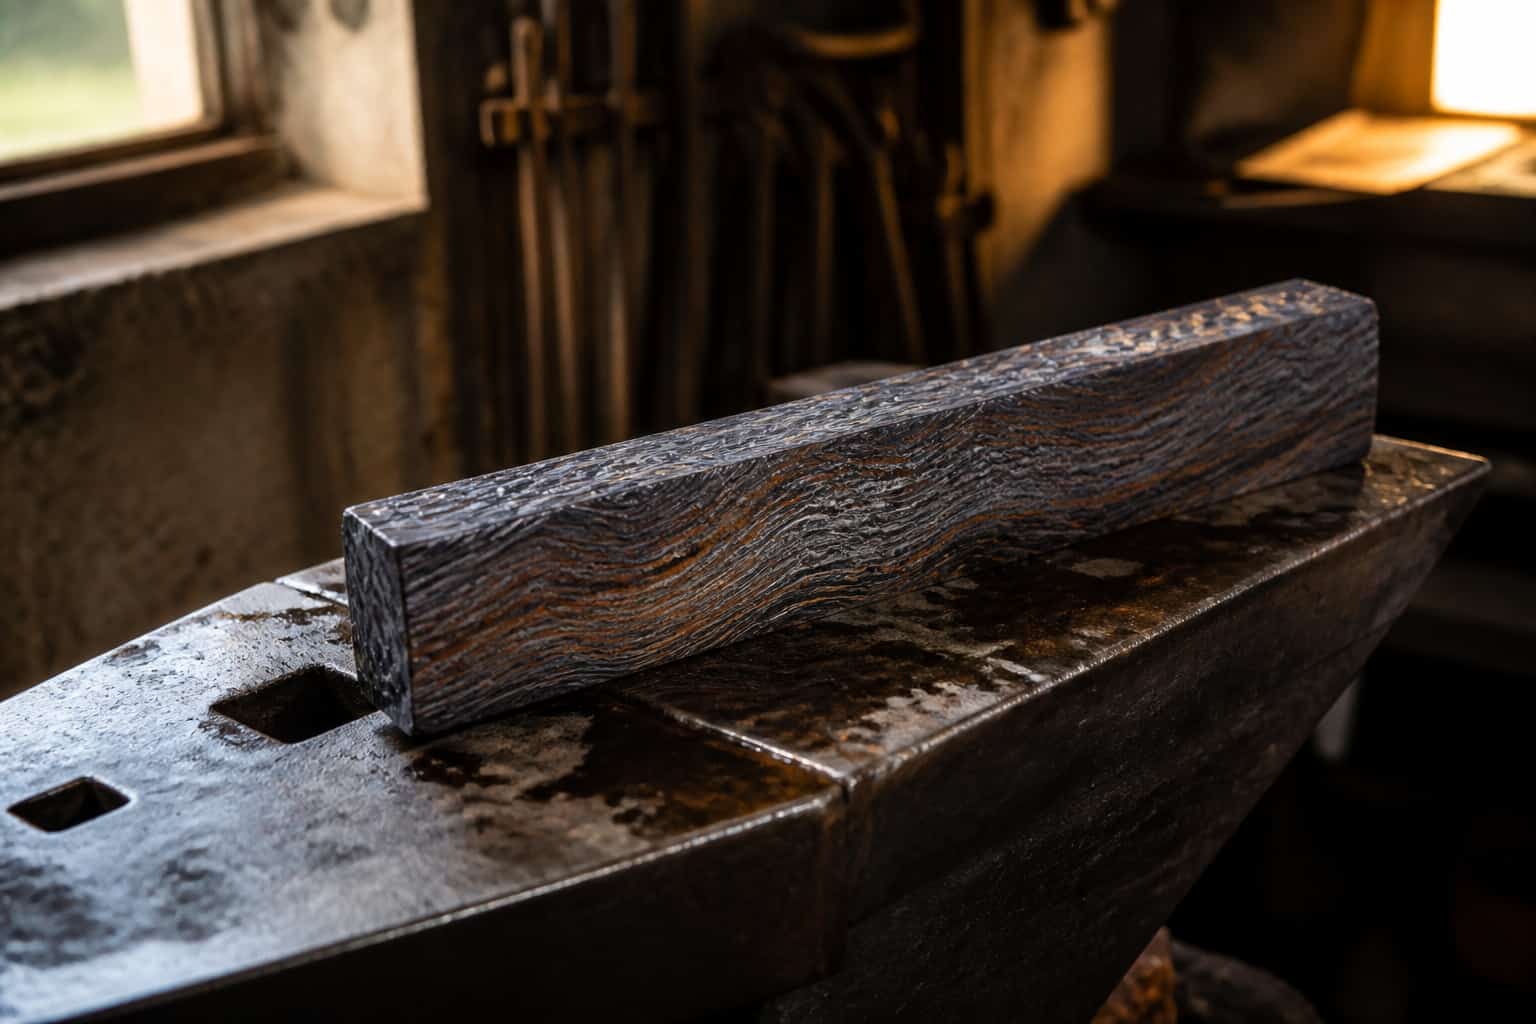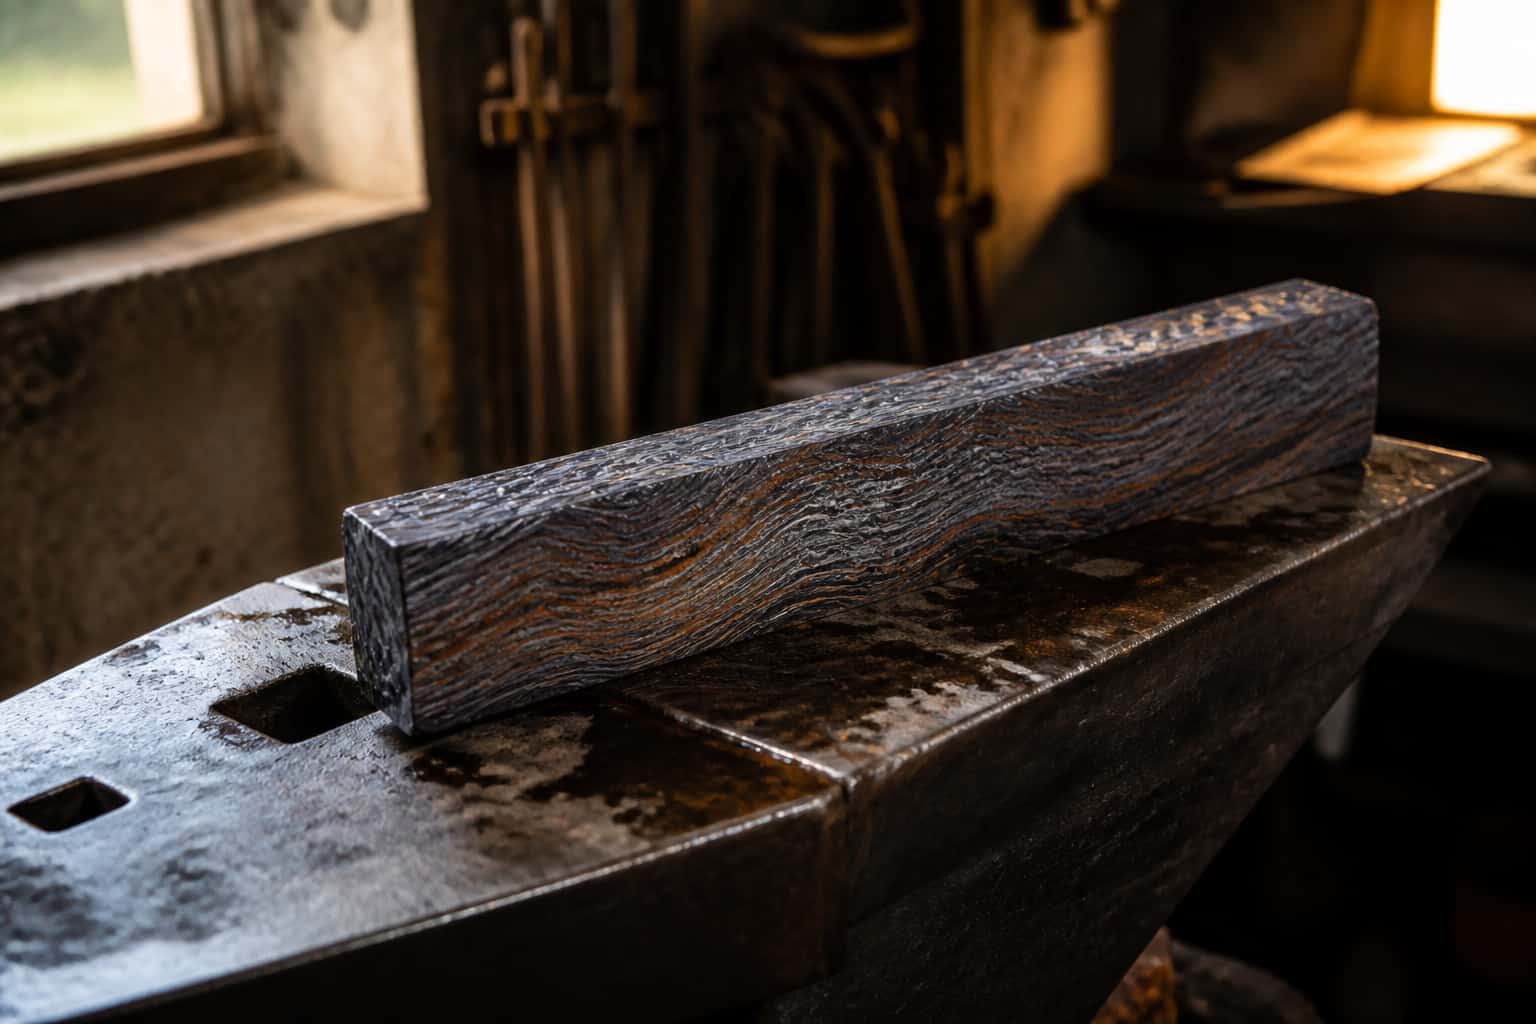
Freshly etched twist-pattern damascus billet with a vivid layered grain resting on an anvil

Damascus & Pattern Welding

Etching Damascus: Ferric Chloride, the Coffee Trick & Finishing

Etching damascus step by step: 3:1-4:1 ferric chloride dilution, etch cycles, baking soda neutralizing, the coffee darkening trick, and finishing.

3 min readWritten by Rich LinvilleFree to read

Until it’s etched, a damascus blade is just gray steel with faint ghost lines — every bit of drama comes from the acid. Etching is simple chemistry done patiently: ferric chloride eats the carbon-steel layers faster than the nickel-bearing ones, leaving the 15N20 bright and proud while the 1084 recedes dark. Here’s the full process, from final sanding to the coffee trick.
What You Need

  • Ferric chloride — sold as PCB etchant (electronics suppliers) or as knifemaker’s etchant from the usual suppliers
  • Distilled water for dilution, a non-metallic container tall enough to submerge the blade (PVC pipe with a cap, plastic jug)
  • Baking soda, acetone or glass cleaner for degreasing, 0000 steel wool or 2000-grit paper, nitrile gloves and eye protection
  • Optional but worth it: a jar of strong instant coffee (really)

Step by Step

  1. Finish the blade first — completely. Etching is the last step before final assembly: heat treated, ground, and hand-sanded to at least 400 grit (800+ gives cleaner, brighter results). Every scratch left on the blade etches into permanence.
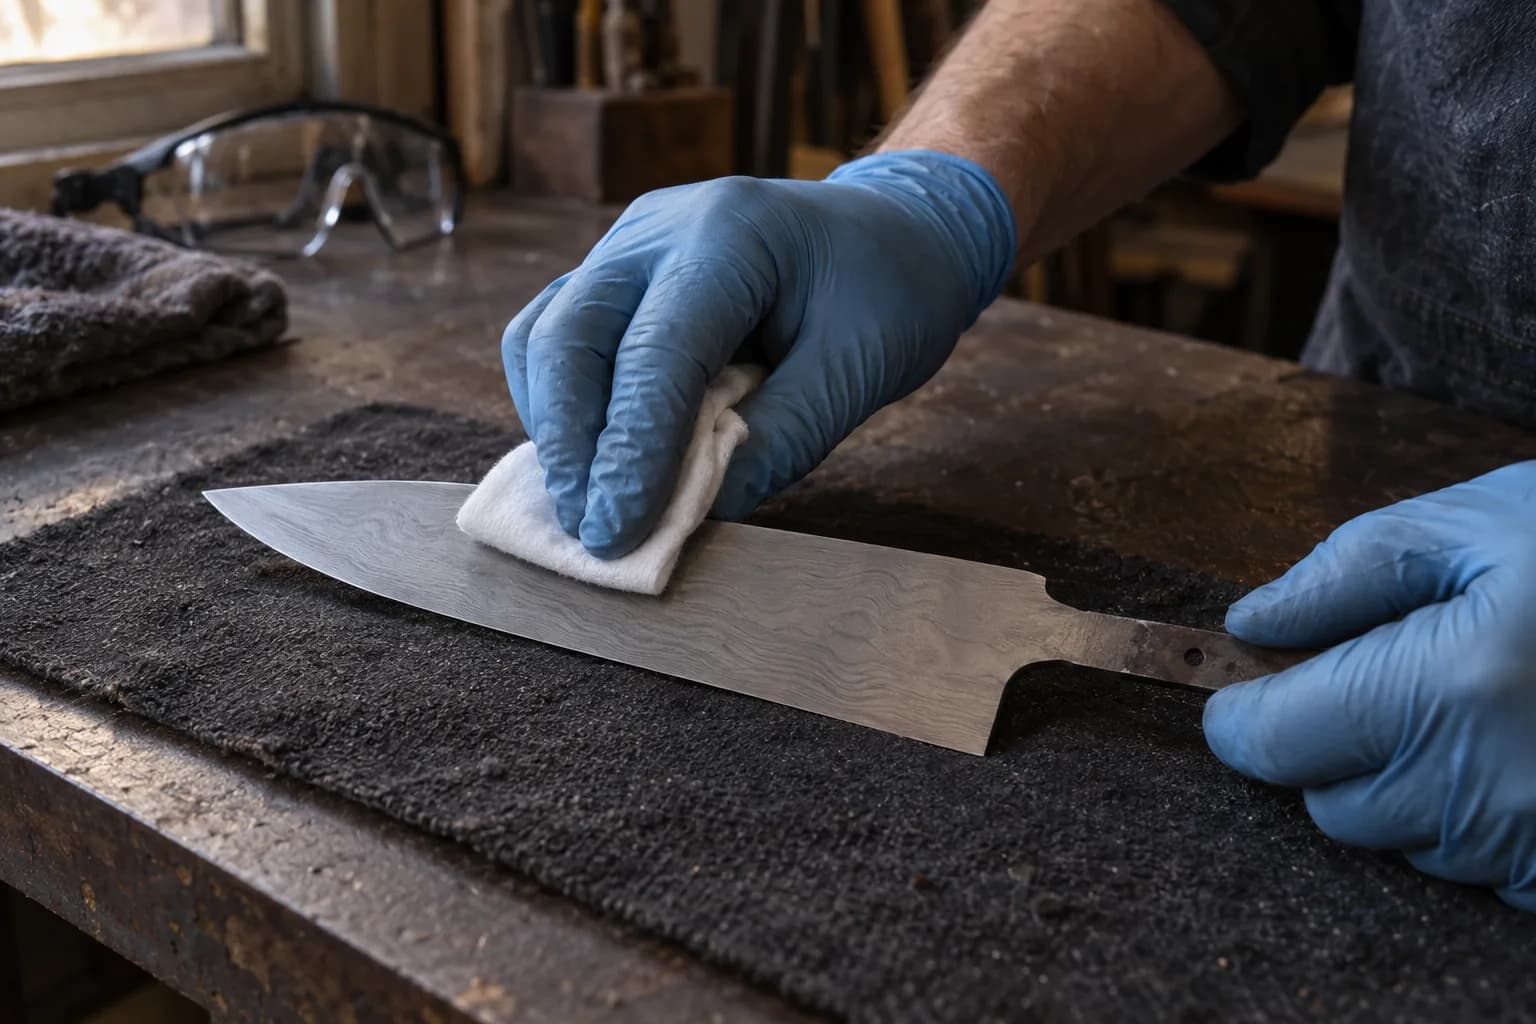
  2. Degrease like it matters, because it does. Acetone or glass cleaner, wiped until a clean patch of paper towel stays clean — then don’t touch the steel again. One fingerprint = one blotchy etch shaped exactly like your thumb.
    Blue nitrile-gloved hands wiping a sanded Damascus chef blade blank with a white pad on a dark mat before etching
  3. Mix the etchant: 3–4 parts distilled water to 1 part ferric chloride. The common knifemaker’s dilution. Stronger works faster but coarser; 4:1 etches slower with more control, which is what you want on a first attempt. Room temperature.
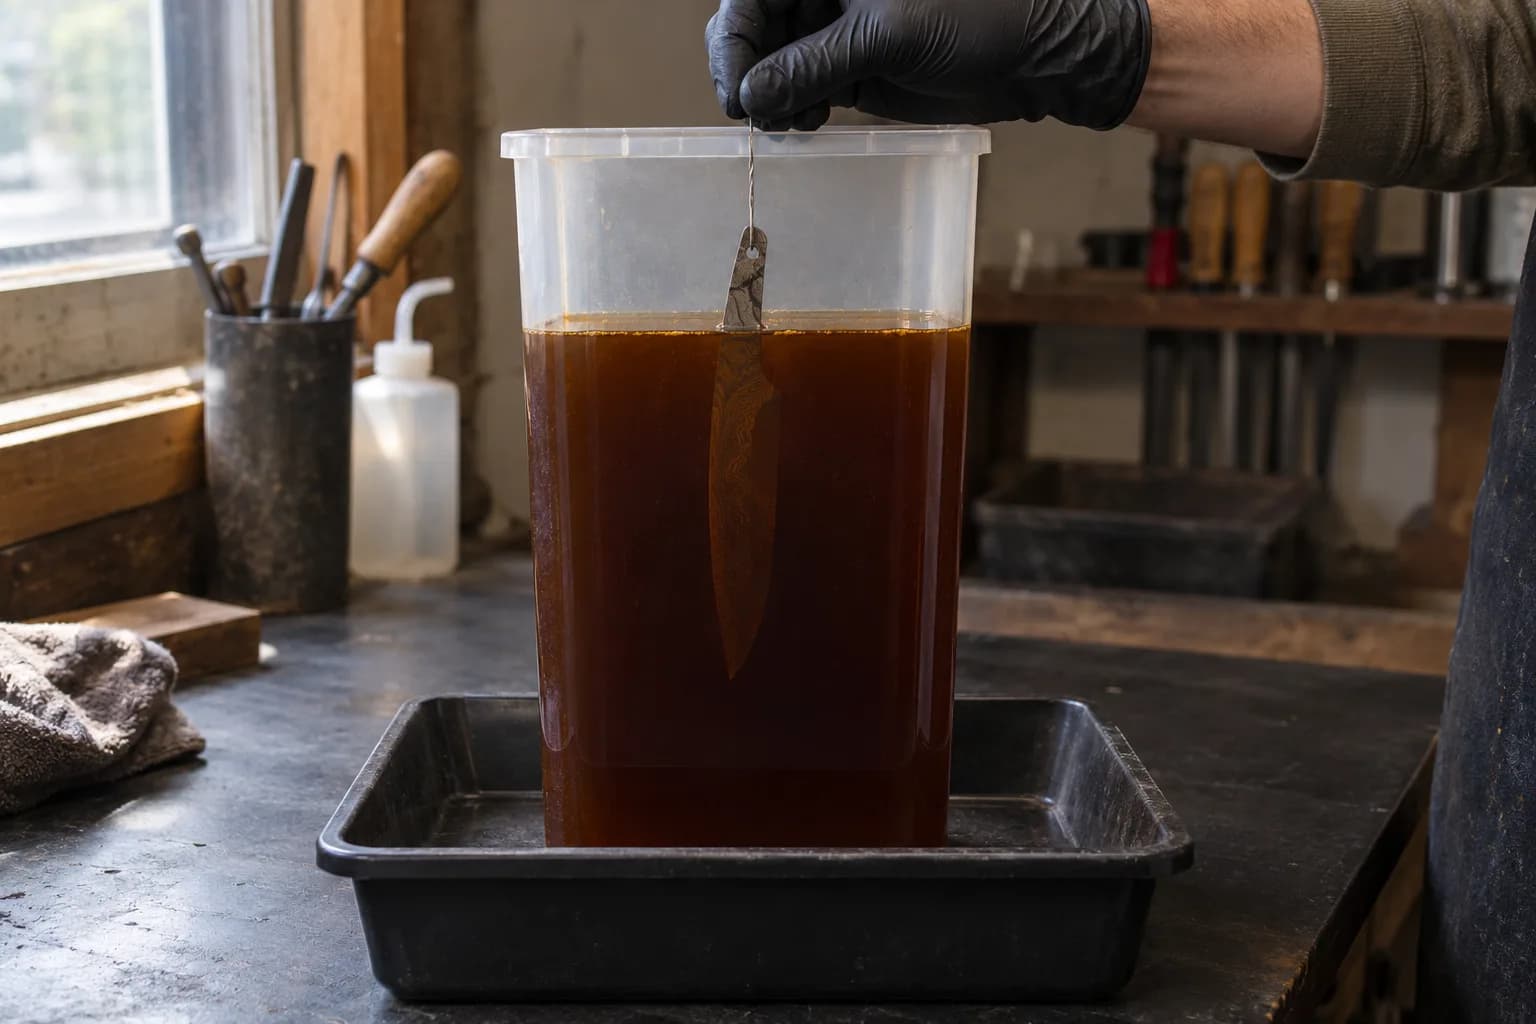
  4. Etch in cycles, not one long soak. Suspend the blade fully submerged (hang it on a wire through the tang hole — resting it against the container leaves a line). Etch 10–15 minutes, pull it, rinse in water, and very lightly wipe the gray-black oxide film off with 0000 steel wool or worn 2000-grit under running water. Back in the tank. Repeat 2–4 cycles until the pattern has the depth and topography you want — you can feel the layers with a fingernail on a well-etched blade.
    Gloved hand holding a wire that hangs a Damascus blade by its tang hole in a tall tub of dark brown etchant on a tray
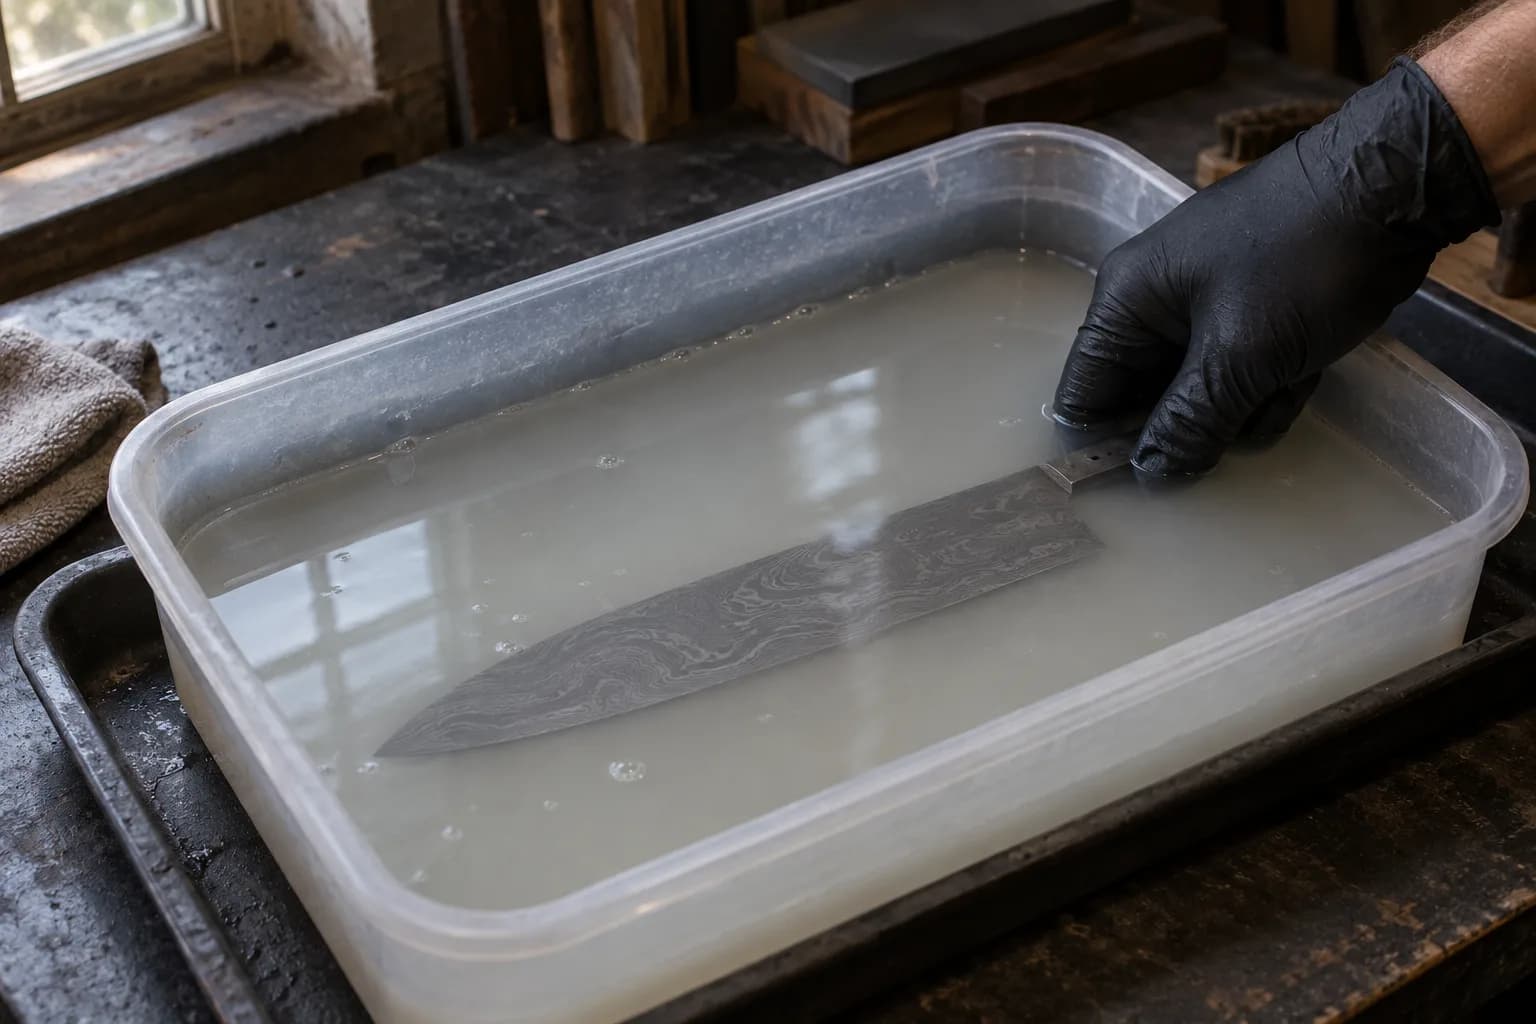
  5. Neutralize. Into a baking-soda-and-water bath for several minutes, then rinse thoroughly and dry completely. Skipping neutralization leaves active acid in the pattern’s valleys, quietly rusting under your finish.
    Gloved hand steadying an etched Damascus chef blade under cloudy baking-soda water in a plastic tub on a tray
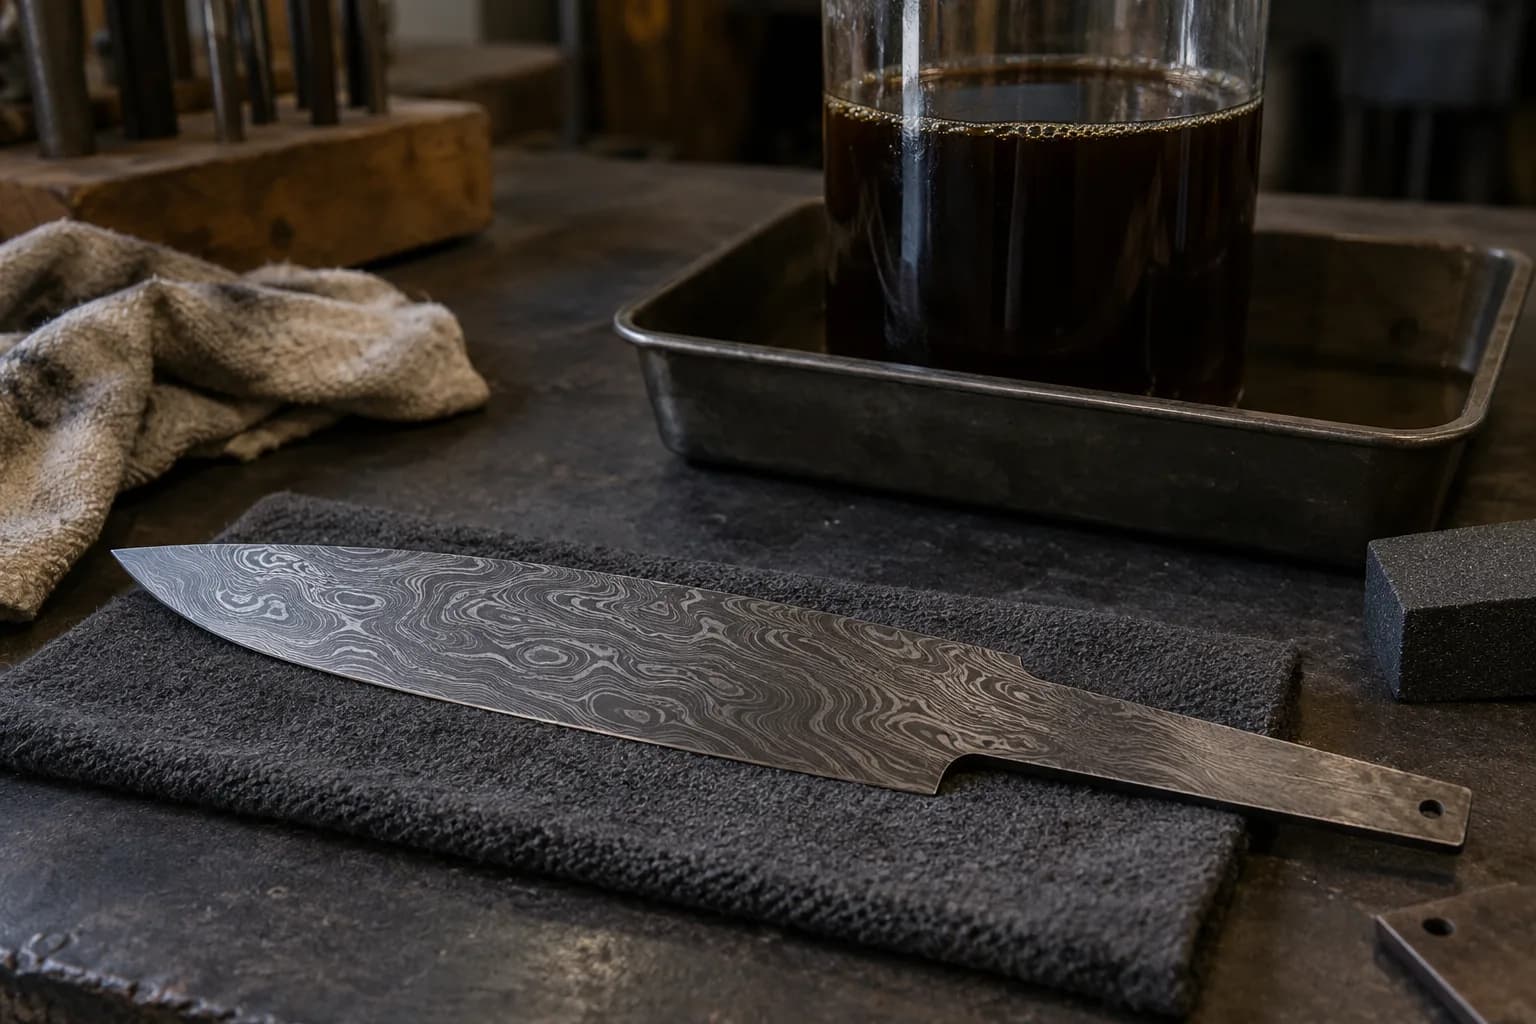
  6. Optional: the coffee etch. Submerge the neutralized blade in strong, hot instant coffee for 30–60 minutes. The tannins darken the carbon-steel layers dramatically without further attacking the steel — it’s the difference between gray-on-silver and black-on-silver, and it’s a standard trick among makers for good reason.
    Coffee-darkened Damascus chef blade blank with bright silver layers on a dark pad, a glass vessel of coffee behind
  7. Optional: brighten the highs. An extremely light pass with 2000-grit on a hard flat backer polishes just the raised nickel layers, making the contrast pop further. Feather-light — you’re kissing the peaks, not sanding the blade.
  8. Oil immediately. A fresh etch is bare, activated carbon steel and it wants to rust (see rust troubleshooting). Mineral oil or a wax-based finish the same hour. For working knives, tell the owner: damascus is carbon steel with better graphics, and it gets carbon-steel care.

Troubleshooting the Etch

  • Weak, ghosty pattern: under-etched (more cycles), or the etchant is exhausted — old ferric loaded with dissolved iron slows to a crawl. Refresh the batch.
  • Blotchy patches: grease or fingerprints. Sand back past the etch, re-degrease, re-etch.
  • Pattern vanishes when you sand after etching: you sanded, not wiped. Only the lightest oxide-removal touches between cycles.
  • Uniform gray, no contrast: both steels etching alike — usually means the billet isn’t actually two contrasting steels (mystery-steel damascus strikes again — see found steel) or the etch never got past the surface scratches.

Sources

Keep reading

Read these related guides

Three more from the same bench.

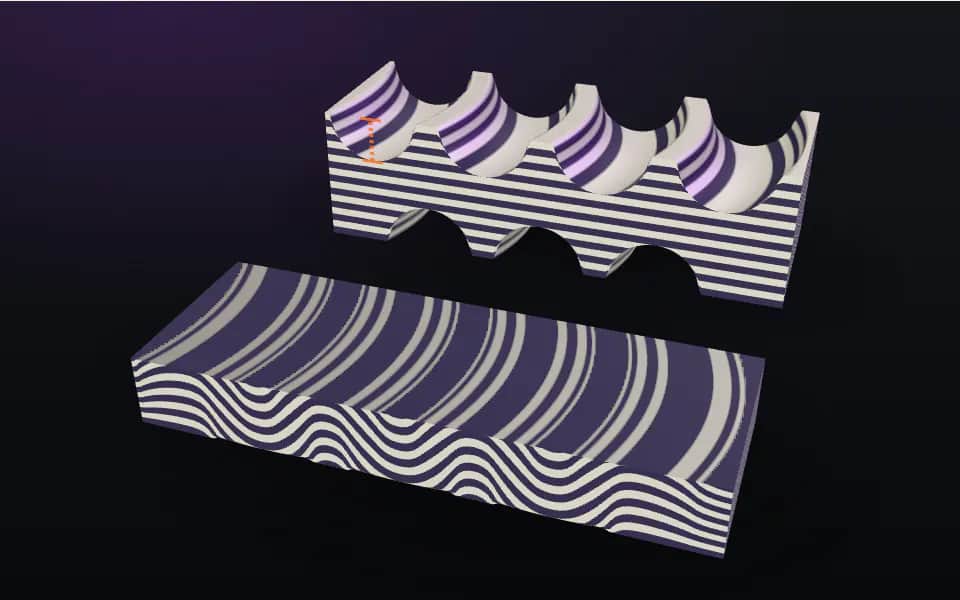
  • 3D figure: a layered billet with half-round grooves cut across it, and the flattened bar showing ladder rungs in its layers
    Damascus & Pattern Welding

    Ladder Pattern Damascus: Step by Step

    The ladder is the classic first damascus pattern — bold, high-contrast rungs marching across the blade — and it’s the perfect introduction to the core…
    Read the guide
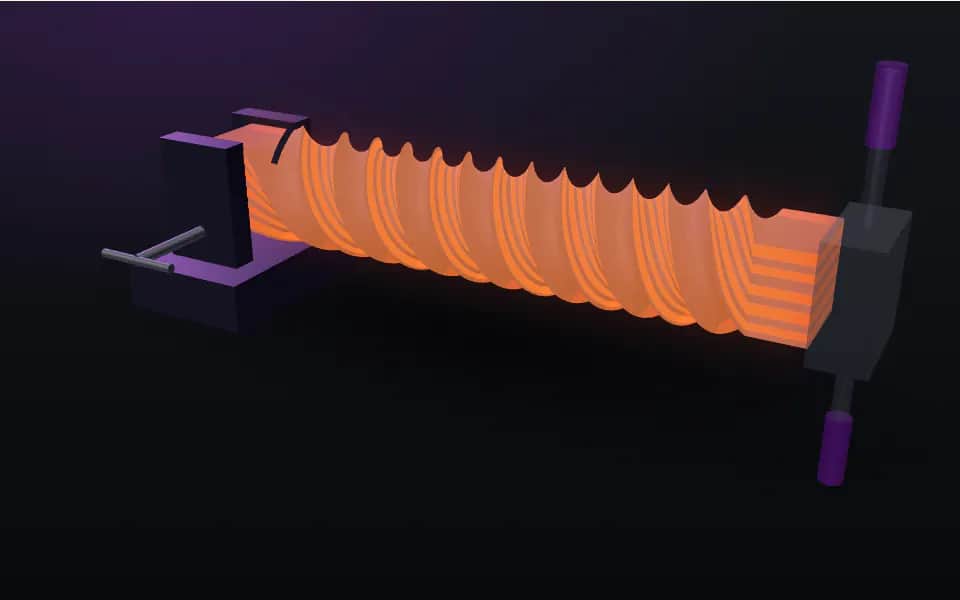
  • 3D figure: a hot square damascus bar held in a vise and twisted with a wrench, its layers spiralling along the bar
    Damascus & Pattern Welding

    Twist Pattern Damascus: Step by Step

    Twist damascus is the pattern that looks like it required a wizard and turns out to require a pipe wrench. Twist the layered bar while it’s hot, grind it…

    Read the guide

Same bench

Put the reference to work

I machine the parts, hand-assemble, track and test Torus grinders in Sterling, Illinois. Most orders ship in seven to ten business days from time of order.

  • Classic aluminum 2x72 grinder, side view with flat-platen tool arm and yellow Safety Rules label, on black with a purple glow

    Torus 2×72 Classic Aluminum Belt Grinder

    Prior-design aluminum chassis, 90-degree tilt and 1.5-inch tooling arms.

    Starts at$995View

One-man shop

Still stuck? Ask me.

I answer my own email. Tell me the steel, the machine and what it is doing, and I will tell you what I would try next.