
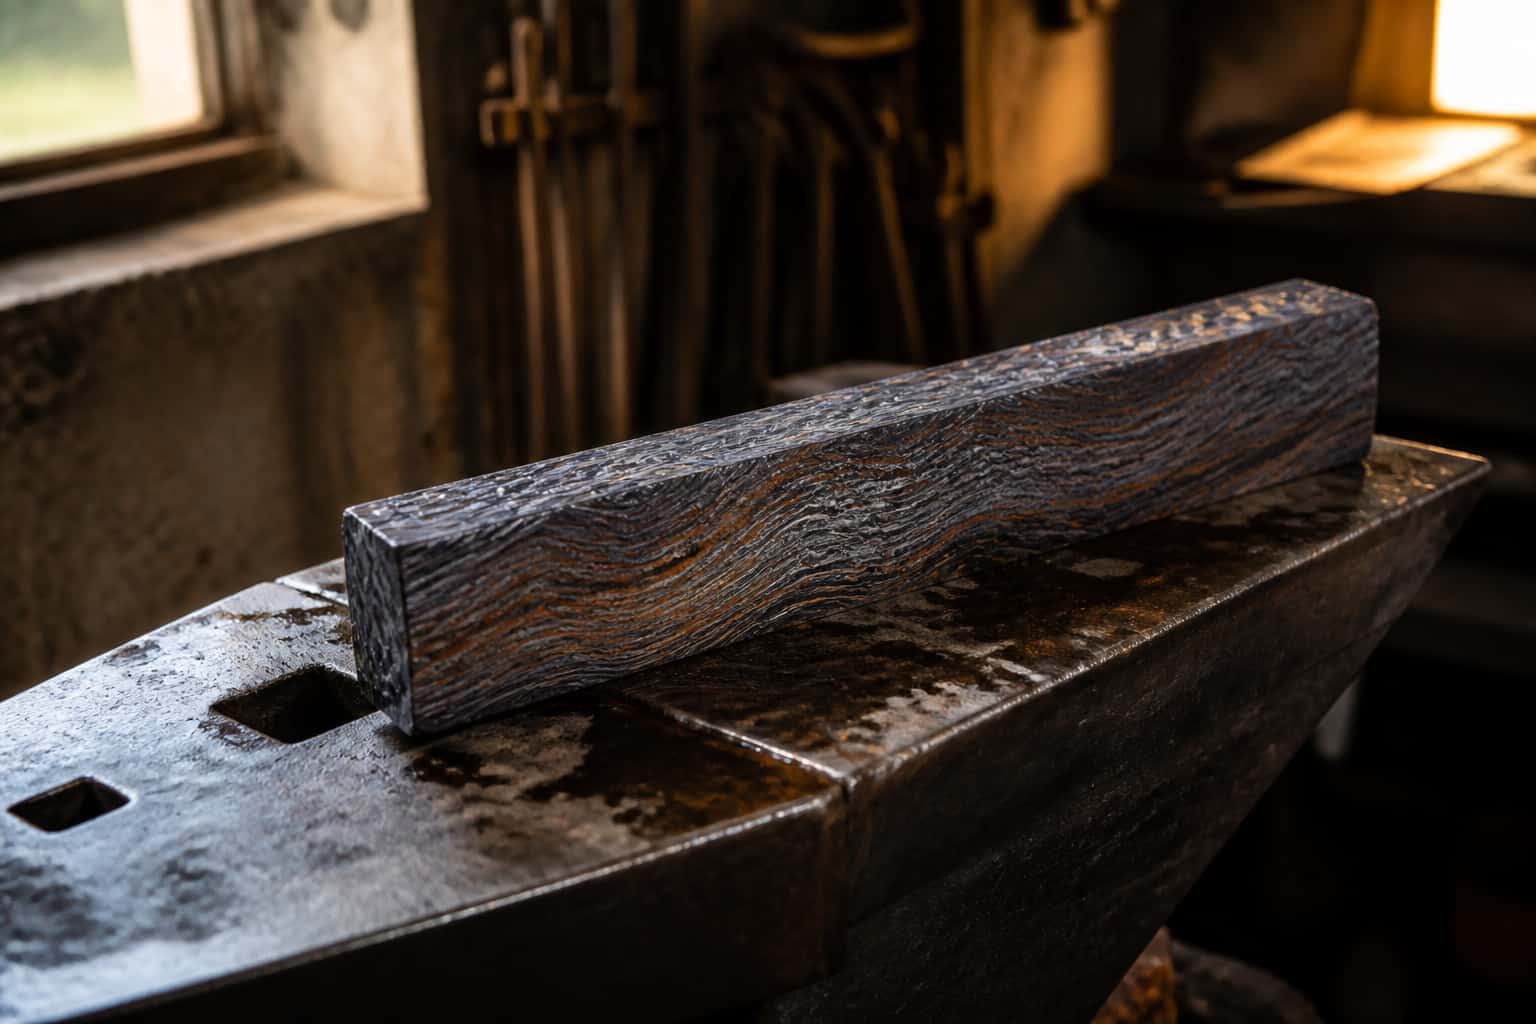
Damascus & Pattern Welding
How Damascus Is Actually Made: Your First Pattern-Welded Billet
Modern “damascus” is pattern-welded steel: two different steels stacked, forge welded into one solid billet, and manipulated so that grinding and etching…
Damascus & Pattern Welding
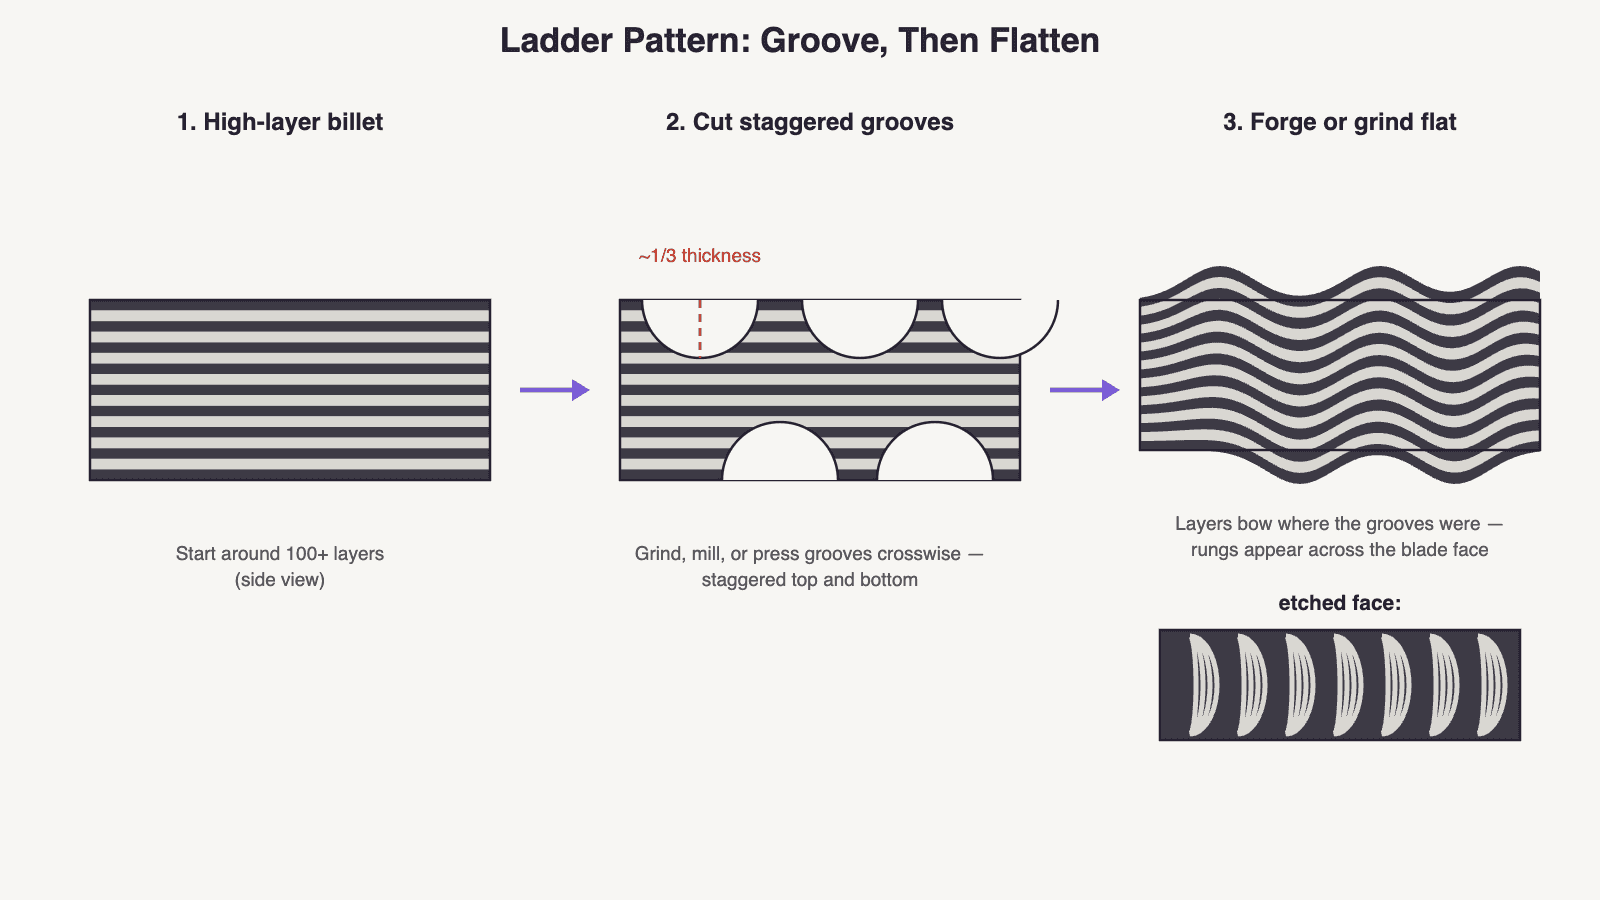
Make ladder damascus: cut evenly spaced grooves about one-third deep, stagger them top and bottom, flatten by forging or grinding, then etch the rungs.
2 min readWritten by Rich LinvilleFree to read
The ladder is the classic first damascus pattern — bold, high-contrast rungs marching across the blade — and it’s the perfect introduction to the core idea behind almost every pattern: damascus patterns are made by cutting or moving material so the flat layers get exposed at an angle. Cut into the layers, flatten the bar back out, and the layers bow around where the material was removed. That’s the whole trick.
Prerequisite: a solid welded billet of 100+ layers — see How Damascus Is Actually Made if you’re not there yet.
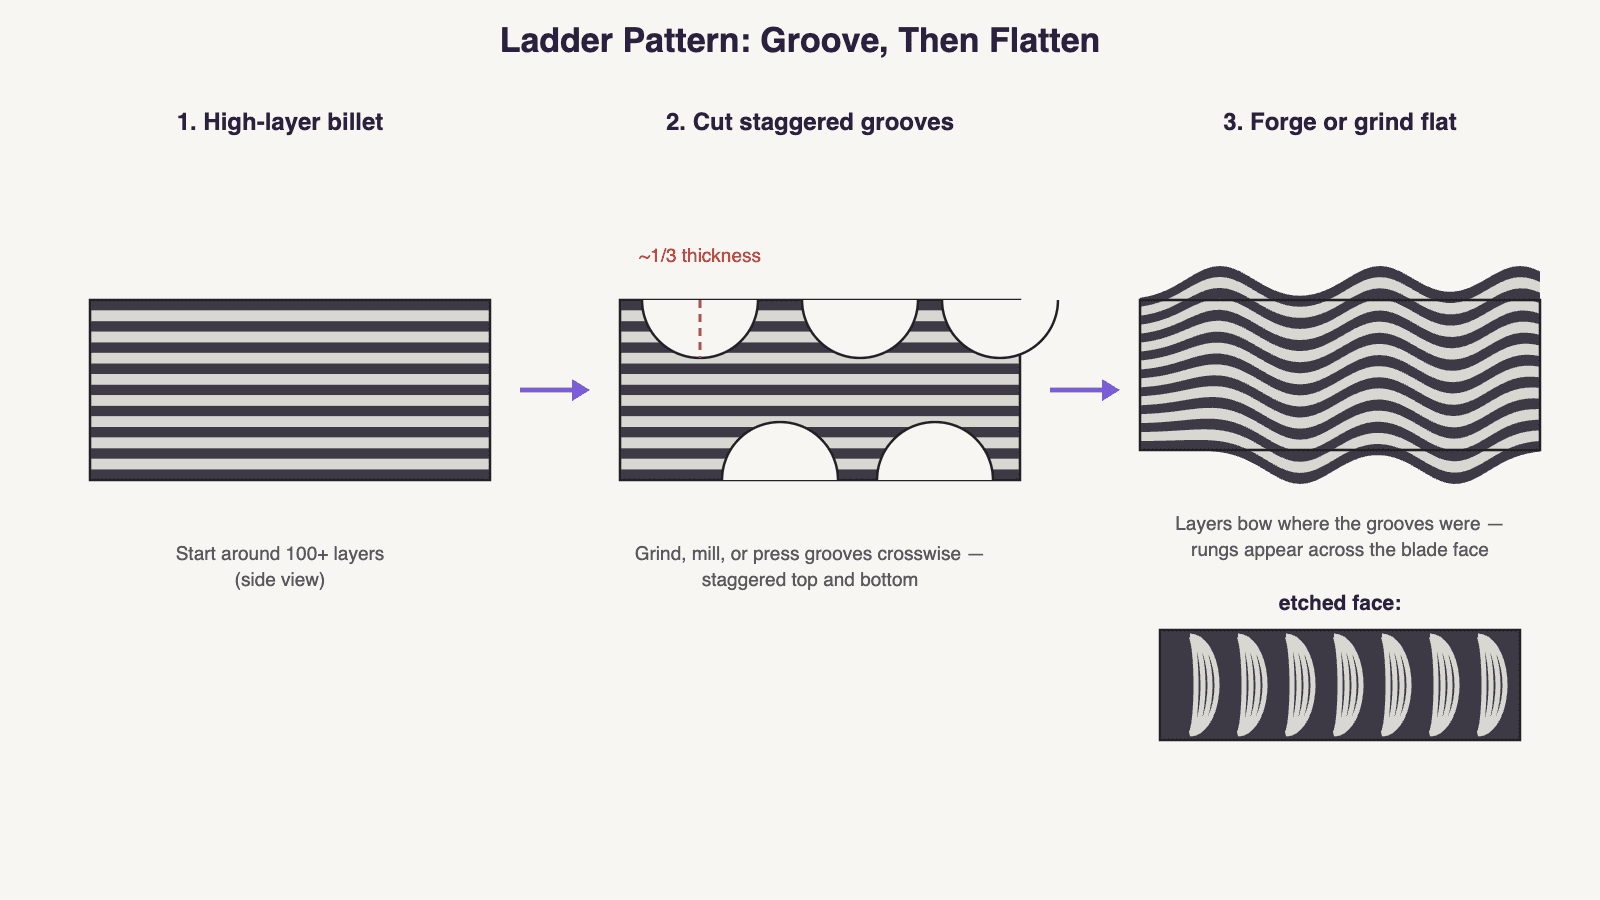
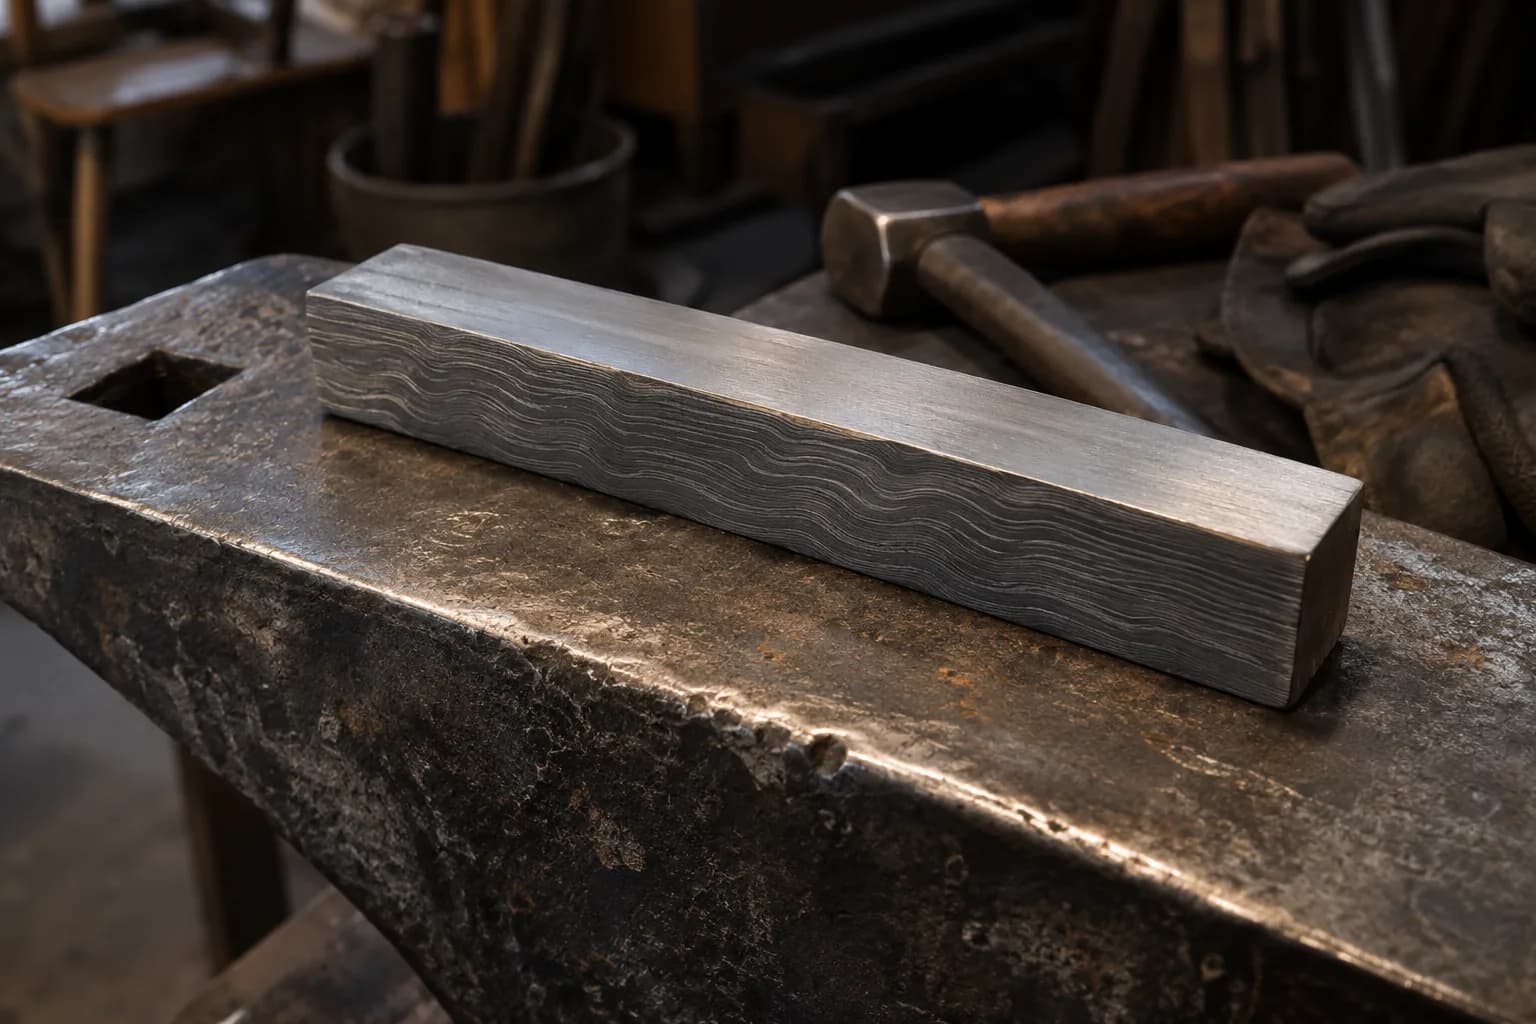
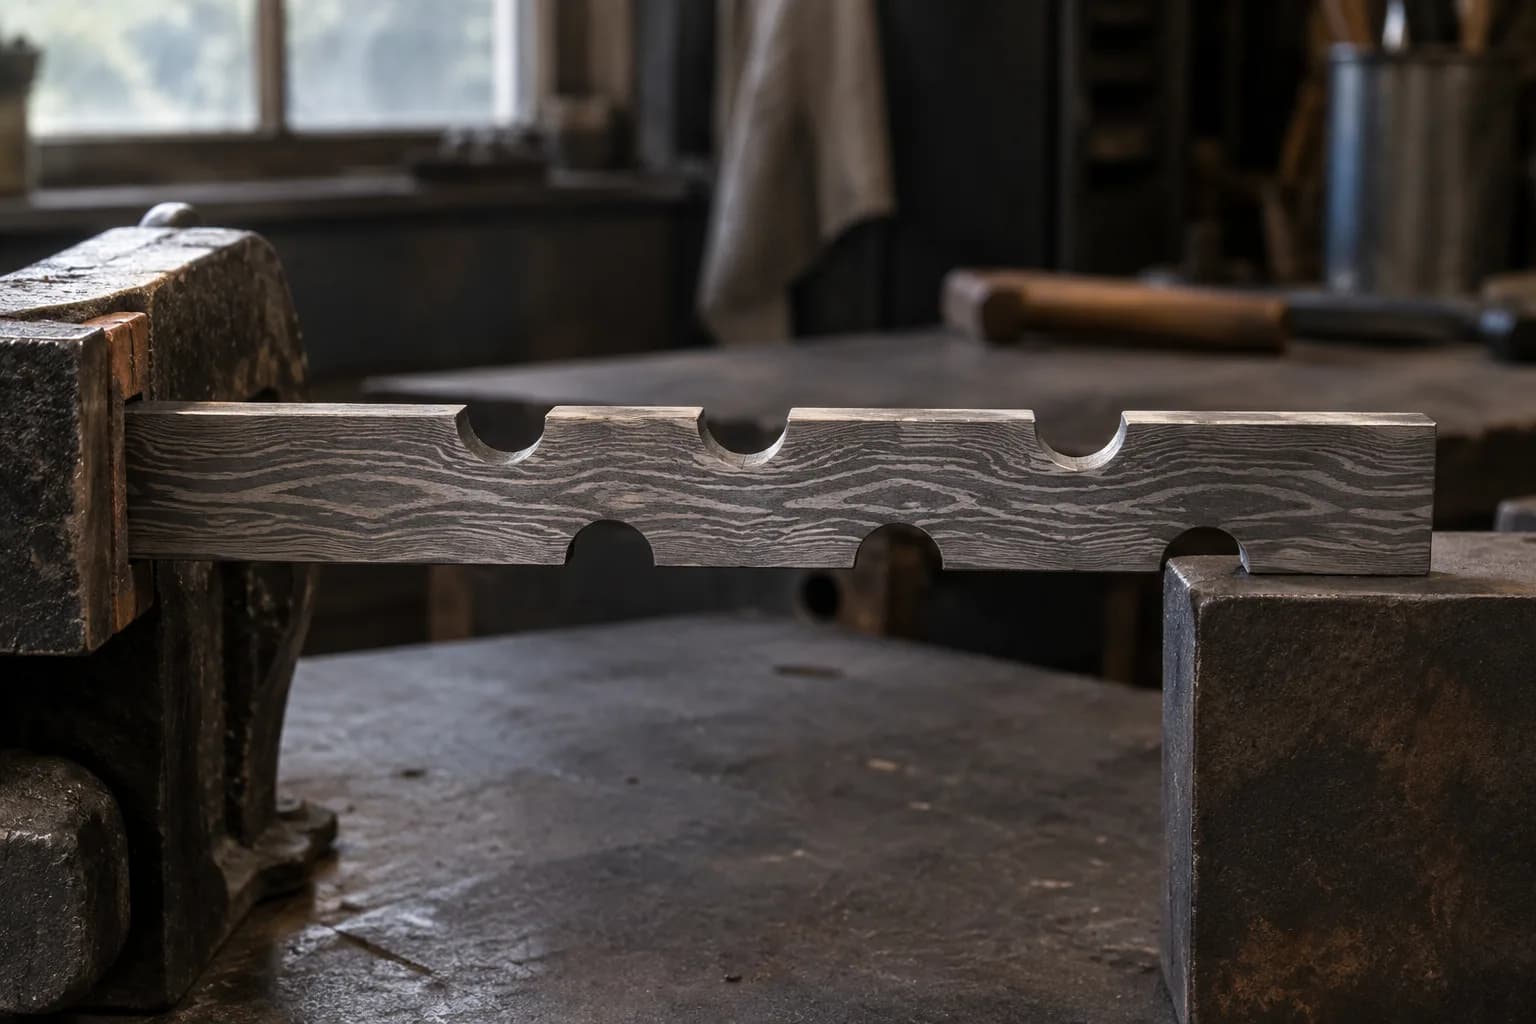
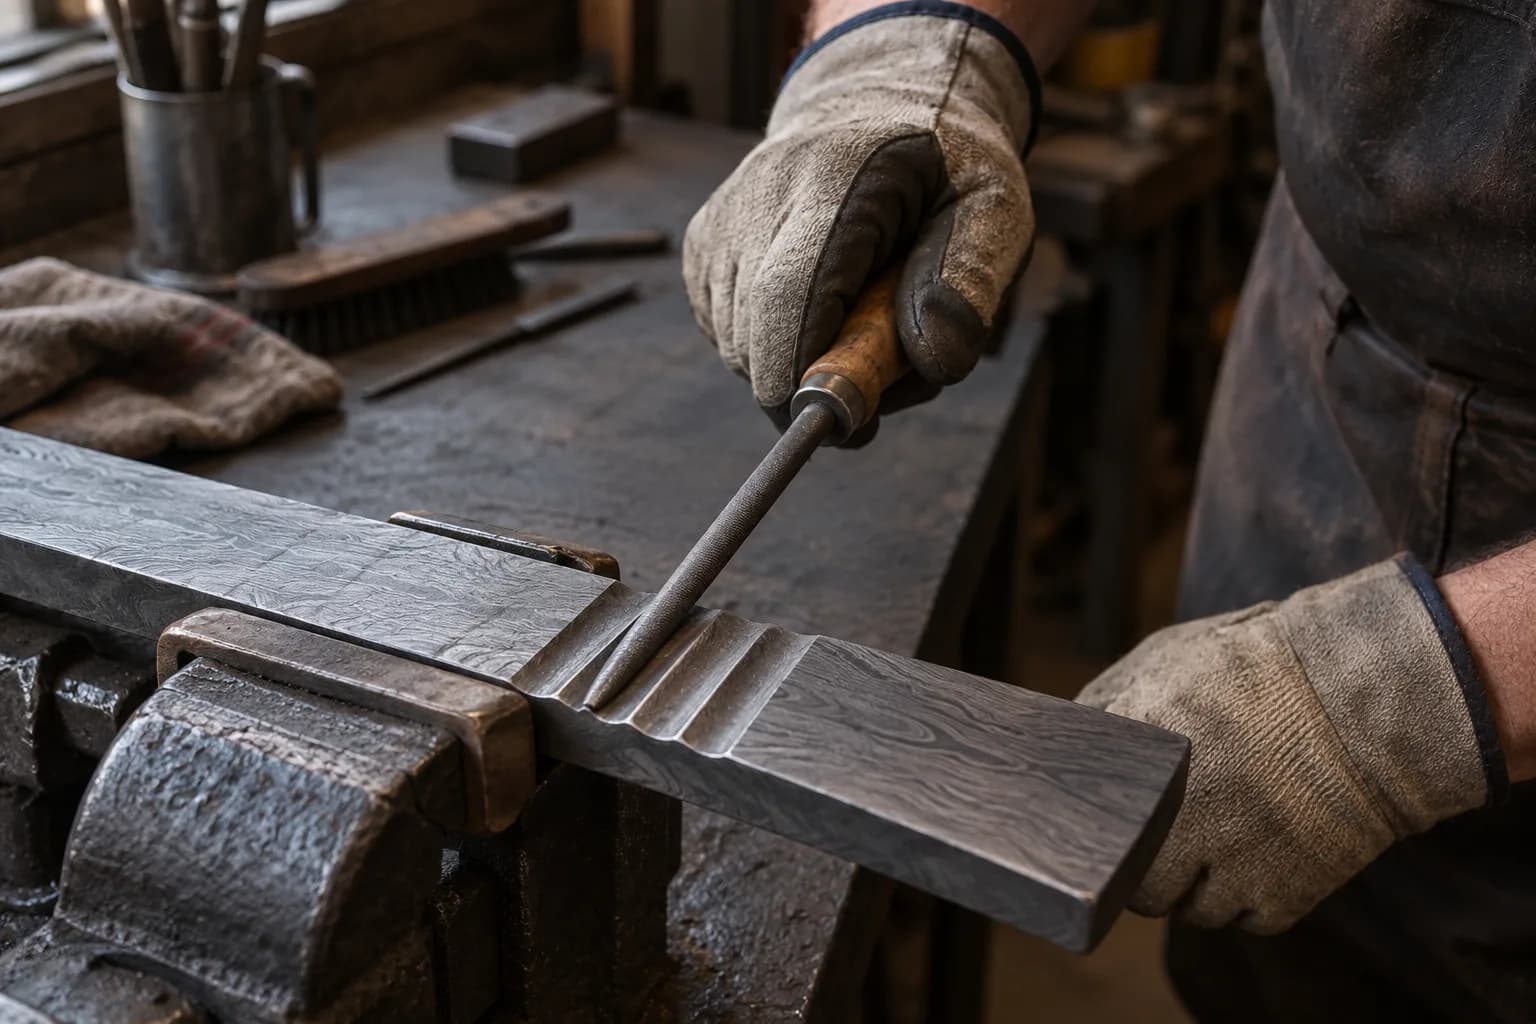
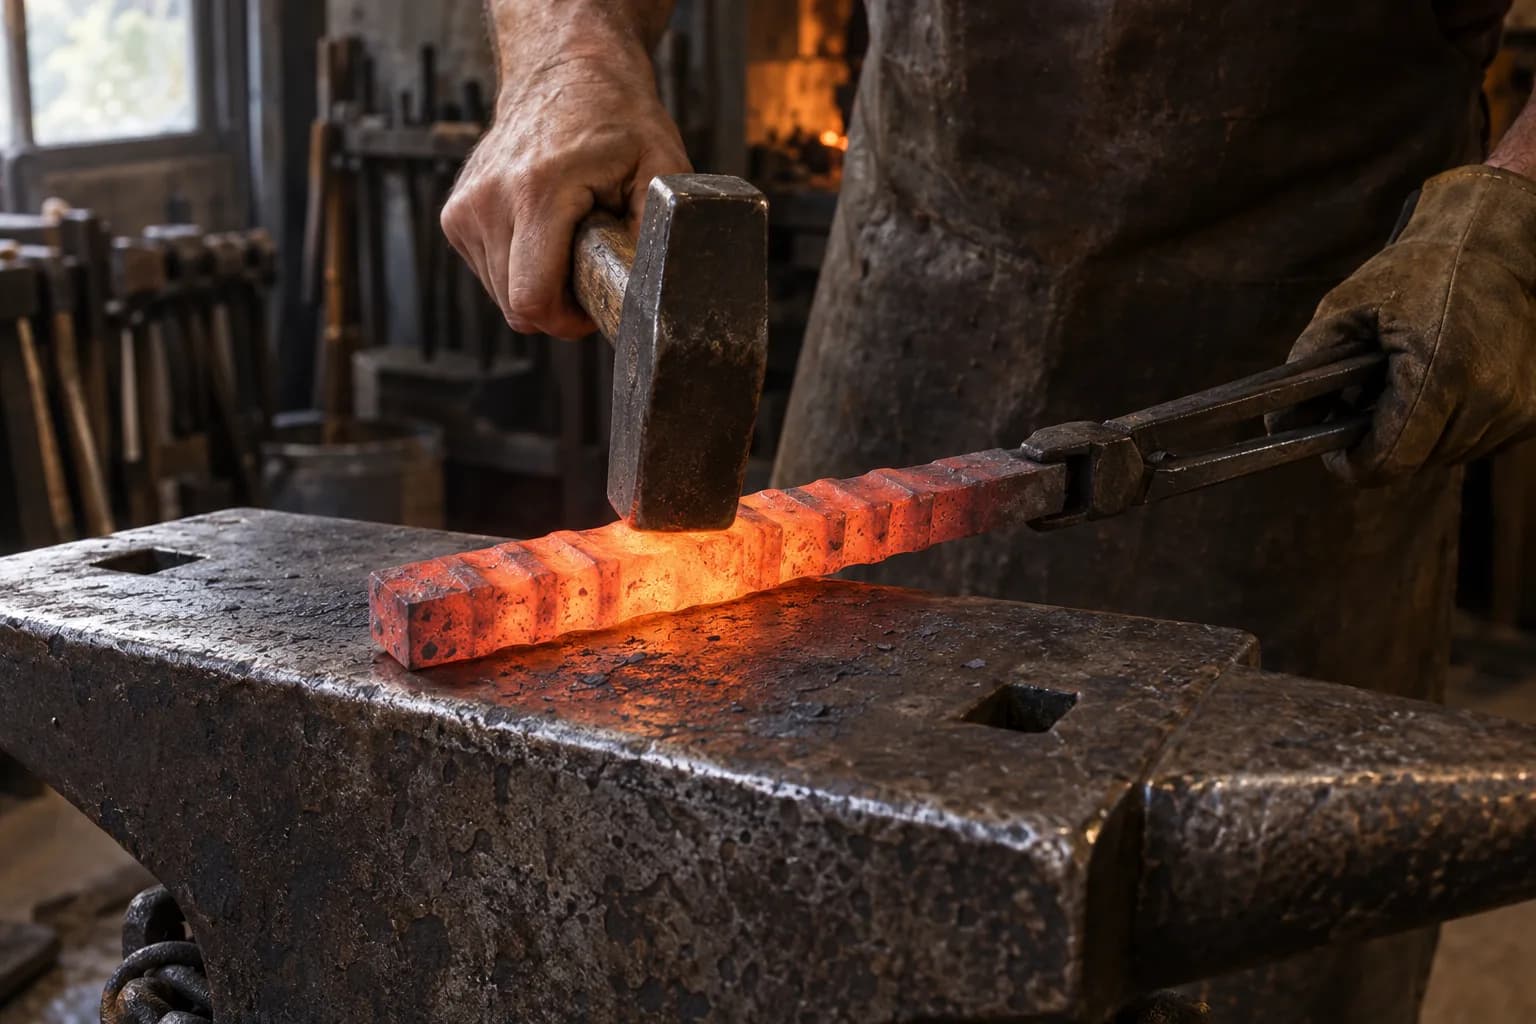
Vary groove spacing (tight = fine rhythm, wide = bold), groove width, or combine techniques — a gentle twist before laddering curves the rungs; grooves cut at an angle instead of square across give a slanted ladder. The raindrop pattern is literally this same process with dimples instead of grooves — learn one, and you’ve mostly learned the other.
Keep reading
Three more from the same bench.
Modern “damascus” is pattern-welded steel: two different steels stacked, forge welded into one solid billet, and manipulated so that grinding and etching…
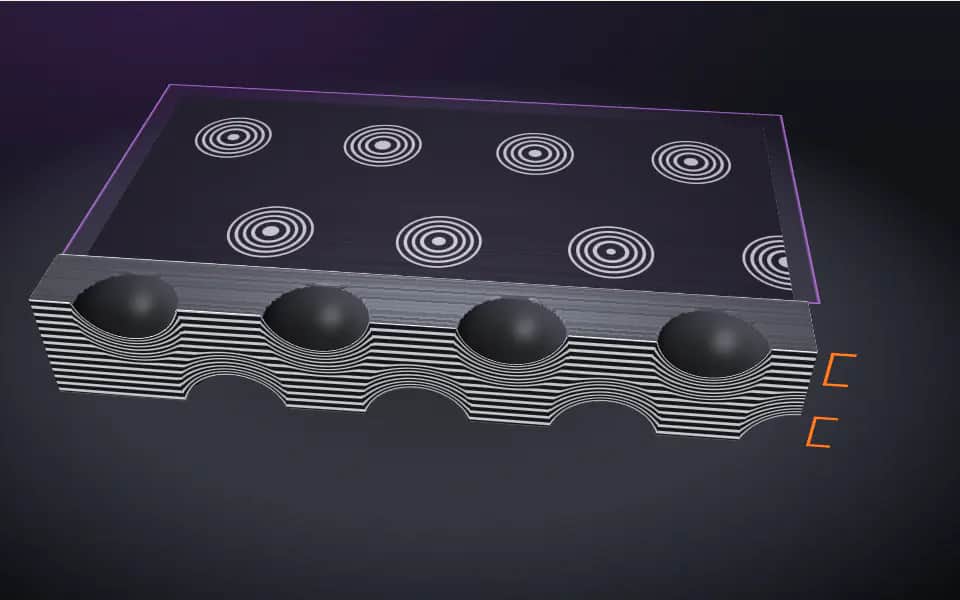
Raindrop damascus — also called birdseye or pool-and-eye — covers the blade in concentric rings, like rain hitting still water. If you’ve read the ladder…

Until it’s etched, a damascus blade is just gray steel with faint ghost lines — every bit of drama comes from the acid. Etching is simple chemistry done…
Same bench
I machine the parts, hand-assemble, track and test Torus grinders in Sterling, Illinois. Most orders ship in seven to ten business days from time of order.

Current dual-axis platform with a fiber-laser-cut 6061 chassis and single-knob tracking.

Current dual-axis platform with a steel chassis, more mass and less vibration.

Prior-design aluminum chassis, 90-degree tilt and 1.5-inch tooling arms.

One-man shop
I answer my own email. Tell me the steel, the machine and what it is doing, and I will tell you what I would try next.