
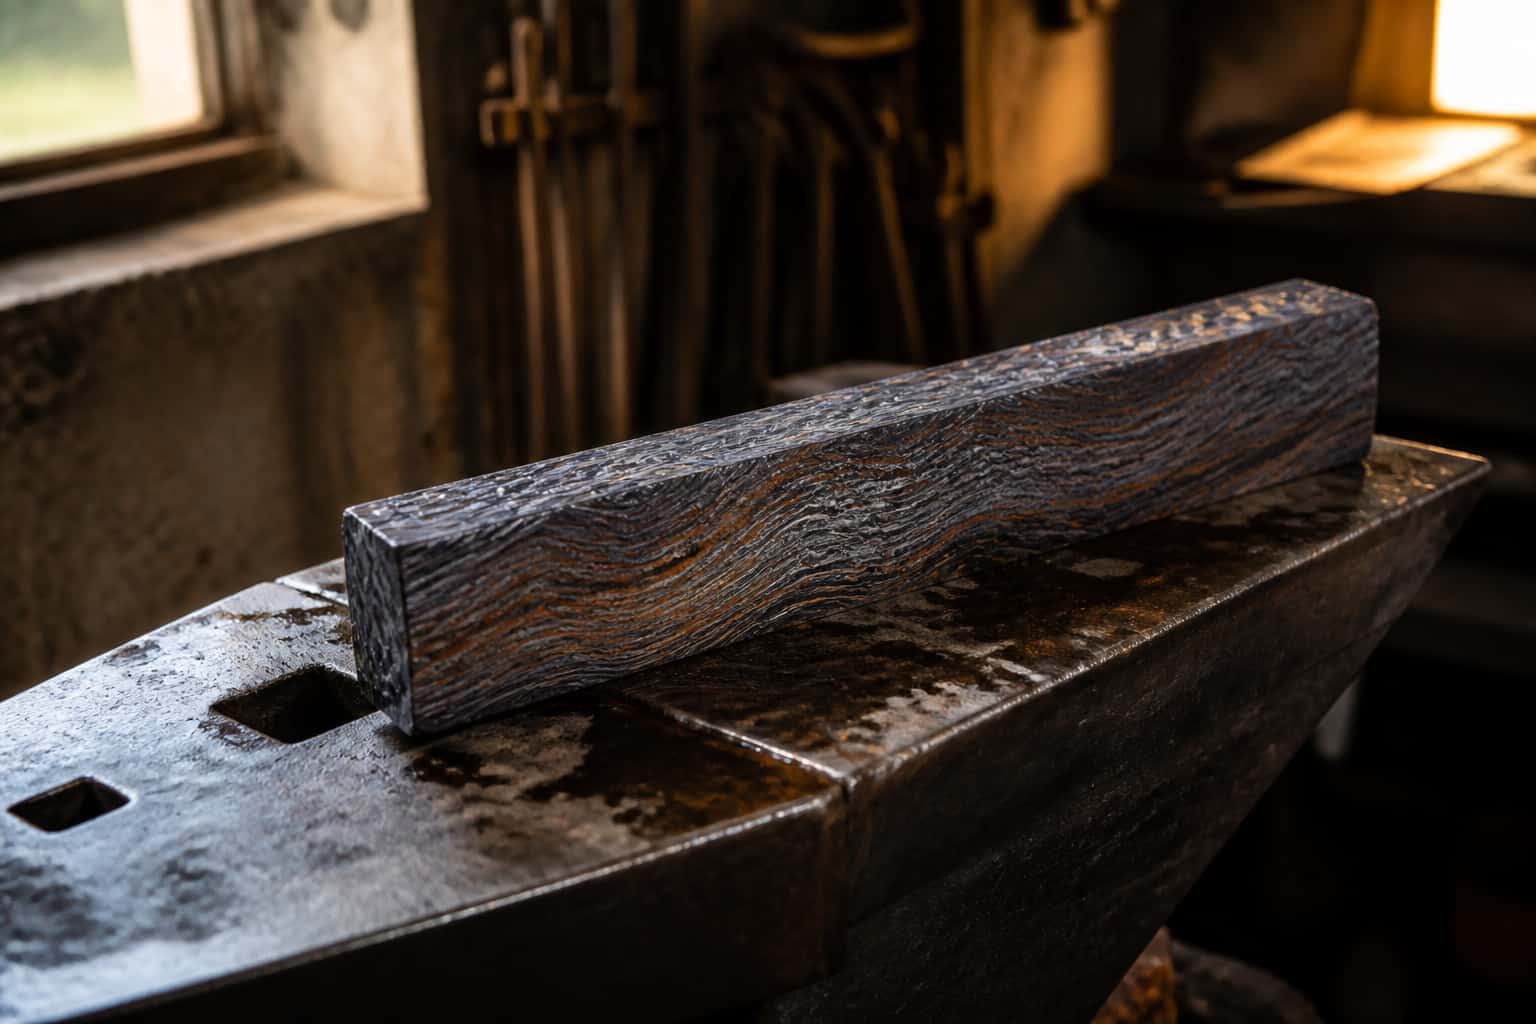
Damascus & Pattern Welding
How Damascus Is Actually Made: Your First Pattern-Welded Billet
Modern “damascus” is pattern-welded steel: two different steels stacked, forge welded into one solid billet, and manipulated so that grinding and etching…
Damascus & Pattern Welding
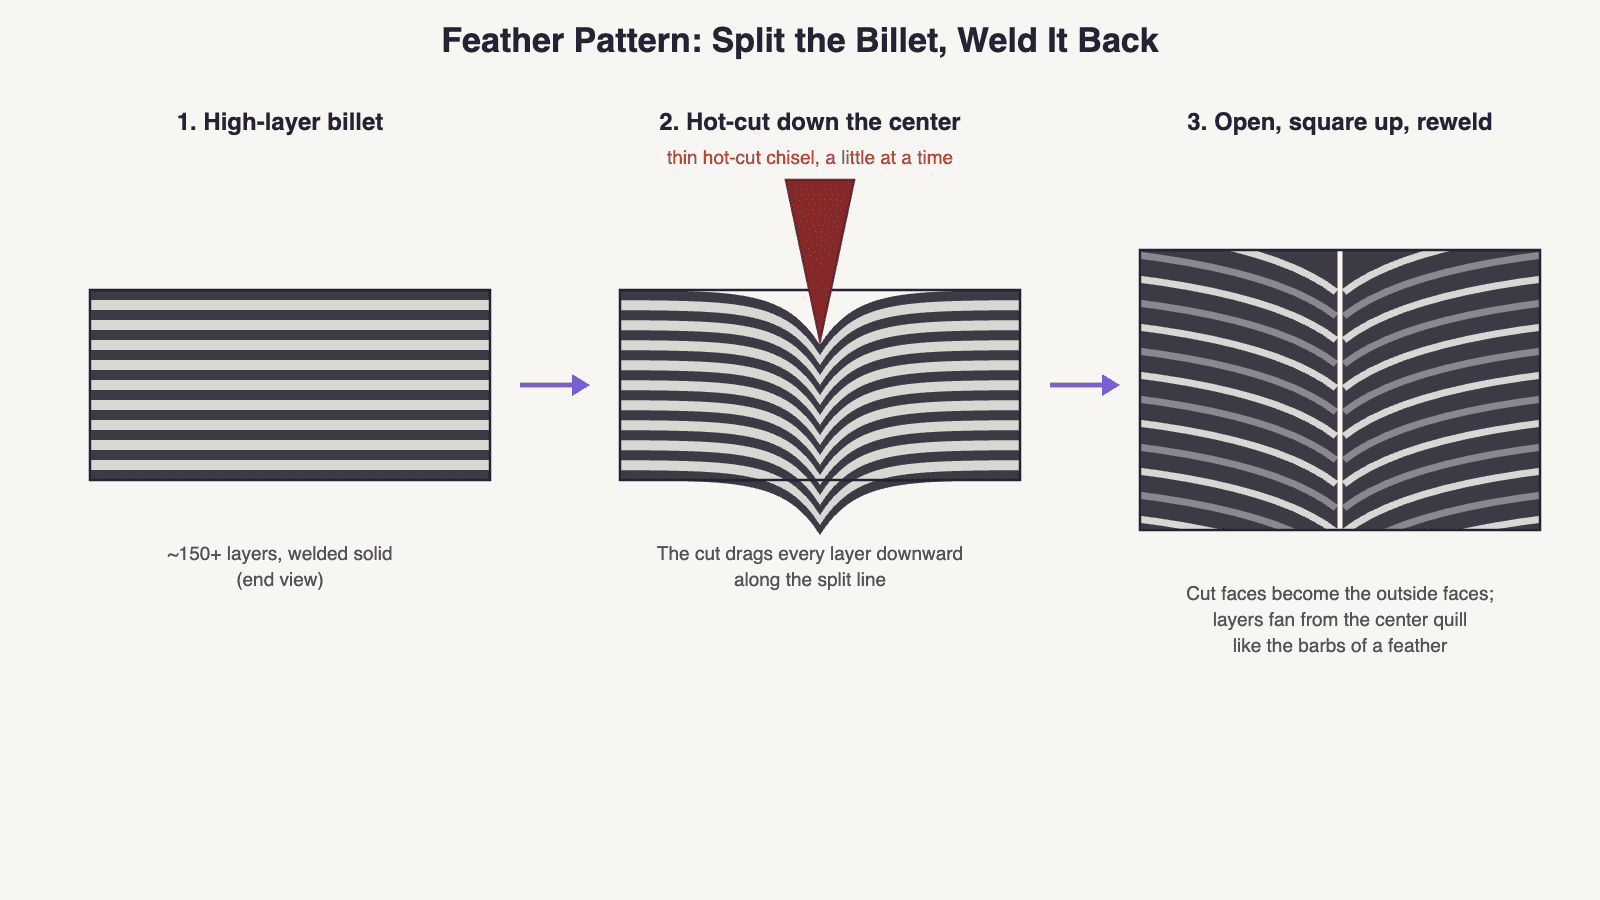
Feather damascus forms when a thin hot cut drags the layers and an immediate reweld puts the cut faces out; then the quill reveal, and what goes wrong.
3 min readWritten by Rich LinvilleFree to read
Feather damascus is the showpiece pattern: layers sweeping outward from a central quill like the barbs of a feather, with a “river of fire” running down the blade’s spine-line. It’s also honestly an advanced project — the technique is a forge-welding trust fall. You take a perfectly good billet, split it in half, and bet that you can weld it back together invisibly. Have a few solid billets and at least one ladder or twist blade behind you first.
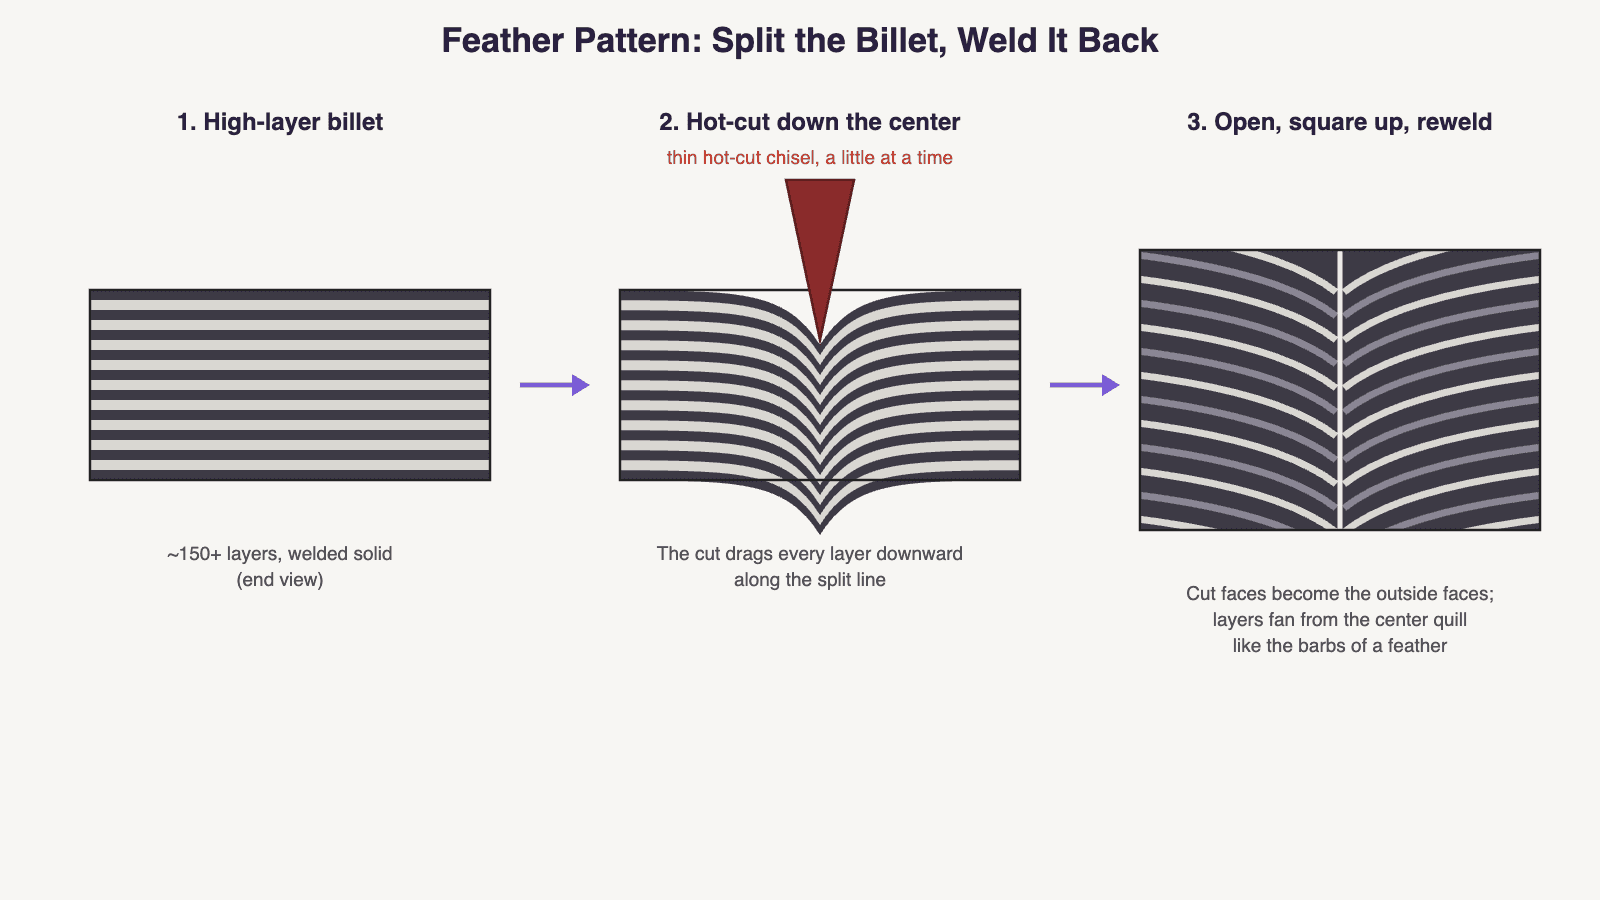
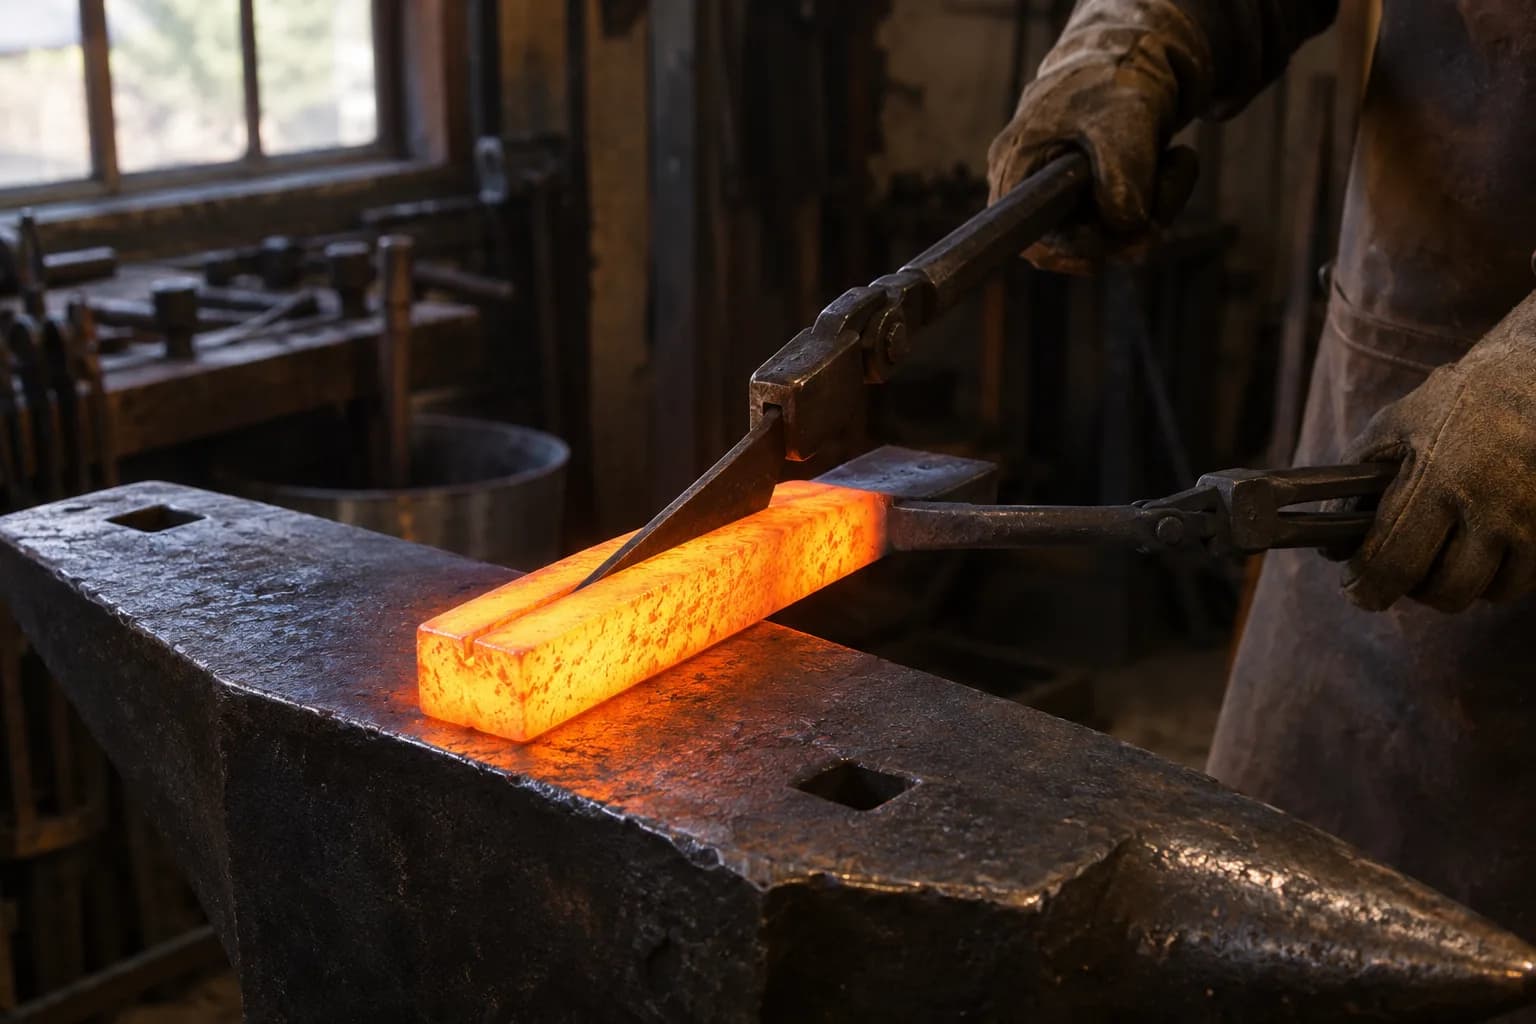
Driving a thin hot-cut chisel through a layered billet doesn’t slice the layers cleanly — it drags them, smearing every layer downward along the cut line. That smear is the feather. Open the two halves like a book, weld them back together with the cut faces showing outward, and the dragged layers fan away from the weld seam — the quill — on both sides.
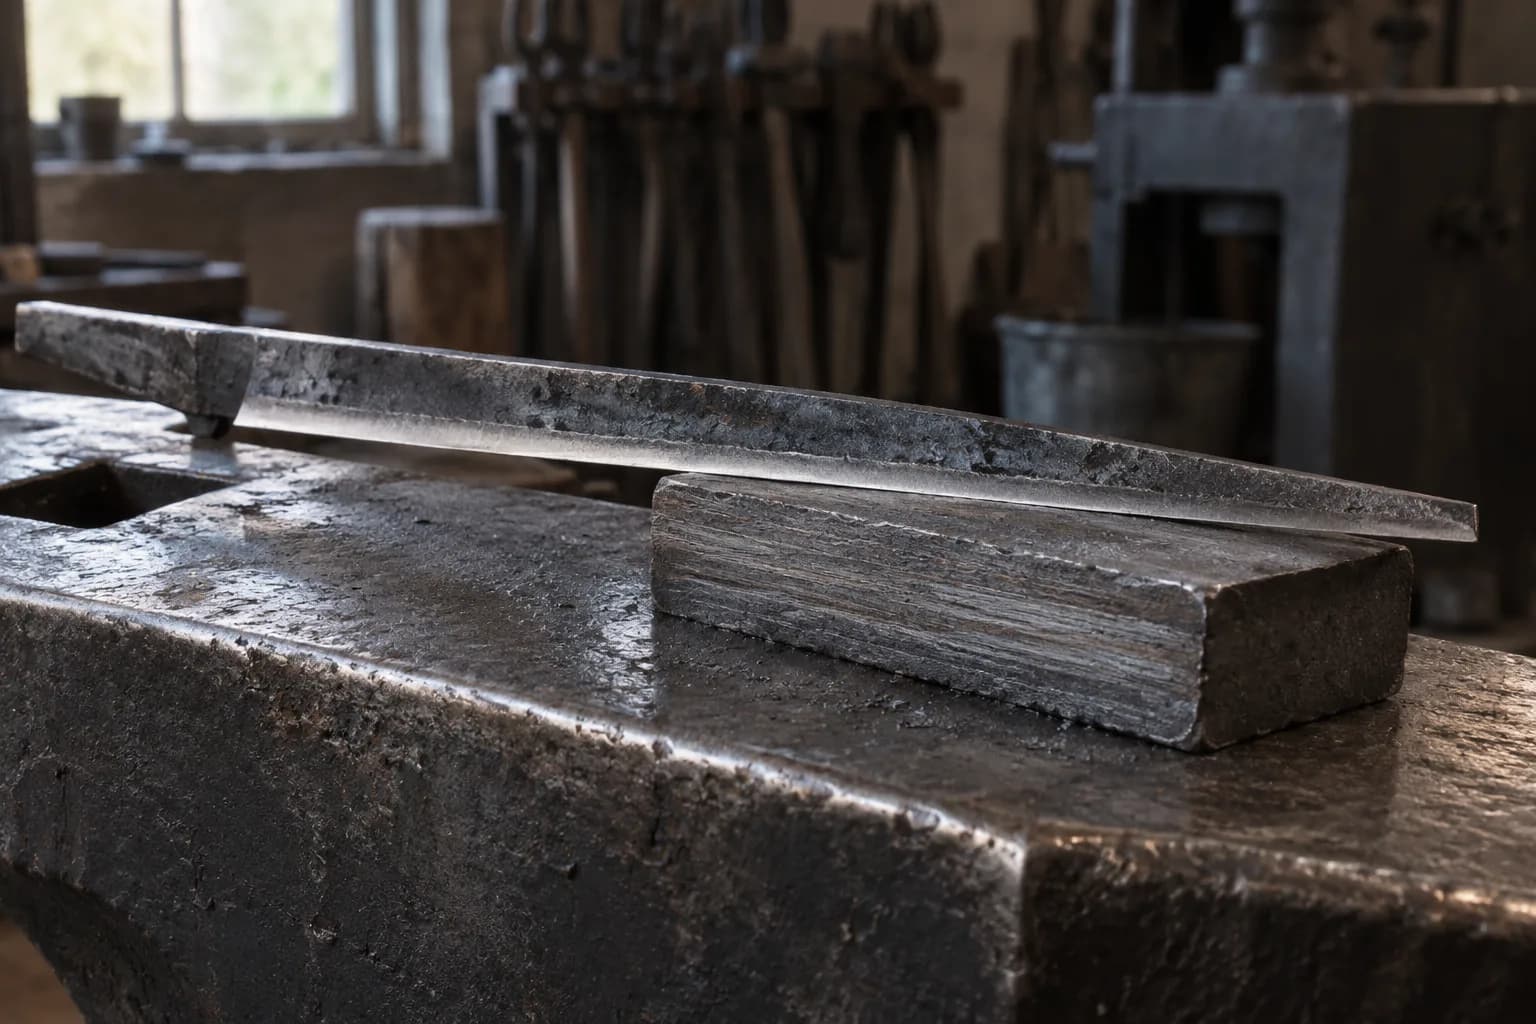
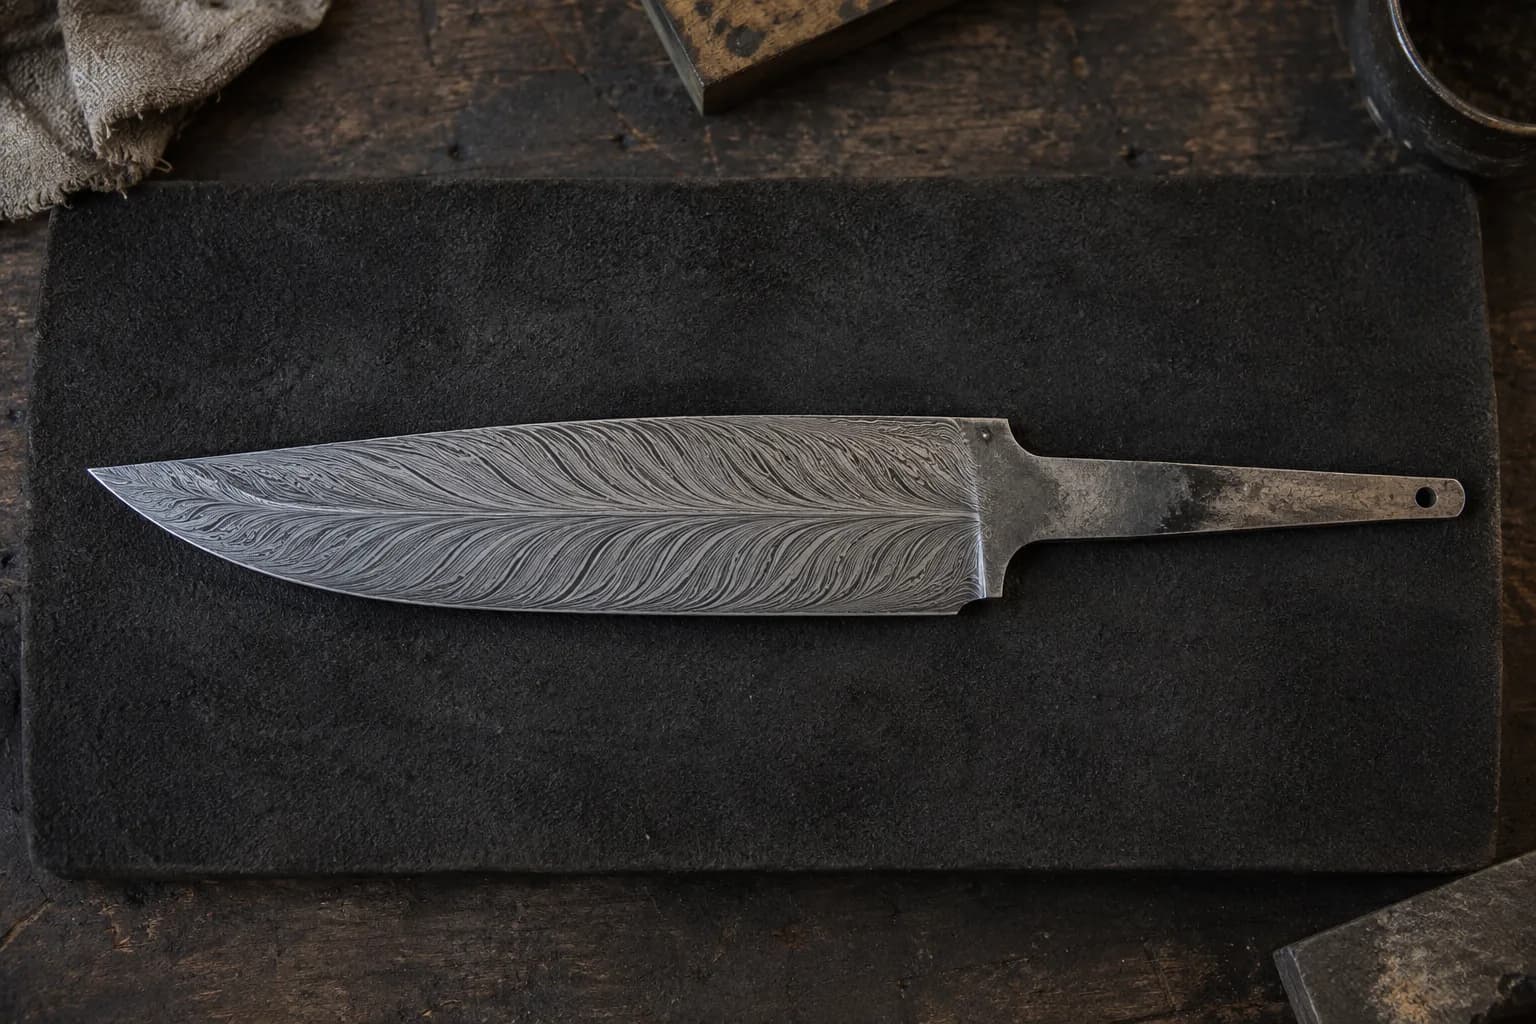
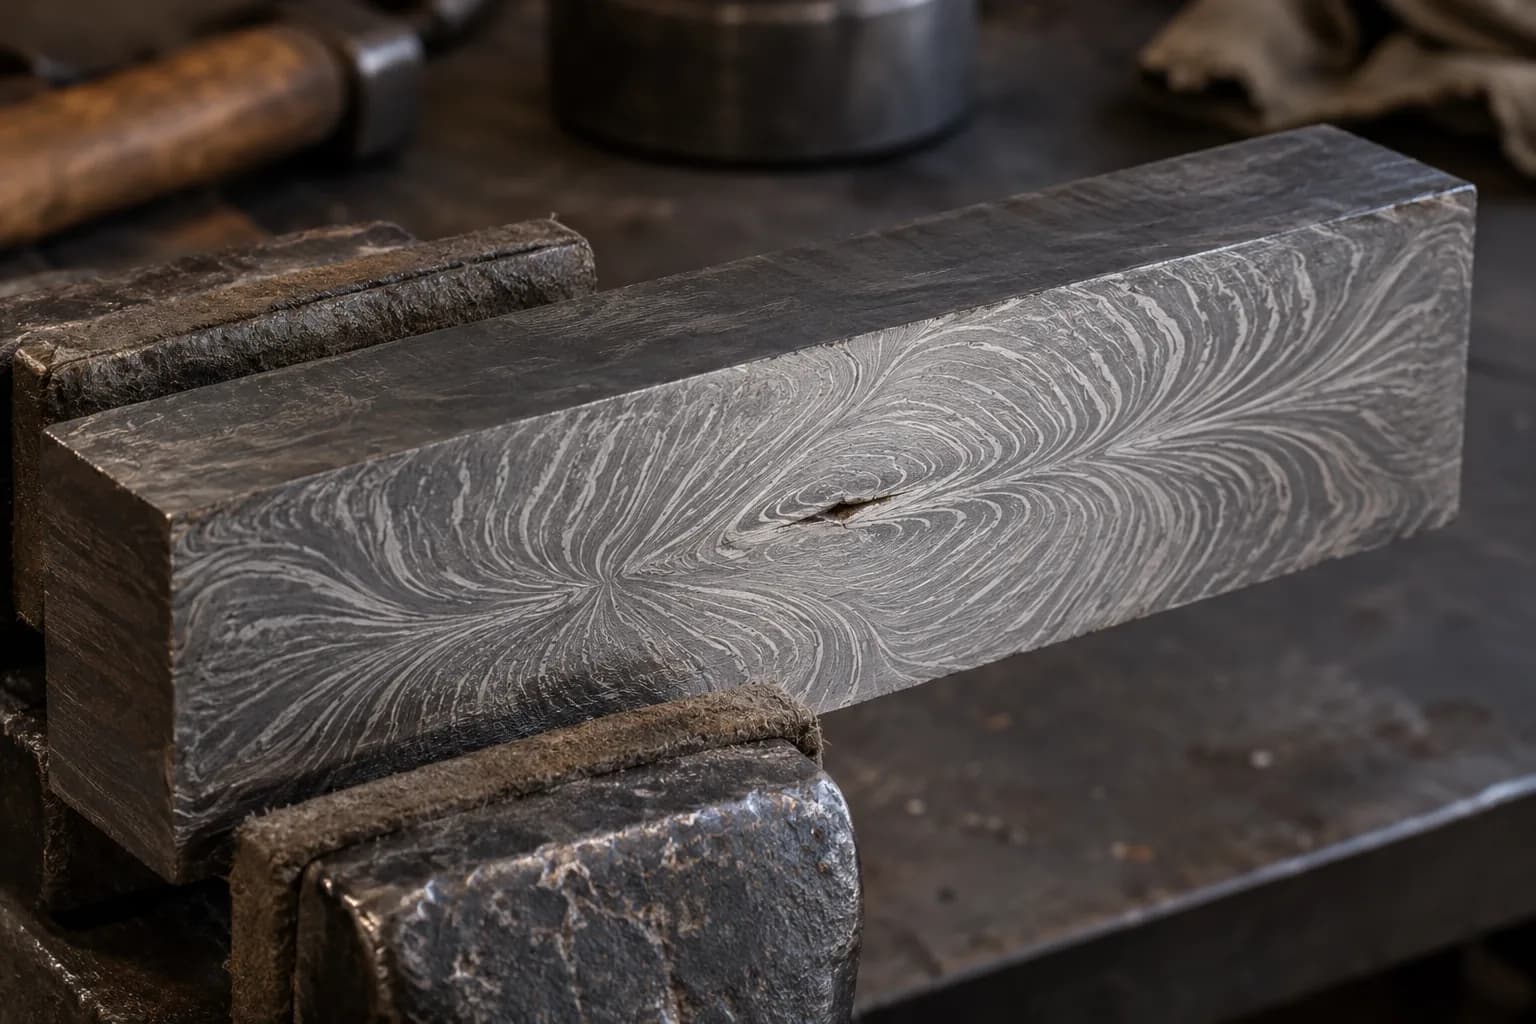
A visible seam at the quill means the reweld didn’t fully take — sometimes salvageable with a re-flux and another welding cycle if you catch it before grinding thin. Barbs that vanish mid-blade mean the feather got ground through. And a delaminated split usually traces back to step 1: a billet that wasn’t truly solid. Every feather that fails teaches the next one; even experienced smiths budget a mulligan.
Keep reading
Three more from the same bench.
Modern “damascus” is pattern-welded steel: two different steels stacked, forge welded into one solid billet, and manipulated so that grinding and etching…
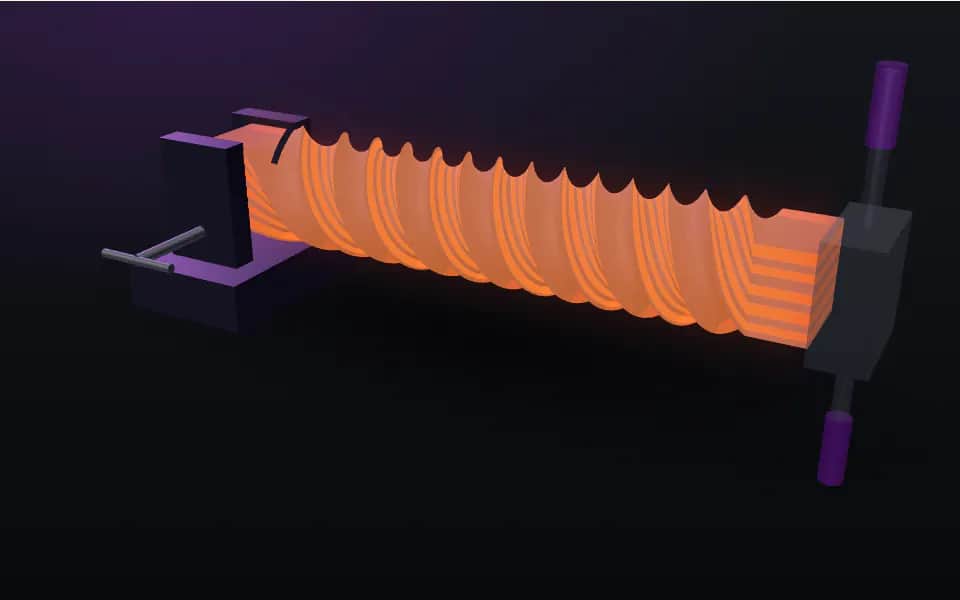
Twist damascus is the pattern that looks like it required a wizard and turns out to require a pipe wrench. Twist the layered bar while it’s hot, grind it…

Until it’s etched, a damascus blade is just gray steel with faint ghost lines — every bit of drama comes from the acid. Etching is simple chemistry done…
Same bench
I machine the parts, hand-assemble, track and test Torus grinders in Sterling, Illinois. Most orders ship in seven to ten business days from time of order.

Current dual-axis platform with a fiber-laser-cut 6061 chassis and single-knob tracking.

Current dual-axis platform with a steel chassis, more mass and less vibration.

Prior-design aluminum chassis, 90-degree tilt and 1.5-inch tooling arms.

One-man shop
I answer my own email. Tell me the steel, the machine and what it is doing, and I will tell you what I would try next.