2x72 Grinder Tips
Selecting the Perfect Grit for Knife Profiling on a 2×72
Profiling is where the belt earns its money, and grit is the whole decision. Here is which grit I profile with on the 2×72, why fresh 36 to 60 ceramic beats a tired 80, and when to step up.
Profiling is the one operation where the belt does almost all the work, so grit is the whole decision. A fresh 36 or 60-grit ceramic moves steel faster and cooler than a tired 80 ever will. Here is which grit I profile with on the 2×72, why I change belts sooner than most people, when I step up to 120 to clean the profile, and how the steel type changes the answer.
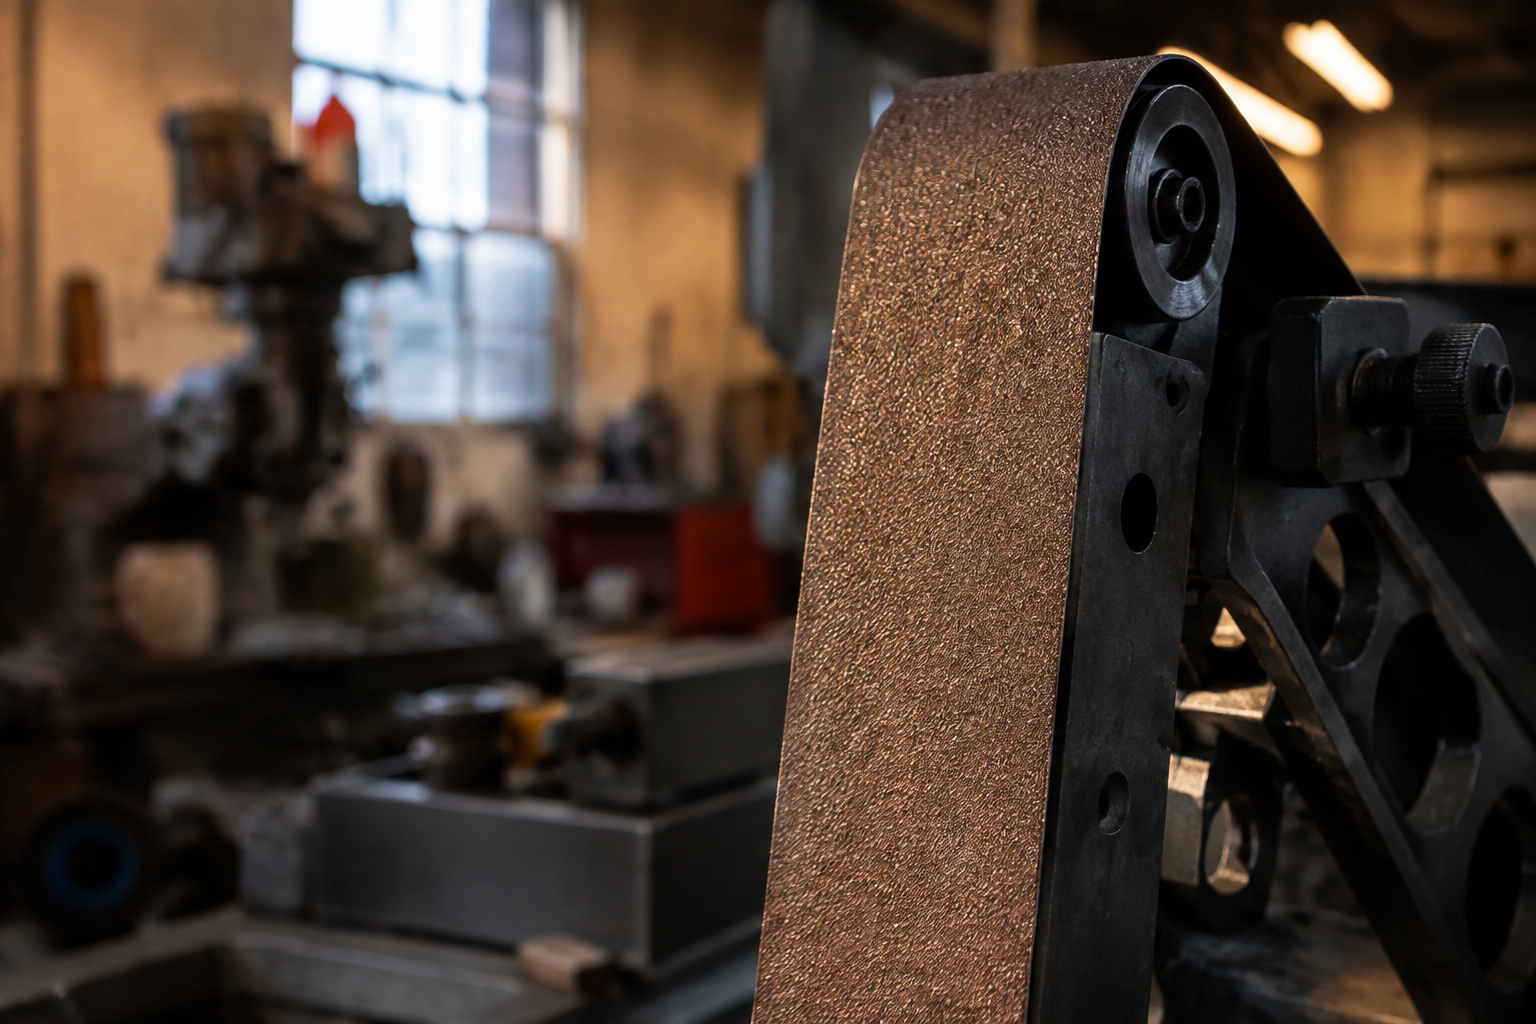
For instance, a 60-grit abrasive is much coarser than a 600-grit one. This distinction is essential for knife makers and enthusiasts alike, as it directly influences the cutting performance, edge retention, and overall finish of the blade. Understanding grit size also involves recognizing how it affects the material removal rate during the profiling process.
Coarse grits are designed to remove material quickly, making them ideal for shaping and roughing out a blade’s profile. In contrast, finer grits are used for finishing touches, refining edges, and achieving a polished surface. The choice of grit size can significantly impact not only the efficiency of the profiling process but also the final characteristics of the knife, such as sharpness and aesthetic appeal.
Key Takeaways
- Understanding grit size is crucial for achieving the desired knife profile and sharpness.
- Factors to consider when selecting grit include the material of the knife, the desired finish, and the level of sharpening needed.
- Common grit sizes for knife profiling range from coarse (80-120) to fine (1000-3000), each serving a specific purpose in the sharpening process.
- Choosing the right grit for the material ensures efficient and effective knife profiling, preventing damage to the blade.
- The importance of grit for knife profiling lies in its ability to remove material, shape the blade, and create a sharp edge for optimal performance.
Factors to Consider When Selecting Grit
Material Considerations
The type of material being worked on is a primary consideration. Different materials, such as stainless steel, carbon steel, or exotic alloys, respond differently to various grits. For example, harder materials may require coarser grits to initiate shaping effectively, while softer materials might benefit from finer grits to avoid excessive wear on the abrasive.
Desired Outcome
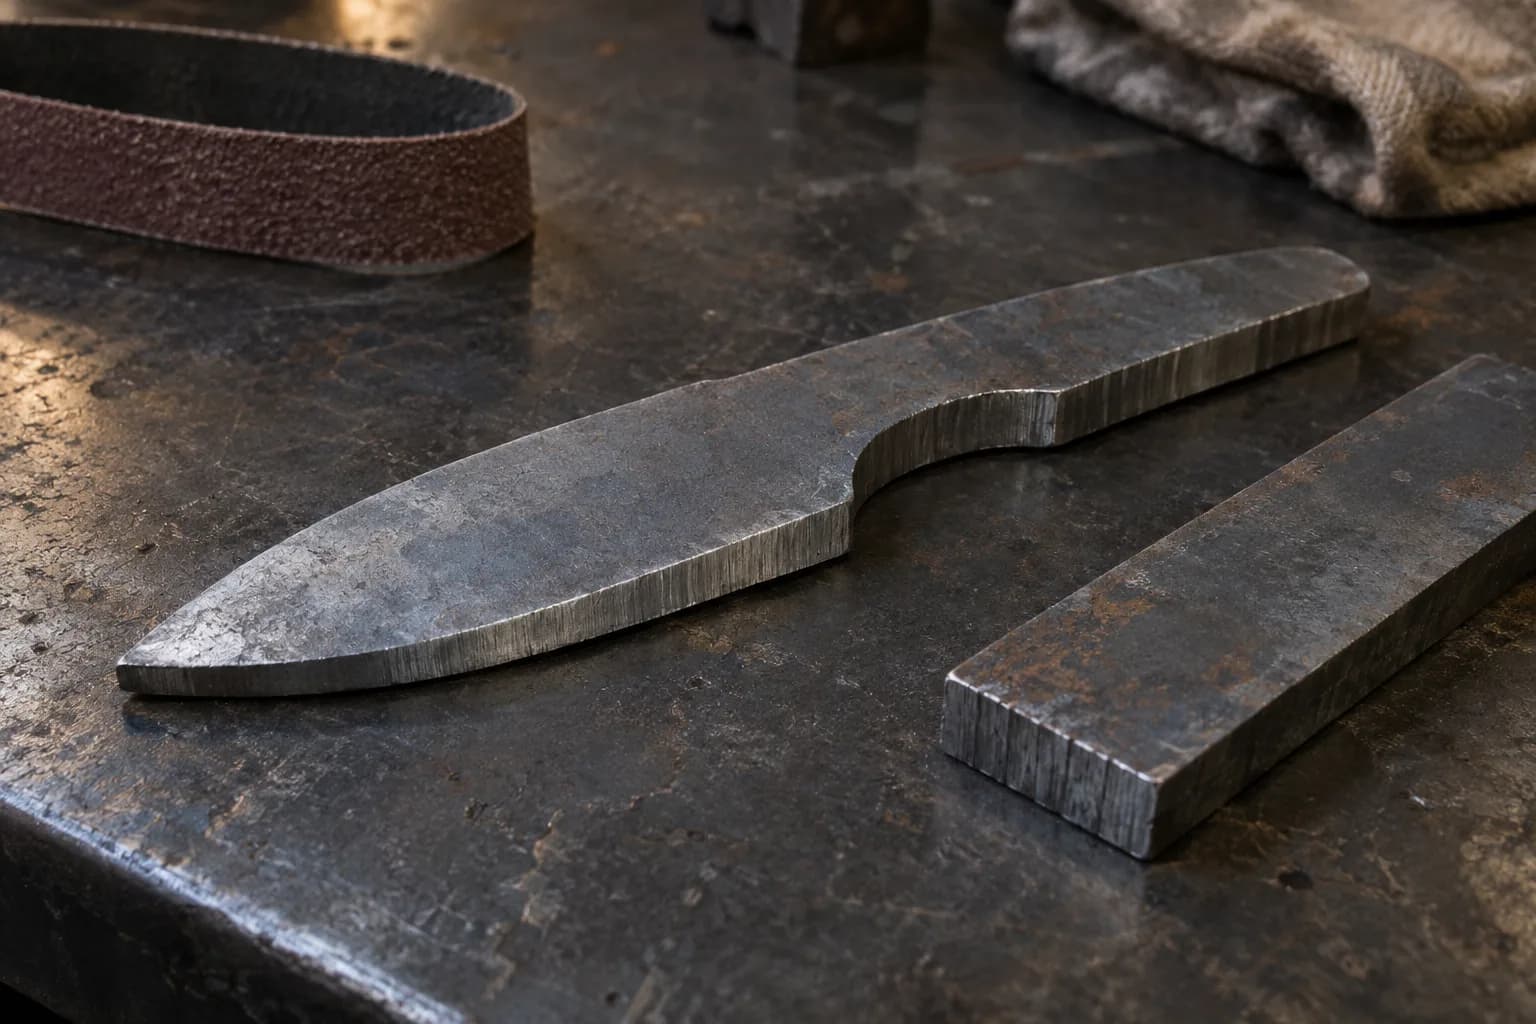
The desired outcome of the profiling process is another critical factor. If the goal is to achieve a specific blade geometry or to remove significant amounts of material quickly, coarser grits are preferable. However, if the aim is to create a polished edge or refine an already established profile, finer grits should be utilized.
Experience Level and Grit Progression
The experience level of the knife maker can also influence grit selection. Beginners may find it easier to work with coarser grits before progressing to finer ones as their skills develop.
Common Grit Sizes for Knife Profiling
In knife profiling, several common grit sizes are frequently employed, each serving a distinct purpose in the shaping and finishing process. Coarse grits, typically ranging from 40 to 100, are often used for initial shaping and material removal. These grits are effective in establishing the basic profile of the blade and can quickly remove excess material.
They are particularly useful when working with thicker stock or when significant alterations to an existing blade are required. As one moves up the grit scale, sizes between 120 and 220 are commonly used for refining the profile and smoothing out any rough edges left by coarser grits. These mid-range grits strike a balance between material removal and surface finish, making them ideal for transitioning between rough shaping and final polishing.
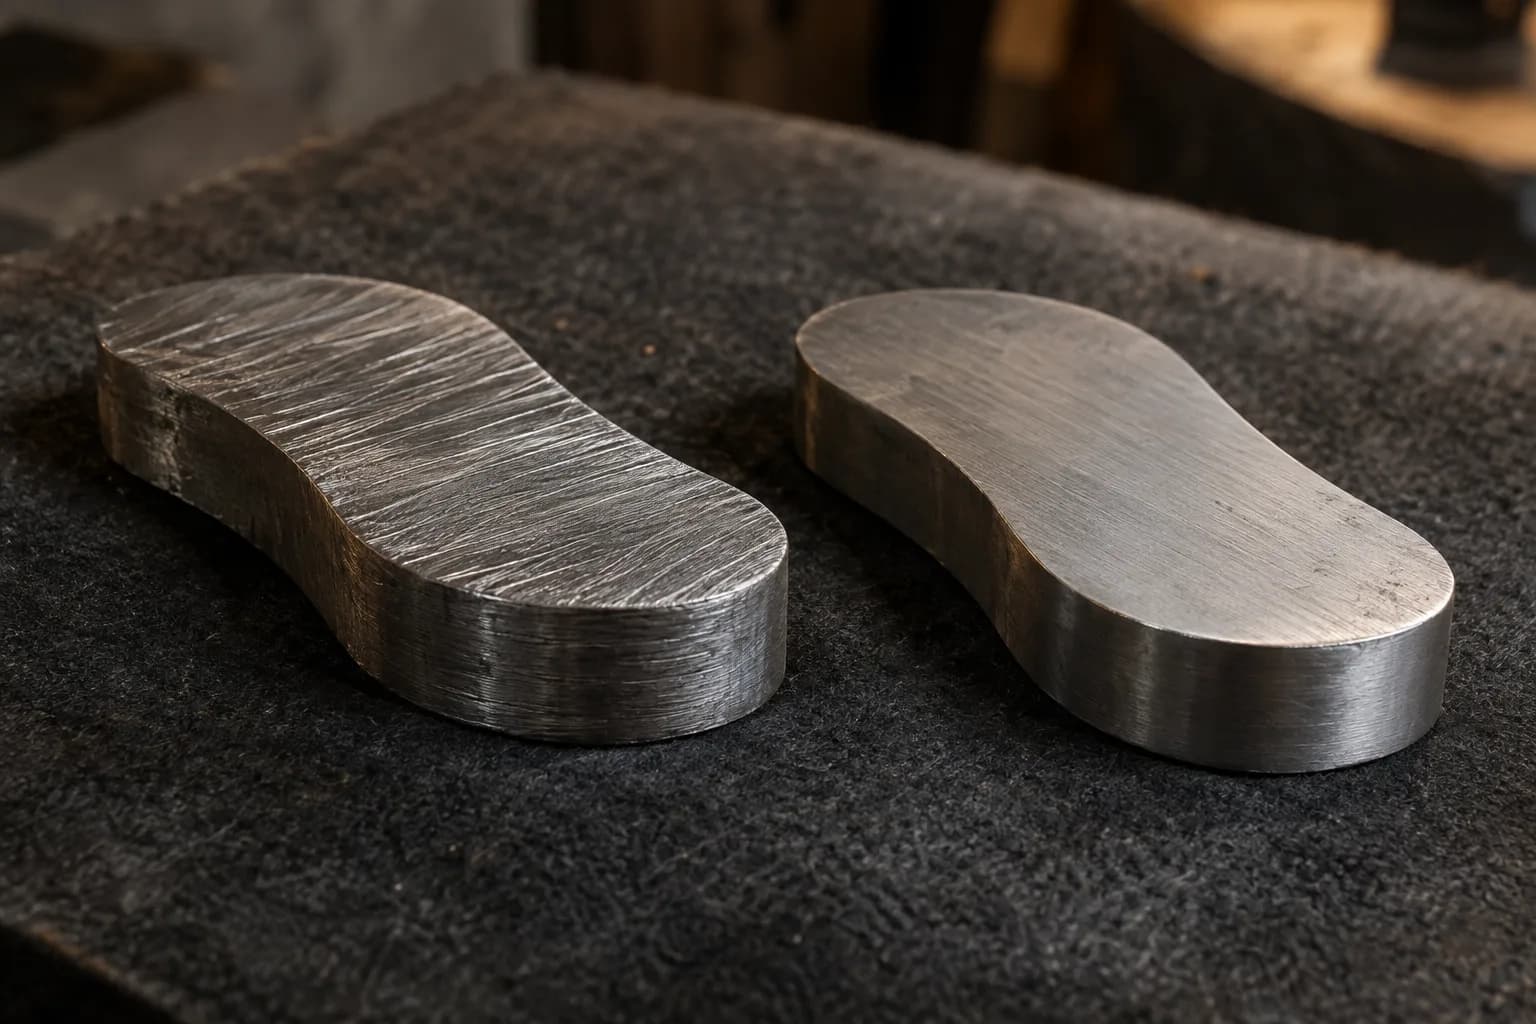
Finally, fine grits ranging from 400 to 1000 or higher are reserved for achieving a polished edge and enhancing the overall appearance of the knife. These grits are essential for honing sharpness and ensuring that the blade has a smooth finish that is both functional and visually appealing.
Choosing the Right Grit for the Material
Selecting the right grit for a specific material is crucial for achieving optimal results in knife profiling. Different materials exhibit varying hardness levels and abrasive resistance, which directly influence how they respond to different grit sizes. For instance, when working with high-carbon steel, which is known for its hardness and edge retention capabilities, starting with a coarser grit can facilitate quicker material removal.
This approach allows for efficient shaping before transitioning to finer grits for polishing. Conversely, softer materials like aluminum or certain stainless steels may require a more delicate approach. Using too coarse a grit on these materials can lead to excessive wear on both the abrasive and the workpiece, resulting in an uneven finish or even damage to the blade.
Grit Options for Different Knife Profiles
Different knife profiles require specific grit options to achieve optimal results during profiling. For example, a chef’s knife typically features a curved blade that benefits from a combination of coarse and fine grits to establish its unique shape while ensuring a sharp edge. Starting with a coarse grit allows for quick material removal along the curve before transitioning to finer grits for refining the edge.
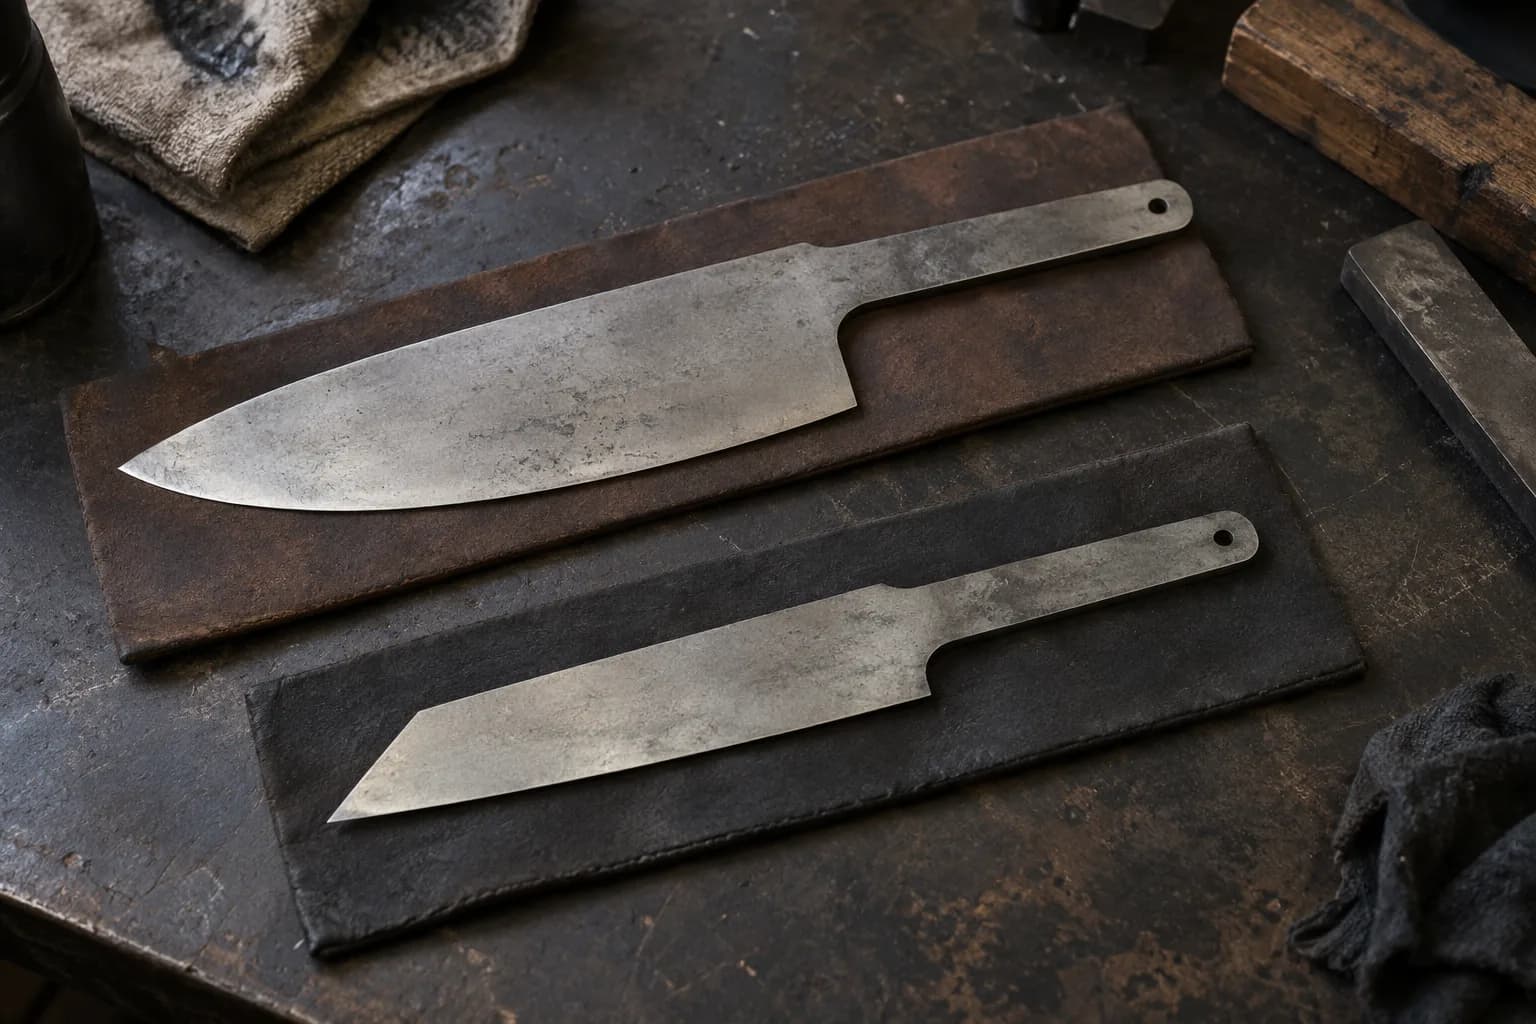
On the other hand, a straight-edged knife may require a different approach. The flat profile necessitates careful attention to detail during profiling, making it essential to use finer grits earlier in the process to avoid creating uneven surfaces. Understanding these nuances allows knife makers to tailor their grit selection based on the specific requirements of each knife profile, in the end leading to better performance and aesthetics.
How Grit Affects the Profiling Process
Grit size significantly affects every aspect of the profiling process, from initial shaping to final finishing touches. Coarse grits excel at removing material quickly, making them ideal for establishing basic shapes and contours on a blade. However, this rapid material removal can also lead to rough surfaces that require additional work with finer grits to achieve a smooth finish.
As one progresses through different grit sizes during profiling, each step serves a distinct purpose in refining both shape and surface quality. Finer grits help eliminate scratches left by coarser abrasives while enhancing sharpness and overall appearance. This sequential approach ensures that each stage of profiling contributes to achieving a well-balanced blade that performs optimally in its intended application.
Finding the Balance Between Coarse and Fine Grit
Finding the right balance between coarse and fine grit is essential for successful knife profiling. Using only coarse grits may expedite material removal but can result in an uneven surface that requires extensive finishing work later on. Conversely, relying solely on fine grits from the outset can lead to inefficient shaping processes and prolonged work times.
A balanced approach involves starting with coarser grits for initial shaping before gradually transitioning to finer options as the profile becomes more defined. This method not only streamlines the profiling process but also ensures that each stage contributes effectively to achieving both functional performance and aesthetic appeal in the final product.
Tips for Testing Grit on Scrap Material
Testing grit on scrap material is an effective way to gauge its suitability before applying it to an actual knife project. When experimenting with different grits, it’s advisable to use pieces of similar material to what will be used in the final product. This practice provides valuable insights into how each grit interacts with the material’s properties.
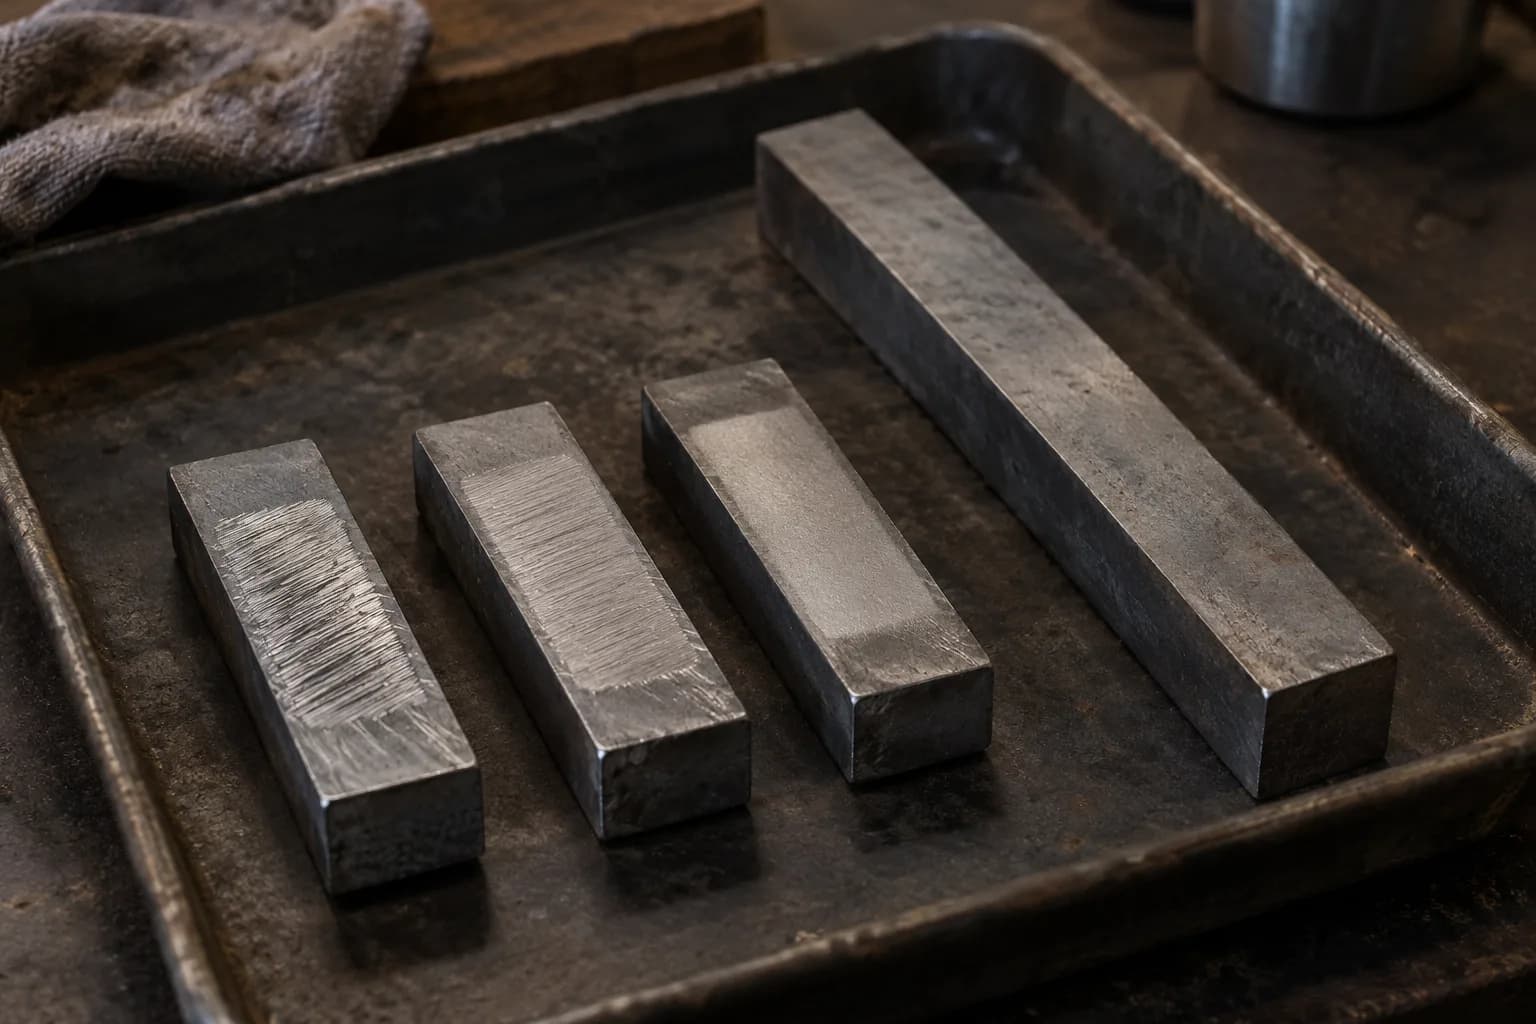
Documenting results from these tests can help establish a reference point for future projects. By noting which grit sizes yielded optimal results in terms of shaping speed and surface finish, knife makers can streamline their processes and make informed decisions when selecting grits for upcoming projects.
FAQs
What is a 2×72 belt grinder?
A 2×72 belt grinder is a type of grinding machine used for knife making and metalworking. It uses a 2-inch by 72-inch belt to grind and shape metal.
What are the common belt grits used for knife profiling on a 2×72 grinder?
Common belt grits used for knife profiling on a 2×72 grinder include 36, 60, 80, 120, and 220 grit. Coarser grits remove material faster, while finer grits provide a smoother finish.
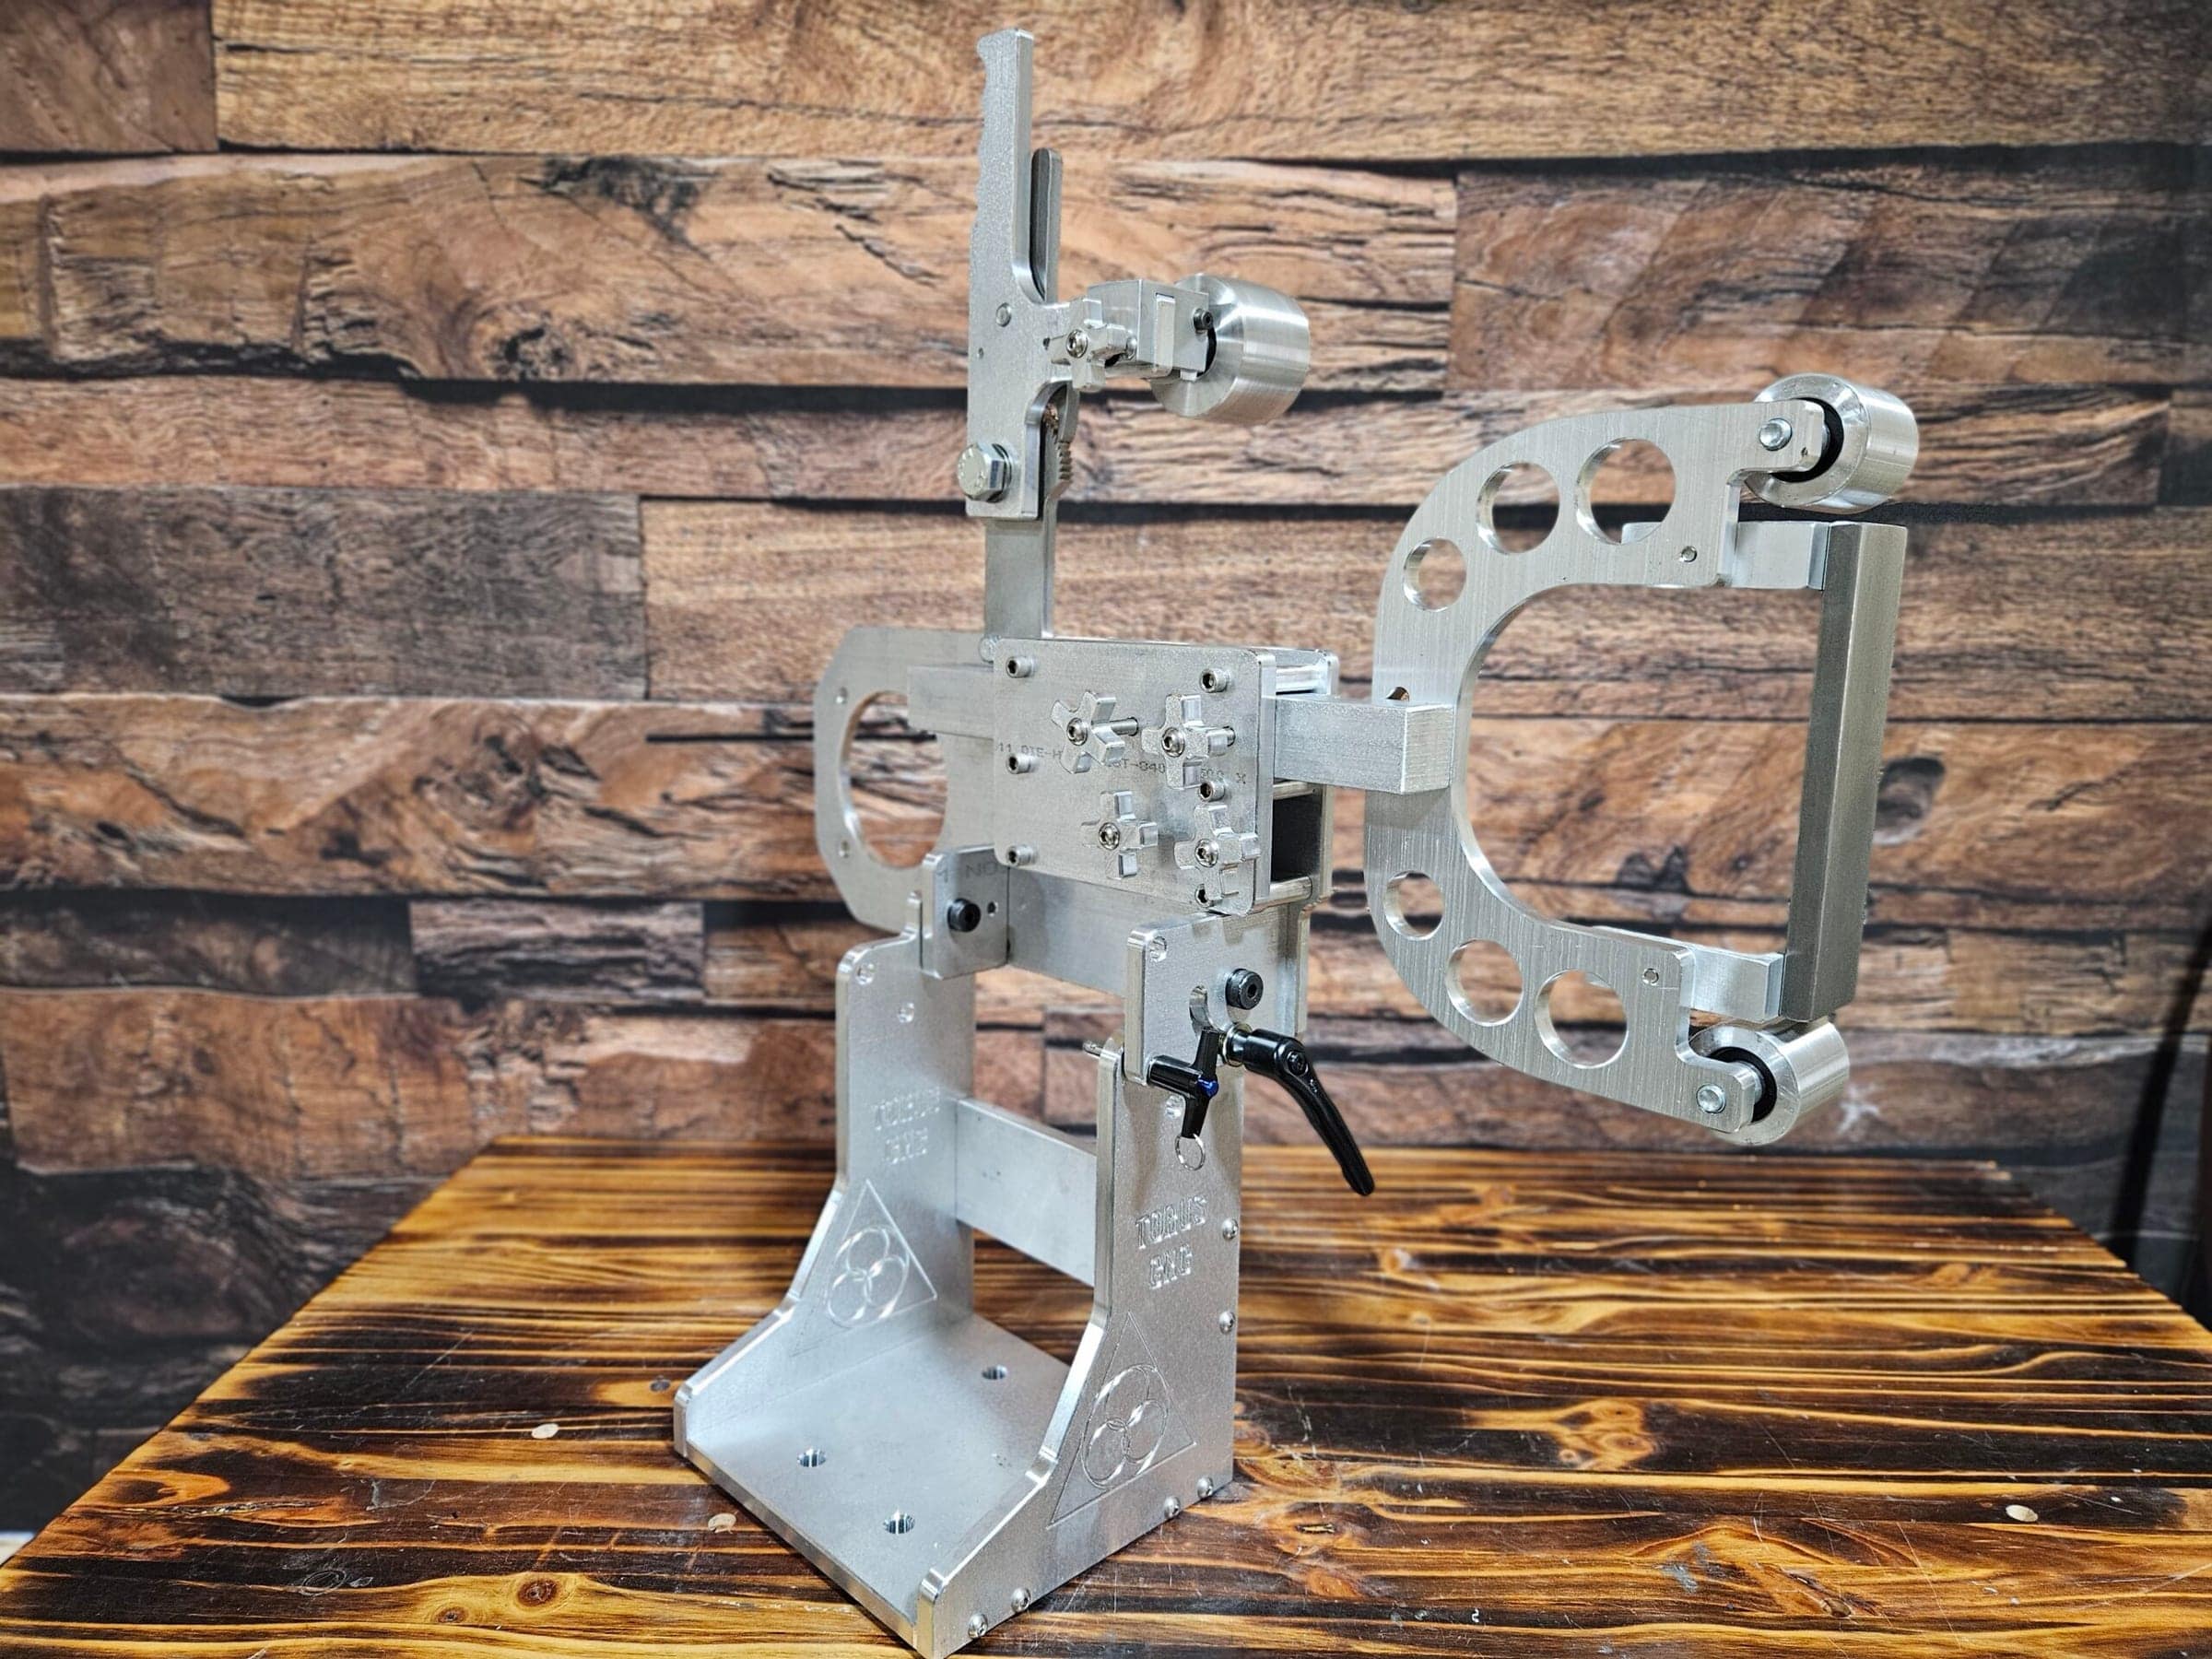
Coarse ceramics pull hard, and they pull hardest on a grinder that holds them tight. The Nova 2×72 uses a stainless ratchet tensioner and machined dual-axis tracking, so a 36-grit belt stays put under pressure. Compare it with the Nebula if you want steel mass.