2x72 Grinder Tips
Craft-Show Grinding: Building a Portable Stand
Sharpening and demo grinding at a craft show sells knives, but only if the grinder gets there and stays put. Here is how I build a portable stand for a 2×72: materials, working height, tie-downs and the setup routine.
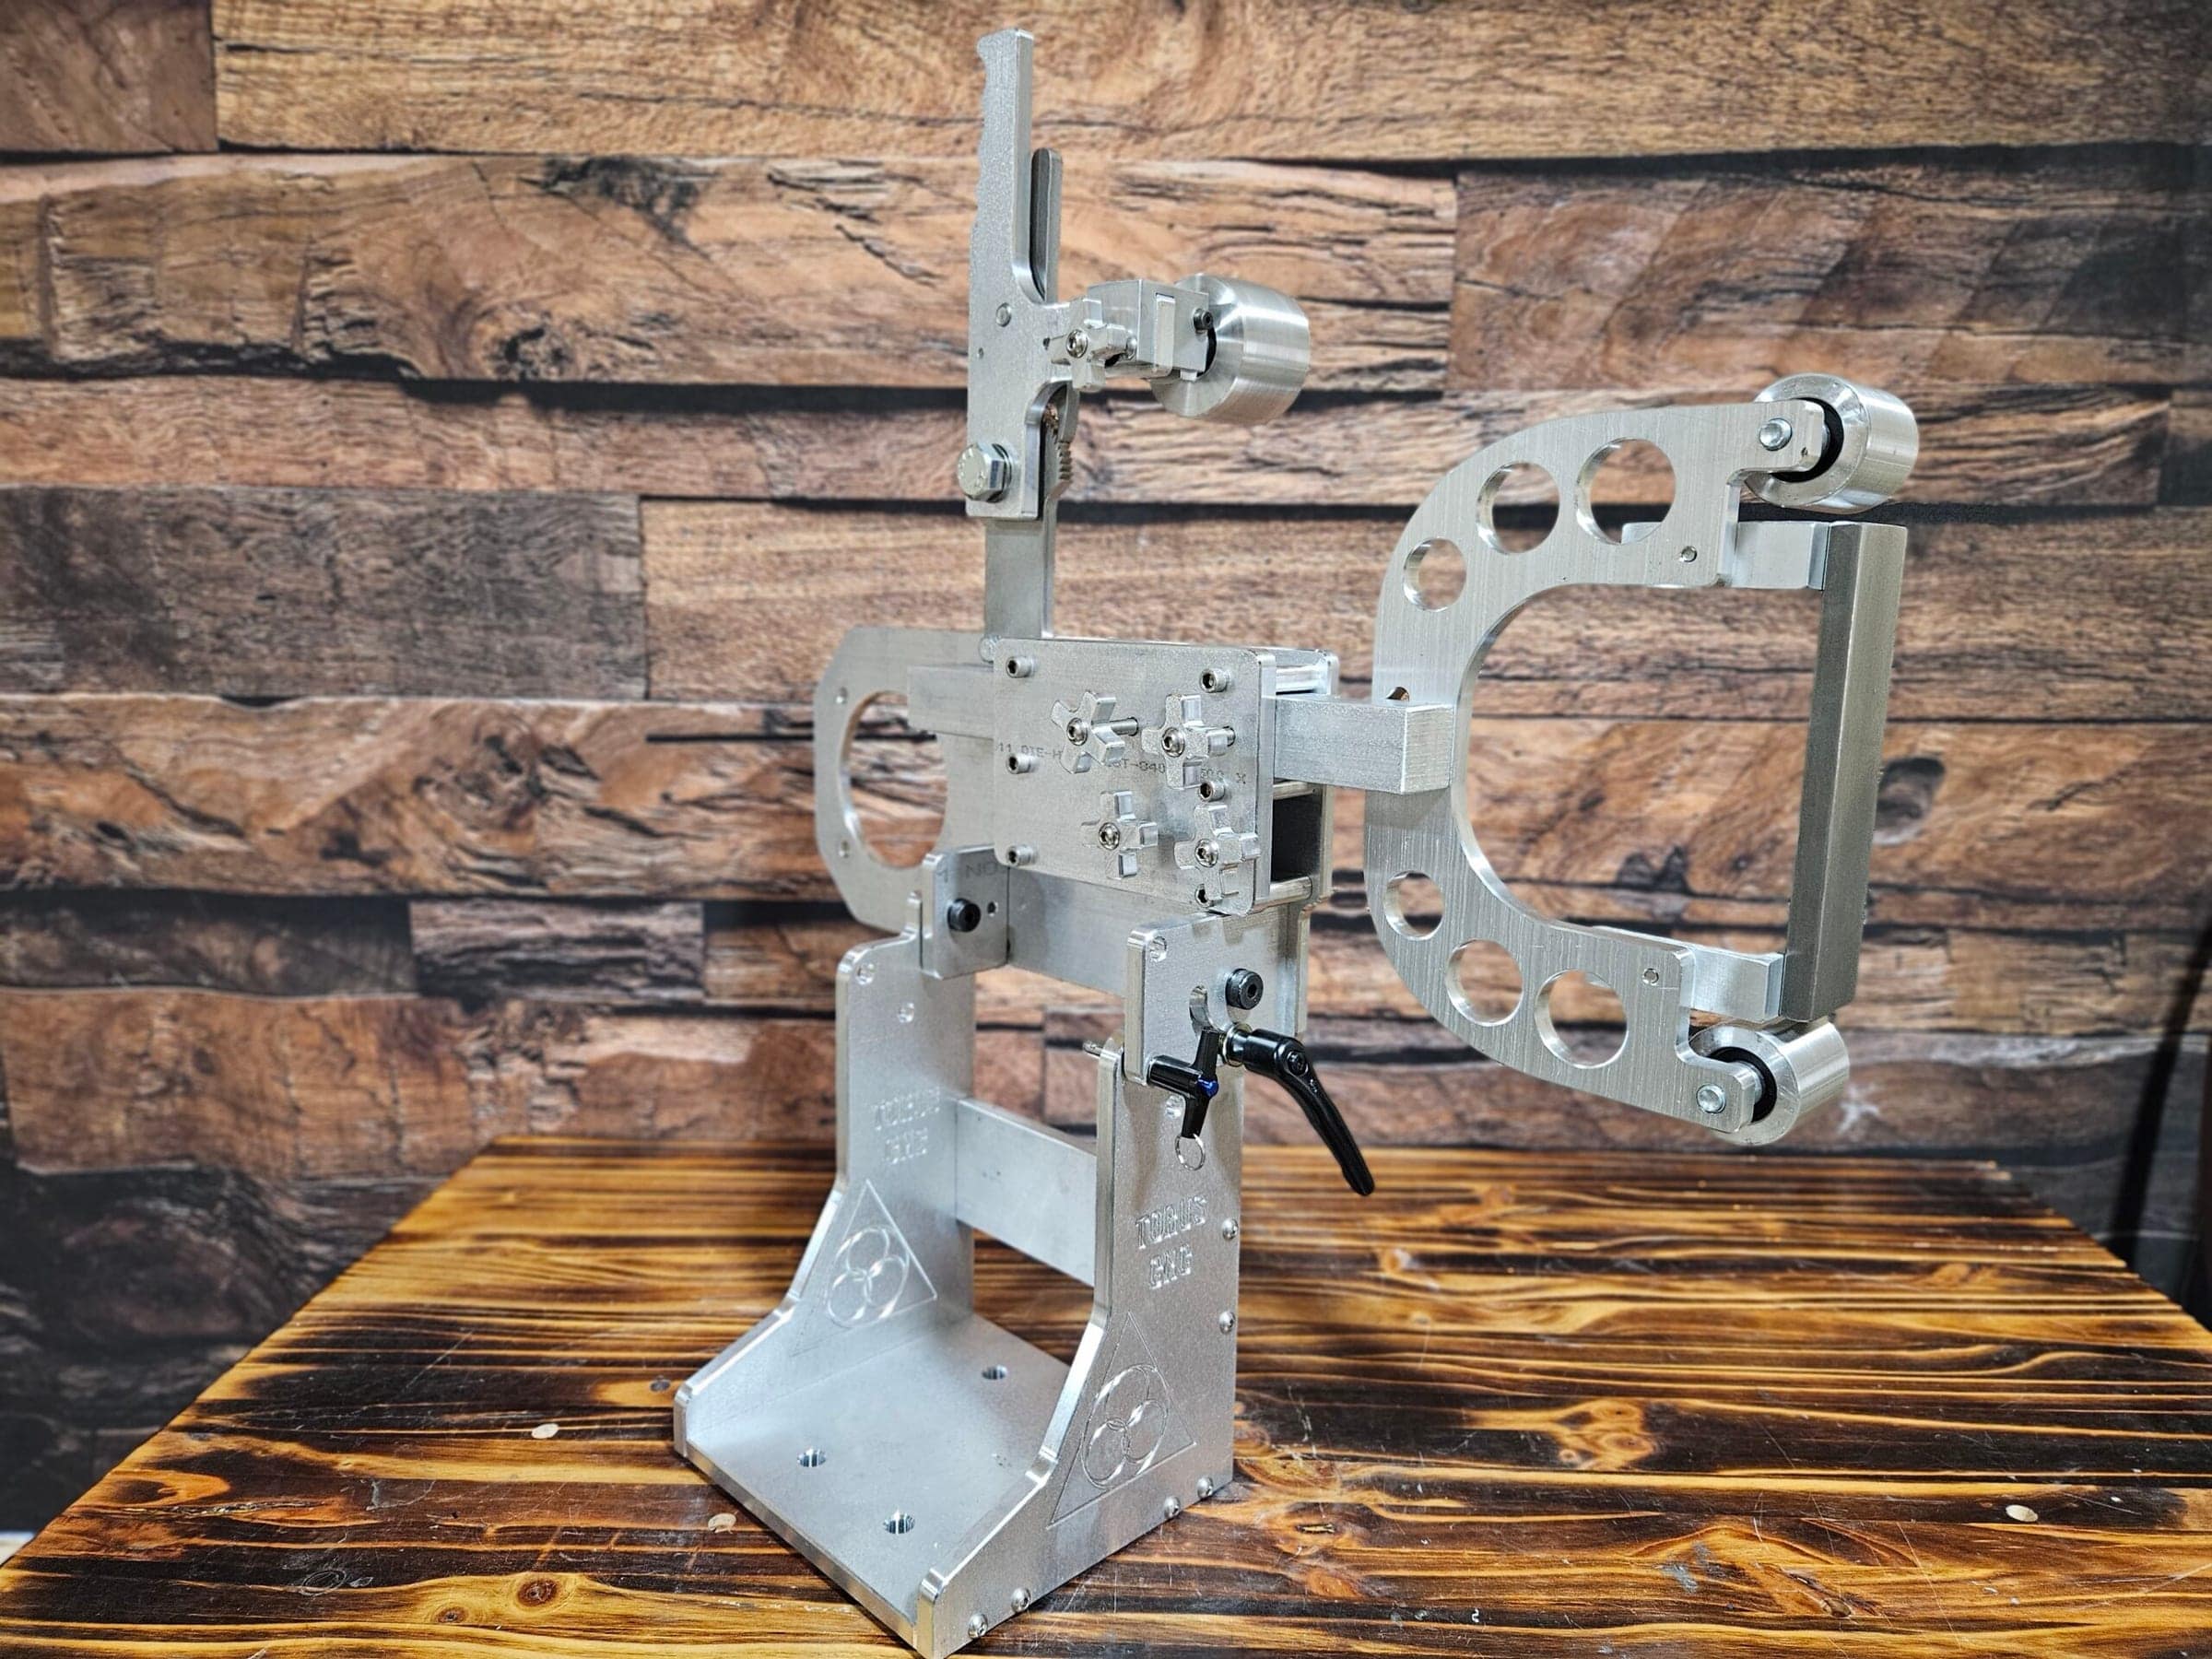
Nothing draws a crowd at a craft show like sparks, and nothing sells a knife like sharpening the customer’s own blade while they watch. The catch is getting a 2×72 there and keeping it planted on a gravel lot. Here is how I build a portable grinder stand: the materials that hold up in a truck bed, the working height that saves your back, and the tie-downs and dust control that keep the booth neighbors happy.
However, the challenge lies in how to transport and set up grinding equipment efficiently at these events. This is where the concept of a portable grinding stand comes into play, offering a practical solution for artisans on the go. A portable grinding stand not only facilitates ease of transport but also ensures that crafters can work comfortably and efficiently in various environments.
Key Takeaways
- Craft-show grinding is a popular activity for artisans and crafters to showcase their skills and create unique pieces.
- A portable stand is essential for craft-show grinding as it provides stability and mobility for the grinder.
- Choosing the right materials for the stand is crucial for durability and ease of transport.
- Designing the stand for stability and mobility involves considering the weight and size of the grinder, as well as the terrain of craft show locations.
- Building the base of the stand requires careful measurements and sturdy construction to support the weight of the grinder.
Choosing the Right Materials for the Stand
Selecting appropriate materials for constructing a portable grinding stand is vital for ensuring its durability and functionality. The choice of materials will directly affect the weight, stability, and overall performance of the stand. Lightweight yet sturdy materials such as aluminum or high-grade plywood are often preferred for their balance between portability and strength.
Aluminum frames can provide excellent support while remaining easy to carry, making them ideal for crafters who frequently travel to different shows. In addition to the frame material, it’s essential to consider the surface on which the grinder will be mounted. A solid surface that can withstand vibrations during operation is crucial for maintaining precision while grinding.
Plywood or MDF (medium-density fiberboard) can serve as an excellent base due to their rigidity and ability to absorb vibrations. Incorporating non-slip materials or rubber feet can enhance stability during use, preventing any unwanted movement that could disrupt the grinding process.
Designing the Stand for Stability and Mobility
When designing a portable grinding stand, achieving a balance between stability and mobility is paramount. The stand must be sturdy enough to support the grinder securely while also being lightweight enough for easy transport. A well-thought-out design often includes a wide base that lowers the center of gravity, enhancing stability during operation.
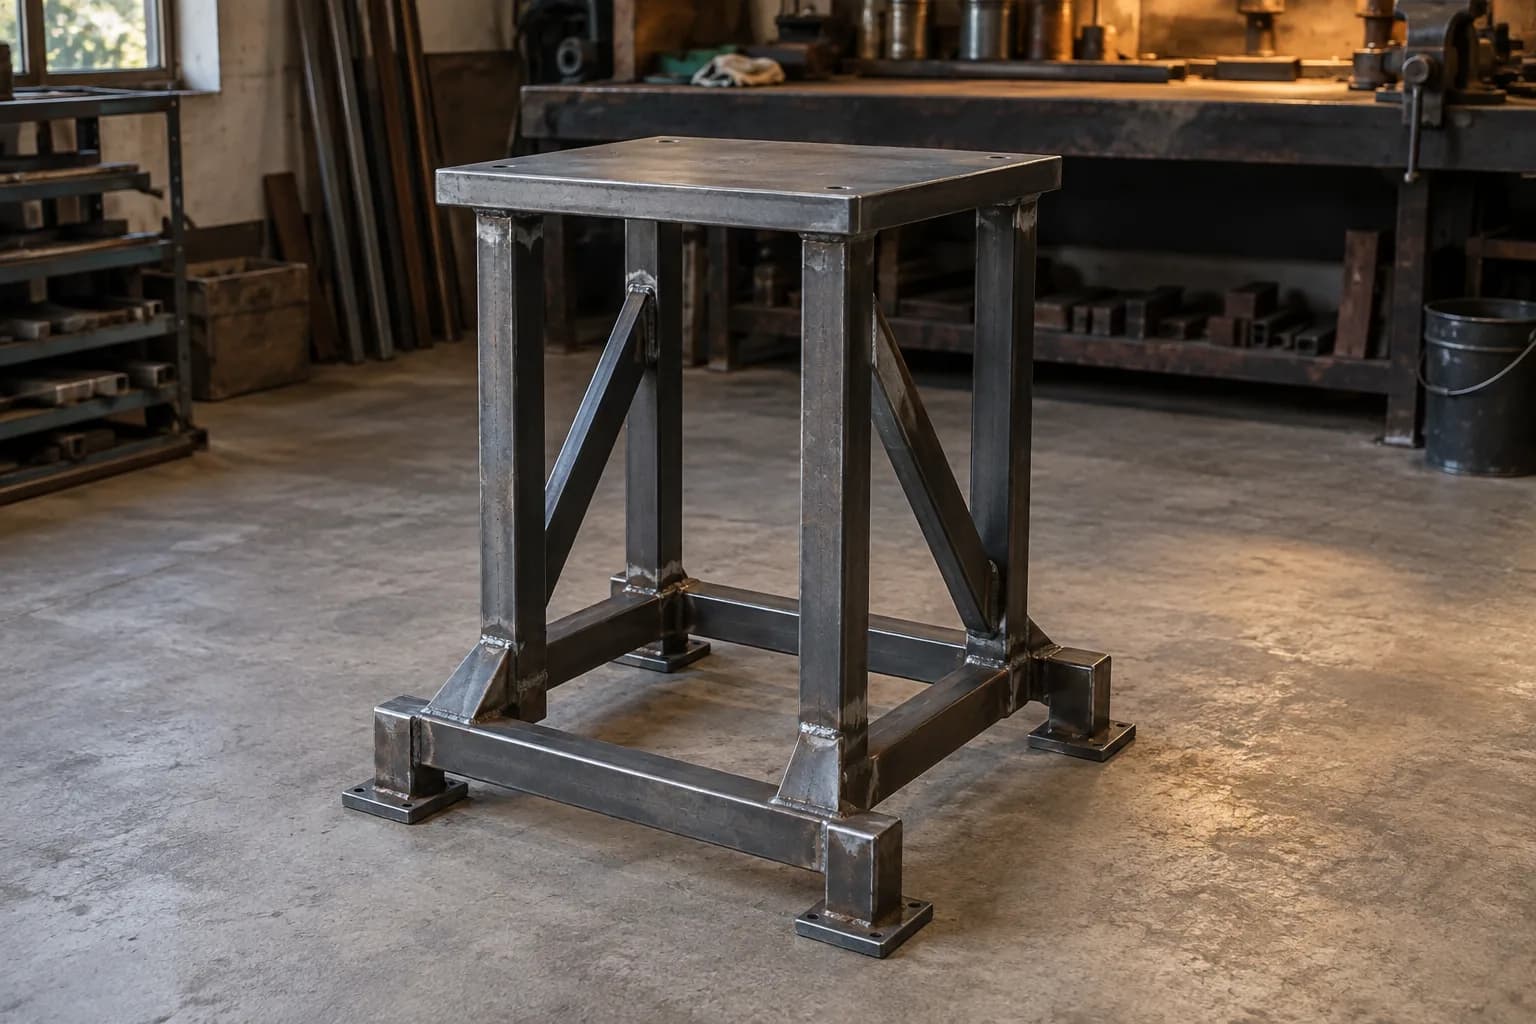
This can be achieved by incorporating a triangular or rectangular footprint that distributes weight evenly. Mobility features should also be integrated into the design. For instance, adding wheels or casters can facilitate easy movement from one location to another without requiring disassembly.
These wheels should be lockable to ensure that the stand remains stationary during use. Collapsible or foldable designs can further enhance portability, allowing artisans to pack their stands compactly when traveling to craft shows. By prioritizing both stability and mobility in the design phase, crafters can create a stand that meets their needs effectively.
Building the Base of the Stand
Constructing a solid base is one of the most critical steps in building a portable grinding stand. The base serves as the foundation upon which all other components will rest, so it must be designed with care to ensure durability and stability. Start by measuring the dimensions required for your grinder and determining how much space you need for additional features like storage or tool organization.
Using high-quality plywood or MDF, cut out pieces that will form the base of the stand. Reinforce corners with brackets or additional wood pieces to prevent warping or bending over time. It’s also advisable to add rubber feet or pads underneath the base to provide traction on various surfaces and prevent slipping during operation.
Constructing the Adjustable Height Mechanism
An adjustable height mechanism is an essential feature of a portable grinding stand, allowing users to customize their working height according to their preferences. This feature enhances comfort during use and helps prevent fatigue during long hours at craft shows. There are several methods to achieve height adjustability, with one common approach being the use of telescoping legs.
To construct this mechanism, select sturdy metal or wooden tubes that can slide within each other smoothly. Ensure that these tubes are securely attached to the base while allowing for easy adjustment. Incorporating locking pins or clamps will enable users to fix the height at their desired level safely.
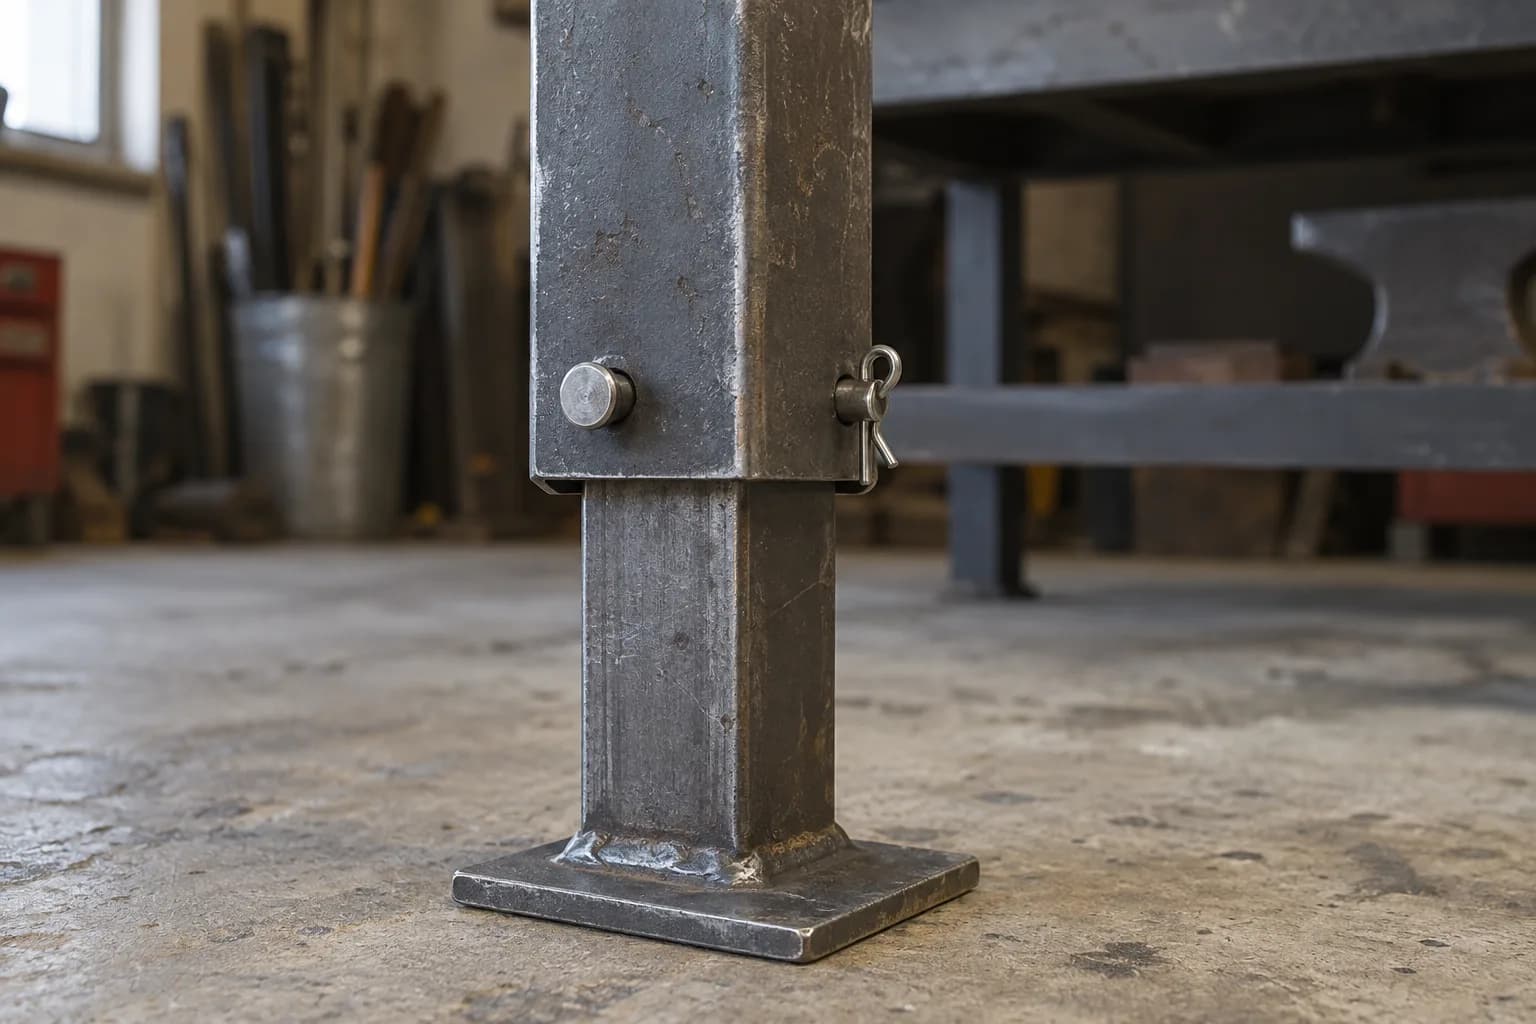
Consider adding markings on the legs to indicate height settings, making it easier for users to replicate their preferred height across different events.
Adding Storage and Organization Features
A well-organized workspace is crucial for efficiency at craft shows, where time is often limited and distractions abound. Incorporating storage solutions into your portable grinding stand can help keep tools and materials within easy reach while maintaining a tidy workspace. Consider adding shelves or compartments beneath the grinder’s surface for storing essential items like grinding wheels, safety gear, or cleaning supplies.
Magnetic strips or pegboards can also be integrated into the design for hanging tools such as wrenches or brushes, ensuring they are readily accessible without cluttering the workspace. Small drawers or bins can be included for organizing smaller items like screws or replacement parts. By thoughtfully incorporating storage and organization features into your stand design, you can create an efficient workspace that enhances productivity during craft shows.
Securing the Grinder to the Stand
Securing the grinder to the stand is a critical step in ensuring safety and stability during operation. A grinder that shifts or moves while in use can lead to accidents or subpar results in crafting projects. To prevent this, it’s essential to use sturdy mounting methods that keep the grinder firmly attached to the stand.
One effective approach is to use bolts or screws to fasten the grinder directly onto the surface of the stand. Ensure that you drill pilot holes in both the grinder base and the stand surface for precise alignment and secure attachment. Alternatively, consider using clamps or brackets designed specifically for your grinder model if you prefer a more flexible mounting solution that allows for easy removal when transporting your stand.
Finishing Touches and Customization
Once the main structure of your portable grinding stand is complete, it’s time to focus on finishing touches and customization options that reflect your personal style as an artisan. Painting or staining the wood can enhance its appearance while providing additional protection against wear and tear from frequent transport and use at craft shows. Choose colors that resonate with your brand or aesthetic to create a cohesive look.
Consider adding personalized elements such as logos or decals that represent your craft business. These customizations not only make your stand visually appealing but also serve as marketing tools at events where potential customers may take notice of your unique setup. Finally, ensure all surfaces are smooth and free from sharp edges to promote safety during use and transport.
Tips for Transporting and Setting Up the Stand at Craft Shows
Transporting your portable grinding stand requires careful planning to ensure everything arrives safely at craft shows without damage. Disassemble any removable parts if possible, as this will make packing more manageable and reduce bulkiness during transport. Use padded bags or cases for delicate components like grinders or tools to prevent scratches or breakage.
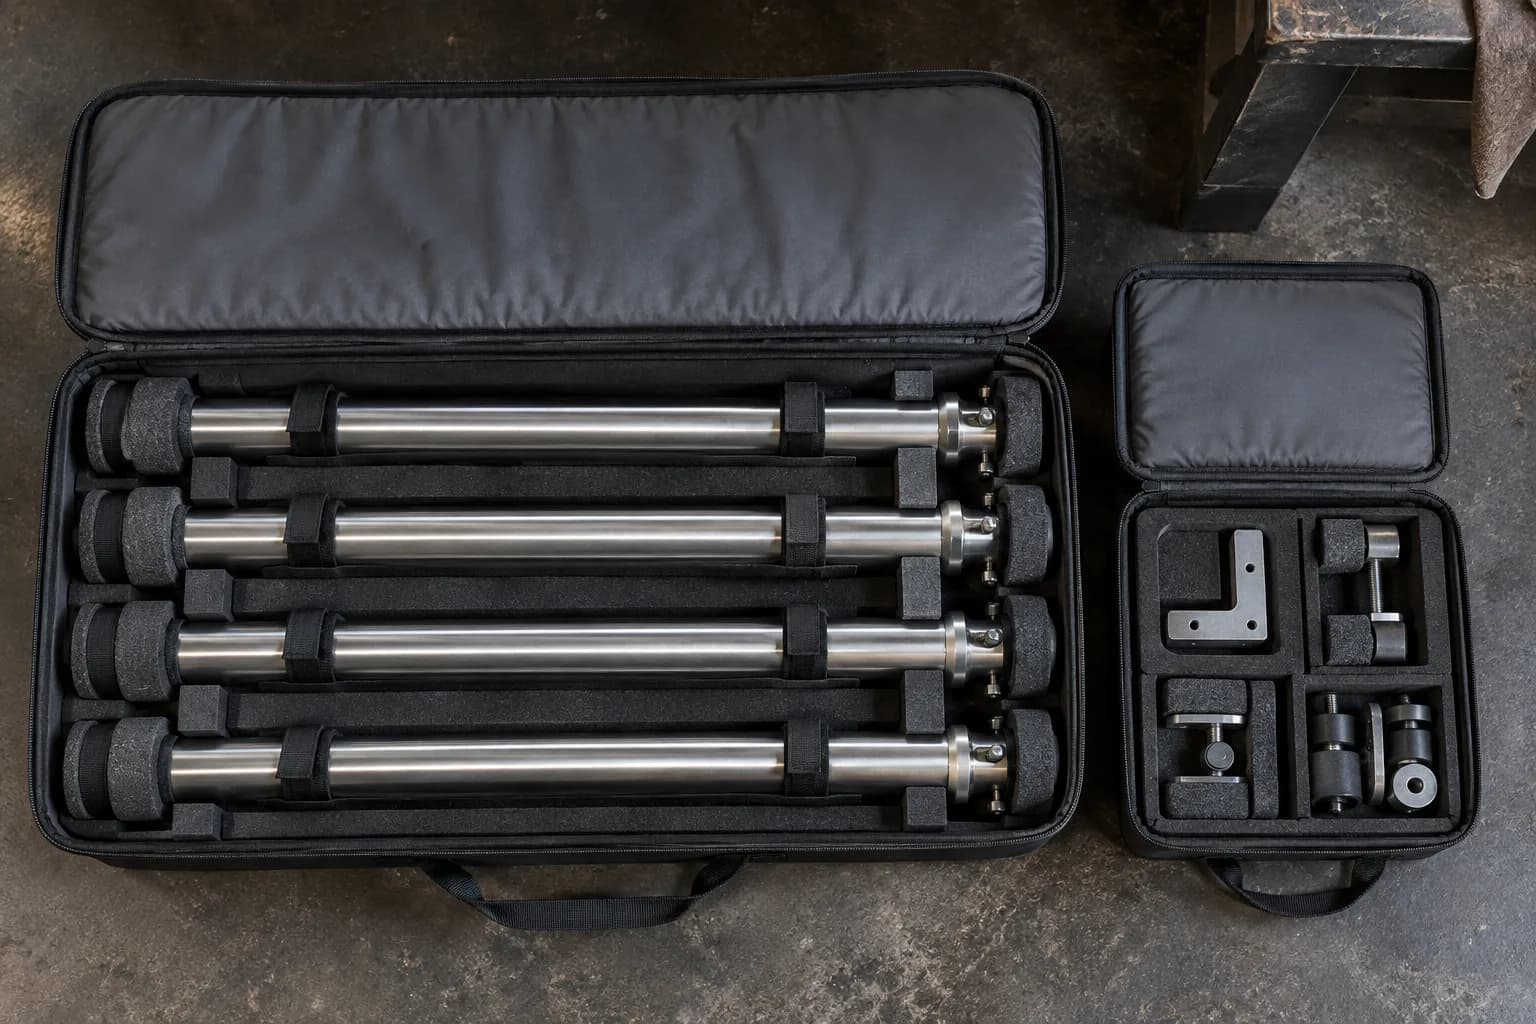
When setting up at craft shows, arrive early to allow ample time for assembly before attendees arrive. Familiarize yourself with your setup process so you can work efficiently under time constraints. Position your stand in a way that maximizes visibility while ensuring you have enough space to operate comfortably without crowding other vendors or attendees.
Lastly, always have safety gear readily available—such as goggles and gloves—so you’re prepared for any immediate needs once you start demonstrating your craft.
FAQs
What materials are needed to build a portable stand for craft-show grinding demos?
To build a portable stand for craft-show grinding demos, you will need materials such as wood, screws, hinges, and a sturdy base. You may need tools such as a saw, drill, and measuring tape.
What are the steps to build a portable stand for craft-show grinding demos?
The steps to build a portable stand for craft-show grinding demos may include measuring and cutting the wood to the desired dimensions, assembling the frame and base, attaching the hinges for collapsibility, and adding any additional features such as a shelf for tools or a handle for easy transport.
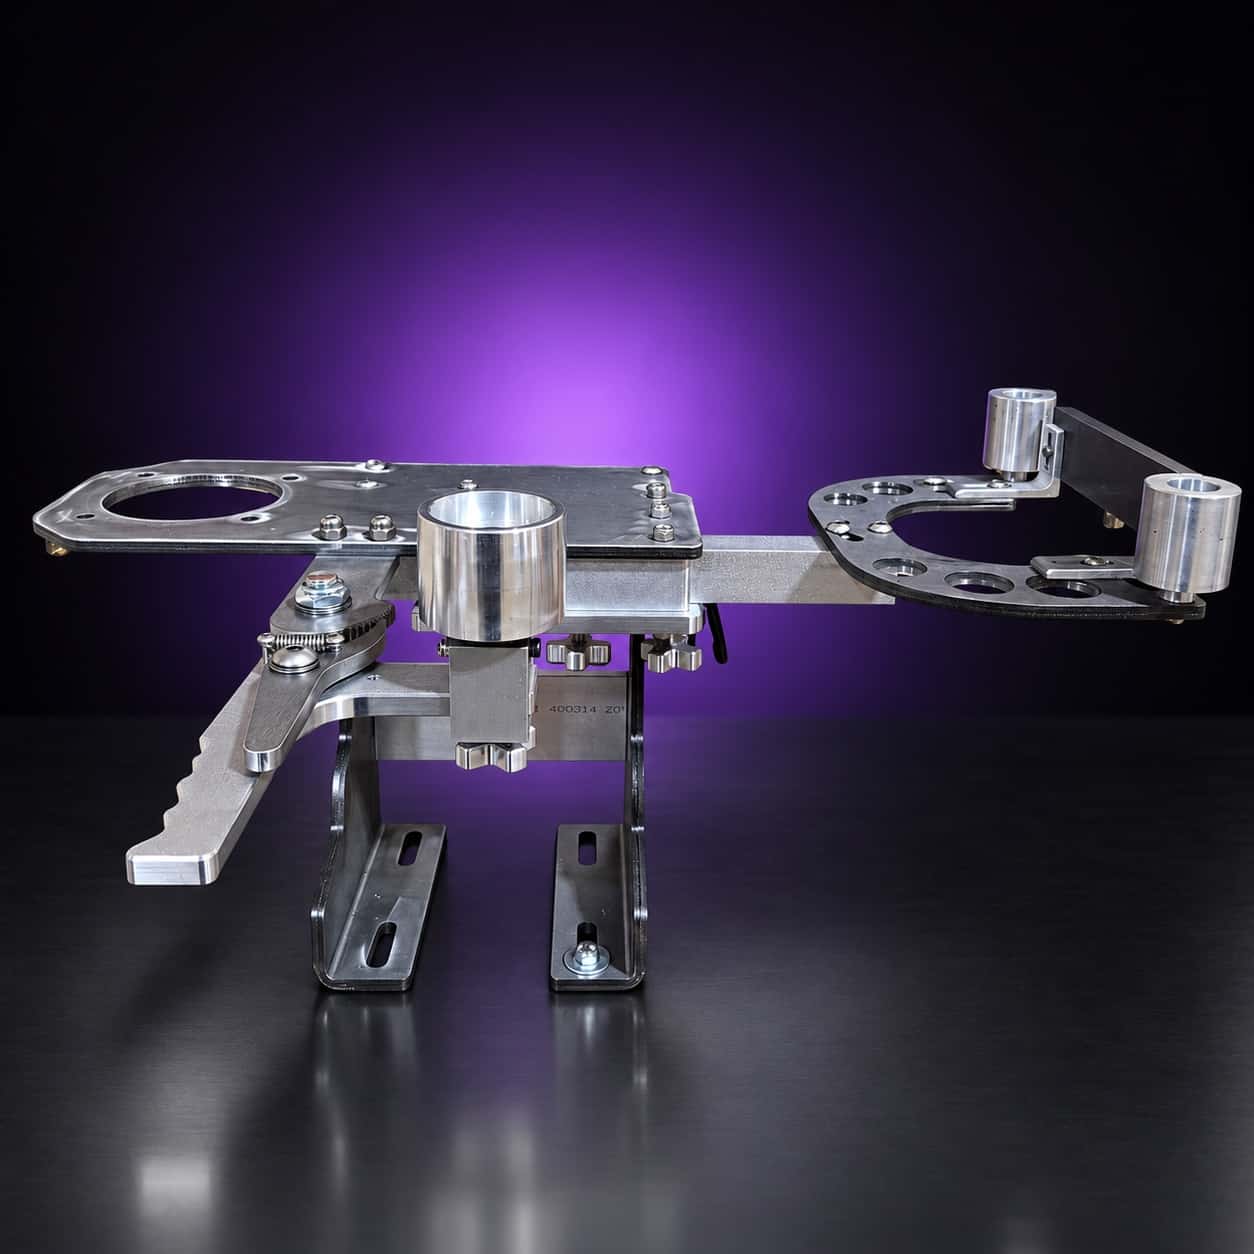
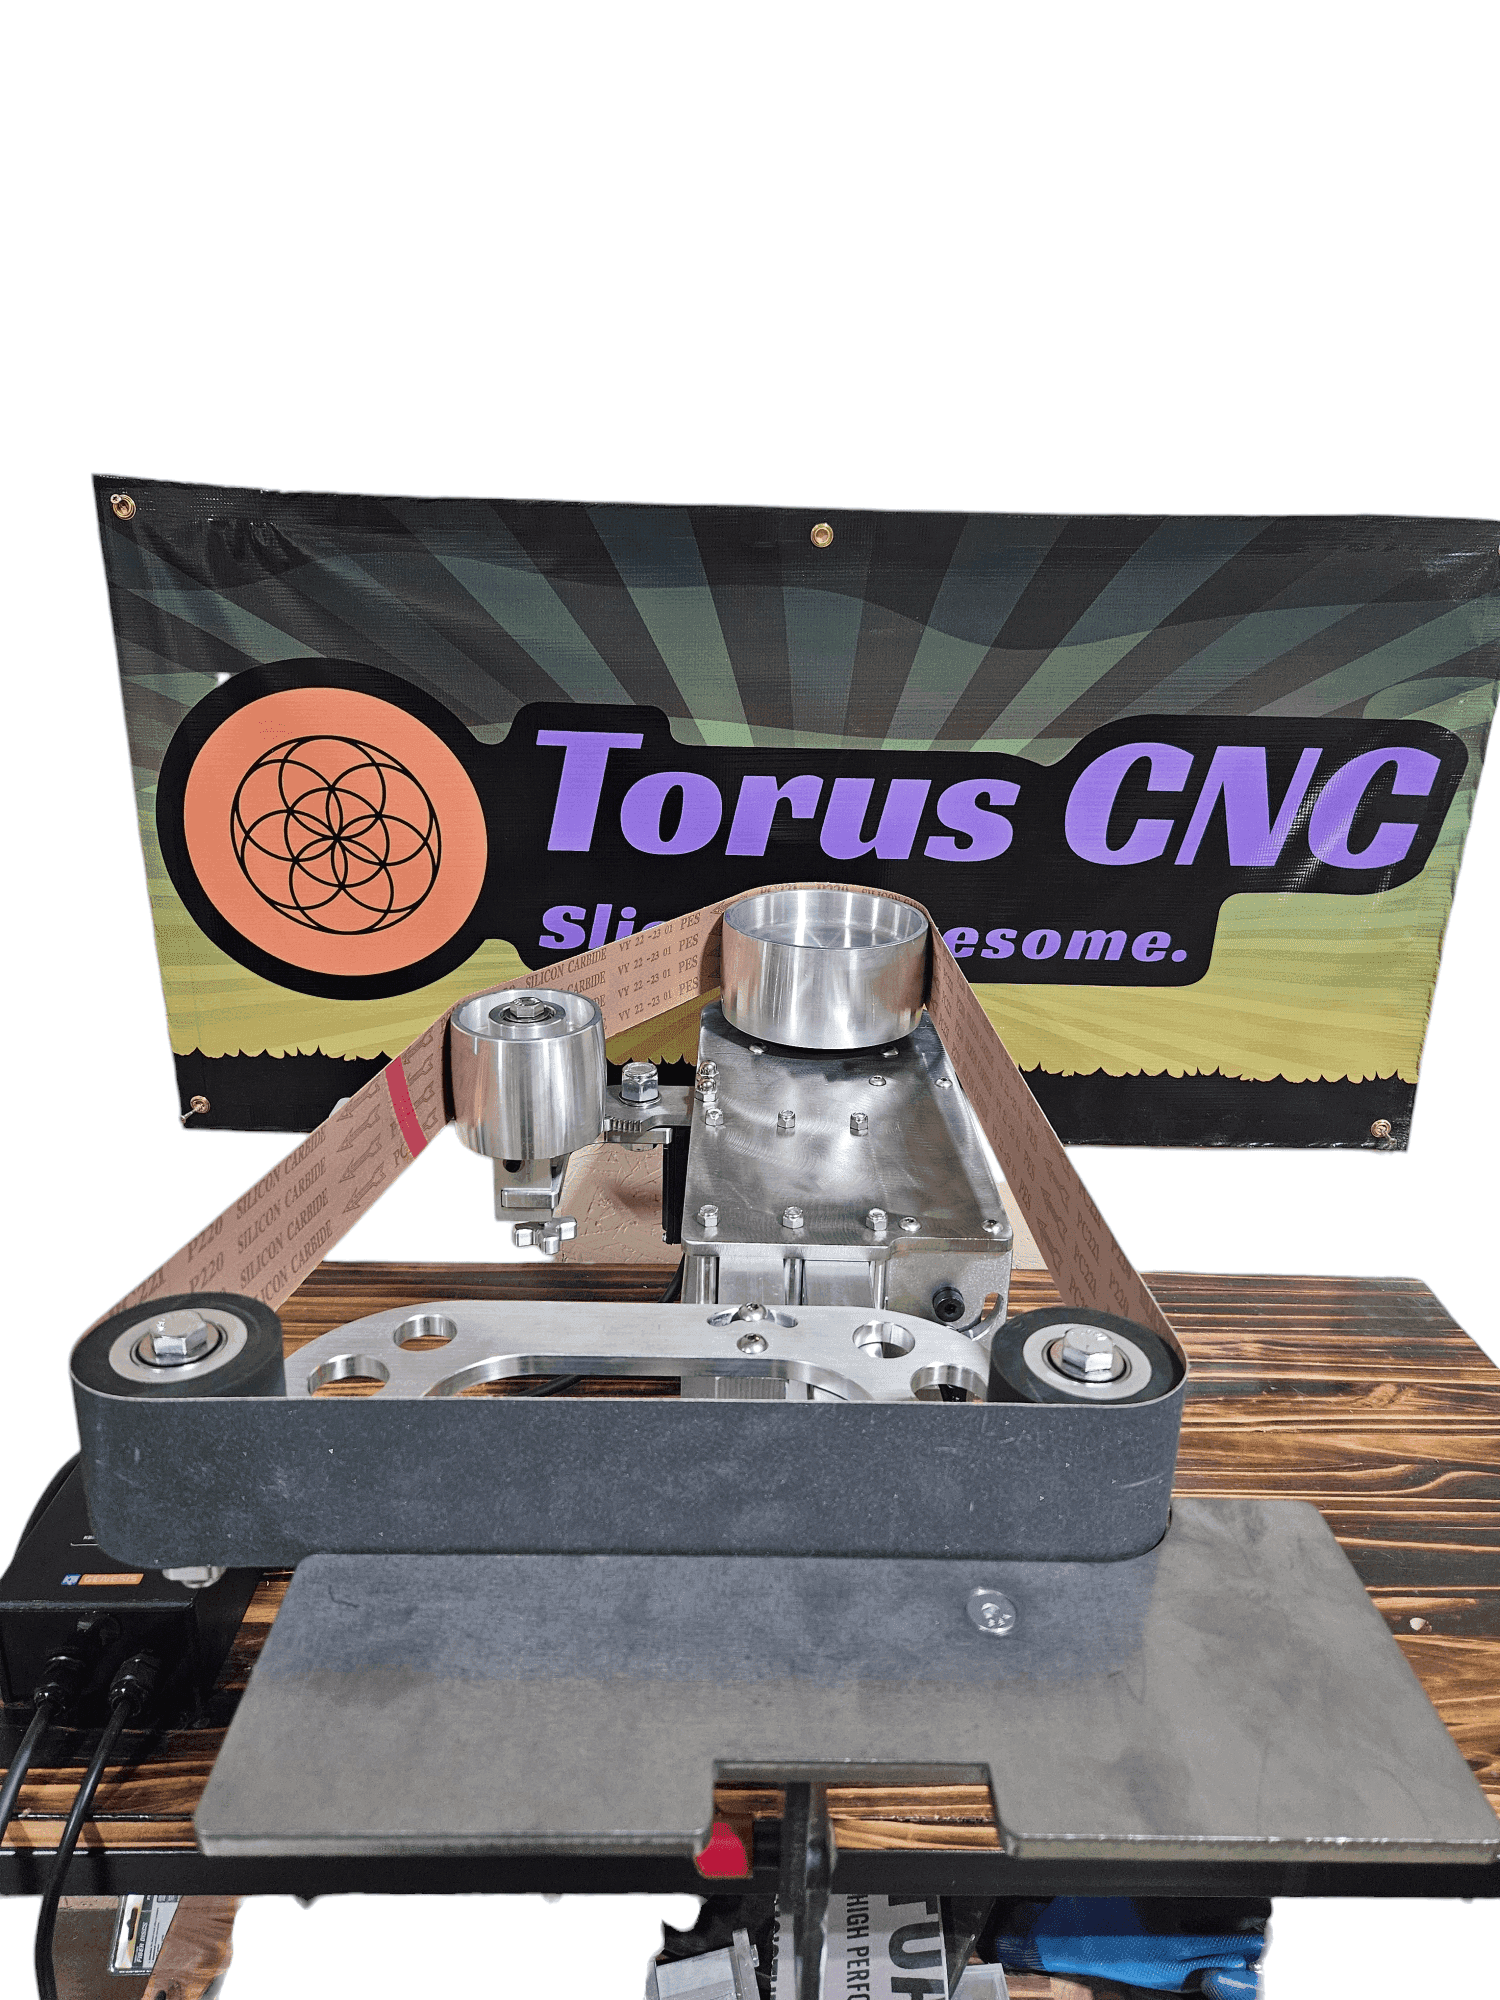
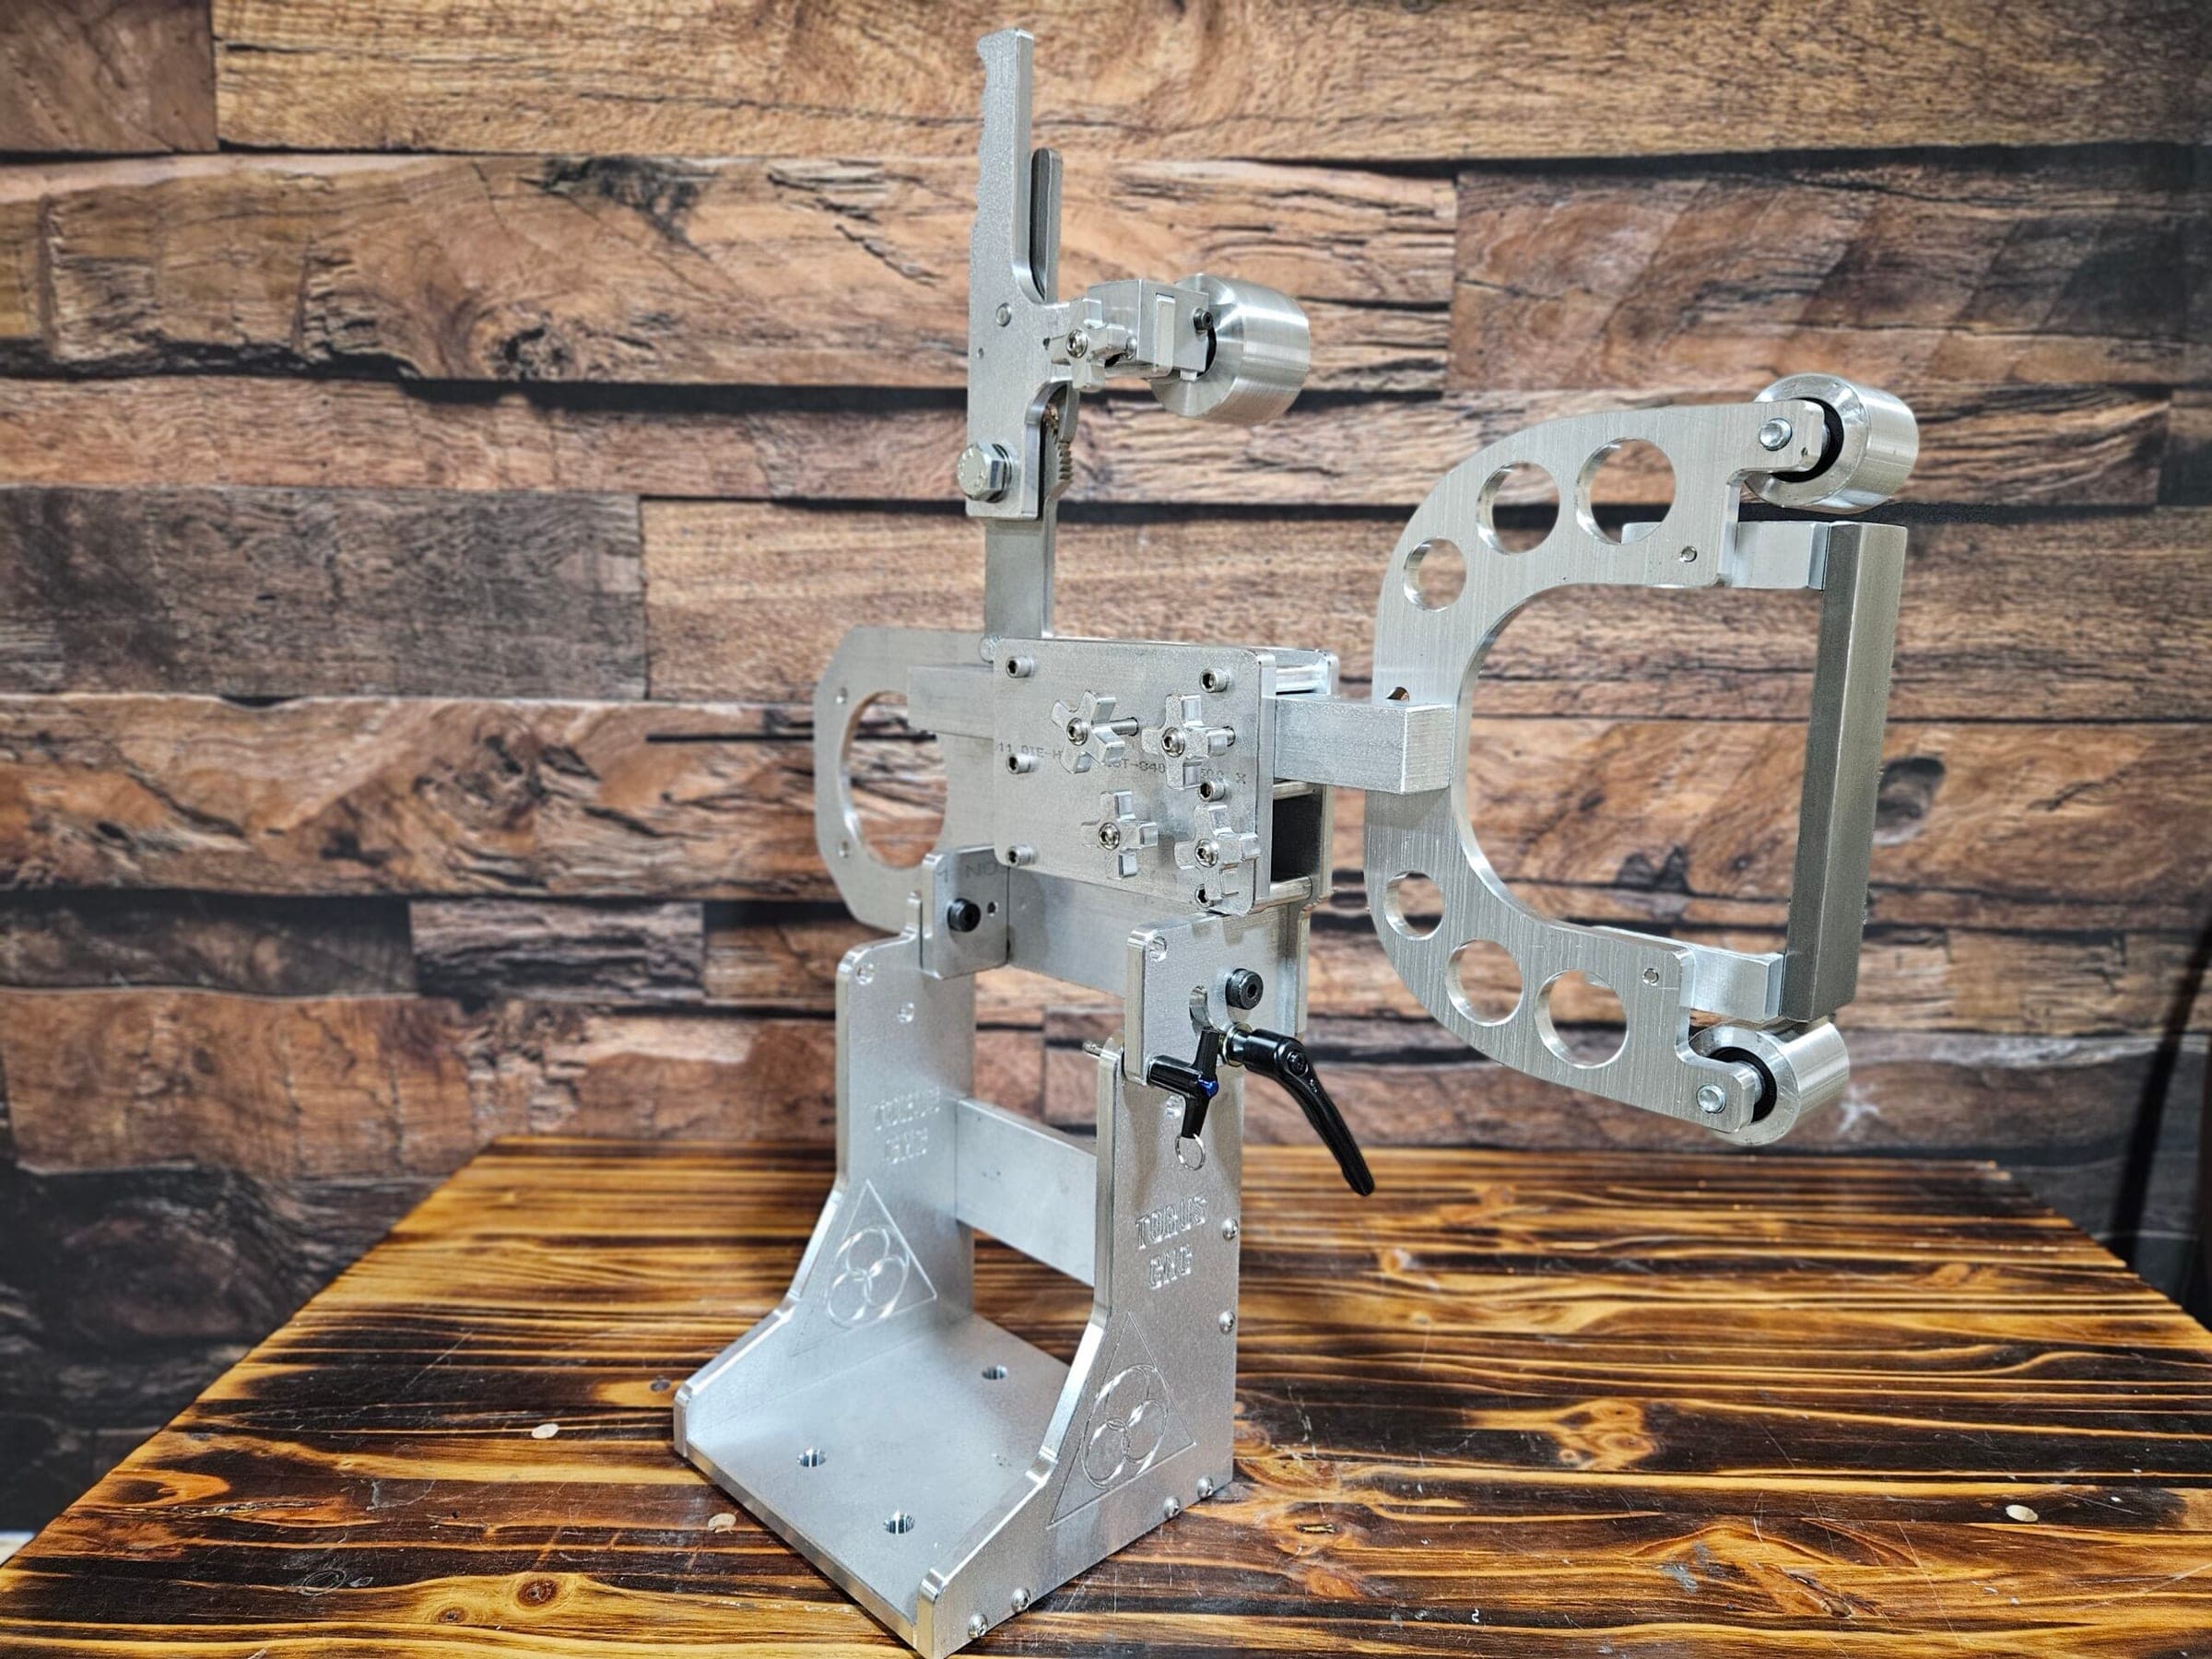
An aluminum grinder is the one you want on a stand that travels. The Nova 2×72 is fiber-laser-cut 6061, light enough to lift onto a stand alone, and tilts to horizontal for sharpening demos. Pair it with the motor and VFD combo and its sealed KBAC-27D drive, and the whole rig survives the road.