2x72 Grinder Tips
Installing Small-Wheel Attachment on Torus CNC Grinder
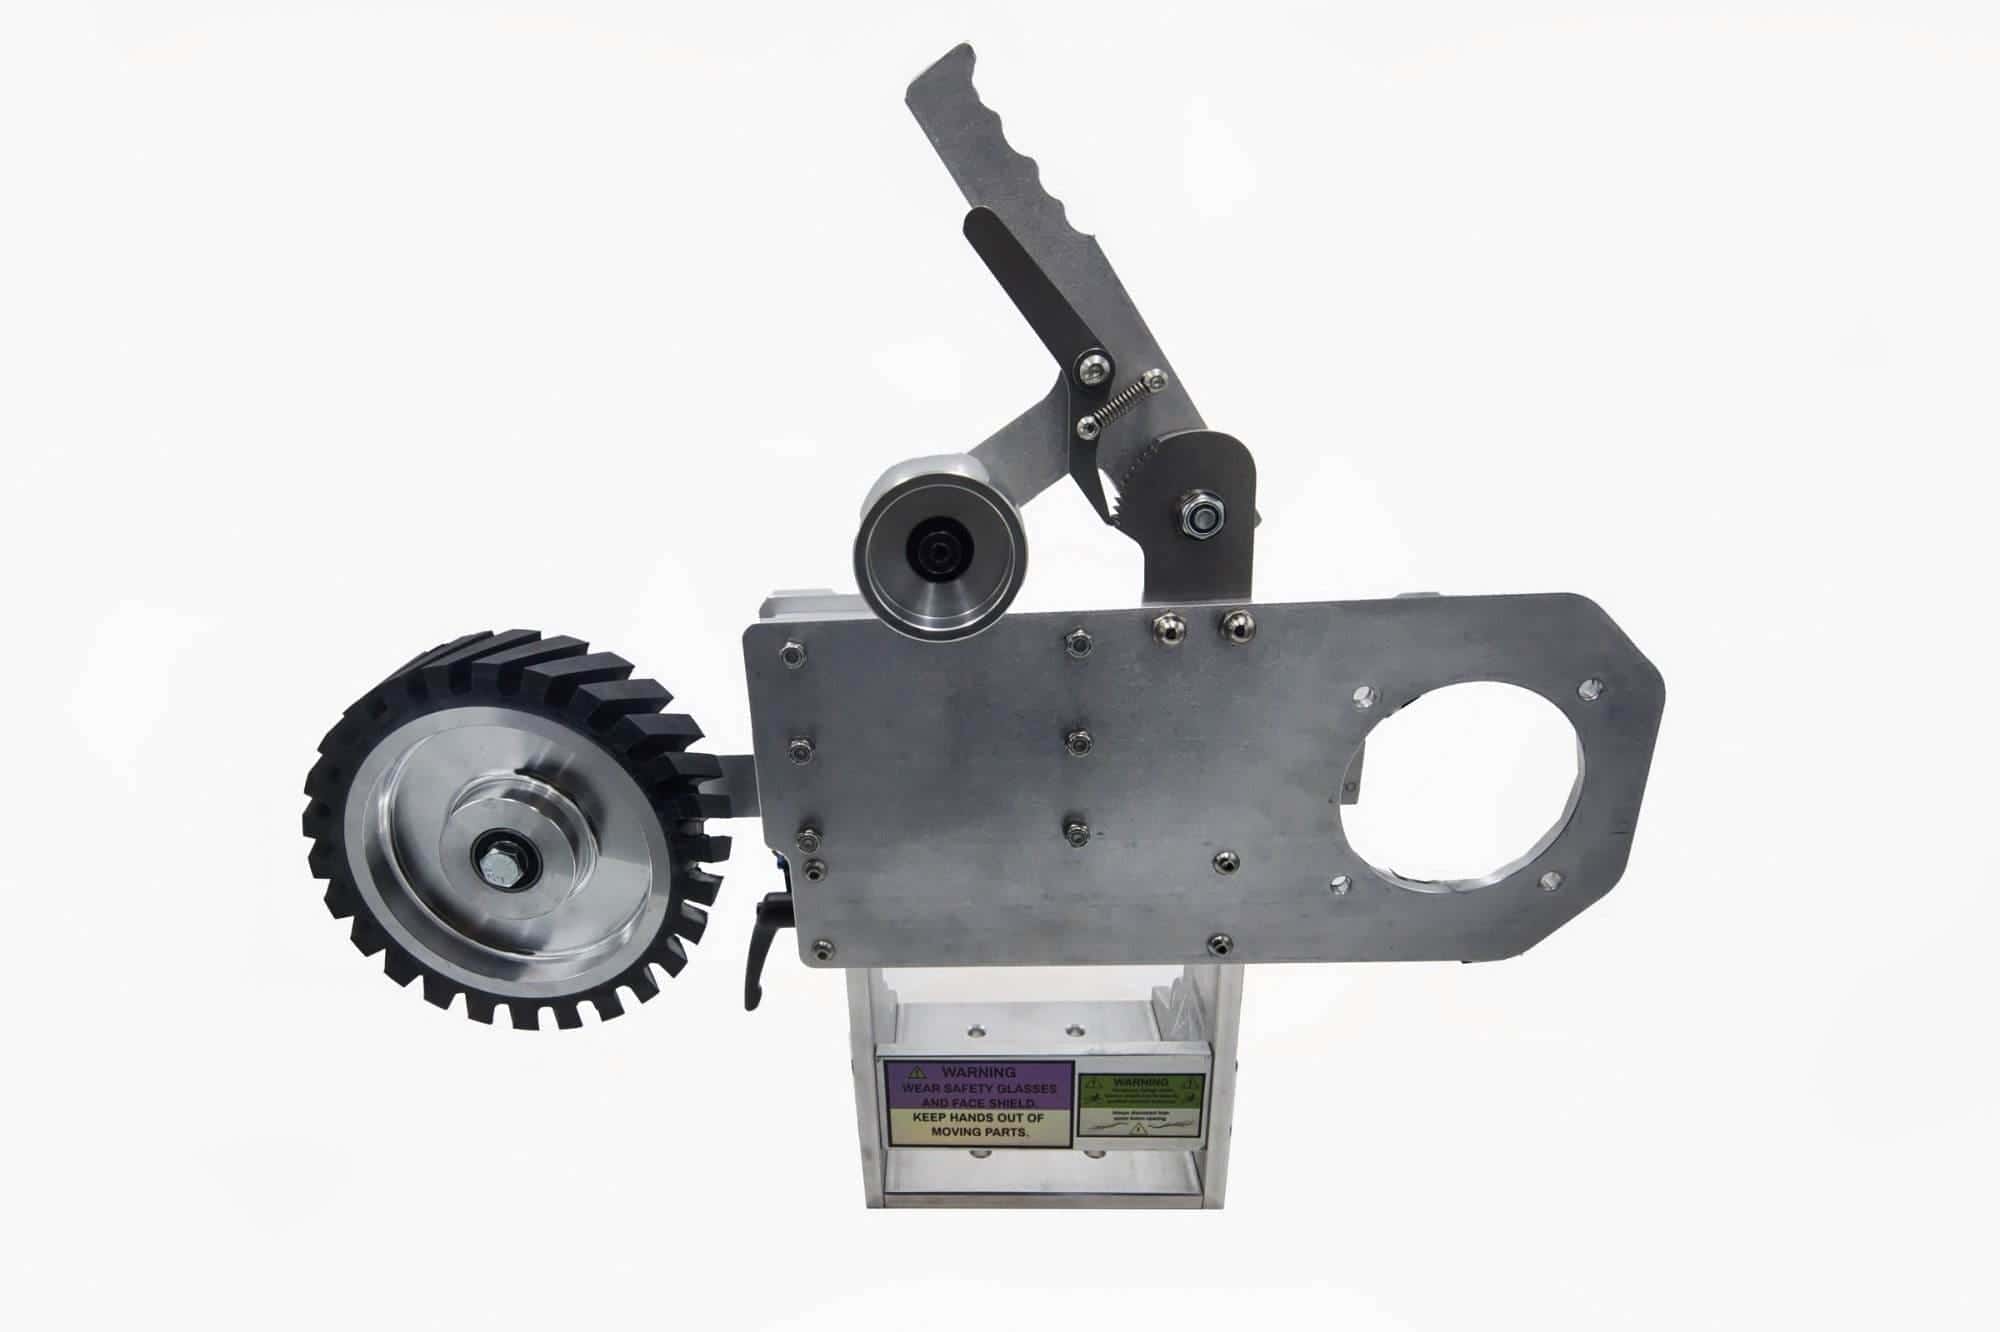
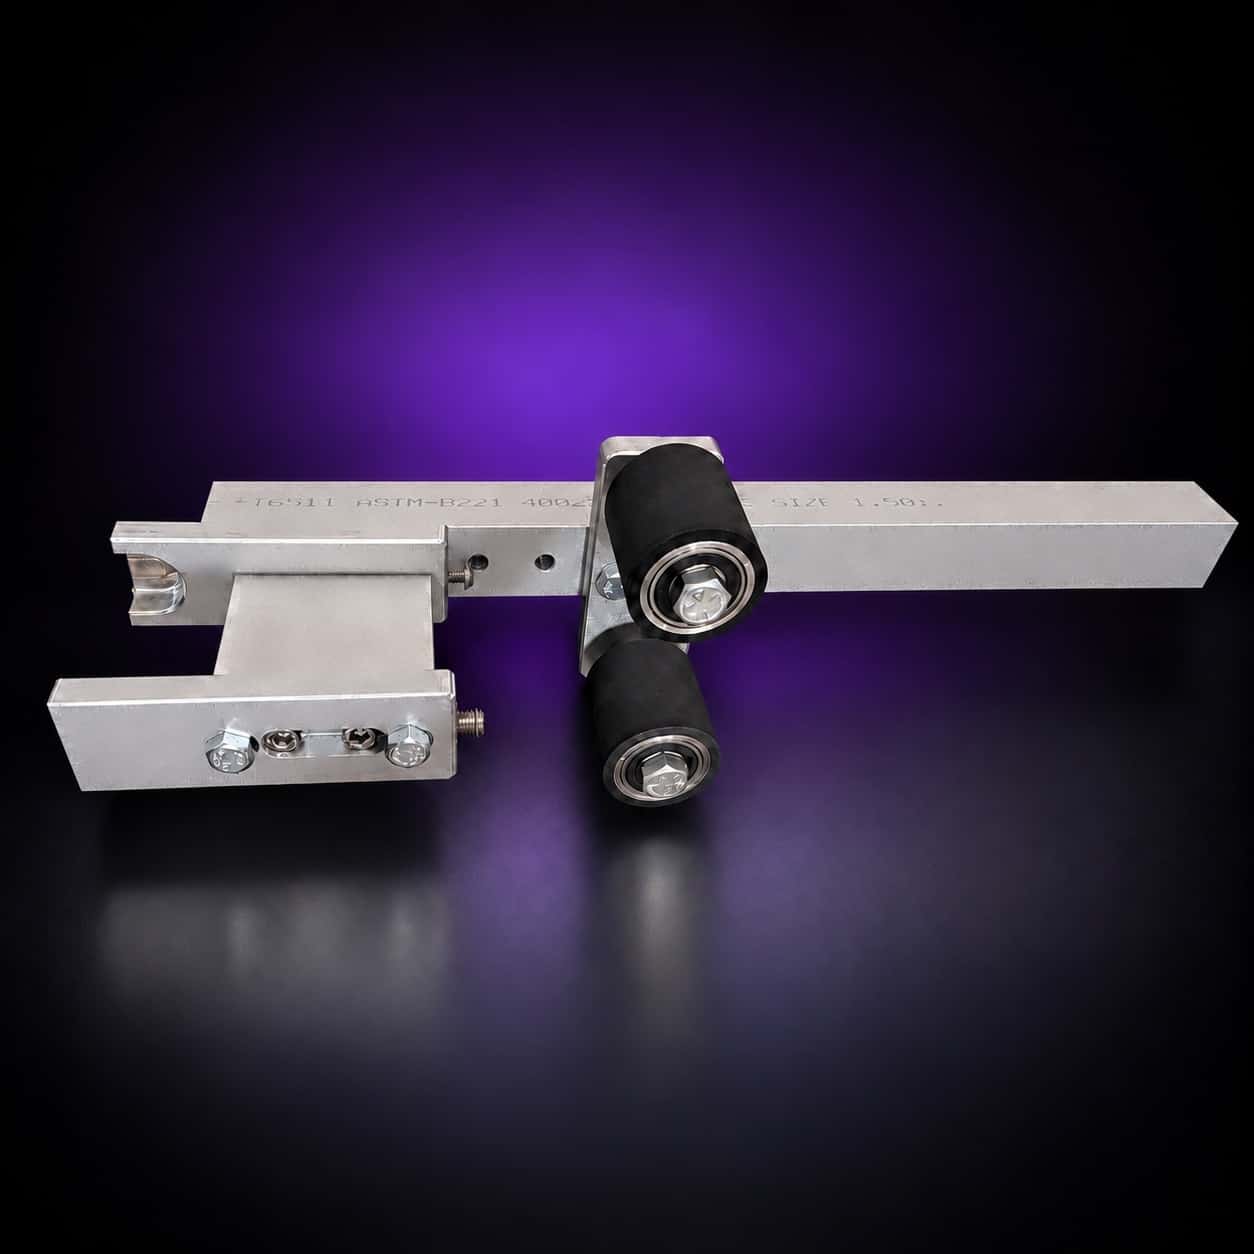
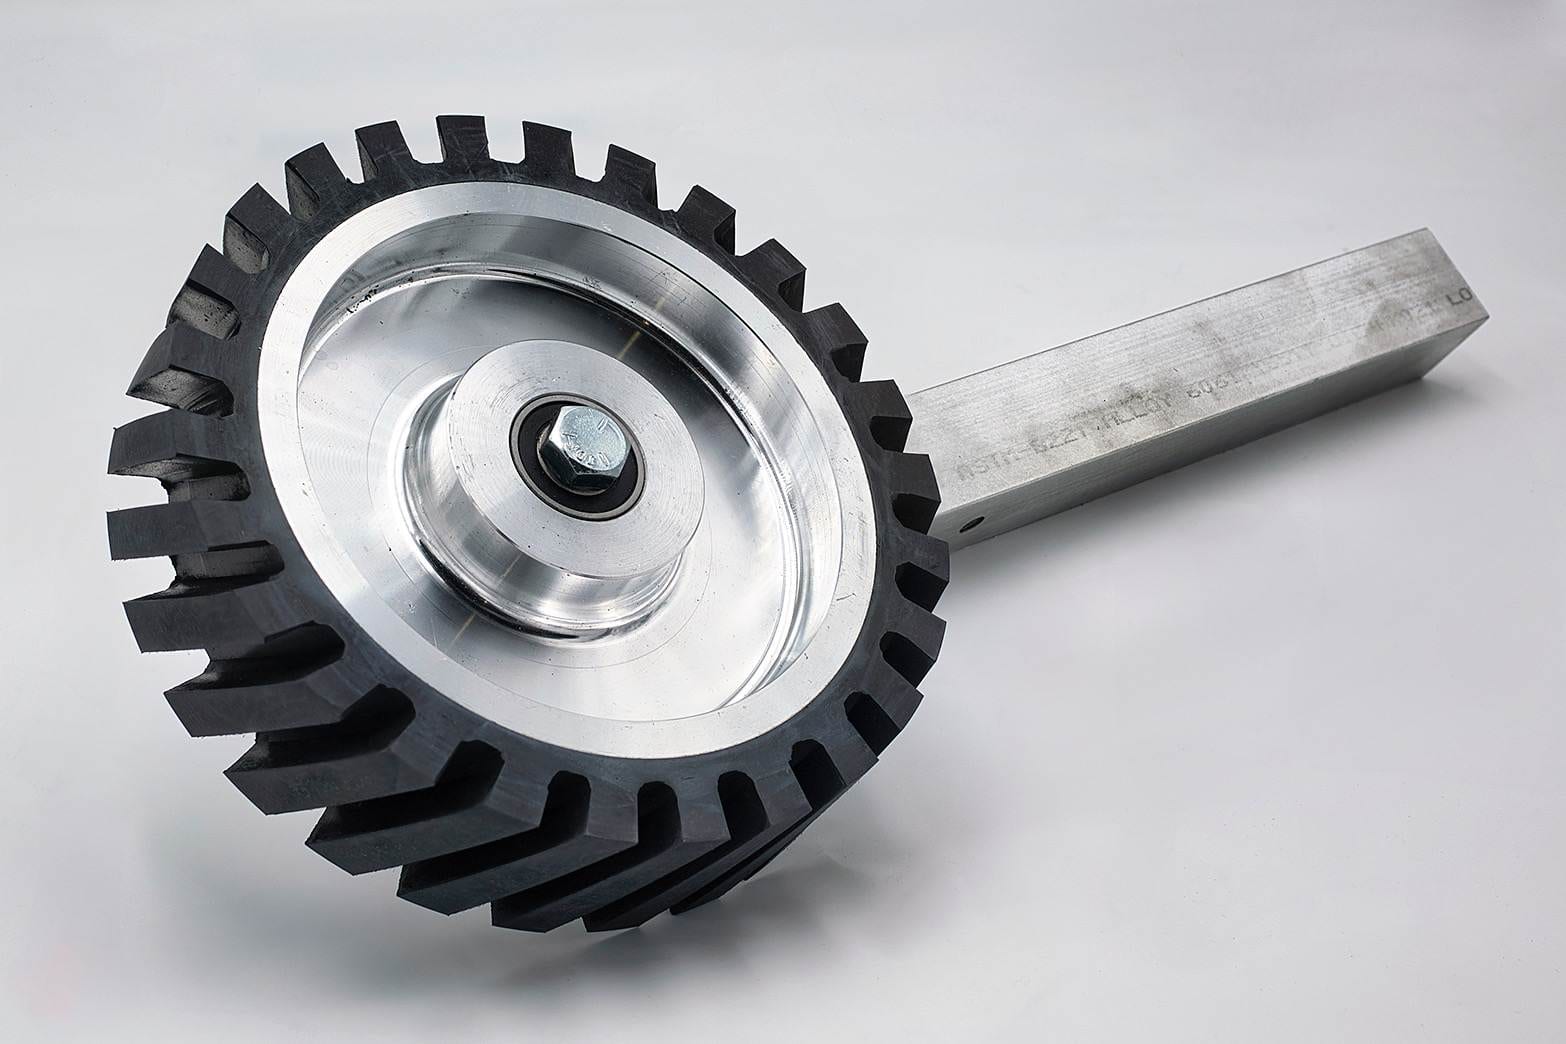
The small wheel attachment opens up finger grooves, choils and inside curves. Here is how I install it on a Torus 2×72: power off, slide the arm in, set height, track the belt over the small wheel, test on scrap.
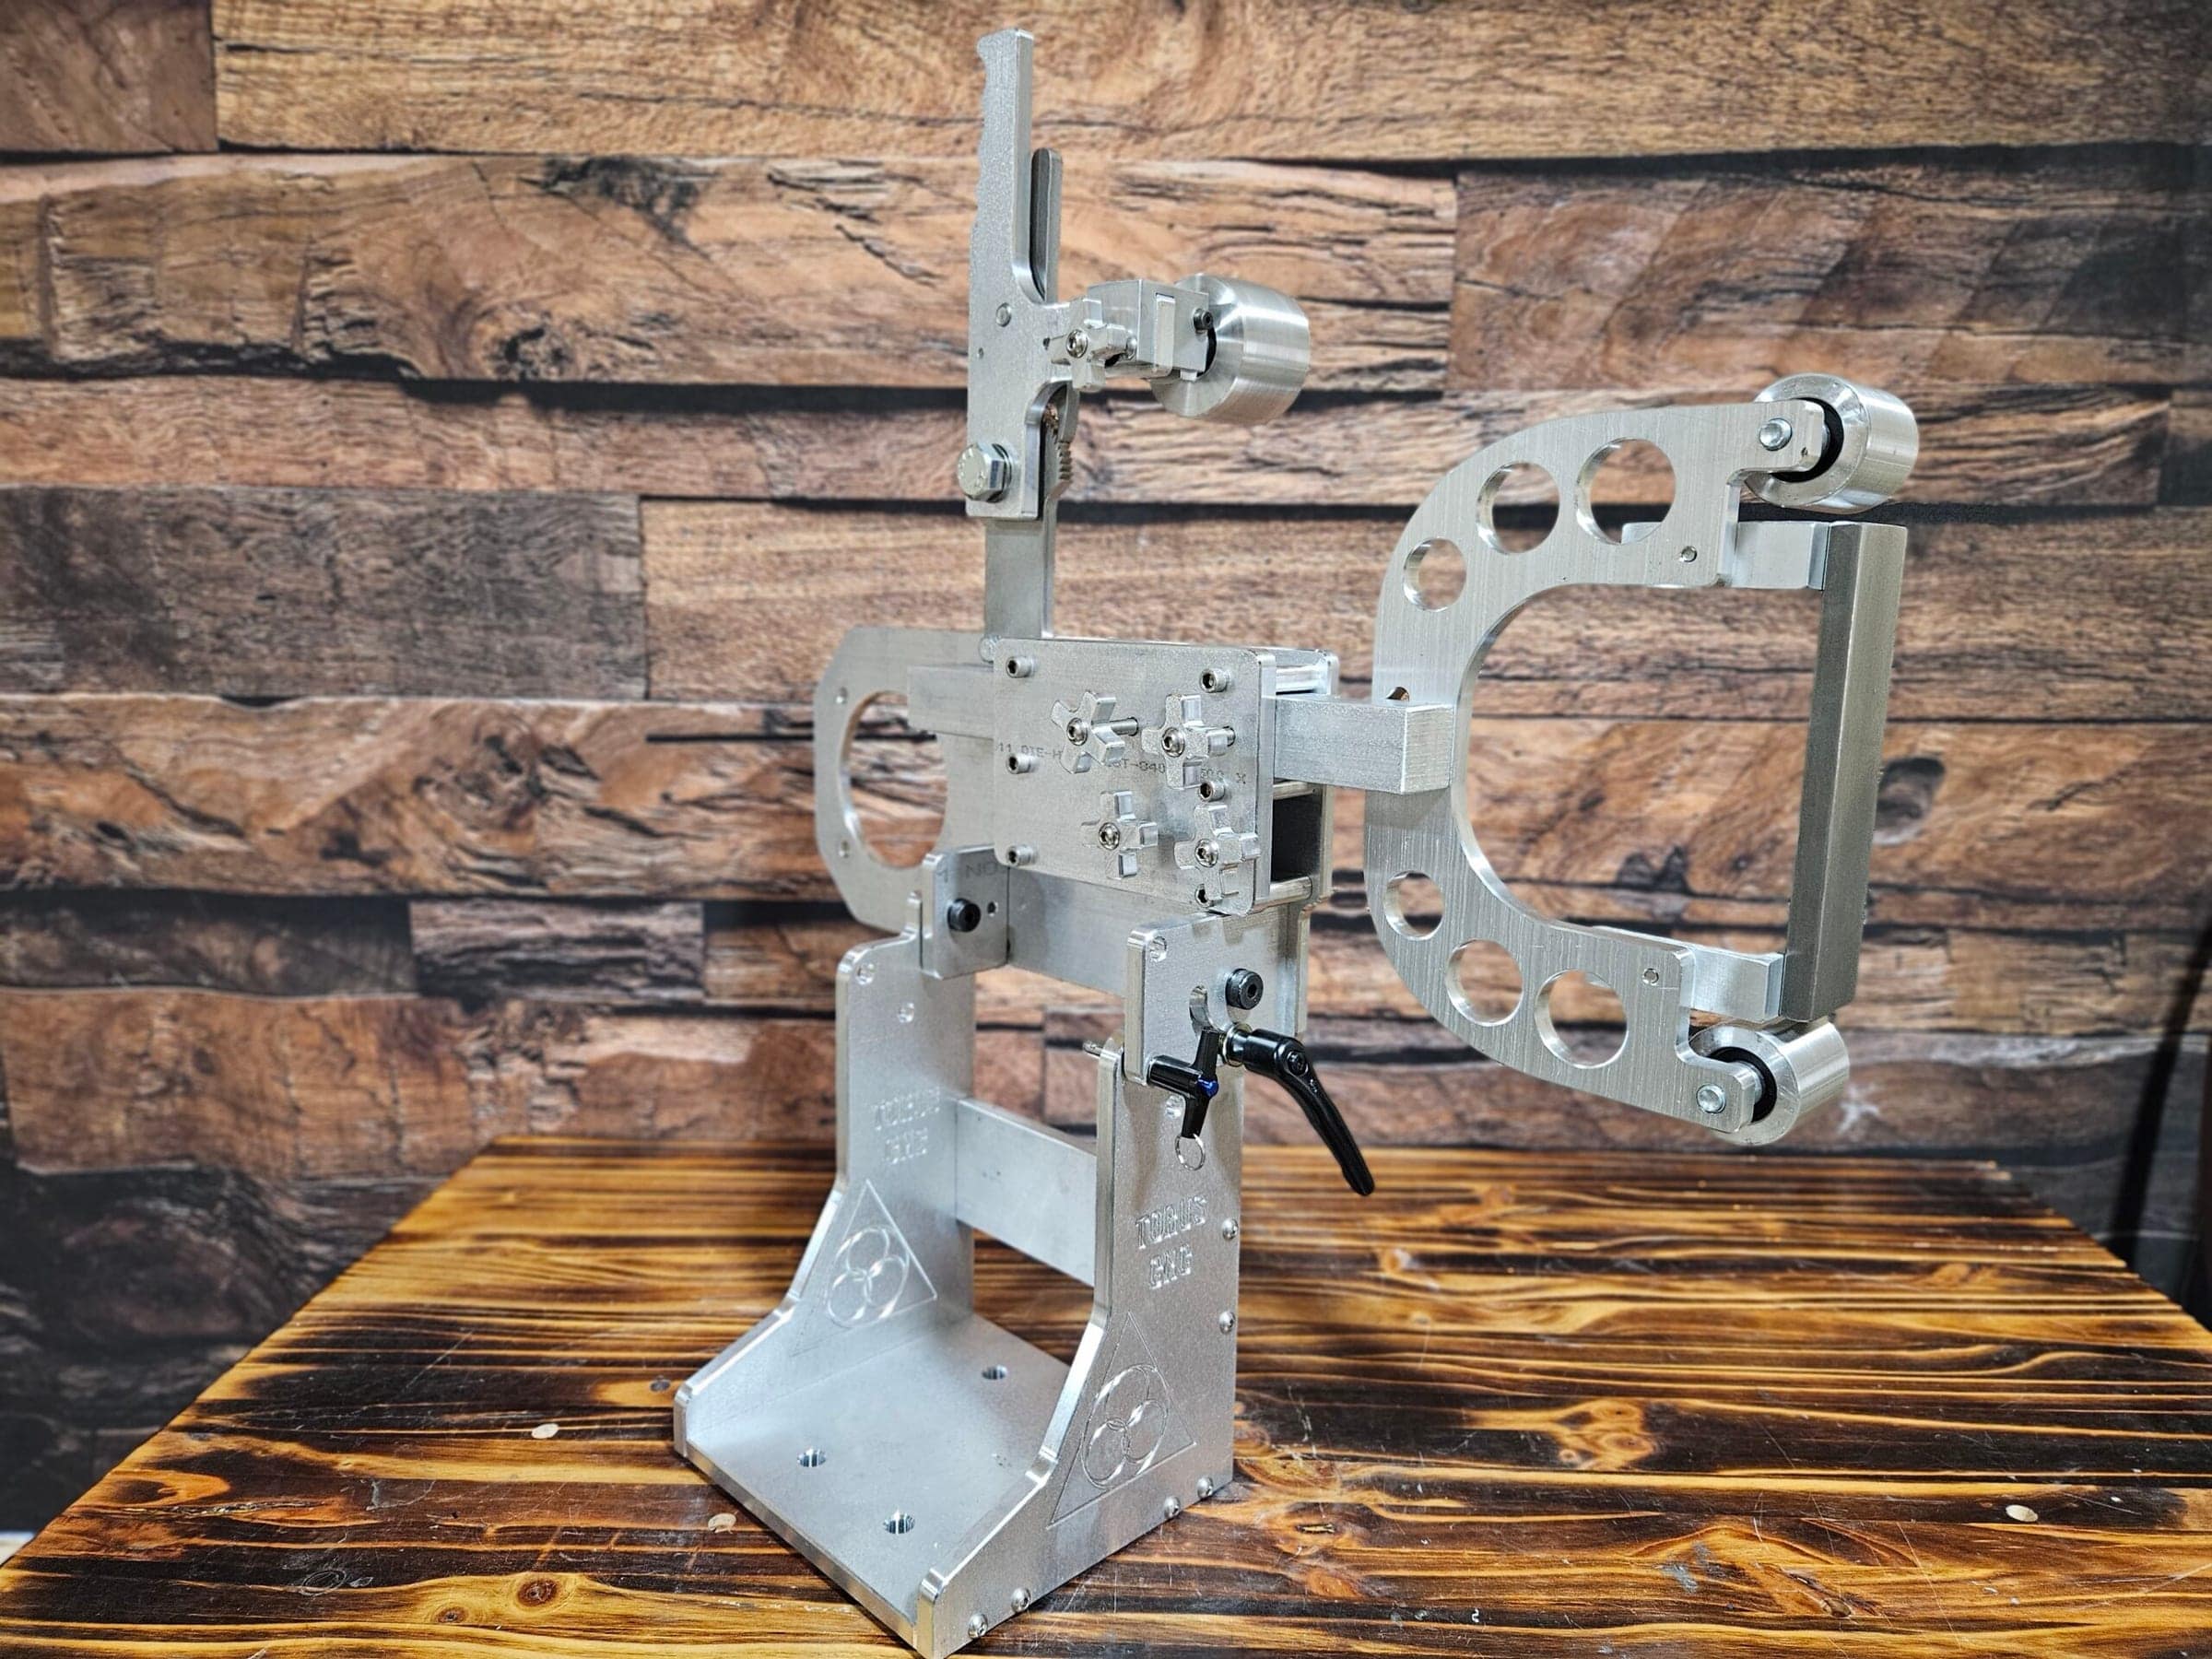
The small wheel attachment is the accessory that opens up finger grooves, choils and inside curves that a platen cannot reach. Installing it on a Torus 2×72 takes about five minutes if you do it in the right order. Here is that order: power off, slide the 1.5-inch arm in, set the height, track the belt over the small wheel, and test on scrap before you touch a real handle.
Key Takeaways
- Understanding the Small-Wheel Attachment: Learn the purpose and function of the small-wheel attachment for the Torus CNC Grinder.
- Preparing the Torus CNC Grinder for Installation: Follow step-by-step instructions to ensure the grinder is ready for the small-wheel attachment.
- Gathering the Necessary Tools and Materials: Make sure you have all the required tools and materials before starting the installation process.
- Mounting the Small-Wheel Attachment on the Torus CNC Grinder: Properly attach the small-wheel attachment to the grinder for optimal performance.
- Connecting the Small-Wheel Attachment to the Grinder’s Power Source: Safely connect the small-wheel attachment to the power source of the grinder to avoid any electrical issues.
Preparing the Torus CNC Grinder for Installation
Safety First: Power Down and Inspect
Start by ensuring that the grinder is turned off and unplugged from its power source. This precaution is vital for safety reasons, as it prevents accidental activation during the installation process. Once the grinder is safely powered down, inspect the machine for any debris or residue that may have accumulated on its surface. A clean workspace not only promotes safety but also ensures that the installation process goes smoothly.
Familiarize Yourself with Your Grinder’s Model
Next, familiarize yourself with the specific model of your Torus CNC grinder. Different models may have slight variations in their design and mounting mechanisms. Consult the user manual for your grinder to understand the installation points and any specific instructions related to your model.
Gathering the Necessary Tools and Materials
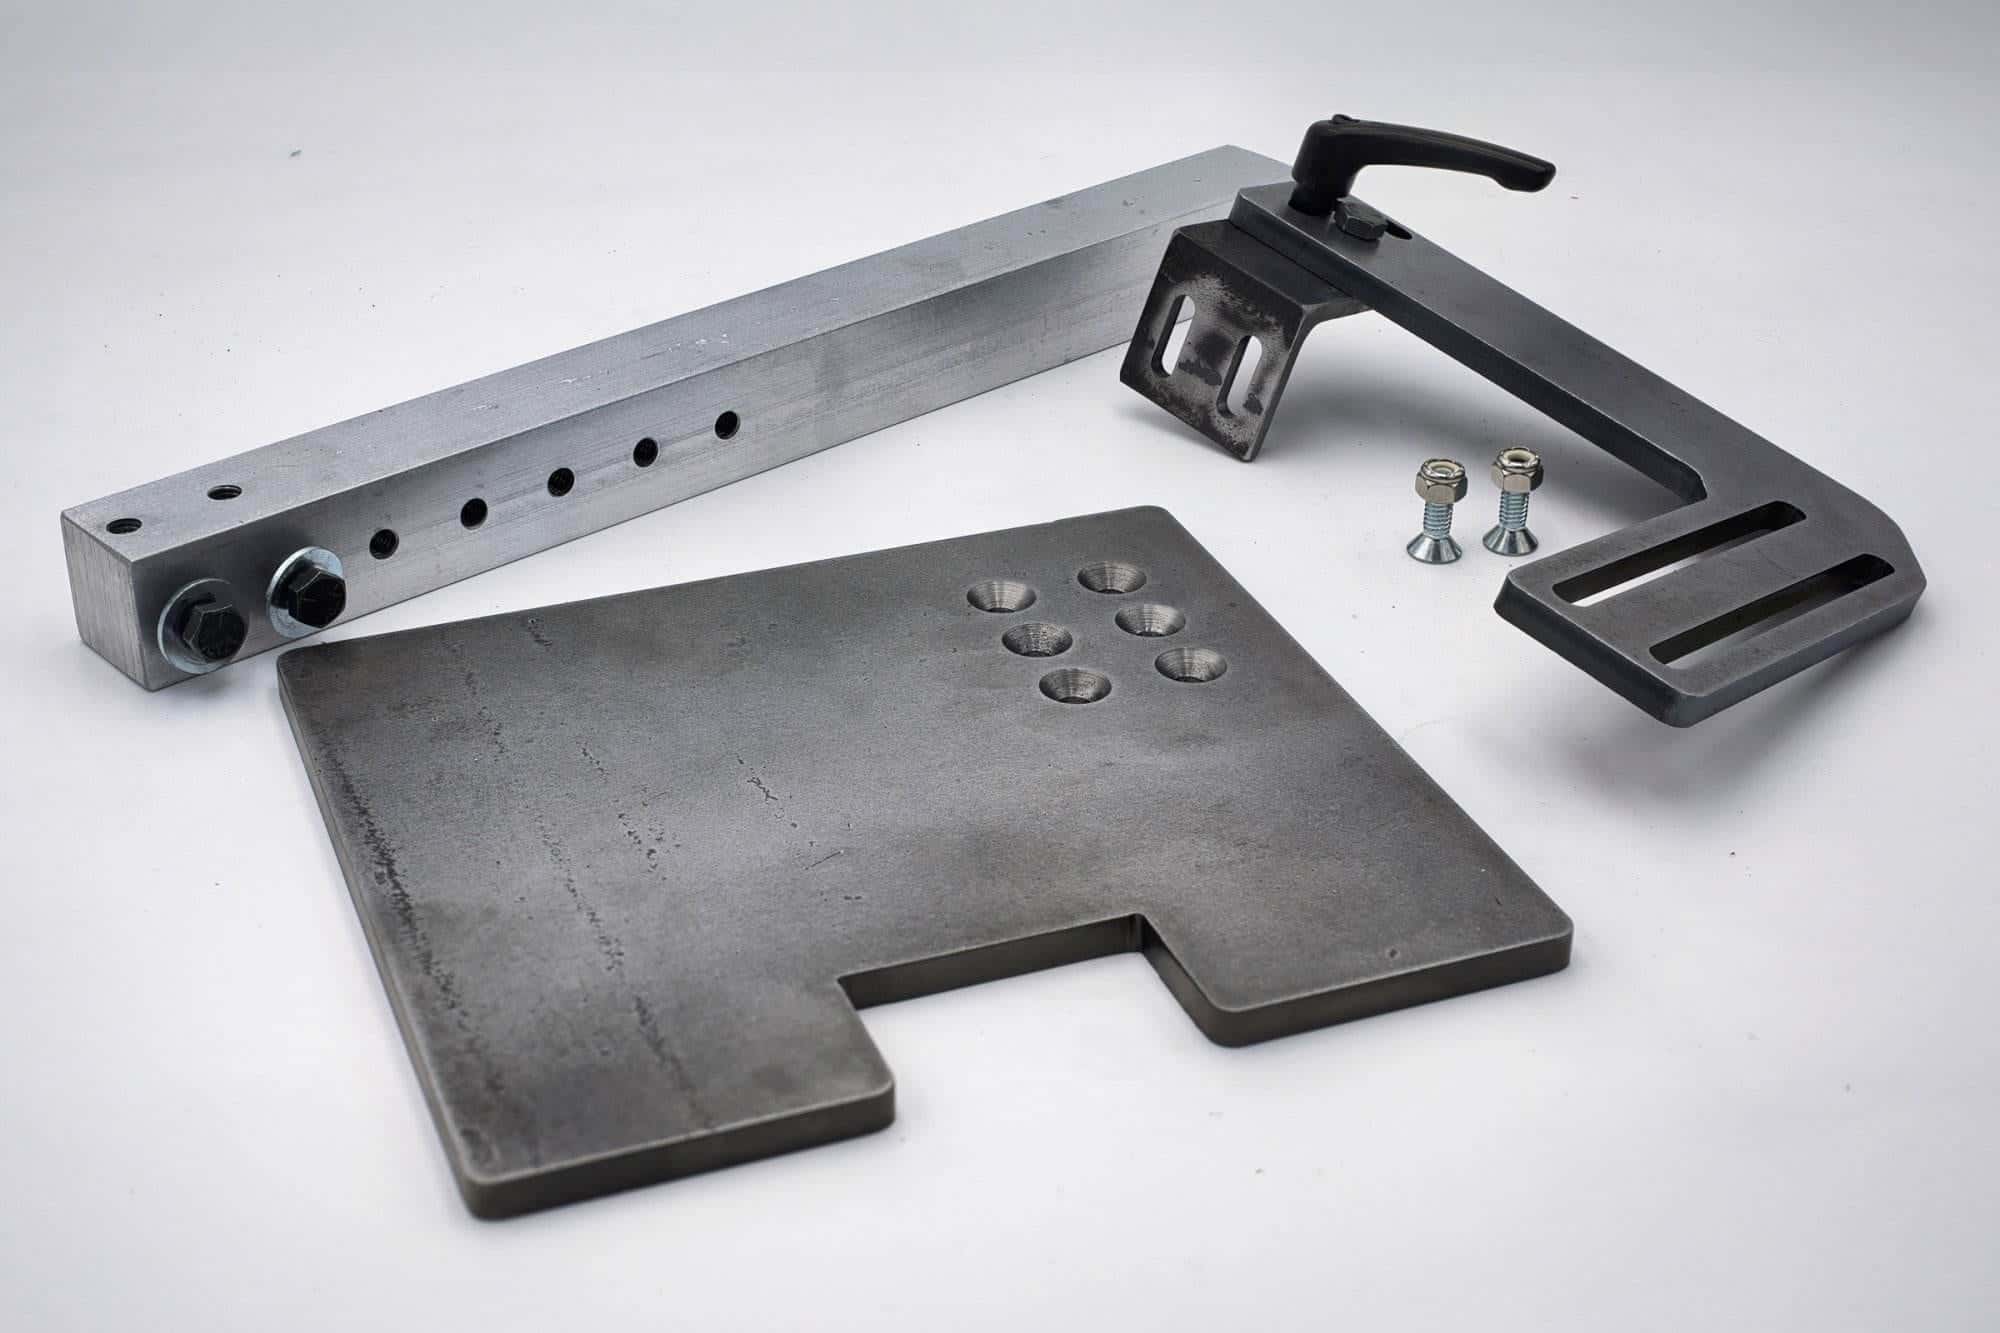
To successfully install the small-wheel attachment on your Torus CNC grinder, you will need a few essential tools and materials. First and foremost, gather the small-wheel attachment itself, which should come with all necessary mounting hardware. You will need a set of wrenches or sockets to tighten bolts securely.
A screwdriver may also be required, depending on the specific design of your attachment. In addition to tools, consider having a clean cloth or paper towels on hand for wiping down surfaces during installation. It’s also wise to have safety goggles and gloves available to protect yourself while working with machinery.
Mounting the Small-Wheel Attachment on the Torus CNC Grinder
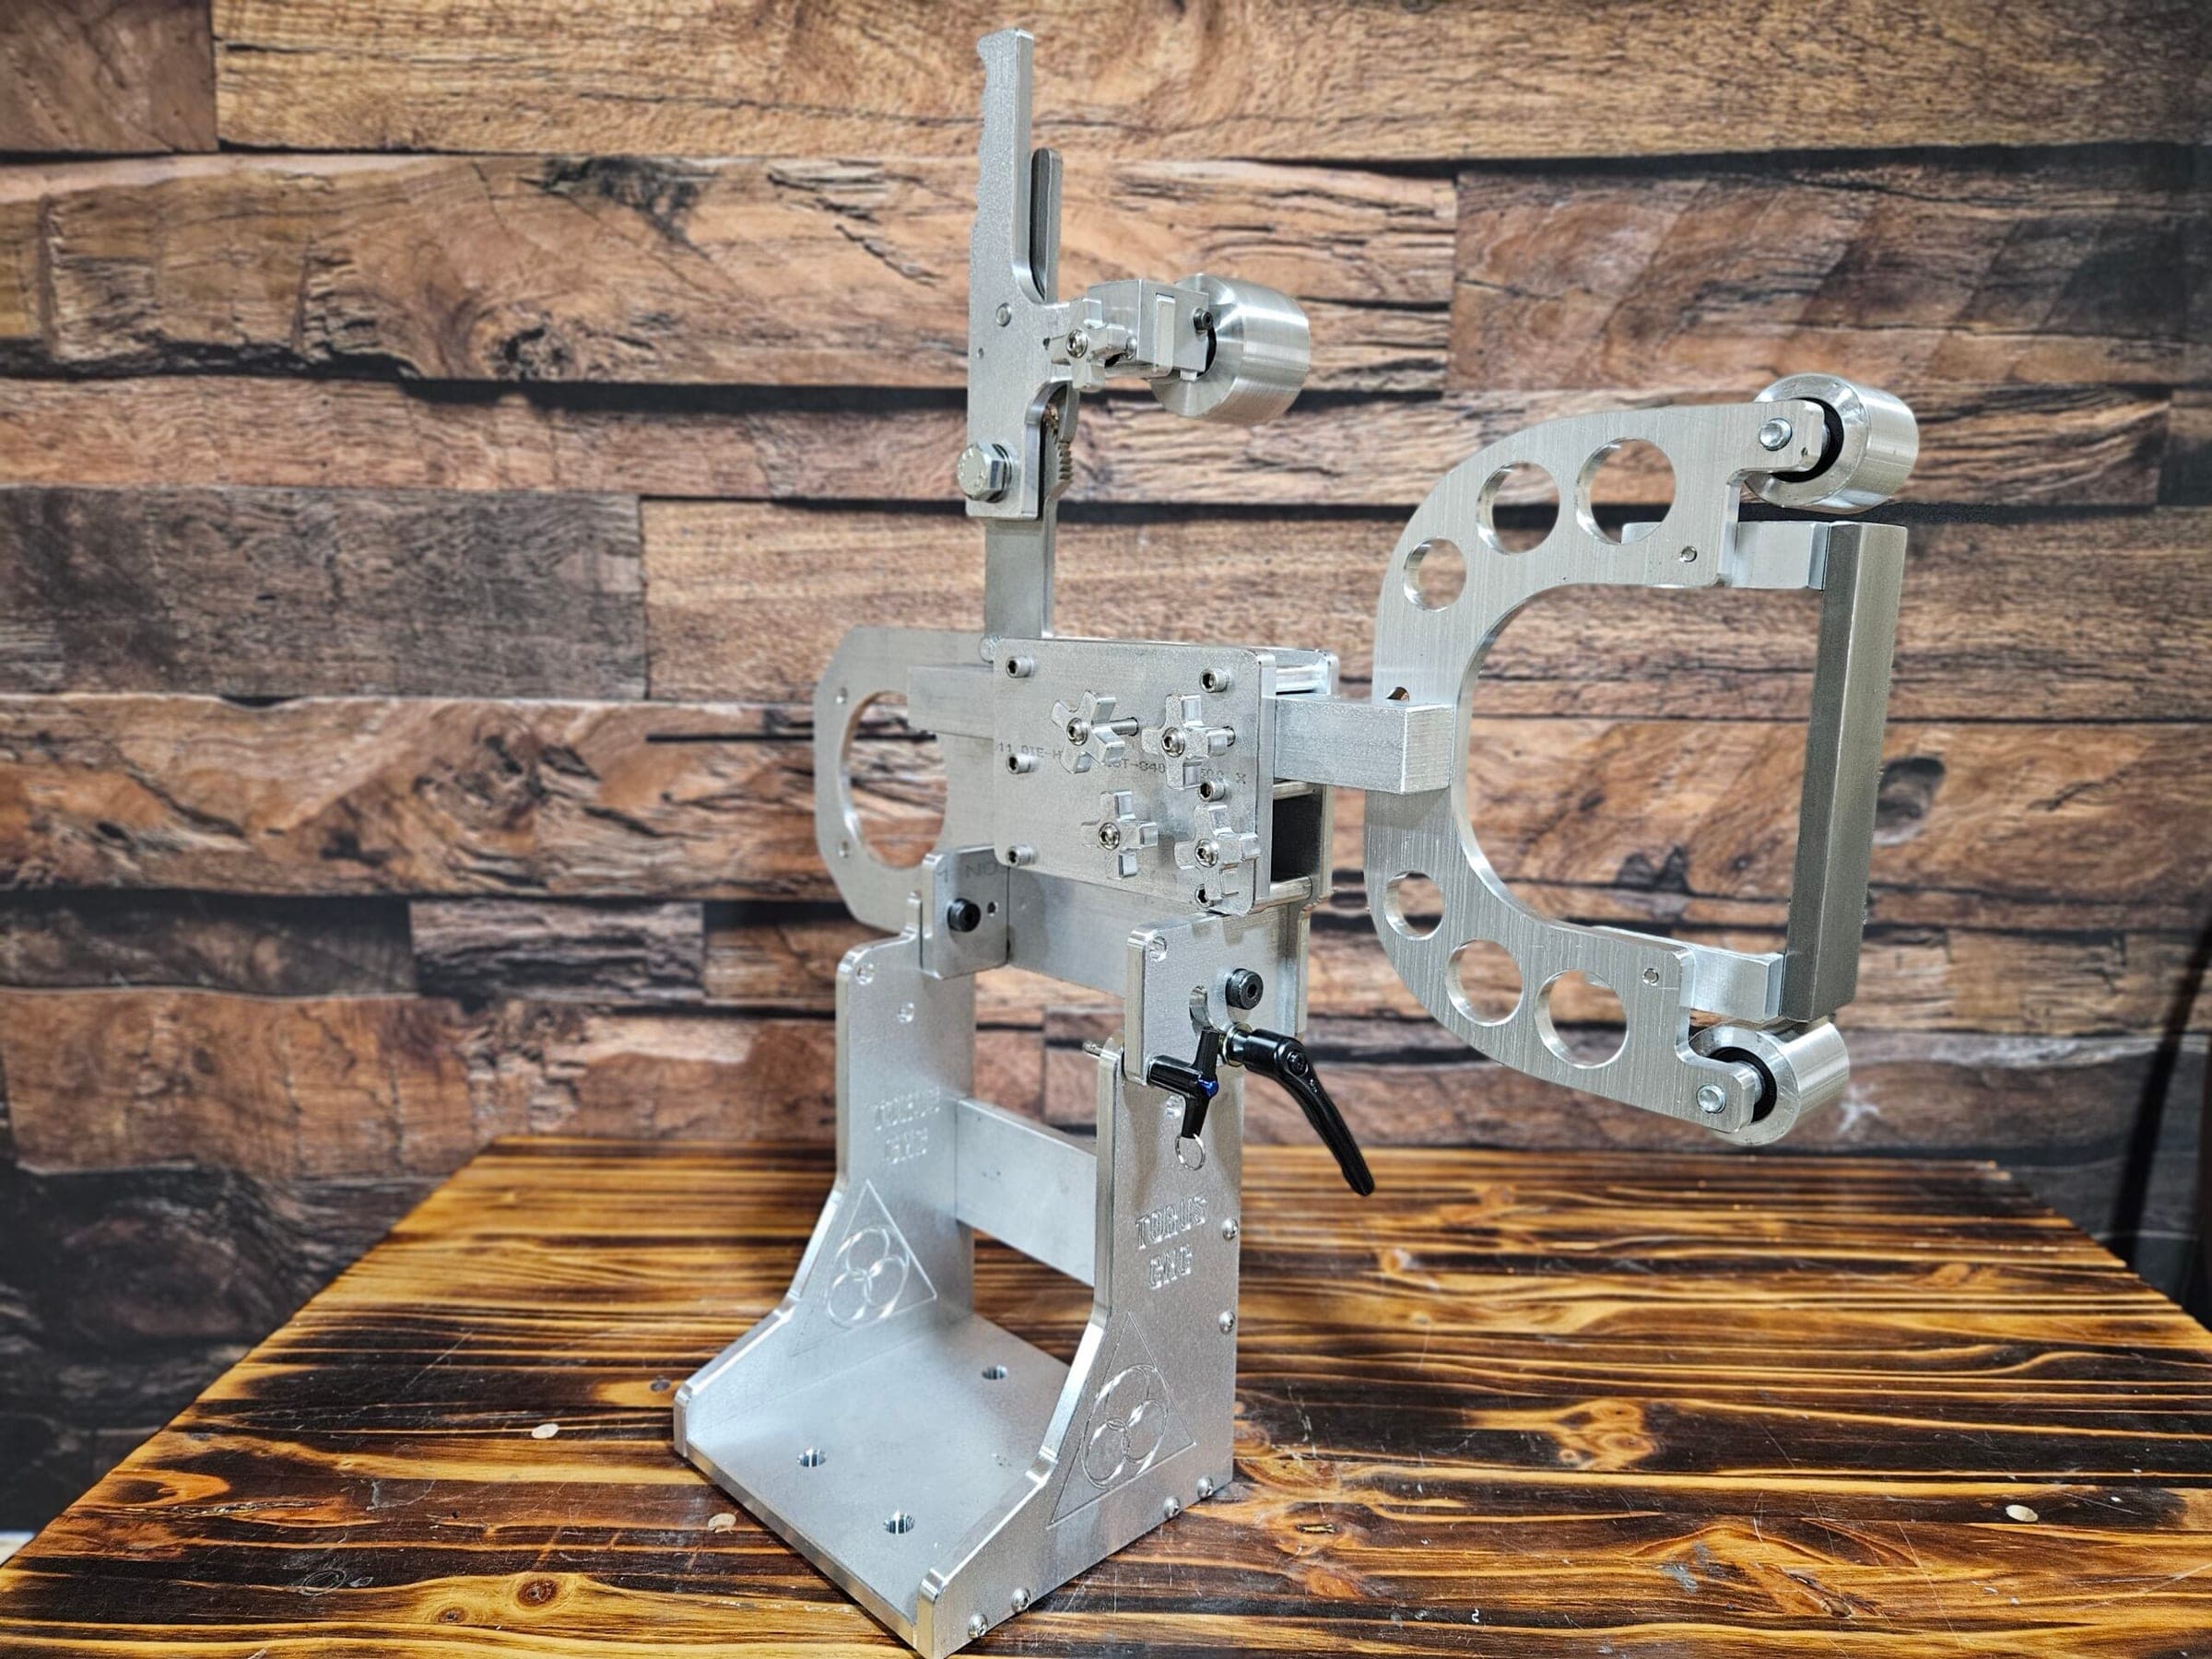
Once you have prepared your workspace and gathered all necessary tools, it’s time to mount the small-wheel attachment onto the Torus CNC grinder. Begin by aligning the attachment with the designated mounting points on the grinder. Ensure that it fits snugly against the machine without any gaps or misalignments.
This step is crucial for ensuring stability during operation, as any improper alignment could lead to vibrations or uneven grinding. After positioning the attachment correctly, use your wrenches or sockets to secure it in place. Tighten all bolts evenly to avoid putting undue stress on any single point of attachment.
It’s important not to overtighten, as this could damage either the attachment or the grinder itself. Once everything is securely fastened, double-check your work to ensure that there are no loose components before proceeding to the next steps.
Connecting the Small-Wheel Attachment to the Grinder’s Power Source
With the small-wheel attachment securely mounted on your Torus CNC grinder, the next step involves connecting it to the power source. Before doing so, ensure that all components are properly aligned and that there are no obstructions that could interfere with operation. Once you have confirmed that everything is in order, plug in the grinder to its power source.
It’s essential to follow any specific electrical requirements outlined in your grinder’s user manual. Some models may require additional steps or precautions when connecting new attachments. If your small-wheel attachment has its own power requirements or settings, make sure these are configured correctly before turning on the machine.
Adjusting the Small-Wheel Attachment for Optimal Performance
Checking Belt Tension
After successfully connecting the small-wheel attachment to your Torus CNC grinder, it’s essential to make adjustments for optimal performance. Start by checking the tension of the belt or drive mechanism associated with the small wheel. Proper tension is crucial for ensuring that the wheel operates smoothly without slipping or causing excessive wear.
Adjusting the Angle of the Small-Wheel Attachment
Adjustments may vary depending on your specific model, so refer to your user manual for guidance on how to achieve the correct tension. Consider adjusting the angle of the small-wheel attachment if your model allows for such modifications. The angle can significantly impact how effectively you can grind different materials or shapes.
Testing the Small-Wheel Attachment on the Torus CNC Grinder
With all adjustments made, it’s time to test the small-wheel attachment on your Torus CNC grinder. Begin by selecting a scrap piece of material similar to what you will be working with in future projects. This practice allows you to assess how well the attachment performs without risking damage to your actual workpieces.
Start at a low speed to familiarize yourself with how the small wheel operates before gradually increasing speed as you gain confidence. During this testing phase, pay close attention to how well the small wheel grinds and shapes the material. Look for any signs of vibration or instability that may indicate improper installation or adjustment issues.
Troubleshooting Common Installation Issues
Even with careful preparation and execution, issues may arise during installation or initial use of the small-wheel attachment on your Torus CNC grinder. One common problem is misalignment, which can lead to uneven grinding or excessive wear on both the wheel and attachment. If you notice any irregularities in performance, stop immediately and check that all components are securely fastened and properly aligned.
Another potential issue could be insufficient power supply or incorrect settings on your grinder. If you experience a lack of power or inconsistent performance from the small wheel, consult your user manual for troubleshooting tips specific to your model. It may also be helpful to reach out to Torus CNC support for assistance if problems persist after following standard troubleshooting procedures.
Ensuring Safety Measures are in Place
Safety should always be a top priority when working with machinery like grinders and attachments. Before operating your Torus CNC grinder with the small-wheel attachment installed, ensure that all safety measures are in place. This includes wearing appropriate personal protective equipment (PPE), such as safety goggles, gloves, and ear protection if necessary.
Familiarize yourself with emergency shut-off procedures in case something goes wrong during operation. Keep your workspace clear of unnecessary clutter and ensure that all tools are stored safely away from moving parts while you work. By taking these precautions seriously, you can create a safer working environment that minimizes risks associated with operating heavy machinery.
Maintaining and Cleaning the Small-Wheel Attachment
Proper maintenance of your small-wheel attachment is essential for ensuring its longevity and optimal performance over time. After each use, take a moment to clean any debris or residue from both the wheel and attachment components. A clean surface helps prevent buildup that could affect performance during future grinding tasks.
Regularly inspect your small-wheel attachment for signs of wear or damage as well. Check for cracks in the wheel or loose components that may need tightening or replacement. By staying proactive about maintenance, you can extend the life of your small-wheel attachment and ensure consistent results in your grinding projects.
FAQs
Can the small-wheel attachment be used for different types of materials?
Yes, the small-wheel attachment can be used for grinding and polishing various materials, including metal, plastic, and wood. However, it is important to adjust the grinder’s settings and use the appropriate abrasives for each material.
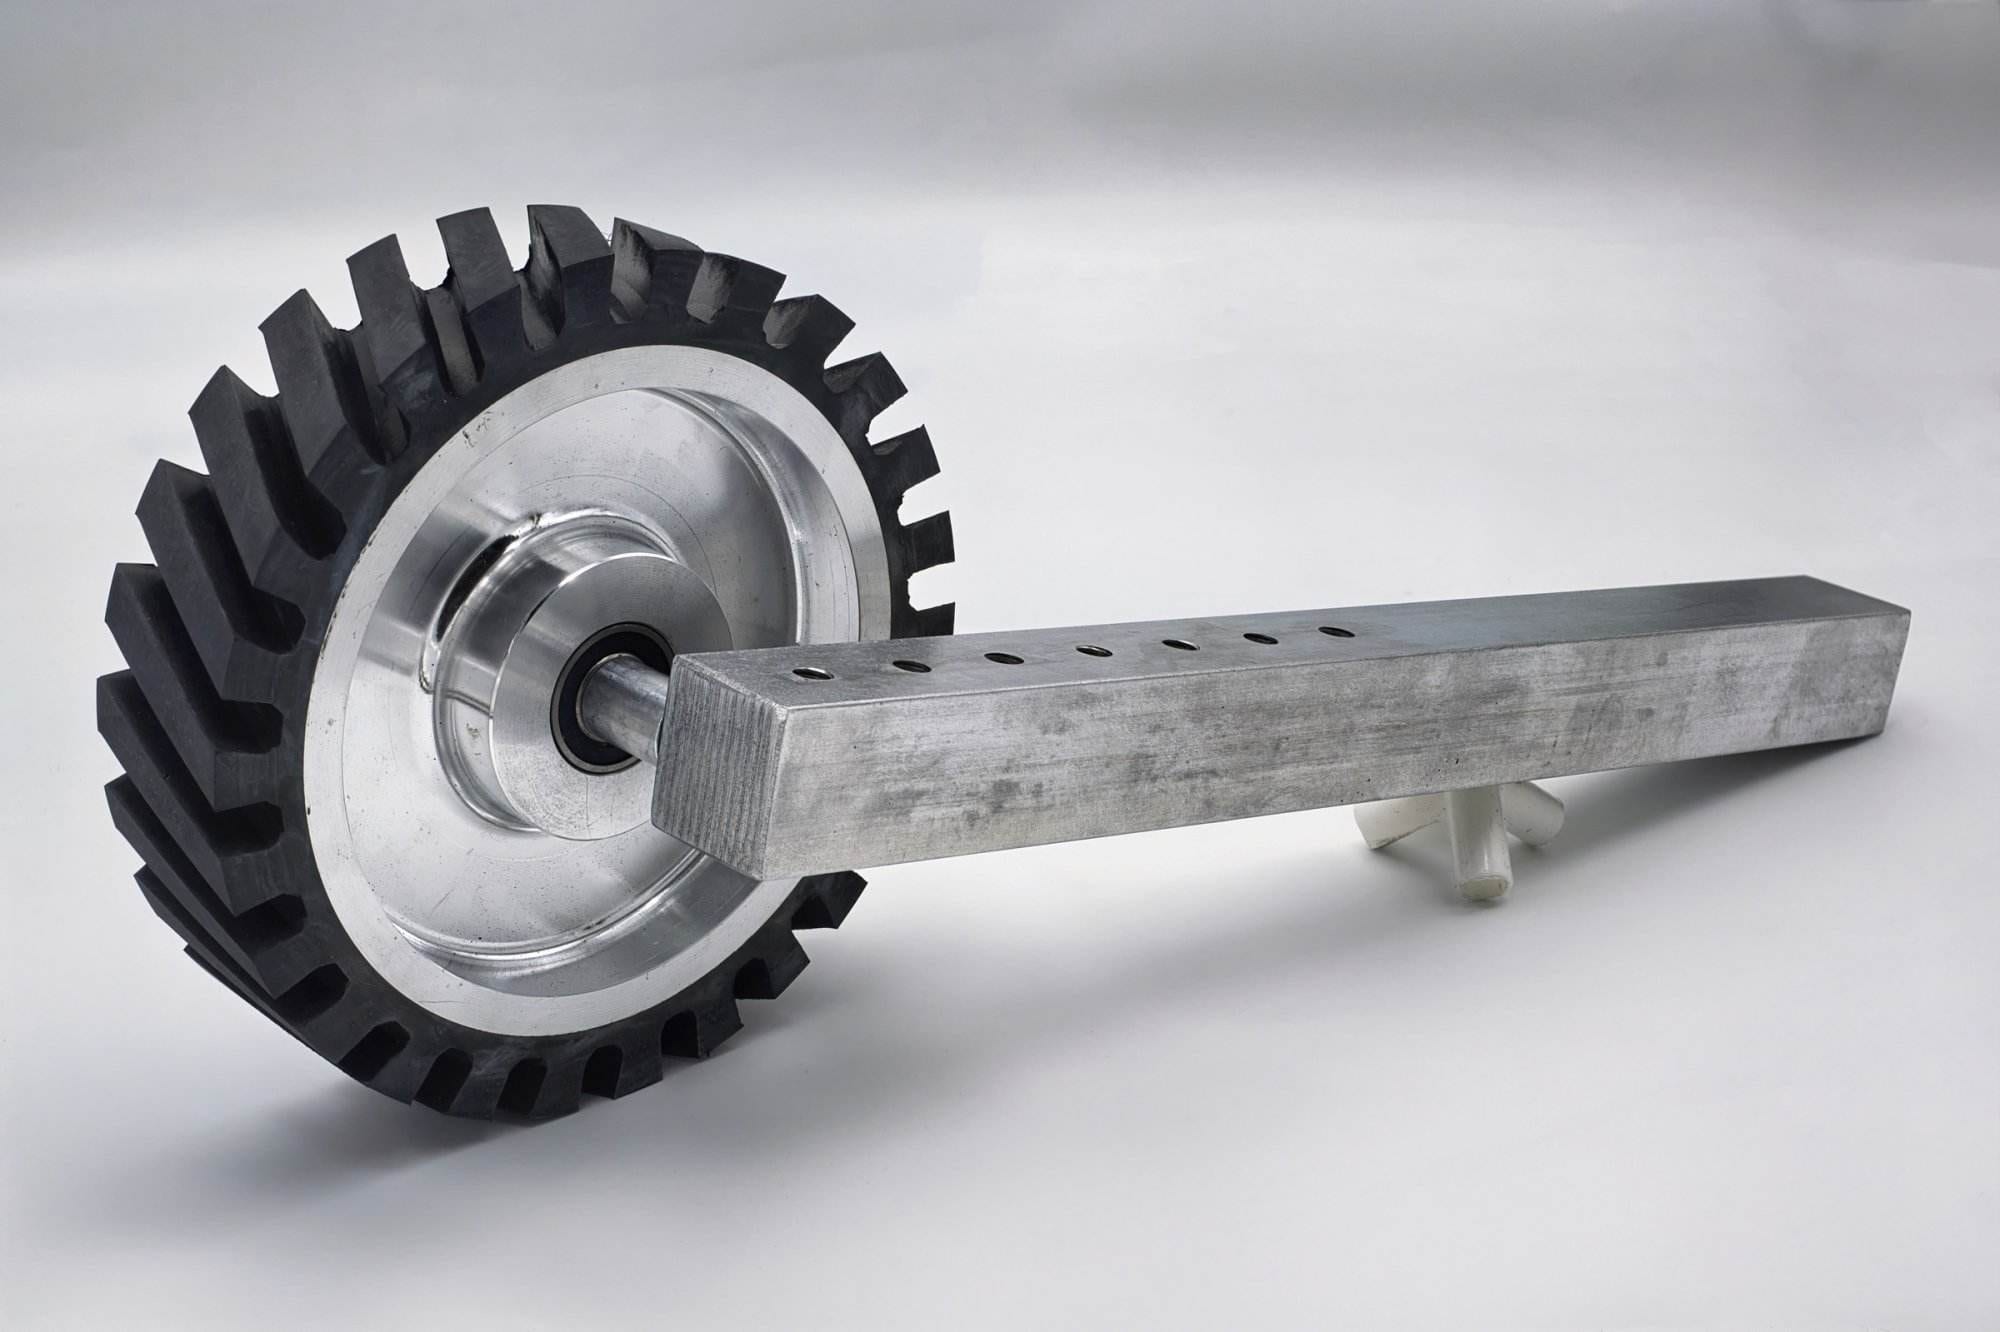
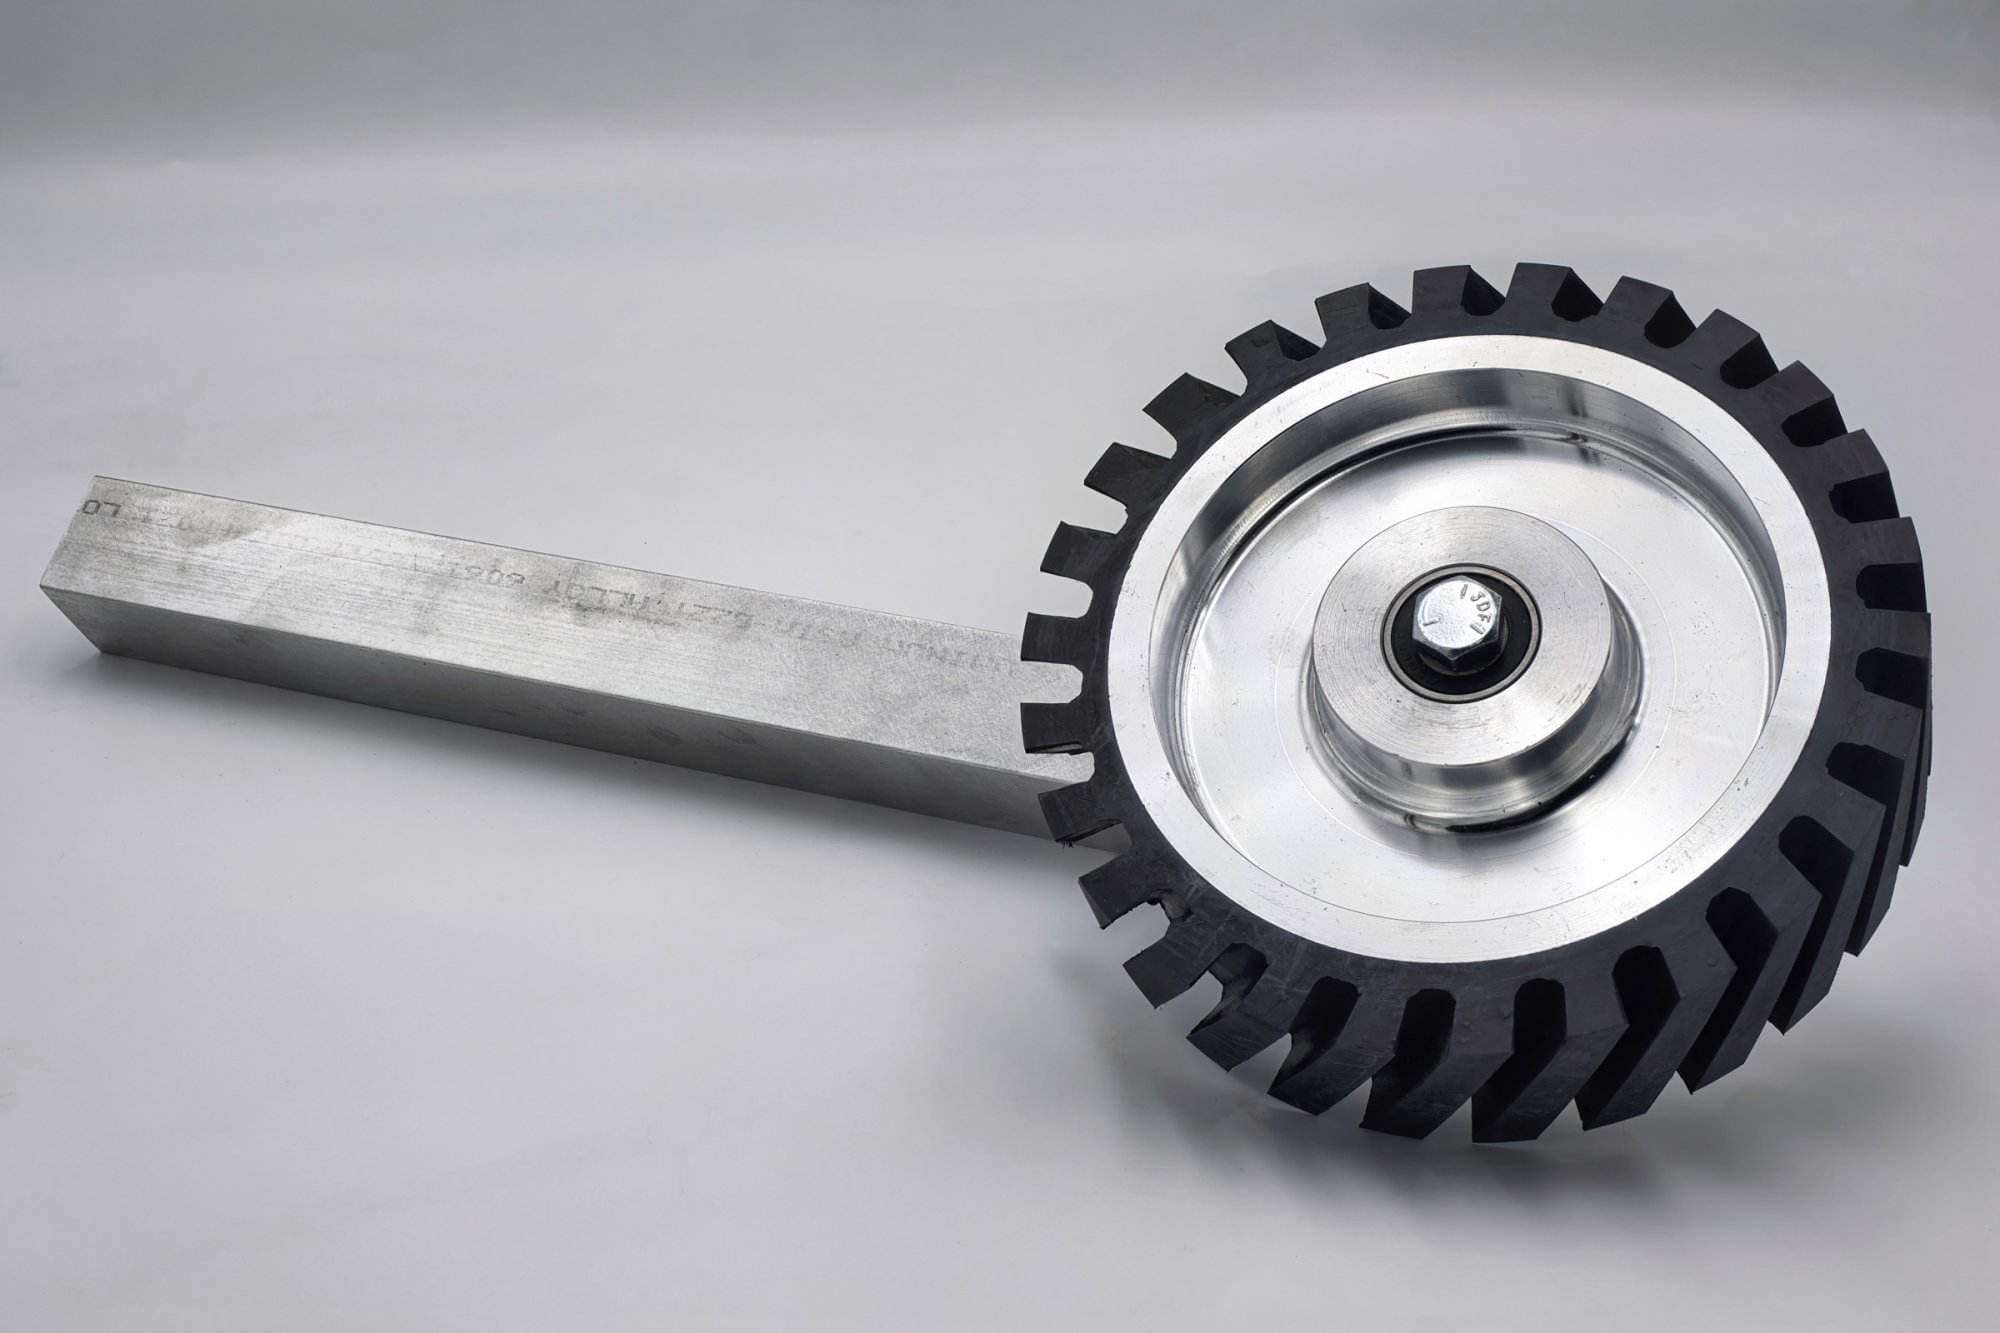
The Torus small wheel attachment comes on a 20-inch solid aluminum arm, and rubber wheels from 1/2 inch to 1.5 inches are $60 each. It fits the Nova, Nebula and Classic, and I can bundle it with a new grinder at checkout for a discount.