2x72 Grinder Tips
Perfecting Belt Tension for Bevels
Belt tension is the setting nobody teaches. Too loose and the belt flutters and rounds your bevel; too tight and it eats wheels and bearings. Here is how I set tension on the 2×72, and why a ratchet holds it.
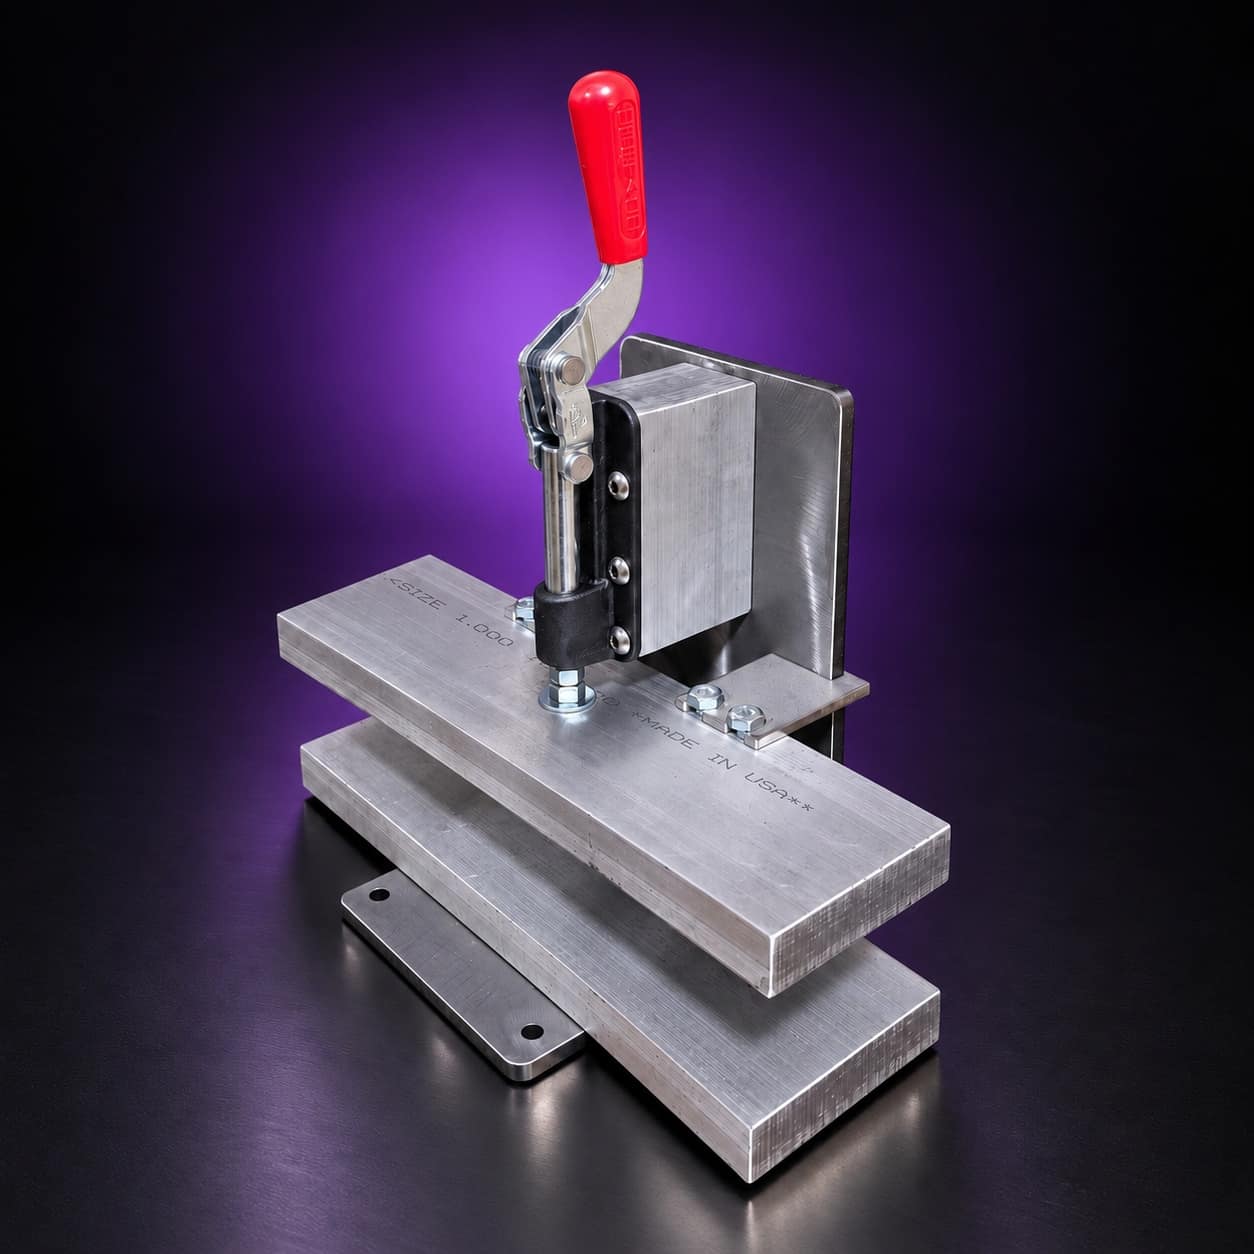
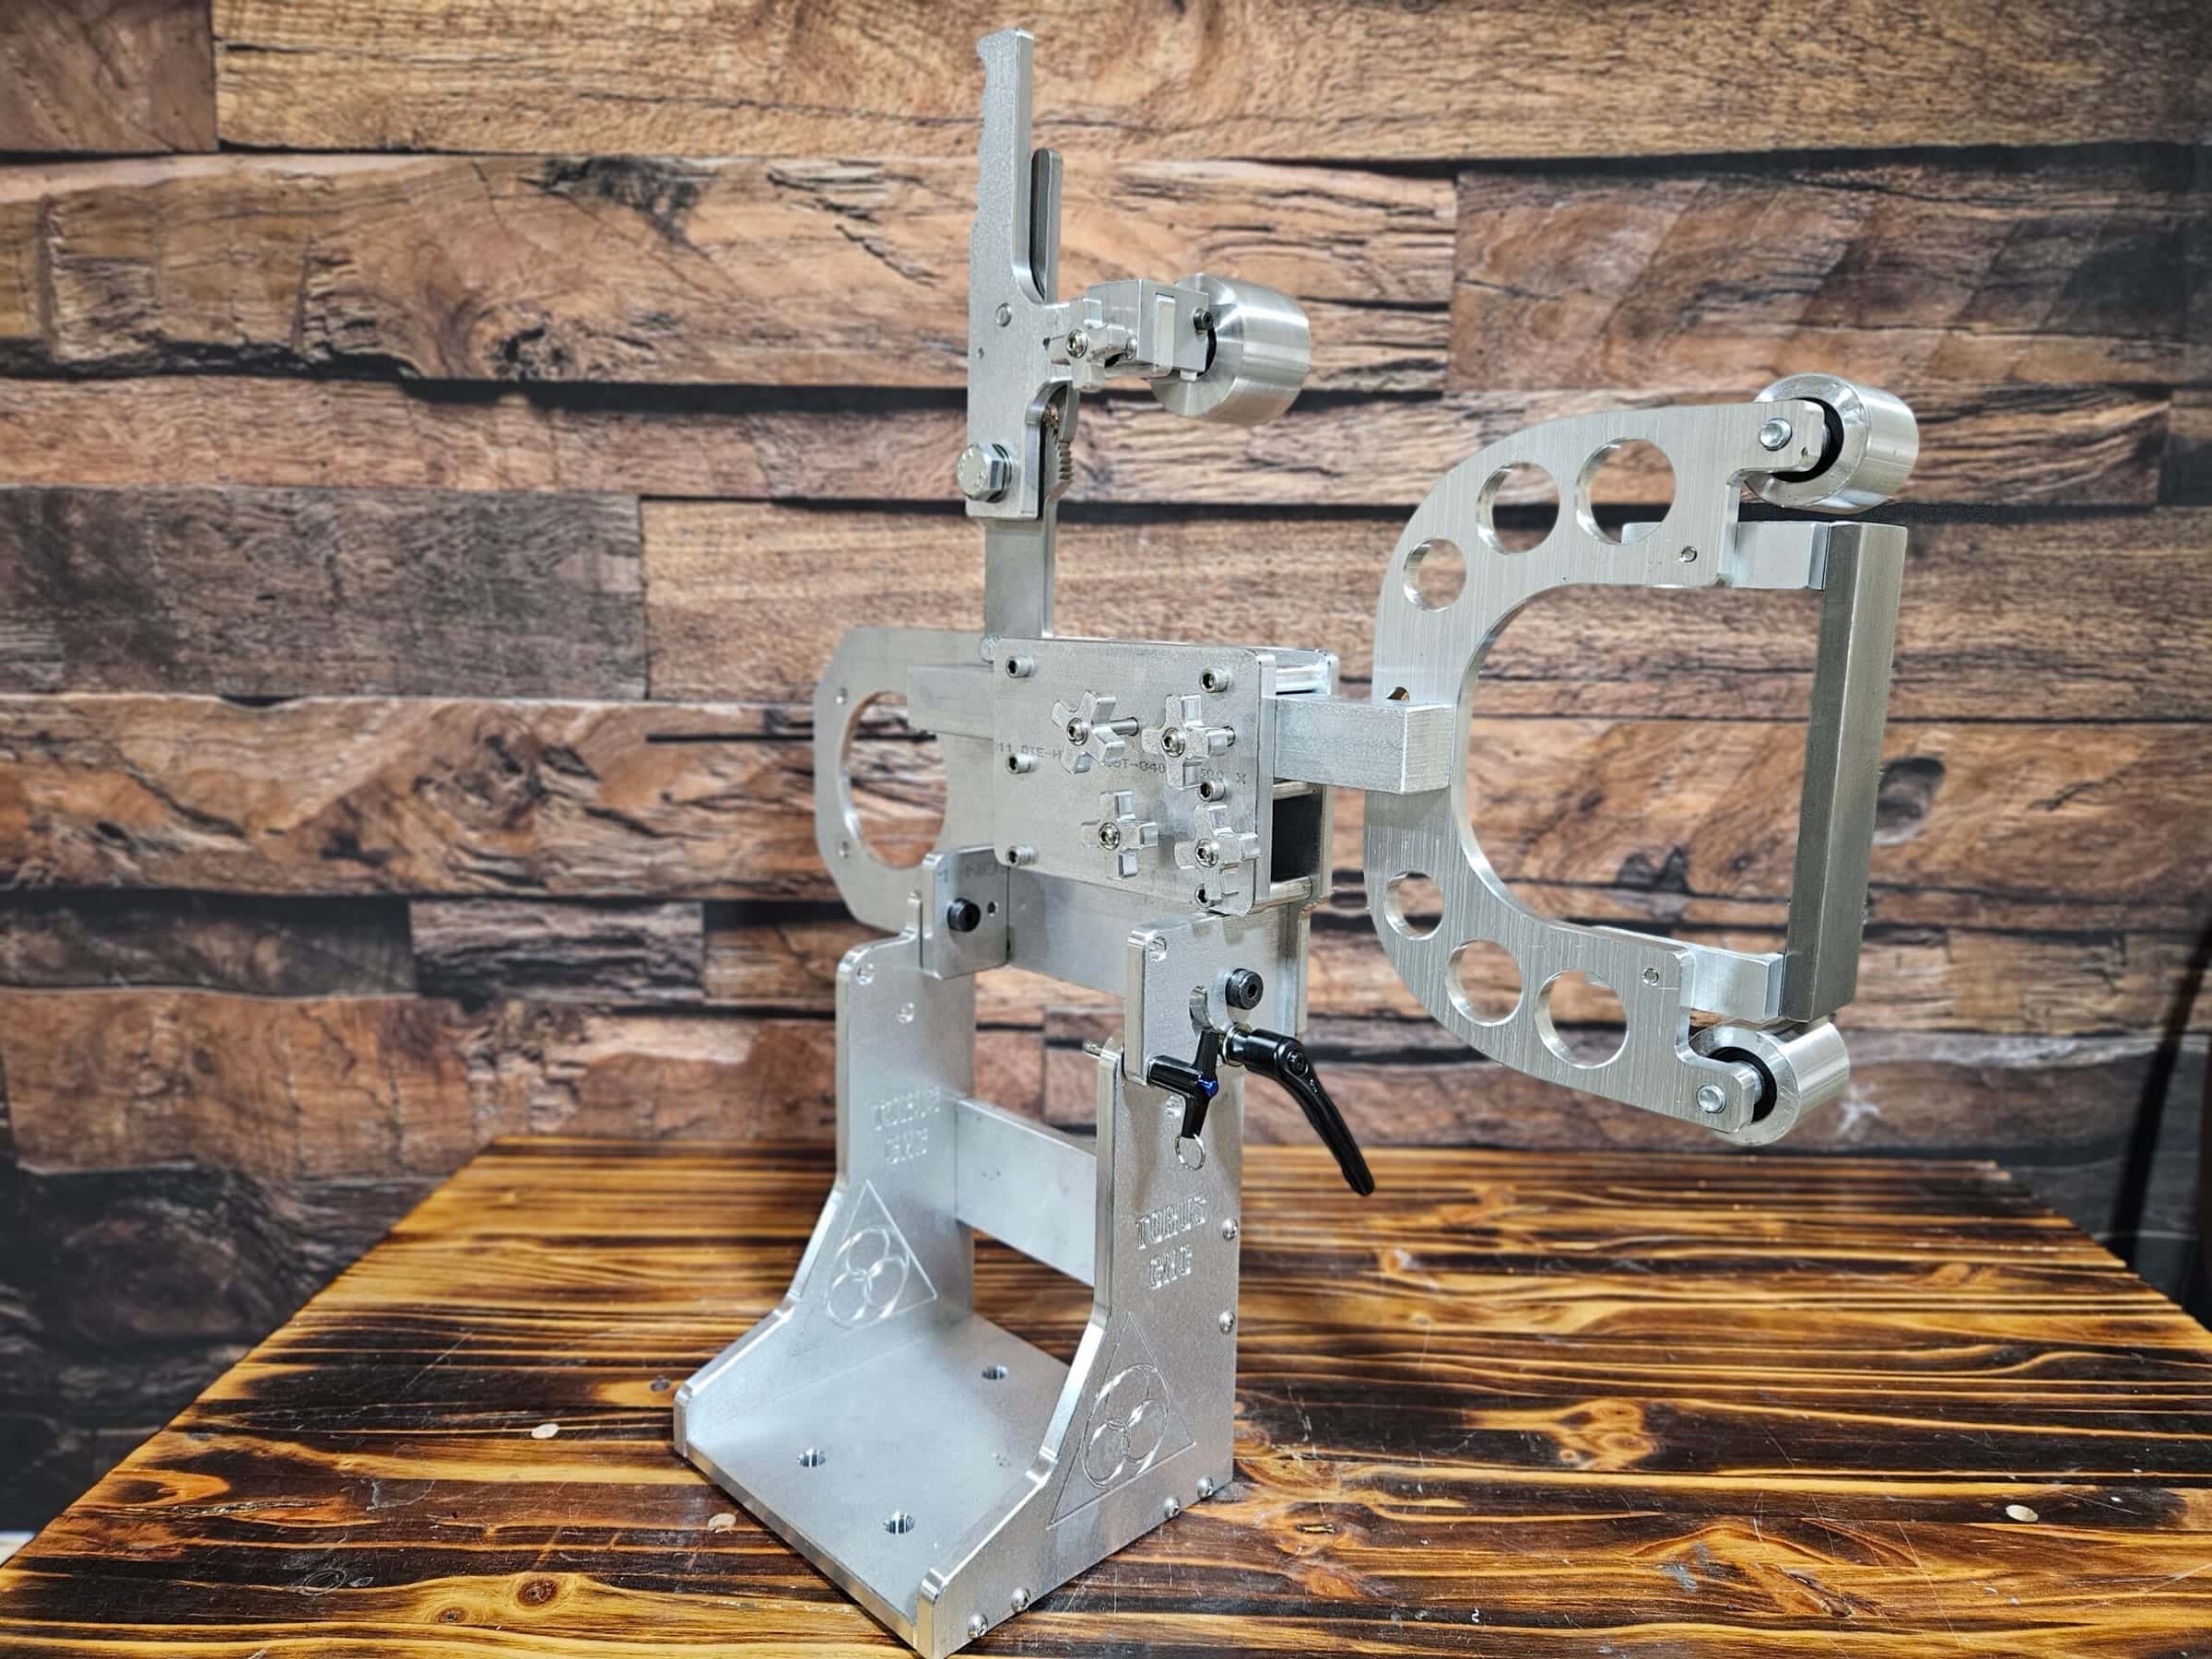
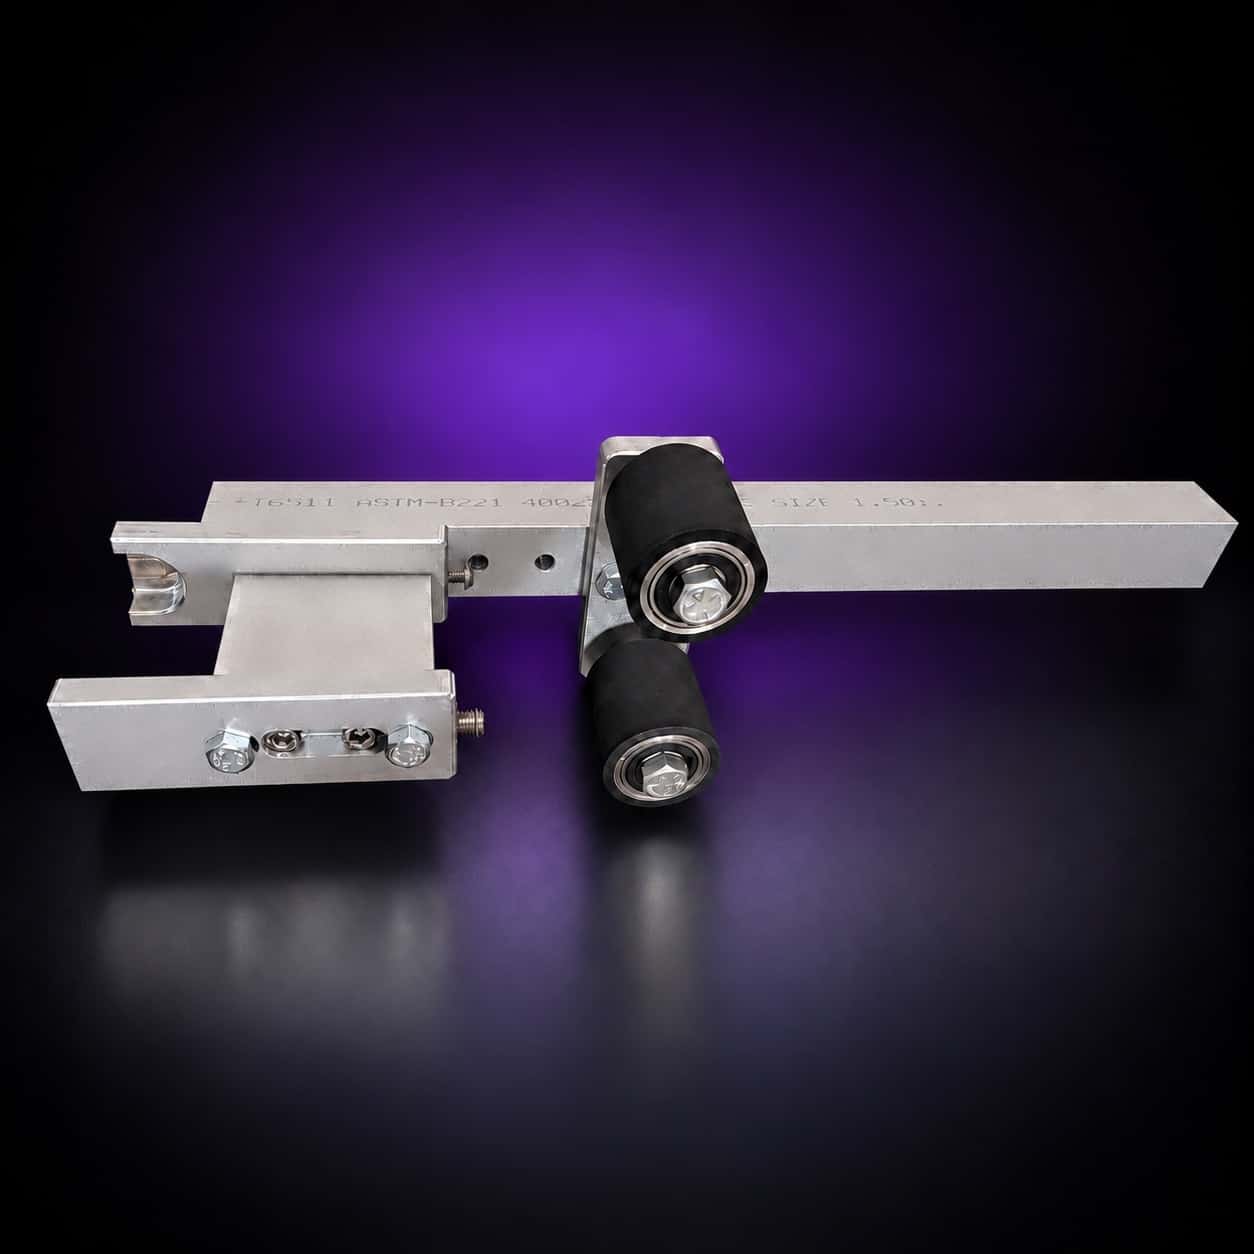
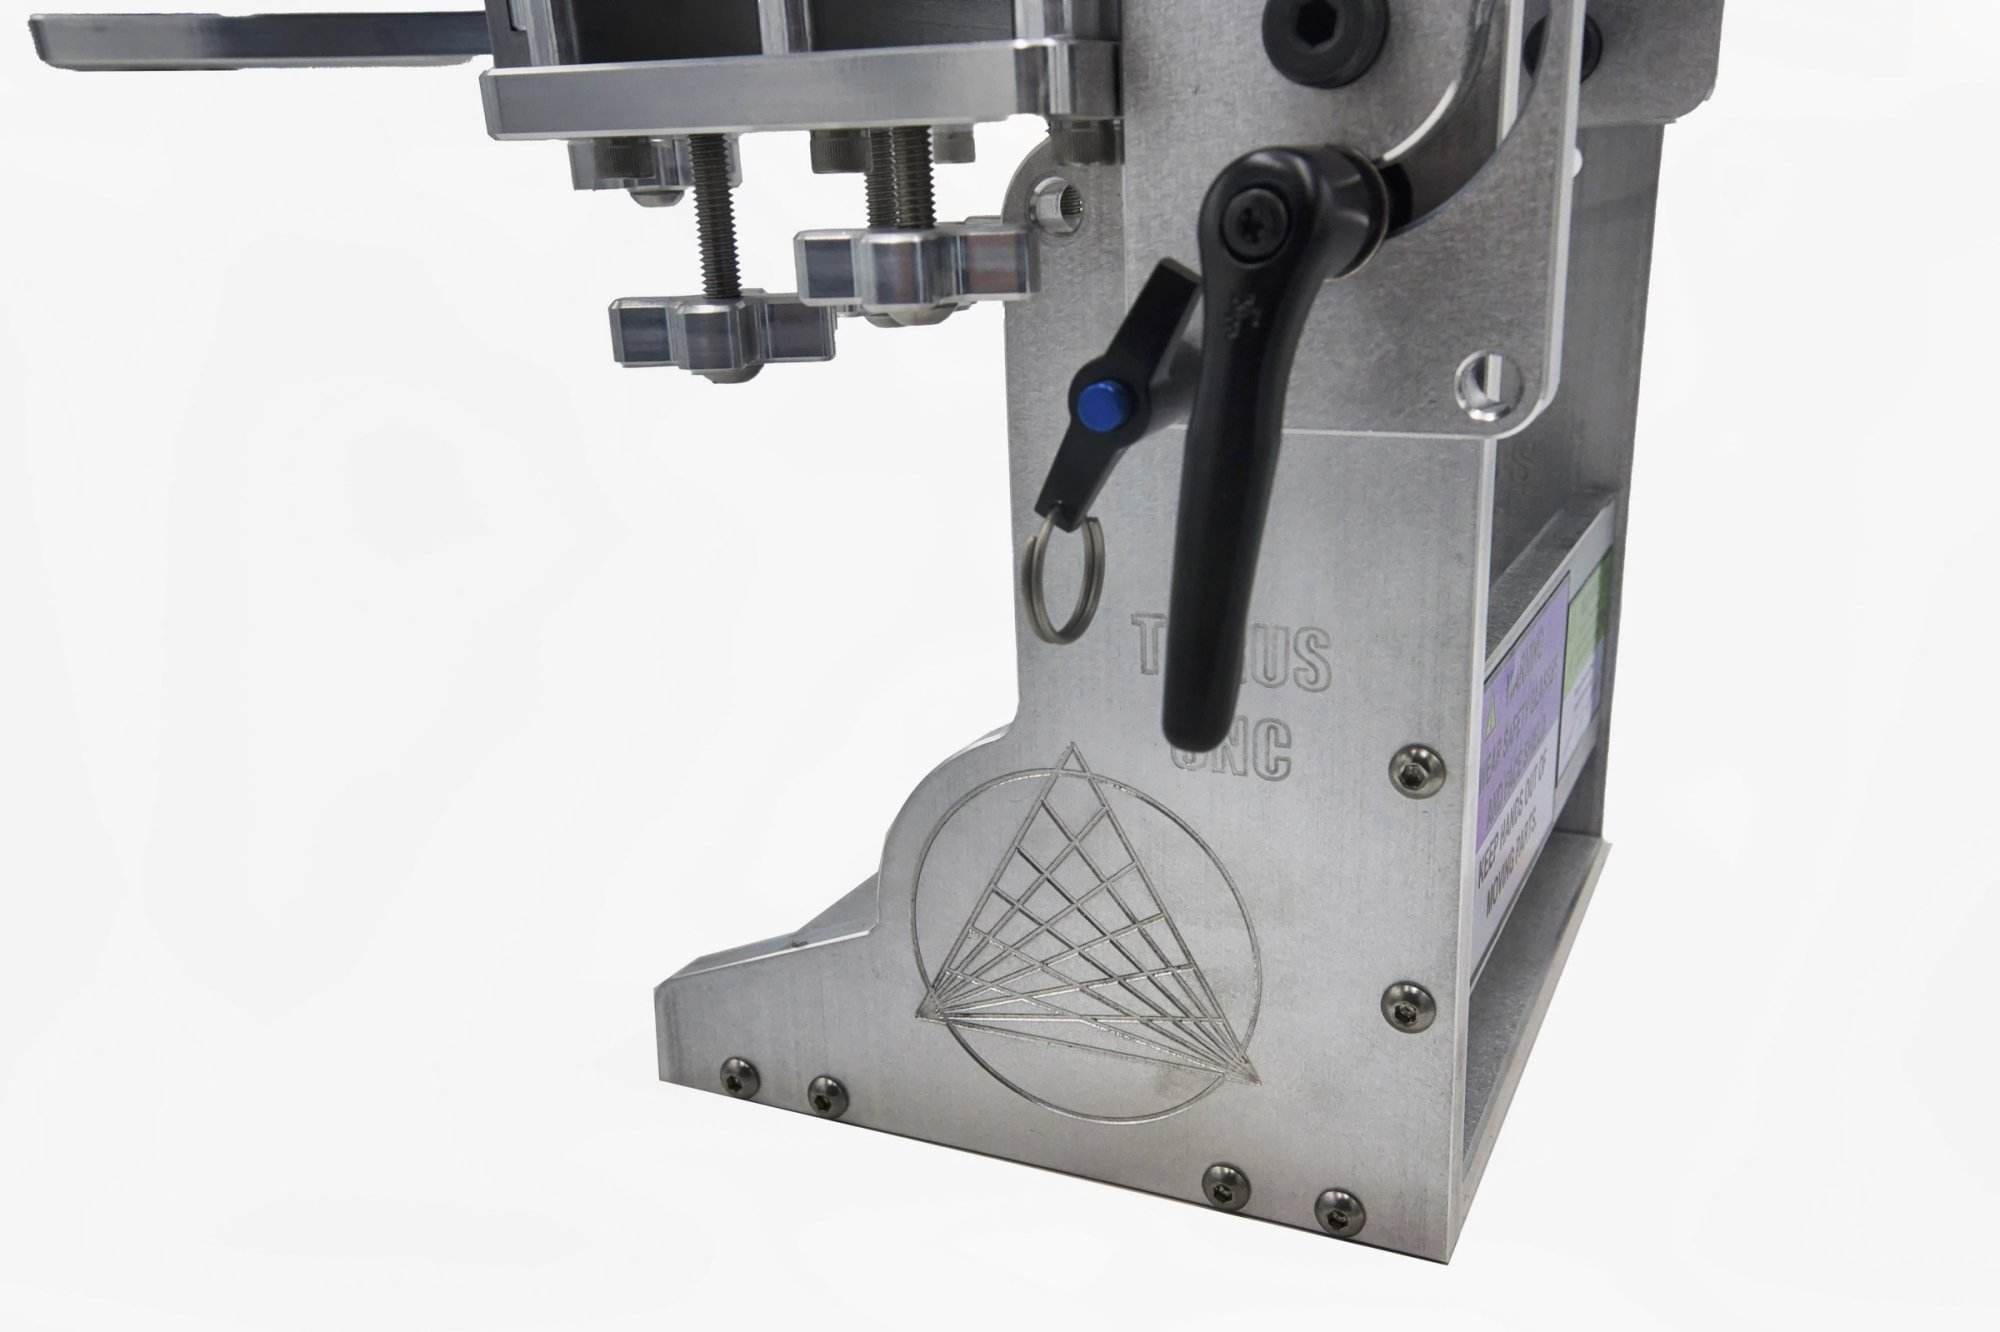
Belt tension is the setting nobody teaches, and it shows up in every bevel you grind. Too loose and the belt flutters on the platen, rounds your edge and tracks like a drunk. Too tight and it loads the bearings, wears the wheels and makes belt changes a fight. Here is how I set tension on the 2×72 for clean bevels, how I check it, and why I put a ratchet tensioner on every Torus instead of a spring.
Conversely, if the belt is too tight, it can cause excessive wear on both the belt and the machine components, potentially leading to costly repairs or replacements. Therefore, understanding the importance of maintaining the correct belt tension is essential for anyone involved in beveling operations. Moreover, the right belt tension contributes to the overall quality of the finished product.
Key Takeaways
- Proper belt tension is crucial for optimal beveling performance
- Tools and equipment needed for adjusting belt tension include tension gauges and wrenches
- Step-by-step guide to checking and adjusting belt tension includes measuring tension and making adjustments as needed
- Common mistakes to avoid when adjusting belt tension include over-tightening or under-tightening the belt
- Tips for maintaining optimal belt tension for bevels include regular inspections and adjustments as needed
Tools and Equipment Needed for Adjusting Belt Tension
To effectively adjust belt tension, a few essential tools and pieces of equipment are required. First and foremost, a tension gauge is invaluable for accurately measuring the tension applied to the belt. This tool allows operators to determine whether the current tension falls within the recommended range for their specific machine and application.
A wrench set may be necessary for loosening or tightening bolts that secure the belt in place. In addition to these primary tools, having a set of screwdrivers and pliers on hand can facilitate adjustments and repairs as needed. A ruler or caliper may also be useful for measuring belt alignment and ensuring that it is properly seated on the pulleys.
Finally, a maintenance log can help track adjustments made over time, providing valuable insights into the performance of the machine and any recurring issues related to belt tension.
Step-by-Step Guide to Checking and Adjusting Belt Tension
Checking and adjusting belt tension is a straightforward process that can significantly enhance the performance of beveling machines. The first step involves turning off the machine and disconnecting it from its power source to ensure safety during the adjustment process. Once the machine is powered down, visually inspect the belt for any signs of wear or damage, as this could affect its performance.
Next, use a tension gauge to measure the current tension of the belt. Follow the manufacturer’s guidelines to determine the optimal tension range for your specific machine. If adjustments are necessary, locate the tension adjustment mechanism, which may involve loosening bolts or adjusting a tensioning screw.
Gradually tighten or loosen the belt until it falls within the recommended range, then recheck with the tension gauge to confirm accuracy. Once satisfied with the adjustment, reassemble any components that were removed during the process and power on the machine to test its performance.
Common Mistakes to Avoid When Adjusting Belt Tension
When adjusting belt tension, several common mistakes can lead to suboptimal performance or even damage to the machine. One frequent error is neglecting to consult the manufacturer’s specifications before making adjustments. Each machine has its own recommended tension range, and failing to adhere to these guidelines can result in improper operation.
Another mistake is not checking for wear or damage on the belt itself before making adjustments. A worn or frayed belt may not respond well to tension adjustments and could require replacement instead. Some operators may rush through the adjustment process without taking the time to accurately measure tension with a gauge.
This can lead to either over-tightening or under-tightening, both of which can have detrimental effects on beveling performance.
Tips for Maintaining Optimal Belt Tension for Bevels
Maintaining optimal belt tension requires regular monitoring and proactive maintenance practices. One effective strategy is to establish a routine inspection schedule, checking belt tension at regular intervals based on usage frequency. This proactive approach allows operators to catch any potential issues before they escalate into more significant problems.
Keeping a clean work environment can help prevent debris from accumulating on belts and pulleys, which can affect tension and overall performance. Lubricating moving parts as recommended by the manufacturer can also contribute to smoother operation and reduce wear on belts. Finally, training operators on best practices for adjusting and maintaining belt tension can foster a culture of diligence and care within the workplace.
Troubleshooting Belt Tension Issues
When issues arise related to belt tension, troubleshooting becomes essential for restoring optimal performance. One common problem is inconsistent bevel quality, which may indicate that the belt is either too loose or too tight. In such cases, operators should first check the current tension using a gauge and make necessary adjustments according to manufacturer specifications.
Another issue may be unusual noise during operation, which could signal that the belt is misaligned or experiencing excessive wear. Inspecting both the belt and pulleys for signs of damage or misalignment can help identify the root cause of the problem. If adjustments do not resolve these issues, it may be necessary to replace worn components or consult with a technician for further assistance.
The Role of Belt Material and Size in Tension Adjustment
The material and size of a belt significantly influence how it responds to tension adjustments. Different materials have varying levels of elasticity and durability, which can affect how well they maintain tension over time. For instance, rubber belts may stretch more than polyurethane belts under similar conditions, necessitating different approaches to tension management.
The size of the belt—specifically its width and thickness—can impact how much force is required for proper tensioning. Wider belts may distribute force more evenly across pulleys but could also require more significant adjustments compared to narrower belts. Understanding these factors is crucial for achieving optimal performance in beveling applications.
The Impact of Belt Tension on Beveling Precision and Consistency
Belt tension has a profound impact on both precision and consistency in beveling processes. When belts are correctly tensioned, they facilitate smooth operation that allows cutting tools to maintain accurate contact with workpieces throughout each cycle. This consistency translates into uniform bevel angles and surface finishes that meet stringent quality standards.
Advantages of Using Tension Gauges for Belt Adjustment
Utilizing tension gauges offers numerous advantages for adjusting belt tension effectively. These specialized tools provide accurate measurements that help operators determine whether their belts are within the recommended tension range specified by manufacturers. This precision eliminates guesswork from the adjustment process, leading to more reliable outcomes.
FAQs
What are the consequences of improper belt tension on beveling performance?
Improper belt tension can lead to a range of issues, including uneven material removal, excessive belt wear, and decreased beveling precision. It can also result in increased heat generation, which can affect the quality of the bevel and the longevity of the belt.
How often should belt tension be checked and adjusted?
Belt tension should be checked and adjusted regularly, especially after prolonged use or when switching to a new belt. It’s important to monitor and maintain proper tension to ensure consistent beveling performance and prolong the life of the belts and machine components.
What are some common methods for adjusting belt tension?
Common methods for adjusting belt tension include using tensioning screws or knobs on the machine, adjusting the position of the drive or idler pulleys, or using a tensioning tool or gauge to measure and set the proper tension. It’s important to follow the manufacturer’s recommendations for the specific machine and belt being used.
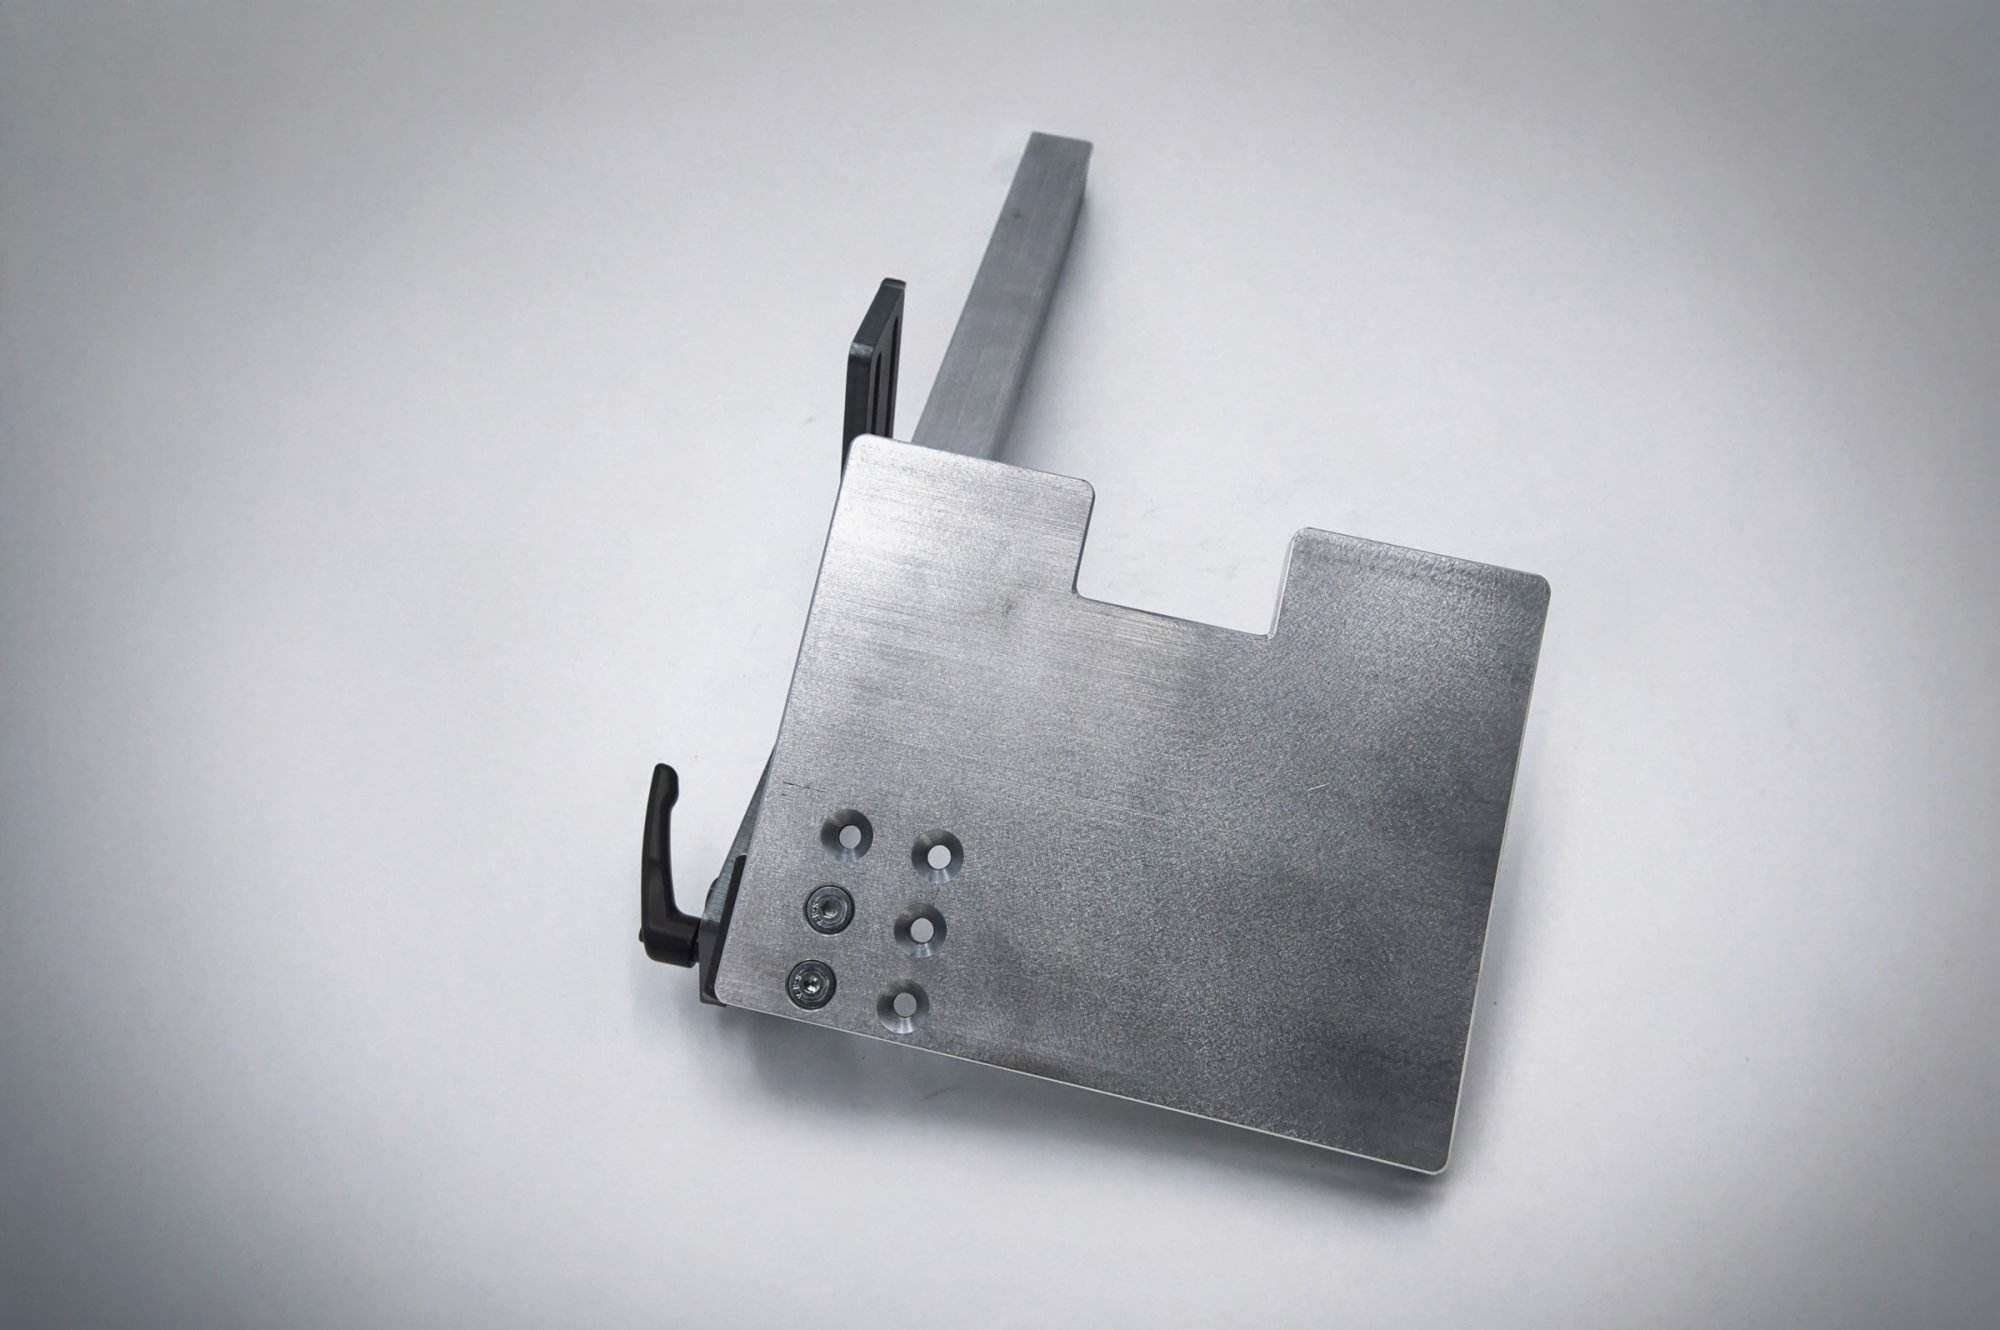
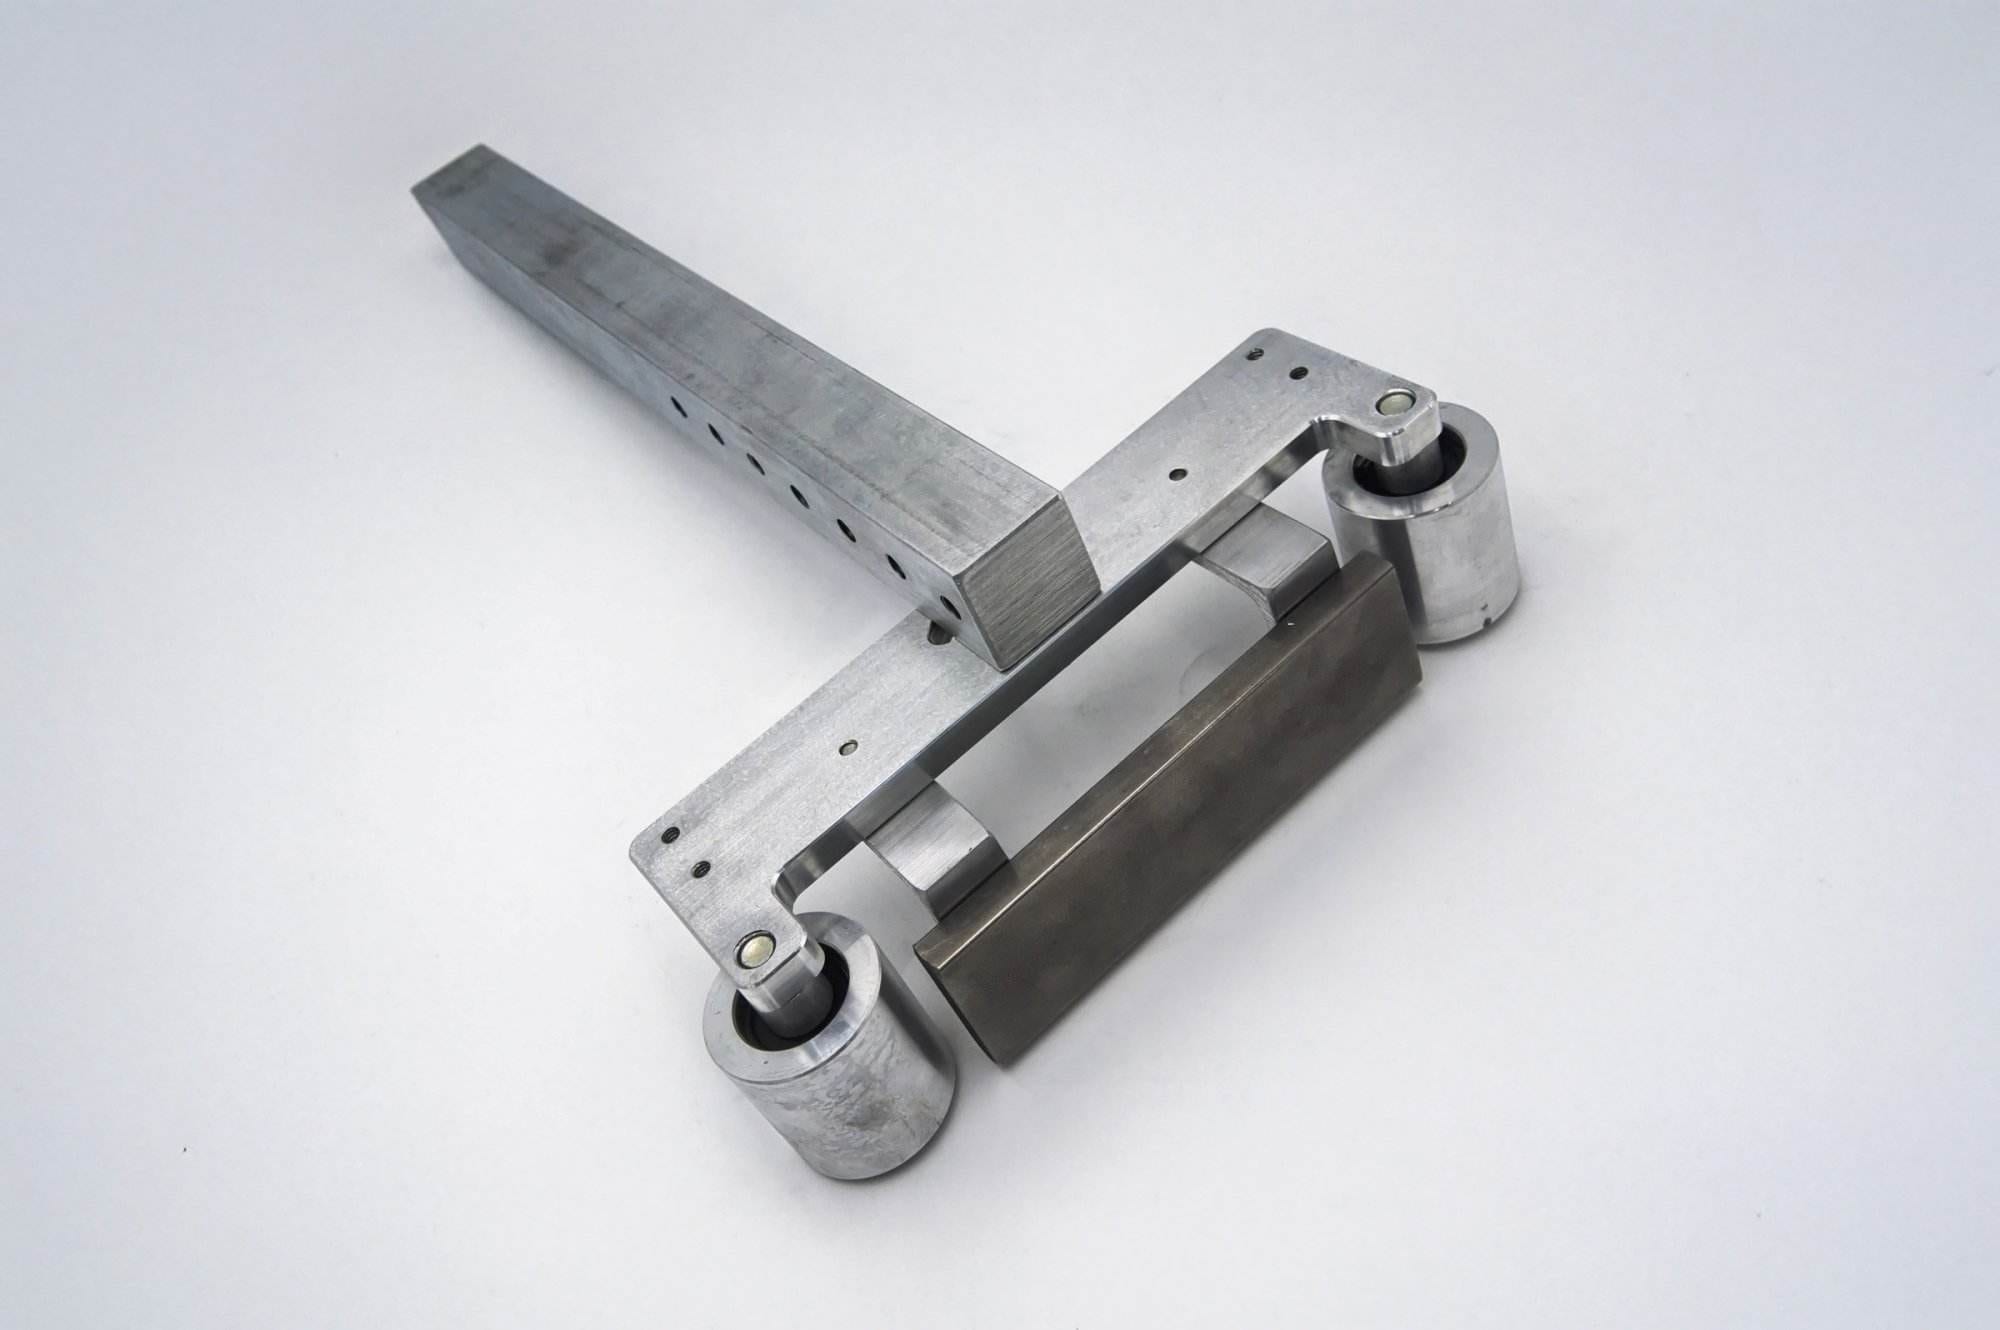
A spring tensioner fades; a ratchet does not. Every Nova 2×72, Nebula and Classic uses a 304 stainless ratchet tensioner that sets the same tension every belt change with no spring to fatigue. Build one and stop thinking about tension.