
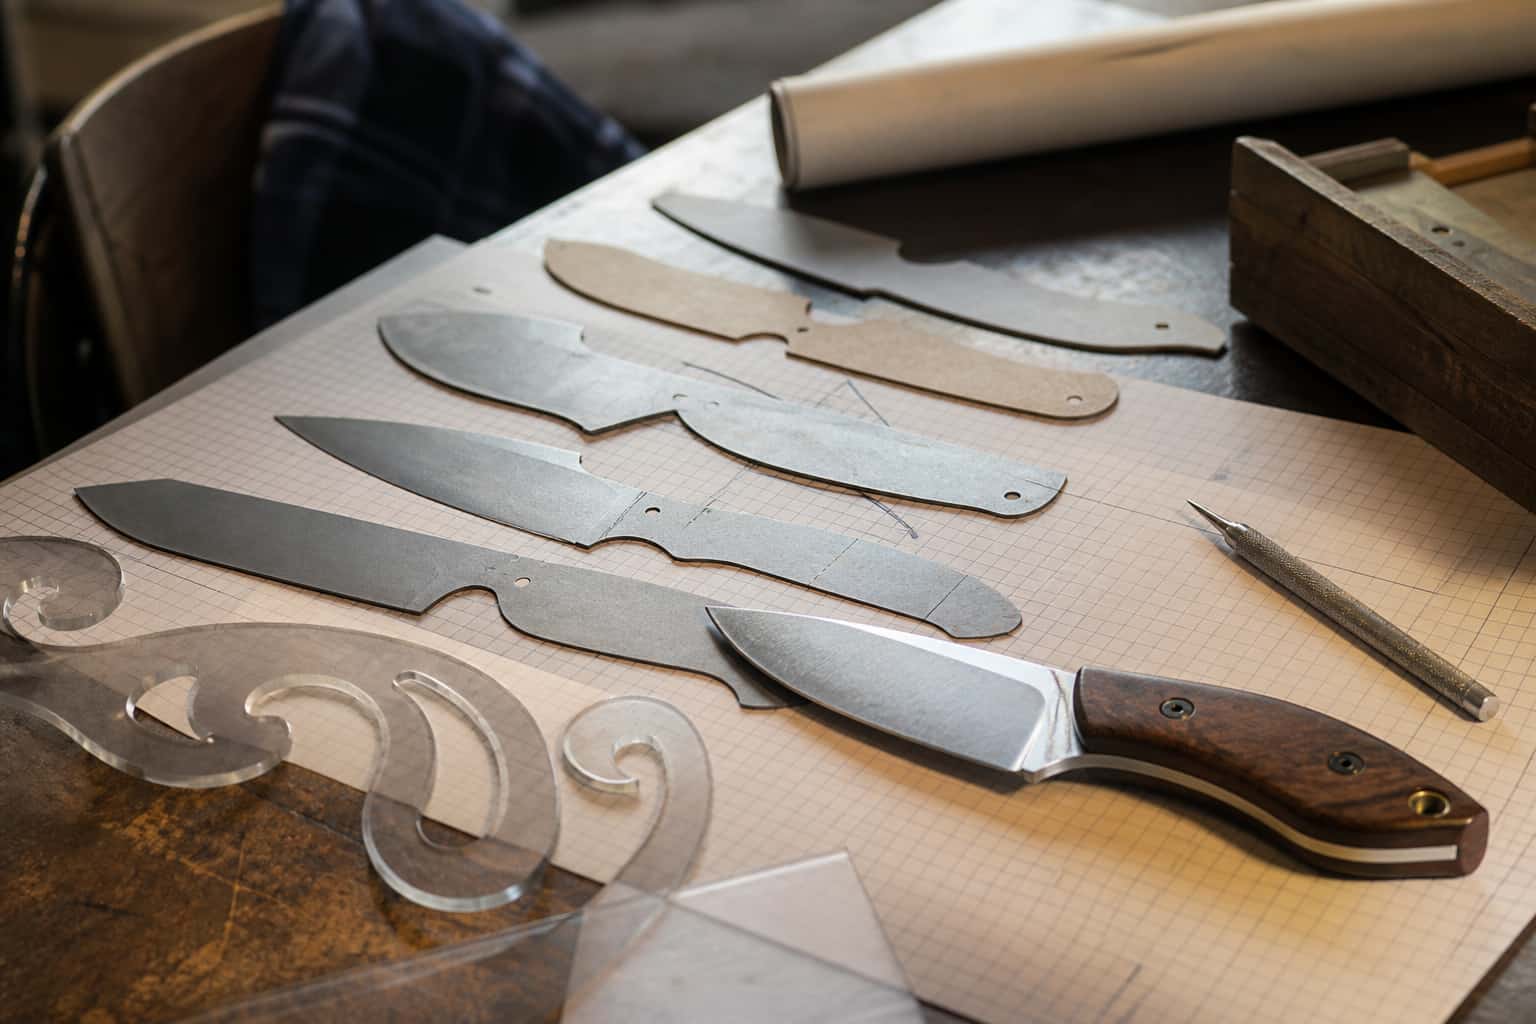
Blade Design
Handle Material Guide: G10, Micarta, Wood, and More
Handle material affects grip, durability, weather resistance, and how a knife feels in the hand, arguably as much as blade steel affects how it cuts…
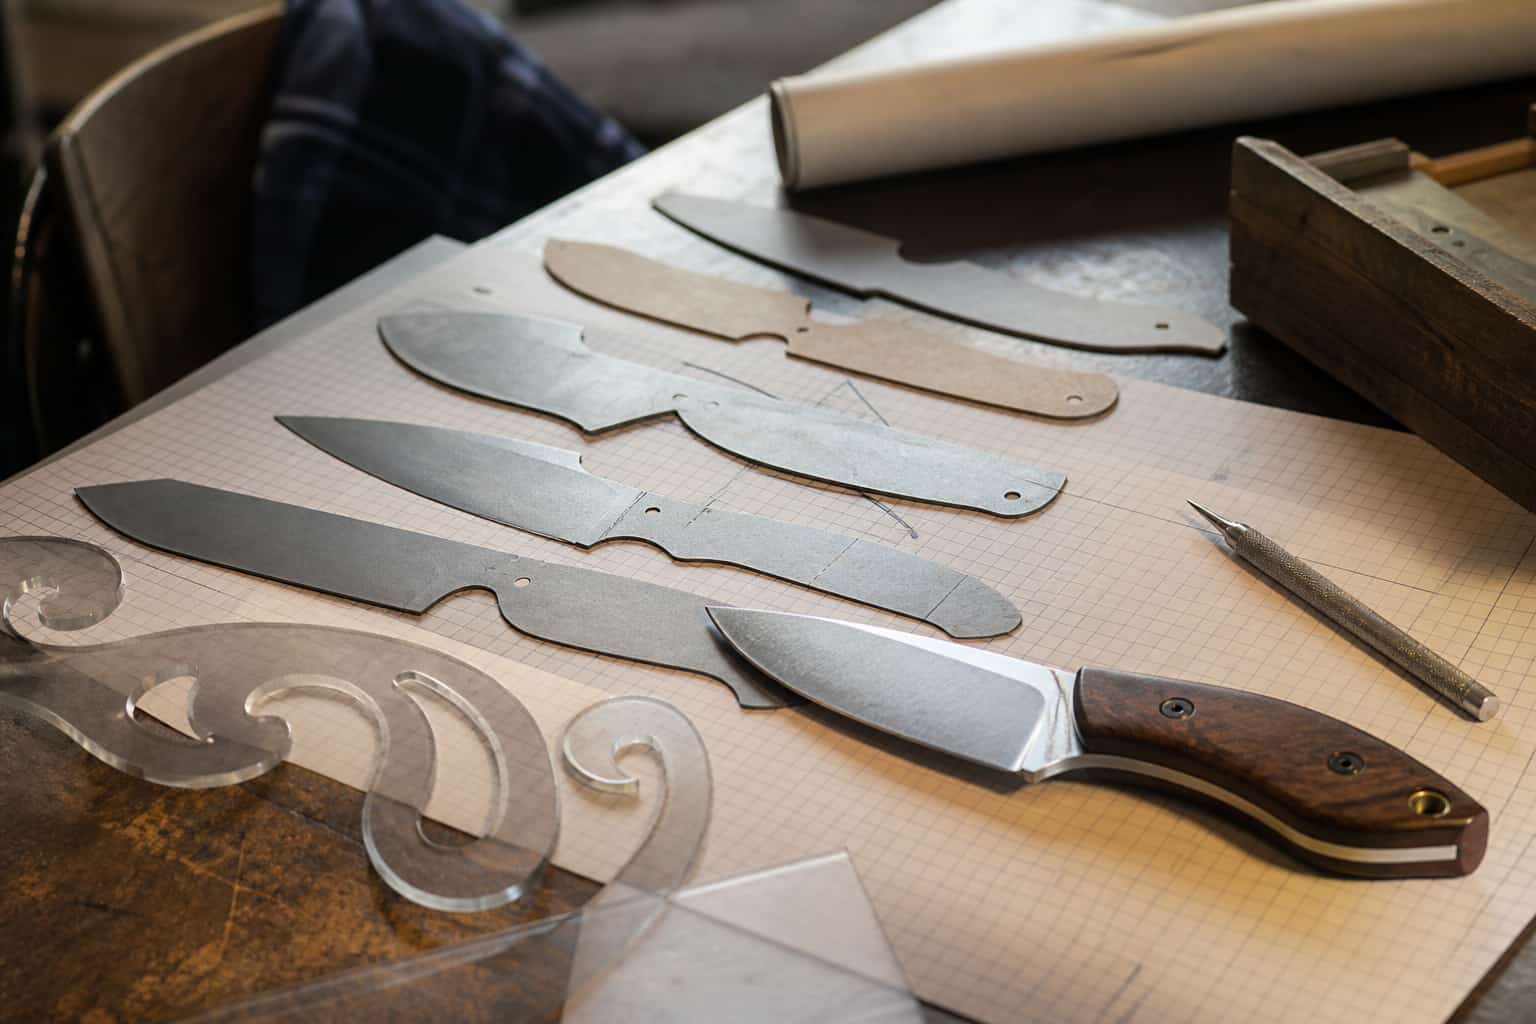
Blade Design
Seven steps to a gap-free scale glue-up: flatten both faces, align pin holes, dry-fit first, mix structural epoxy, spread it evenly, clamp evenly.
3 min readWritten by Rich LinvilleFree to read
Attaching handle scales looks simple, glue two pieces of material to a flat tang, but getting a tight, gap-free, structurally sound result depends on a handful of specific steps done in the right order. This covers the actual attachment process for full tang construction.
Both the tang and the inside face of each scale need to be genuinely flat, checked with a straightedge, and clean of oils, dust, or oxidation immediately before glue-up. Any gap or debris here becomes a permanent gap in the finished handle. See Handle Scales Won’t Sit Flush or Have Gaps for what happens when this step gets skipped.
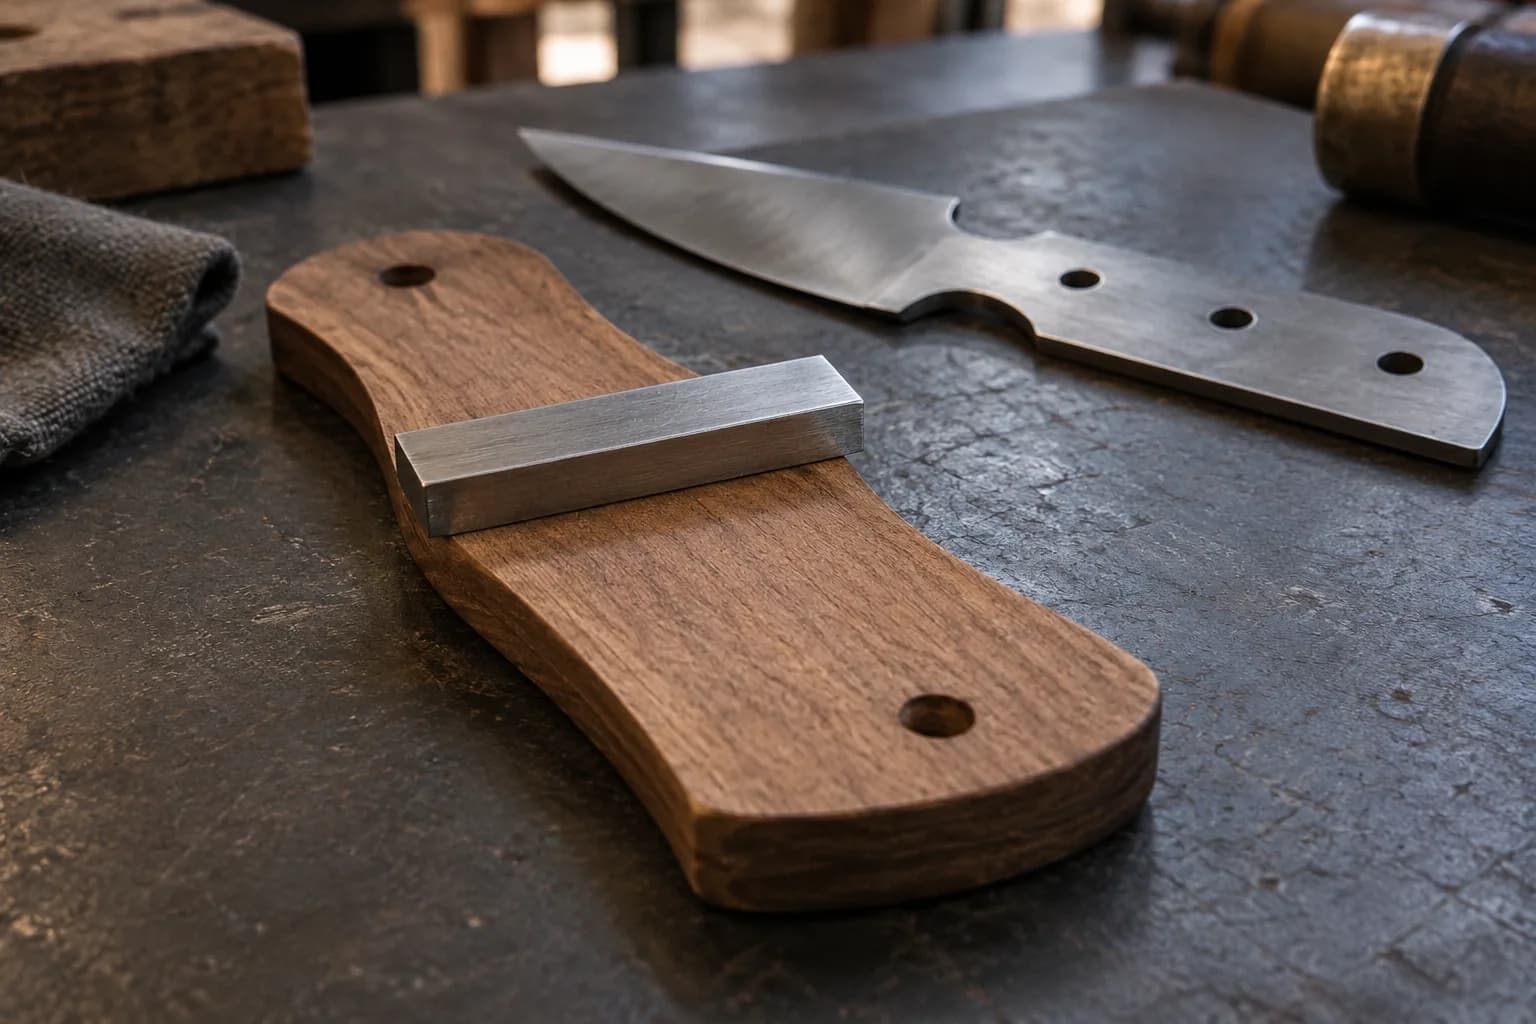
Pin holes are typically drilled through the tang first, then transferred accurately to the scales, either by clamping everything together and drilling through as an assembly, or by using the tang as a precise template for marking the scales individually. Accuracy here matters more than almost any other step, misaligned holes pull the whole assembly out of true when the pins seat.
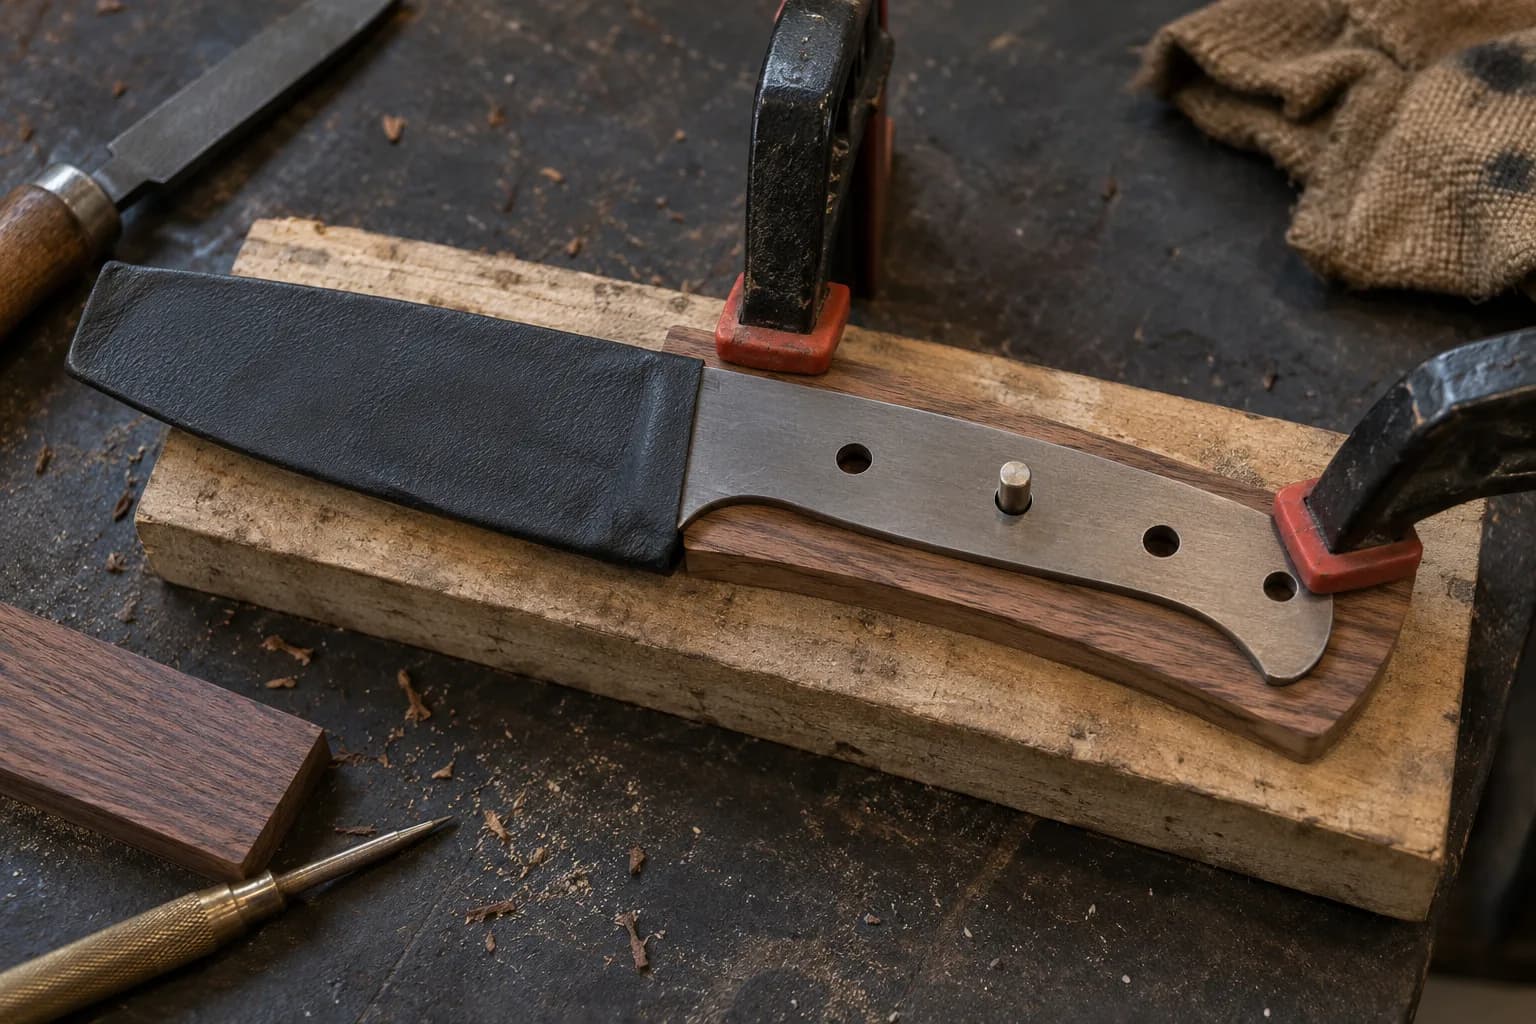
Before any epoxy is mixed, assemble the complete handle, scales, pins, and any bolsters or guards, with clamps, exactly as it will go together for real. This is the cheapest point to catch a misalignment, a pin that doesn’t seat cleanly, or a scale that doesn’t sit flush. Fixing a problem now costs nothing; fixing it after epoxy cures costs real time.
A structural, gap-filling epoxy (not a quick-set five-minute type, which tends to be more brittle and less durable) is standard for handle work. Mix thoroughly and completely, an incompletely mixed batch can stay soft or weak in spots. Work in a timeframe that matches the epoxy’s working time, rushing a slow-cure epoxy or running out of time with a fast-cure one both cause problems.
Spread an even, complete layer across both mating surfaces, not just a few dabs, gaps in epoxy coverage become voids or weak spots once cured. Insert pins through their holes before final clamping so they help align the assembly rather than fighting misaligned pieces afterward.
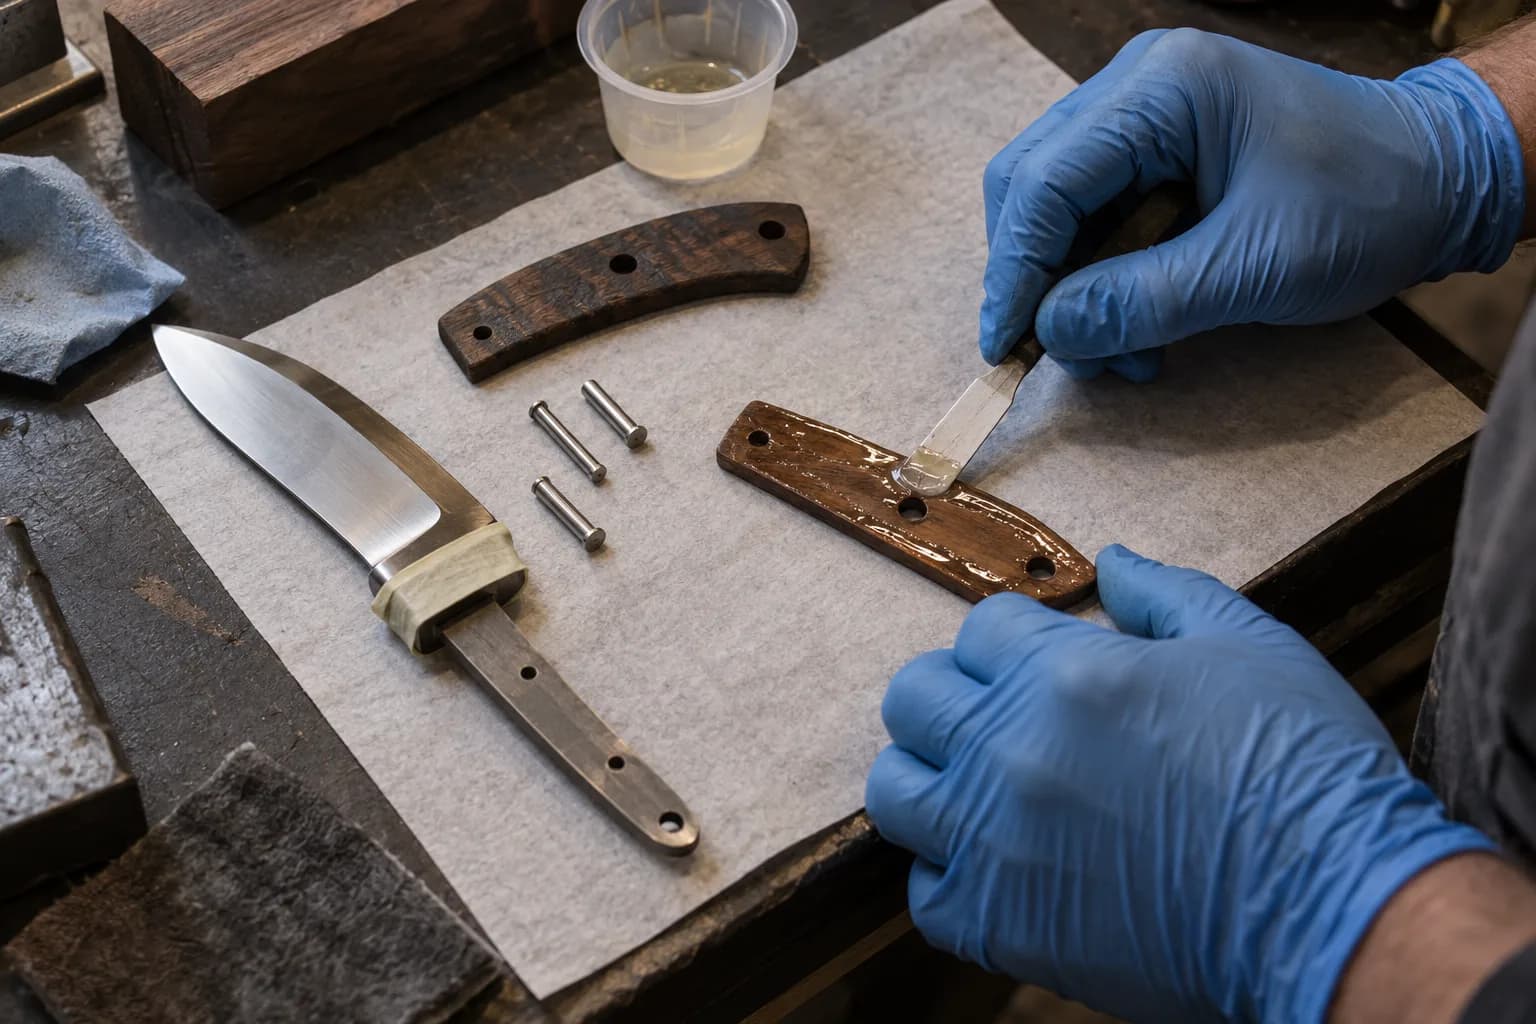
Use multiple clamps distributed across the length of the scales, not just one in the center, so pressure is even across the whole glue line rather than concentrated in one spot with gaps elsewhere. Check alignment one more time immediately after clamping, before the epoxy starts to set, since it’s still possible to make small corrections at this stage.
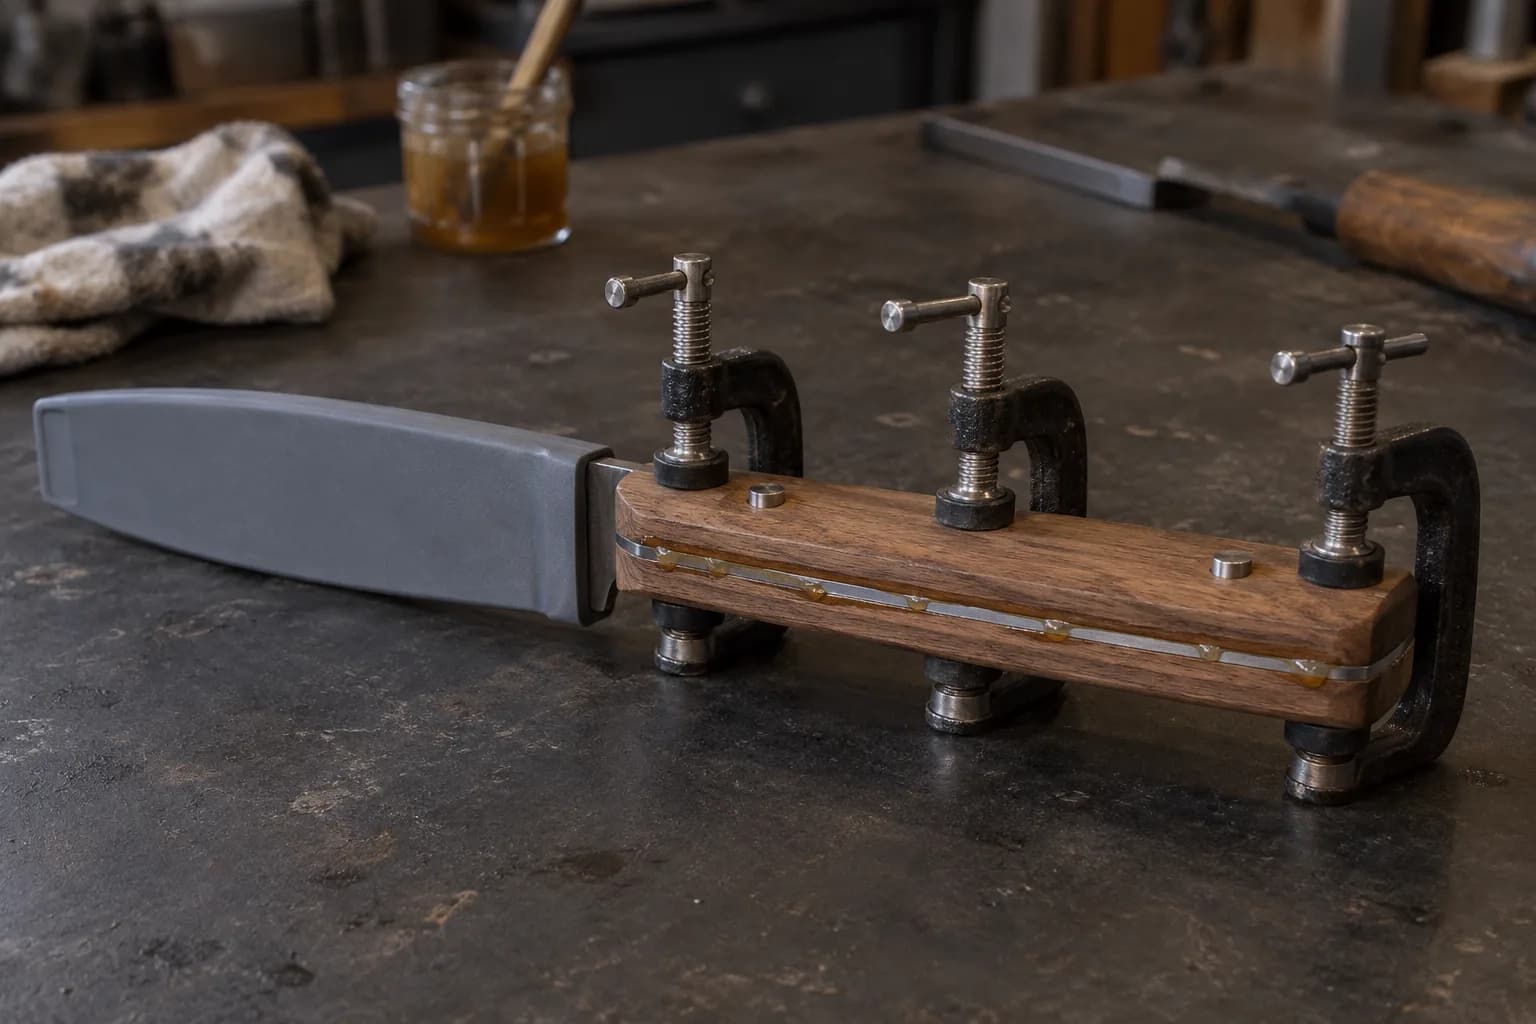
Follow the epoxy’s actual cure time, not just enough to feel solid to the touch. Working the handle (drilling, shaping, sanding) before it’s fully cured can shift material or weaken the bond even if it seems hard enough on the surface.
Simple round pins (steel, brass, or mosaic pin stock) are the standard, affordable, straightforward option. Corby bolts and similar through-hardware thread together from both sides, allowing the handle to be disassembled later, useful for maintenance but adds cost and complexity. Hidden fasteners (countersunk and covered) give a cleaner look at the cost of being harder to service. For a first build, simple pins are the most forgiving choice.
Not recommended for a working knife. Pins provide mechanical strength independent of the glue bond and prevent the scales from shearing off under stress even if the epoxy bond is imperfect somewhere. Epoxy alone is a weaker, less reliable approach.
Follow the epoxy manufacturer’s full cure time, often 24 hours or more for a full structural cure, even if it feels solid much sooner. Shaping too early risks disturbing a bond that hasn’t reached full strength.
Skipping the dry-fit step. It costs a few extra minutes and catches alignment problems, tight pin fits, and surface flatness issues before they’re locked in permanently with epoxy.
Keep reading
Three more from the same bench.
Handle material affects grip, durability, weather resistance, and how a knife feels in the hand, arguably as much as blade steel affects how it cuts…

Tang construction, how far the blade steel actually extends into the handle, affects strength, weight, balance, and how a knife is actually built, and…
Pin material affects corrosion resistance, appearance, and how easily the pin peens or finishes flush, and the options range from plain utilitarian steel…
Same bench
I machine the parts, hand-assemble, track and test Torus grinders in Sterling, Illinois. Most orders ship in seven to ten business days from time of order.

Current dual-axis platform with a fiber-laser-cut 6061 chassis and single-knob tracking.

Current dual-axis platform with a steel chassis, more mass and less vibration.

Prior-design aluminum chassis, 90-degree tilt and 1.5-inch tooling arms.

One-man shop
I answer my own email. Tell me the steel, the machine and what it is doing, and I will tell you what I would try next.