2x72 Grinder Tips
Efficient Profiling of Chef Knife Blanks with 36‑Grit Ceramic Belt
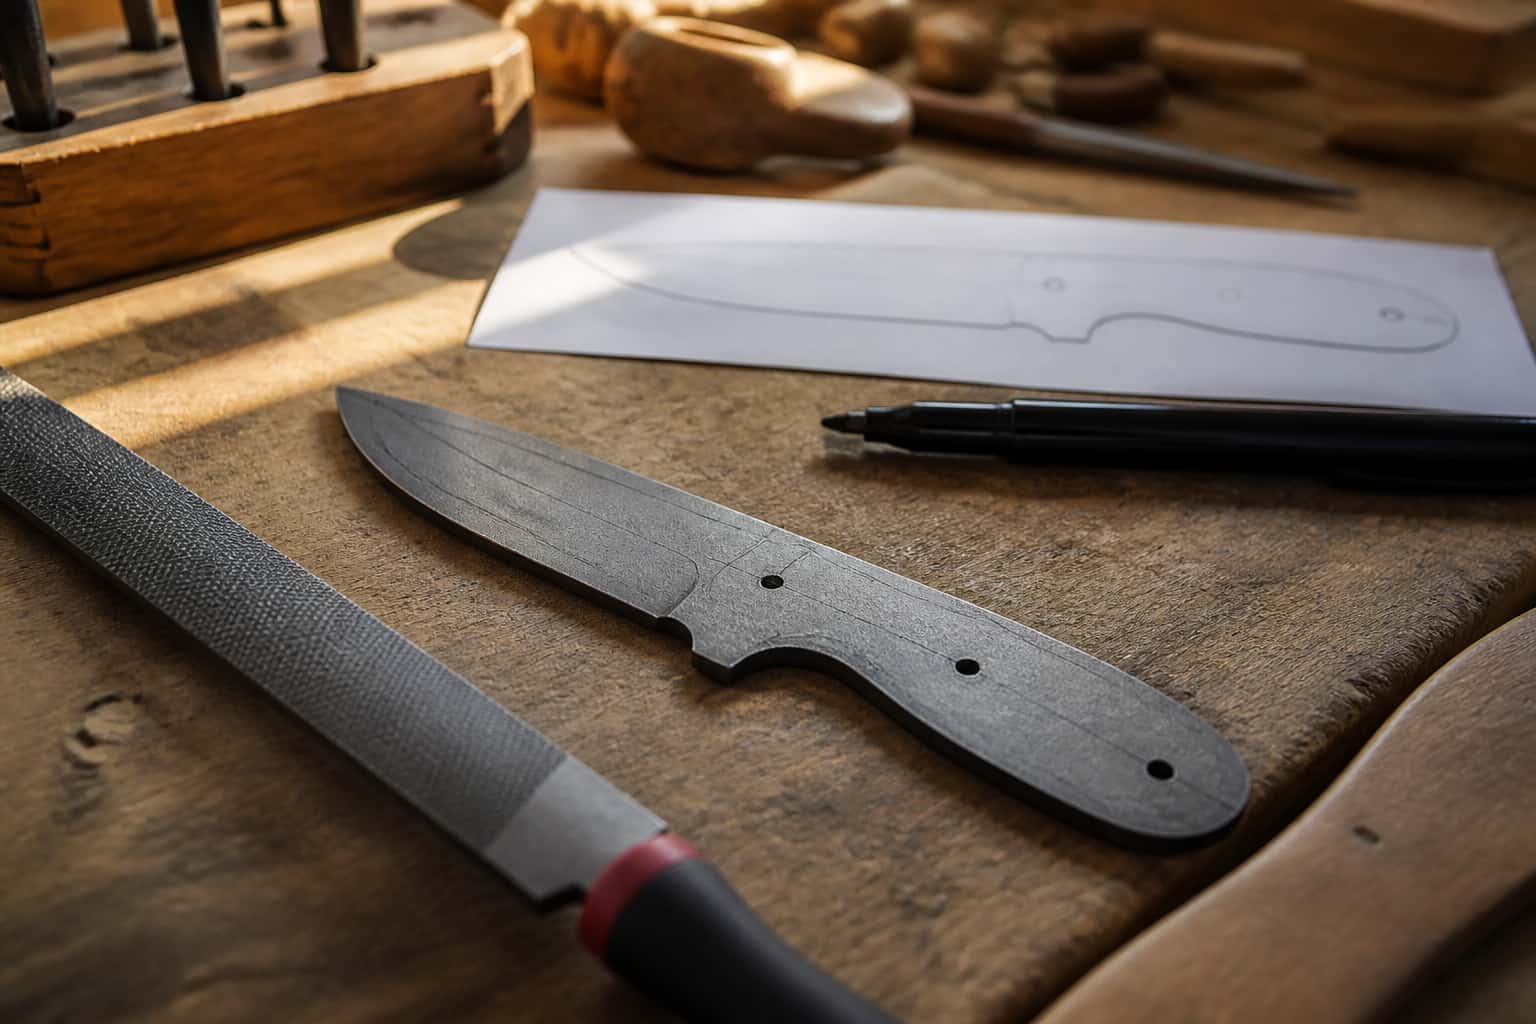
Profiling is where a chef knife takes its shape, and a 36-grit ceramic belt does it fastest. Here is how I lay out a blank, hog the profile on the 2×72, keep the tip cool and follow the belly.
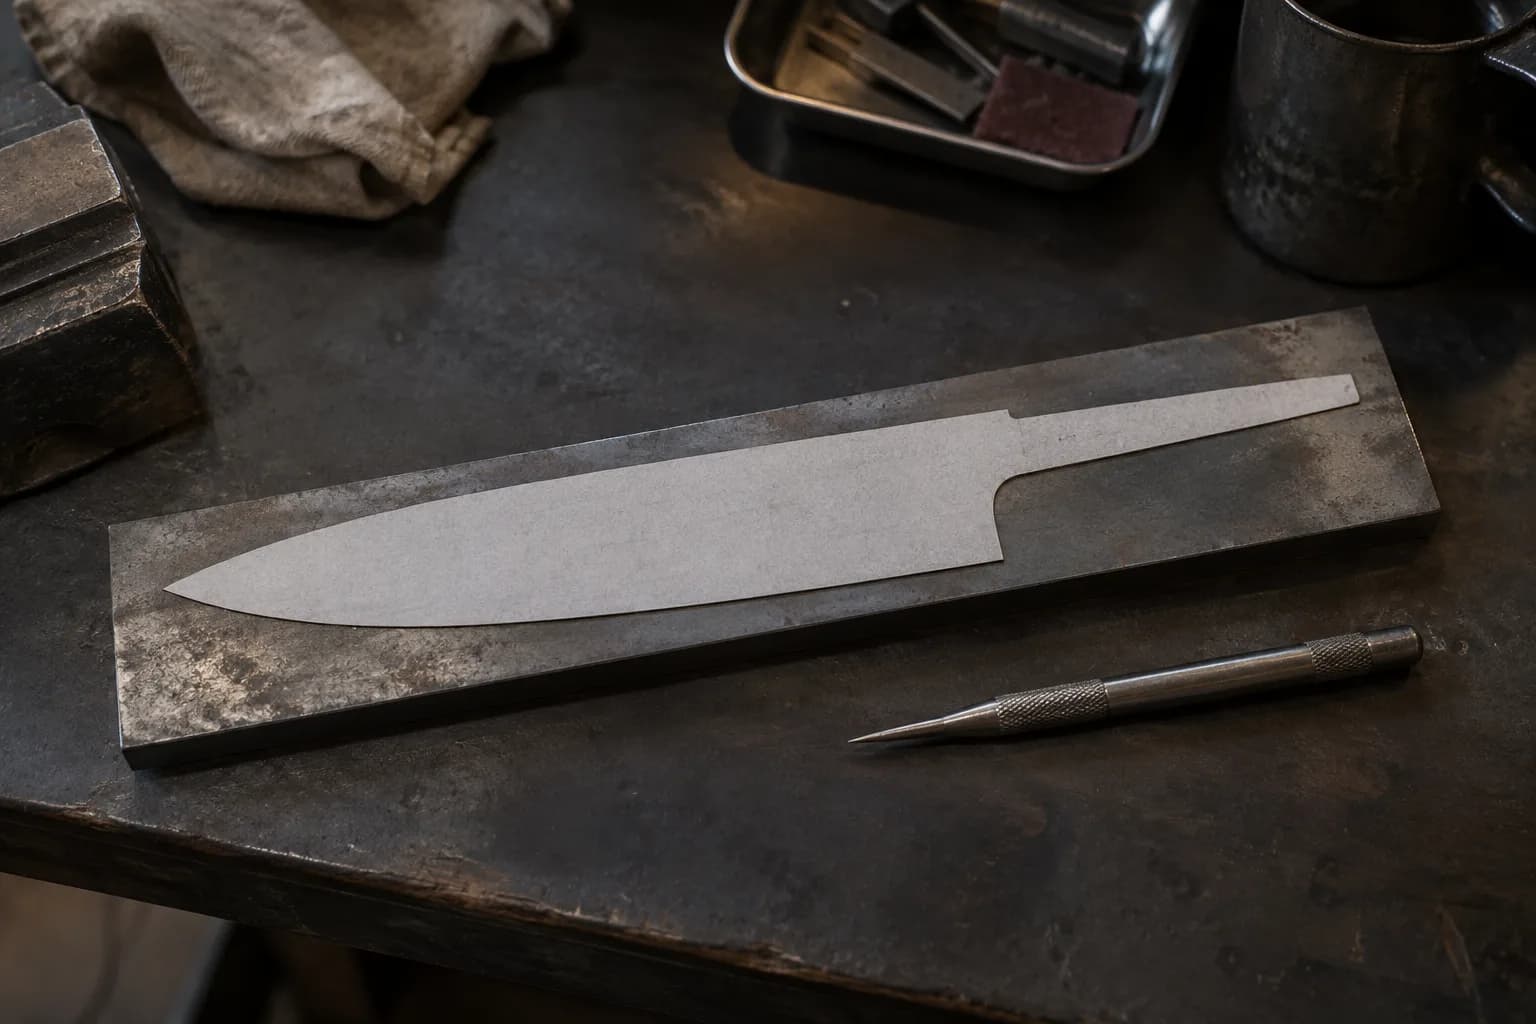
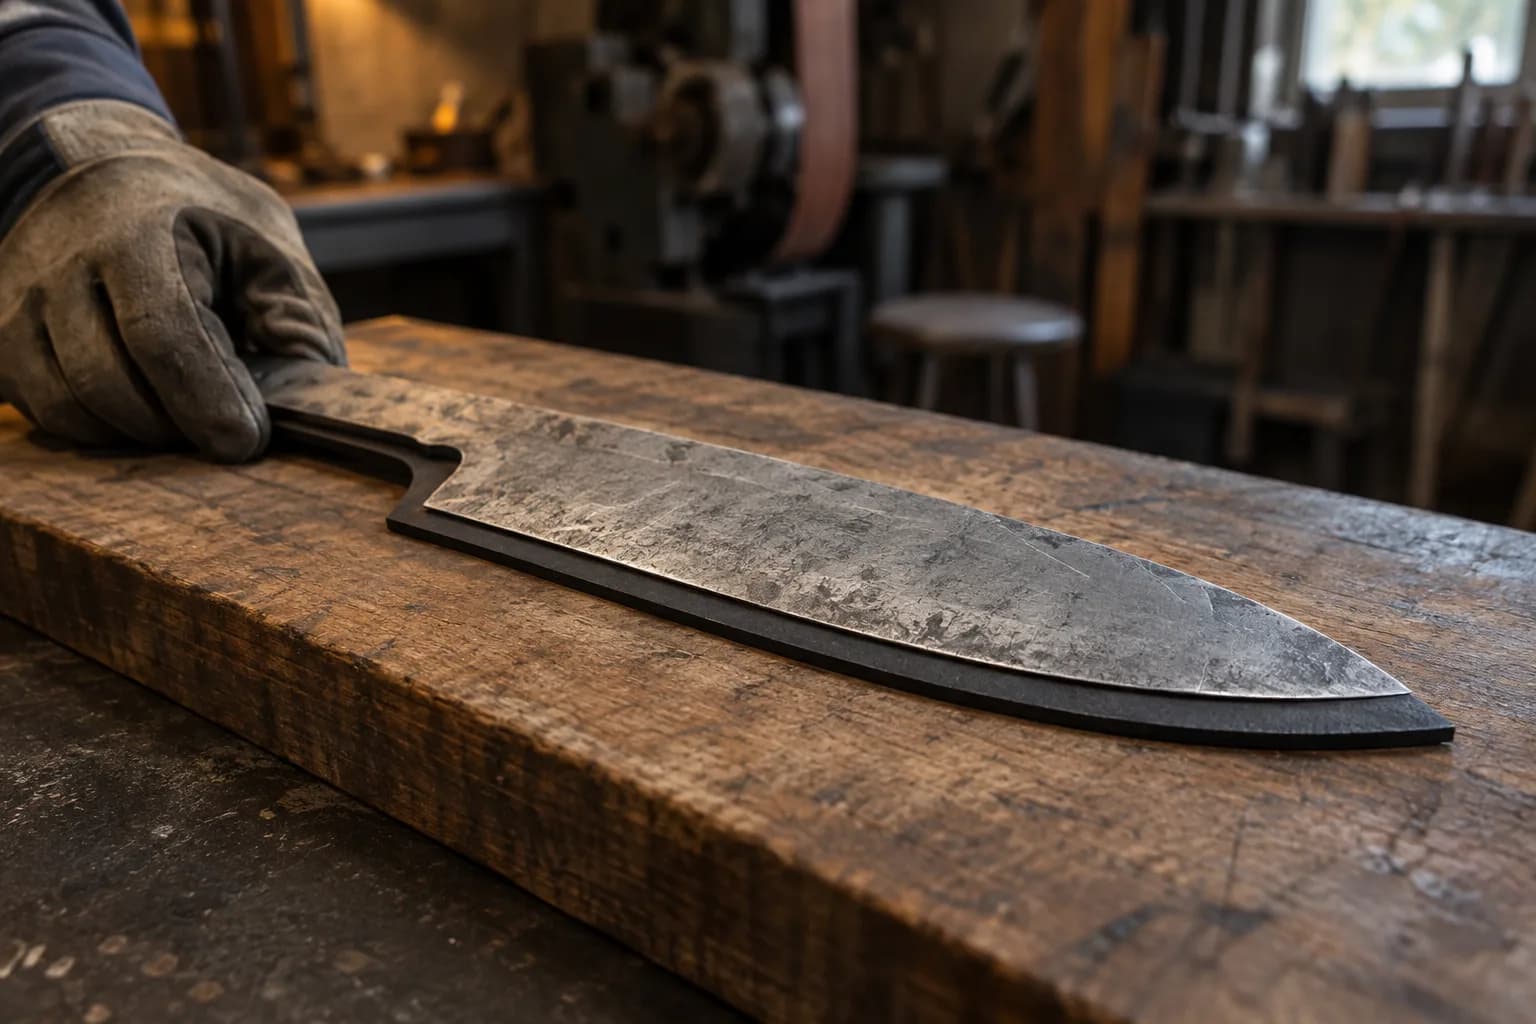
A chef knife starts life as a rectangle of steel, and a 36-grit ceramic belt is the fastest honest way to turn it into a blade shape. Here is how I profile chef knife blanks on the 2×72: layout, which wheel to run the belly on, belt speed, keeping the thin tip from turning blue, and the mistakes that waste steel and belts.
Key Takeaways
- Chef knife blanks are the foundation for creating custom chef knives and come in various shapes and sizes.
- Efficient profiling is crucial for achieving the desired shape and edge geometry of the chef knife blanks.
- 36-grit ceramic belts are highly effective for material removal and shaping of chef knife blanks.
- Using 36-grit ceramic belts results in faster stock removal, reduced heat buildup, and longer belt life.
- Safety precautions, such as wearing eye protection and using a dust collection system, are essential when using 36-grit ceramic belts.
Importance of Efficient Profiling
Efficient profiling is a critical step in the knife-making process that directly impacts the final product’s performance and usability. Profiling involves shaping the blade to achieve the desired geometry, which includes the thickness, taper, and curvature of the edge. A well-executed profile not only enhances the knife’s cutting ability but also contributes to its balance and comfort during use.
Understanding 36-Grit Ceramic Belts
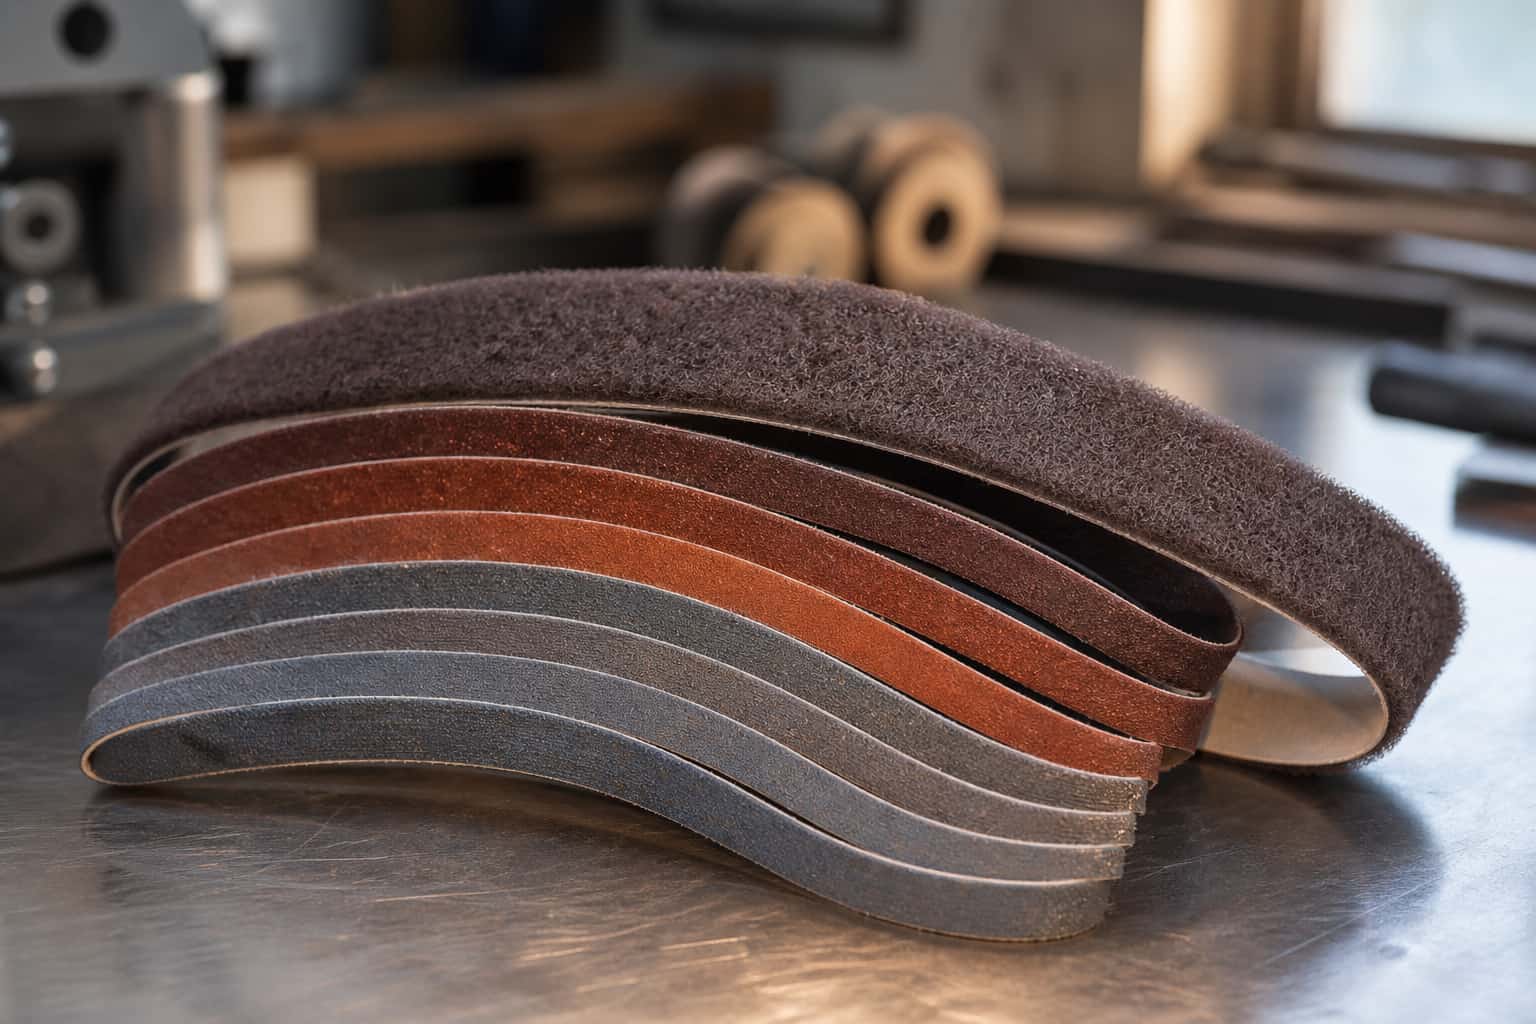
36-grit ceramic belts are a popular choice among knife makers for their aggressive cutting capabilities and durability. The grit number indicates the size of the abrasive particles on the belt; in this case, 36-grit refers to relatively coarse particles that can quickly remove material from the surface of the knife blank. Ceramic abrasives are known for their hardness and longevity, making them ideal for heavy-duty applications like profiling chef knife blanks.
These belts are designed to withstand high temperatures generated during the grinding process, which is particularly important when working with high-carbon steels that can lose their temper if overheated. The unique properties of ceramic abrasives allow them to maintain their cutting efficiency even under intense conditions, making them a reliable choice for both amateur and professional knife makers. Understanding how to effectively use 36-grit ceramic belts can significantly enhance the profiling process, leading to better results in less time.
Advantages of Using 36-Grit Ceramic Belts
The advantages of using 36-grit ceramic belts in the profiling of chef knife blanks are manifold. One of the primary benefits is their exceptional cutting speed. The coarse grit allows for rapid material removal, enabling knife makers to shape their blades quickly without sacrificing quality.
This efficiency is particularly beneficial when working with thicker or harder materials that require more aggressive grinding. Another significant advantage is the durability of ceramic belts. Unlike other abrasive materials that may wear down quickly, ceramic belts maintain their cutting performance over extended periods of use.
Steps for Efficient Profiling of Chef Knife Blanks
To achieve efficient profiling of chef knife blanks using 36-grit ceramic belts, several steps should be followed meticulously. First, it is essential to secure the blank firmly in place to prevent any movement during the grinding process. This can be accomplished using a workbench vise or clamps designed specifically for knife making.
Ensuring stability will allow for more controlled and precise grinding. Next, begin by establishing the initial profile of the blade. This involves determining the desired shape and angle of the edge before applying the belt to the blank.
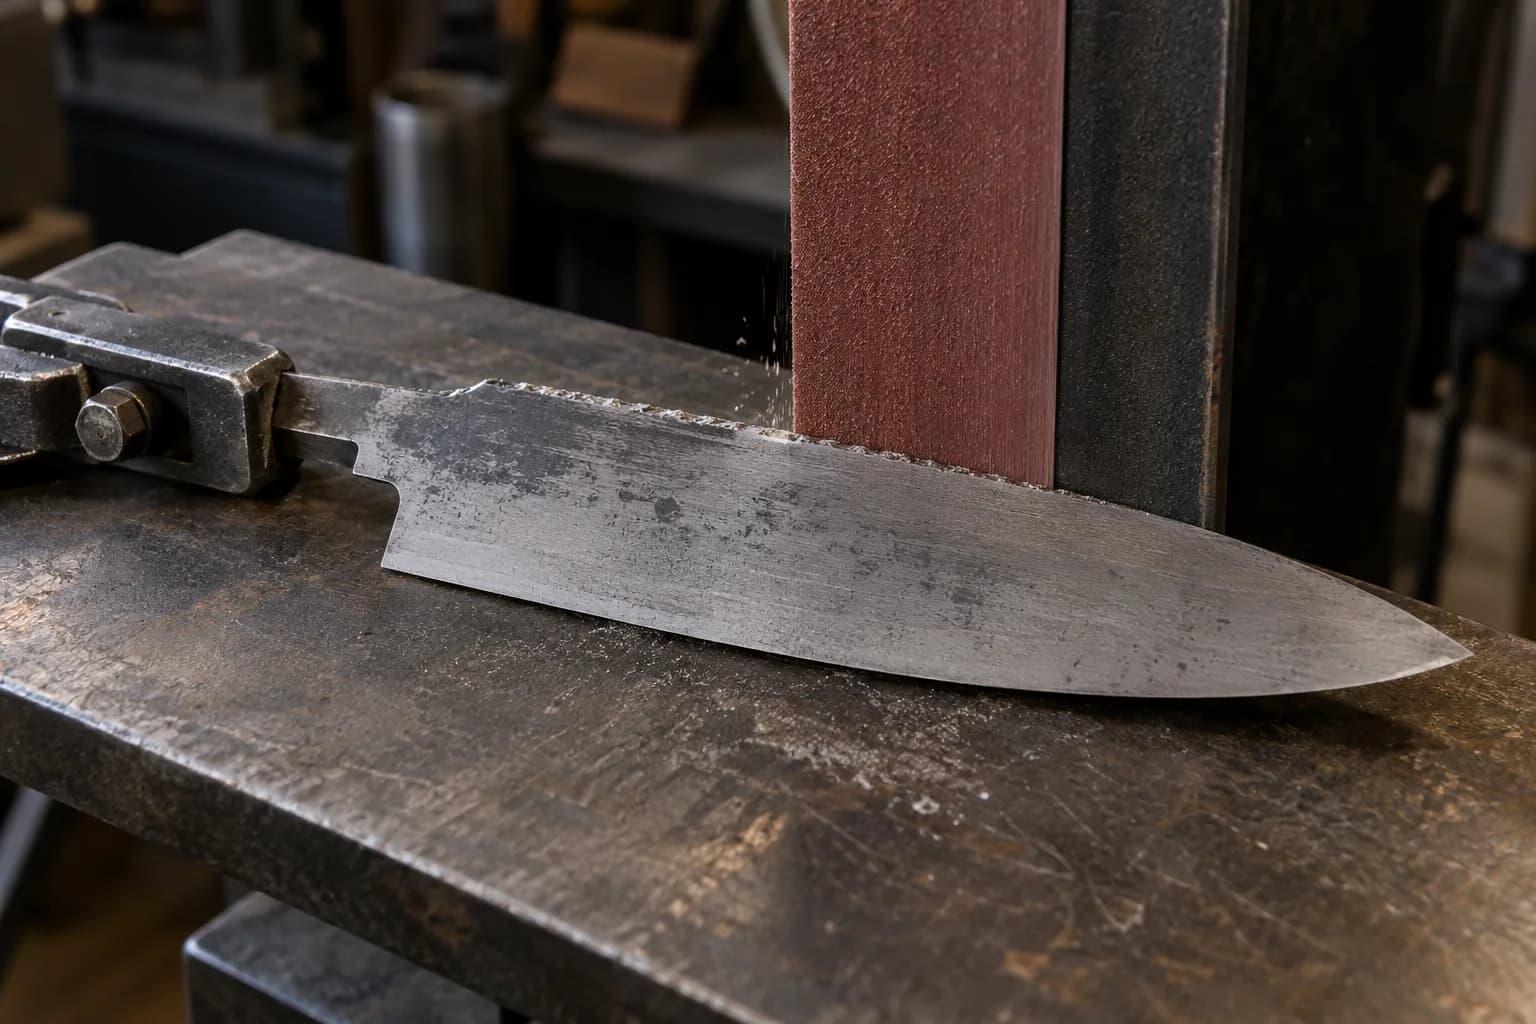
It is advisable to start with light pressure and gradually increase it as needed while maintaining a consistent motion along the blade’s length. This technique helps prevent overheating and ensures an even removal of material. Regularly checking progress will allow for adjustments to be made as necessary, ensuring that the final profile meets expectations.
Safety Precautions when Using 36-Grit Ceramic Belts
Safety should always be a top priority when working with abrasive materials like 36-grit ceramic belts. The high-speed operation of belt grinders can pose various risks, including flying debris and potential injuries from accidental contact with moving parts. To mitigate these risks, it is crucial to wear appropriate personal protective equipment (PPE), including safety goggles, gloves, and a dust mask or respirator.
Maintaining a clean workspace is essential for safety. Keeping tools organized and free from clutter reduces the likelihood of accidents occurring during the profiling process. It is also advisable to ensure that all equipment is in good working condition before use; any damaged or worn components should be replaced immediately to prevent malfunctions that could lead to injury.
Tips for Achieving Precision with 36-Grit Ceramic Belts
It may be beneficial to practice on scrap pieces before working on actual knife blanks to refine this technique. Another important aspect is monitoring heat buildup during grinding. Excessive heat can compromise the integrity of the steel and affect its performance characteristics.
To prevent overheating, take breaks during prolonged grinding sessions and allow both the belt and blank to cool down as needed. Using a coolant or lubricant can also help dissipate heat while improving cutting efficiency.
Common Mistakes to Avoid when Profiling Chef Knife Blanks
When profiling chef knife blanks, several common mistakes can hinder progress and affect the quality of the final product. One frequent error is applying too much pressure while grinding, which can lead to uneven profiles or overheating of the blade material. It is essential to find a balance between pressure and speed to achieve optimal results without compromising the integrity of the blank.
Another mistake is neglecting to check progress regularly during profiling. Failing to monitor how much material has been removed can result in over-grinding or an imprecise edge geometry. Taking periodic breaks to assess progress allows for adjustments to be made before reaching a point of no return.
Maintenance and Care for 36-Grit Ceramic Belts
Proper maintenance and care for 36-grit ceramic belts are crucial for ensuring their longevity and performance. After each use, it is advisable to clean the belts thoroughly to remove any debris or metal shavings that may have accumulated during grinding. This cleaning process helps maintain cutting efficiency and prevents clogging that can diminish performance over time.
Storing ceramic belts in a cool, dry place away from direct sunlight will also extend their lifespan. Exposure to moisture or extreme temperatures can affect their adhesive properties and overall effectiveness. Regularly inspecting belts for signs of wear or damage will allow for timely replacements before they become ineffective during use.
Comparing 36-Grit Ceramic Belts with Other Abrasive Options
When considering abrasive options for profiling chef knife blanks, 36-grit ceramic belts stand out due to their unique properties compared to other materials like aluminum oxide or zirconia belts. While aluminum oxide belts are often more affordable, they tend to wear out more quickly under heavy use and may not provide the same level of cutting efficiency as ceramic belts. Zirconia belts offer a middle ground between aluminum oxide and ceramic options; however, they still do not match the durability and aggressiveness of 36-grit ceramic belts for profiling hard materials like high-carbon steel.
FAQs
What is a Chef Knife Blank?
A chef knife blank is the unfinished form of a chef knife, typically made of high-quality steel, that has not yet been shaped, ground, or sharpened.
What is Profiling a Chef Knife Blank?
Profiling a chef knife blank refers to the process of shaping the blank into the desired knife design, including establishing the blade’s bevels, curves, and overall geometry.
What is a Ceramic 36-Grit Belt?
A ceramic 36-grit belt is an abrasive belt used in knife making and metalworking to quickly remove material and shape metal. The 36-grit designation refers to the coarseness of the abrasive particles on the belt.
Shop notes and practical details
Choosing the Right Chef Knife Blank for Profiling
Selecting the appropriate chef knife blank is a fundamental step that can influence the entire profiling process. Knife blanks come in various materials, including stainless steel, carbon steel, and high-carbon stainless steel, each offering unique properties that affect how they respond to profiling techniques. For instance, stainless steel is known for its corrosion resistance but can be more challenging to shape compared to carbon steel, which is easier to grind but may require more maintenance.
In addition to material considerations, the thickness and shape of the blank also play a critical role in profiling. Thicker blanks may require more aggressive initial profiling with a coarse belt like the ceramic 36-grit before transitioning to finer grits for finishing. Conversely, thinner blanks may allow for more delicate work from the outset.
Setting Up the Profiling Station
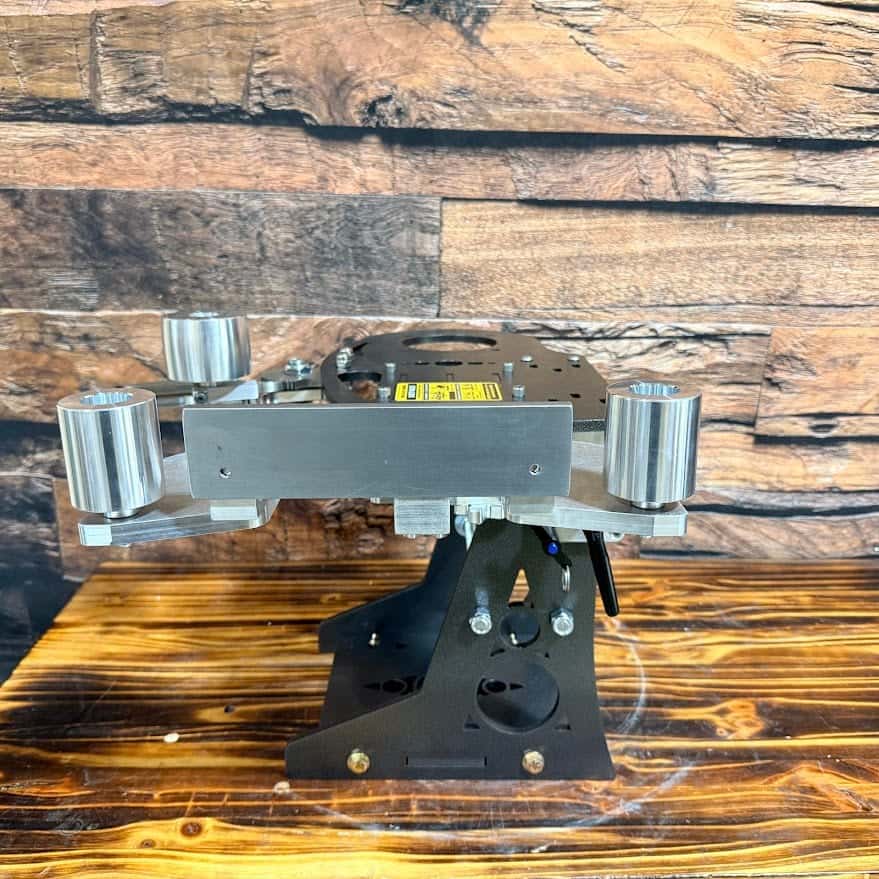
Creating an efficient profiling station is vital for achieving consistent results when working with chef knife blanks. The setup should include a reliable belt grinder equipped with a ceramic 36-grit belt, as well as adequate workspace and safety equipment. Positioning the grinder at a comfortable height will help reduce fatigue during extended periods of use, allowing for greater precision and control.
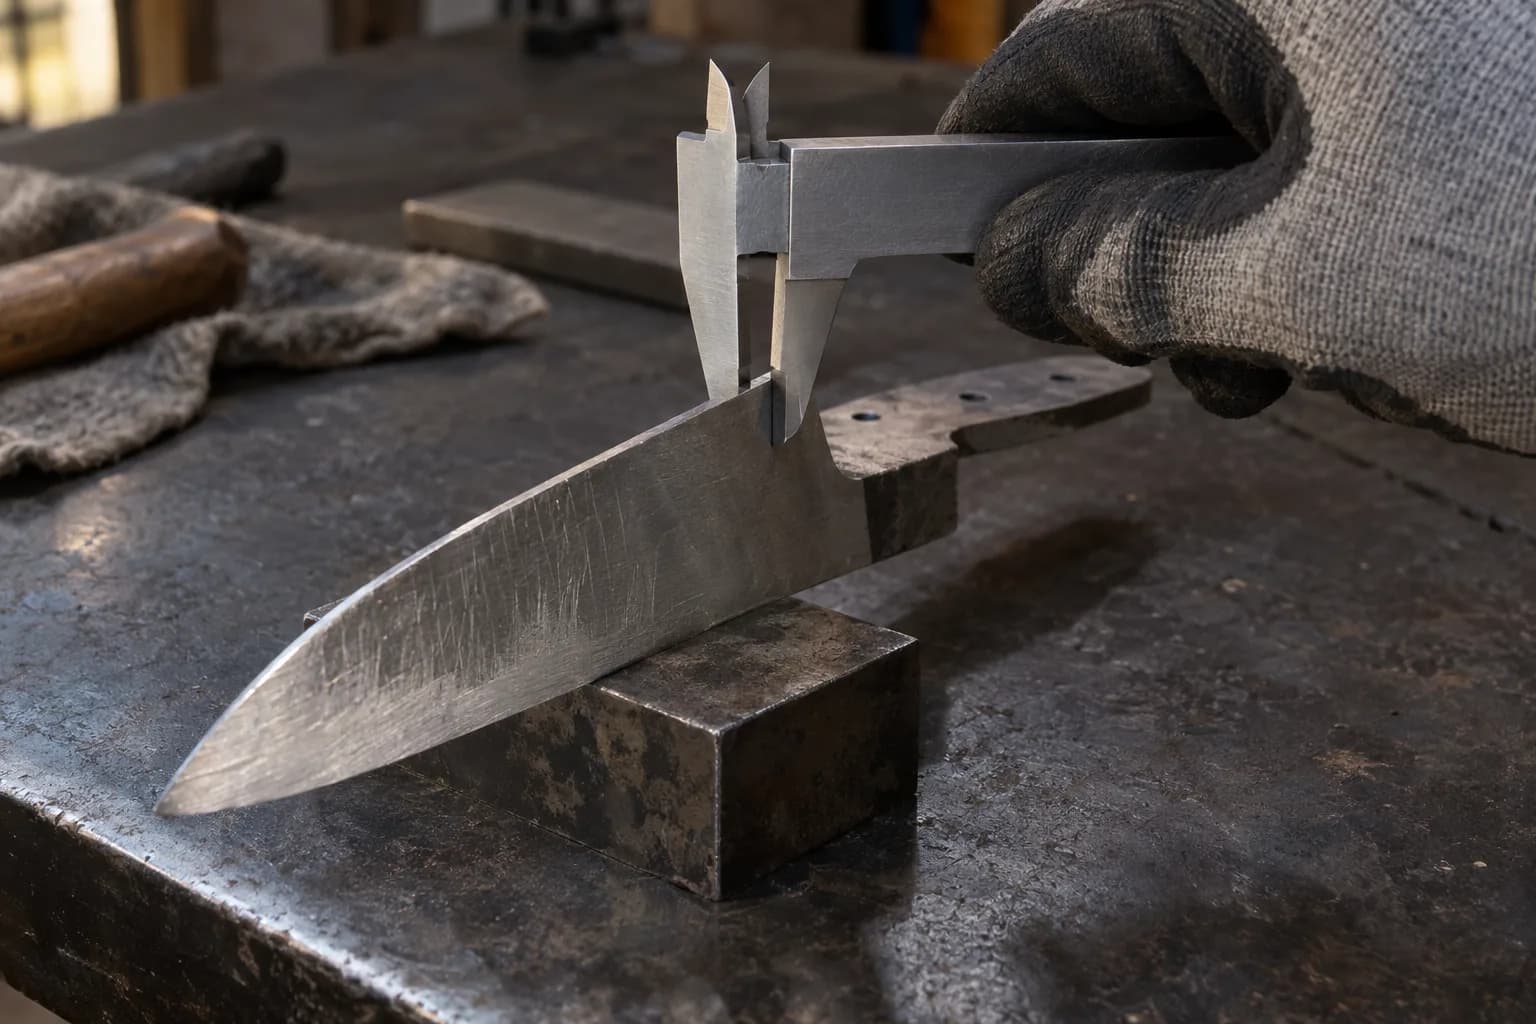
In addition to the grinder itself, having organized access to tools such as calipers, templates, and measuring devices can enhance the profiling process. These tools enable makers to monitor progress closely and ensure that they are adhering to their design specifications. Proper lighting in the workspace can help illuminate details on the blade, making it easier to identify areas that require additional attention during profiling.
Maintaining the Sharpness of the Ceramic 36-Grit Belt
Maintaining the sharpness of a ceramic 36-grit belt is crucial for ensuring optimal performance during profiling tasks. Over time, belts can become clogged with metal shavings or debris, which diminishes their cutting ability. To combat this issue, regular cleaning of the belt is recommended; this can be done using a belt cleaning stick or similar tool designed specifically for this purpose.
In addition to cleaning, monitoring the tension and alignment of the belt on the grinder is essential for maintaining its effectiveness. A properly tensioned belt will operate more efficiently and produce better results than one that is loose or misaligned. By taking these maintenance steps seriously, knife makers can extend the lifespan of their ceramic belts while ensuring consistent performance throughout their profiling projects.
Troubleshooting Common Issues with Chef Knife Blank Profiling
Despite careful planning and execution, issues may arise during the profiling of chef knife blanks that require troubleshooting. One common problem is overheating of the blade during grinding, which can lead to warping or loss of temper in certain materials. To mitigate this risk, it is advisable to use intermittent grinding techniques—taking breaks between passes—to allow the blade to cool down.
Another issue that may occur is uneven material removal, resulting in an inconsistent profile. This can often be addressed by adjusting the angle of approach or modifying pressure applied during grinding. Keeping an eye on progress throughout the process will help identify any discrepancies early on, allowing for timely corrections before they become more significant problems.
Alternative Profiling Methods for Chef Knife Blanks
While using a ceramic 36-grit belt is an effective method for profiling chef knife blanks, there are alternative techniques that may also yield satisfactory results depending on individual preferences and available tools. One such method involves using hand tools like files or chisels for more intricate shaping tasks. This approach allows for greater tactile feedback and control over fine details but may require more time and effort compared to power tools.
Another alternative is water jet cutting or laser cutting technology, which can provide precise profiles with minimal material waste. These methods are particularly useful for complex designs or when working with materials that are difficult to grind effectively by hand or with traditional power tools. Exploring these alternatives can broaden a maker’s skill set and enhance their versatility in producing high-quality chef knives.
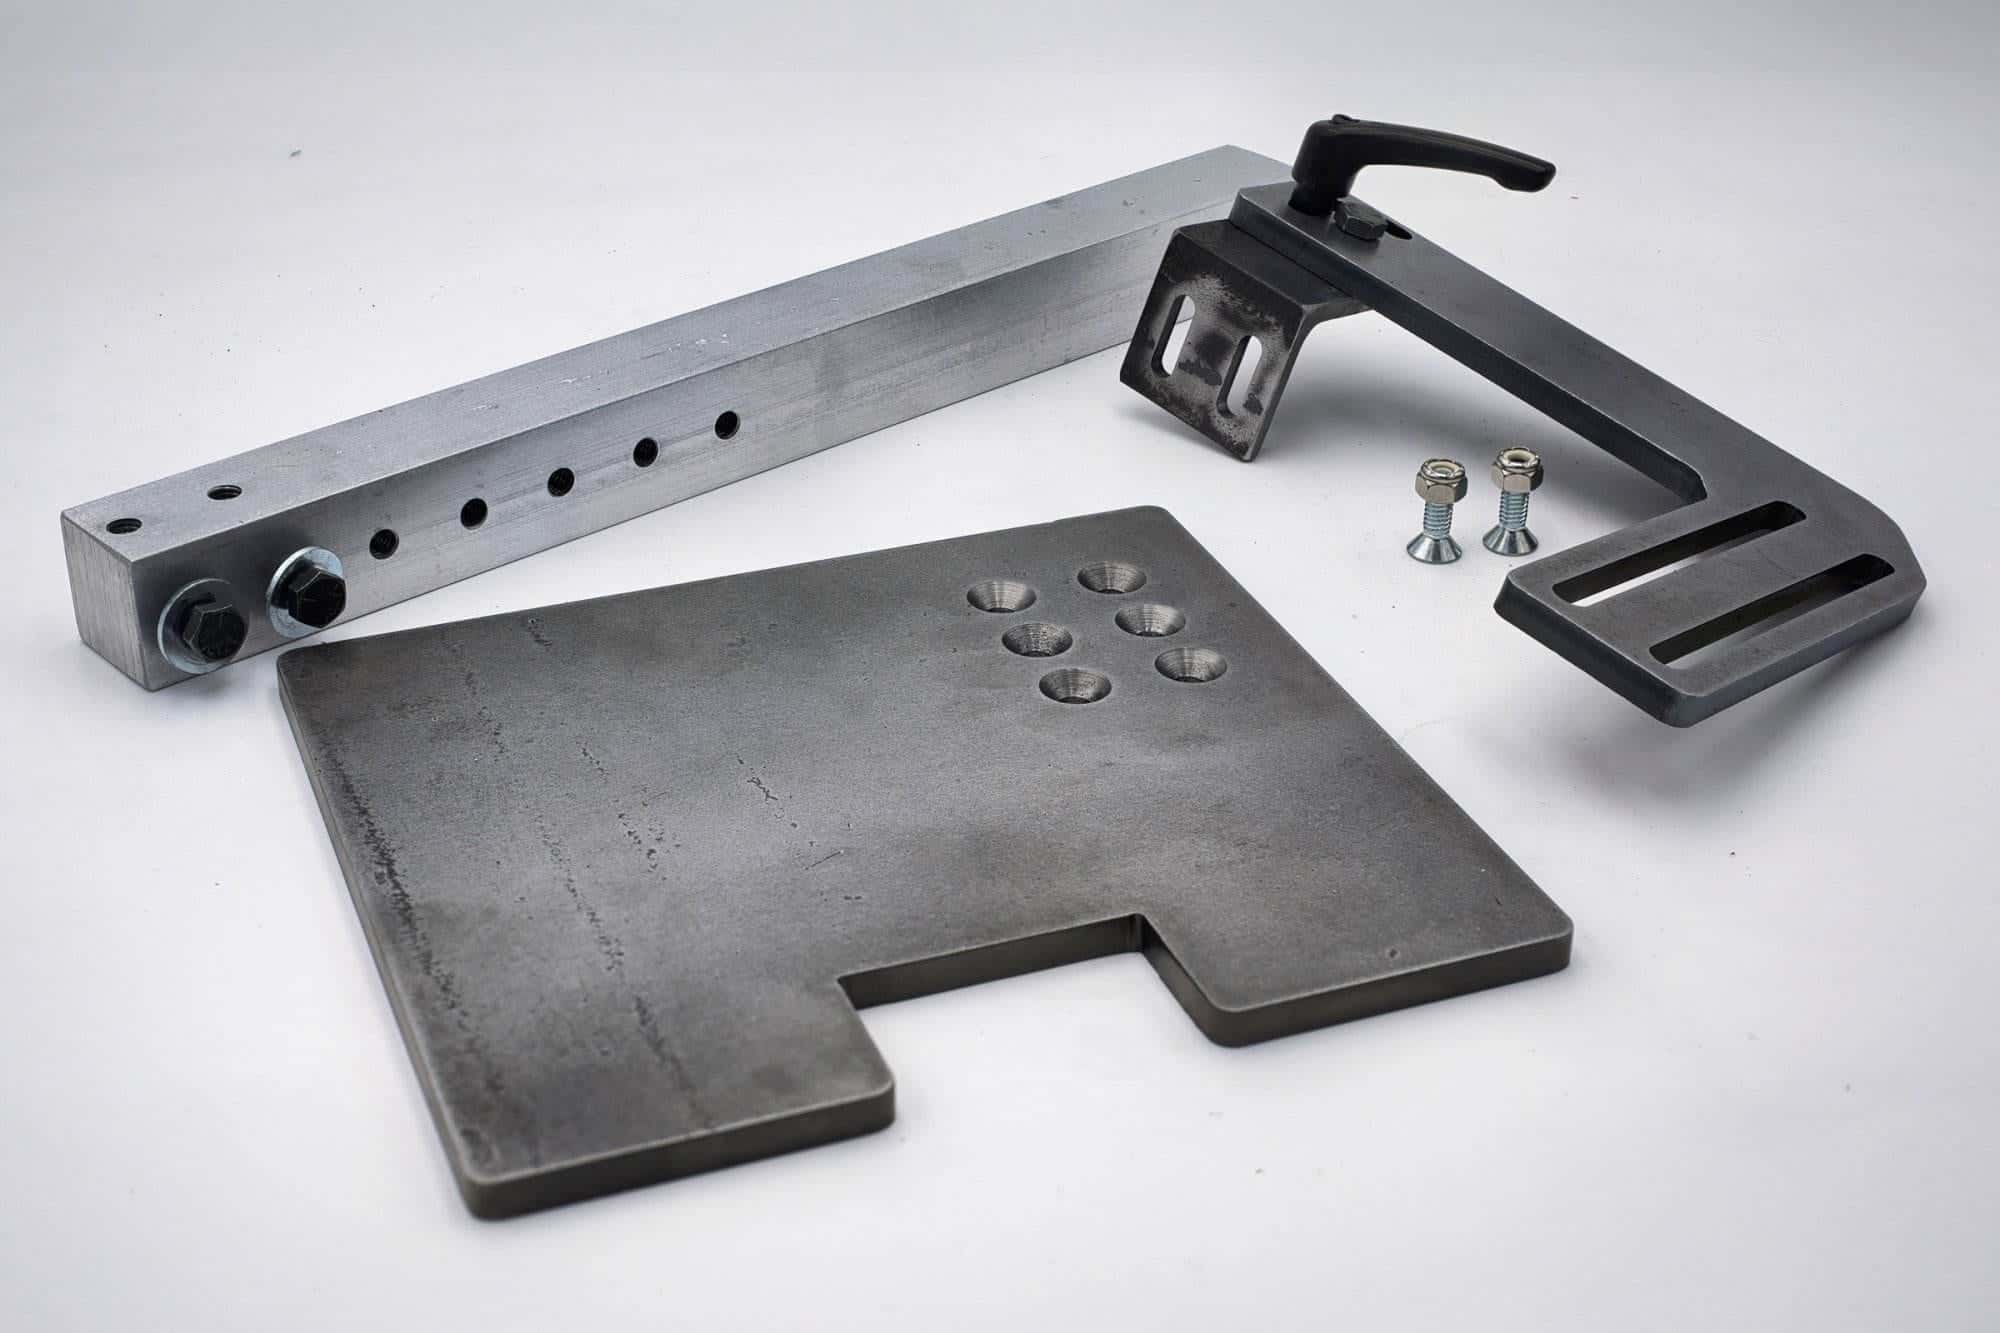
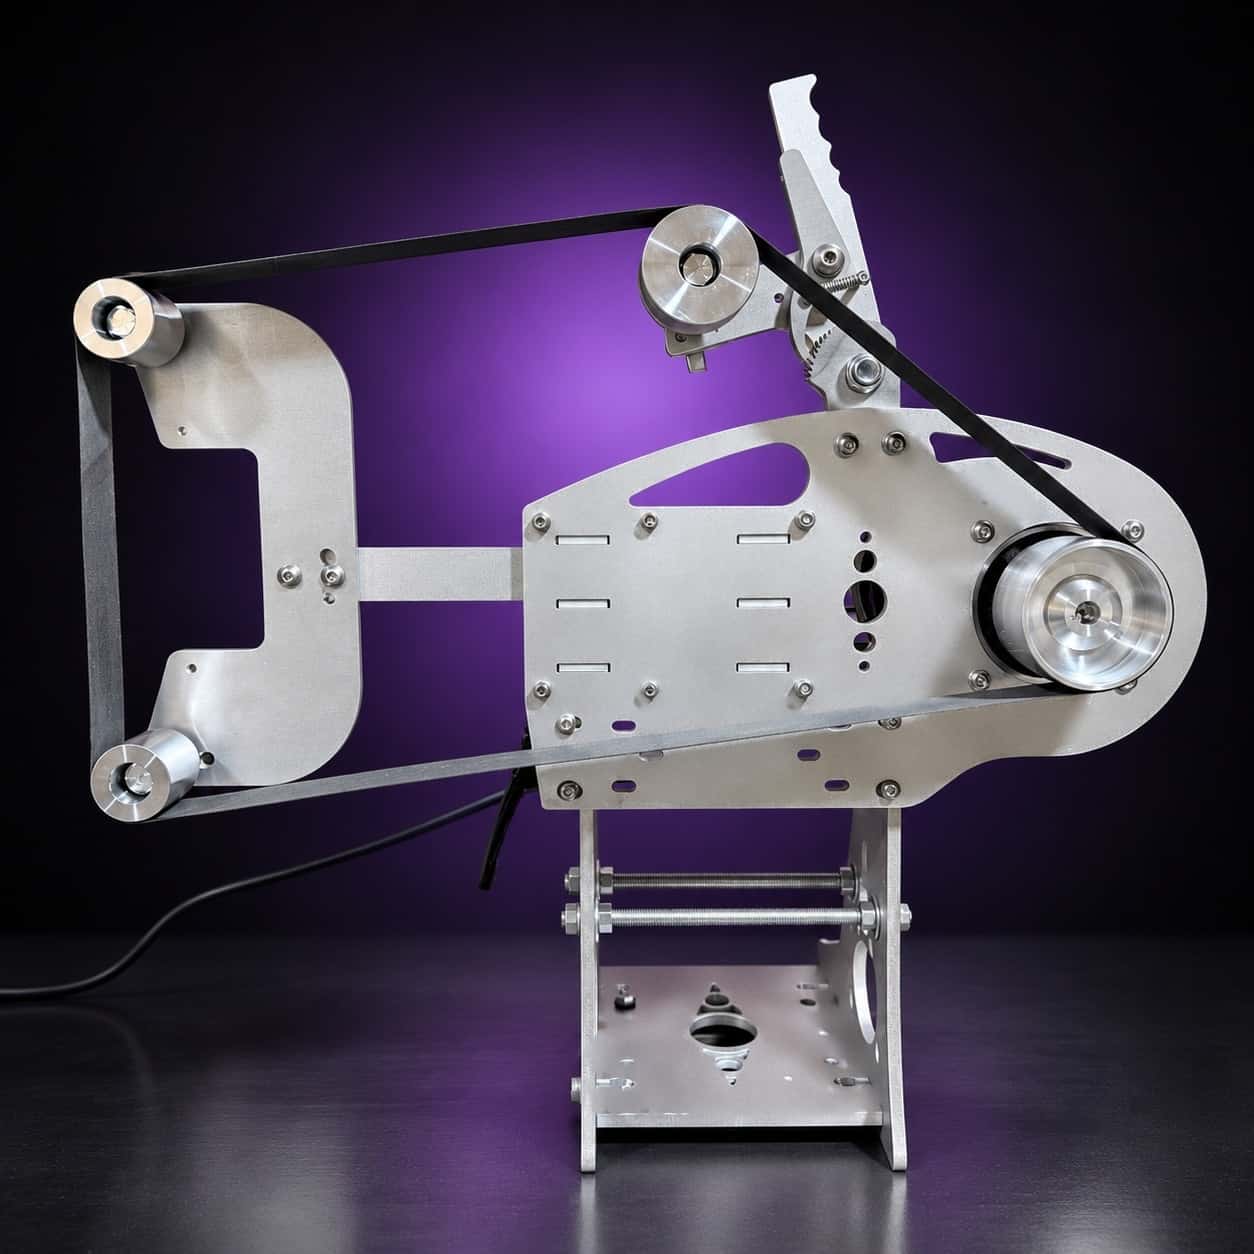
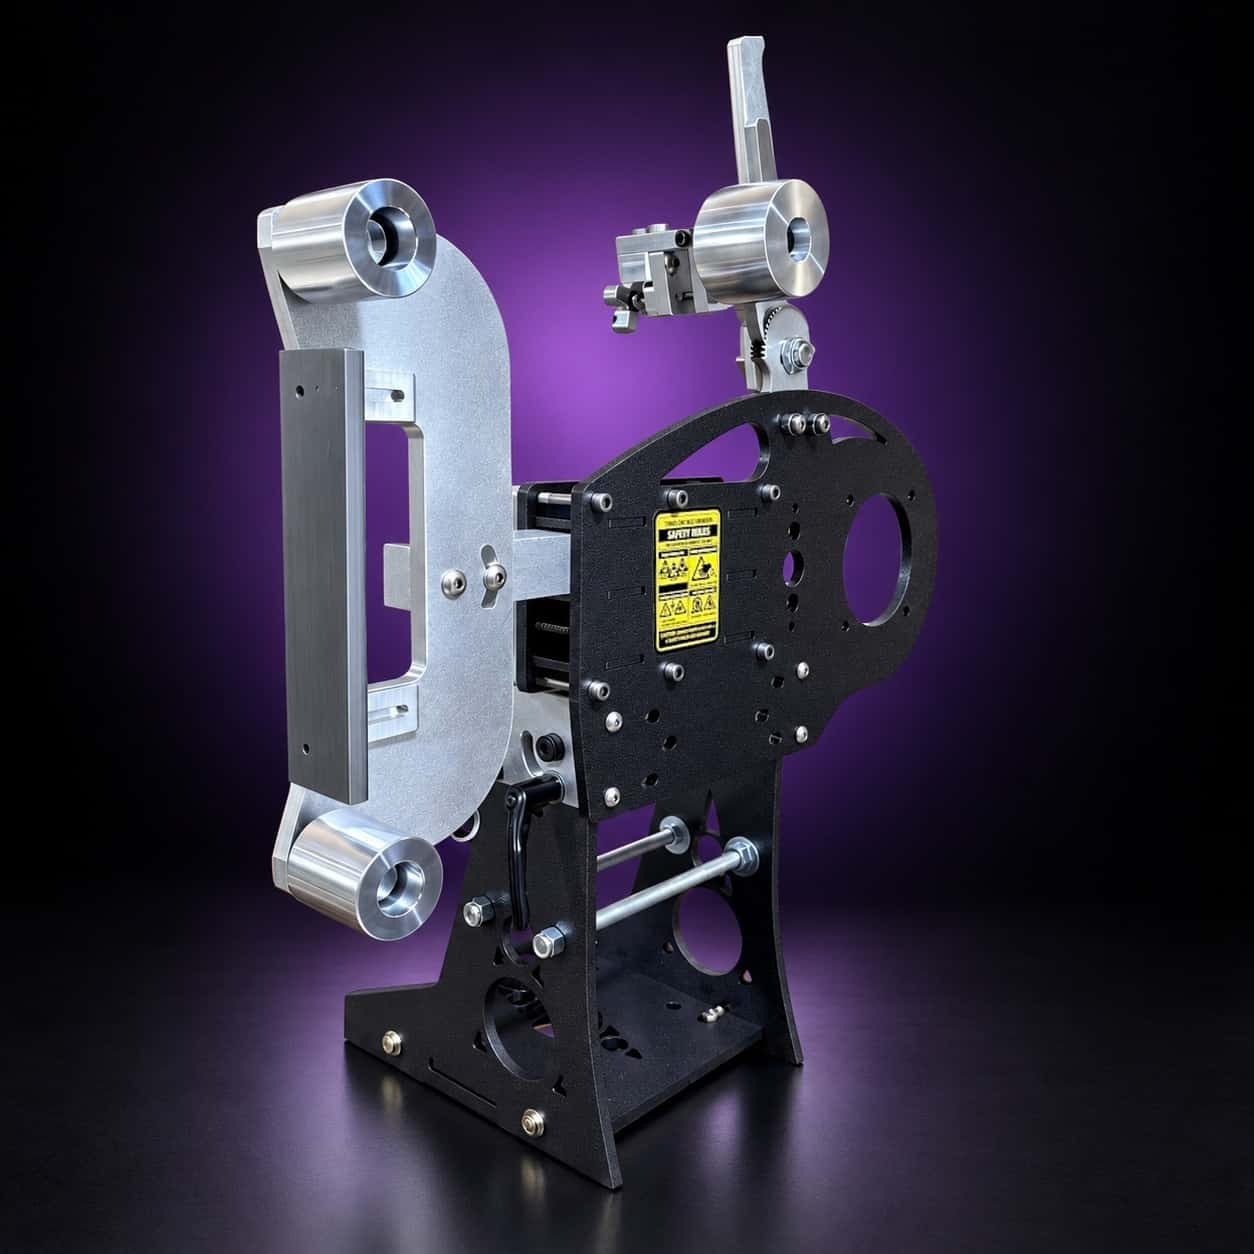
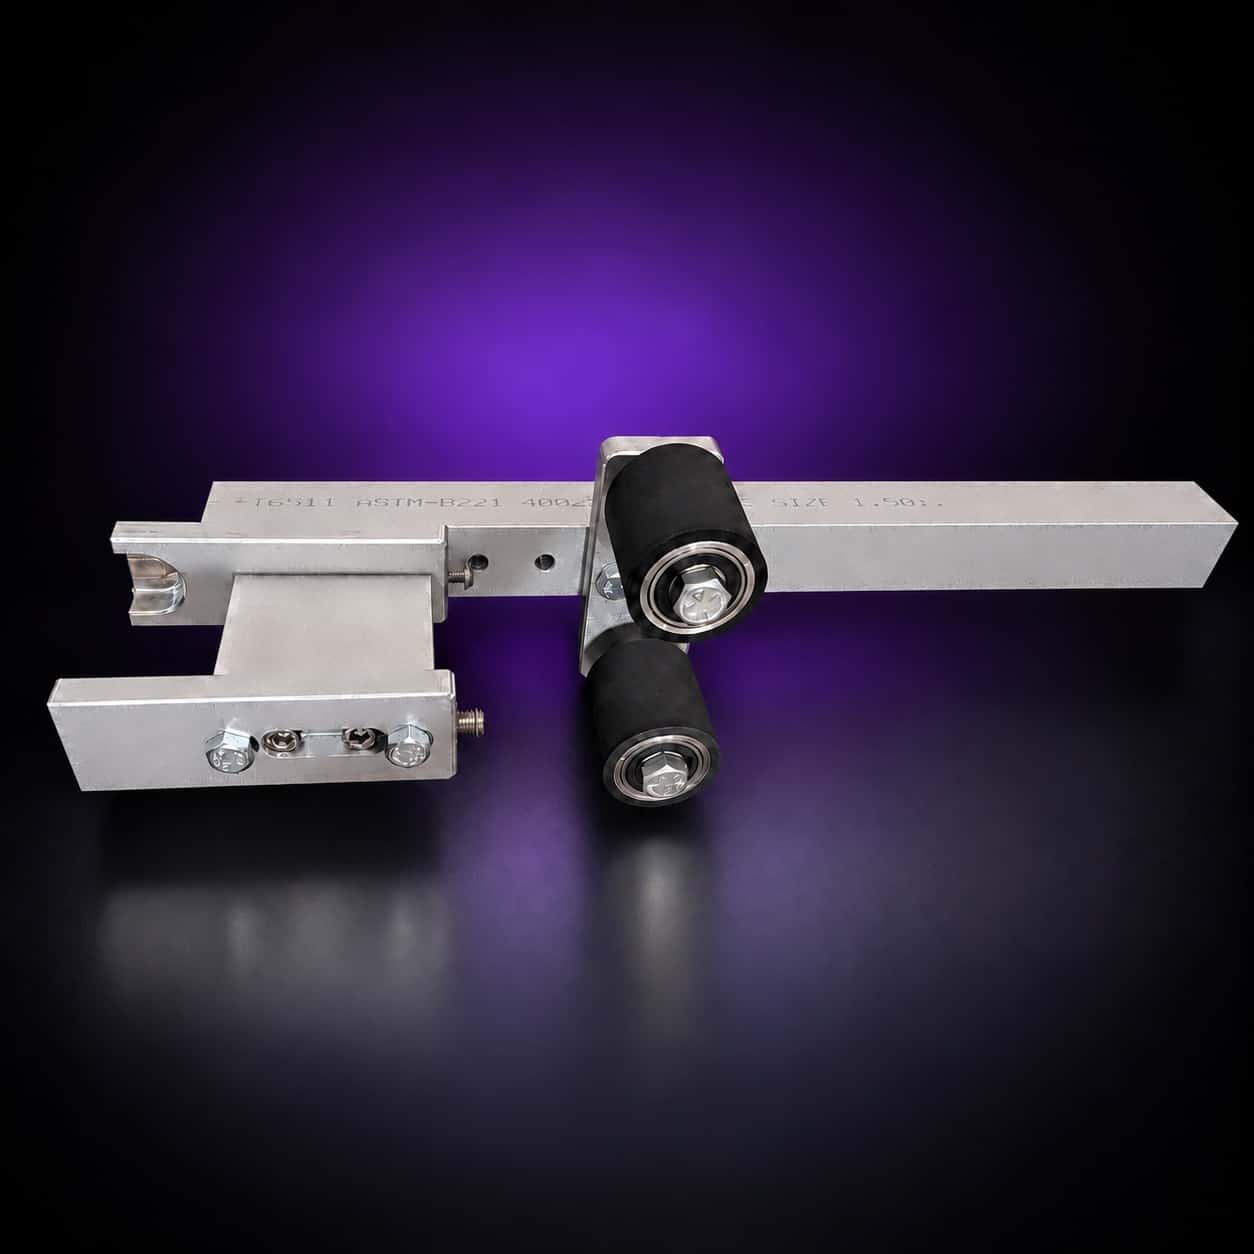
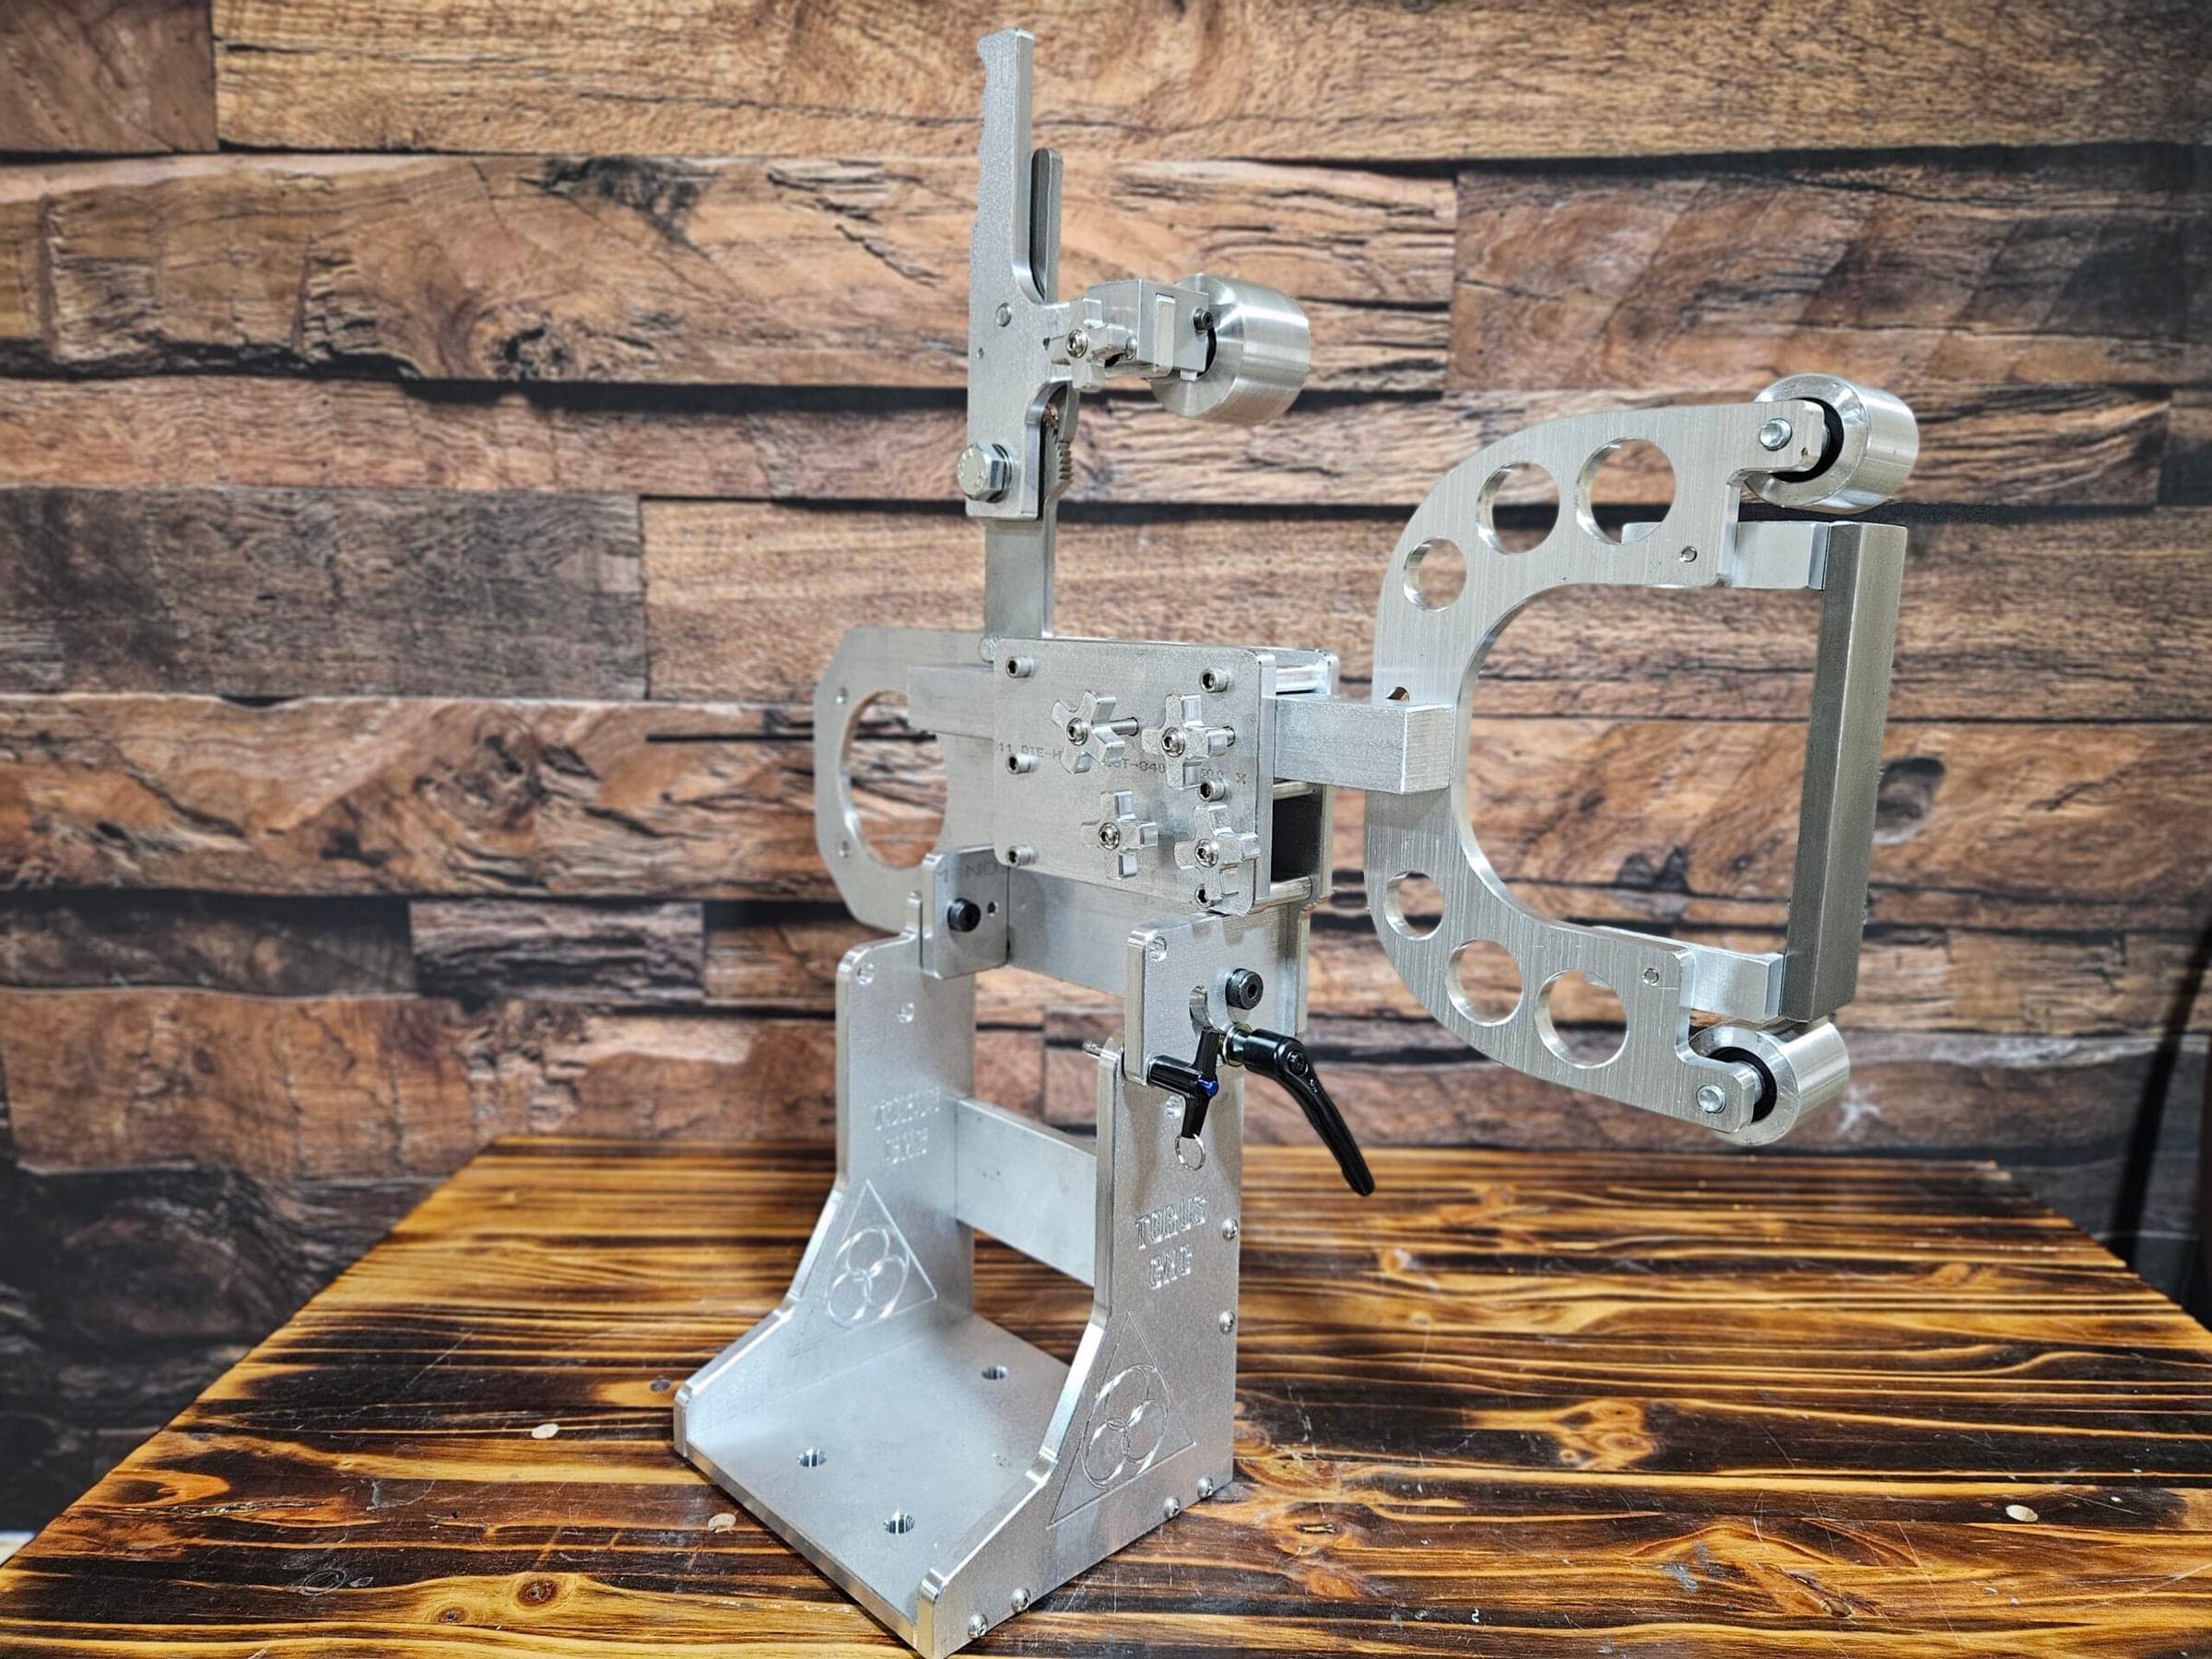
Profiling curves is easier on a contact wheel, and long kitchen blades want a table that supports the whole blank. The Nova 2×72 takes an 8-inch contact wheel and the 6×16 work table on the same 1.5-inch arm. Build it once and profile every blank the same way.