Knife Making
Grinding Irregular Shapes: Twig‑Handle Knives Without Burn‑Through
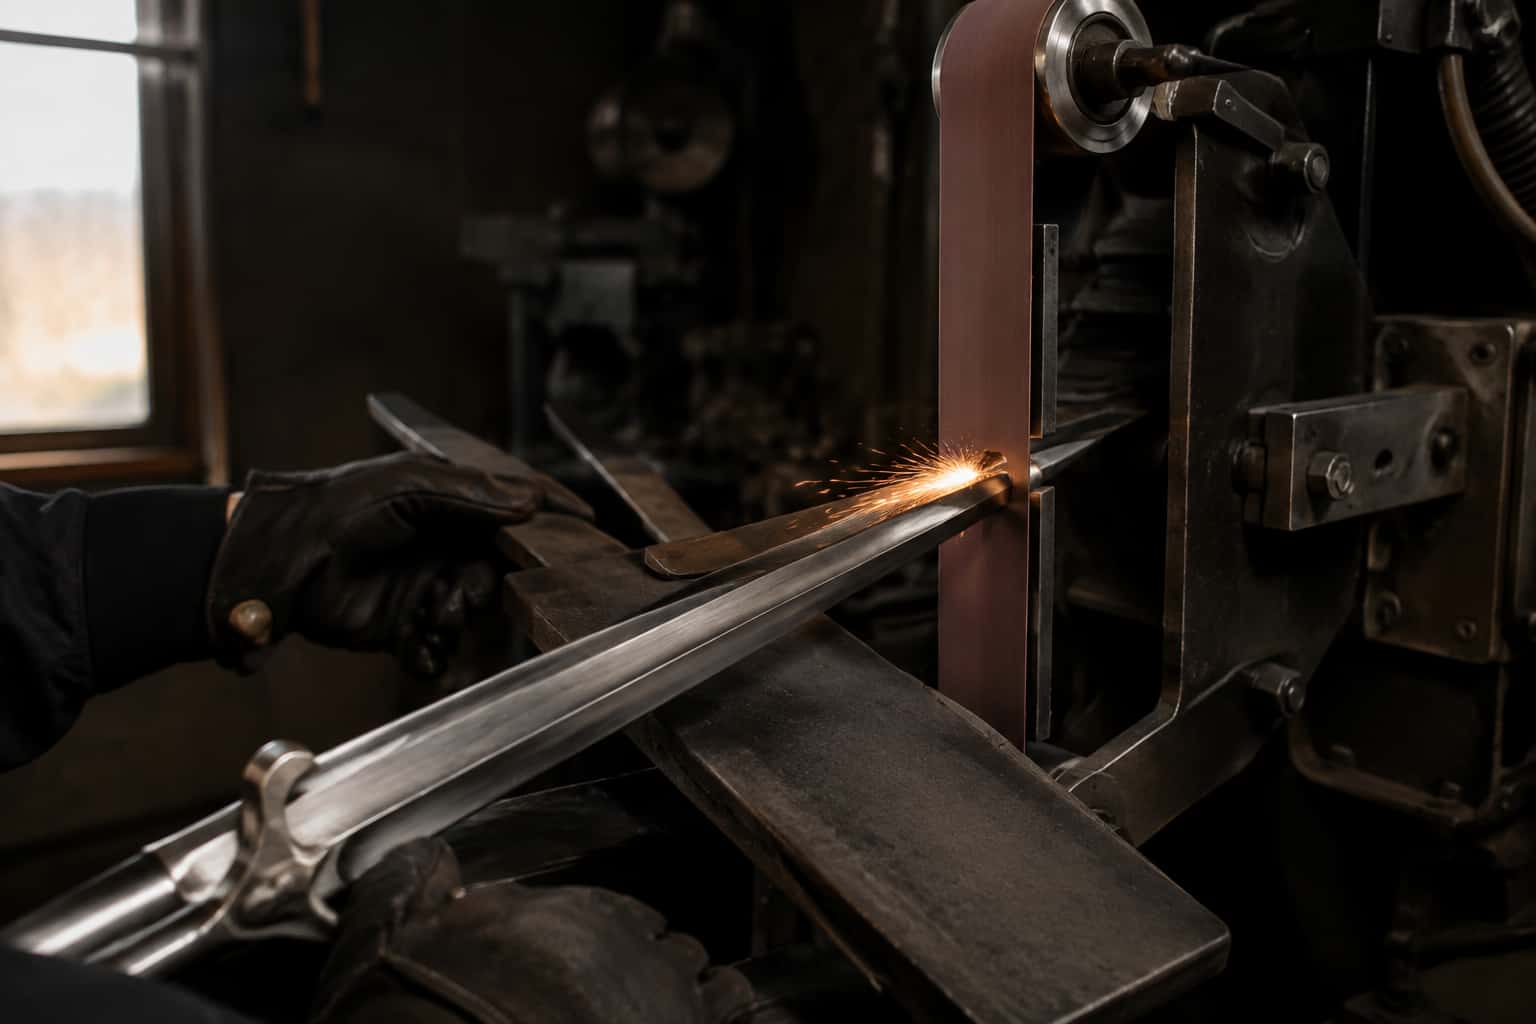
A twig handle has bark, knots and no flat faces, and it burns the second you lean on it. Here is how I shape irregular natural handles on the 2×72: sharp belts, slack belt and small wheel work, light pressure.
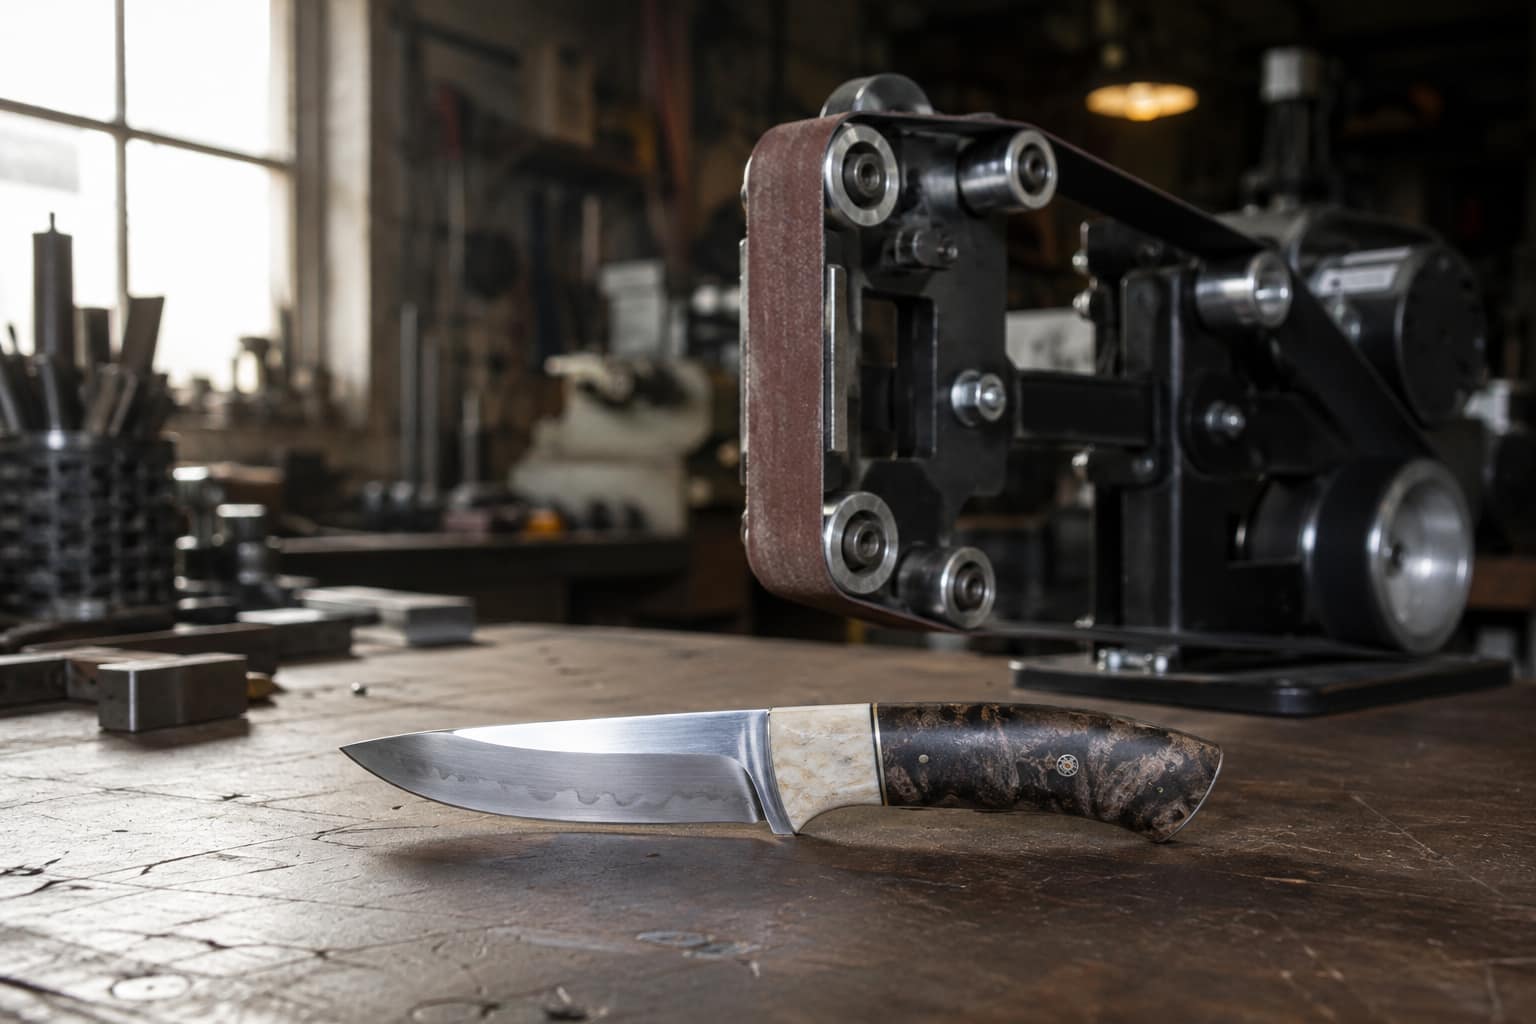
A twig handle has bark, knots, grain running every direction and not one flat face, and the wood scorches the moment you lean on the belt. Shaping it is a different skill from shaping a squared-up block of Micarta. Here is how I grind irregular natural handles on the 2×72 without burn-through: sharp belts, slack belt and small wheel work, light pressure, constant motion, and a bucket of water within reach.
Key Takeaways
- Understanding the challenges of grinding irregular shapes is essential for achieving consistent results and preventing common issues.
- Choosing the right grinding tools for twig-handle knives can make a significant difference in the quality of the finished product.
- Tips for preventing burn-through during grinding include controlling heat and using proper technique to avoid damaging the material.
- Proper technique for grinding irregular shapes involves using the right pressure, angle, and motion to achieve the desired outcome.
- Using jigs and fixtures can aid in grinding twig-handle knives and help maintain consistency in the final product.
Choosing the Right Grinding Tools for Twig-Handle Knives
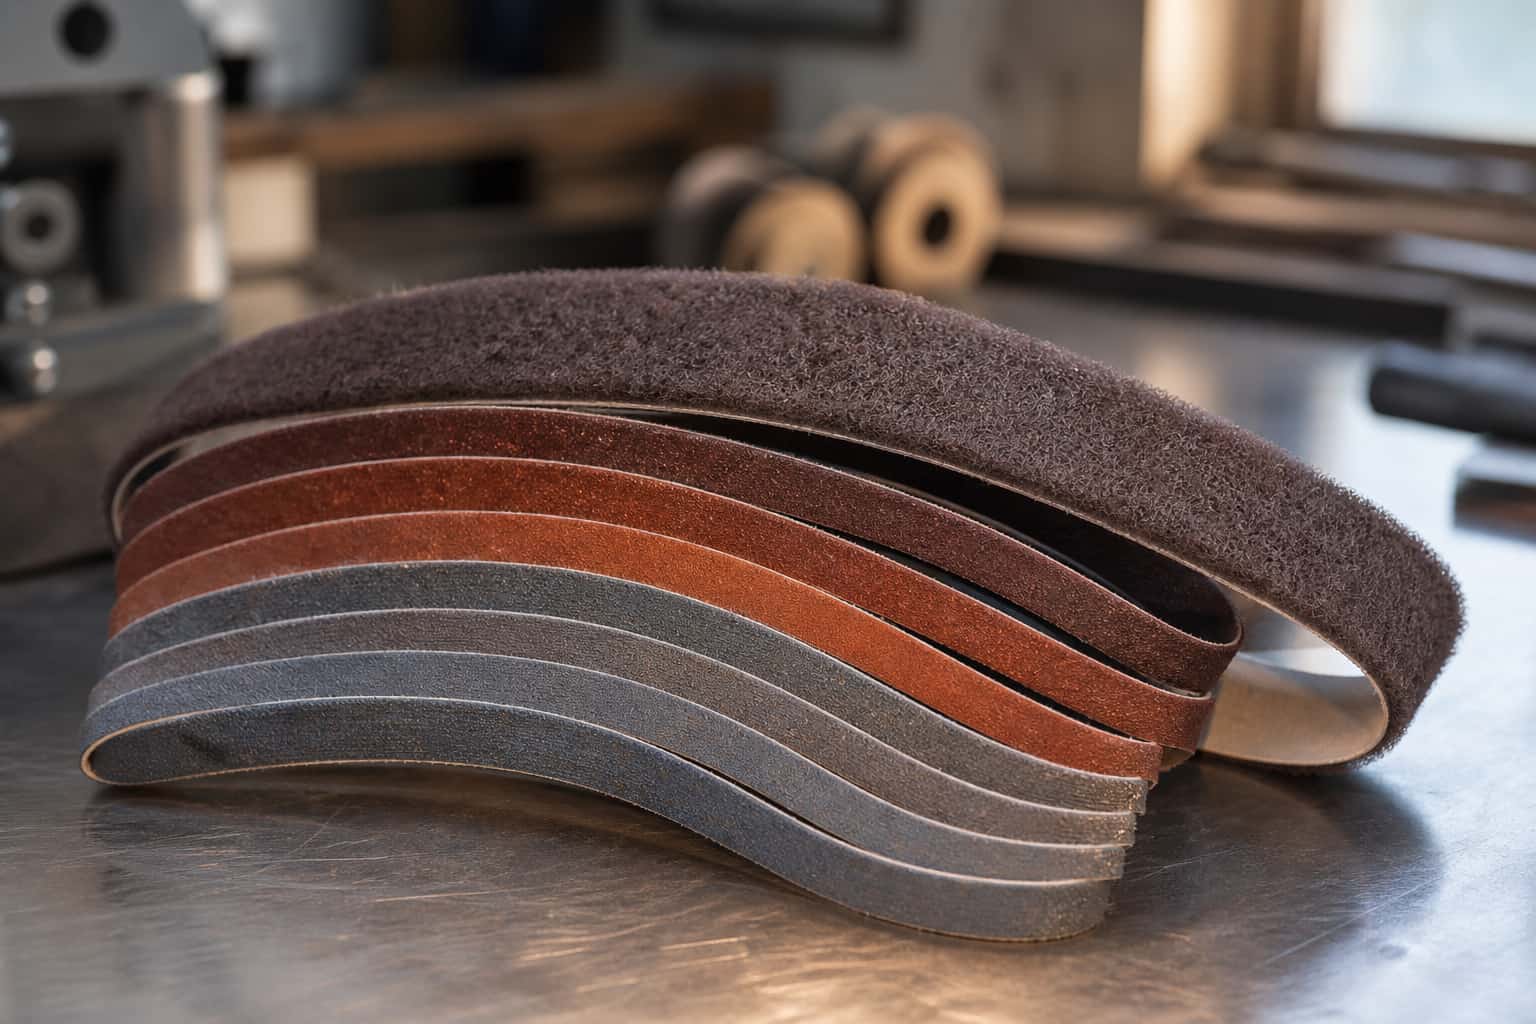
For initial shaping, coarser grits are ideal for rapid material removal, while finer grits are better suited for finishing touches that enhance the knife’s aesthetic appeal. In addition to grit selection, the type of grinding tool itself plays a vital role in achieving optimal results. Belt grinders, for instance, offer versatility and speed, making them suitable for shaping and refining twig handles.
On the other hand, bench grinders can provide more control for detailed work on smaller areas. Understanding the strengths and limitations of each tool will enable craftsmen to make informed decisions that align with their specific project needs.
Tips for Preventing Burn-Through During Grinding
Burn-through is a common issue encountered during the grinding process, particularly when working with irregular shapes or delicate materials. This phenomenon occurs when excessive heat builds up in a localized area, leading to discoloration or damage to the material being worked on. To prevent burn-through, it is essential to maintain a steady pace while grinding, avoiding prolonged contact between the tool and the material.
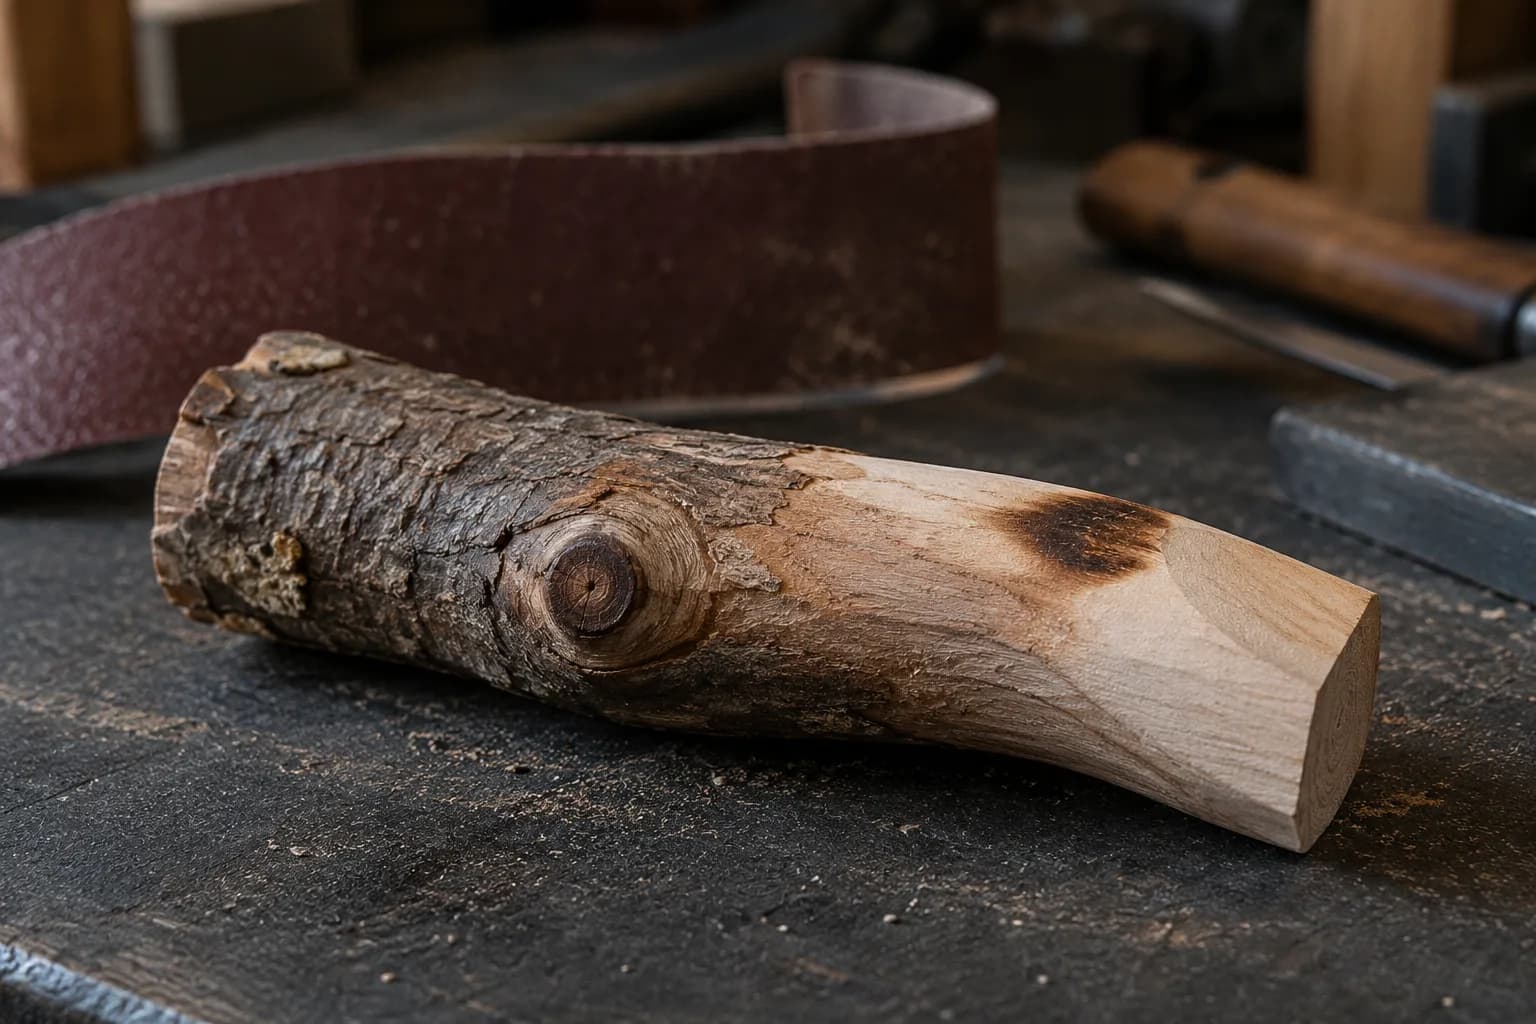
A consistent movement not only helps in evenly distributing heat but also ensures that no single area becomes overly hot. Another effective strategy is to utilize cooling methods during grinding. Incorporating water or other cooling agents can help dissipate heat and protect the integrity of the material.
Proper Technique for Grinding Irregular Shapes
Mastering the proper technique for grinding irregular shapes is essential for achieving high-quality results. One fundamental aspect is to approach the workpiece with a clear plan in mind. Before starting, it is beneficial to visualize the desired outcome and identify key areas that require attention.
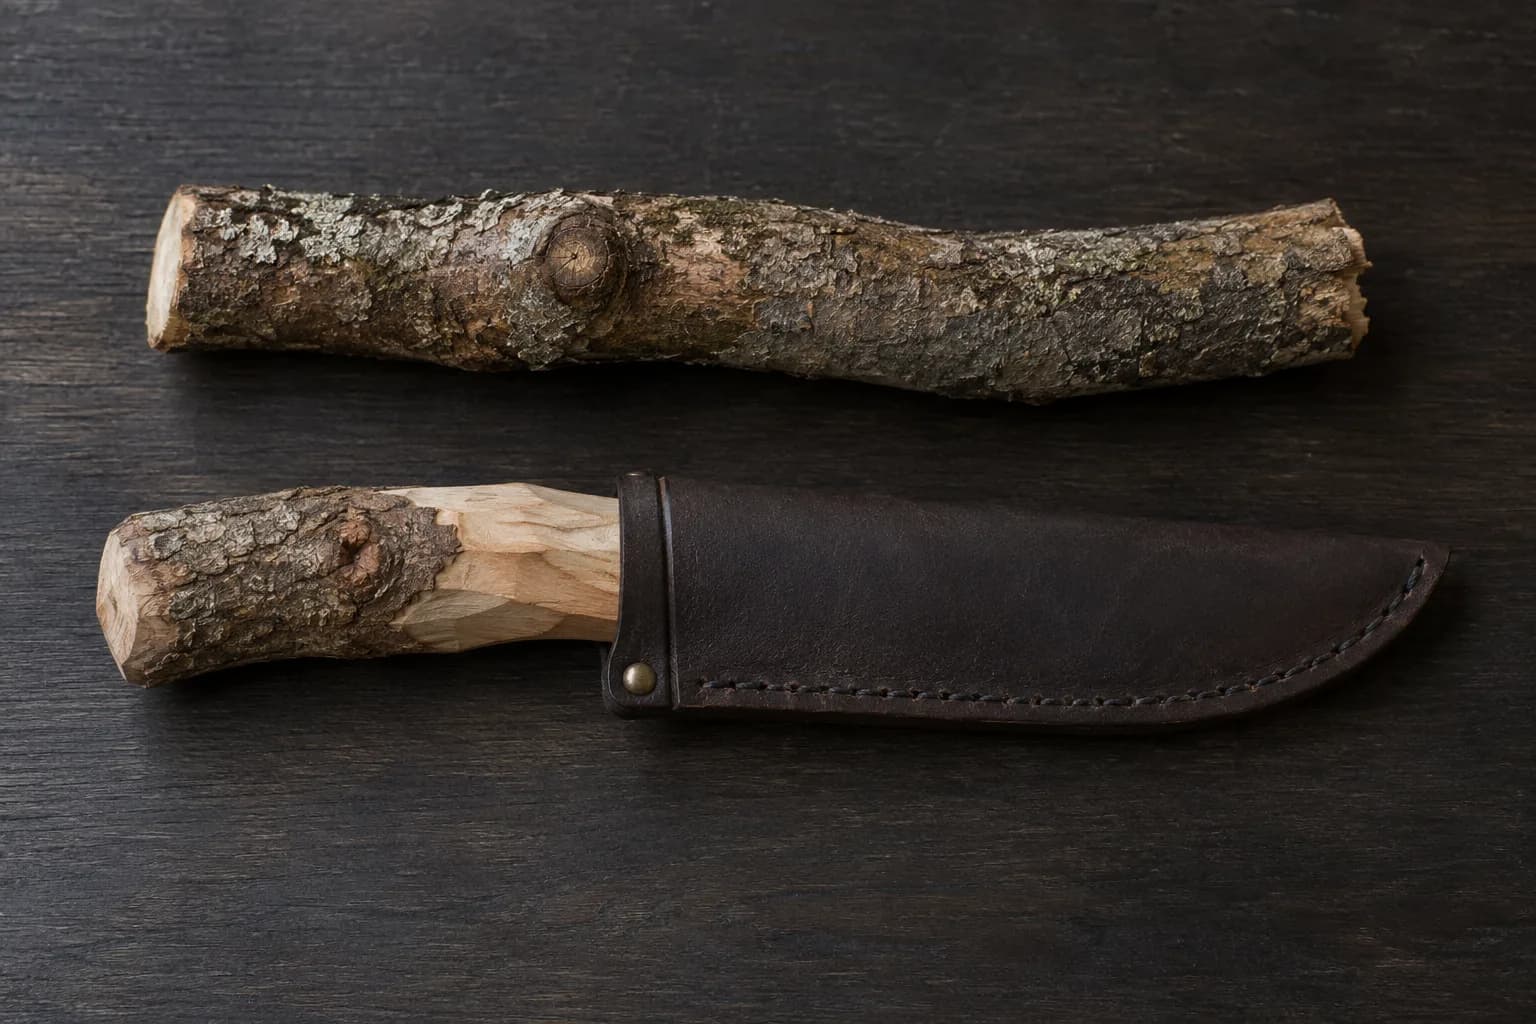
This foresight allows for more strategic grinding, reducing the likelihood of mistakes and ensuring that each pass contributes meaningfully to the final shape. When grinding, it is important to maintain an appropriate angle and pressure throughout the process. Too much pressure can lead to uneven surfaces or even damage to the tool, while too little pressure may result in inadequate material removal.
A steady hand and a keen sense of touch are vital; craftsmen should feel for changes in resistance as they work, adjusting their technique accordingly. Taking breaks to assess progress can provide valuable insights into areas that may need further refinement.
Using Jigs and Fixtures to Aid in Grinding Twig-Handle Knives
Incorporating jigs and fixtures into the grinding process can greatly enhance precision and efficiency when working on twig-handle knives. These tools serve as guides that help maintain consistent angles and positions throughout grinding, which is particularly beneficial when dealing with irregular shapes. By securing the workpiece in place, jigs allow craftsmen to focus on their technique without worrying about maintaining control over the knife itself.
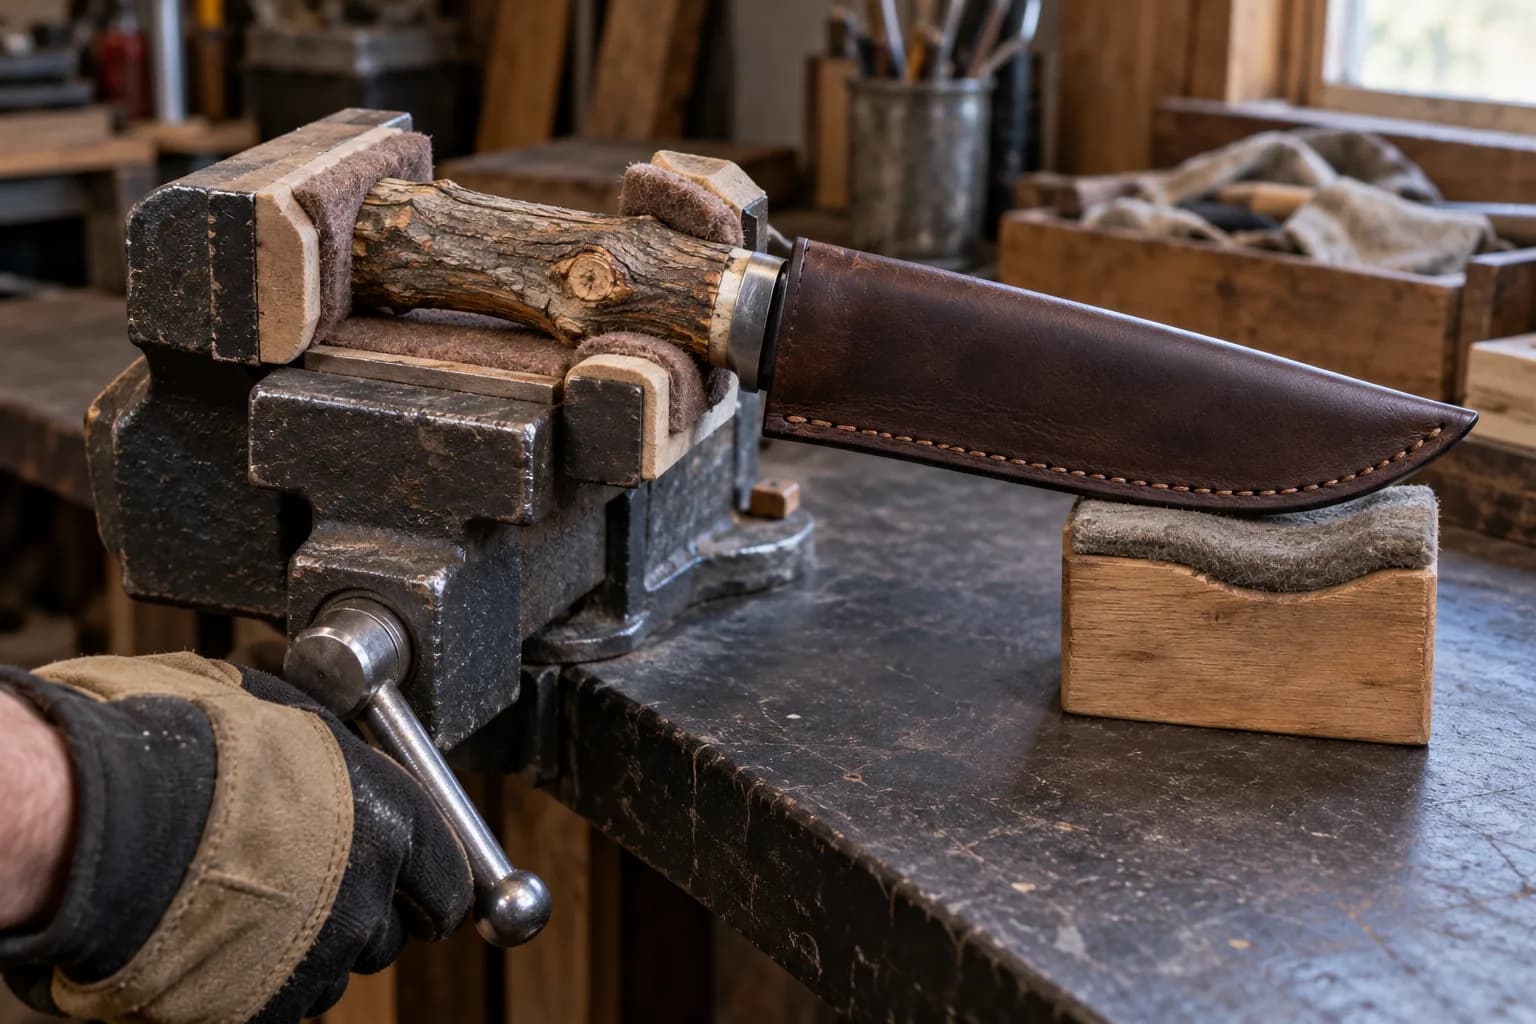
Jigs can be customized to fit specific projects, accommodating unique contours and features of twig handles. This level of customization not only improves accuracy but also reduces setup time, allowing for a more streamlined workflow. Whether using a simple clamp or a more complex fixture designed for intricate shapes, integrating these tools into the grinding process can lead to significant improvements in both quality and efficiency.
The Importance of Heat Control When Grinding Irregular Shapes
Heat control is a critical factor when grinding irregular shapes, as excessive heat can lead to various issues such as warping or burn-through. Understanding how to manage heat effectively is essential for preserving both the material’s integrity and achieving optimal results. One effective method is to alternate between grinding and cooling periods; this approach allows heat to dissipate before continuing with the grinding process.
Selecting appropriate abrasives that generate less heat during operation can also contribute to better heat management. Tools designed specifically for high-performance applications often feature advanced materials that minimize friction and heat generation. By prioritizing heat control throughout the grinding process, craftsmen can ensure that their workpieces remain intact while achieving the desired shape and finish.
Common Mistakes to Avoid When Grinding Twig-Handle Knives
When grinding twig-handle knives, there are several common mistakes that craftsmen should be aware of to avoid compromising their work. One frequent error is neglecting to properly secure the workpiece before starting the grinding process. Failing to do so can lead to instability during grinding, resulting in uneven surfaces or even accidents.
Ensuring that the knife is firmly held in place allows for greater control and precision. Another mistake often made is rushing through the grinding process without taking time to assess progress regularly. This haste can lead to oversights that may require extensive rework later on.
How to Achieve Consistent Results When Grinding Irregular Shapes
Achieving consistent results when grinding irregular shapes requires a combination of technique, tool selection, and attention to detail. One effective approach is to establish a routine that includes specific steps for each project. By following a consistent process—such as starting with coarser grits before moving on to finer ones—craftsmen can create a reliable framework that promotes uniformity across different pieces.
Safety Precautions for Grinding Twig-Handle Knives
Safety should always be a top priority when grinding twig-handle knives or any other materials. Proper personal protective equipment (PPE) is essential; this includes safety goggles to protect against flying debris, gloves to shield hands from sharp edges, and respiratory protection if dust or fumes are generated during grinding. Ensuring that all safety gear fits properly will enhance protection while allowing craftsmen to focus on their work without distraction.
Maintaining a safe workspace is equally important. This involves keeping tools organized and ensuring that there are no tripping hazards present. Understanding how to operate each tool safely—such as knowing how to adjust speeds or change abrasives—can prevent accidents and injuries during the grinding process.
Finishing and Polishing Techniques for Twig-Handle Knives
Once the initial grinding is complete, finishing and polishing techniques become crucial for achieving a refined look on twig-handle knives. These processes not only enhance aesthetics but also improve functionality by ensuring smooth surfaces that are comfortable to hold and use. One effective method involves using progressively finer grits during sanding or polishing; this gradual approach helps eliminate any scratches left from previous grits while creating a polished finish.
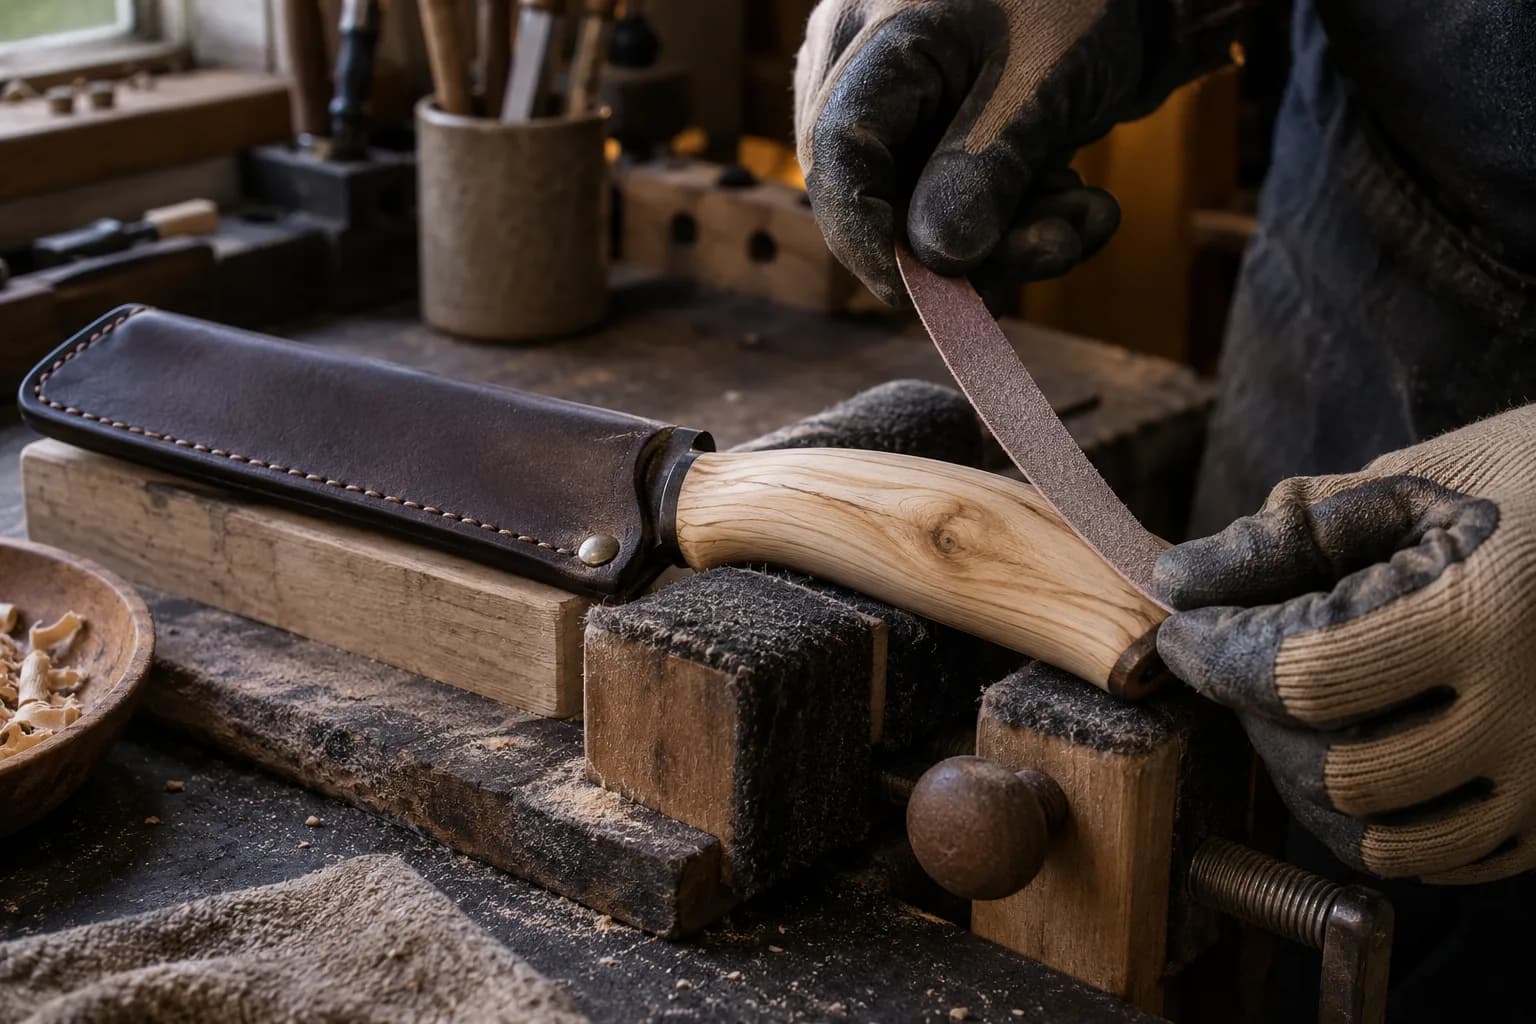
In addition to traditional sanding techniques, utilizing buffing wheels or polishing compounds can further improve the final appearance of twig-handle knives. These tools allow craftsmen to achieve a high-gloss finish that highlights the unique characteristics of each handle while providing an added layer of protection against wear and tear.
Troubleshooting Common Issues When Grinding Irregular Shapes
Even with careful planning and execution, issues may arise during the grinding of irregular shapes that require troubleshooting skills. One common problem is uneven surfaces resulting from inconsistent pressure or angle during grinding. If this occurs, it may be necessary to reassess technique and make adjustments accordingly—such as altering grip or stance—to ensure even pressure distribution across the workpiece.
Another issue may involve difficulty accessing certain areas due to complex contours or angles within the shape being ground. In such cases, it may be beneficial to switch tools or use specialized attachments designed for intricate work. By remaining adaptable and open-minded about potential solutions, craftsmen can effectively address challenges as they arise while continuing toward their desired outcome.
FAQs
What are twig-handle knives?
Twig-handle knives are a type of knife with a handle made from a natural twig or branch. These knives are often handcrafted and are known for their unique and rustic appearance.
How are twig-handle knives made?
To make a twig-handle knife, a suitable twig or branch is selected and shaped to form the handle of the knife. The blade is then attached to the handle, and the knife is finished with any necessary sanding, polishing, and sharpening.
What tools are used to grind irregular shapes without burn-through on twig-handle knives?
Tools such as belt sanders, rotary tools with sanding attachments, and hand files are commonly used to grind irregular shapes on twig-handle knives. Careful control and technique are necessary to avoid burn-through.
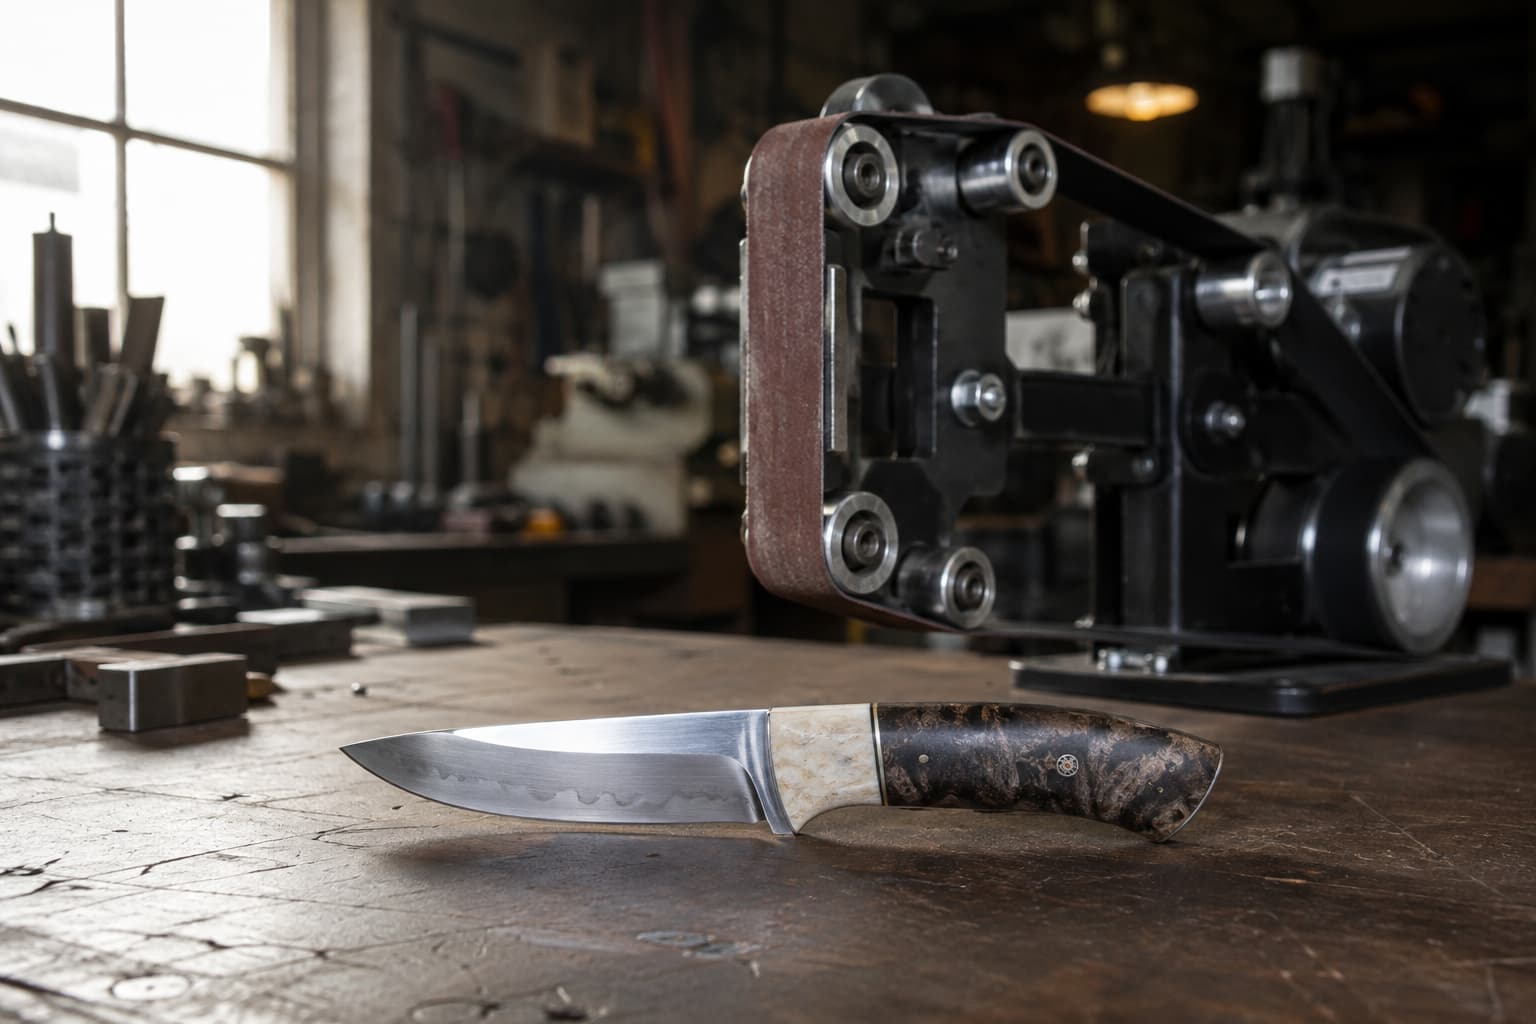
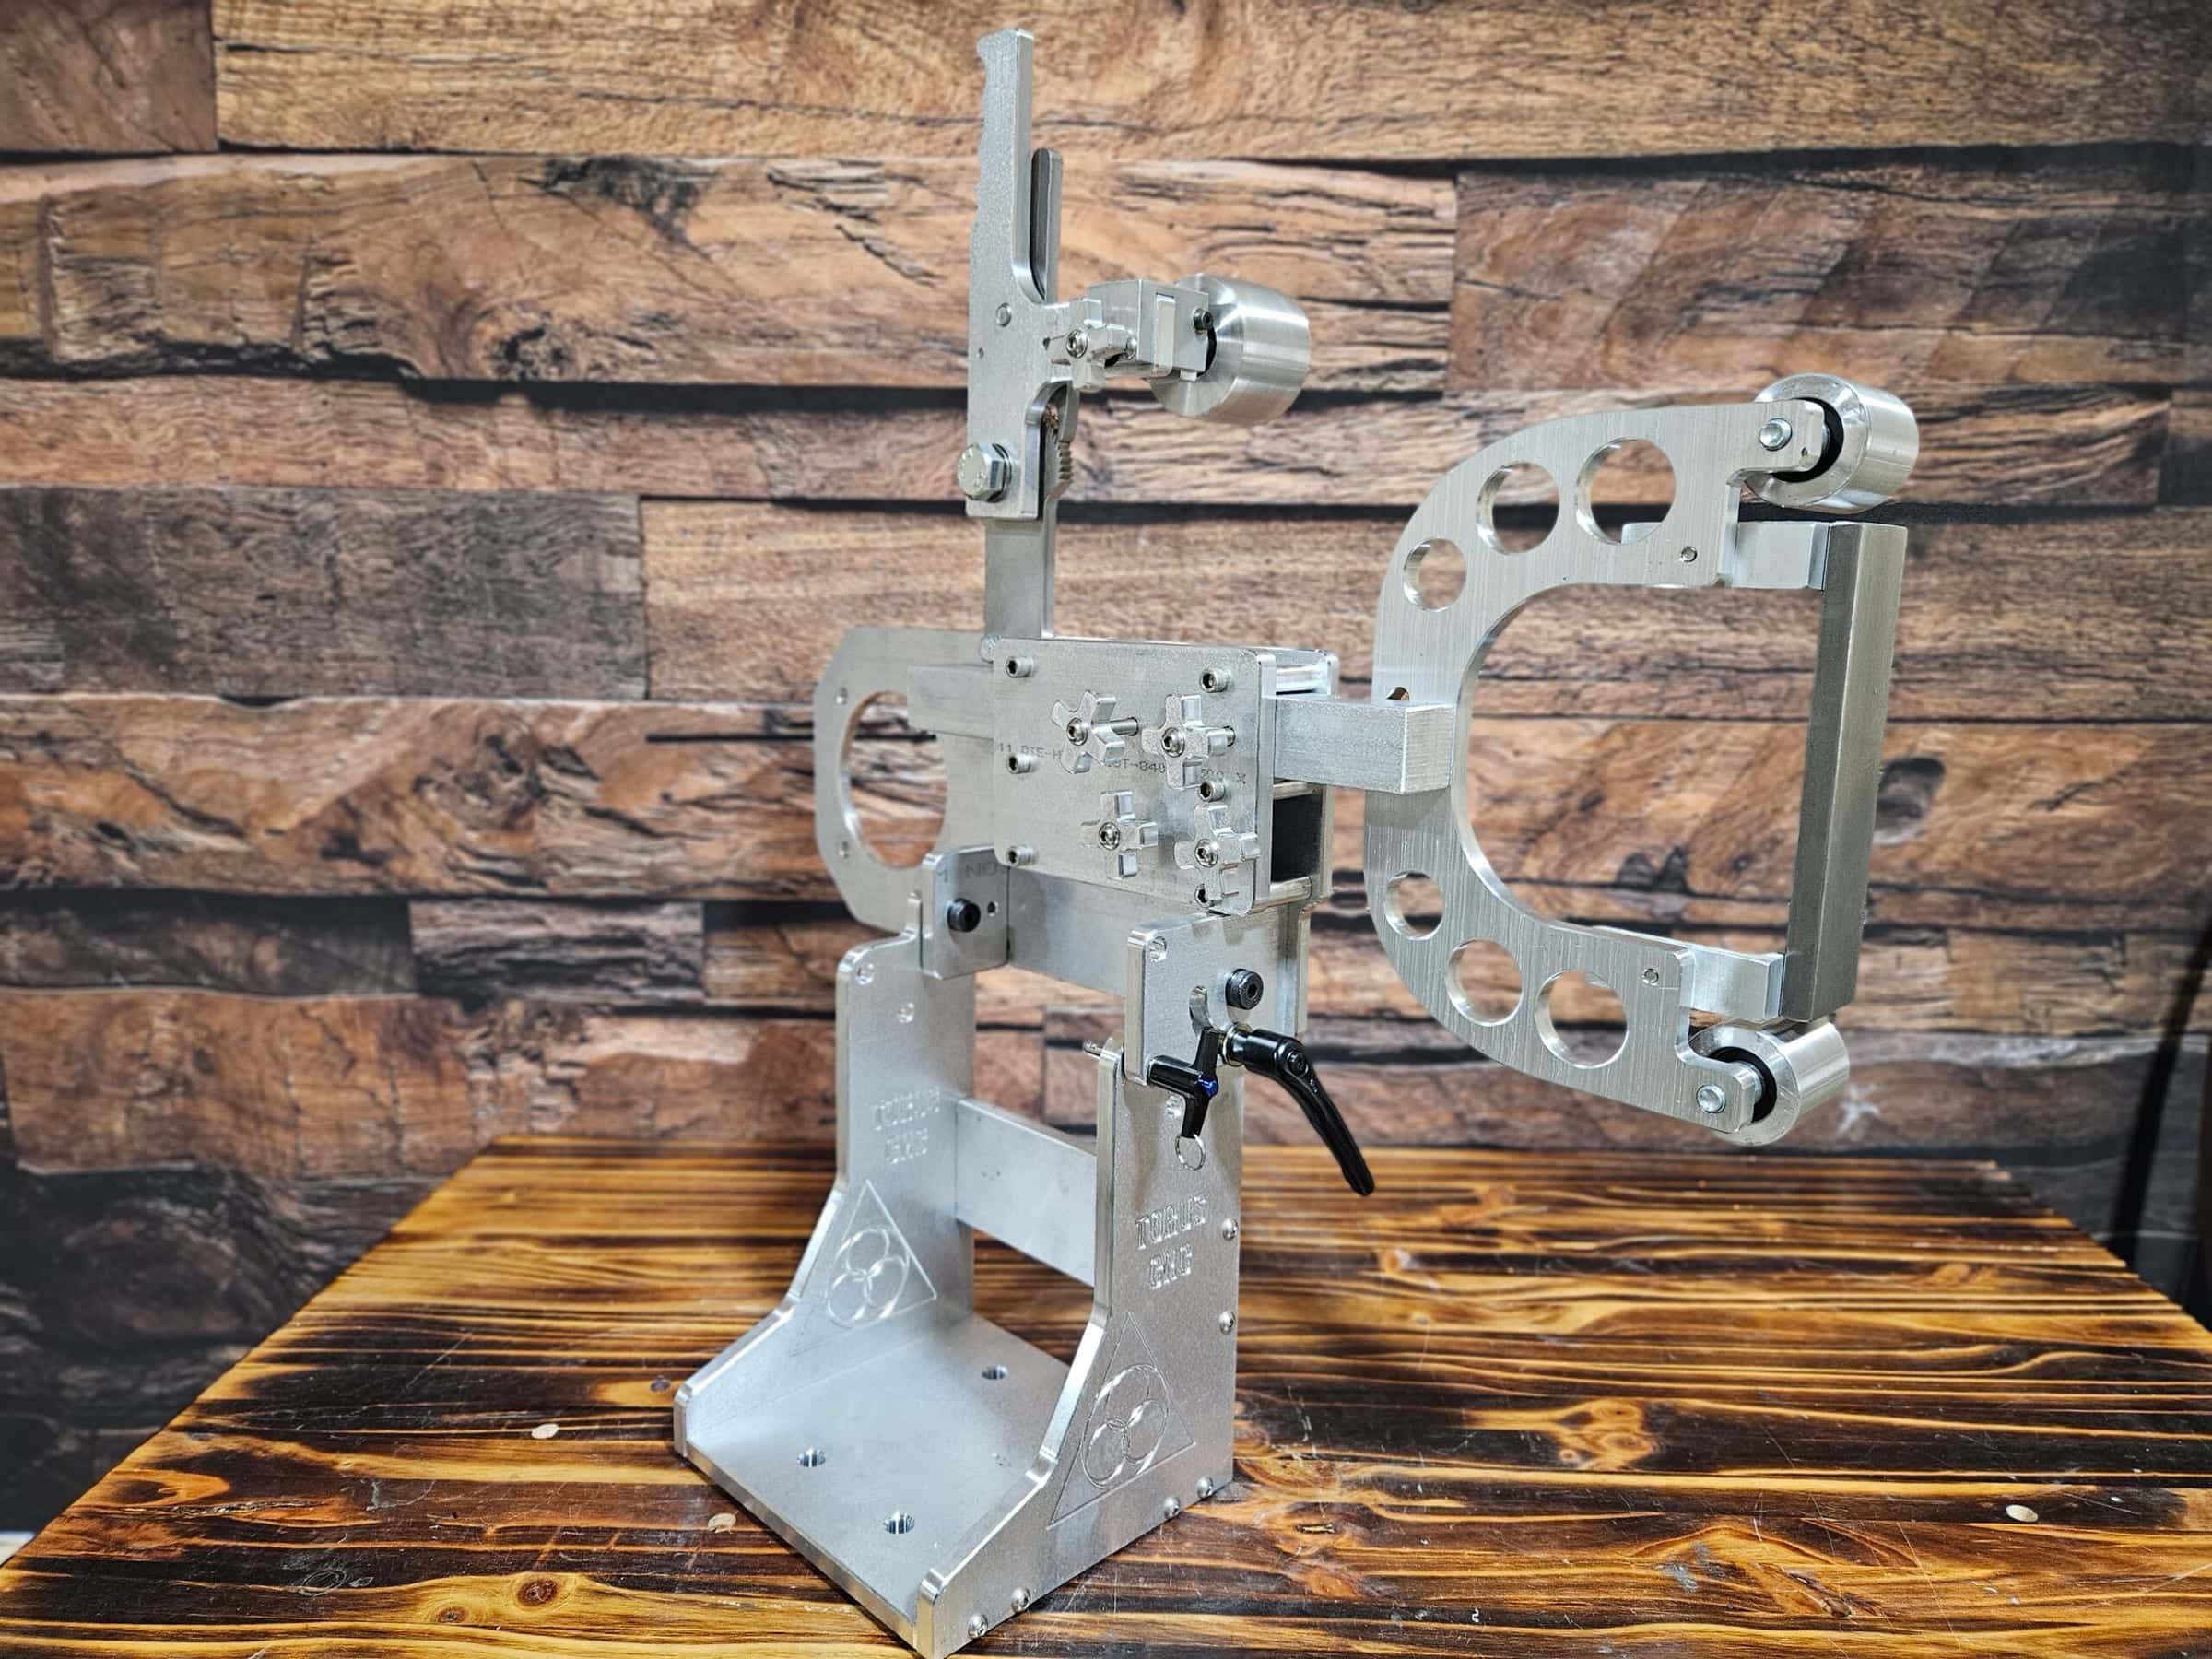
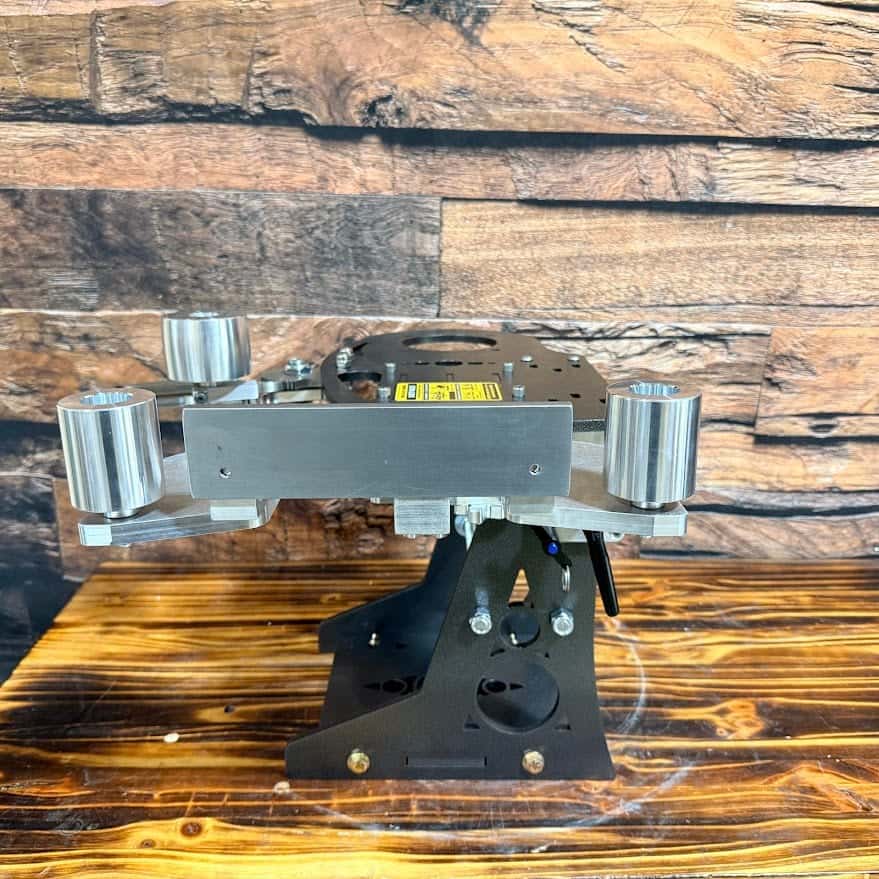
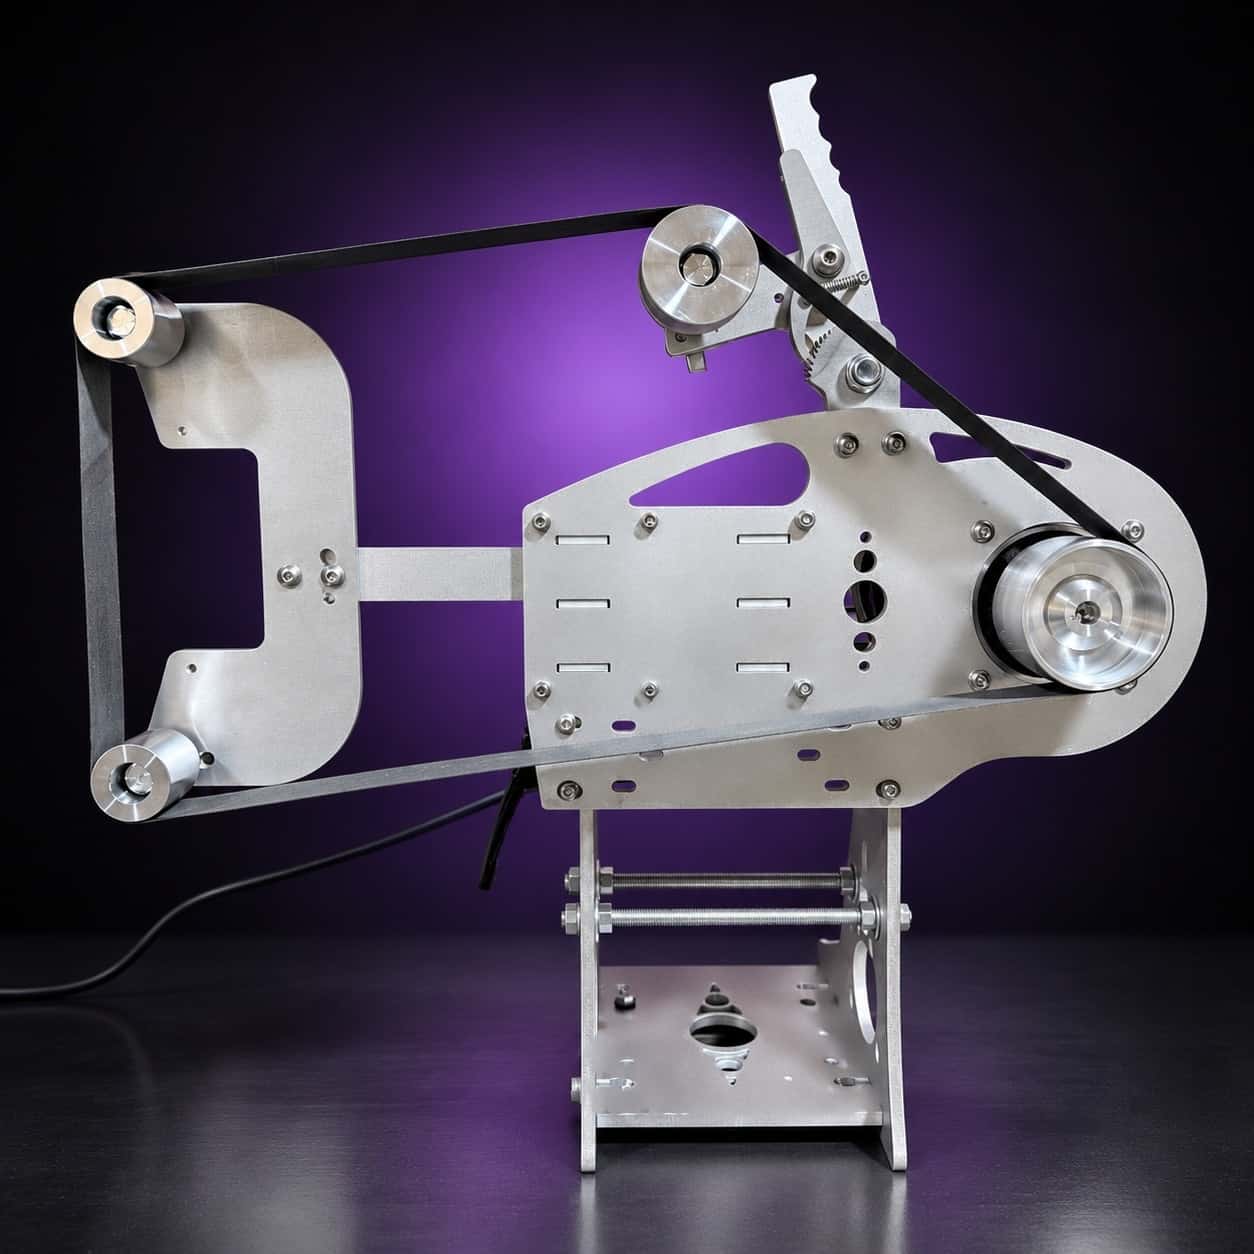
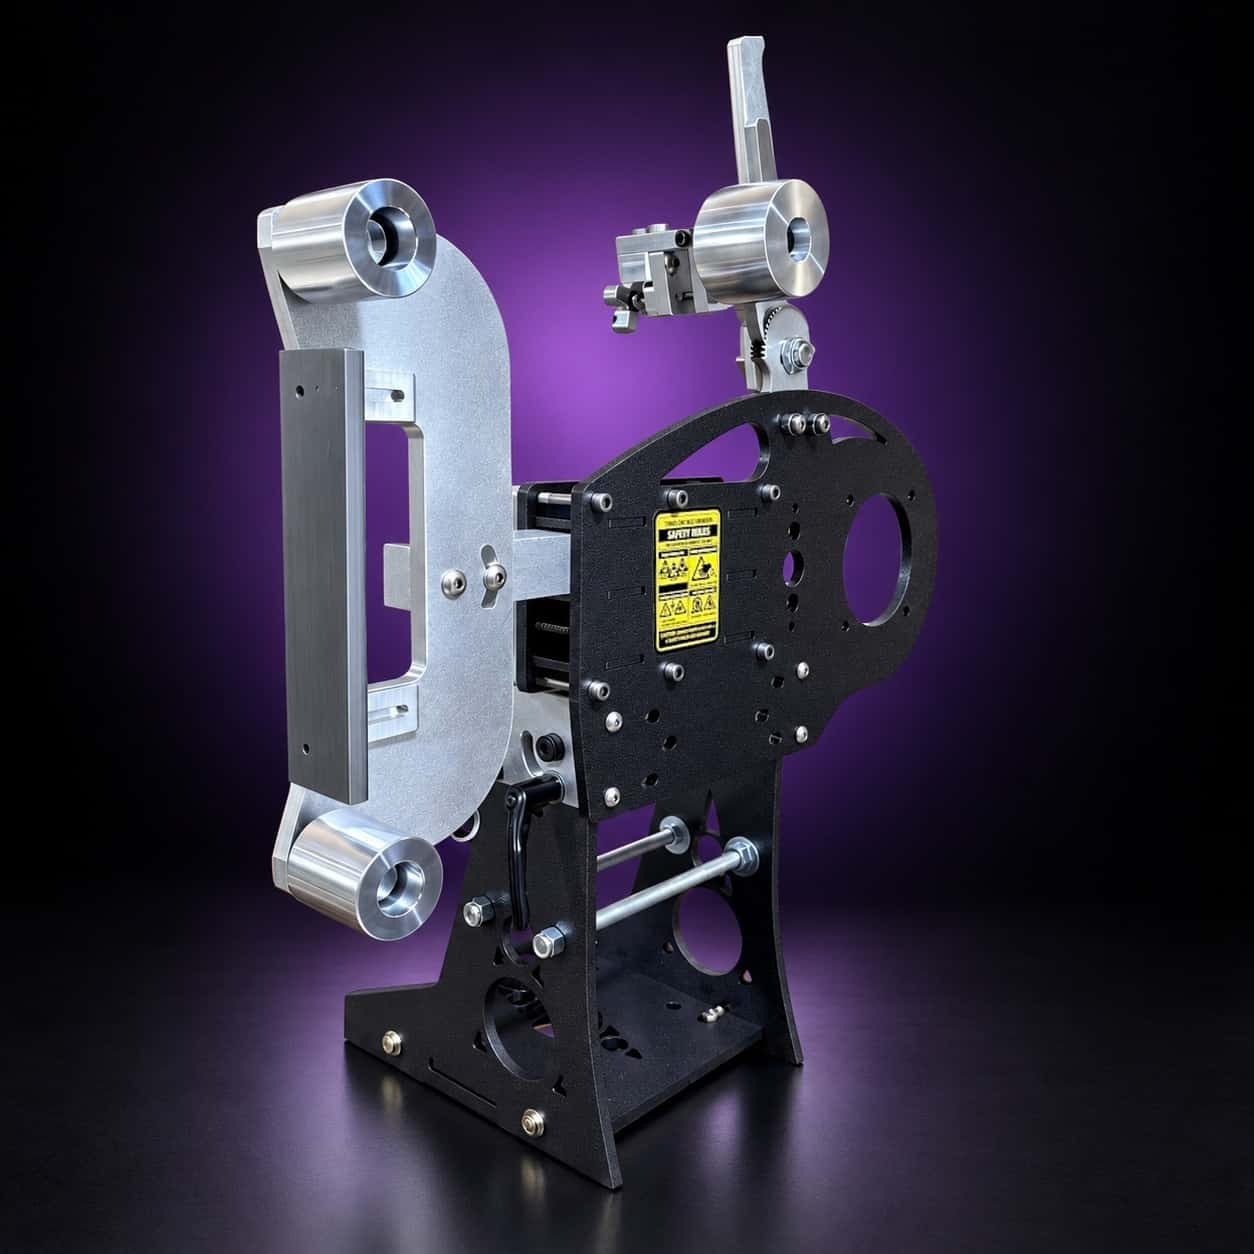
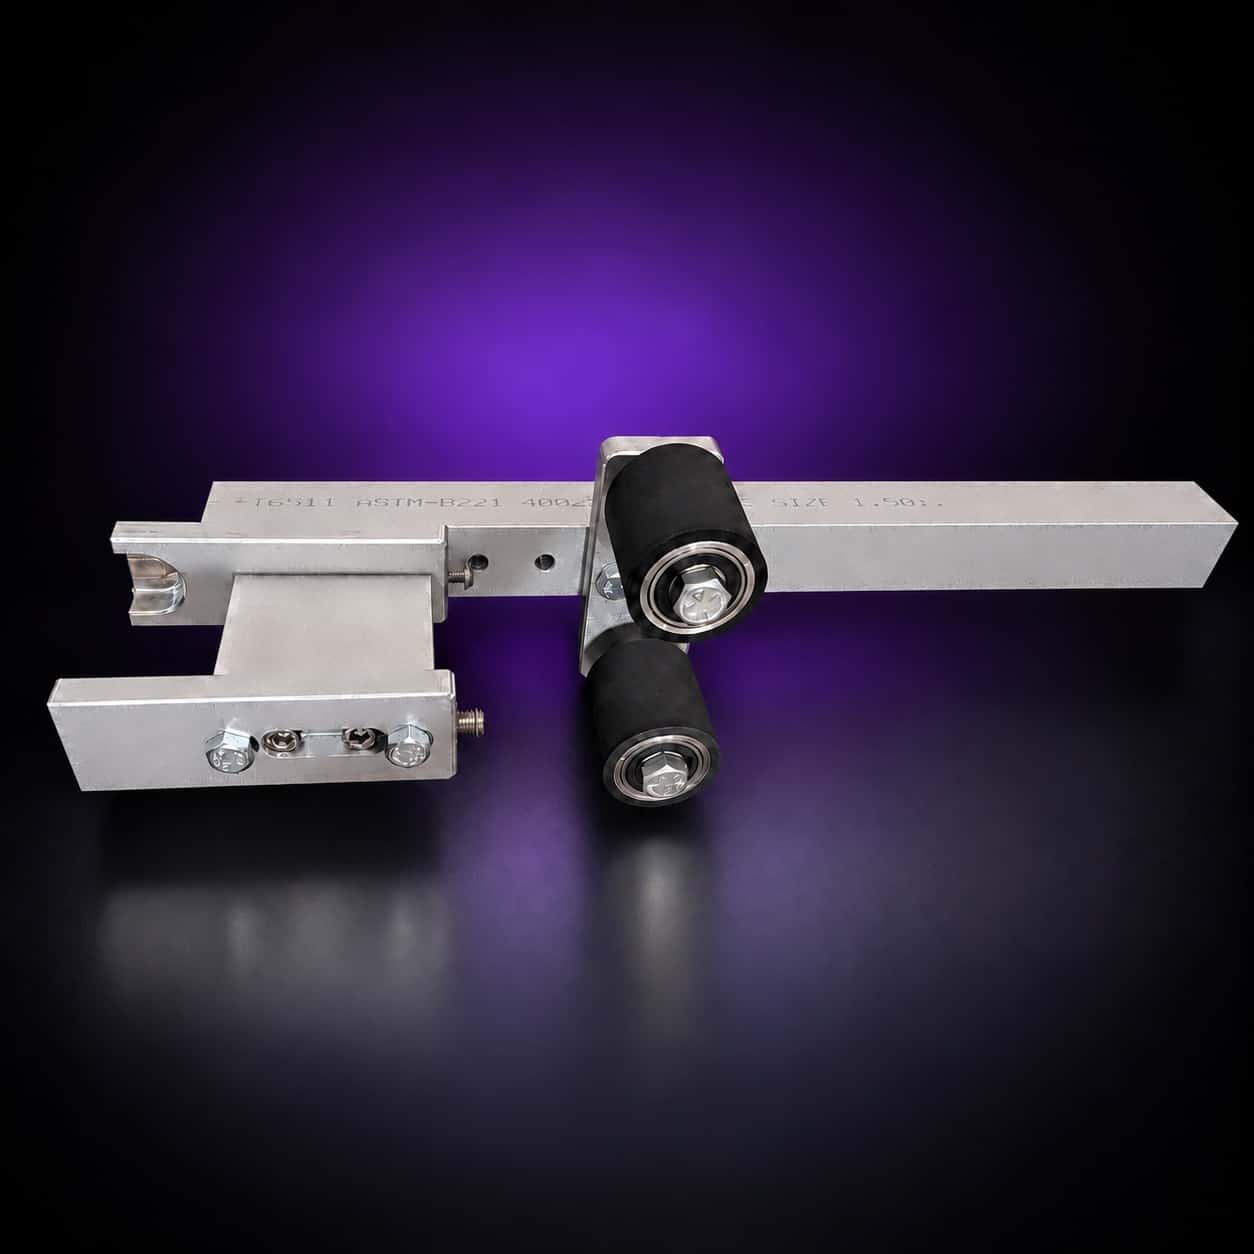
Irregular shapes are slack belt and small wheel work. The slack belt deep platen attachment gives you a 4-inch throat for odd shapes, and the small wheel attachment follows tight curves. Both drop into the Nova 2×72 on the same 1.5-inch arm.