
Damascus & Pattern Welding
Twist Pattern Damascus: Step by Step
Twist damascus is the pattern that looks like it required a wizard and turns out to require a pipe wrench. Twist the layered bar while it’s hot, grind it…
Damascus & Pattern Welding
How W's, crushed W's, multi-bar composite, and turkish twist damascus are made - vertical-layer forging, accordion cuts, and opposing twists.
3 min readWritten by Rich LinvilleFree to read
Past the ladder, twist, and raindrop lies the territory where damascus becomes composition: patterns built by controlling the layers in three dimensions and assembling bars like an artist assembles a canvas. This guide surveys the three big ones — W’s, multi-bar composites, and the turkish twist — with enough technique to start and honest notes on difficulty. They share one prerequisite: you can already weld a clean billet on demand (start here if not).
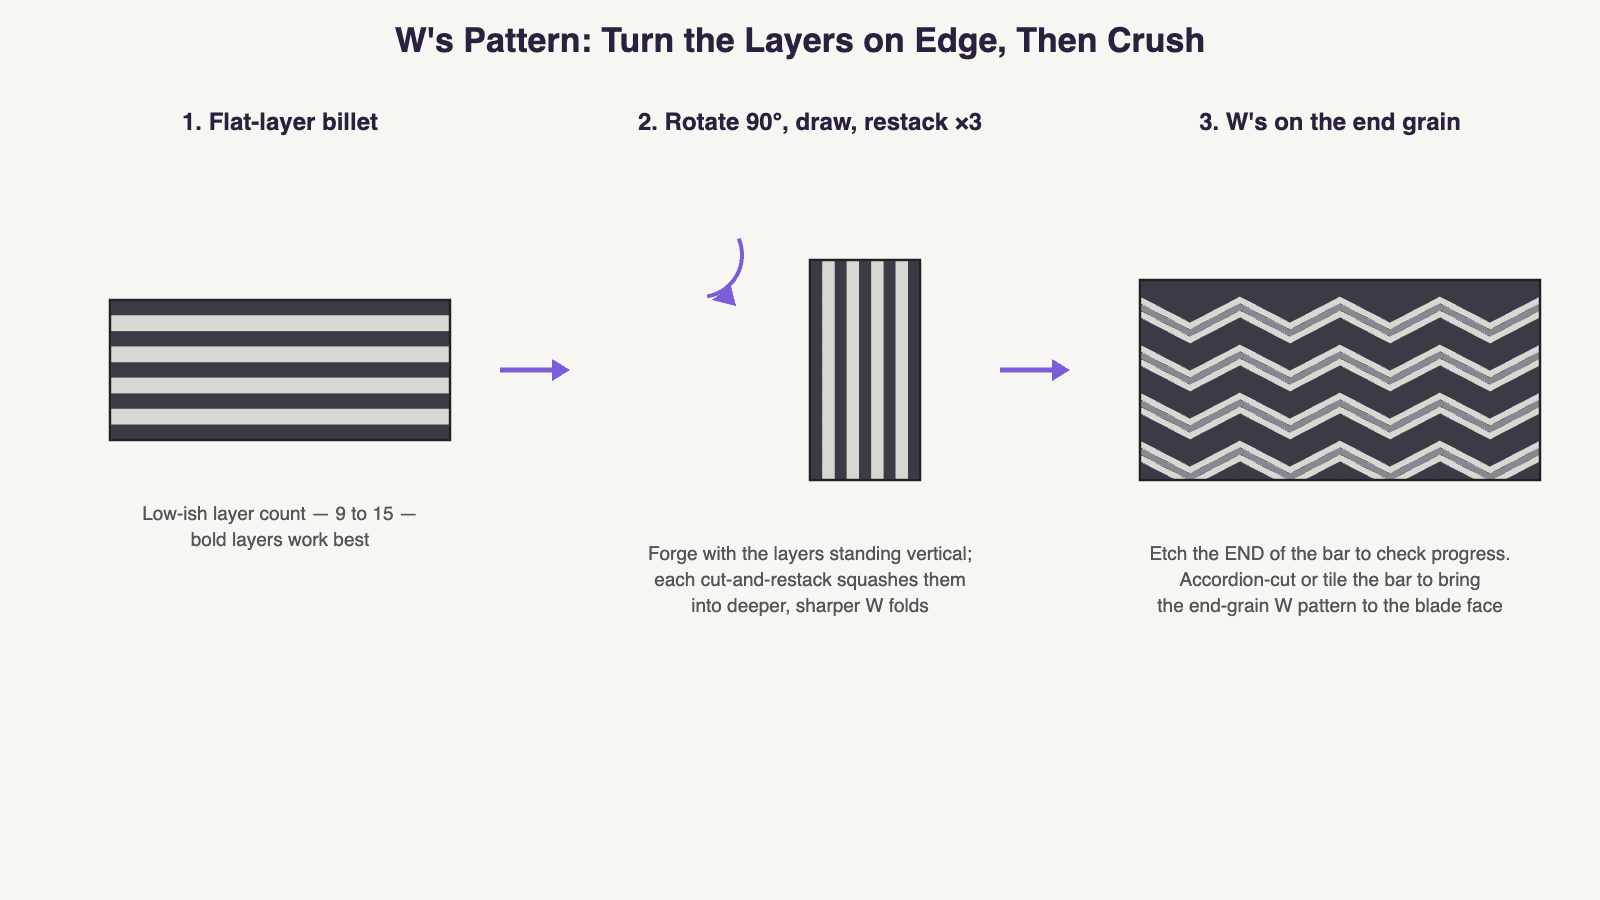
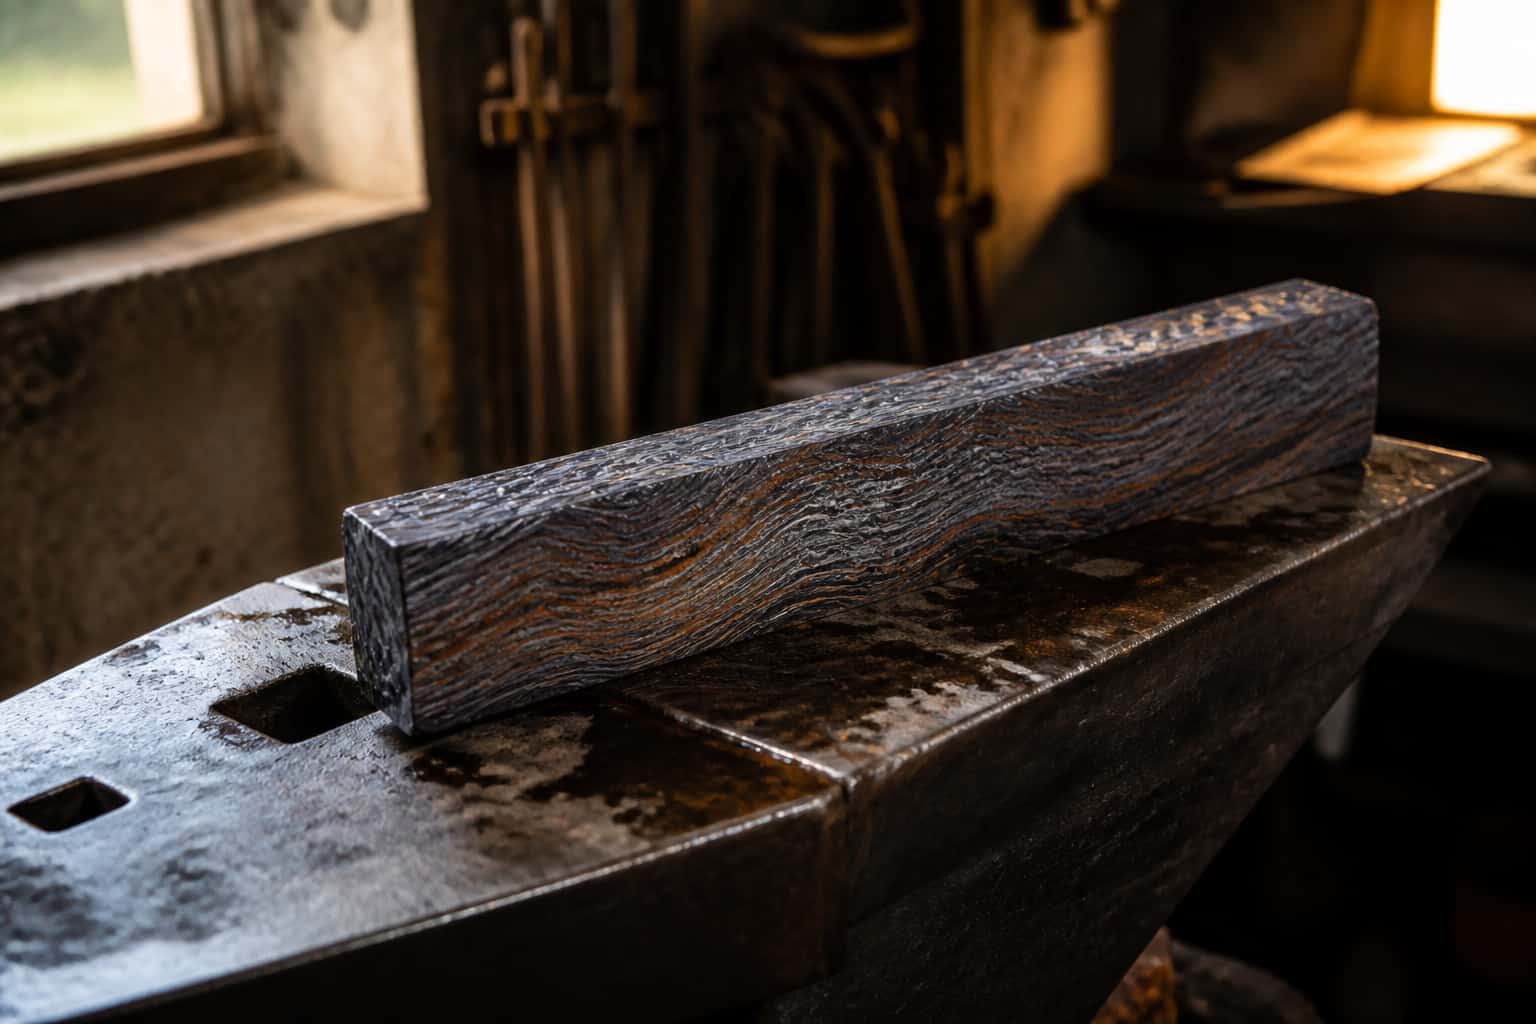
The foundation of most spectacular mosaic damascus. The move that makes it: after welding a bold, low-layer stack (9–15 thick layers), rotate the billet 90° and forge it with the layers standing vertical. Drawing a bar with vertical layers doesn’t keep them straight — it buckles them, and buckled layers are W’s. Cut, restack (keeping layers vertical), and weld again: each cycle multiplies and sharpens the folds. “Crushing” — upsetting the bar or forging it on the bias as a finishing move — squeezes the W’s tighter and more dramatic.
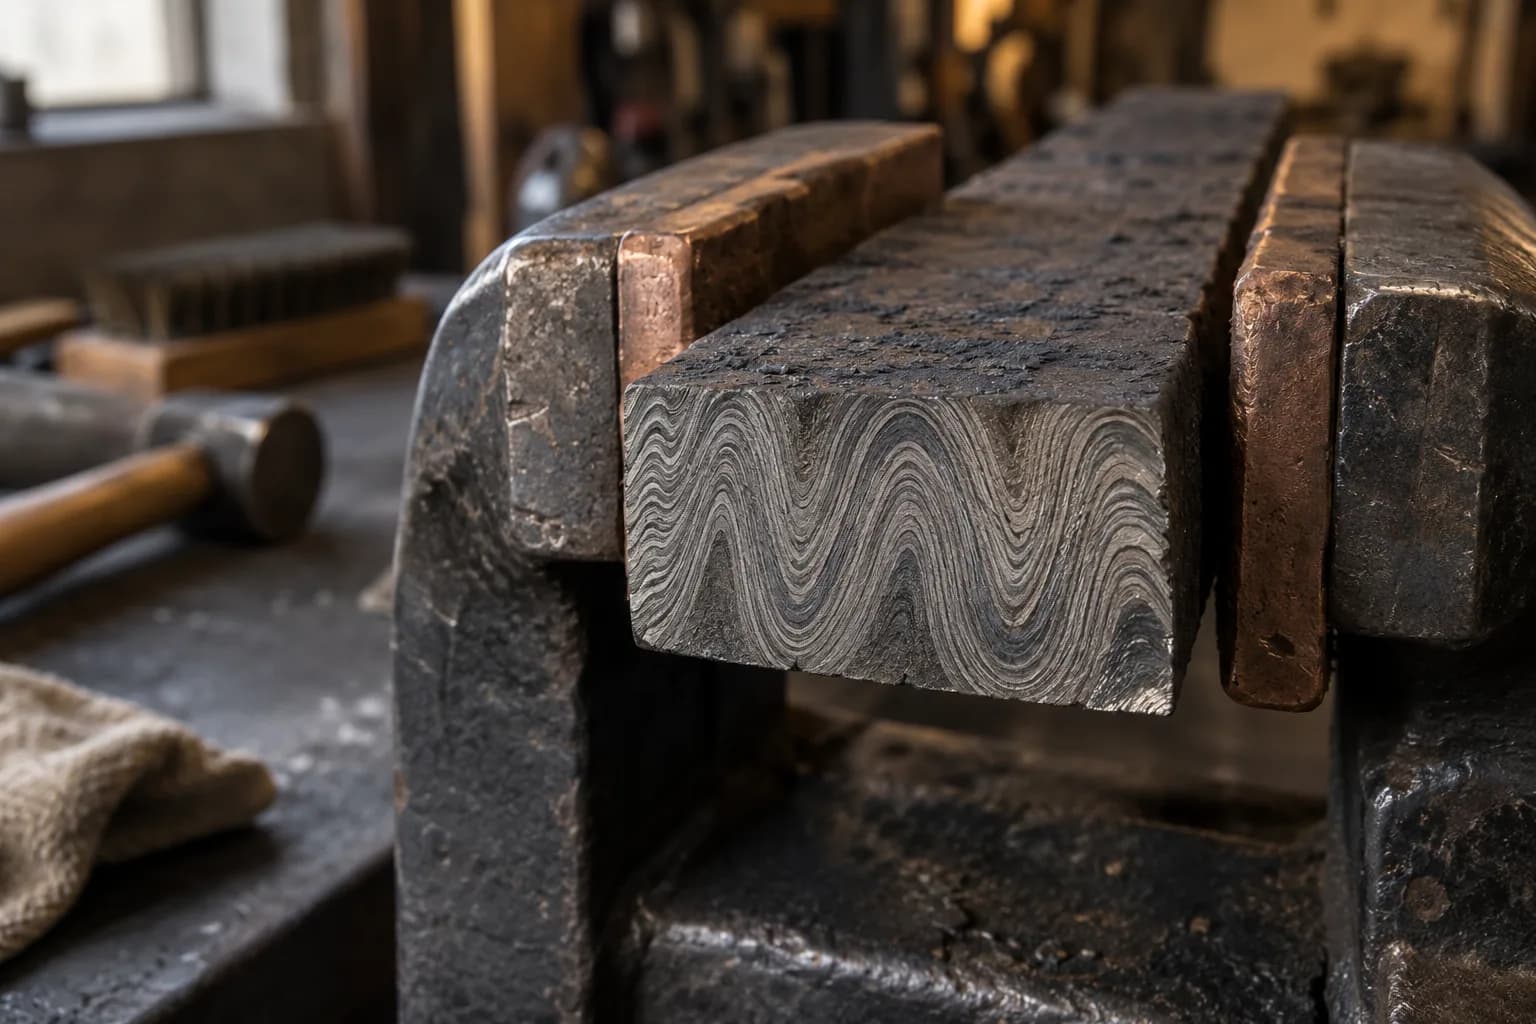
The catch: the pattern lives on the end grain of the bar, not the flats. Etch the bar’s end to check progress, and to put the pattern on a blade face you either tile end-grain slices or accordion-cut the bar — deep alternating cuts that let it unfold like its namesake so the end grain becomes the new face. Accordioning is its own skill and where most first W’s projects wobble; budget practice material.
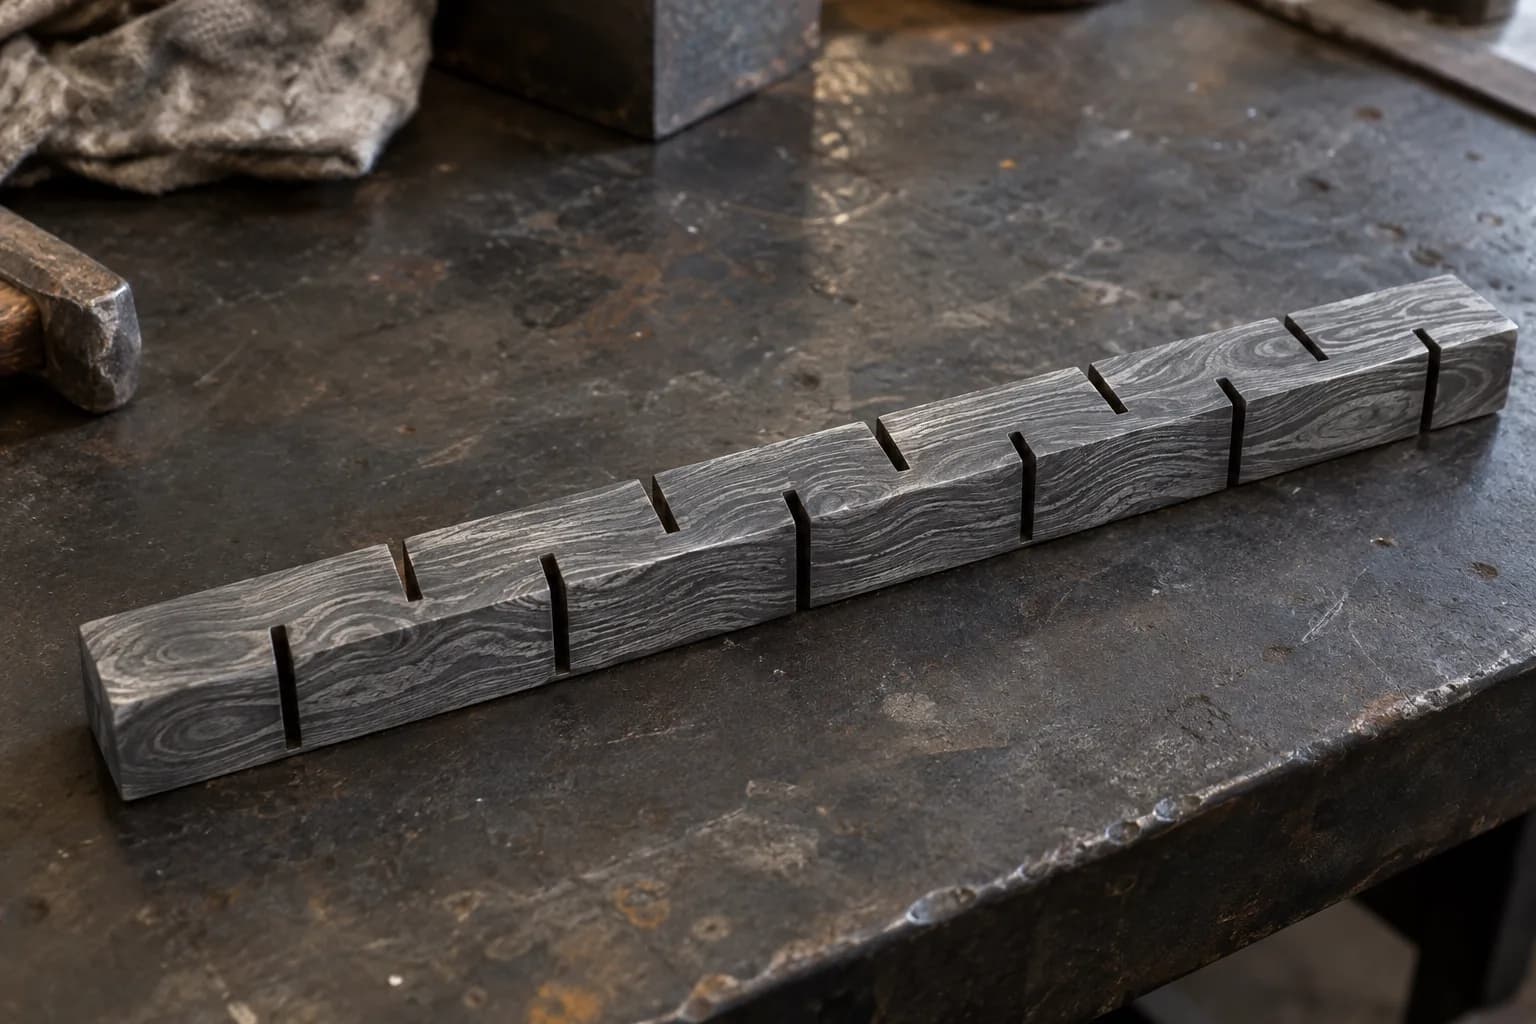
Instead of one billet making one blade, forge several patterned bars and weld them side by side — a twist bar at the spine, a fine straight-laminate bar at the edge, maybe an “edge bar” of plain steel for function. Lay out the bars, grind mating faces dead flat, seal or flux, and weld the assembly as one unit; the blade then wears visibly different zones like panels in a painting. Historically this is how pattern-welded swords were built (core bars + edge steel), so you’re in thousand-year-old company. Precision matters more than heat here: bar faces that aren’t flat and clean give you a visible glue-line — or an open seam — right down the middle of a showpiece.
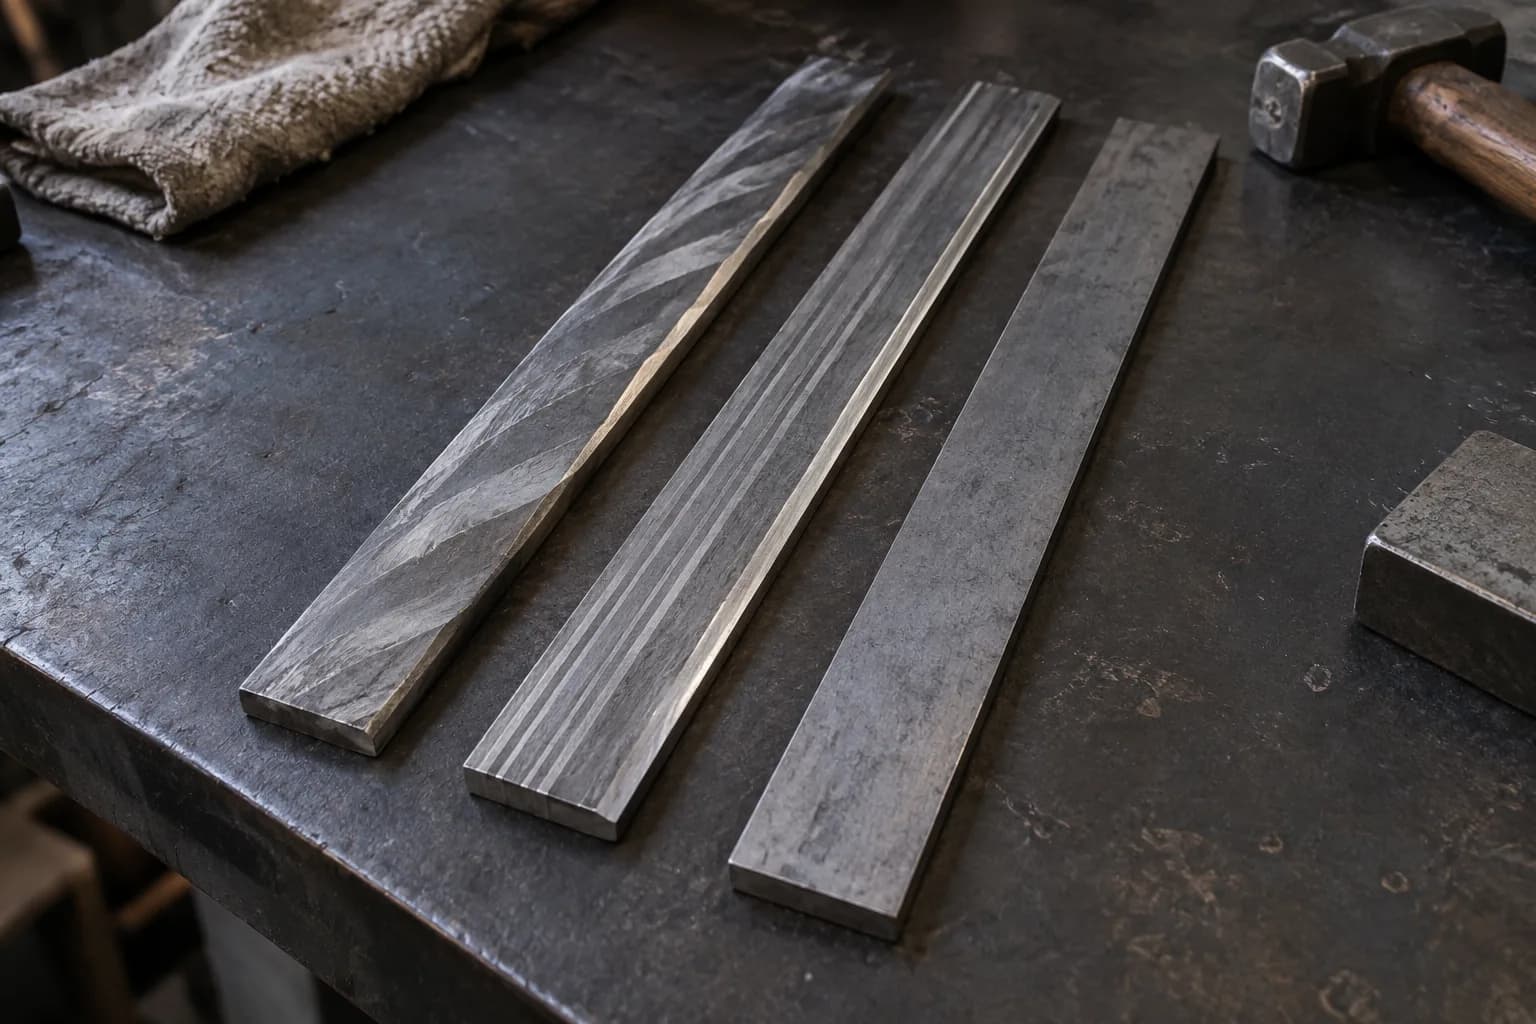
The aristocrat of multi-bar work: several bars (commonly three or four), each twisted tightly — alternating direction bar to bar — then welded side by side and forged into the blade. Opposing twist directions meeting along the seams create interlocking herringbones and rolling stars that seem to move in the light. Everything from the twist guide applies, multiplied: rotation counts must match bar to bar (count them), twist tightness sets pattern scale, and the final side-by-side weld is a multi-bar composite weld with all the flatness discipline above. Expect to make it twice before you make it well — and expect the second one to stop conversations.
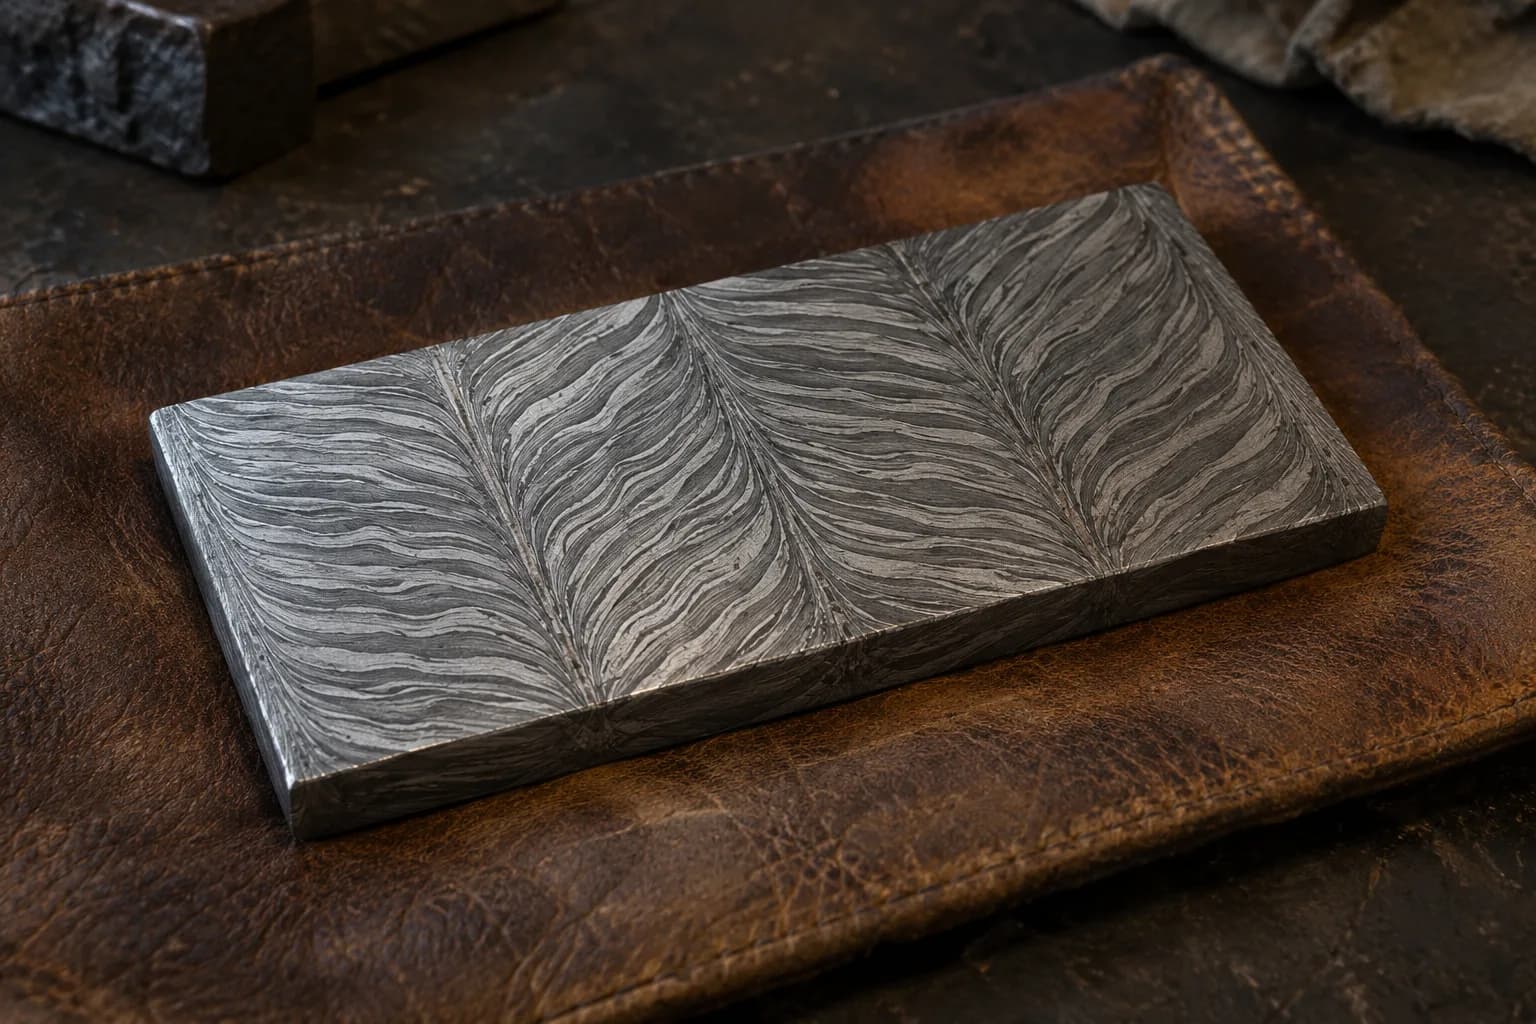
All three reward the same fundamentals: dead-solid welds, patient even heats, and layout thinking before the forge is lit — sketch the target pattern and work backward to the bar construction. The canister method reaches some of the same mosaic territory by a completely different road, and for the deepest end of the pool, the mosaic work of smiths like Robert Eggerling shows where these building blocks lead. Etch everything as you go (etching guide) — end-grain test etches are the only honest progress report W’s work gives you.
Keep reading
Three more from the same bench.
Twist damascus is the pattern that looks like it required a wizard and turns out to require a pipe wrench. Twist the layered bar while it’s hot, grind it…
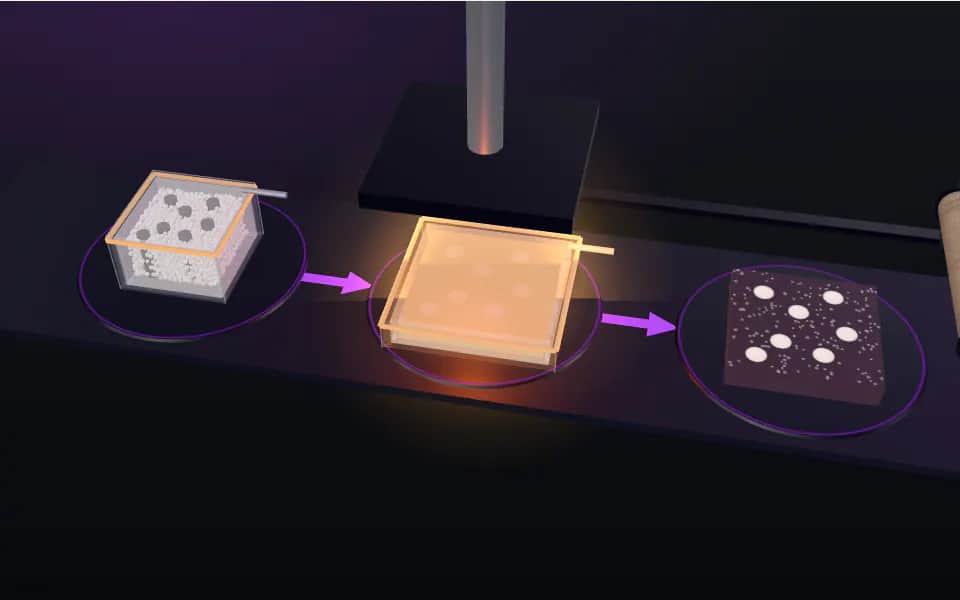
Canister damascus is how makers get patterns that stacking flat bars can never produce: ball bearings floating as bright moons in a dark powder matrix…
Modern “damascus” is pattern-welded steel: two different steels stacked, forge welded into one solid billet, and manipulated so that grinding and etching…
Same bench
I machine the parts, hand-assemble, track and test Torus grinders in Sterling, Illinois. Most orders ship in seven to ten business days from time of order.

Current dual-axis platform with a fiber-laser-cut 6061 chassis and single-knob tracking.

Current dual-axis platform with a steel chassis, more mass and less vibration.

Prior-design aluminum chassis, 90-degree tilt and 1.5-inch tooling arms.

One-man shop
I answer my own email. Tell me the steel, the machine and what it is doing, and I will tell you what I would try next.