
Damascus & Pattern Welding
Etching Damascus: Ferric Chloride, the Coffee Trick & Finishing
Until it’s etched, a damascus blade is just gray steel with faint ghost lines — every bit of drama comes from the acid. Etching is simple chemistry done…
Blade Design
How to put your mark on a blade: stamping before heat treat, stencil electro-etching (DC cuts, AC blackens), laser options, and mark design.
2 min readWritten by Rich LinvilleFree to read
The moment a knife carries your mark, it stops being “a knife I made” and becomes your knife — and if you ever sell your work, an unmarked blade is an anonymous one forever. Here are the three real ways makers mark blades, what each costs, and the one most hobbyists land on.
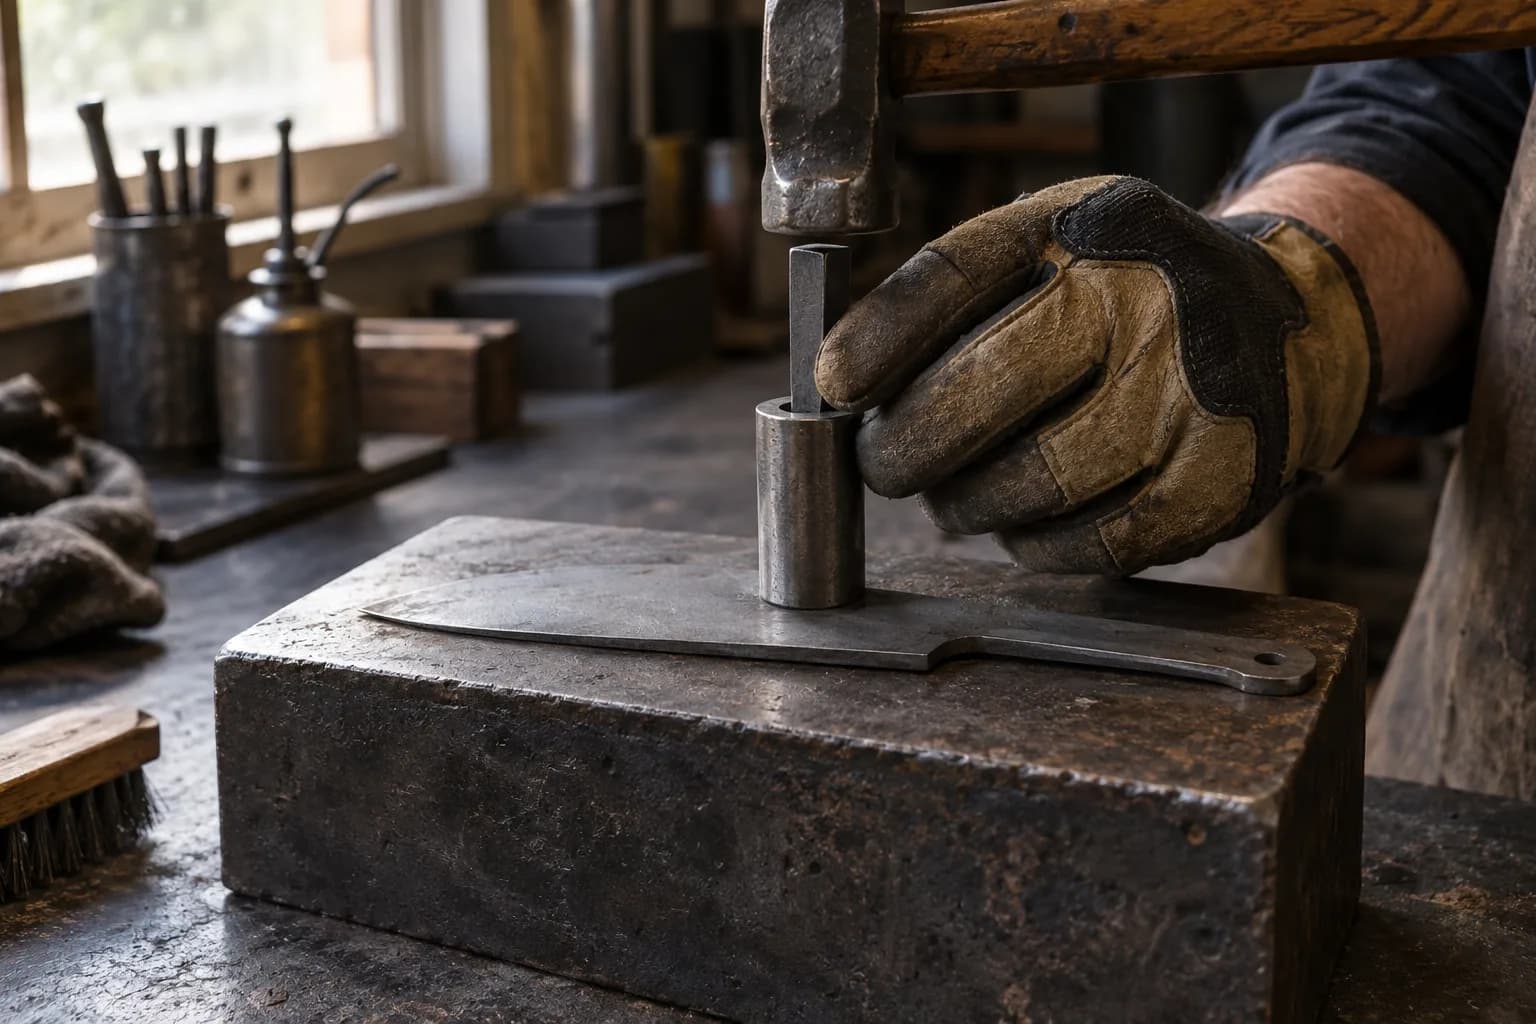
A hardened steel stamp (initials, touchmark, or a custom logo stamp) struck into the blade with one confident hammer blow. The catch is timing: stamping happens on annealed steel, before heat treat — a stamp bounces off (or cracks) hardened steel. Traditional as it gets — this is how the old masters marked — and a custom stamp runs modest money from stamp makers. Tradeoffs: one shot (a doubled strike ghosts), depth distorts thin stock, and forged-finish blades suit it far better than polished ones.
This is where most makers land, because it works on hardened, finished blades — mark as the very last step, after all finishing. The physics is the same electrochemistry as etching damascus, focused through a stencil:
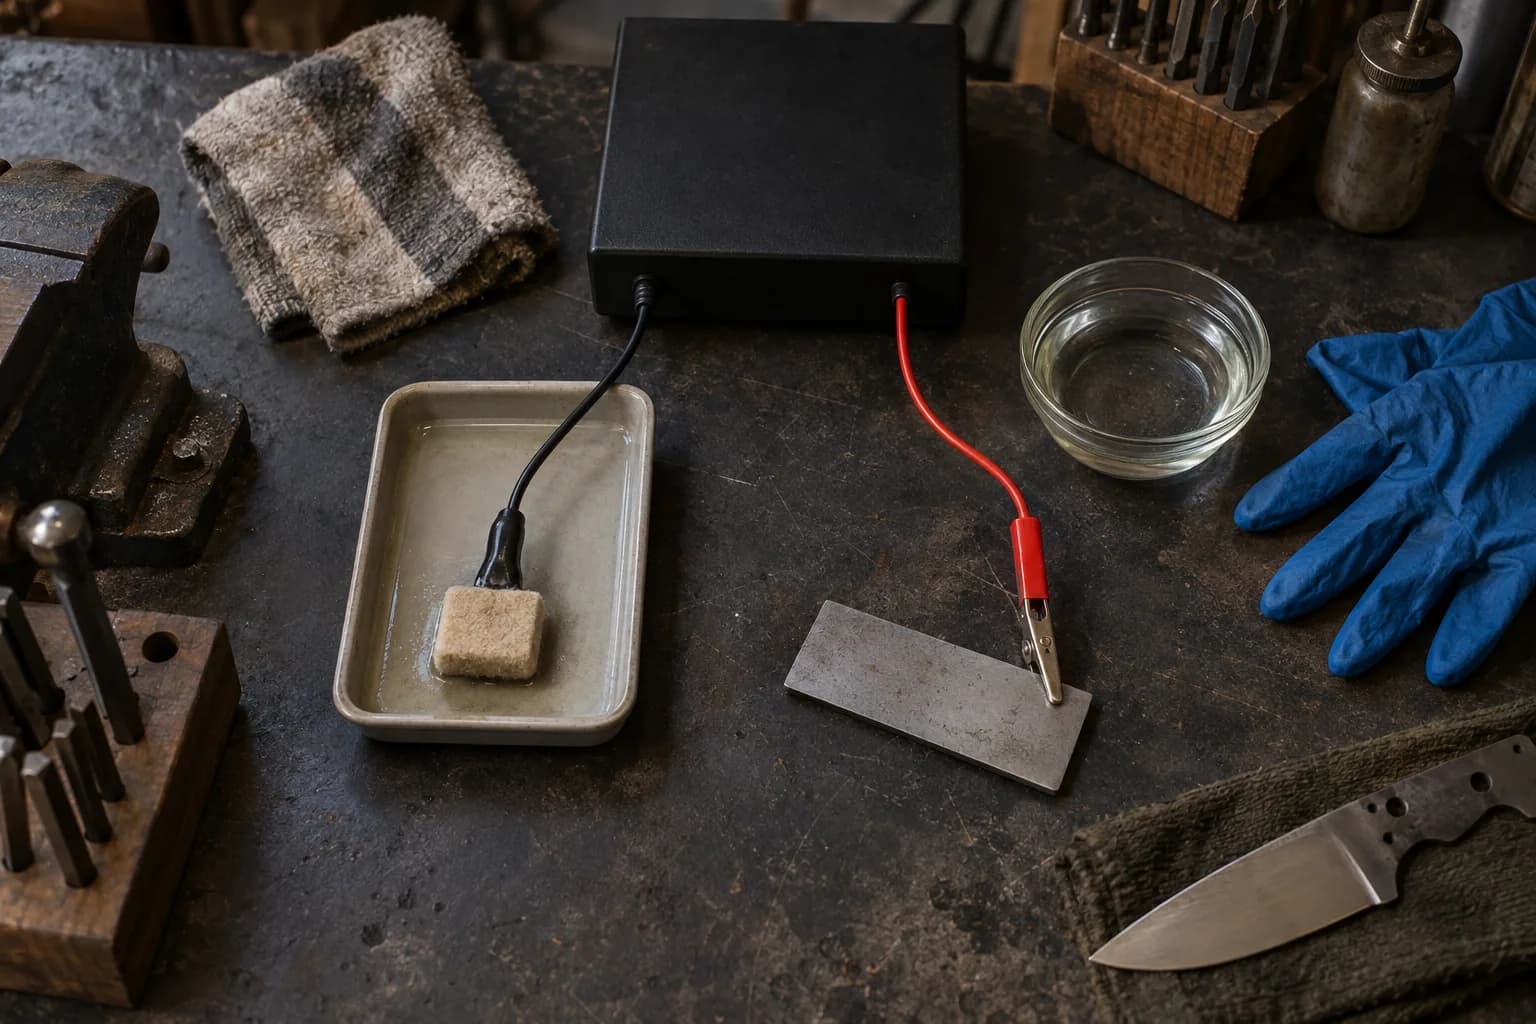
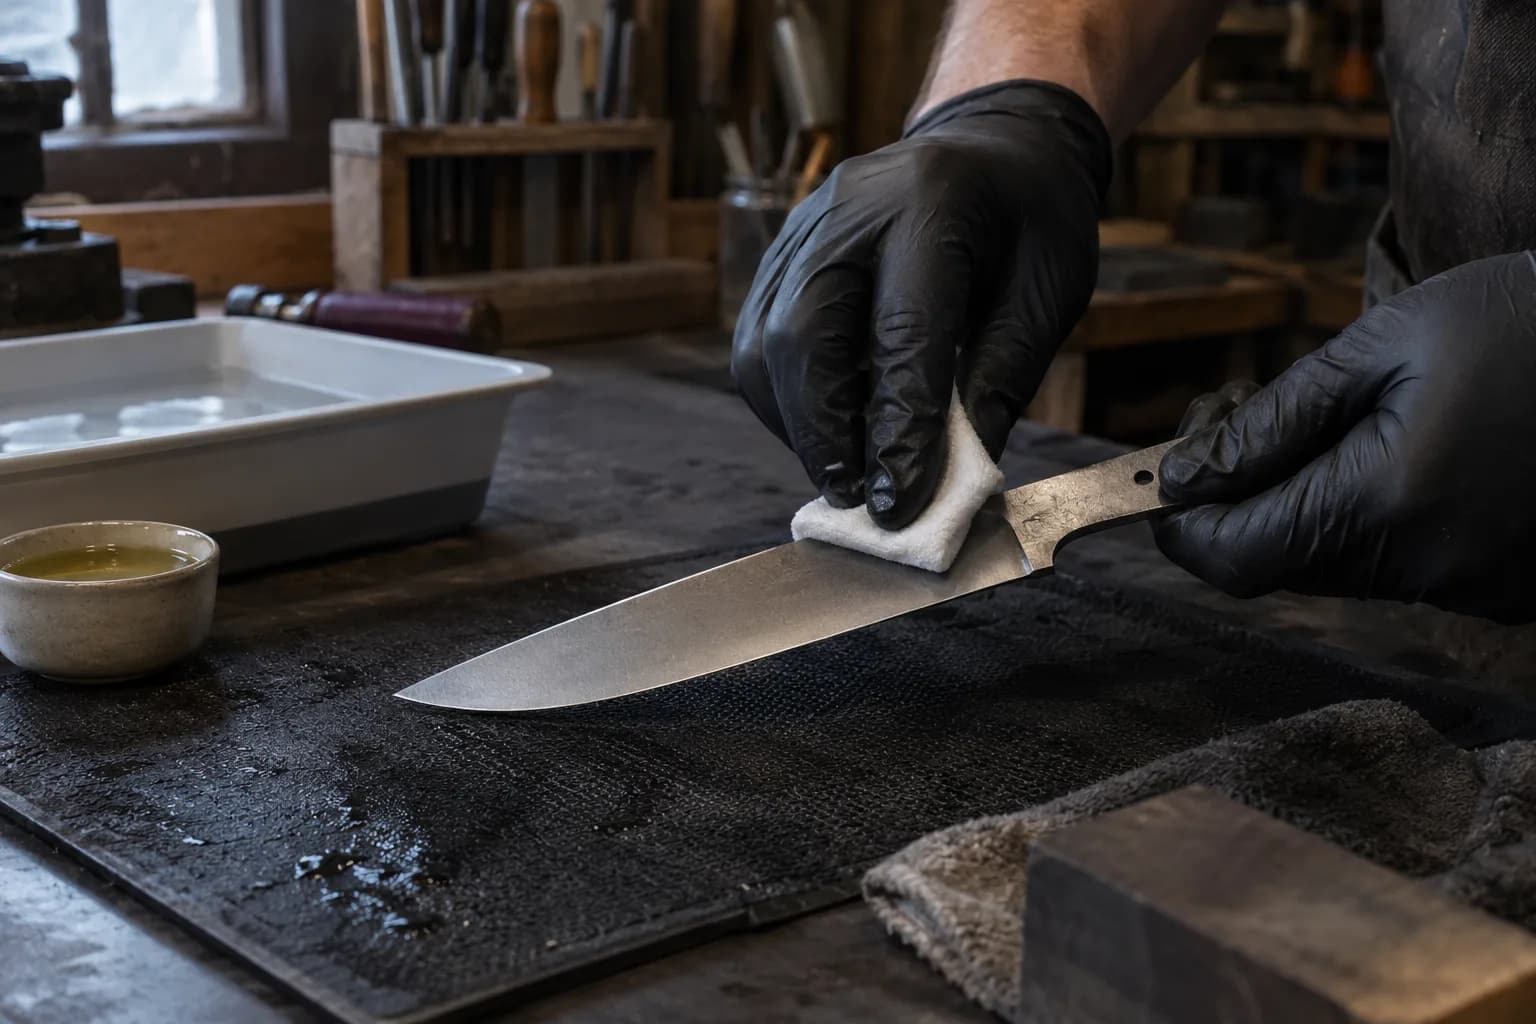
Cost after stencils: pennies per blade. Practice on scrap: pressure and dwell time take about five test marks to learn.
Fiber-laser marking gives the crispest possible logo (it’s how production knives are marked) and handles any finish. Options: local trophy/laser shops mark blades for a few dollars each, some knife suppliers offer marking services, and diode/fiber lasers keep dropping toward hobby budgets. Rotary engraving and hand-graving are their own art. The tradeoff is soul vs. crispness — a laser mark reads “produced,” an etch or stamp reads “made.” Neither is wrong; know which story your knives tell.
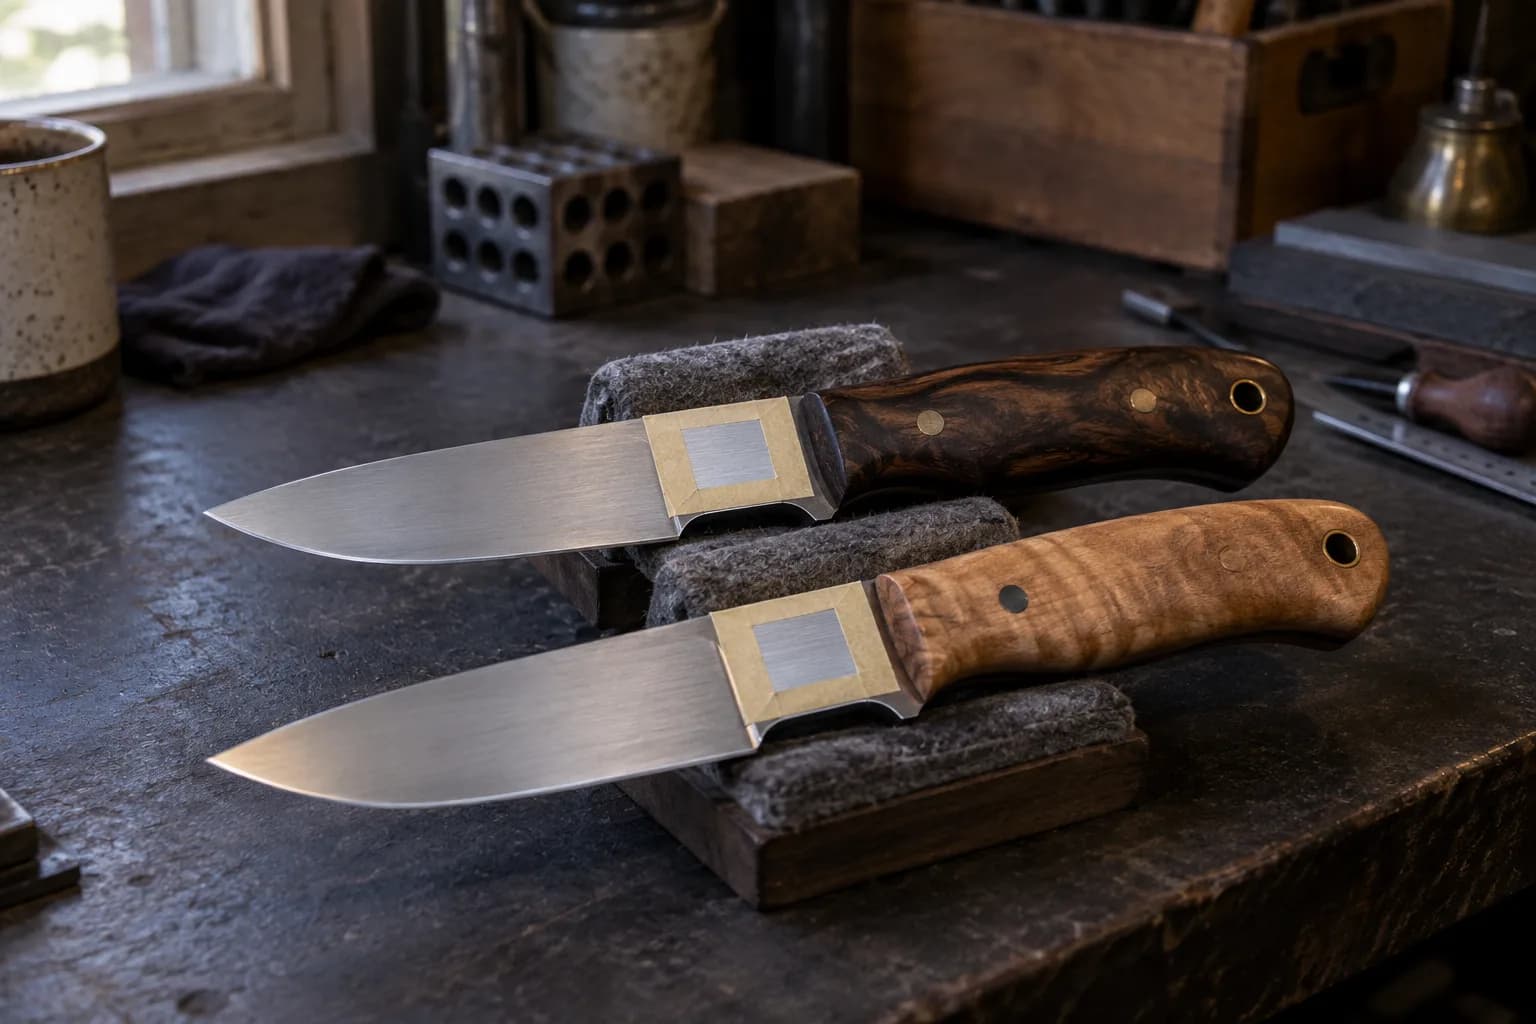
Keep reading
Three more from the same bench.
Until it’s etched, a damascus blade is just gray steel with faint ghost lines — every bit of drama comes from the acid. Etching is simple chemistry done…
Making a great knife and selling it consistently are two different skills, and most makers who struggle to sell aren’t struggling because their work isn’t…
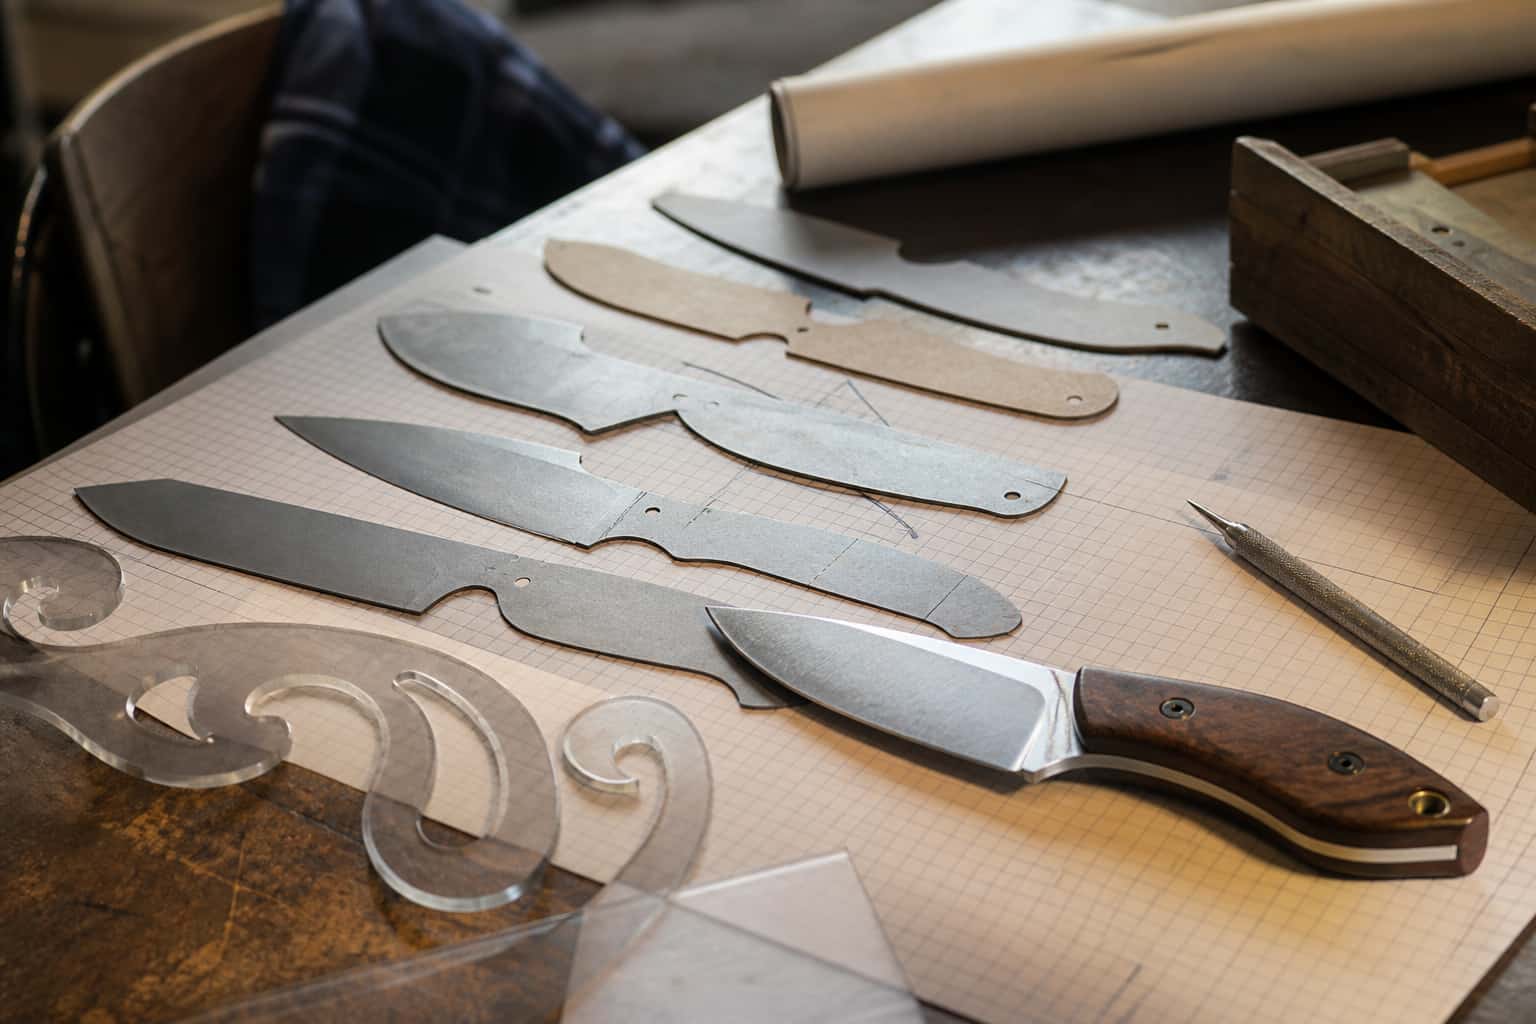
The final surface finish on a blade is more than cosmetic, it affects corrosion resistance, how scratches show up over time, and how much grinding and…
Same bench
I machine the parts, hand-assemble, track and test Torus grinders in Sterling, Illinois. Most orders ship in seven to ten business days from time of order.

Current dual-axis platform with a fiber-laser-cut 6061 chassis and single-knob tracking.

Current dual-axis platform with a steel chassis, more mass and less vibration.

Prior-design aluminum chassis, 90-degree tilt and 1.5-inch tooling arms.

One-man shop
I answer my own email. Tell me the steel, the machine and what it is doing, and I will tell you what I would try next.