2x72 Grinder Tips
Crafting a Custom Tool Rest for Your 2×72 Grinder
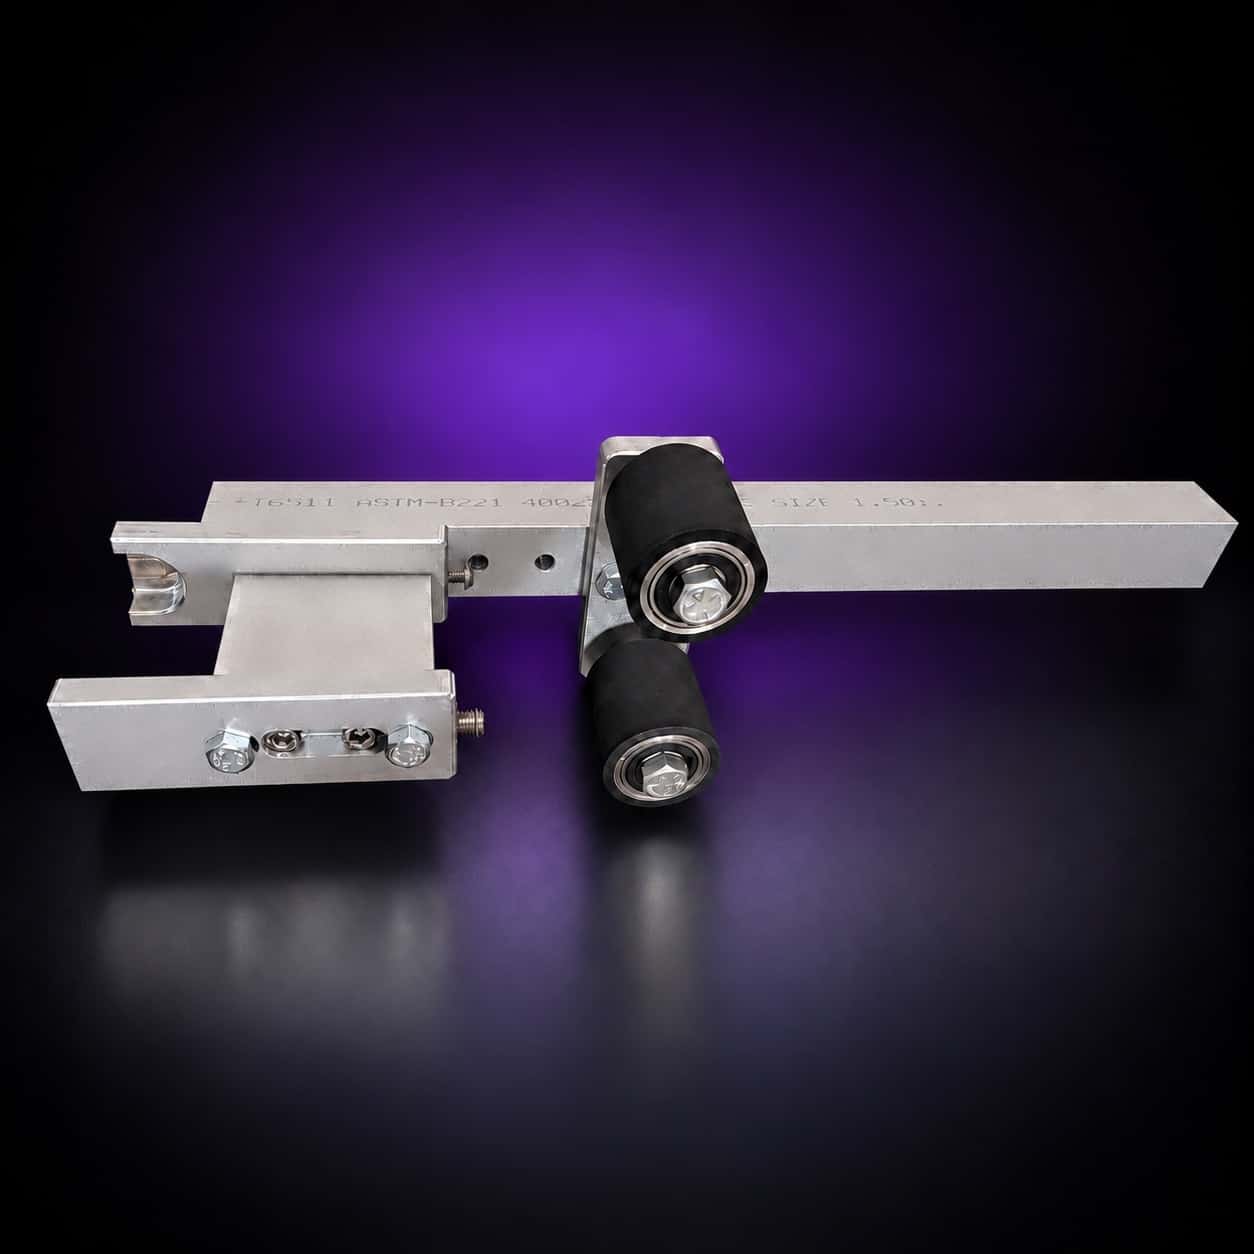
A tool rest is the difference between guessing an angle and repeating it. Here is how I design and build a custom rest for the 2×72, from steel thickness and arm mounting to squaring it to the platen.
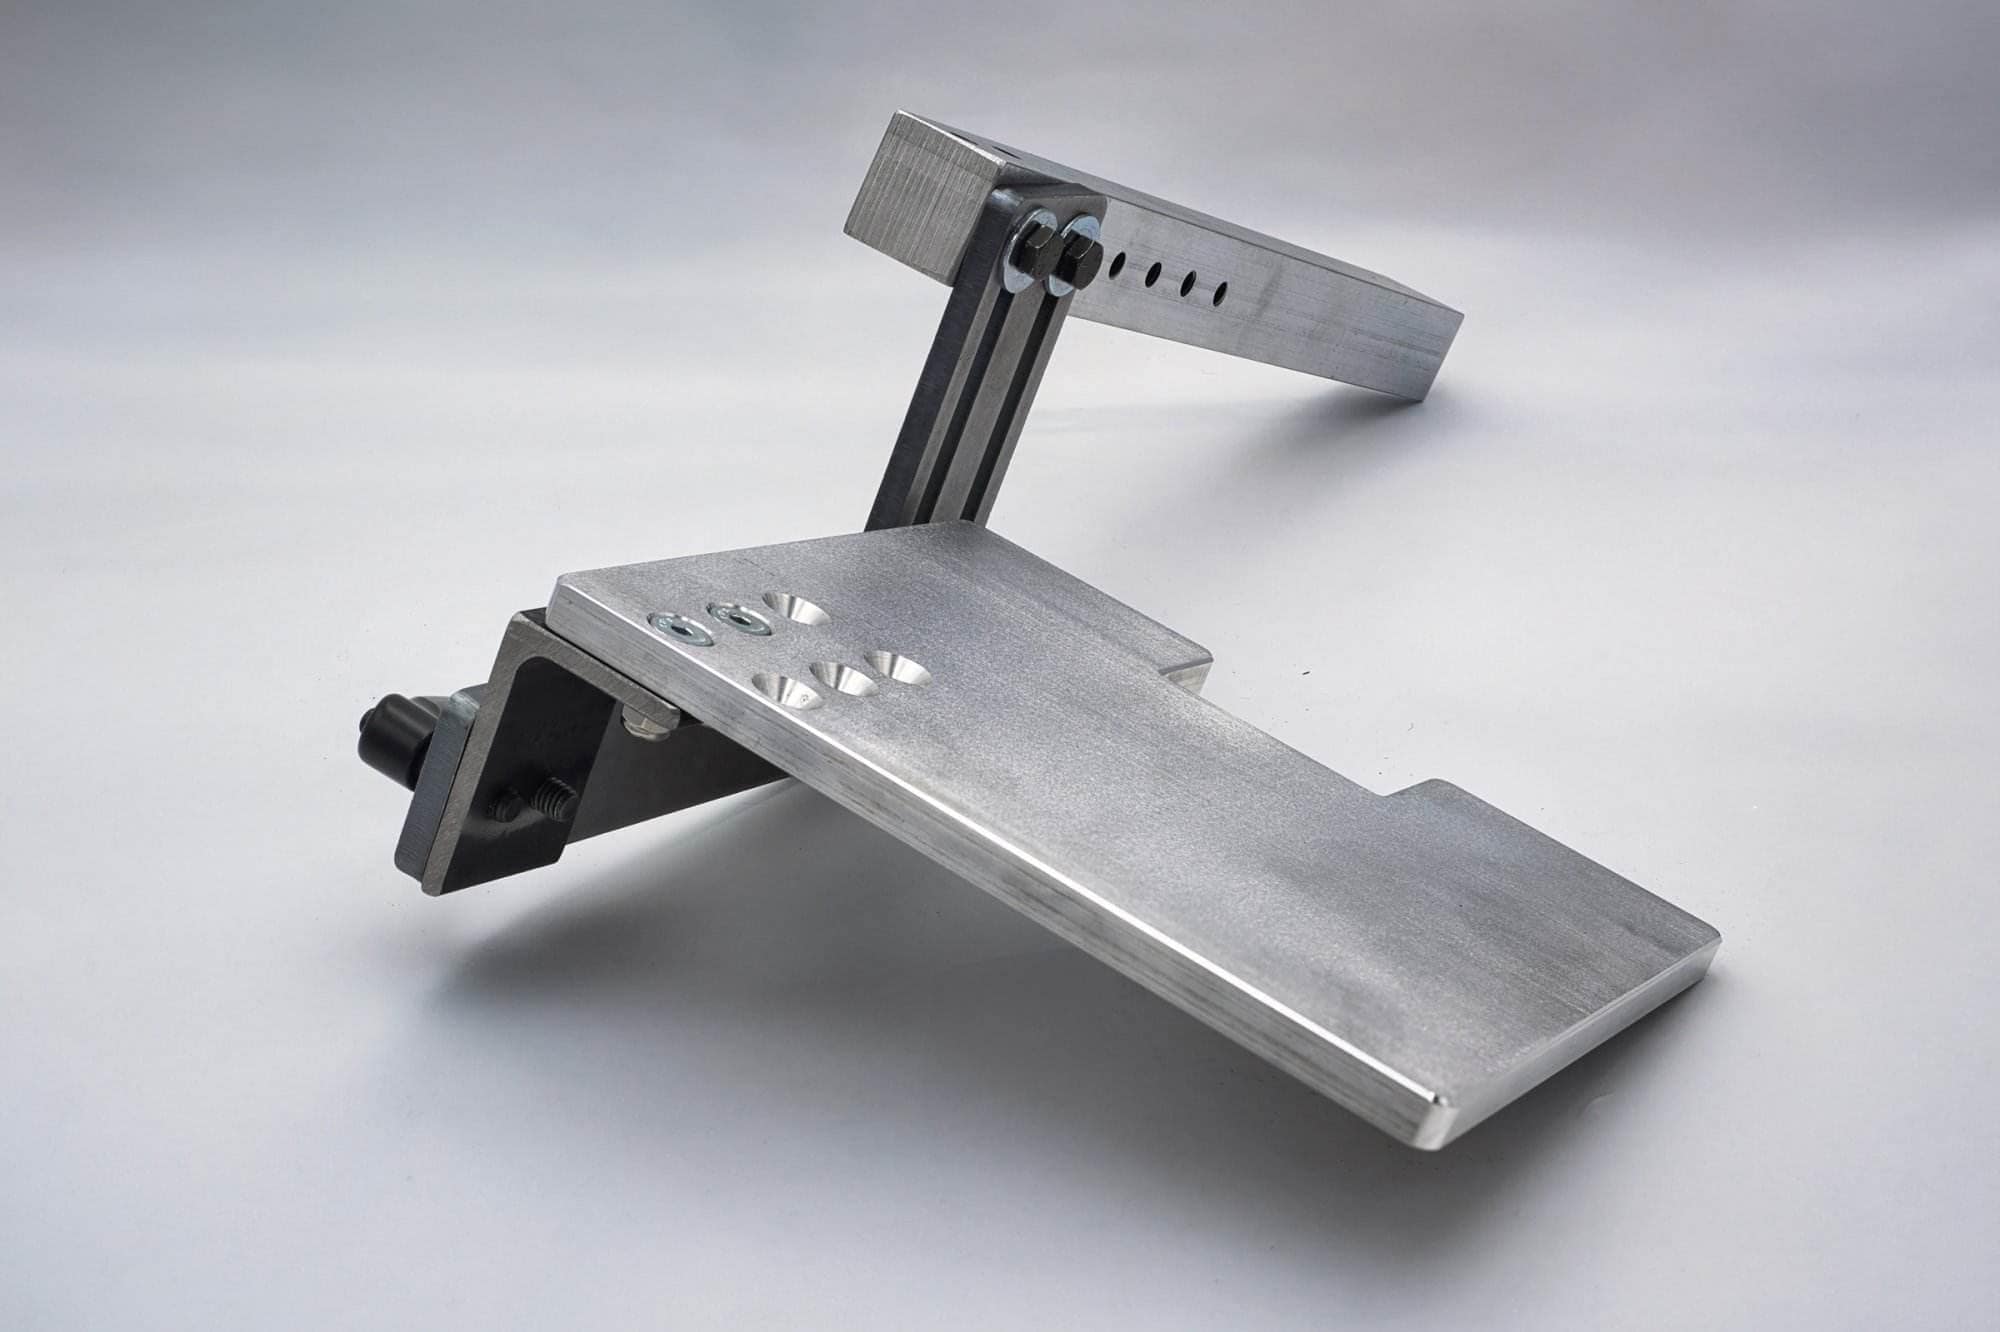
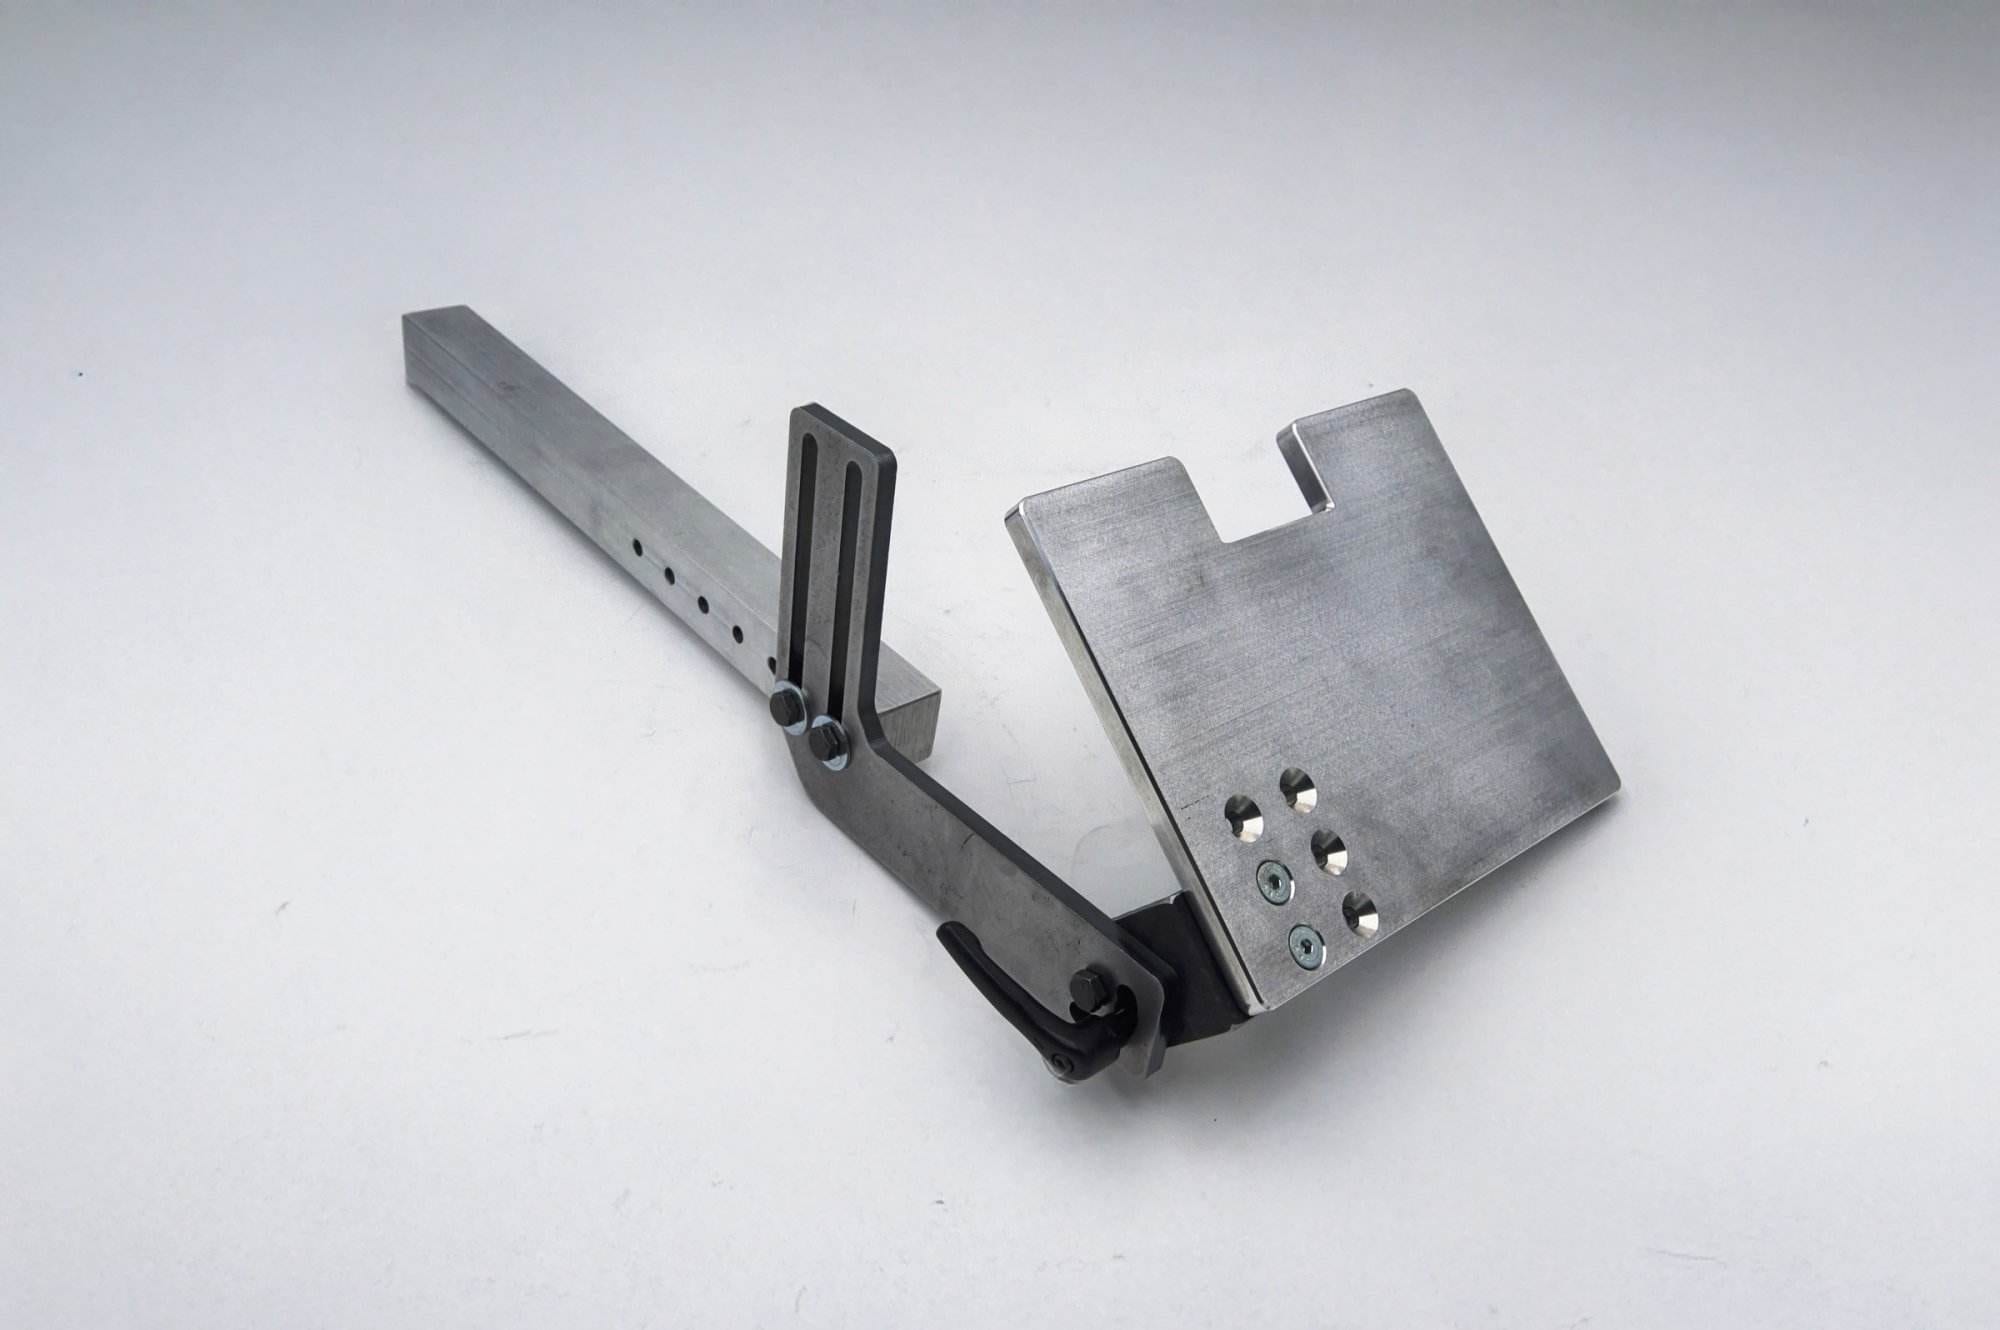
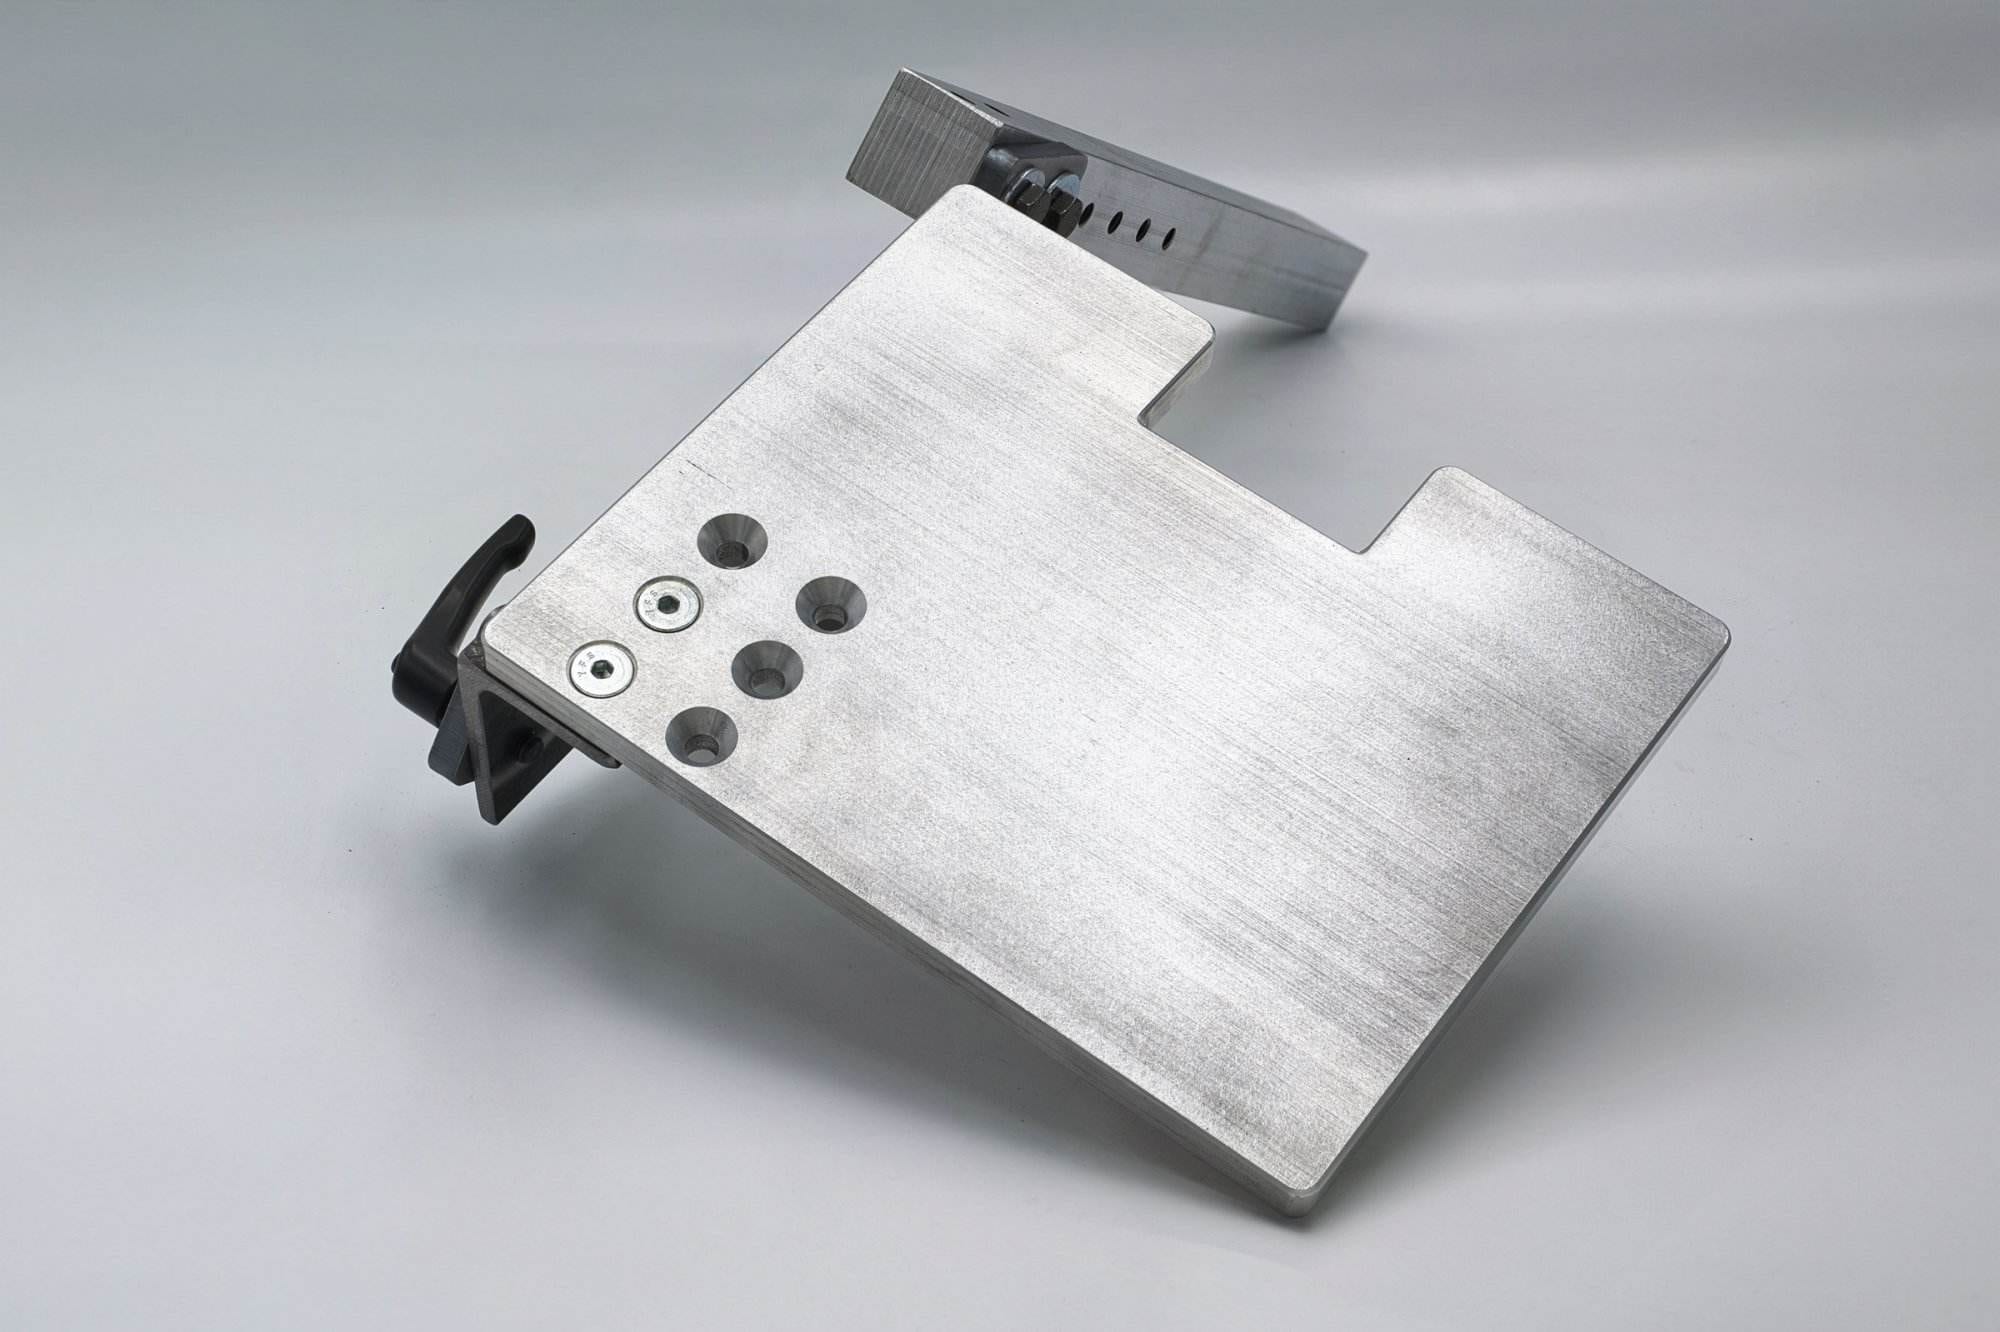
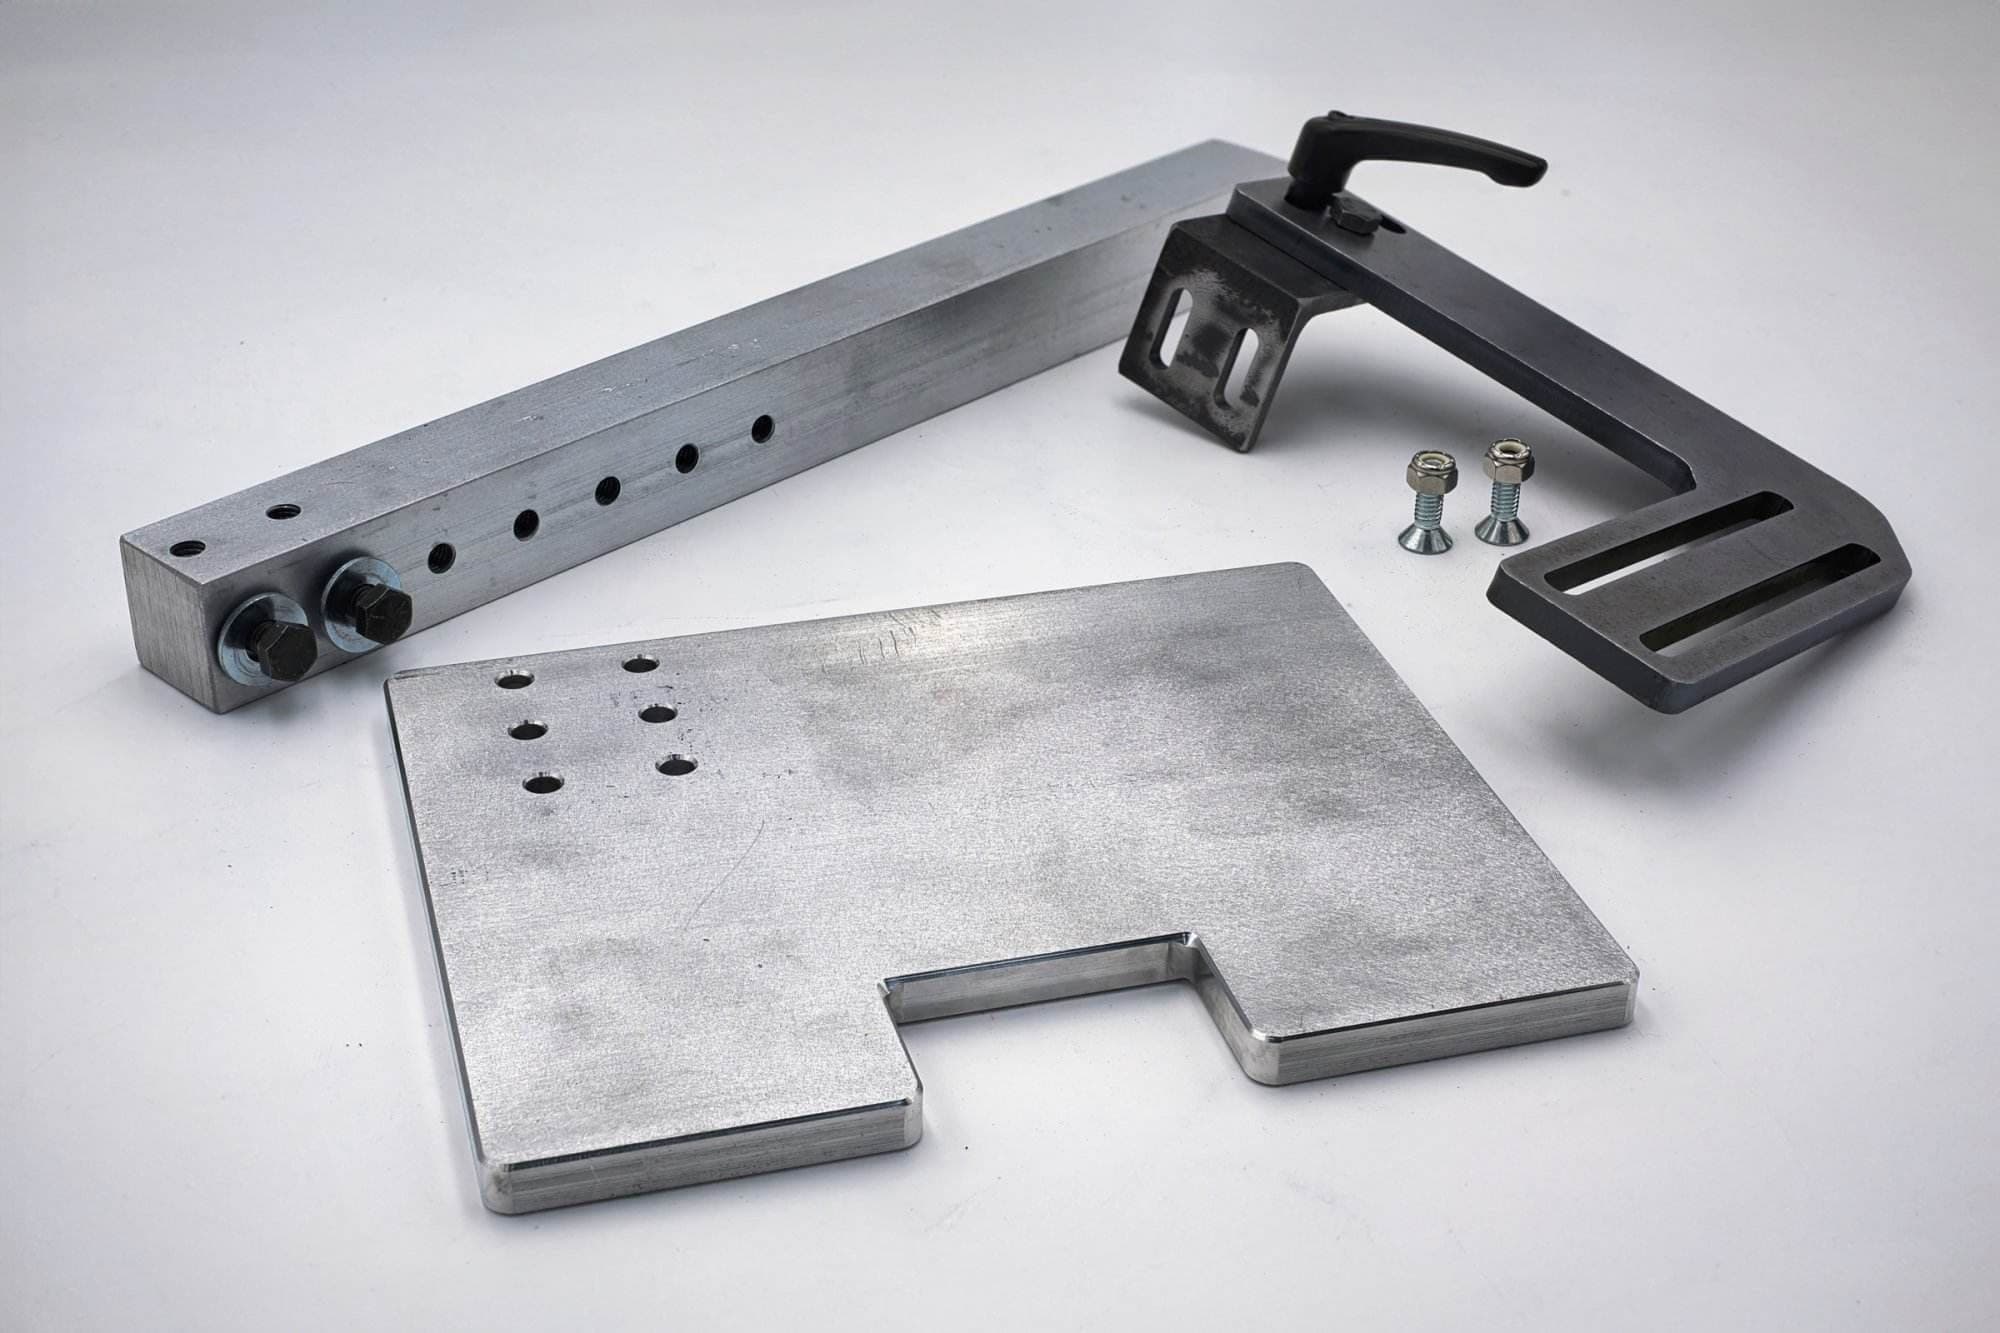
A tool rest turns a bevel from a guess into a setting. The stock rest on most grinders is an afterthought, so sooner or later every maker builds their own. Here is how I design a custom tool rest for a 2×72: how thick the steel needs to be, how to mount it on a 1.5-inch tooling arm, how to lock the angle, and how to check it for square before you trust it with a blade.
Key Takeaways
- Custom tool rests are essential accessories for woodturning and metalworking, providing support and stability for tools.
- A well-designed custom tool rest can improve precision, safety, and comfort during the crafting process.
- Selecting the right materials for your custom tool rest is crucial for durability, stability, and performance.
- Designing and shaping the materials of your custom tool rest requires careful planning and attention to detail.
- Proper maintenance and care are necessary to ensure the longevity and effectiveness of your custom tool rest.
Understanding the Importance of a Custom Tool Rest
When tools are properly supported, the risk of vibration and movement is minimized, leading to enhanced performance and reduced wear on both the tools and the workpiece. A custom tool rest can be tailored to accommodate specific machining techniques or materials. For instance, if you frequently work with delicate materials that require careful handling, a custom tool rest can be designed to provide additional support without compromising the integrity of the workpiece.
Selecting the Right Materials for Your Custom Tool Rest
Choosing the right materials for your custom tool rest is crucial for ensuring durability and functionality. The material selection process should consider factors such as strength, weight, and resistance to wear. Common materials used in crafting tool rests include steel, aluminum, and various composites.
Steel is often favored for its strength and rigidity, making it ideal for heavy-duty applications. On the other hand, aluminum offers a lightweight alternative that is easier to handle while still providing adequate support. In addition to strength and weight, it is essential to consider the environmental conditions in which the tool rest will be used.
If your workspace is prone to moisture or corrosive substances, selecting materials with appropriate protective coatings or corrosion-resistant properties becomes vital. In the end, the choice of material will impact not only the performance of the tool rest but also its longevity and maintenance requirements.
Designing Your Custom Tool Rest
The design phase is where creativity meets functionality in crafting a custom tool rest. Before diving into the actual construction, it is essential to sketch out your ideas and consider the specific requirements of your machining tasks. Factors such as height, width, and adjustability should be taken into account to ensure that the tool rest meets your needs effectively.
When designing your tool rest, think about how it will interact with your existing machinery and tools. Consider incorporating features such as adjustable angles or modular components that allow for versatility in different applications. Ensure that your design promotes ease of use; a well-thought-out design can save time and effort during setup and operation.
Cutting and Shaping the Materials
Once you have finalized your design, it’s time to move on to cutting and shaping the materials. This stage requires precision and attention to detail to ensure that each component fits together smoothly. Depending on the materials chosen, you may need specialized tools such as saws, grinders, or CNC machines to achieve the desired shapes and dimensions.
During this process, it is crucial to follow safety protocols and use appropriate protective gear. Proper handling of tools and materials will not only ensure your safety but also contribute to achieving high-quality results. Take your time during this phase; rushing through cutting and shaping can lead to mistakes that may compromise the integrity of your custom tool rest.
Welding and Assembling the Custom Tool Rest
With all components cut and shaped, the next step involves welding and assembling your custom tool rest. This stage requires skill and precision, as proper welding techniques are essential for creating strong joints that can withstand the rigors of machining operations. If you are not experienced in welding, consider seeking assistance from someone who is or investing time in learning proper techniques.
As you assemble your tool rest, pay close attention to alignment and fitment. Ensuring that all parts are correctly positioned will contribute to the overall stability and functionality of the final product. Once assembled, inspect all joints for strength and integrity before proceeding to testing.
Testing and Adjusting the Tool Rest
After assembling your custom tool rest, it’s time for testing. This phase is critical in determining whether your design meets its intended purpose. Set up your tool rest with the appropriate machinery and tools, then conduct a series of tests to evaluate its performance under real working conditions.
Pay attention to factors such as stability, ease of adjustment, and overall functionality. If any issues arise during testing—such as wobbling or difficulty in adjusting—take note of these problems for further adjustments. Fine-tuning your custom tool rest may involve making minor modifications or even reworking certain components to achieve optimal performance.
Adding Finishing Touches to Your Custom Tool Rest
Once testing is complete and any necessary adjustments have been made, it’s time to add finishing touches to your custom tool rest. This stage not only enhances aesthetics but also contributes to durability and functionality. Consider applying protective coatings or paints that can prevent rusting or corrosion over time.
Adding features such as rubber feet or non-slip surfaces can improve stability during use. These finishing touches may seem minor but can significantly impact the overall performance and longevity of your custom tool rest.
Using Your Custom Tool Rest for Different Applications
A well-designed custom tool rest can be utilized across various applications in machining and metalworking. Having a reliable tool rest can enhance your efficiency and precision. For instance, when using a lathe for turning operations, a properly adjusted tool rest can provide consistent support for cutting tools, resulting in smoother finishes.
Maintenance and Care for Your Custom Tool Rest
To ensure that your custom tool rest remains functional over time, regular maintenance is essential. Start by keeping it clean; debris or metal shavings can accumulate over time and affect performance. Use appropriate cleaning agents that won’t damage any protective coatings you may have applied.
Periodically inspect all components for signs of wear or damage. Addressing any issues promptly will help maintain the integrity of your tool rest and prolong its lifespan. Lubricating moving parts or adjustable components can also enhance performance and ease of use.
FAQs
What is a dedicated sharpening tool rest?
A dedicated sharpening tool rest is a specialized tool rest designed for use with a 2×72 belt grinder. It is used to hold and support the blade or tool being sharpened, providing a stable and precise platform for sharpening.
What are the benefits of building a dedicated sharpening tool rest?
Building a dedicated sharpening tool rest allows for customization to fit specific sharpening needs. It also provides the opportunity to create a tool rest that is tailored to the user’s preferences and requirements, resulting in a more efficient and effective sharpening process.
What materials are typically used to build a dedicated sharpening tool rest?
Materials commonly used to build a dedicated sharpening tool rest include steel, aluminum, and other sturdy metals. Wood or other materials may be used for the base or support structure of the tool rest.
Are there any safety considerations when using a dedicated sharpening tool rest?
When using a dedicated sharpening tool rest, it is important to follow proper safety precautions, such as wearing eye protection and ensuring that the tool rest is securely attached to the 2×72 belt grinder. It is important to use the tool rest as intended and to avoid any potential hazards while sharpening.
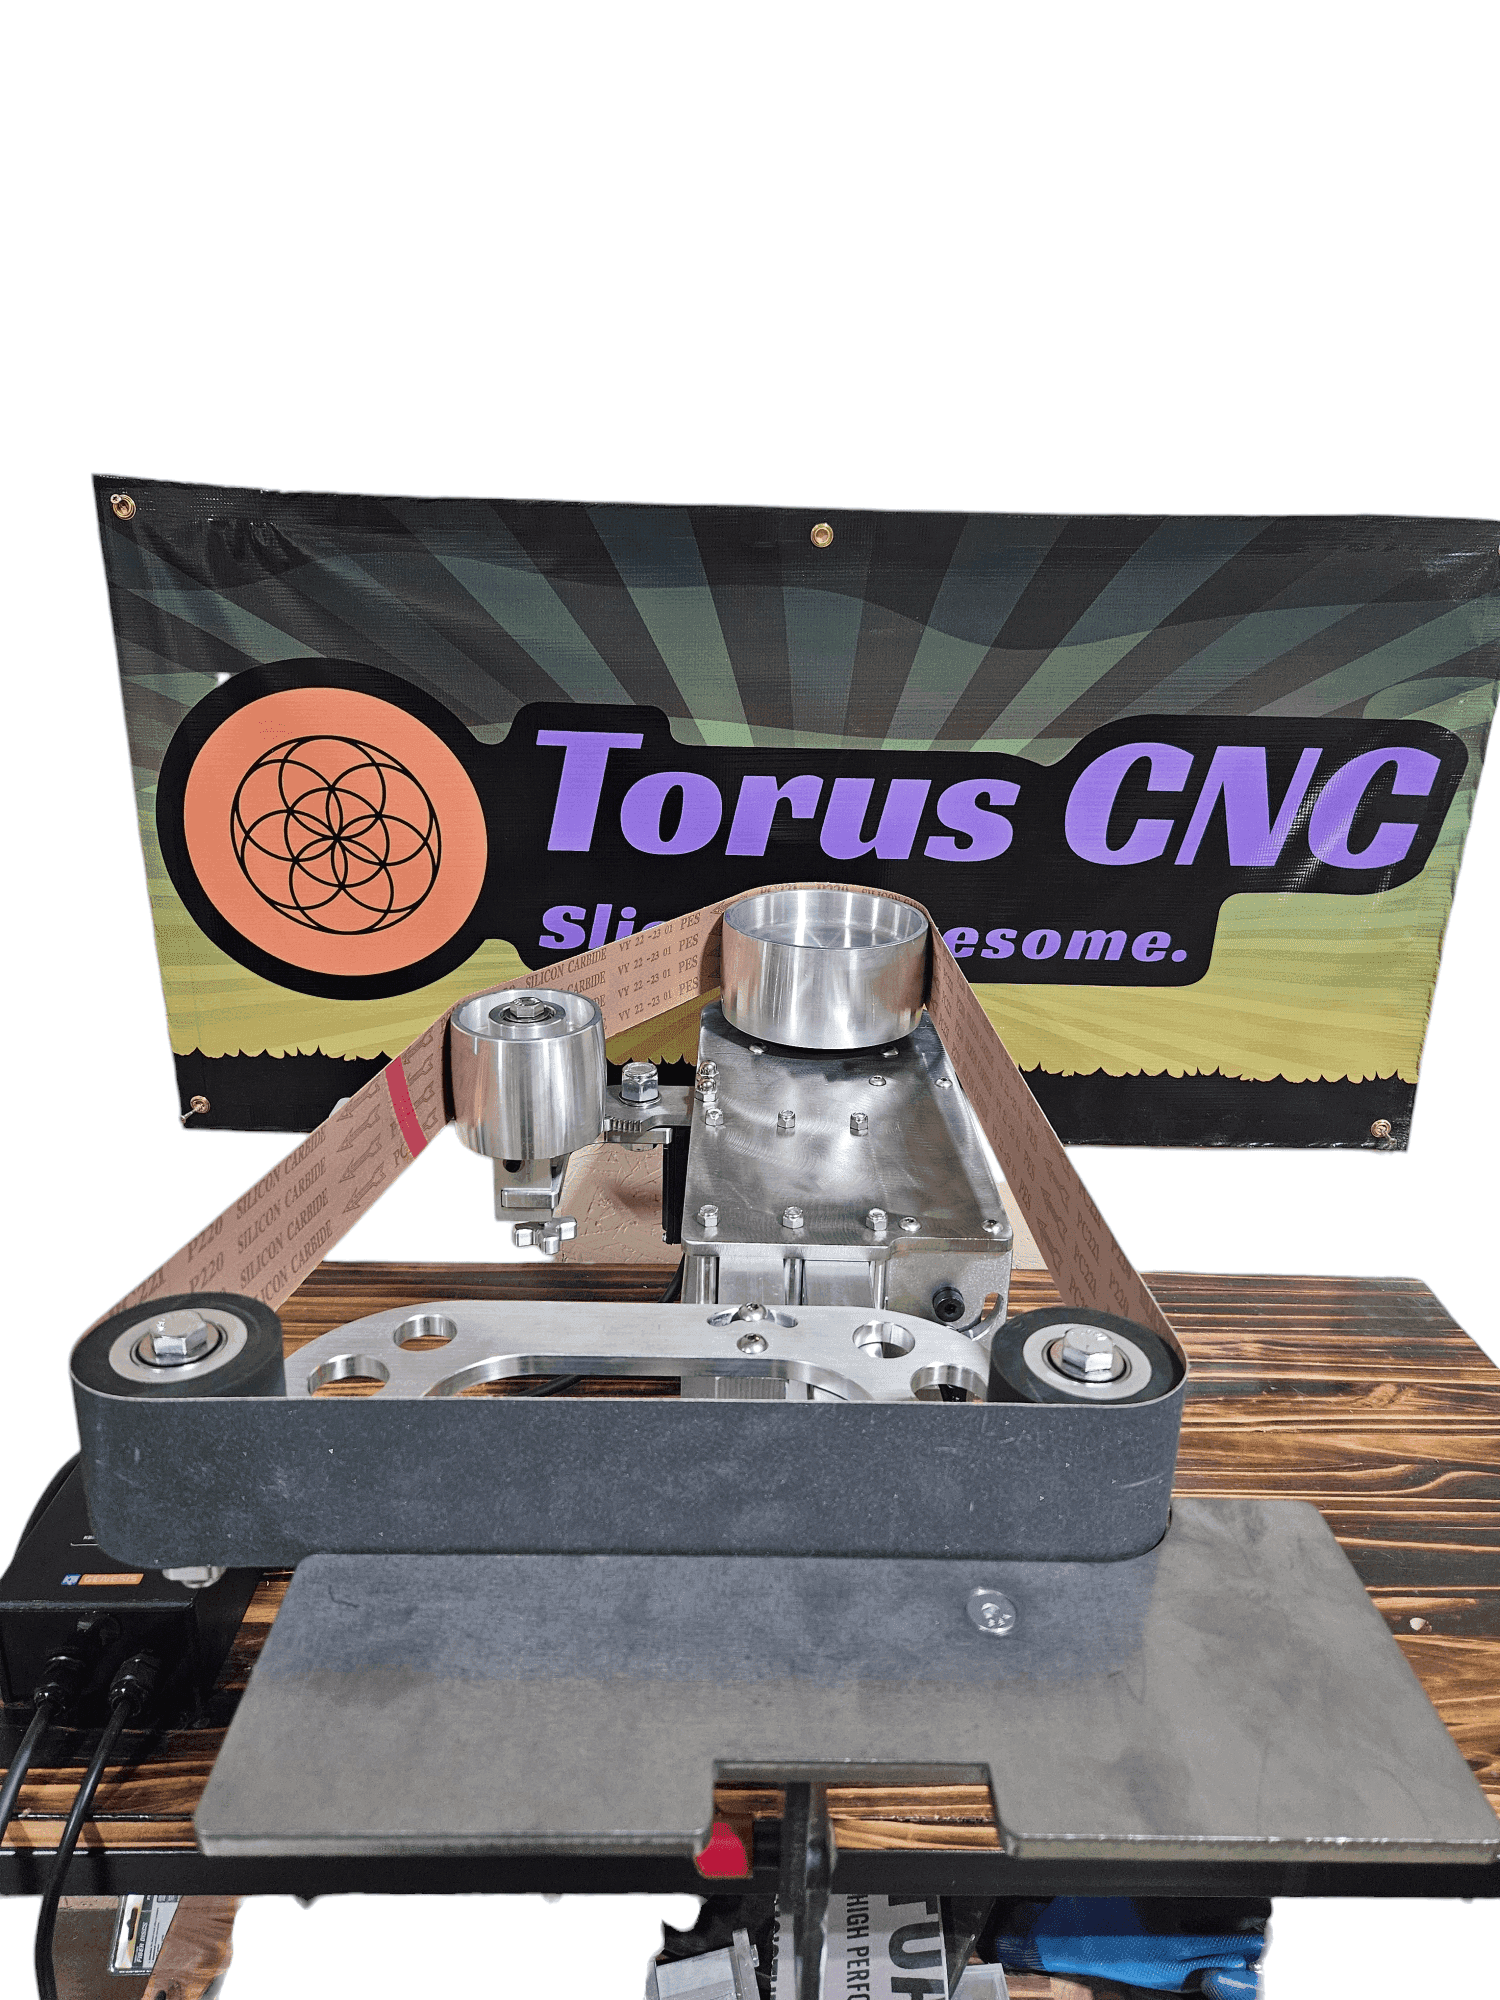
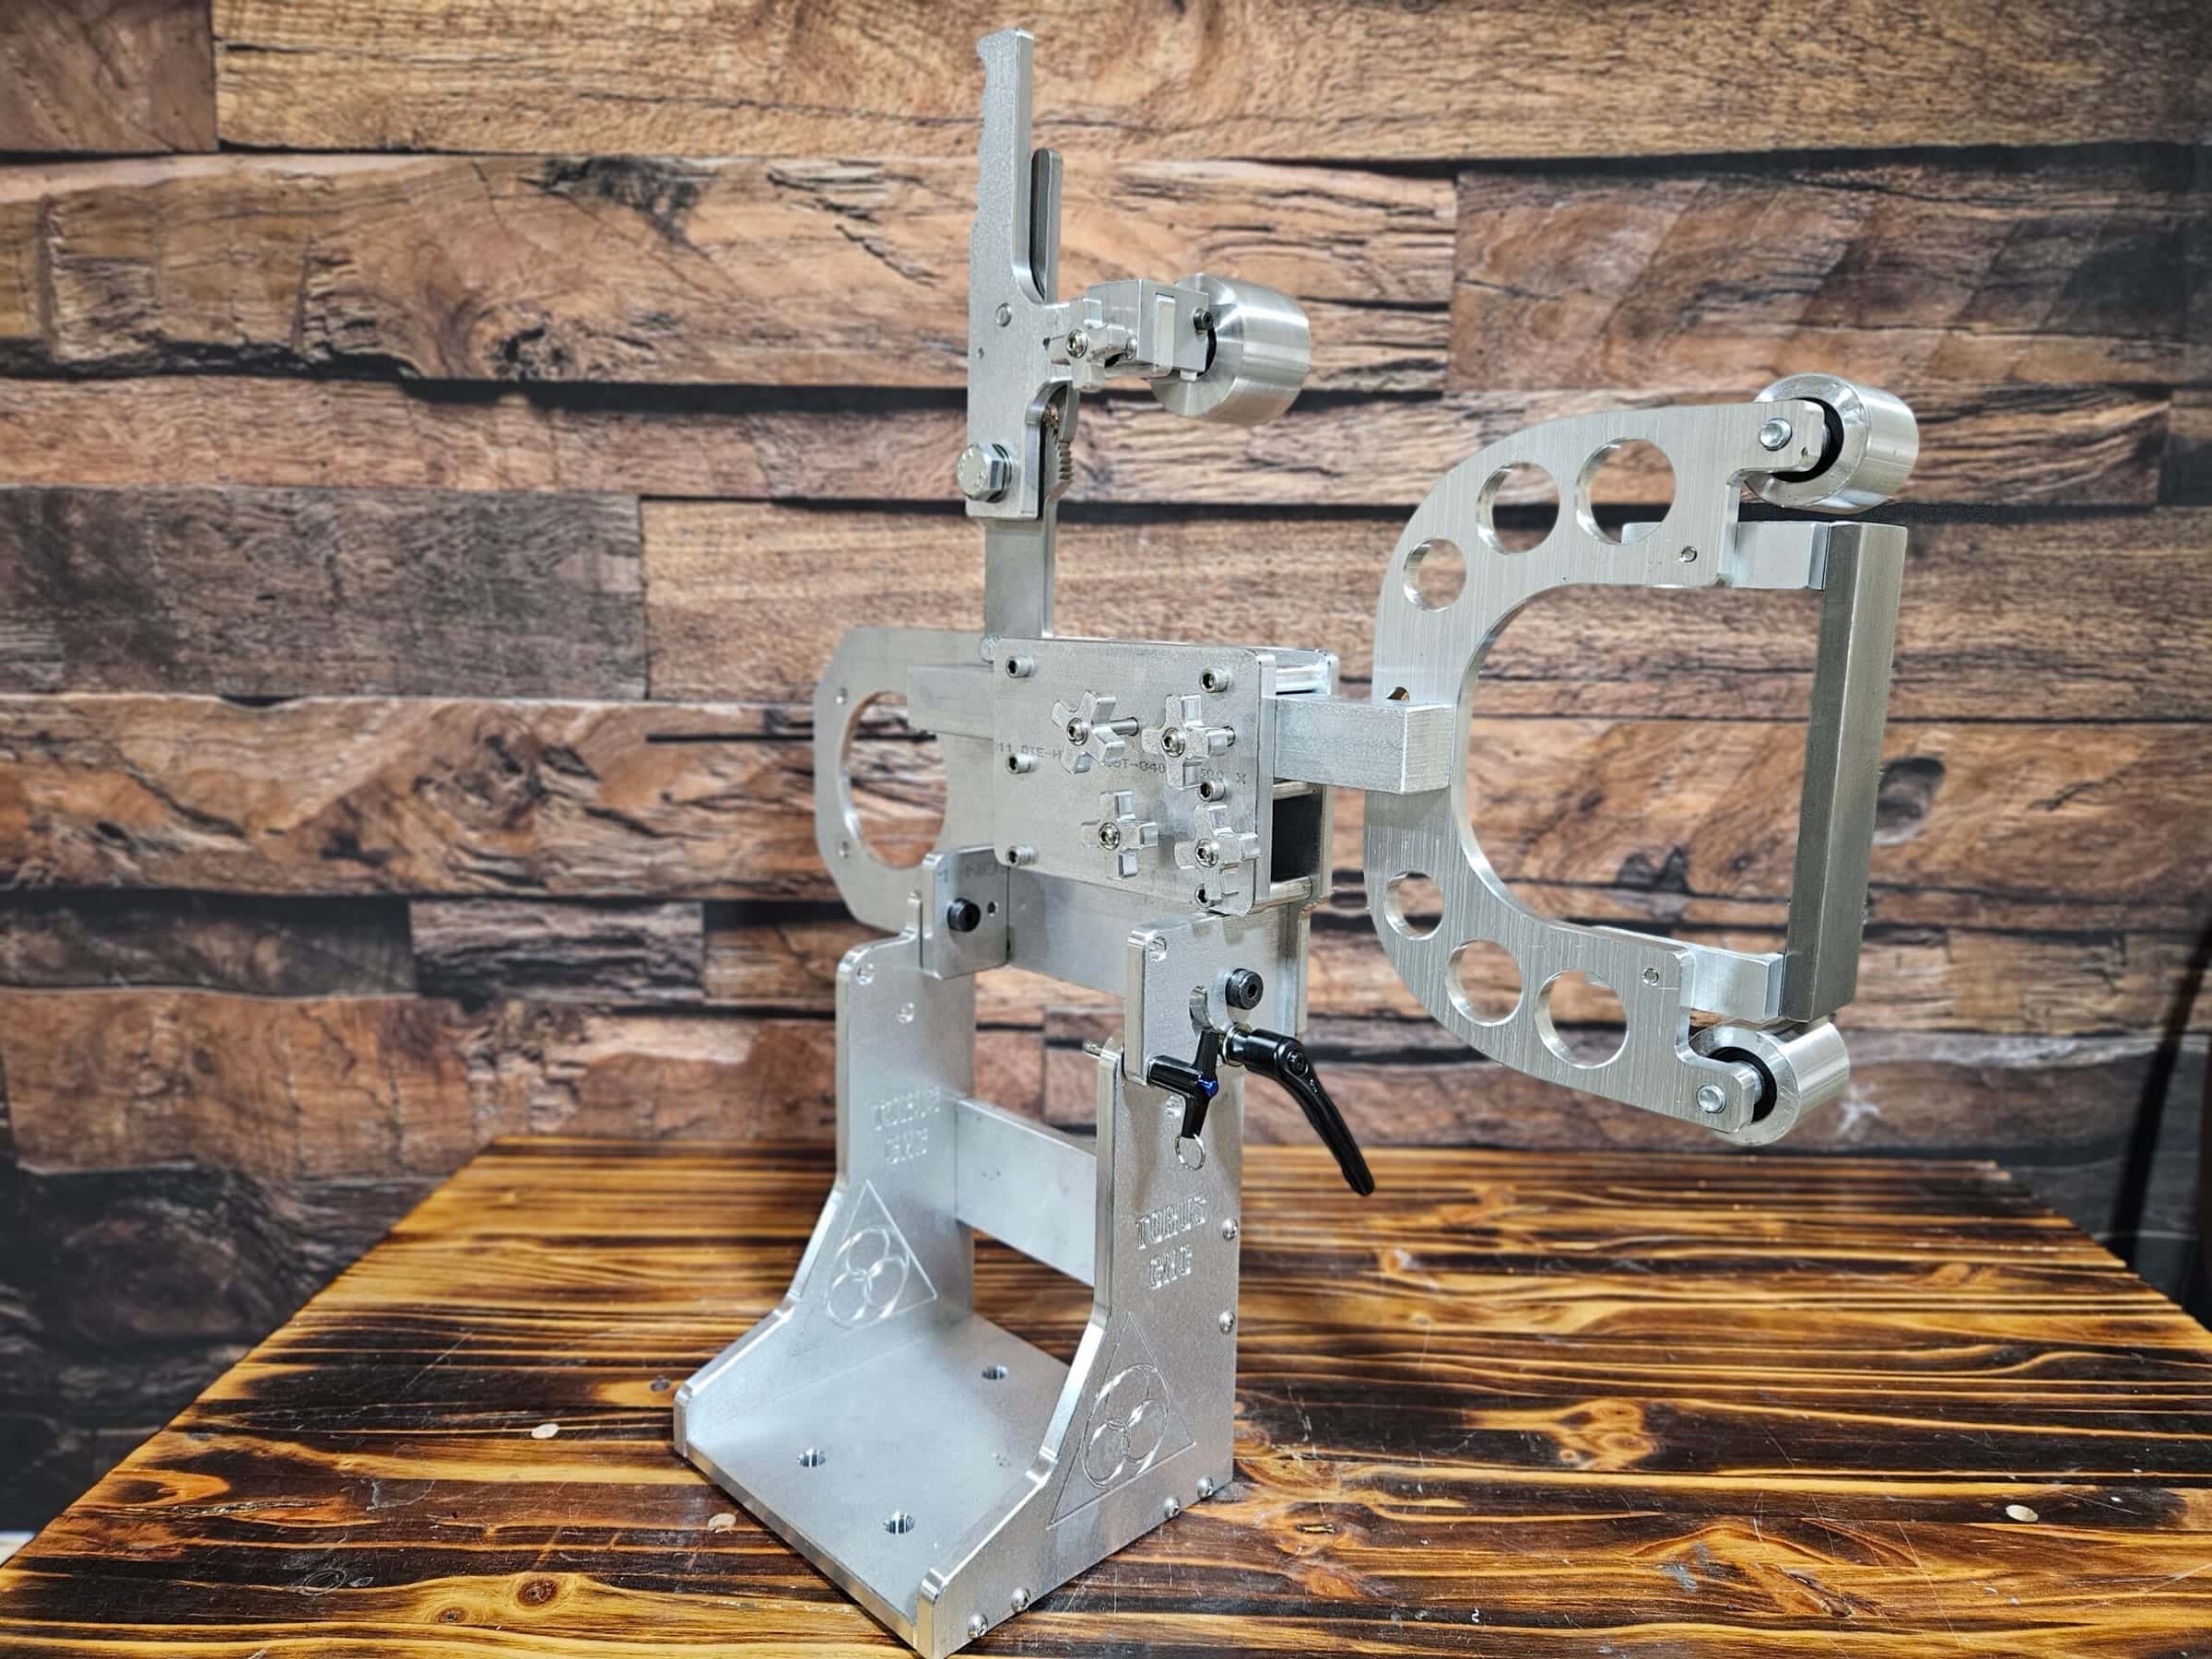
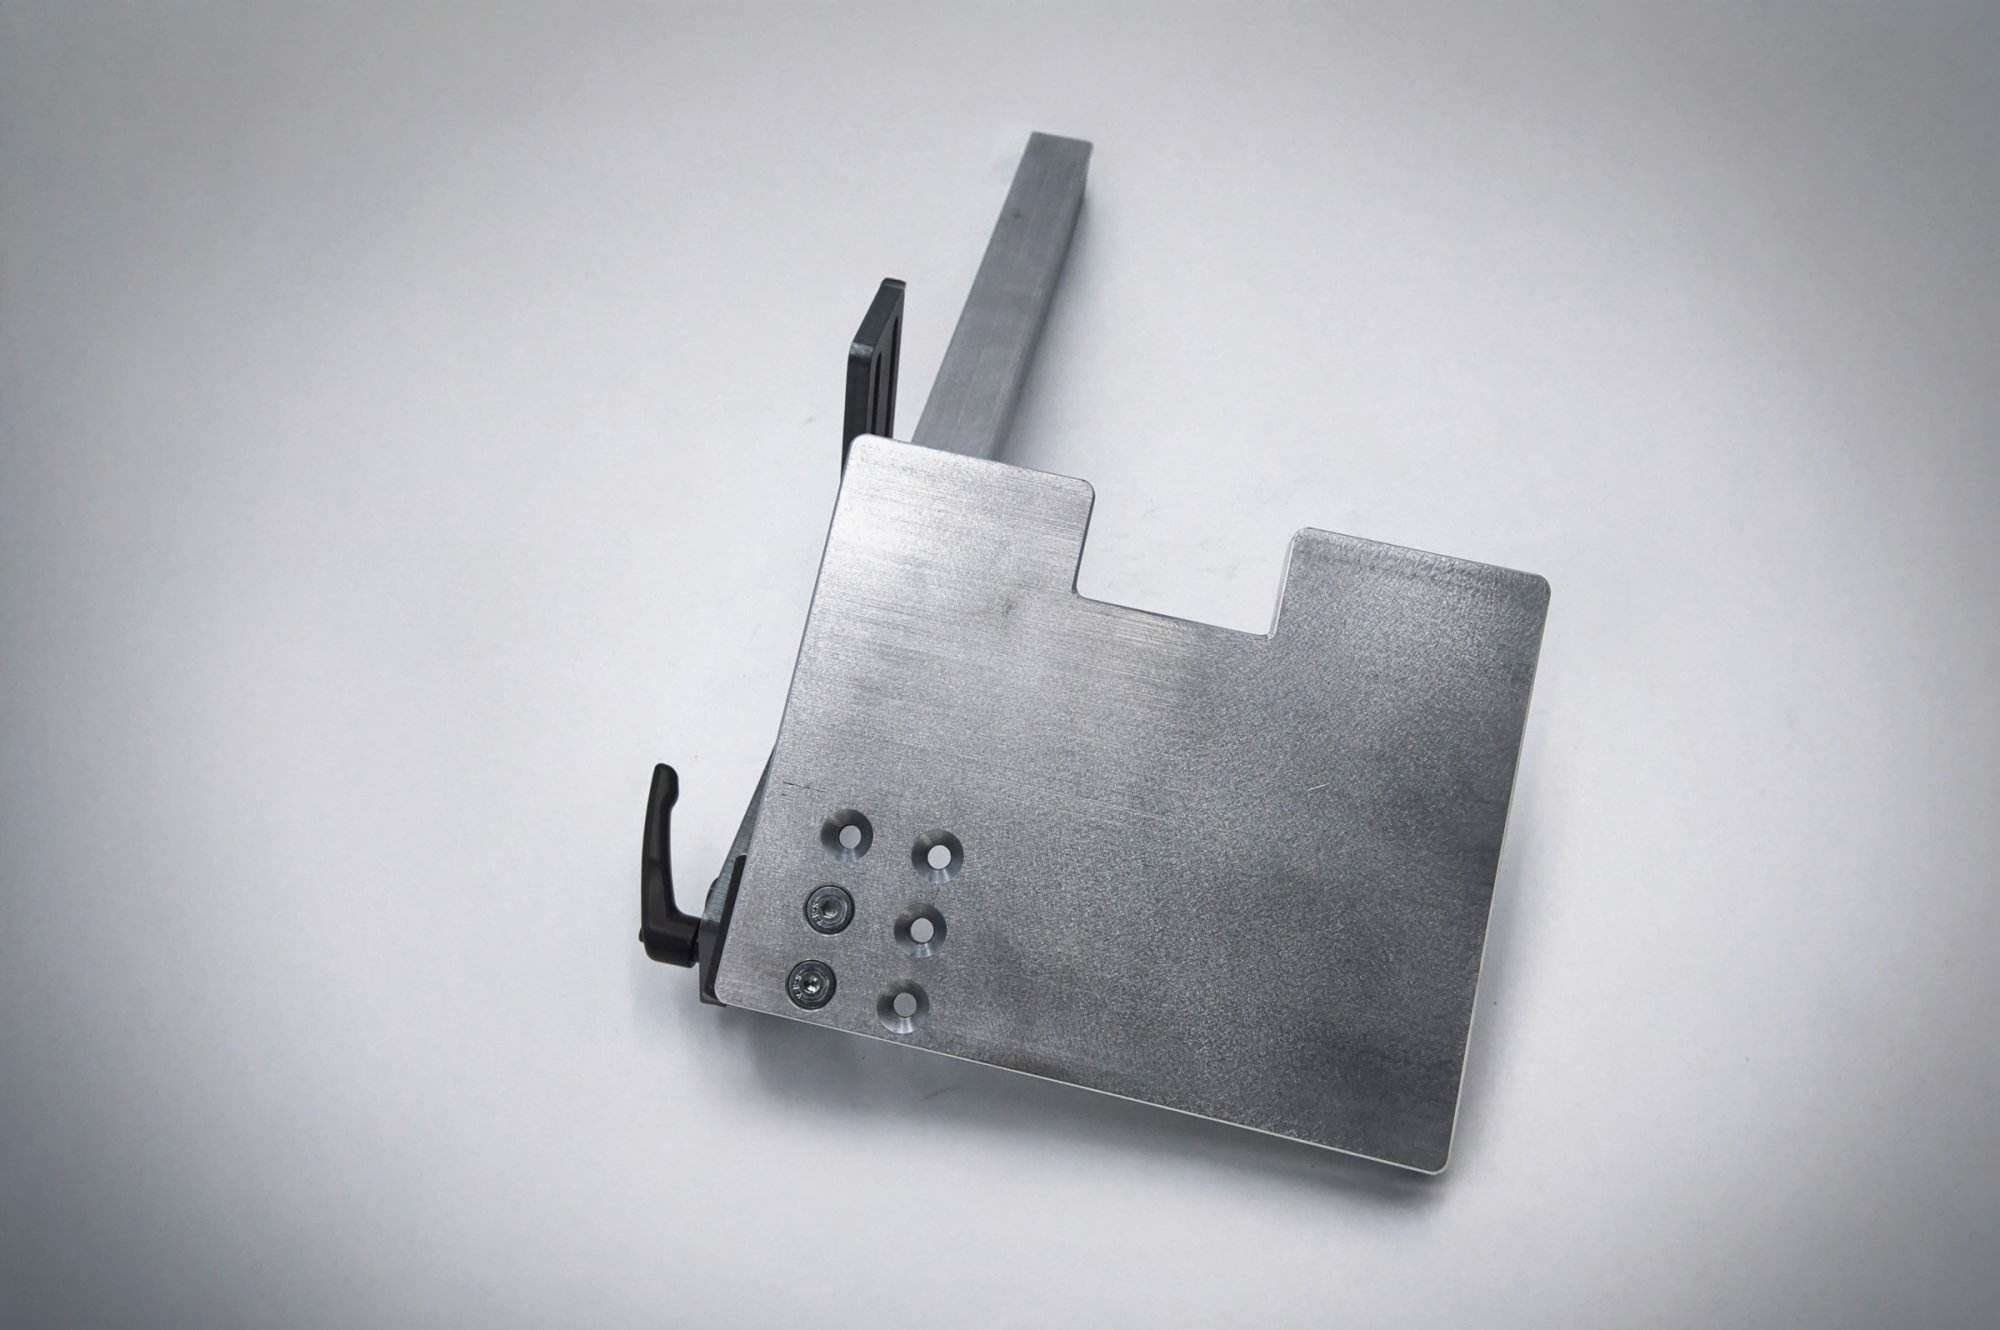
If you would rather grind than fabricate, my 6×16 adjustable work table is 5/16-inch steel on a 3/8-inch bracket with a 1.5-inch aluminum arm, and it tilts for acute angles. It bolts straight into the Nova, Nebula or Classic.