Knife Making
Perfecting the Art of Hollow Grinding Axes: Contact Wheel Techniques
An axe bit is wide, thick and heavy, and a contact wheel is the tool that hollows it evenly. Here is how I hollow grind axes on the 2×72: wheel diameter, holding the angle across the bit, and heat.
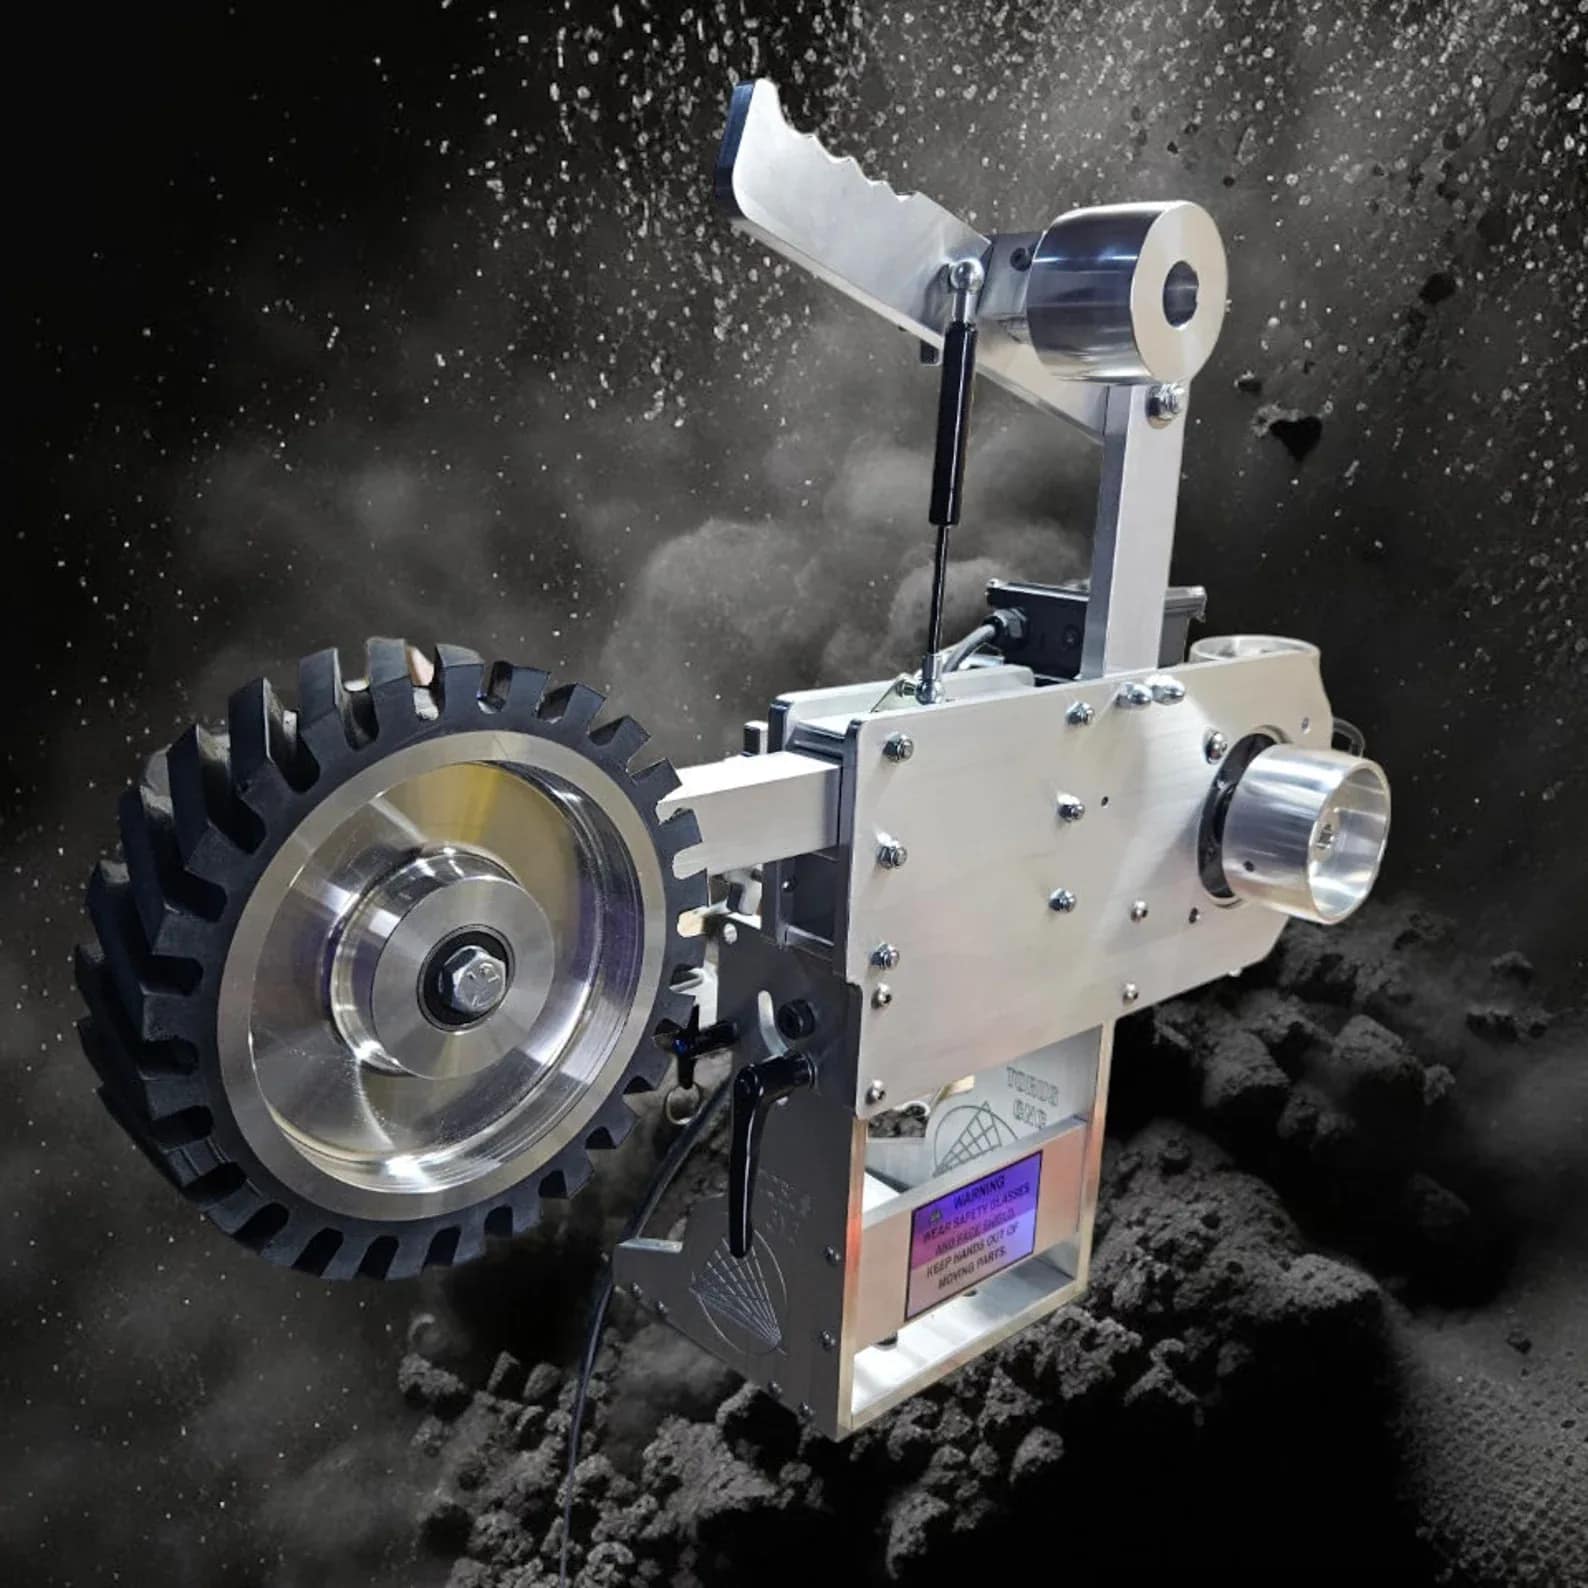
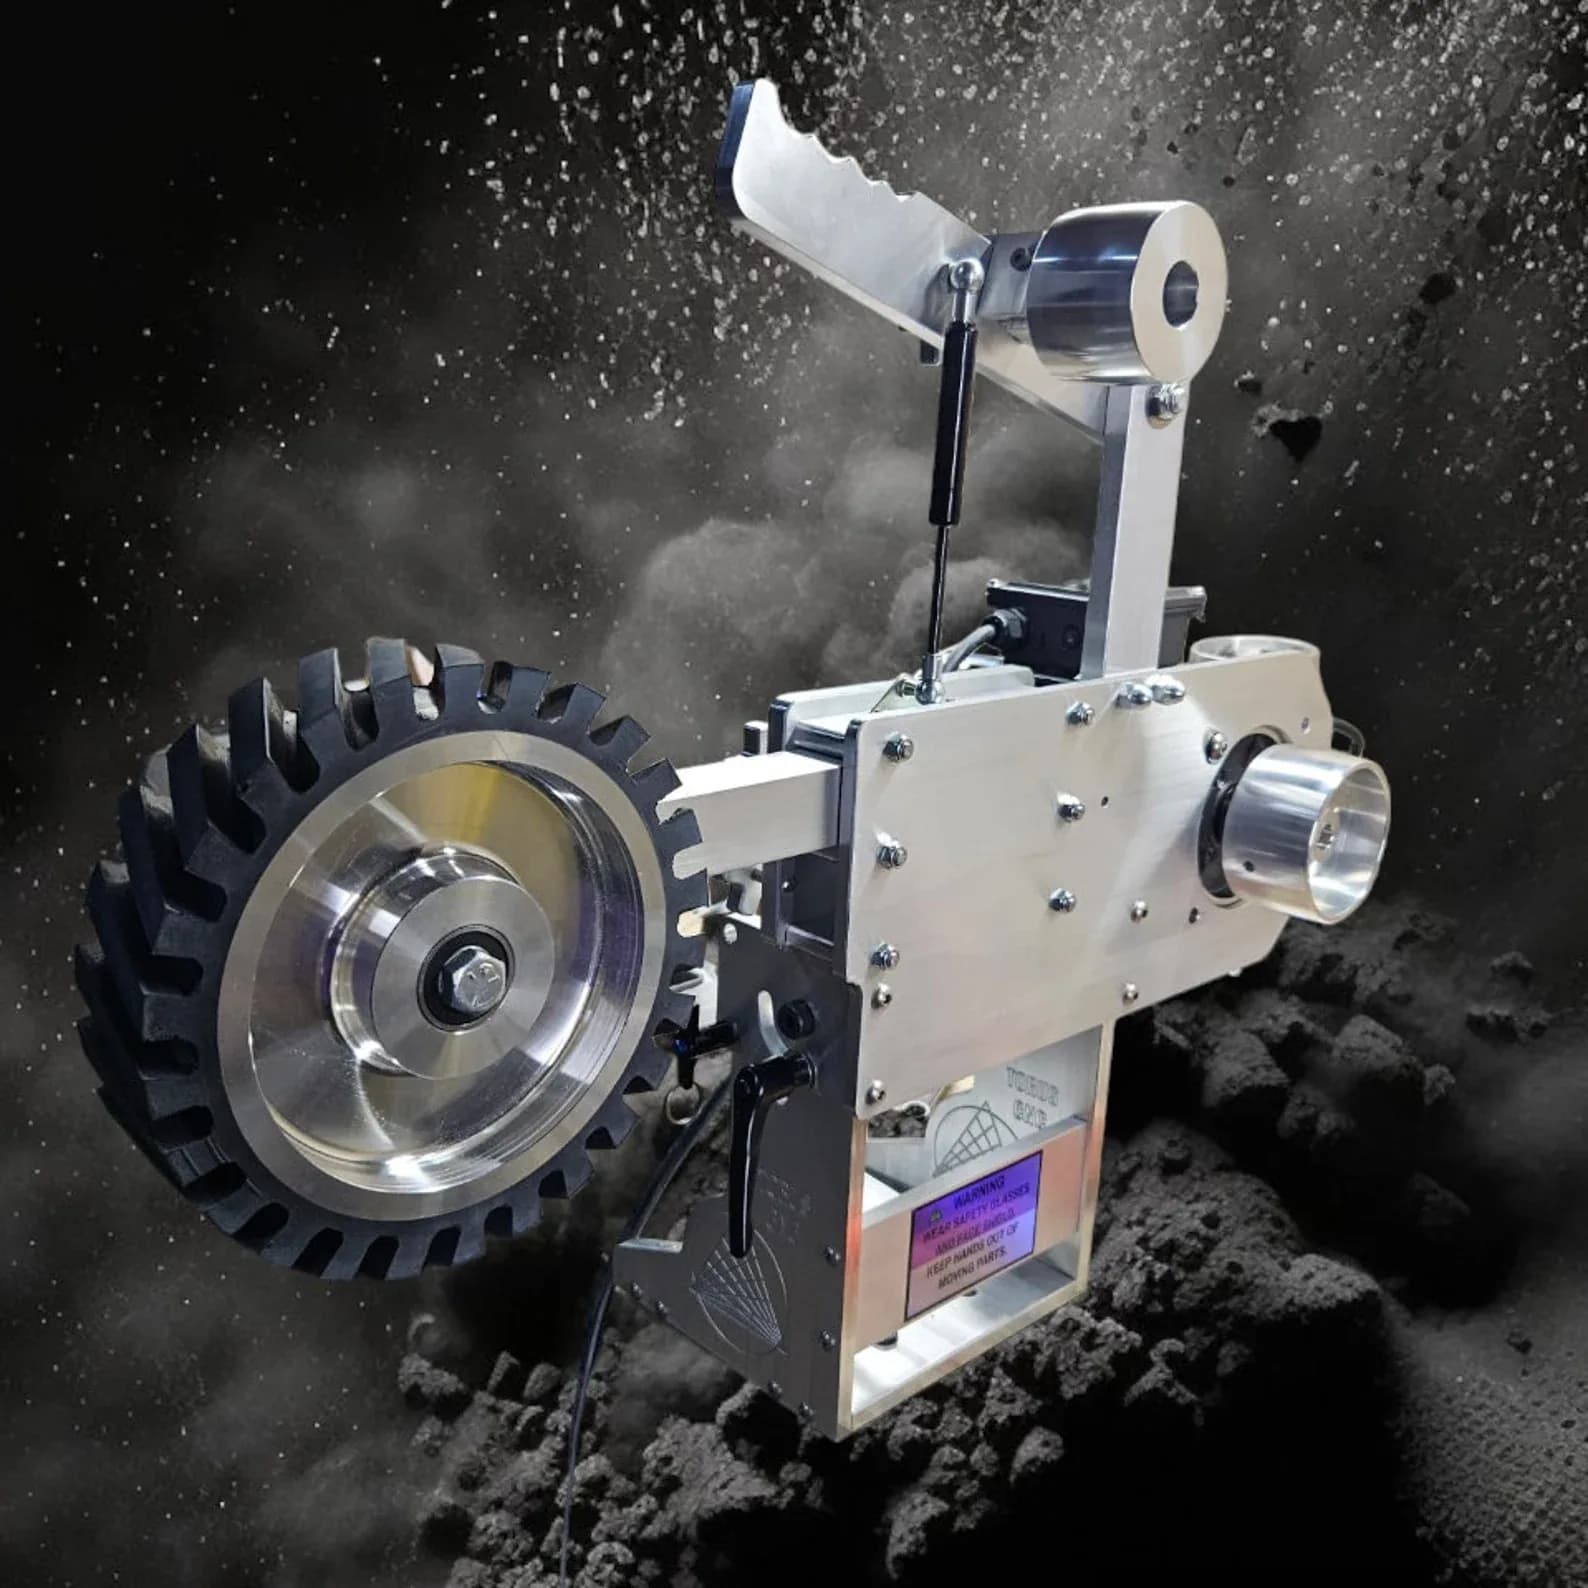
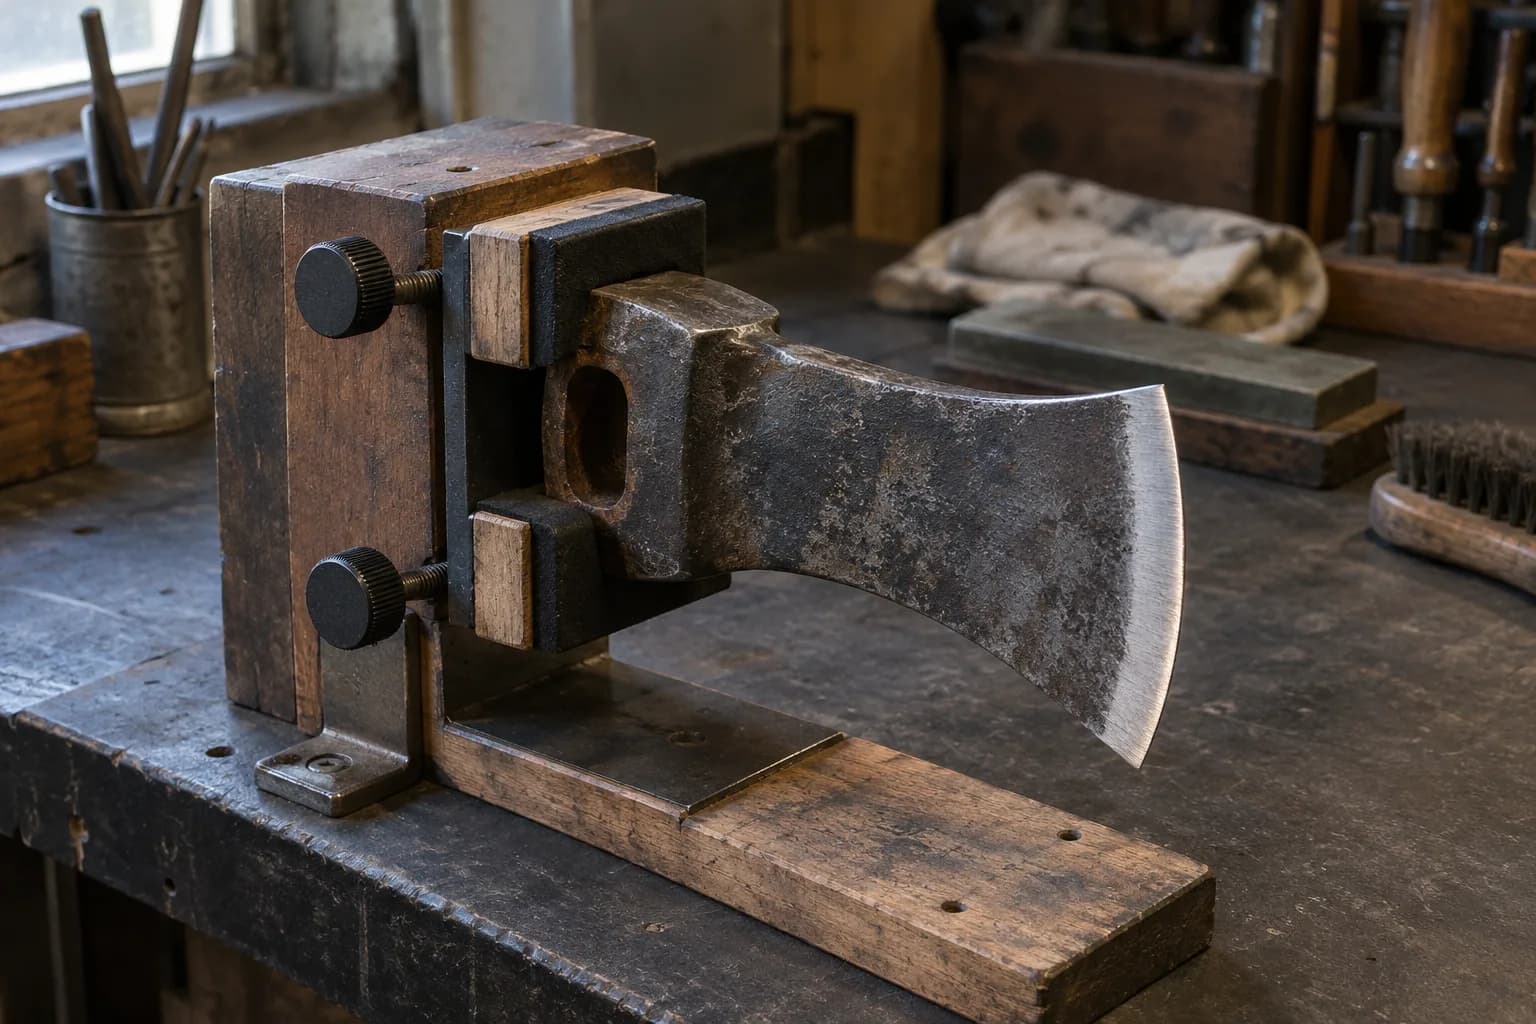
An axe bit is wide, thick and heavy, which makes it the opposite of a kitchen knife on the grinder, and a contact wheel is the tool that hollows it evenly. Here is how I hollow grind axes on the 2×72: choosing a wheel diameter that matches the bit, holding the angle across four inches of edge, keeping a heavy head from overheating, and bringing the edge to a working finish.
This design reduces the weight of the knife while maintaining strength, making it an ideal choice for various cutting tasks. The technique is particularly favored for producing kitchen knives, pocket knives, and other tools that require precision and sharpness. The process of hollow grinding typically involves the use of a specialized grinding wheel that has a curved profile.
Key Takeaways
- Hollow grinding creates a concave shape on the blade, making it easier to sharpen and maintain the edge.
- The right contact wheel size and material can greatly impact the hollow grinding process.
- Proper setup of the grinding machine is crucial for achieving a consistent and uniform grind.
- Adjusting the angle and pressure during grinding is essential for achieving the desired edge.
- Maintaining consistent pressure and speed throughout the grinding process is key to achieving a uniform grind.
- Common mistakes to avoid include uneven pressure, incorrect angle, and using the wrong grit.
- Achieving a uniform grind requires patience, practice, and attention to detail.
- Fine-tuning the edge after hollow grinding is important for achieving a sharp and durable blade.
- Using the correct grit for hollow grinding is essential for achieving the desired edge and finish.
- Safety precautions, such as wearing protective gear and using the machine properly, are crucial when mastering the hollow grinding technique.
Choosing the Right Contact Wheel
Selecting the appropriate contact wheel is crucial for achieving optimal results in hollow grinding. The contact wheel’s diameter and curvature play a significant role in determining the depth and shape of the hollow grind. A larger diameter wheel will create a shallower hollow, while a smaller diameter wheel will produce a deeper concave surface.
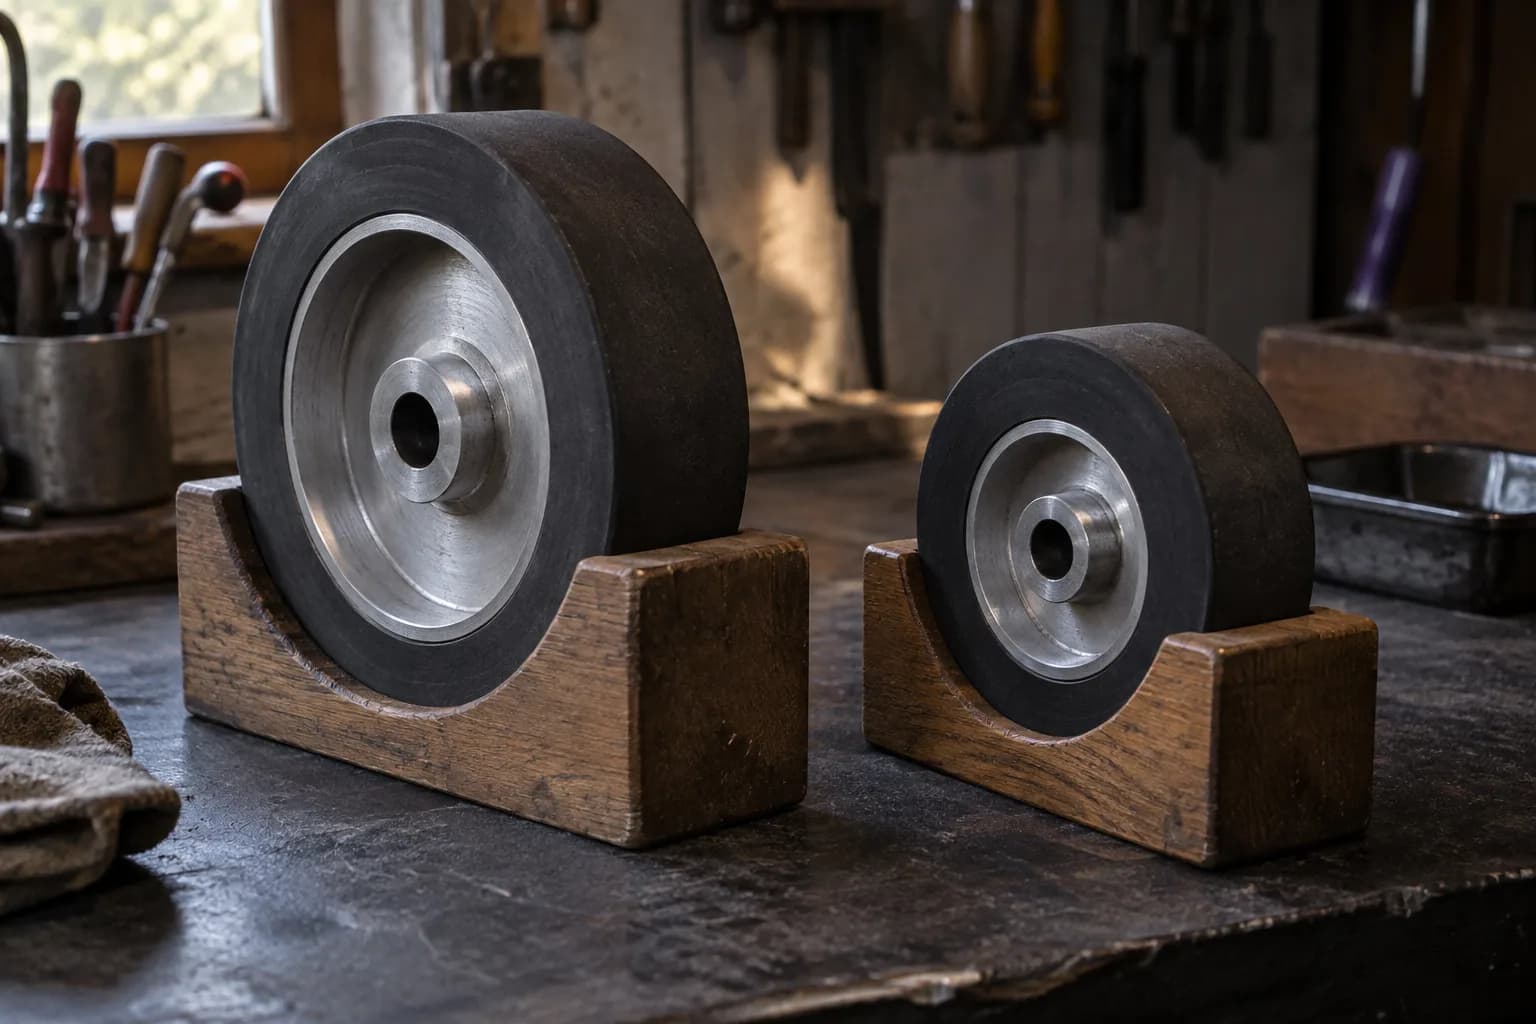
Therefore, it is essential to consider the specific requirements of the knife being crafted when choosing a contact wheel. In addition to size, the hardness of the contact wheel also impacts the grinding process. Softer wheels tend to conform better to the blade’s profile, allowing for more precise shaping, while harder wheels provide greater durability and longevity.
Setting Up Your Grinding Machine
Proper setup of your grinding machine is vital for successful hollow grinding. Before beginning, ensure that your machine is clean and free from debris, as any buildup can interfere with the grinding process. Check that all components are functioning correctly, including the motor, belts, and bearings.
A well-maintained machine will not only perform better but will also ensure safety during operation. Once your machine is in good working order, adjust the height and angle of the contact wheel to match your desired grind. This may involve raising or lowering the wheel or tilting it to achieve the correct angle for your specific blade design.
Adjusting the Angle and Pressure
The angle at which you hold the blade against the contact wheel is critical in achieving a consistent hollow grind. A steeper angle will result in a more pronounced hollow, while a shallower angle will create a gentler curve. It is essential to find a balance that suits both your personal preference and the intended use of the knife.
Experimenting with different angles can help you discover what works best for your specific projects. In addition to angle adjustments, controlling the pressure applied during grinding is equally important. Too much pressure can lead to overheating and damage to both the blade and the grinding wheel, while too little pressure may result in an ineffective grind.
Maintaining Consistent Pressure and Speed
Consistency is key for hollow grinding. Maintaining steady pressure and speed throughout the grinding process ensures that you achieve an even grind across the entire blade. Variations in pressure or speed can lead to uneven surfaces or unwanted dips in the blade profile.
Consider using a guide or jig to help stabilize your hand and maintain an even angle throughout the process. By prioritizing consistency in both pressure and speed, you can improve your hollow grinding skills and produce blades with superior performance.
Avoiding Common Mistakes
Even experienced knife makers can fall prey to common mistakes during the hollow grinding process. One frequent error is failing to properly secure the blade before grinding, which can lead to slips and uneven grinds. Always ensure that your workpiece is firmly clamped or held in place before beginning any grinding operation.
This not only enhances safety but also contributes to achieving a more uniform grind. Another common mistake is neglecting to monitor heat buildup during grinding. Excessive heat can compromise the integrity of the blade steel, leading to warping or loss of hardness.
To avoid this issue, take breaks during grinding sessions to allow both the blade and contact wheel to cool down. Using coolant or water can help dissipate heat and prolong the life of your equipment. By being mindful of these common pitfalls, you can improve your hollow grinding technique and produce higher-quality blades.
Achieving a Uniform Grind
Achieving a uniform grind is one of the primary goals of hollow grinding. A consistent surface not only enhances the knife’s appearance but also contributes to its cutting efficiency. To achieve this uniformity, focus on maintaining an even angle and consistent pressure throughout the entire length of the blade.
Regularly checking your progress during grinding can help identify any areas that may require additional attention. Another effective strategy for achieving a uniform grind is to work methodically from one end of the blade to the other. This approach allows you to monitor your progress closely and make adjustments as needed.
Consider using visual aids such as markers or guides on your blade to help maintain alignment during grinding. By implementing these techniques, you can ensure that your hollow grind remains consistent and uniform from start to finish.
Fine-Tuning the Edge
Once you have achieved a satisfactory hollow grind, it’s time to focus on fine-tuning the edge of your blade. This step involves refining the sharpness and ensuring that the edge geometry meets your specifications. Using finer grit belts or wheels can help polish the edge while removing any burrs created during initial grinding.
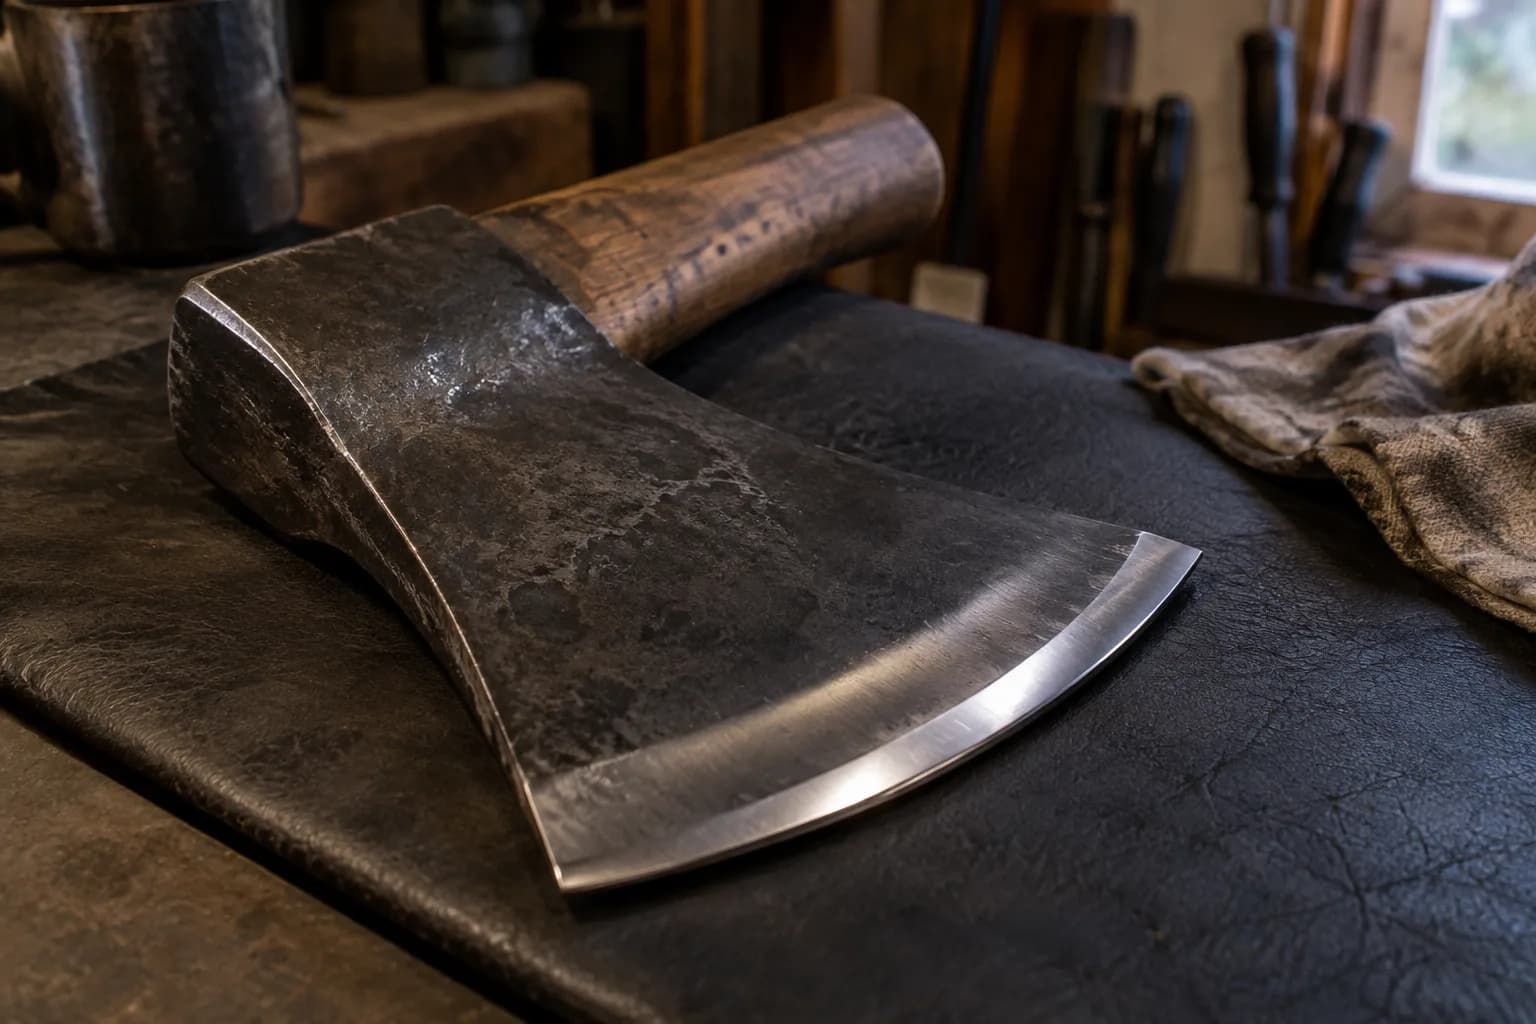
This process not only enhances sharpness but also improves overall aesthetics. Pay attention to maintaining an appropriate angle while fine-tuning the edge; this will ensure that you do not alter the desired profile established during hollow grinding. It may be beneficial to switch between different grits as you refine the edge, gradually moving from coarser to finer options until you achieve your desired sharpness level.
Using the Correct Grit
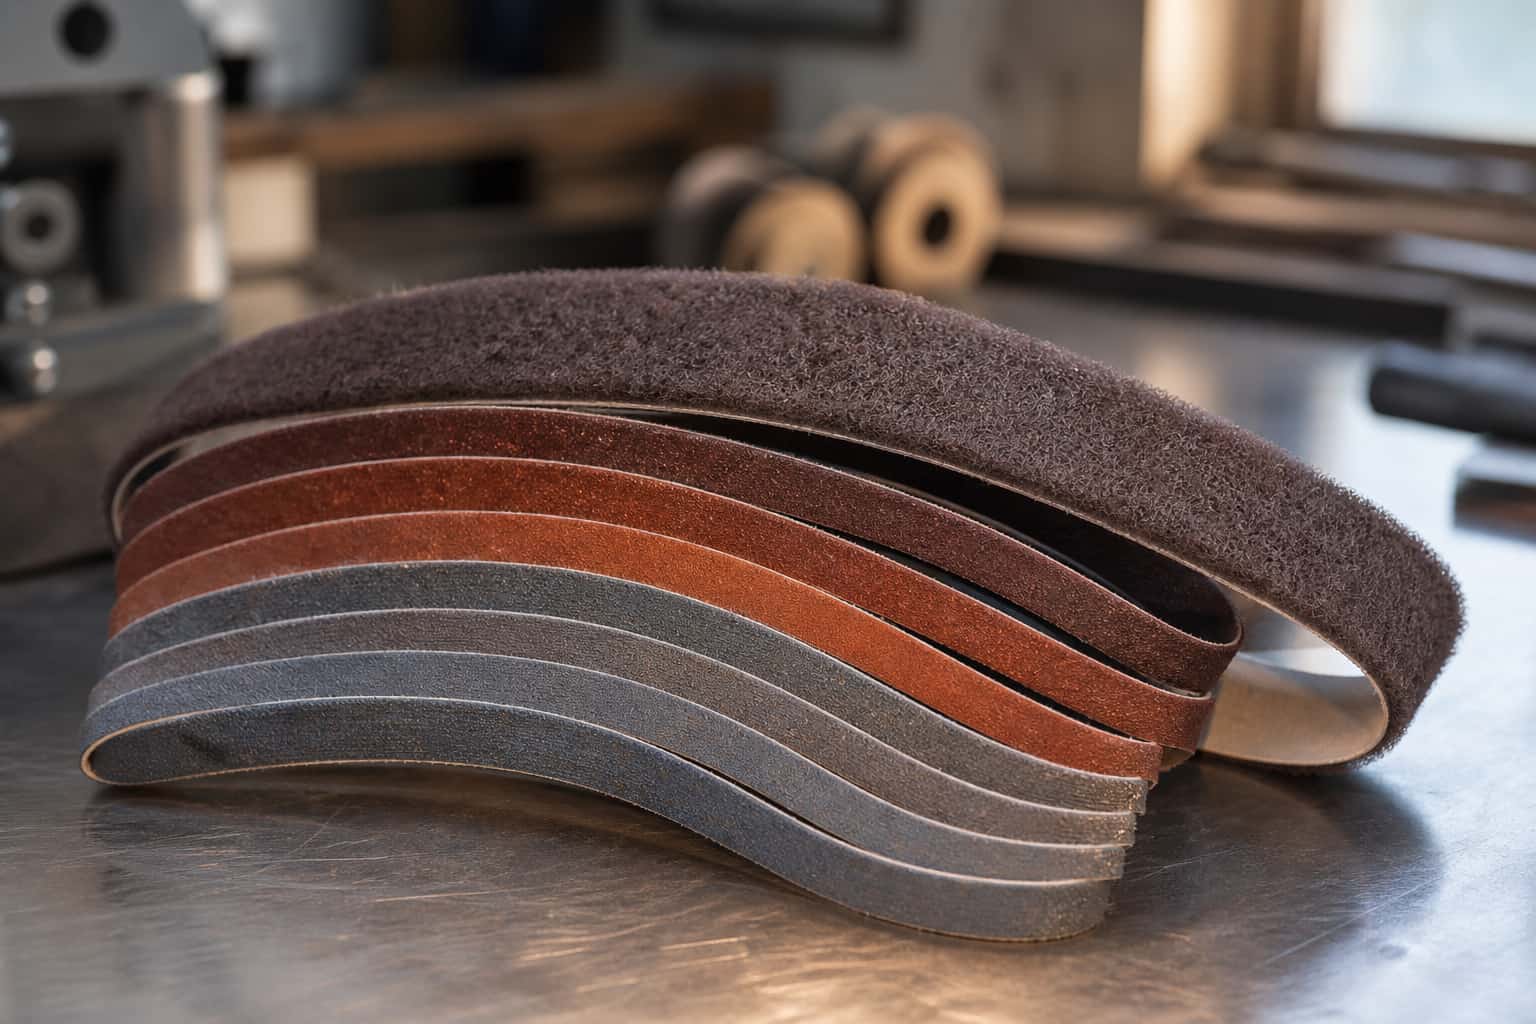
The choice of grit plays a significant role in both hollow grinding and edge refinement processes. Coarser grits are ideal for initial shaping and material removal, while finer grits are better suited for polishing and achieving a razor-sharp edge. Understanding when to switch between grits is crucial for optimizing your workflow and achieving desired results efficiently.
When starting with hollow grinding, begin with a coarser grit that allows for rapid material removal without excessive heat buildup. As you progress through your grind, gradually transition to finer grits to refine both the surface finish and edge sharpness. This systematic approach not only enhances efficiency but also ensures that each stage of grinding contributes positively to the final product.
Safety Precautions
Safety should always be a top priority when engaging in hollow grinding or any metalworking activity. The use of protective gear such as safety glasses, gloves, and ear protection is essential for safeguarding against potential hazards associated with grinding operations. Flying debris, sparks, and loud noise can pose risks if proper precautions are not taken.
Ensure that your workspace is organized and free from clutter before beginning any grinding tasks. A clean environment reduces distractions and minimizes risks associated with tripping or accidentally knocking over equipment. Familiarize yourself with your machine’s safety features and operational guidelines; understanding how to operate your equipment safely will contribute significantly to preventing accidents during hollow grinding.
Tips for Mastering the Hollow Grinding Technique
Mastering hollow grinding requires dedication, practice, and an understanding of various techniques involved in producing high-quality blades. One effective tip is to document your processes; keeping notes on angles used, pressure applied, and grit progression can help you refine your technique over time. This documentation serves as a valuable reference for future projects.
FAQs
What is a contact wheel?
A contact wheel is a type of grinding wheel that is used to grind and shape metal. It is typically made of rubber or other flexible material and is used to apply pressure to the workpiece during the grinding process.
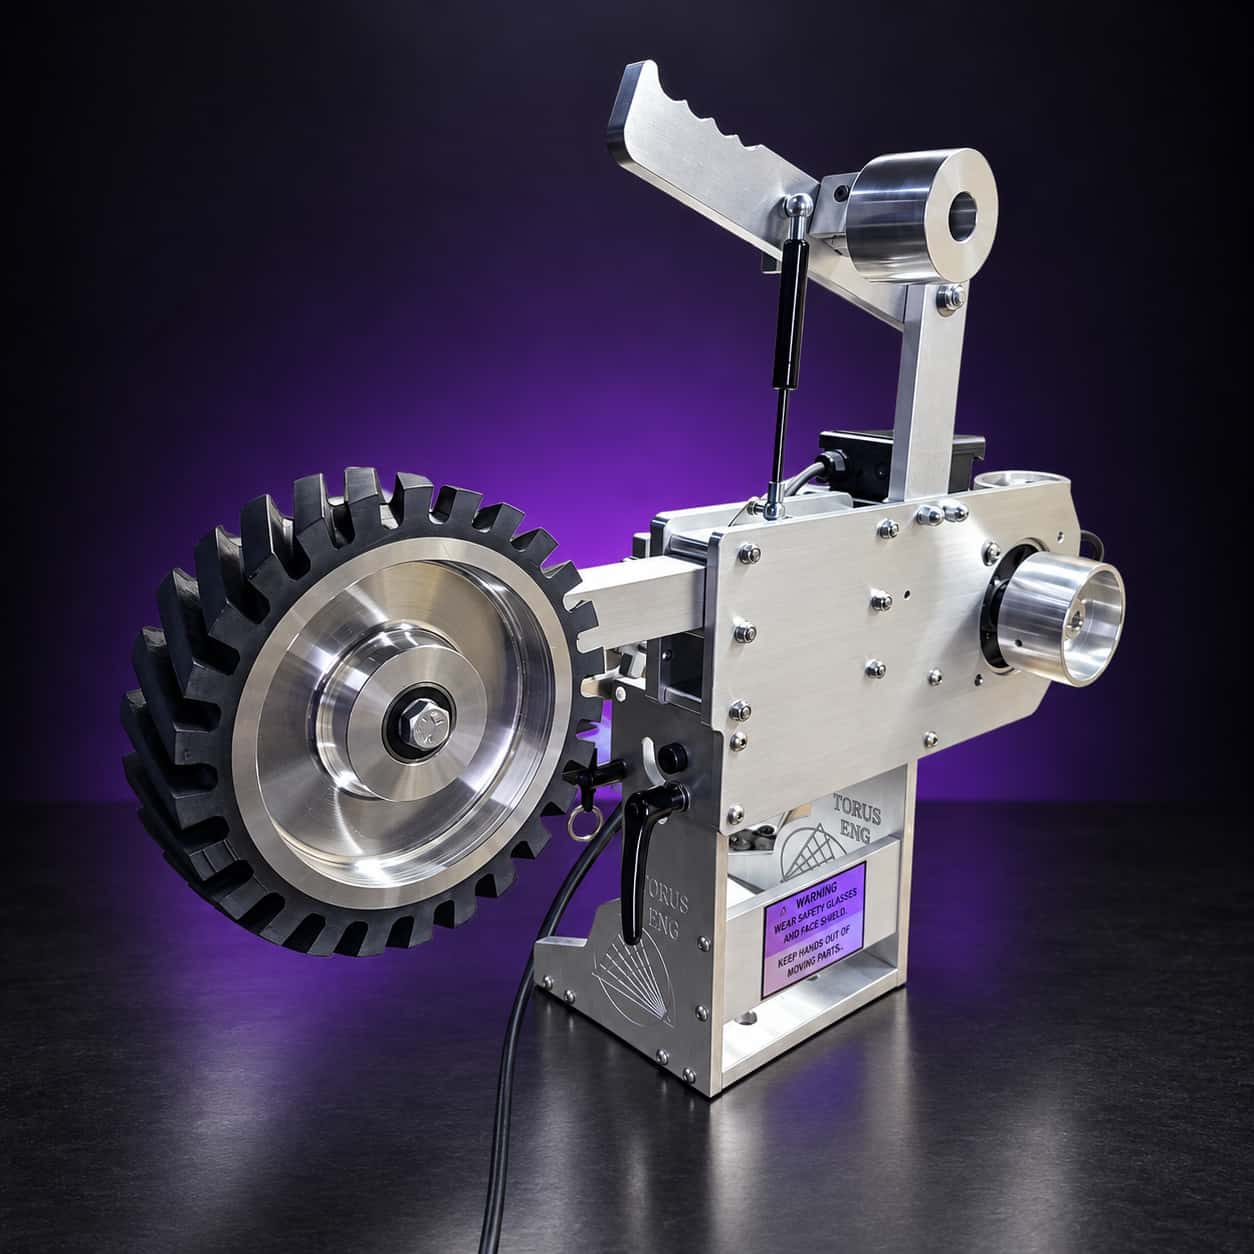
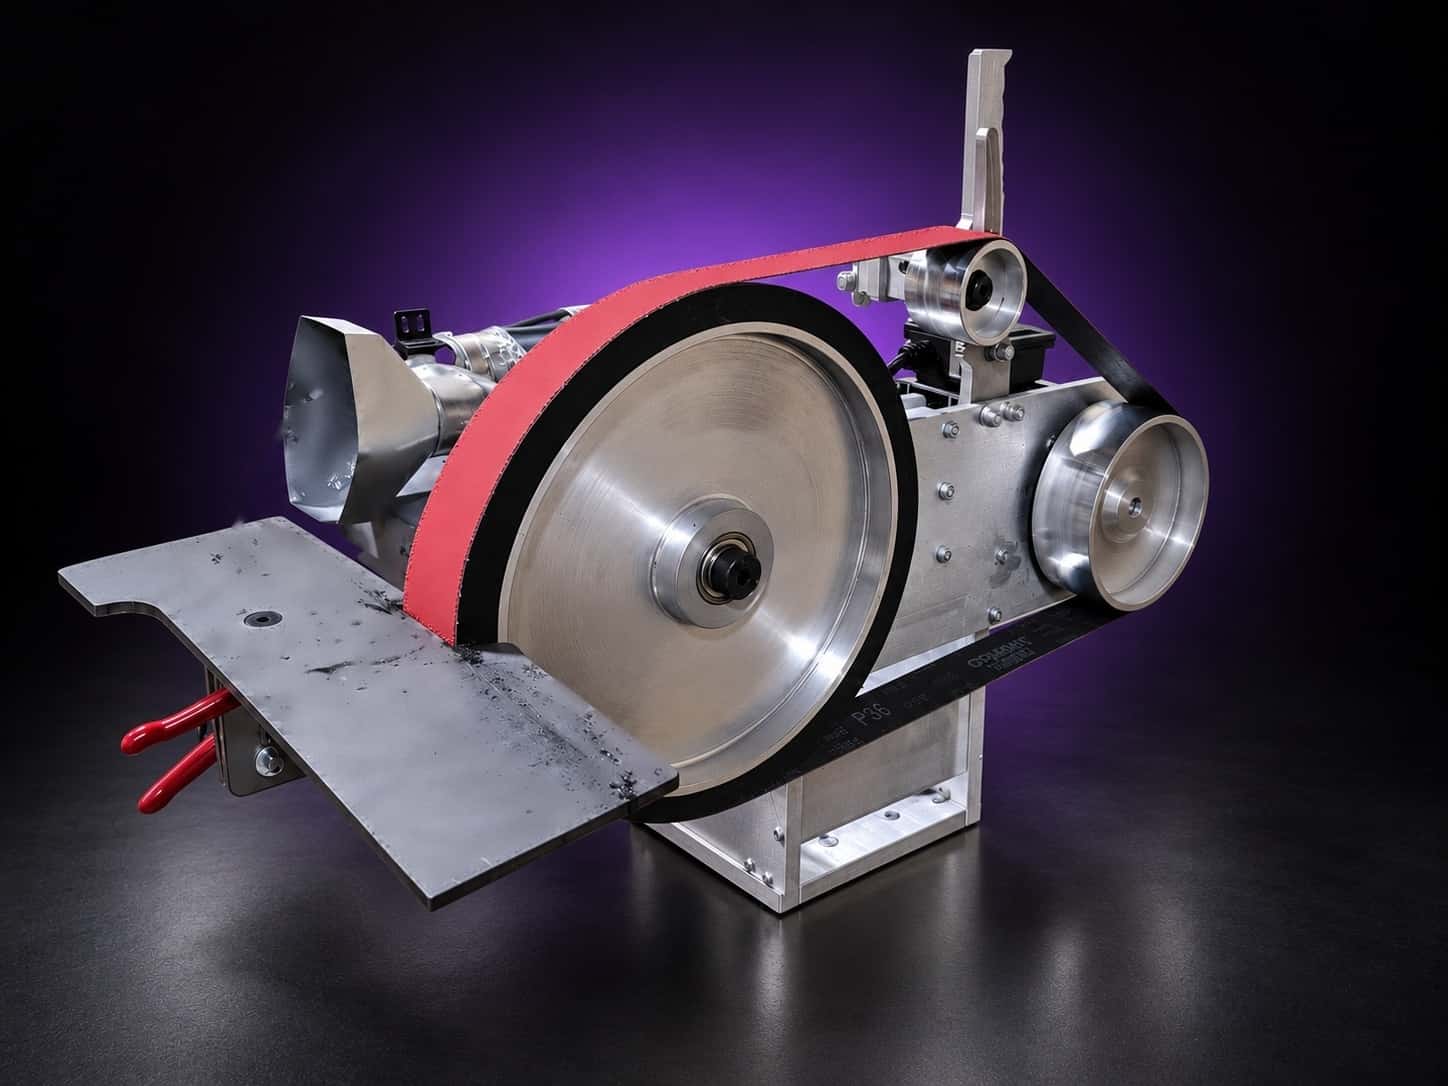
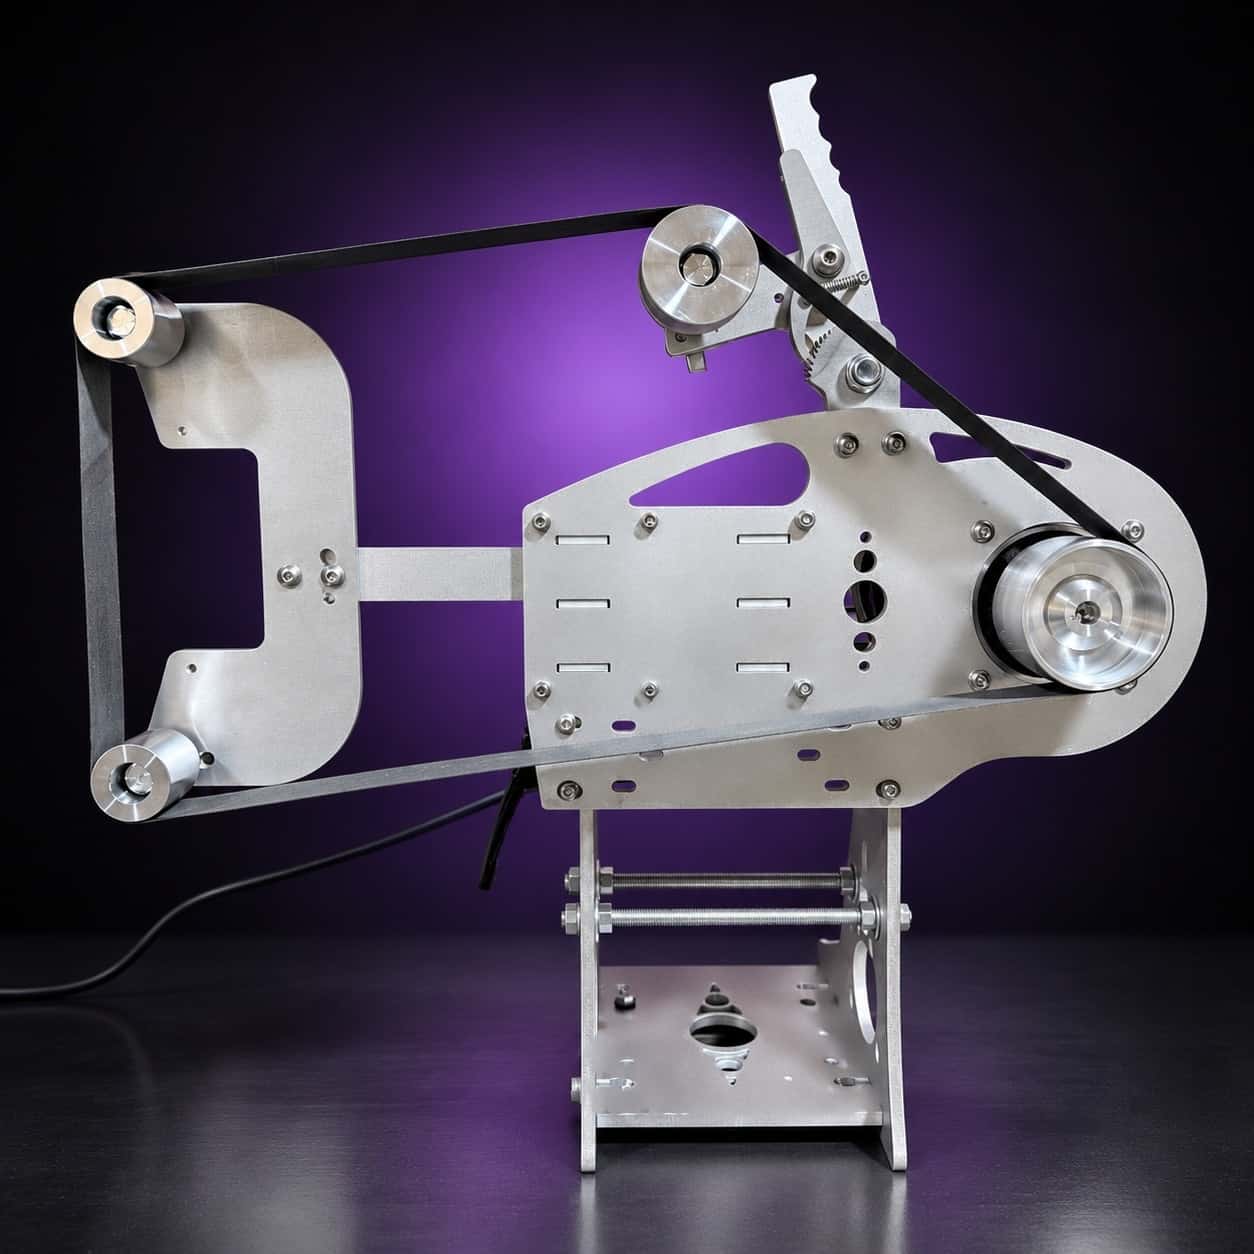
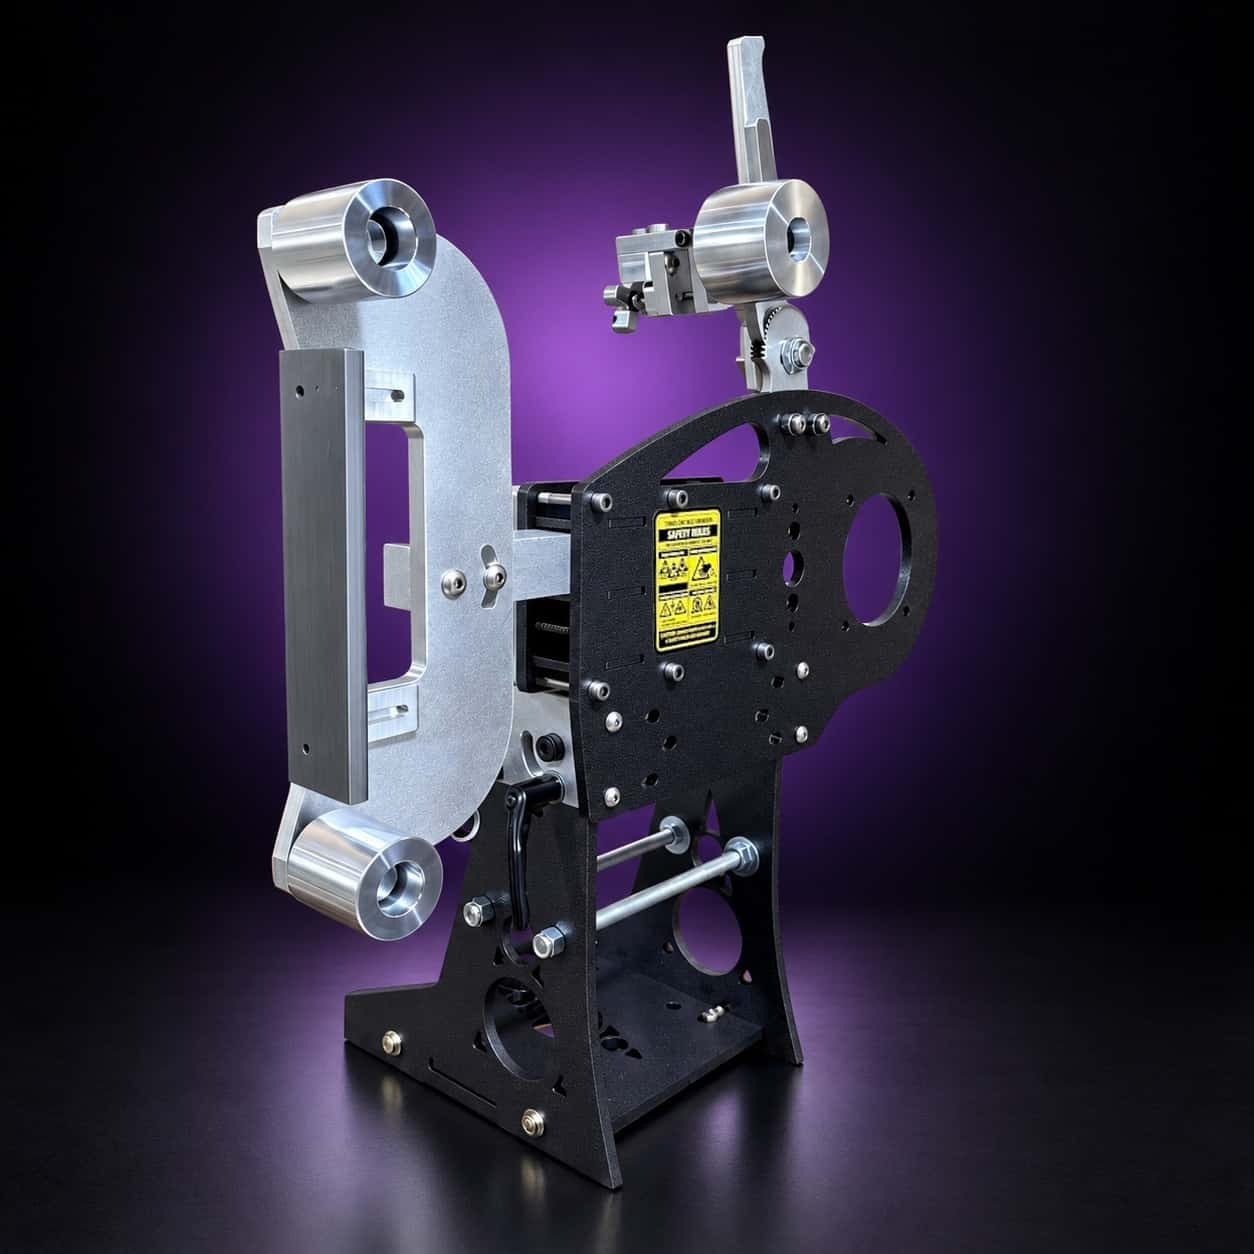
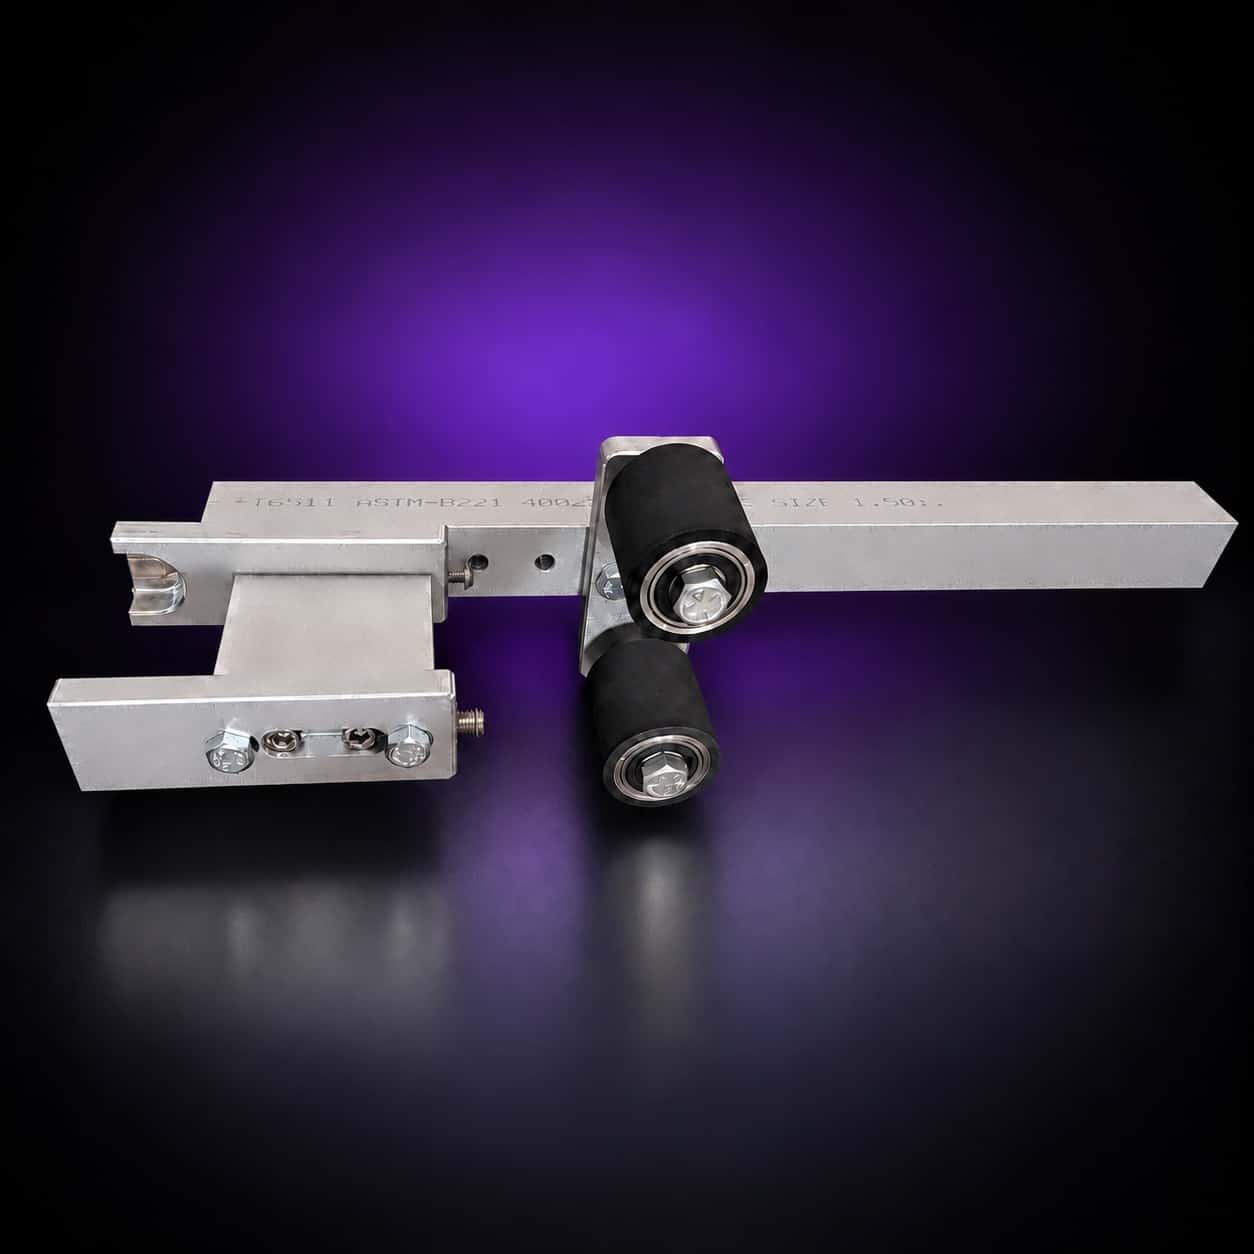
Axe bits like a big wheel. My contact wheel attachment goes up to 14 inches on a solid 1.5-inch aluminum arm, and the Nebula 2×72 has the 3/8-inch steel mass to stay planted under a heavy head. Add the 2 HP motor and VFD and it will not bog.