2x72 Grinder Tips
Perfecting Damascus Patterns: Polishing with a 2×72 Grinder
The pattern is only as good as the polish under it. Here is how I take a damascus blade up the grits on the 2×72 before etching: pressure, speed, keeping it cool, reaching a clean finish, prepping for the etch.
A damascus pattern is only as sharp as the polish underneath it. Scratches left at 220 show up as fuzz in the etch, and heat from a dull belt muddies the layers. Here is how I polish damascus on the 2×72 before it goes in the ferric chloride: the grit ladder, the light pressure and slow speed the layers want, keeping the blade cool, and the degrease that makes the etch bite evenly.
Key Takeaways
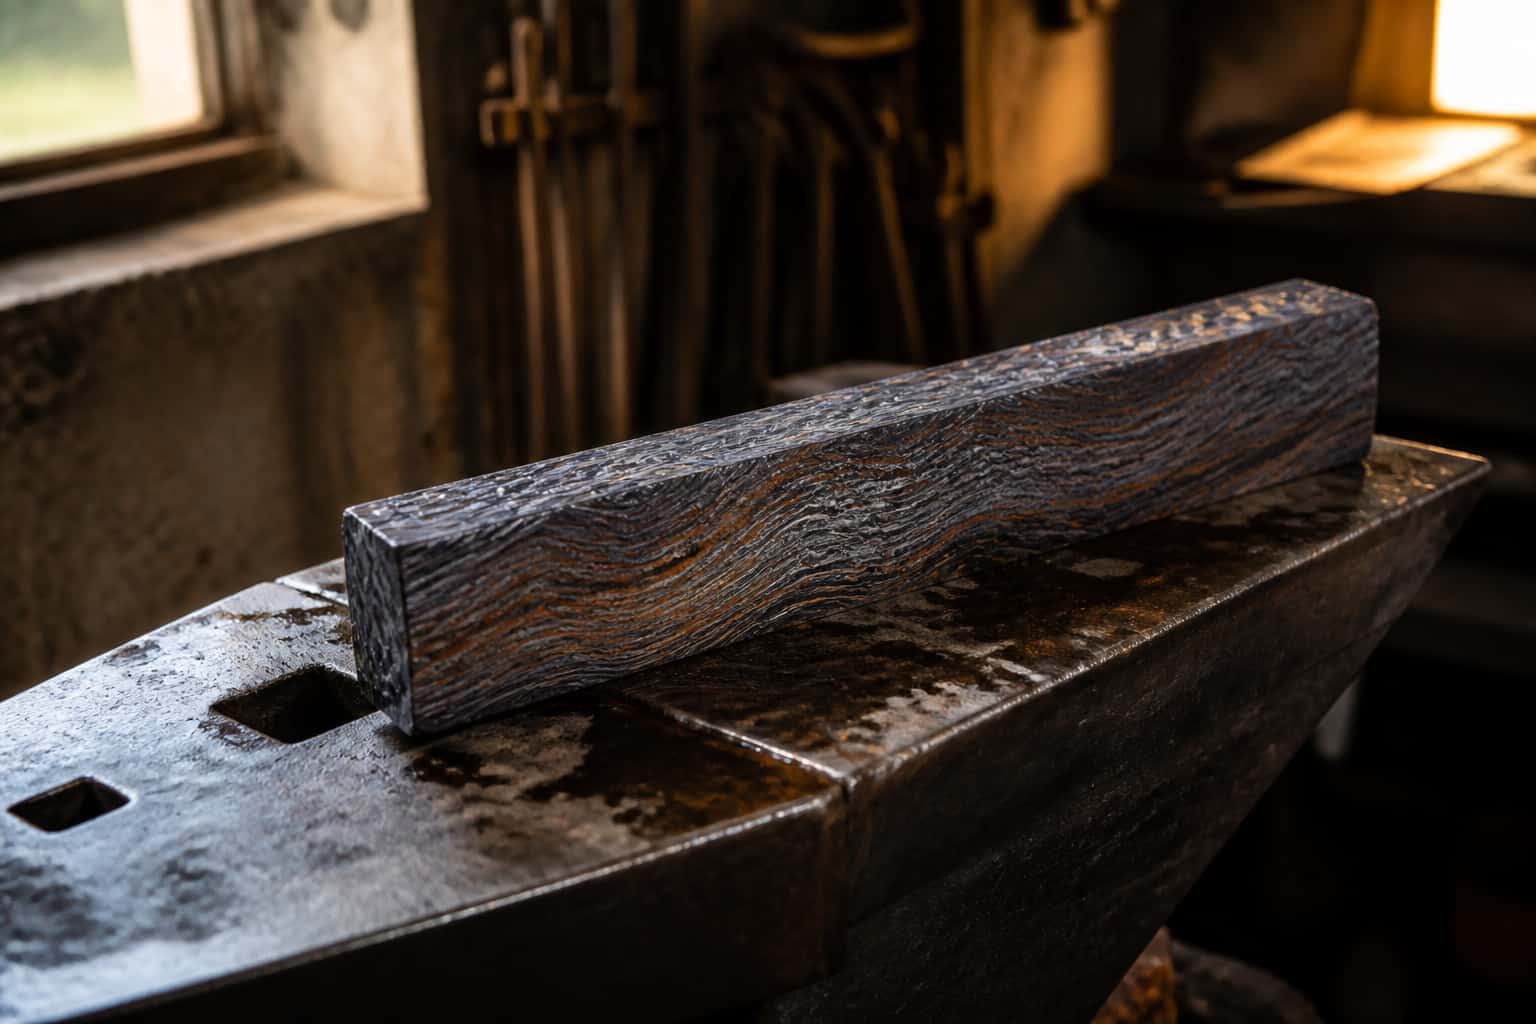
- Understanding Damascus Patterns: Damascus patterns are created by layering and forging different types of steel together to create unique designs and textures.
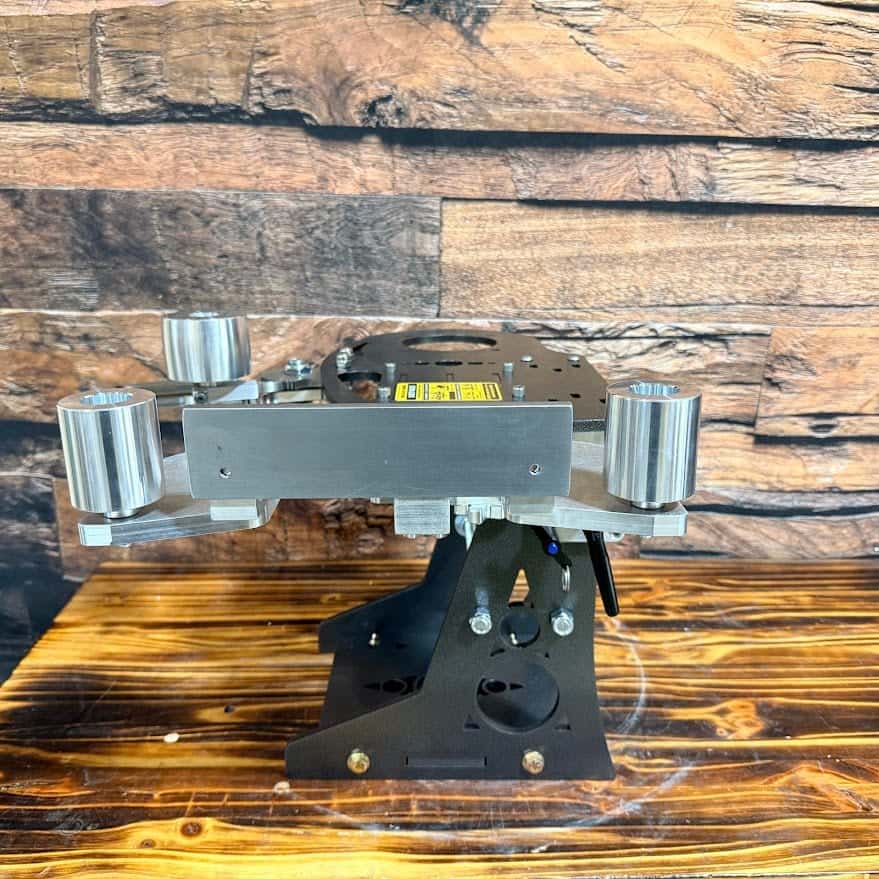
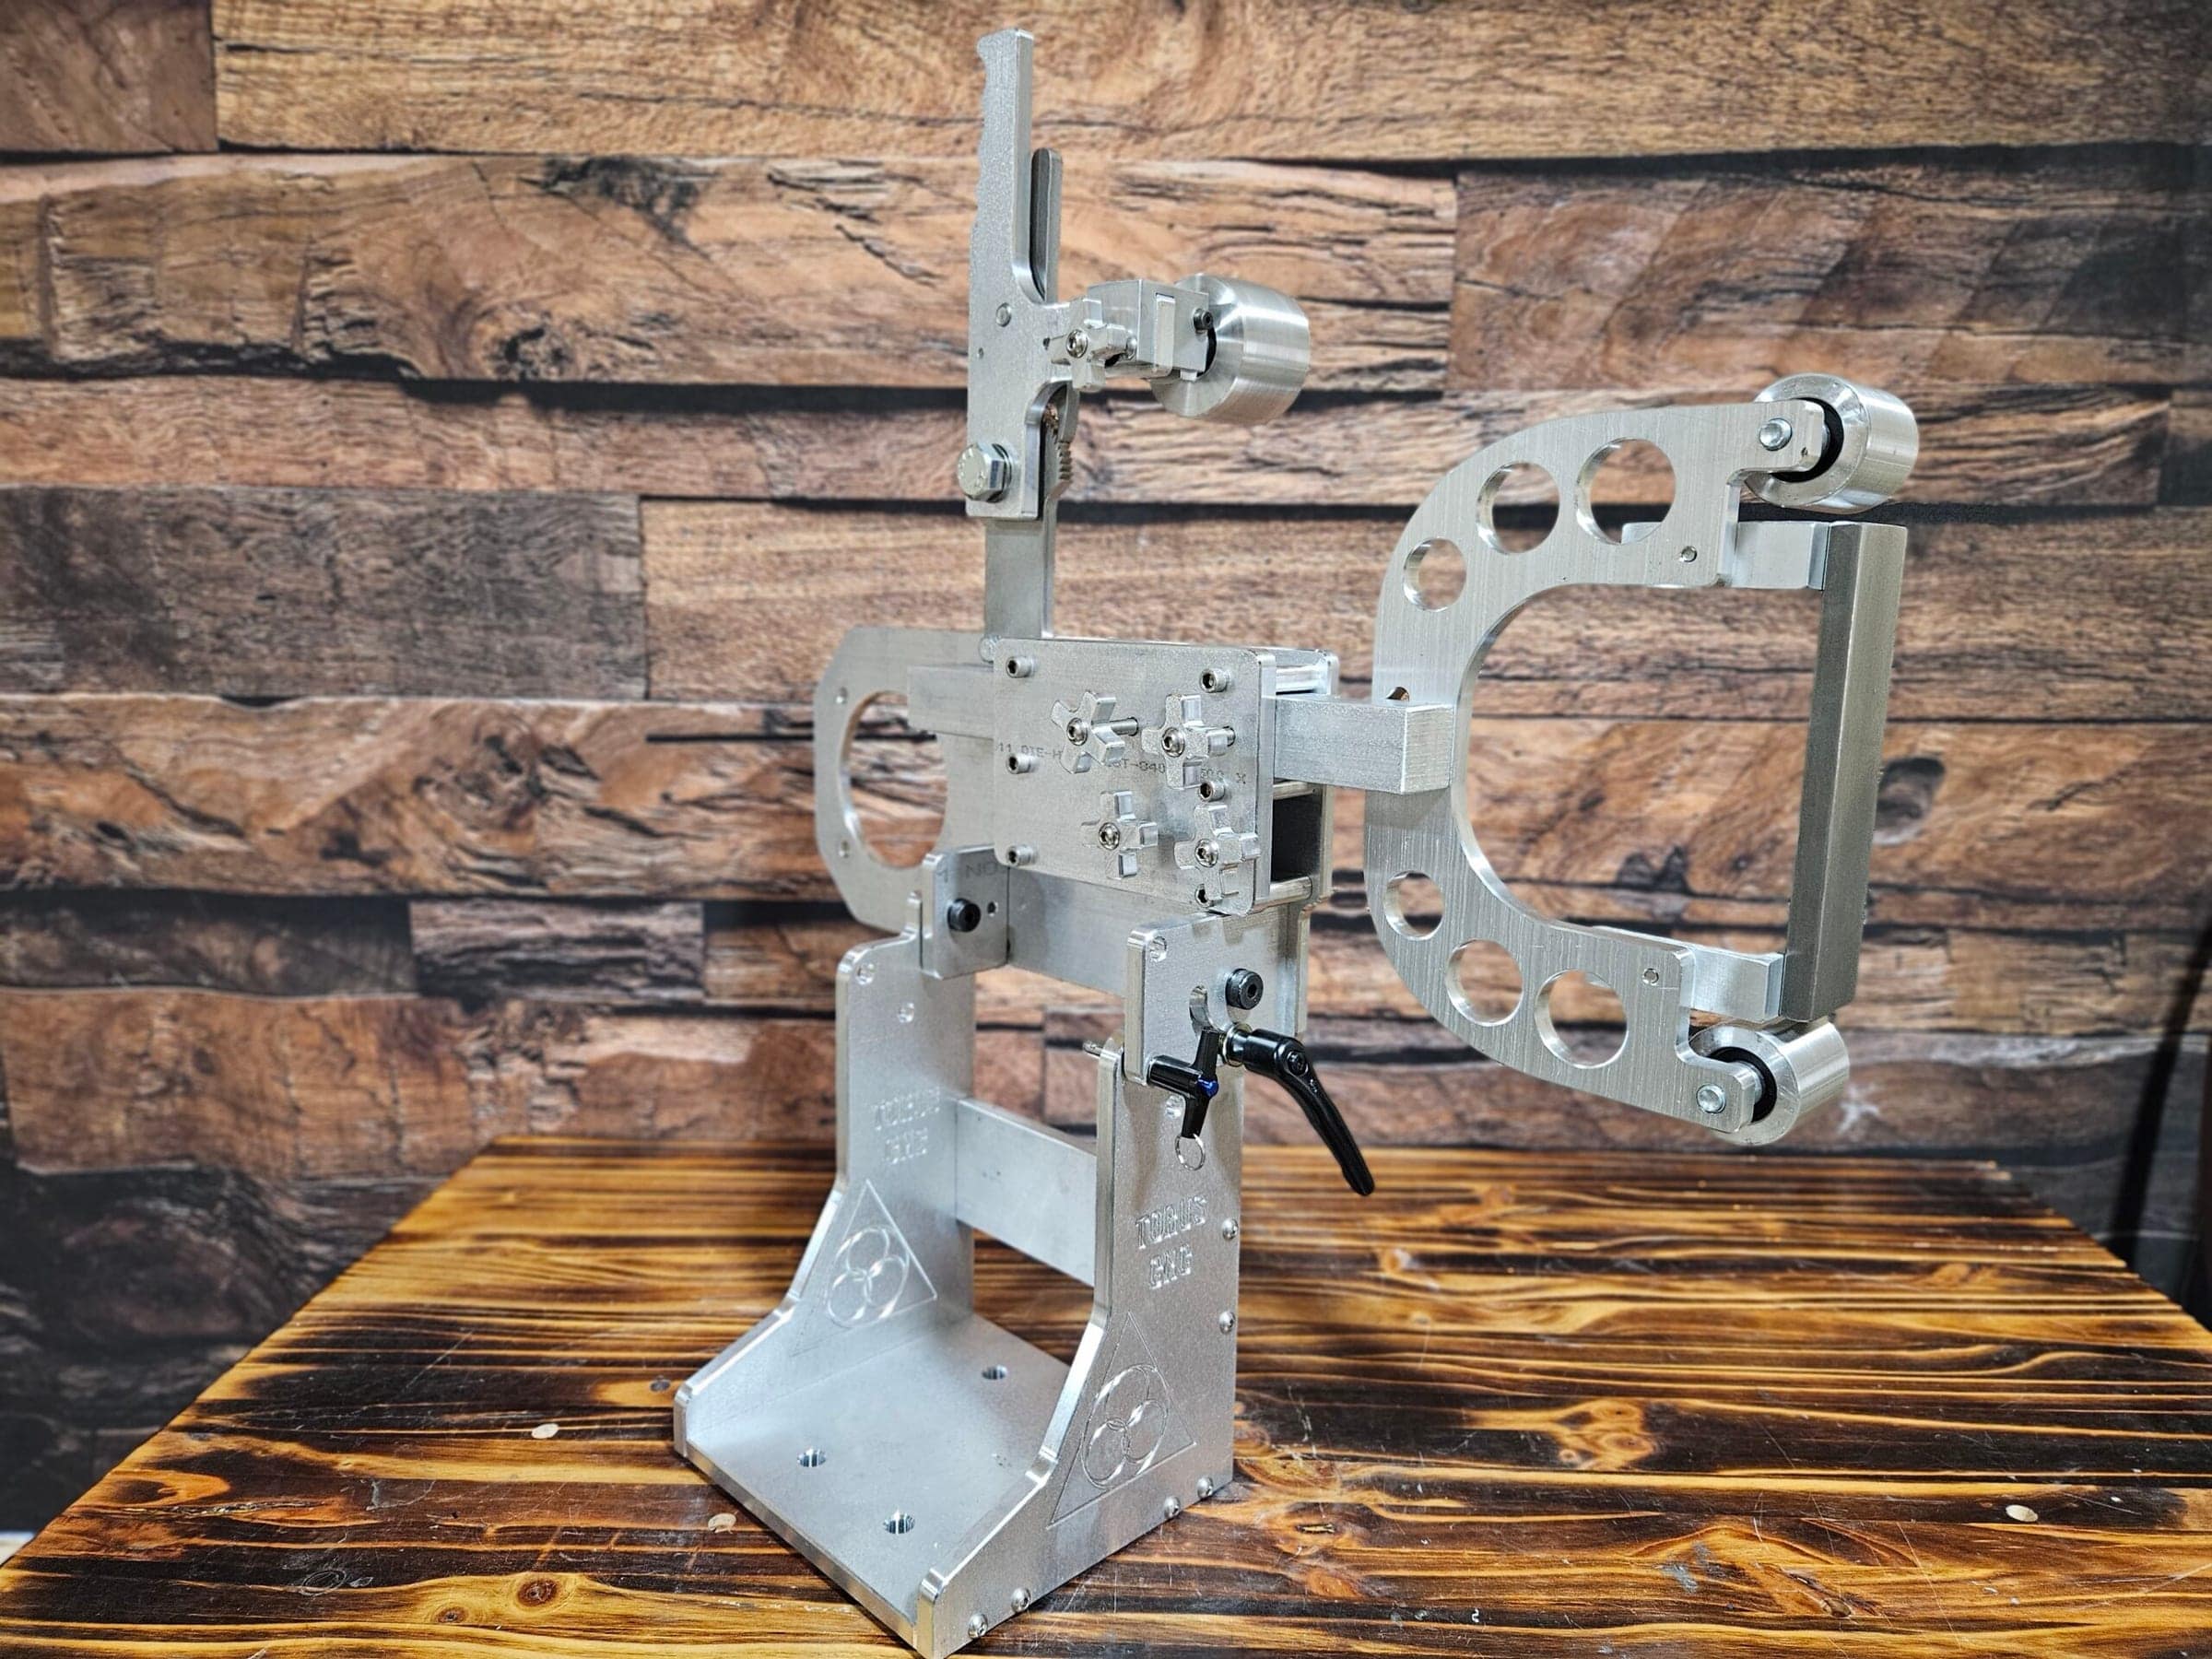
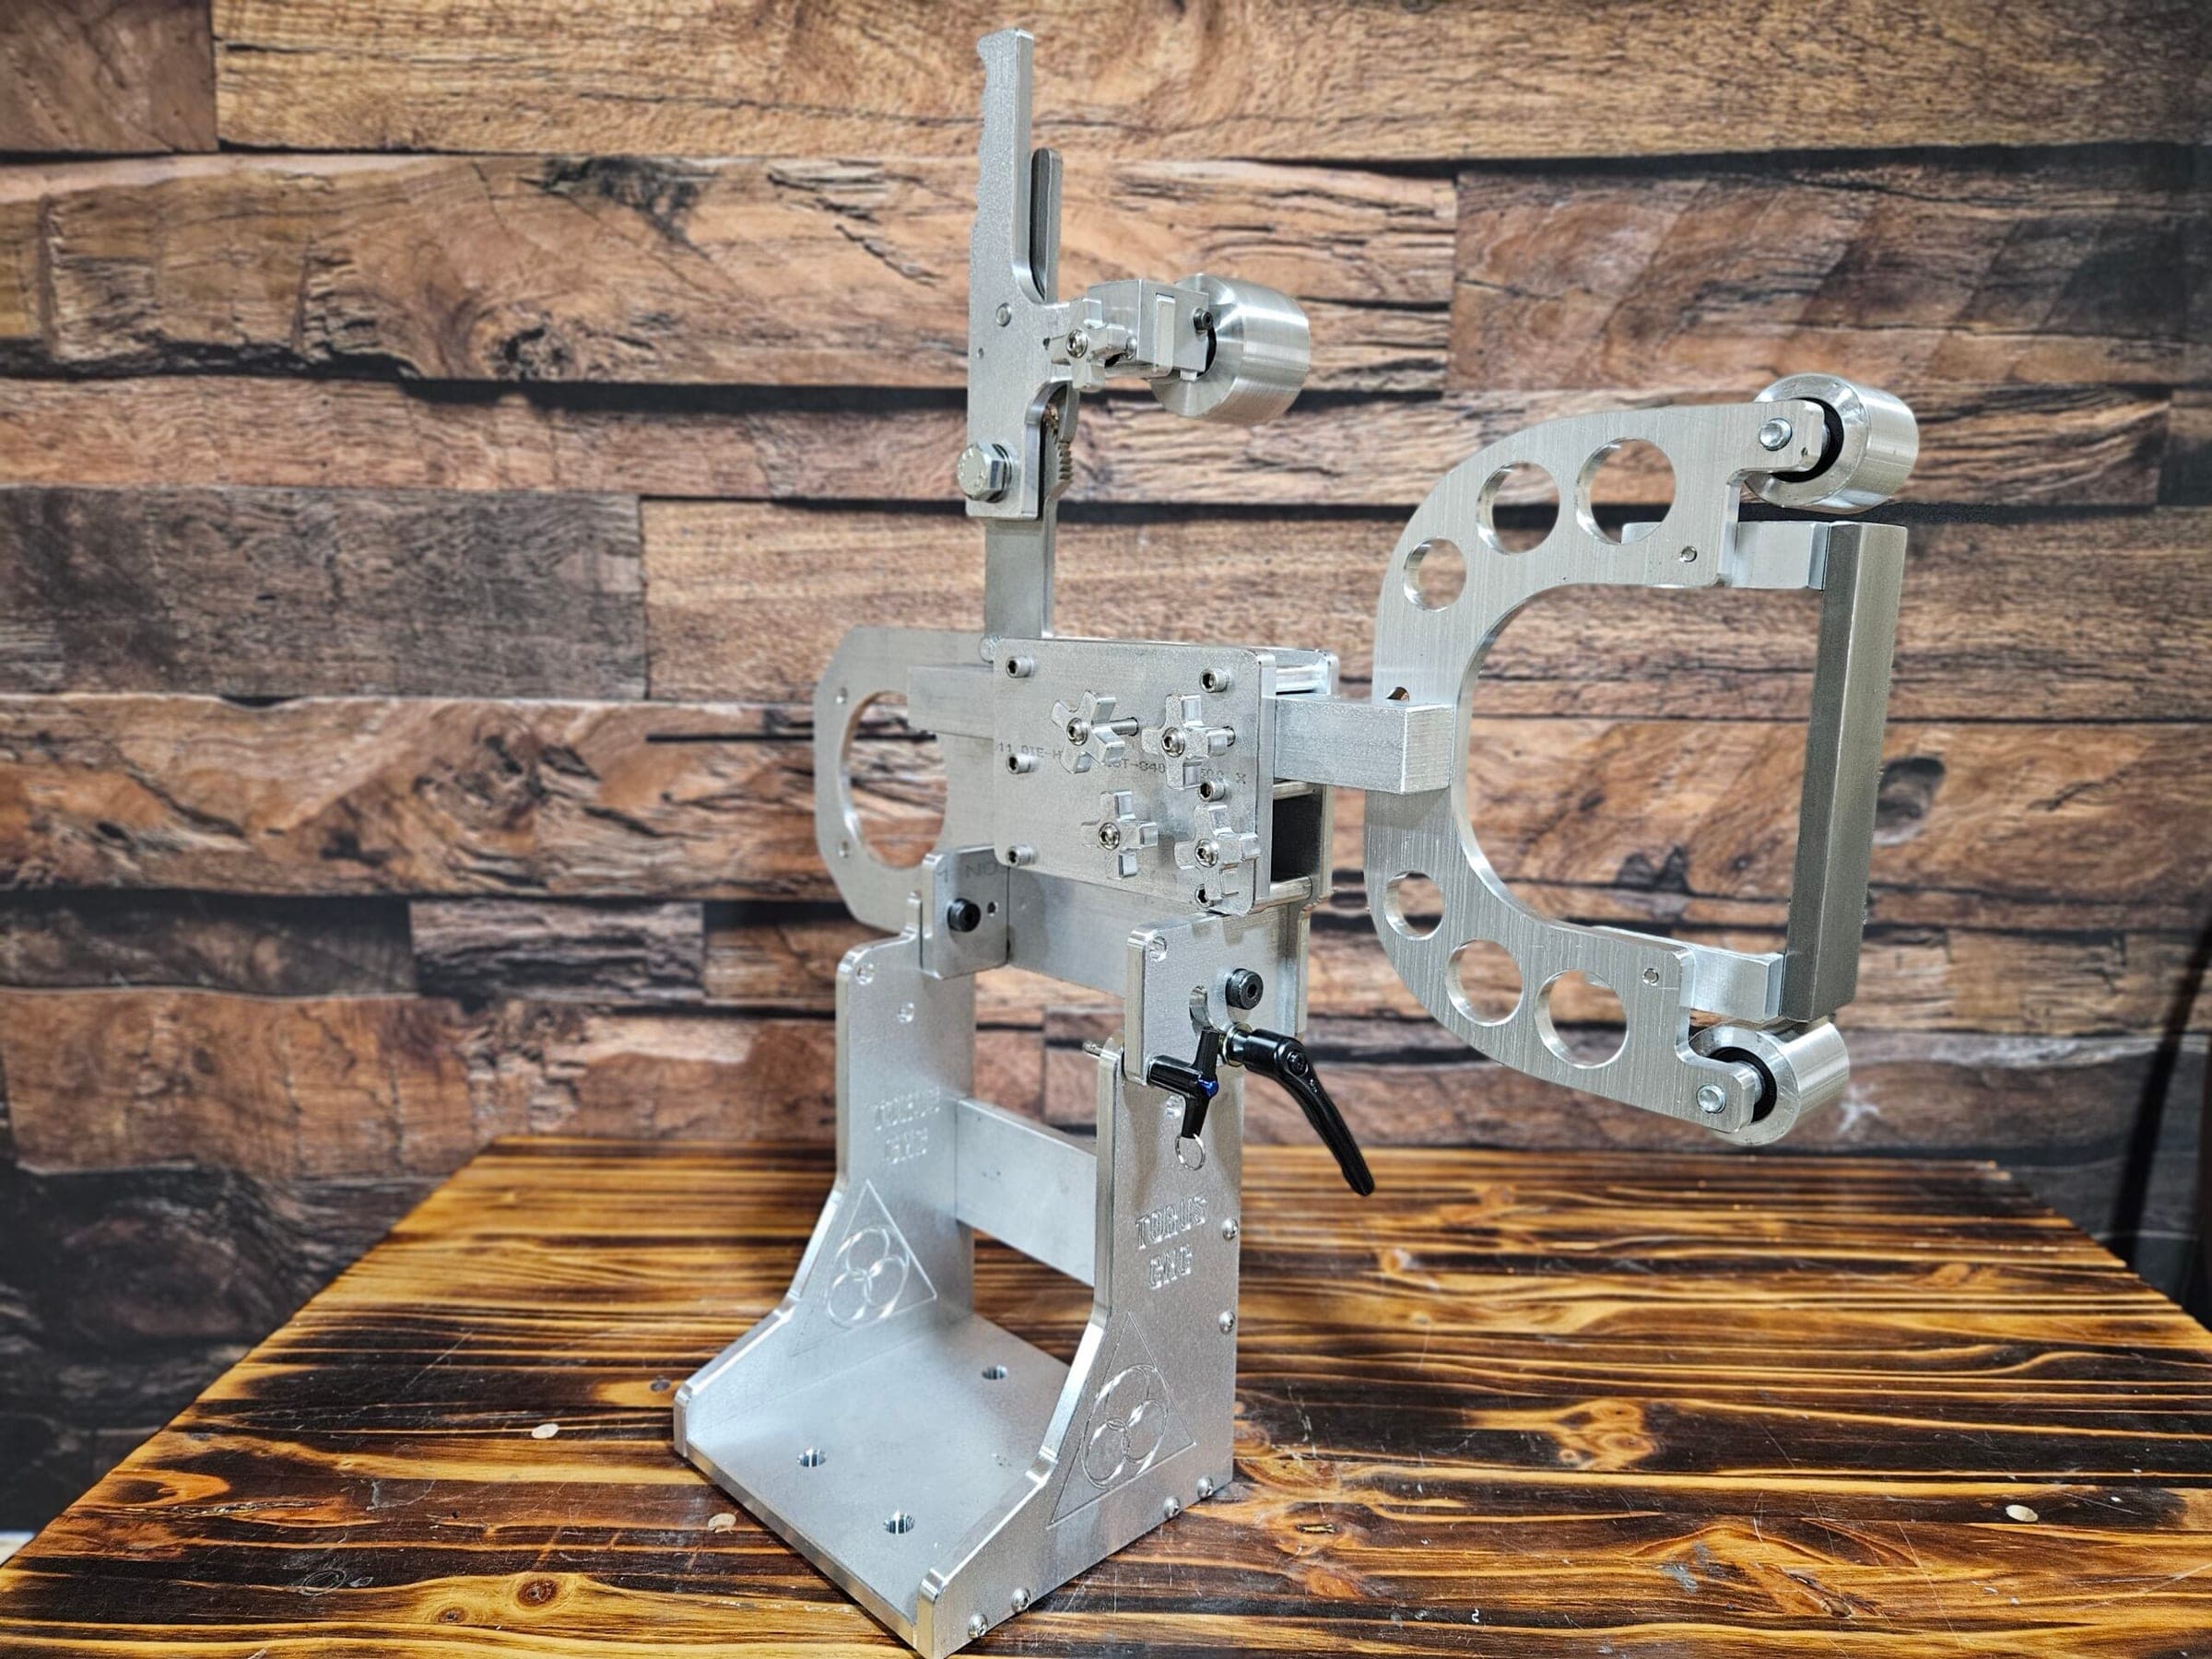
- Choosing the Right 2×72 Grinder: Select a grinder with variable speed control and a sturdy, adjustable tool rest for optimal results in polishing Damascus steel.
- Preparing the Damascus Steel for Polishing: Clean the steel thoroughly and ensure all forge scale and debris are removed before polishing to achieve the best results.
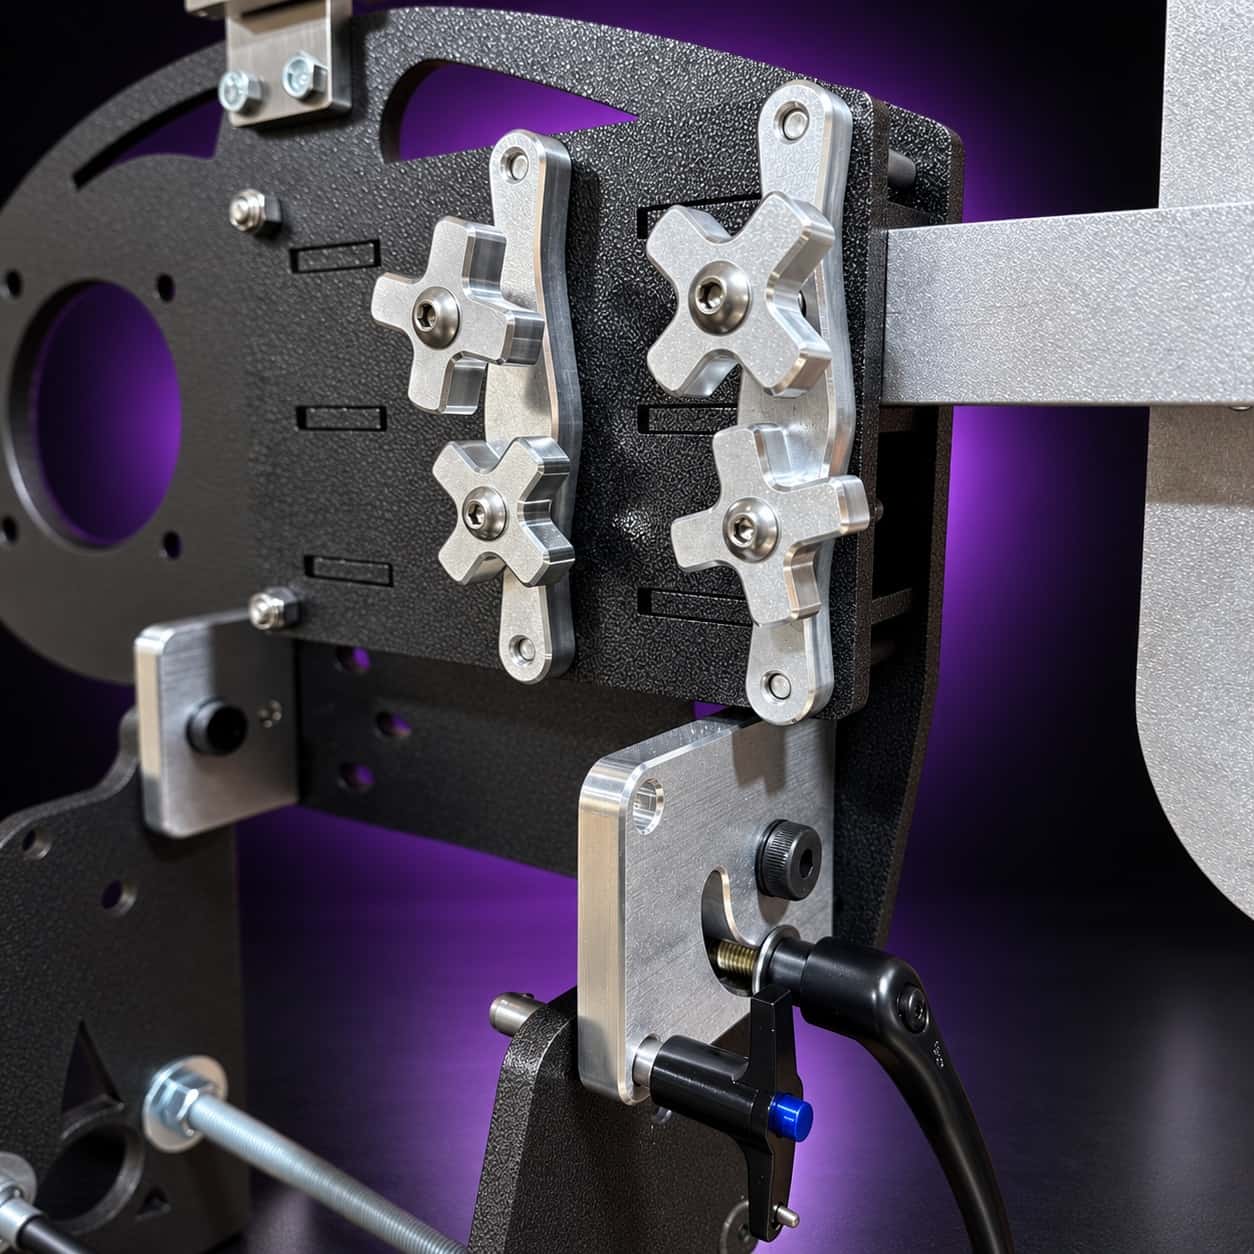
- Setting Up the 2×72 Grinder for Polishing: Properly adjust the tool rest and ensure the grinder is securely mounted to a stable surface before beginning the polishing process.
- Using the Correct Grit for Initial Polishing: Start with a lower grit belt to remove any surface imperfections and create a smooth base for the polishing process.
Choosing the Right 2×72 Grinder
A grinder with a powerful motor will provide the necessary torque to handle tougher materials, while variable speed settings allow for greater control during different stages of polishing. The quality of the belts used on the grinder can significantly impact the outcome of your polishing efforts. High-quality belts designed specifically for metalworking will provide smoother finishes and longer-lasting performance.
It’s also beneficial to look for a grinder that offers easy belt changes and a sturdy frame to withstand the rigors of heavy use. Investing in a reliable 2×72 grinder will not only enhance your efficiency but also improve the quality of your finished Damascus patterns.
Preparing the Damascus Steel for Polishing
Before diving into the polishing process, proper preparation of the Damascus steel is essential. This stage involves cleaning the blade to remove any scale or oxidation that may have formed during forging. A thorough cleaning can be achieved using a wire brush or sandpaper, ensuring that all contaminants are removed from the surface.
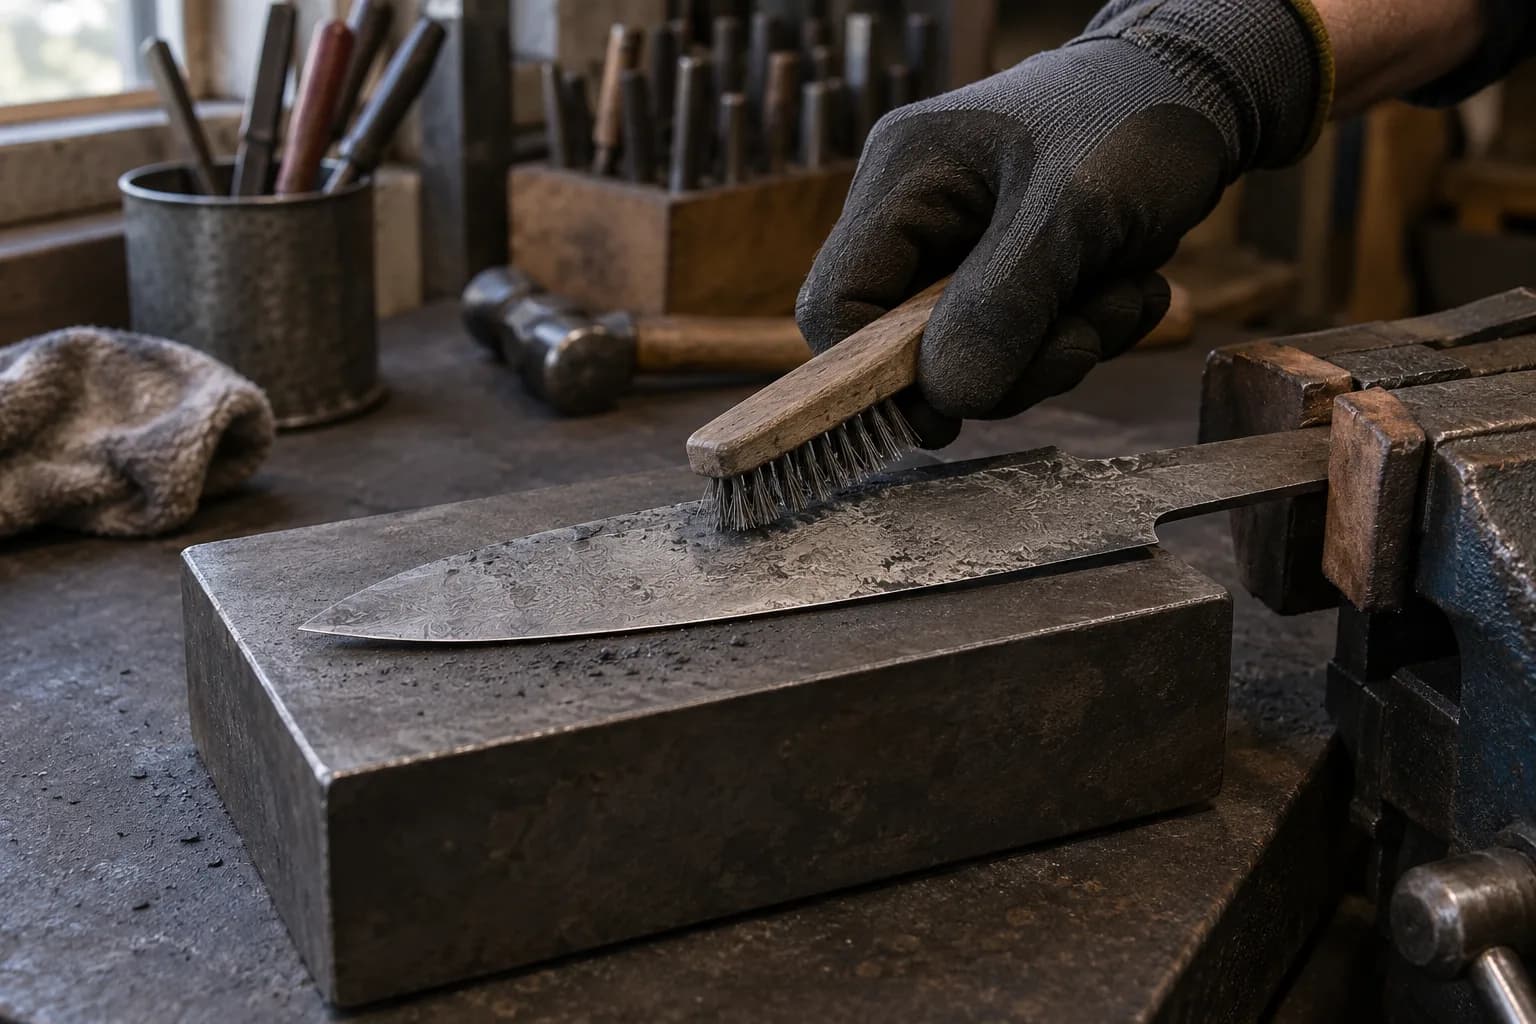
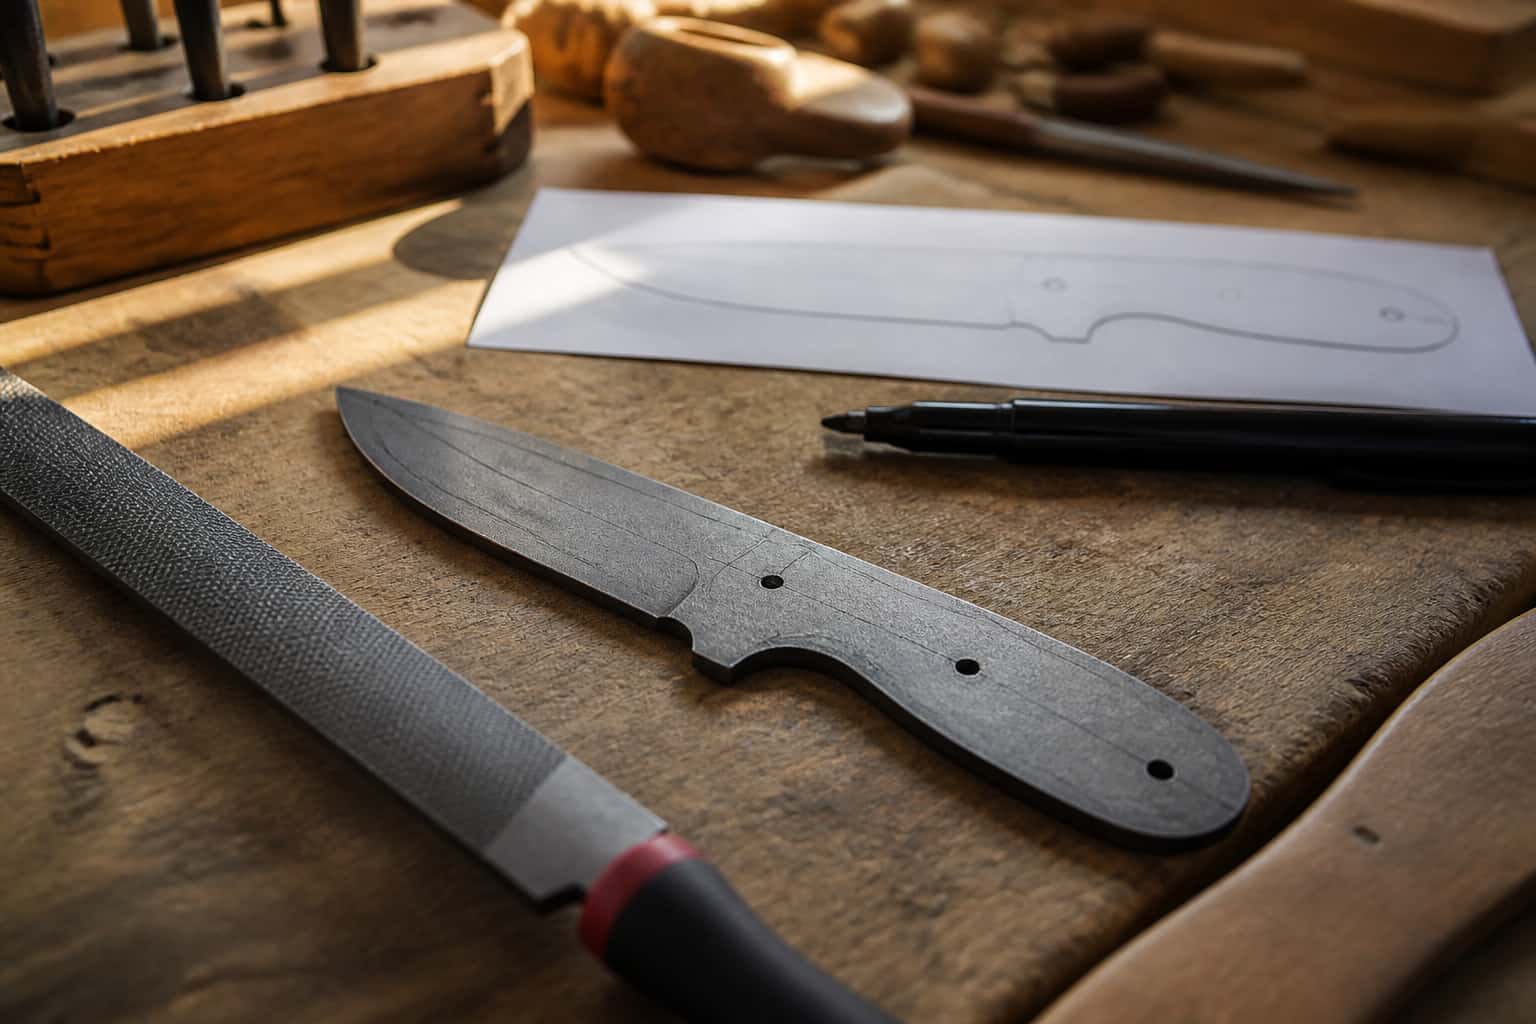
This step is crucial because any residue left on the blade can interfere with the polishing process, leading to uneven finishes or dull spots. Once cleaned, it’s important to inspect the blade for any imperfections or rough spots that may need addressing before polishing begins. This might involve grinding down any high spots or correcting any uneven areas that could detract from the final appearance.
Setting Up the 2×72 Grinder for Polishing
Setting up your 2×72 grinder correctly is vital for achieving optimal results when polishing Damascus steel. Begin by ensuring that your workspace is organized and free from distractions. Position the grinder at a comfortable height and ensure that it is securely mounted to prevent any movement during operation.
Proper alignment of the belt is also crucial; it should run straight and true to avoid uneven wear and potential damage to both the grinder and your workpiece. Next, select the appropriate belt for polishing. For initial polishing stages, a medium-grit belt is often recommended to remove any scratches or imperfections left from previous grinding processes.
As you set up your grinder, take care to adjust the tension on the belt according to the manufacturer’s specifications. A well-tensioned belt will provide consistent contact with the blade, ensuring an even polish across its surface.
Using the Correct Grit for Initial Polishing
The choice of grit for initial polishing plays a significant role in determining the quality of your final finish on Damascus steel. Starting with a medium grit, typically around 120 to 220, allows you to effectively remove any surface imperfections while still being gentle enough not to damage the intricate patterns within the steel. This initial stage is crucial as it sets the tone for subsequent polishing efforts; if done correctly, it will pave the way for achieving a smooth and reflective surface.
As you begin polishing with your chosen grit, maintain a steady hand and consistent pressure on the blade. It’s important to keep moving to avoid creating flat spots or uneven areas on your Damascus patterns. Regularly check your progress by wiping away any debris and inspecting the surface under good lighting.
Applying Pressure and Speed for Optimal Results
When polishing Damascus steel with a 2×72 grinder, understanding how to apply pressure and adjust speed is key to achieving optimal results. The amount of pressure you apply can significantly affect how quickly you remove material and how smooth your finish becomes. Generally, lighter pressure is recommended during initial polishing stages; this allows you to gradually refine the surface without risking damage to the delicate patterns within the steel.
Speed settings on your grinder also play an important role in this process. A slower speed can be beneficial when working with finer grits, as it allows for more control and reduces heat buildup that could potentially warp or discolor your blade. Conversely, higher speeds may be appropriate during initial grinding stages when removing more material quickly.
Using Finer Grits for Smoother Patterns
Once you have completed initial polishing with medium grit belts, it’s time to transition to finer grits to achieve smoother patterns on your Damascus steel. Finer grits, typically ranging from 400 to 2000, are essential for refining the surface further and enhancing the visual appeal of your blade. As you move through these finer grits, you will notice that they not only smooth out any remaining imperfections but also begin to bring out the depth and character of your Damascus patterns.
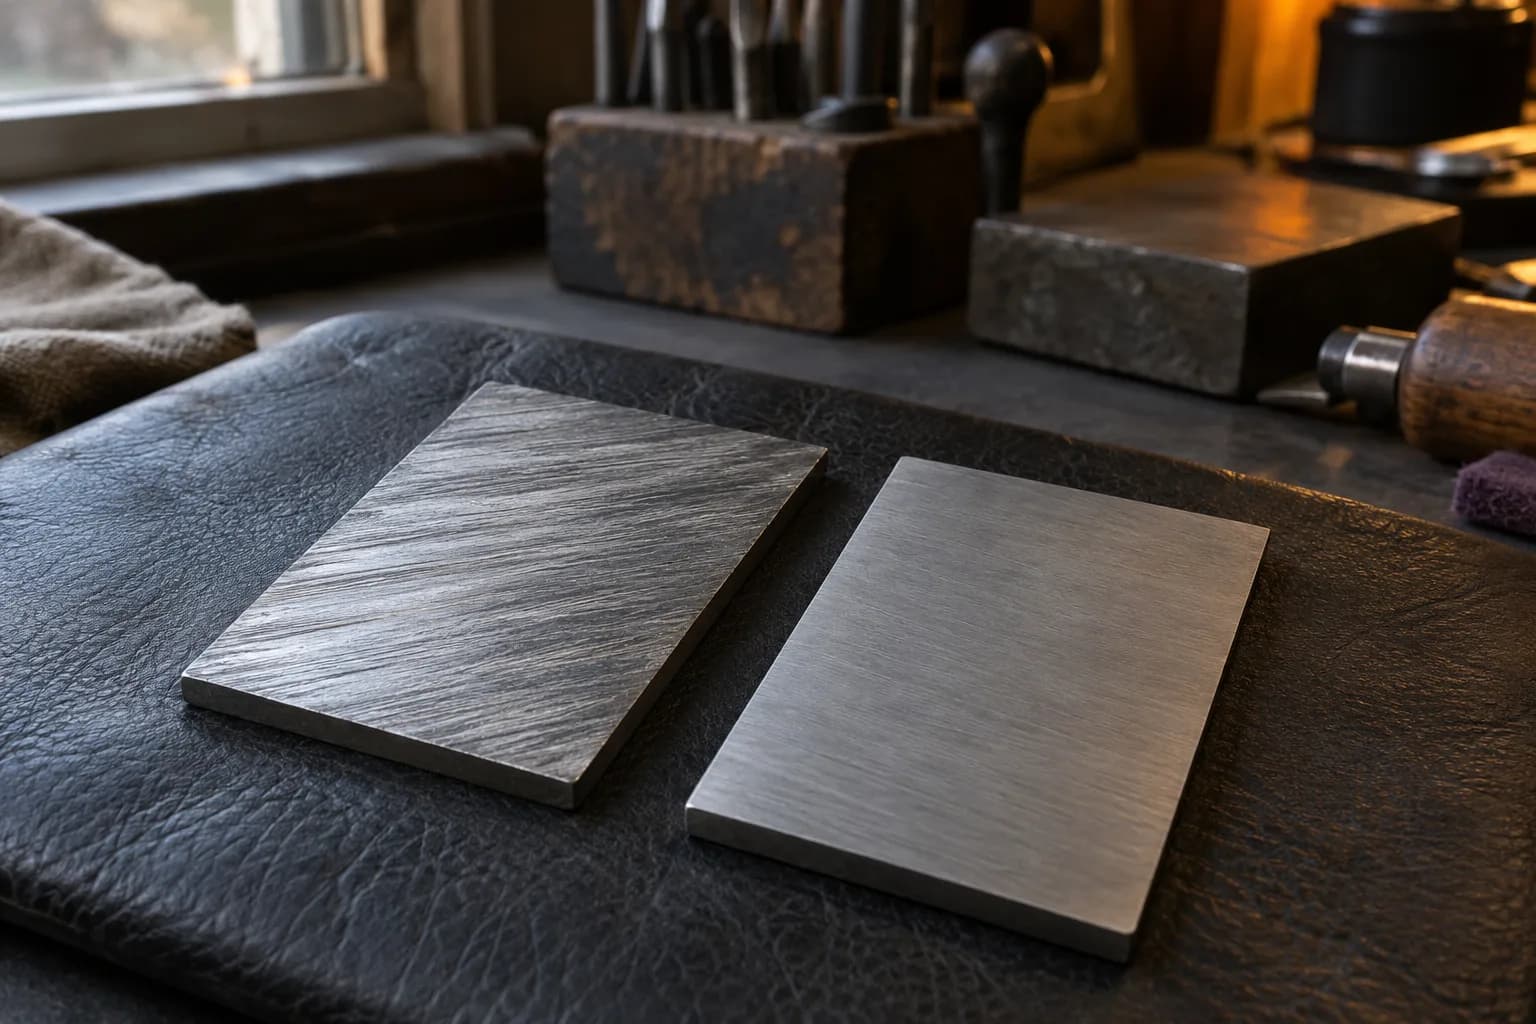
During this stage, it’s crucial to maintain consistent technique while adjusting your approach slightly based on grit size. With finer grits, you may want to reduce pressure even further and increase your speed slightly to allow for a more polished finish without risking scratches from coarser belts. Regularly inspect your work as you progress through each grit stage; this will help ensure that you are achieving an even polish across all areas of your blade.
Achieving a Mirror Finish with the 2×72 Grinder
Achieving a mirror finish on Damascus steel requires patience and precision but can be incredibly rewarding when done correctly. After progressing through various grits, you will eventually reach a point where you can use ultra-fine grits or even buffing compounds designed specifically for metal surfaces. These final steps are where you can truly improve your work from simply polished to mirror-like perfection.
To achieve this level of finish, consider using a buffing wheel attachment on your 2×72 grinder if available. This allows for an even application of polishing compounds across the blade’s surface while minimizing any risk of uneven wear that might occur with traditional belts. As you work towards that mirror finish, remember that consistent motion and light pressure are key; this will help prevent overheating while ensuring an even application of polish across all areas of your Damascus patterns.
Cleaning and Maintaining the Grinder for Consistent Results
Regular cleaning and maintenance of your 2×72 grinder are essential for ensuring consistent results over time. Dust and debris can accumulate on both the machine itself and within its components, potentially affecting performance and leading to uneven finishes on your workpieces. After each use, take a moment to wipe down surfaces and remove any buildup around belts or pulleys; this simple practice can extend the life of your equipment significantly.
In addition to routine cleaning, periodic inspections of belts and other components are necessary to ensure they remain in good working order. Look for signs of wear or damage that could impact performance; replacing worn belts promptly will help maintain optimal grinding conditions. By prioritizing maintenance, you’ll not only enhance your efficiency but also improve the quality of your finished Damascus patterns over time.
Troubleshooting Common Issues with Polishing Damascus Patterns
Even experienced knife makers may encounter challenges when polishing Damascus steel patterns with a 2×72 grinder. One common issue is uneven finishes, which can arise from inconsistent pressure or improper belt alignment during polishing stages. If you notice areas that appear dull or scratched compared to others, take a moment to reassess your technique; adjusting pressure or re-aligning belts may resolve these discrepancies.
Another frequent challenge is overheating during polishing, which can lead to discoloration or warping of your blade. To combat this issue, consider reducing speed settings or applying lighter pressure as you work through finer grits. Taking breaks between stages allows both you and your equipment time to cool down before continuing with polishing efforts.
FAQs
What is a 2×72 grinder?
A 2×72 grinder is a type of belt grinder that is commonly used in metalworking and knife making. It consists of a motor-driven abrasive belt that is used for grinding, shaping, and polishing metal.
Are there any safety precautions to consider when using a 2×72 grinder for polishing Damascus patterns?
Yes, when using a 2×72 grinder, it is important to wear appropriate safety gear, such as eye protection and gloves. It is important to be mindful of the heat generated during the polishing process and to avoid overheating the steel.
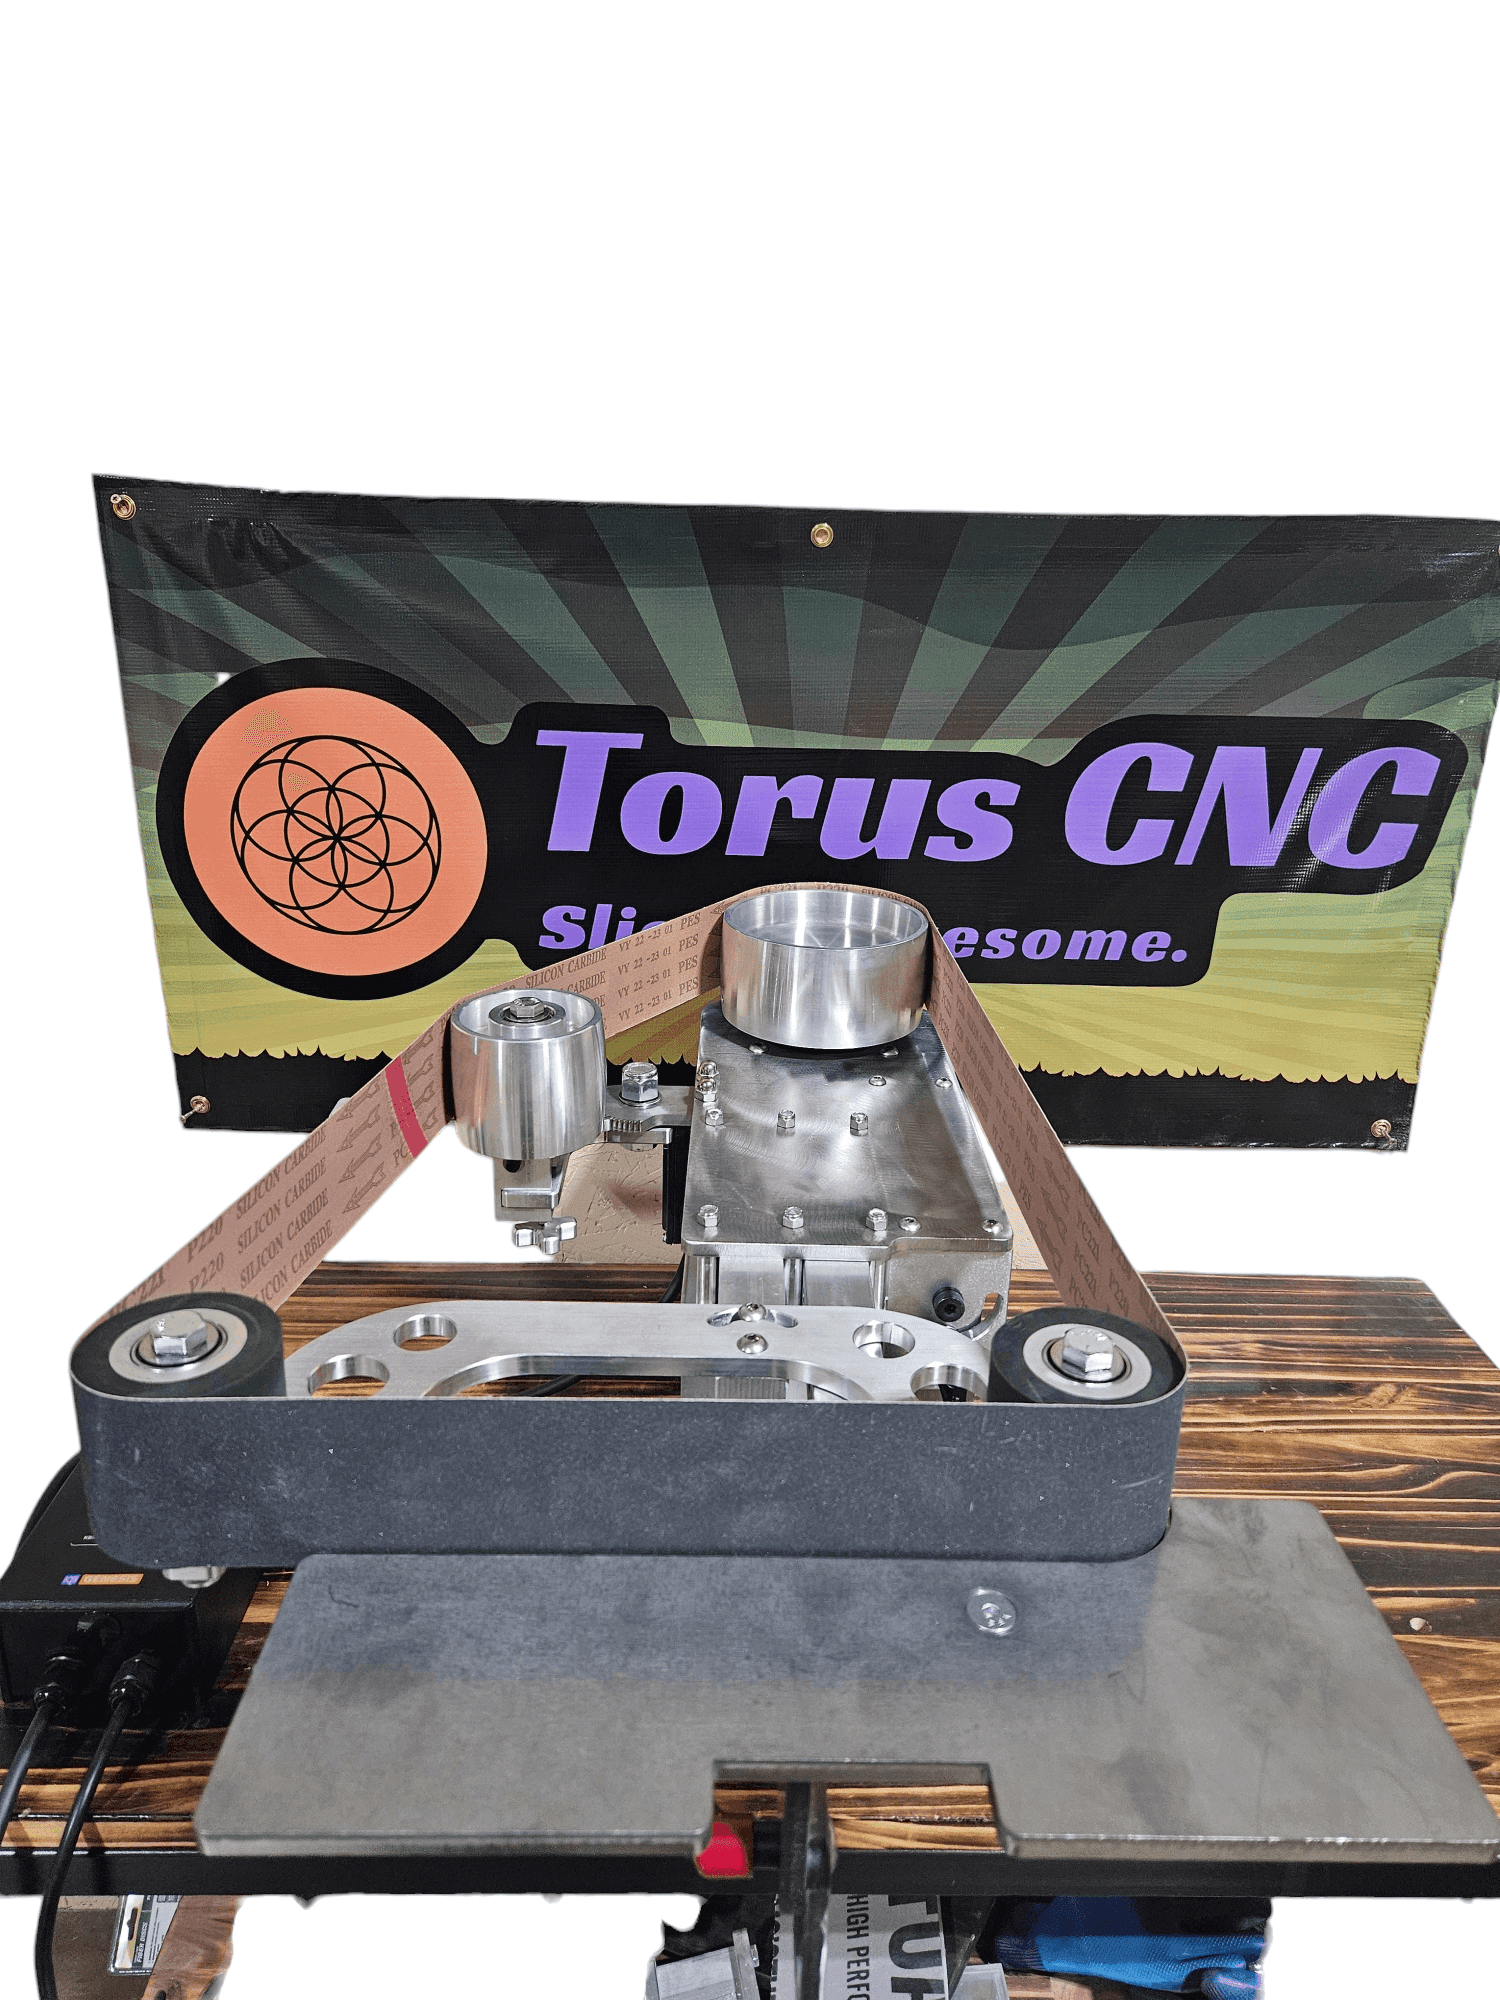
Damascus polishing is slow, cool, flat work. The Nova 2×72 ships with a deep flat platen, and the motor and VFD combo lets you crawl the belt for the fine grits. For the etch itself, read the ForgeBrain etching guide.