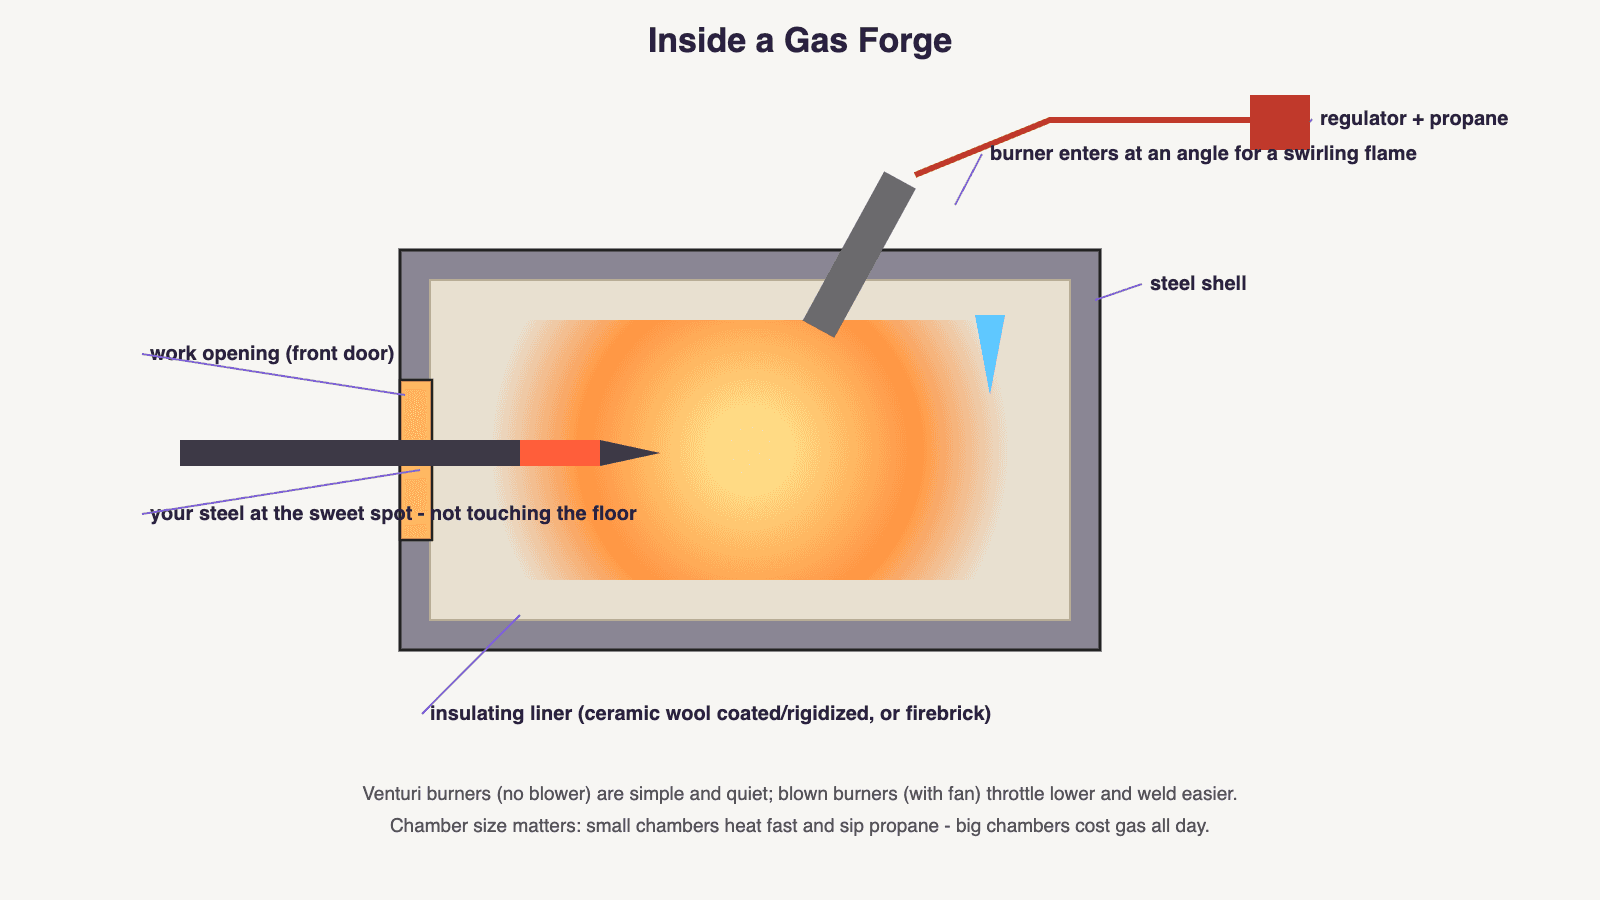
Diagram: inside a gas forge — steel shell, insulating ceramic wool or firebrick liner, angled burner producing a swirling flame, propane regulator, and the work opening with a blade at the hot spot

Forging & Bladesmithing

Choosing Your First Forge: Gas, Coal, or Two Bricks

Choosing a beginner knife forge: chamber size, venturi vs. blown burners, Mr. Volcano vs. Atlas vs. NC Whisper, and the $100 two-brick build.

3 min readWritten by Rich LinvilleFree to read

Every forged blade starts with the same purchase decision, and the good news is it’s gotten cheap: a genuinely usable knifemaking forge now costs less than a good set of chisels. This guide covers the real options — propane, coal, and the honorable two-brick DIY — and the handful of specs that actually matter for blades.

Gas Is the Beginner Answer (Coal Is the Romance Answer)

Propane wins for almost every new knifemaker: instant on/off, no fuel sourcing, no smoke (your neighbors care), consistent heat, suburban-garage friendly. Coal/charcoal burns hotter at the center and is gloriously traditional, but it demands fire management skills, a fuel supply, and tolerance from everyone downwind — it makes sense as a second forge for smiths who fall in love with the craft’s history, not as a first tool. Everything below assumes gas.
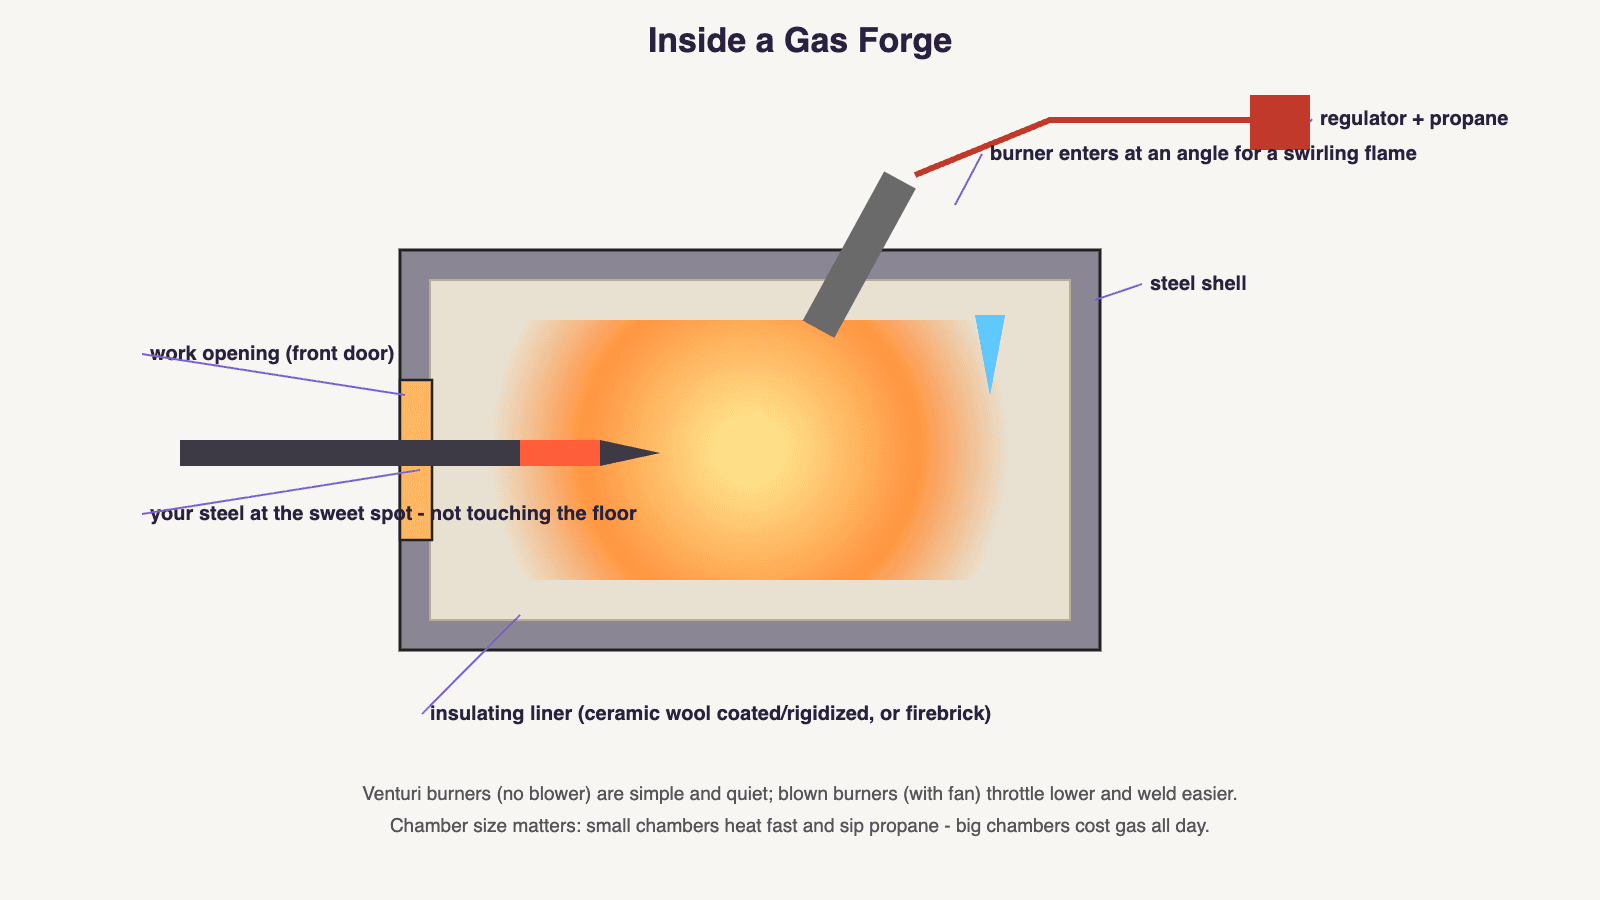
Inside a Gas Forge

  • regulator + propane
  • burner enters at an angle for a swirling flame
  • steel shell
  • work opening (front door)
  • your steel at the sweet spot - not touching the floor
  • insulating liner (ceramic wool coated/rigidized, or firebrick)

Venturi burners (no blower) are simple and quiet; blown burners (with fan) throttle lower and weld easier.

Chamber size matters: small chambers heat fast and sip propane - big chambers cost gas all day.

A gas forge is simple: insulated box, angled burner, controlled fire.

The Specs That Matter

  • Chamber size — smaller than you think. A knife needs 4–6″ of steel hot at a time (you forge in sections). Small chambers reach temperature in minutes and sip propane; a big two-burner box costs gas all day heating air you’re not using. Buy for the blades you’ll actually make.
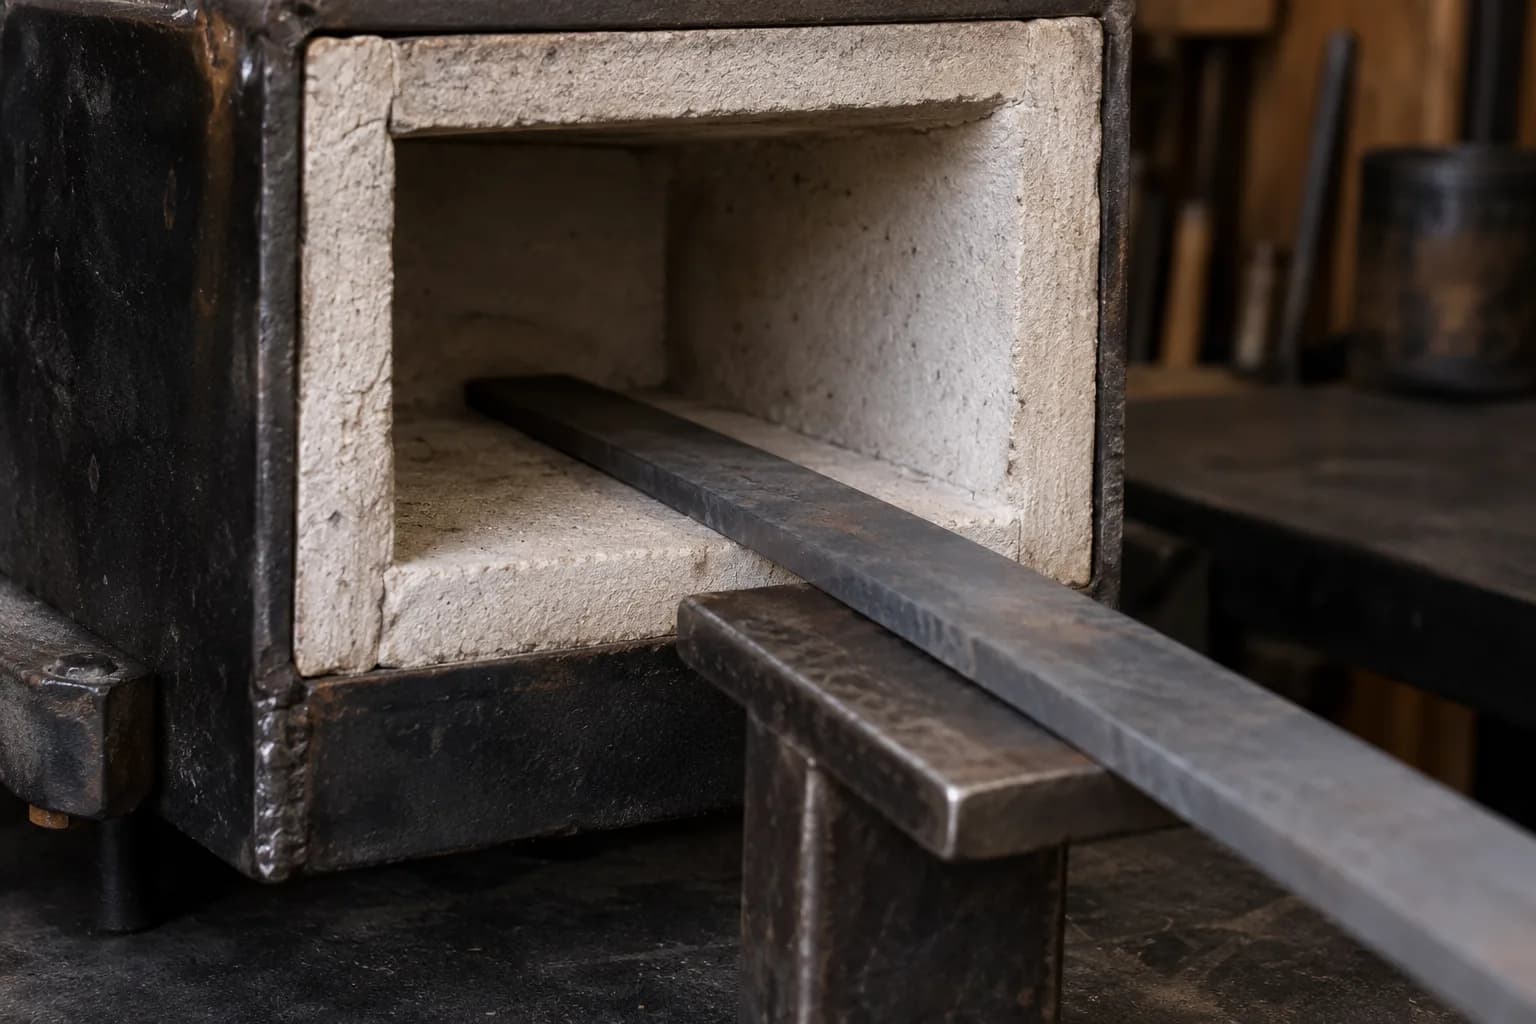
    Cold knife bar lying across the hearth of a small refractory-lined forge chamber, resting on a steel support stand.
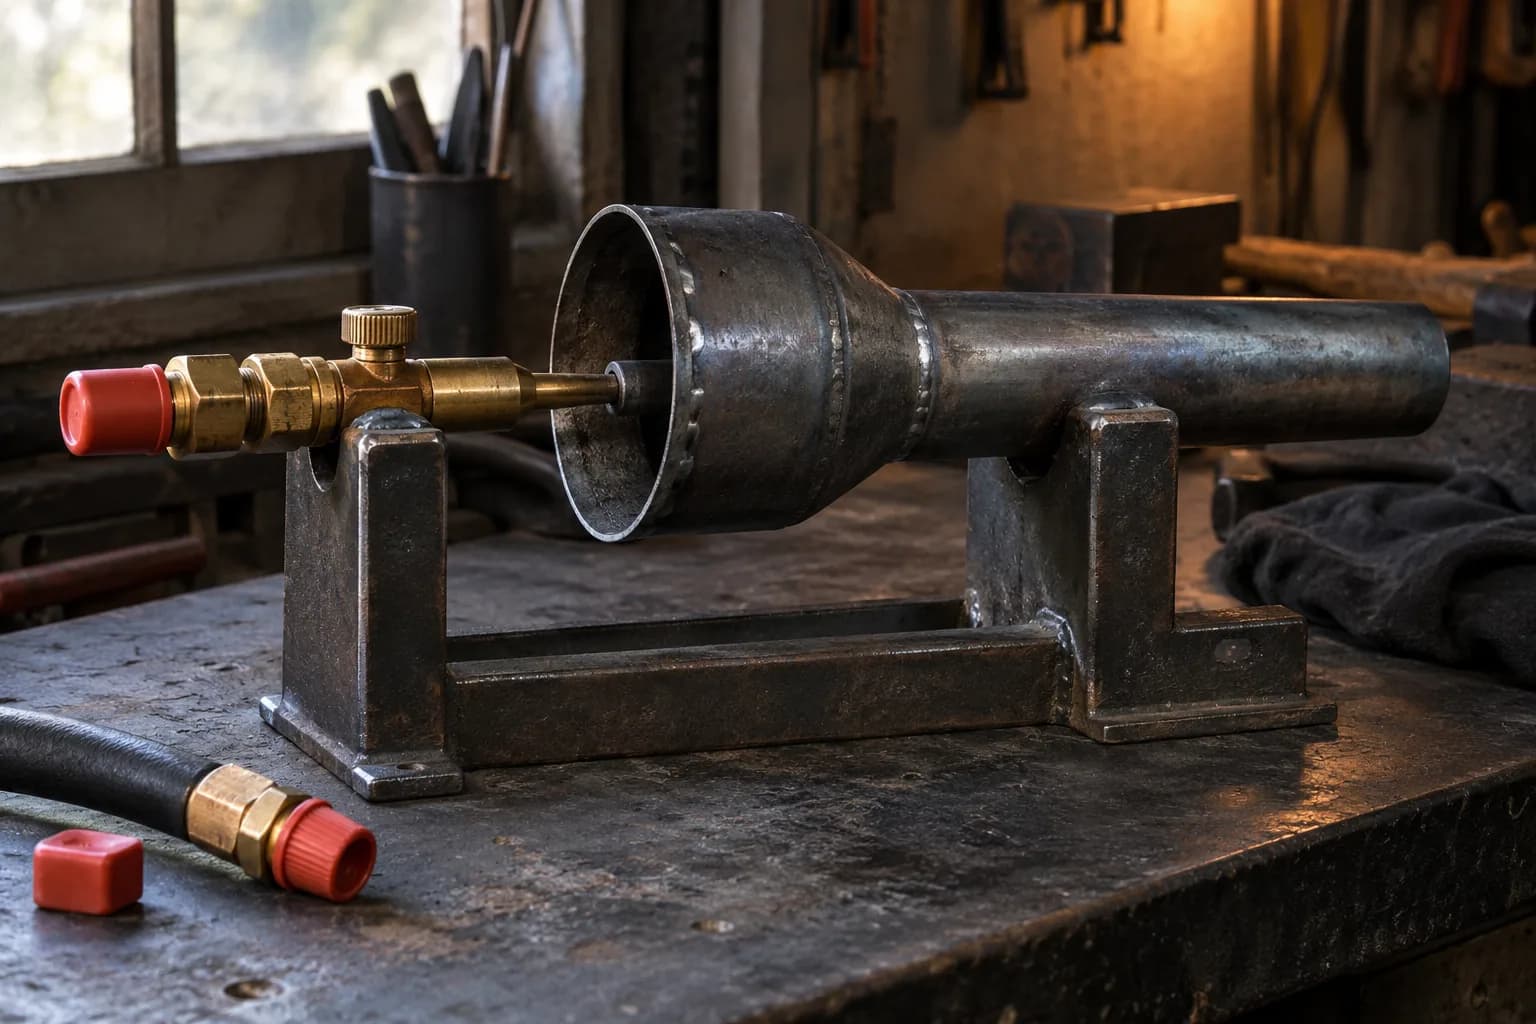
  • Venturi vs. blown burners. Venturi burners (no moving parts, gas flow pulls in air) are simple, quiet, and plenty for forging heat. Blown burners (electric fan) throttle lower without sputtering, hit welding heat easier, and give finer control — at the cost of needing power and a bit more setup. For a first forge doing general blade work, venturi is fine; if forge-welding damascus is the goal, a blown burner (or a well-matched venturi in a small, tight chamber) earns its keep.
    Brass gas nozzle aimed into the open bell air intake of a welded burner on a steel cradle, capped hose beside it
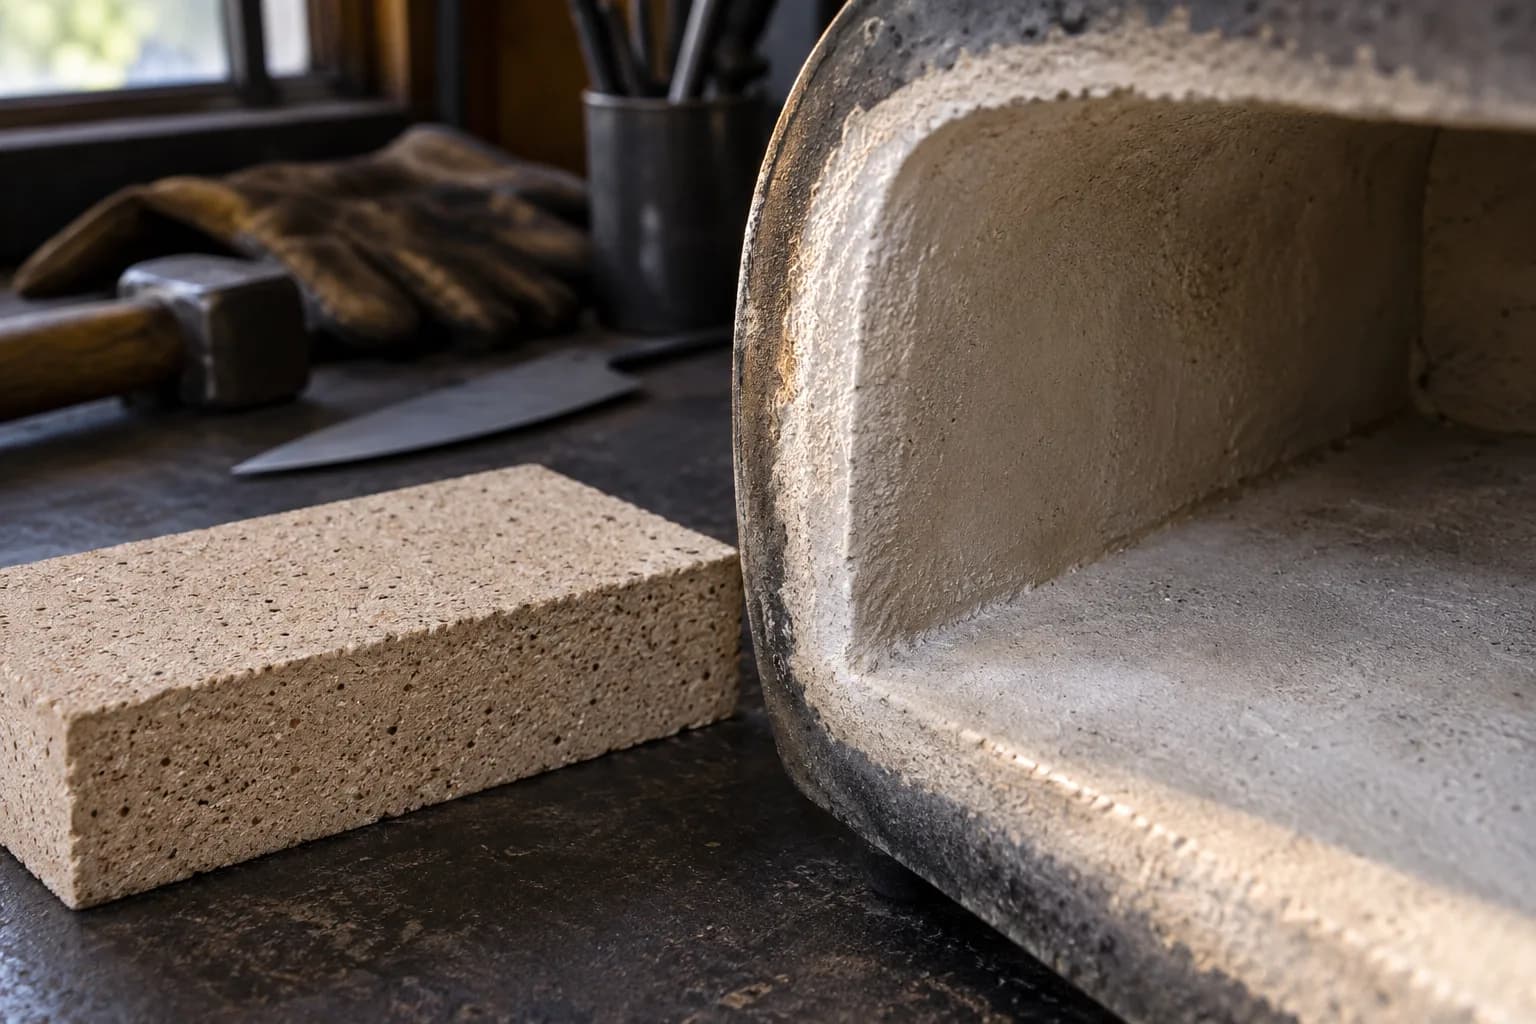
  • Liner type. Ceramic wool linings (coated/rigidized) heat fastest; hard firebrick (like the mullite bricks Atlas uses) takes more abuse and lasts longer against flux and bumps. Important: raw ceramic wool sheds respirable fibers — it should always be rigidized or coated, never left bare.
    Close view of a smooth coated forge liner rim beside a pitted tan firebrick sample on a dark shop bench.
  • Welding heat, if damascus calls. Not every forge reaches ~2,300°F. If pattern welding is anywhere in your plans, check that the model demonstrably welds — or you’ll be shopping twice.

Real Options, Verified

  • Mr. Volcano Hero (~$100) — the budget standard-bearer; stainless shell, hits 2,600°F-class temperatures, and the Hero 2’s dual burners heat fast and evenly. Astonishing capability for the money and the common answer to “cheapest forge that actually works.”
  • Atlas Knife & Tool forges — built around tough 2,500°F-rated mullite firebrick instead of wool; ready out of the box, frugal on propane, and popular across skill levels. Atlas also sells the burner alone for the DIY route below.
  • NC Tool Whisper series — the long-running quality venturi option (the Whisper Baby especially), known for quiet operation and longevity; a buy-once choice seen in working shops everywhere.
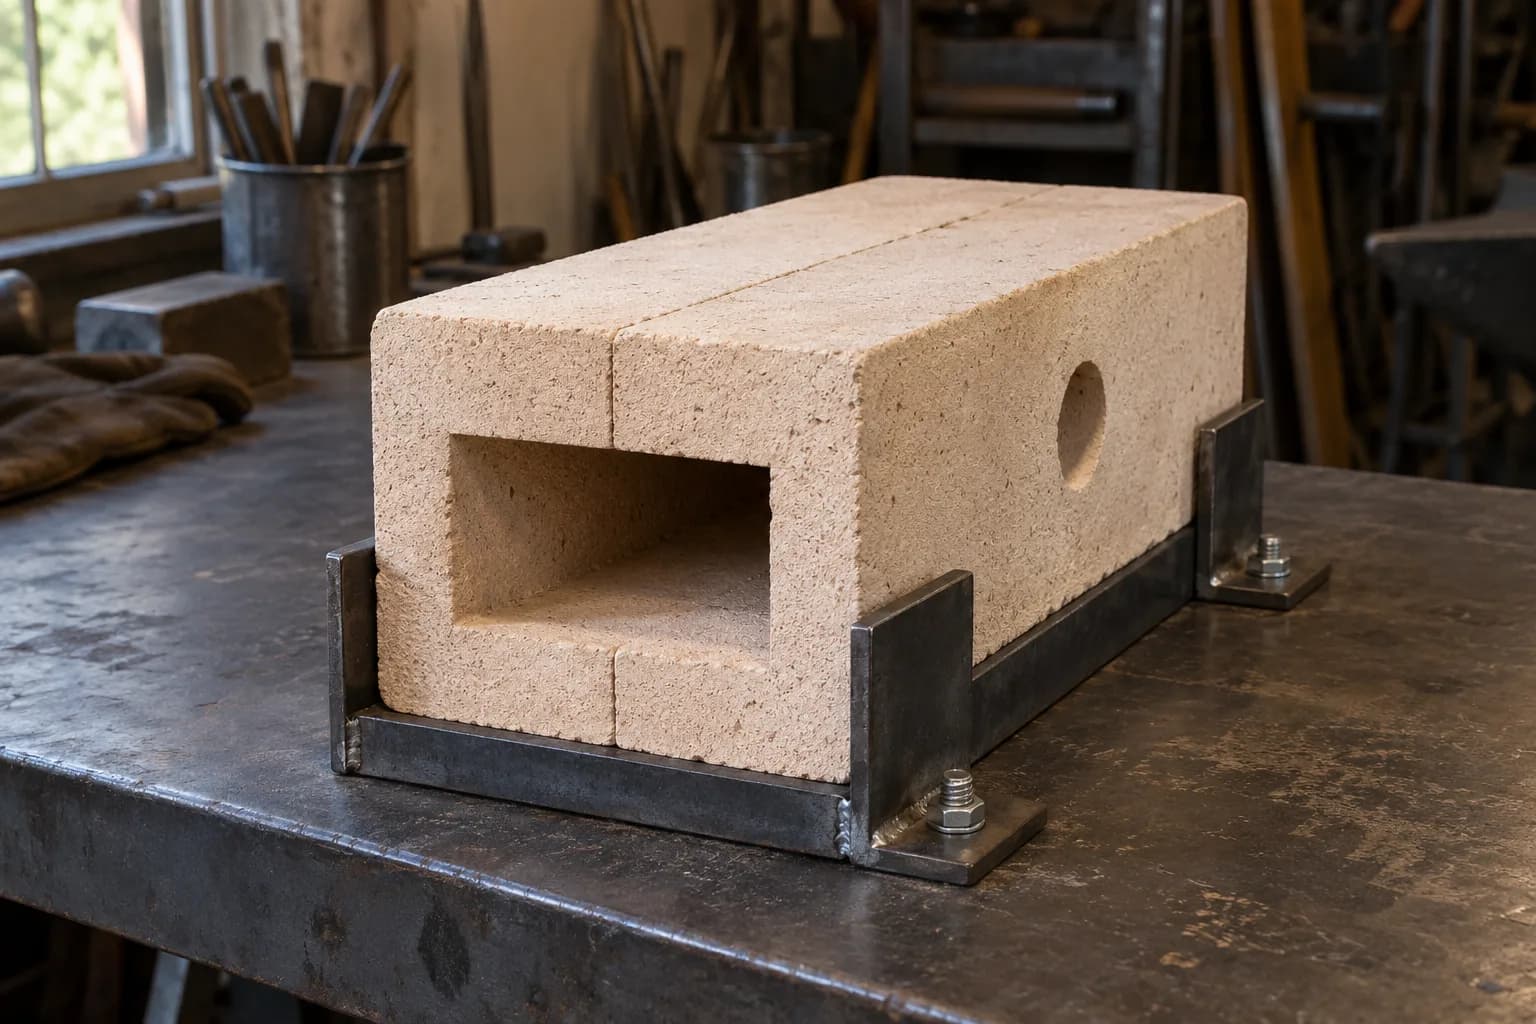
  • The two-brick forge (DIY, well under $100) — two soft firebricks hollowed and paired with a real burner (Atlas’s burner kit is the classic pairing). Small, fast, shockingly capable for knives — a legitimate first forge, not a toy, and the natural upgrade from the torch setups in our no-kiln heat treating guide.
    Two firebricks paired lengthwise in a steel angle cradle bolted to a steel bench, with an empty chamber opening and side port.

Budget Reality Check

Forge $100–350, anvil-and-hammer setup $50–300 with scrounging skills, steel a few dollars a bar (sourcing guide) — forging’s cost of entry is genuinely lower than stock removal’s grinder-shaped price tag, which is worth knowing when budgeting the whole craft (see what knifemaking costs). The grinder still earns its place later: even forged blades get their final geometry and finish on a belt (why both paths converge).

Sources

Keep reading

Read these related guides

Three more from the same bench.

Same bench

Put the reference to work

I machine the parts, hand-assemble, track and test Torus grinders in Sterling, Illinois. Most orders ship in seven to ten business days from time of order.

  • Classic aluminum 2x72 grinder, side view with flat-platen tool arm and yellow Safety Rules label, on black with a purple glow

    Torus 2×72 Classic Aluminum Belt Grinder

    Prior-design aluminum chassis, 90-degree tilt and 1.5-inch tooling arms.

    Starts at$995View

One-man shop

Still stuck? Ask me.

I answer my own email. Tell me the steel, the machine and what it is doing, and I will tell you what I would try next.