
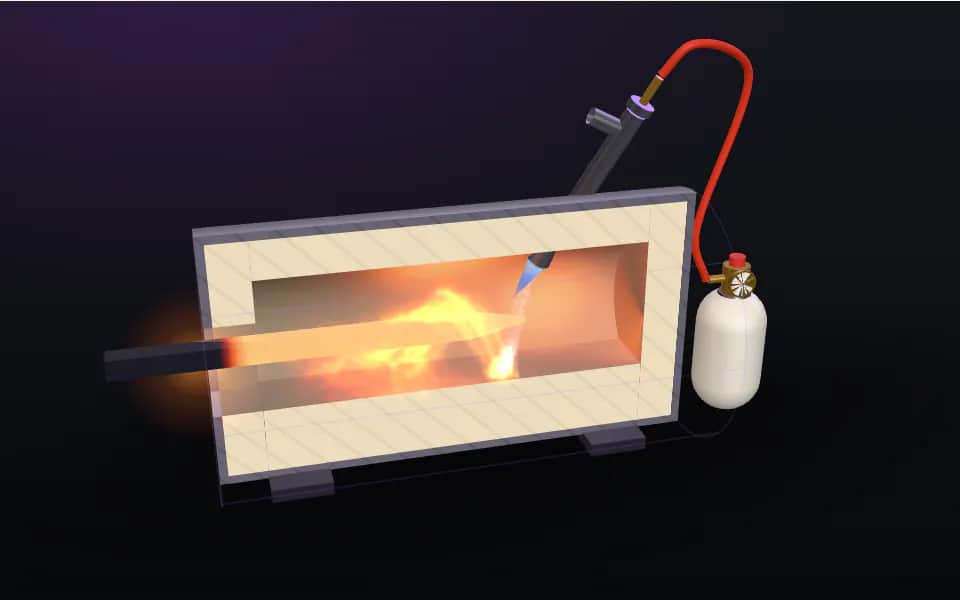
Forging & Bladesmithing
Choosing Your First Forge: Gas, Coal, or Two Bricks
Every forged blade starts with the same purchase decision, and the good news is it’s gotten cheap: a genuinely usable knifemaking forge now costs less…
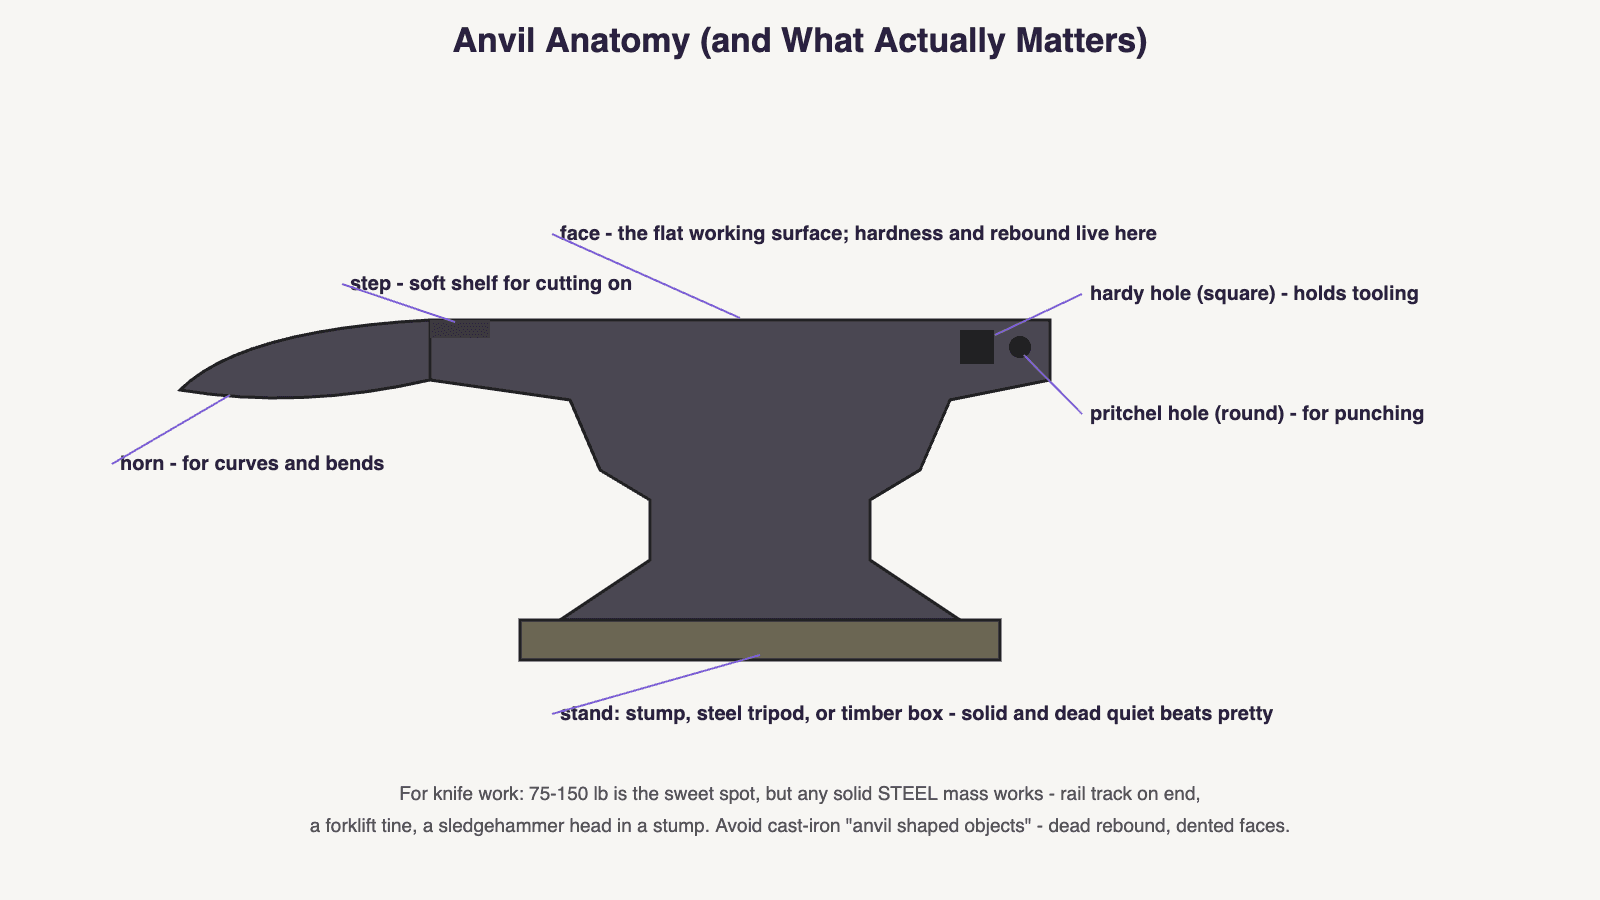
Forging & Bladesmithing
What a forging setup really needs: anvil weight truth (and rail-track alternatives), the right first hammer, tongs that fit, and the rebound test.
3 min readWritten by Rich LinvilleFree to read
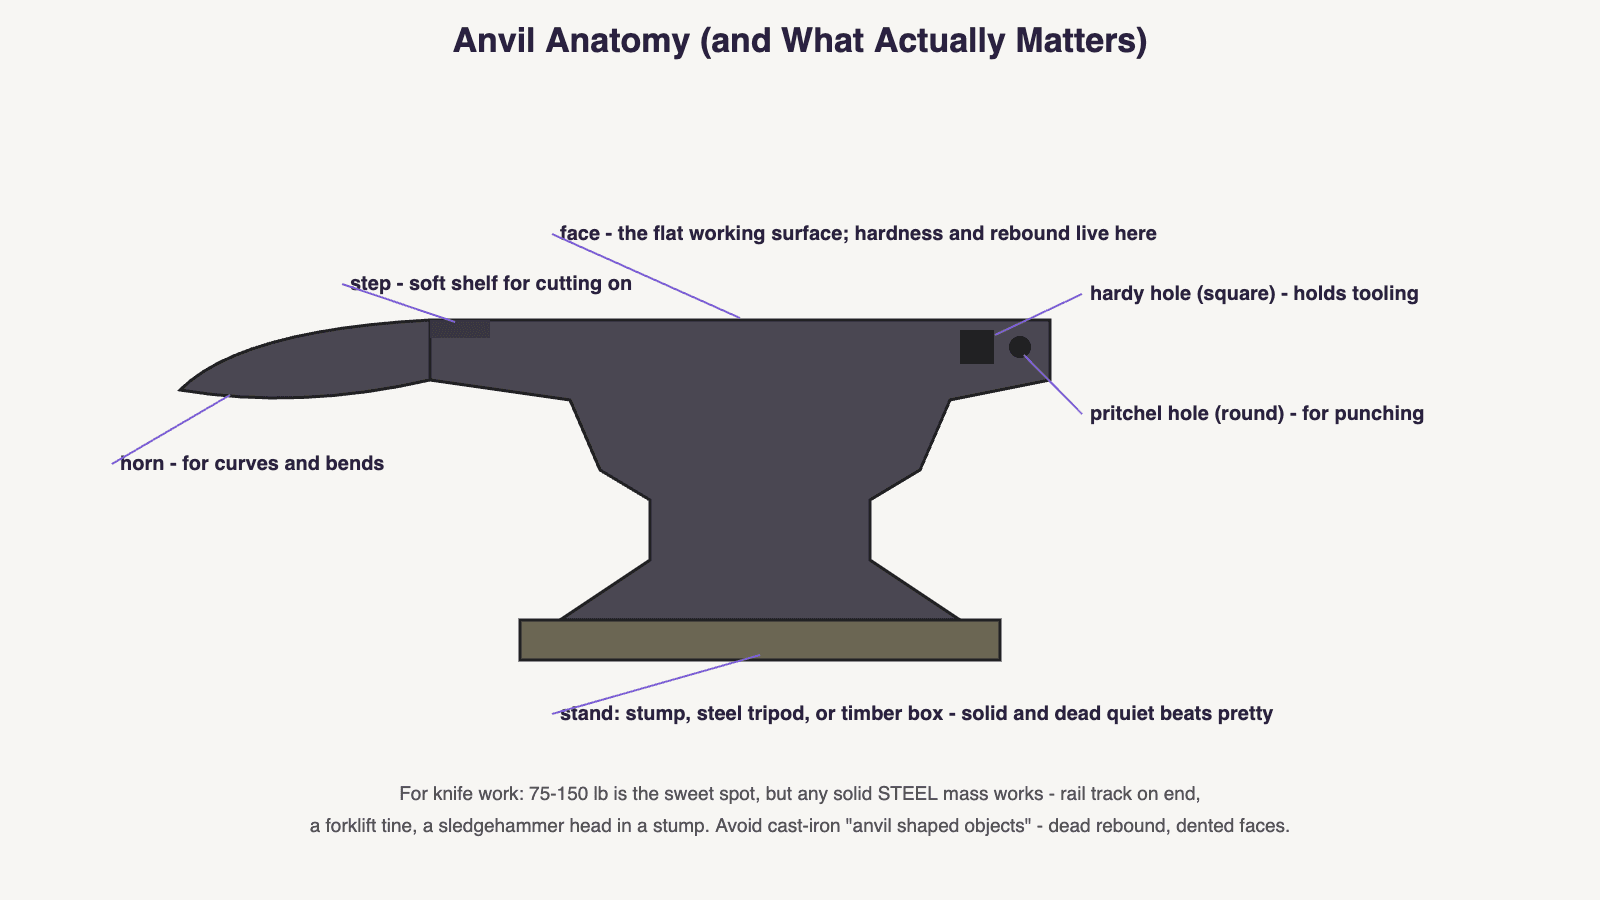
Nobody ever quit knifemaking because their anvil was too small — plenty quit because they spent the whole budget on a 250-pound showpiece and had nothing left for steel. Blade forging is small-stock work: what you need under the hammer is a solid mass of hardened steel, and there are more ways to get one than the anvil catalogs suggest.
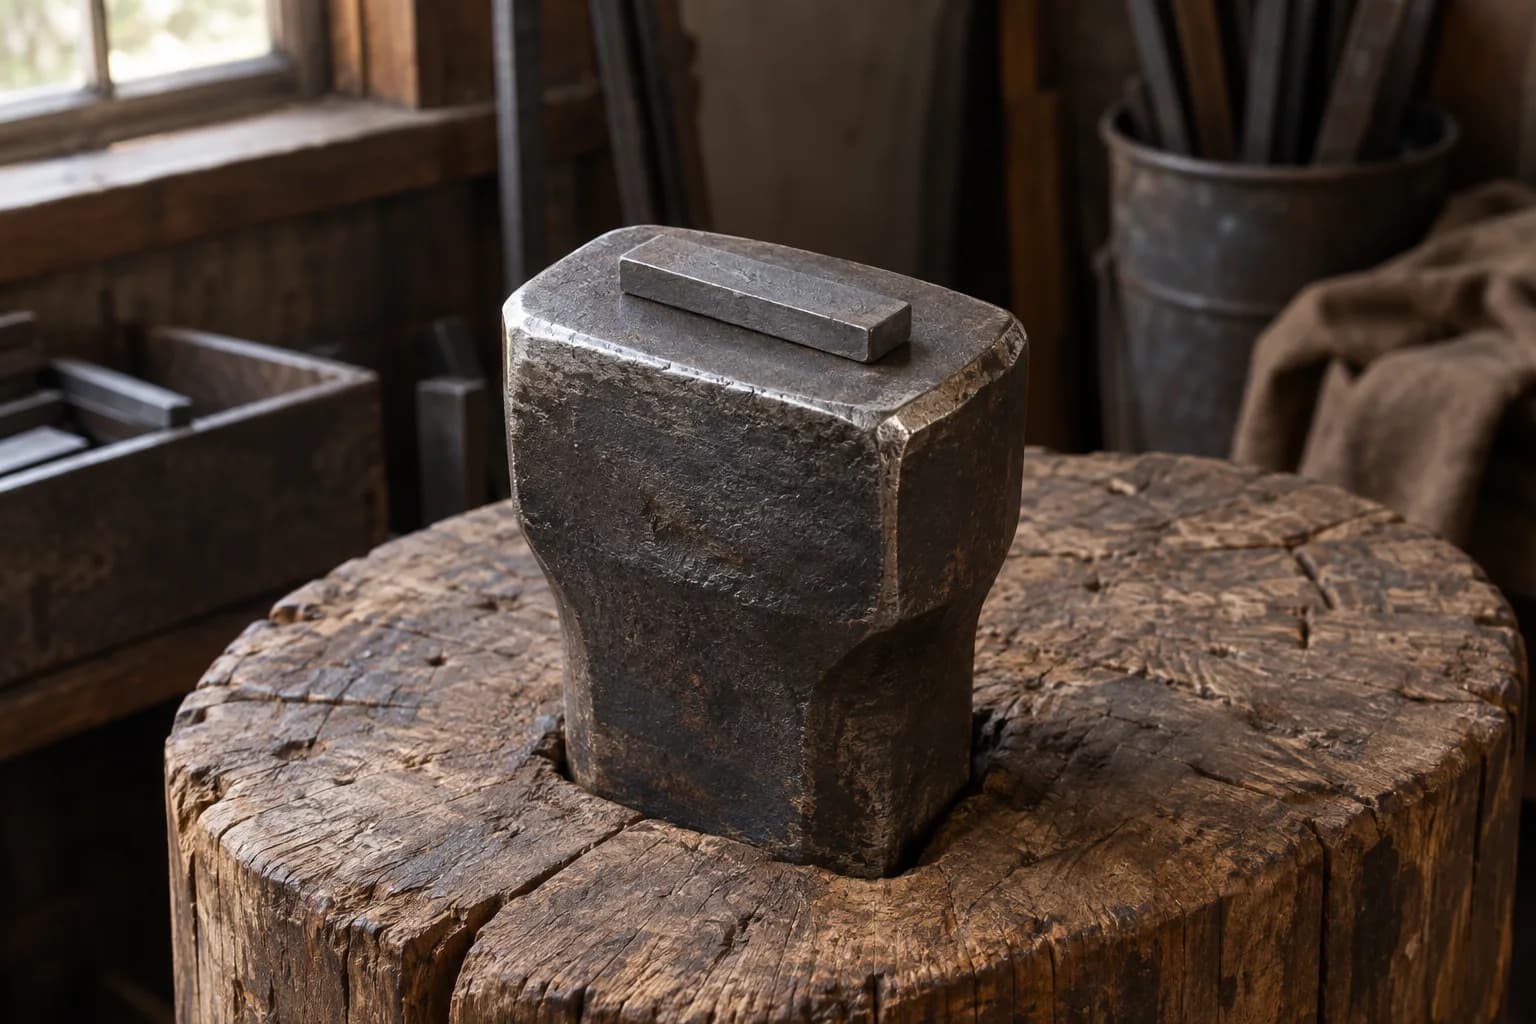
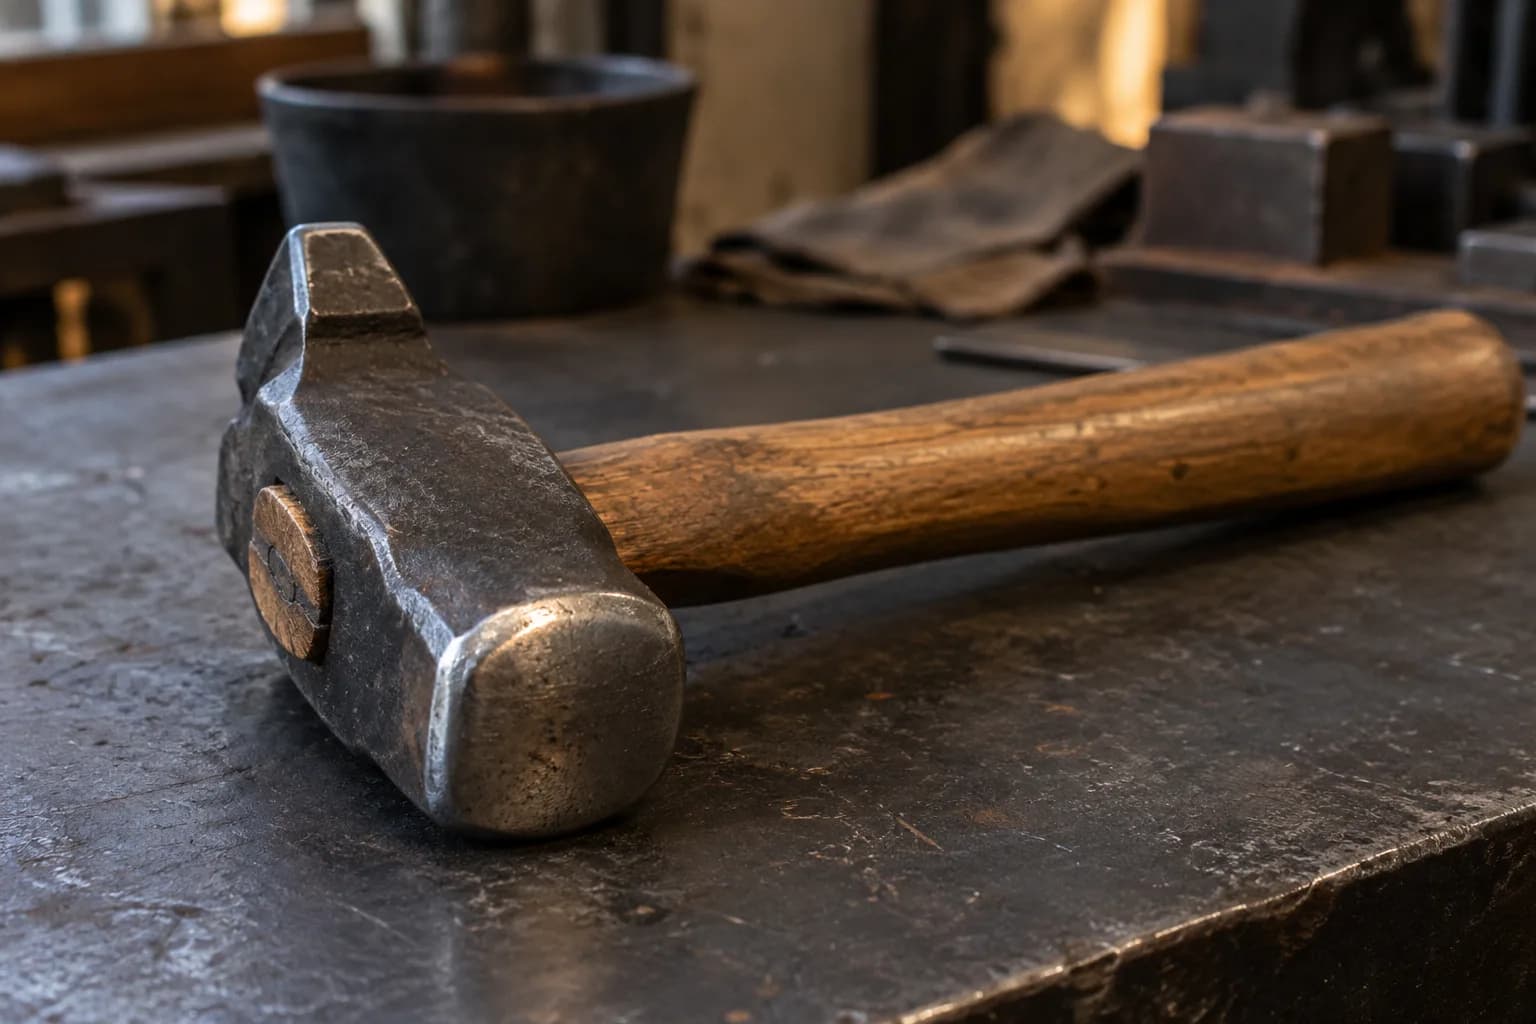
Start with 2 to 2.5 pounds — a cross peen or rounding hammer is the bladesmith default. Heavier moves more steel per blow and exhausts your accuracy by blow forty; blade forging is a precision game, and an accurate 2-pounder out-forges a wild 4-pounder every session. Two details worth doing early: dress the face (ease the sharp factory edges, aim for a gentle crown — sharp hammer edges print half-moon dents you’ll grind out later), and pick a handle that lets your grip stay relaxed. One good hammer is enough for years.
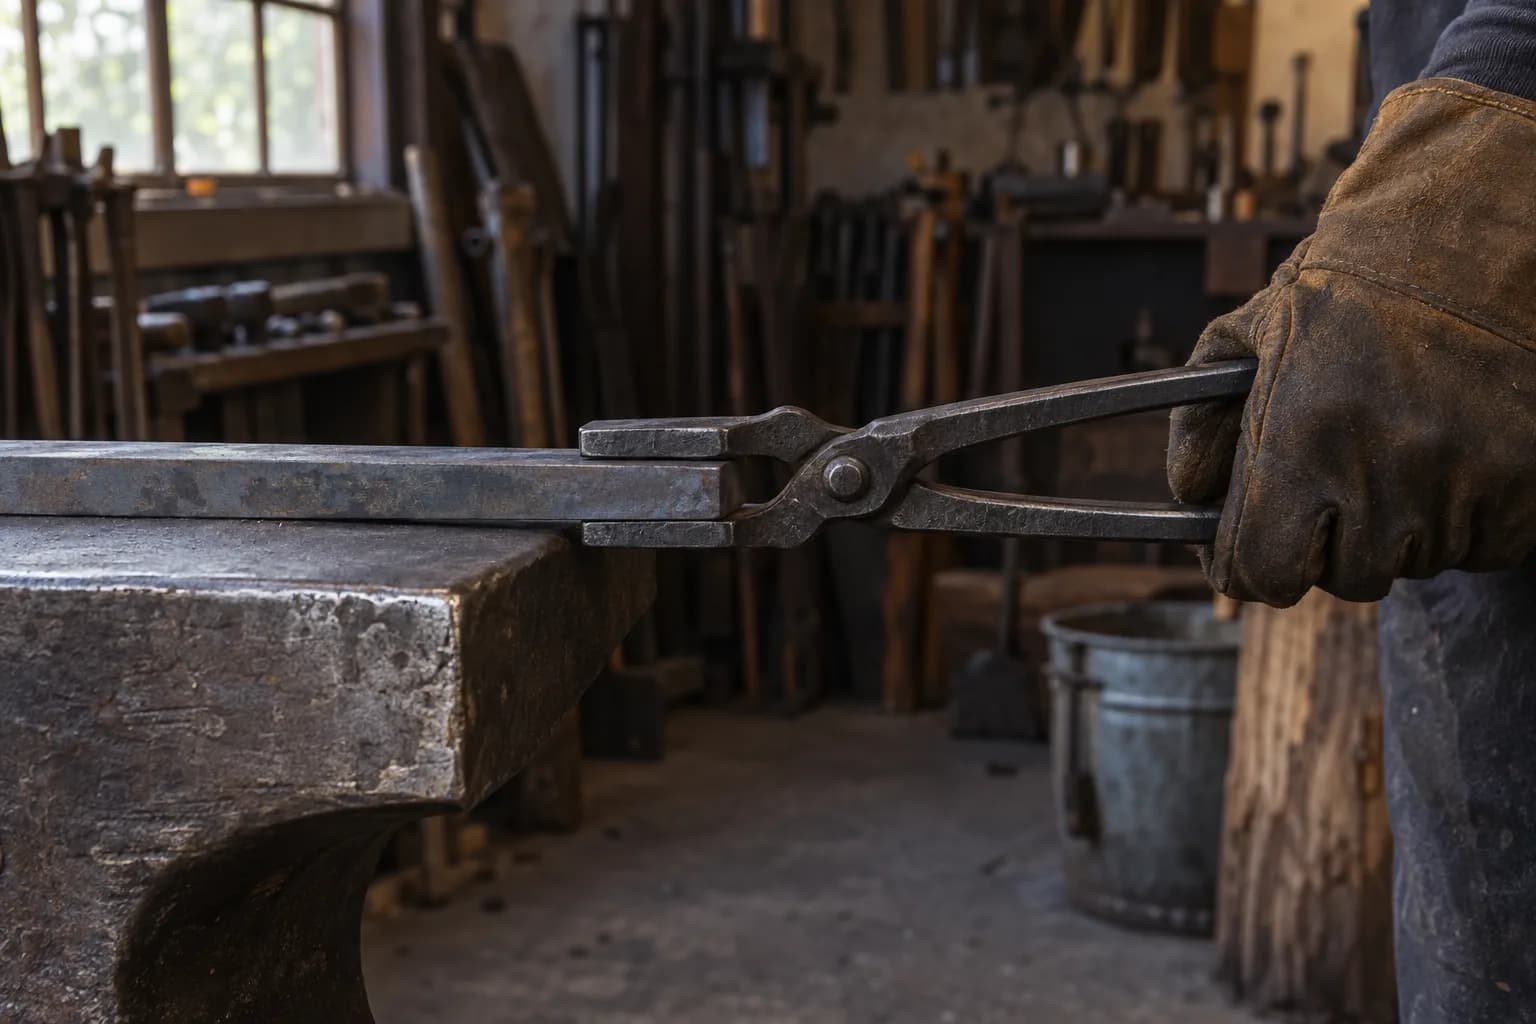
Bad tongs are how hot steel ends up on the floor (or your boots). The rule: tongs must fit the stock — jaws that close fully and grip flat bar along its faces, not just at two points. For knife work from flat bar, wolf-jaw or flat/bolt-jaw tongs in a size matching your steel (usually 1″–1.5″ bar) cover almost everything; a second pair arrives when your stock size does. Until the tongs show up: buy steel long and hold the cold end — the classic first-knife move, and honestly a good one.
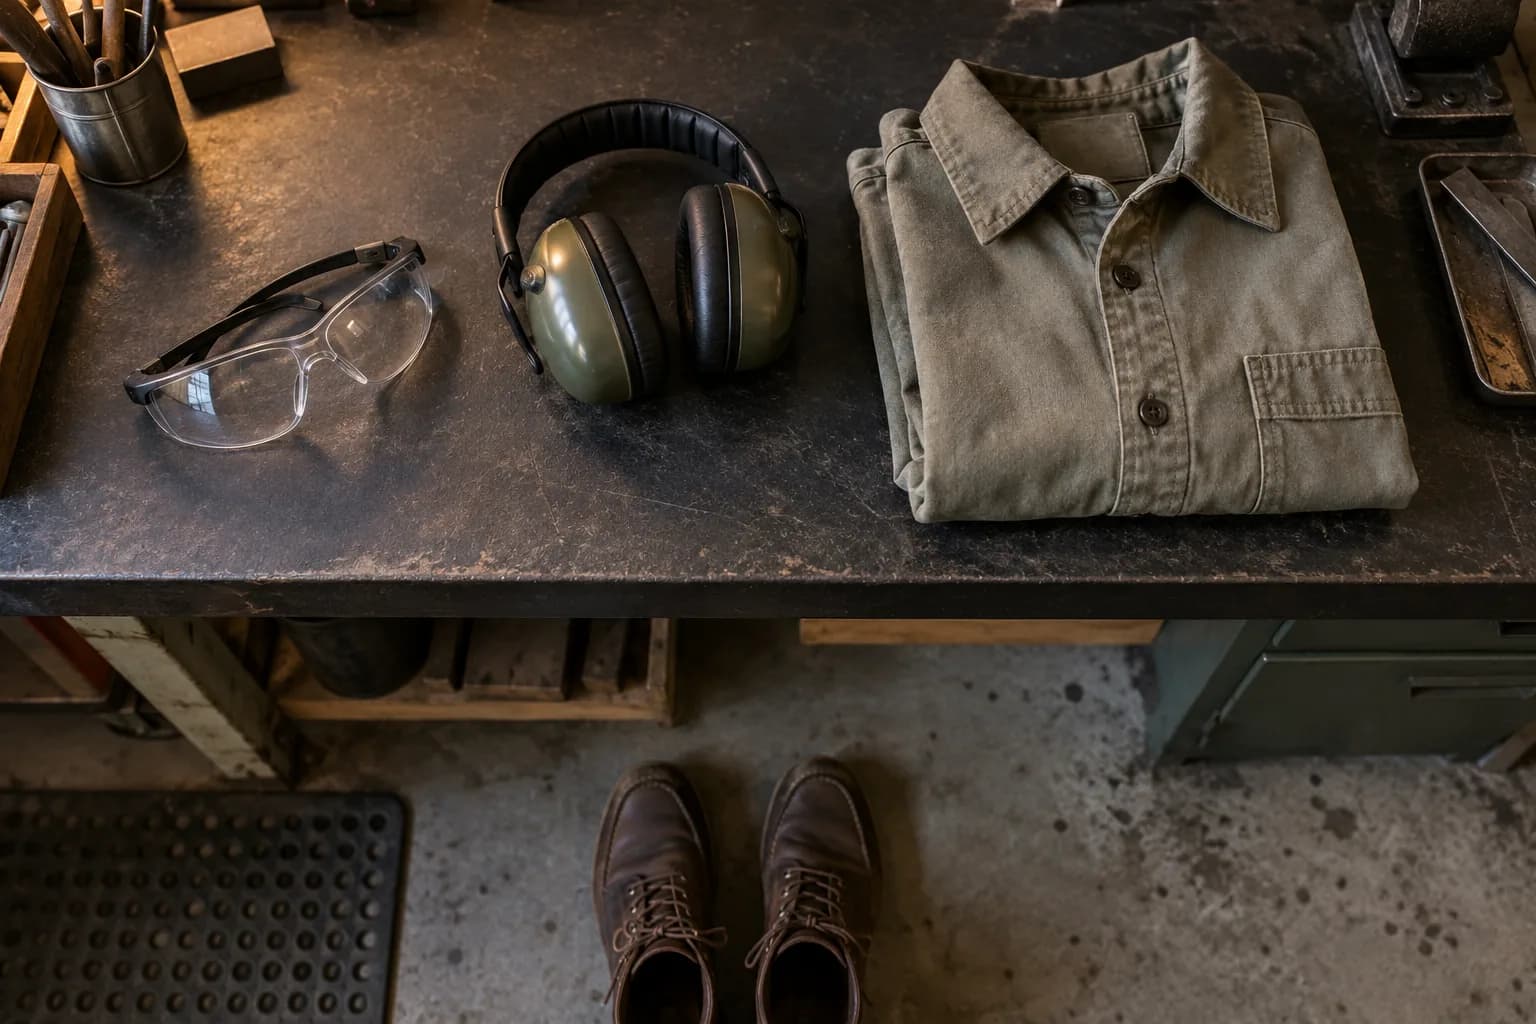
Add the forge from the first-forge guide and a few bars of 1084, and you’re forging. Full startup math across both paths of the craft lives in the cost guide.
Keep reading
Three more from the same bench.
Every forged blade starts with the same purchase decision, and the good news is it’s gotten cheap: a genuinely usable knifemaking forge now costs less…
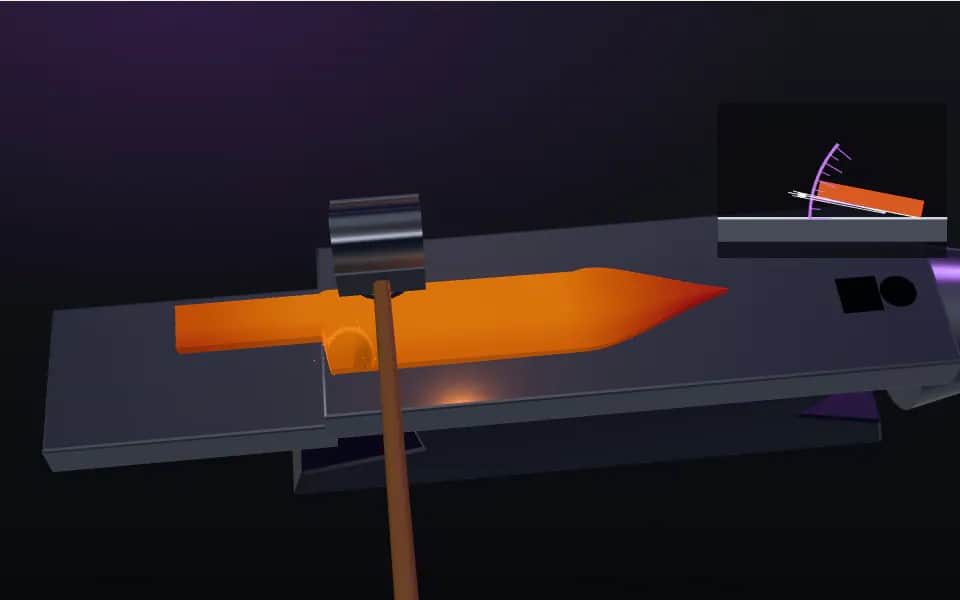
Forging a knife is not sculpting with sparks — it’s a sequence, and once you know the sequence, every session has a plan. This guide walks a first forged…
Serious knifemakers eventually ask the same question: what does it actually cost to build a professional-grade shop, not just a hobby setup? This breaks…
Same bench
I machine the parts, hand-assemble, track and test Torus grinders in Sterling, Illinois. Most orders ship in seven to ten business days from time of order.

Current dual-axis platform with a fiber-laser-cut 6061 chassis and single-knob tracking.

Current dual-axis platform with a steel chassis, more mass and less vibration.

Prior-design aluminum chassis, 90-degree tilt and 1.5-inch tooling arms.

One-man shop
I answer my own email. Tell me the steel, the machine and what it is doing, and I will tell you what I would try next.