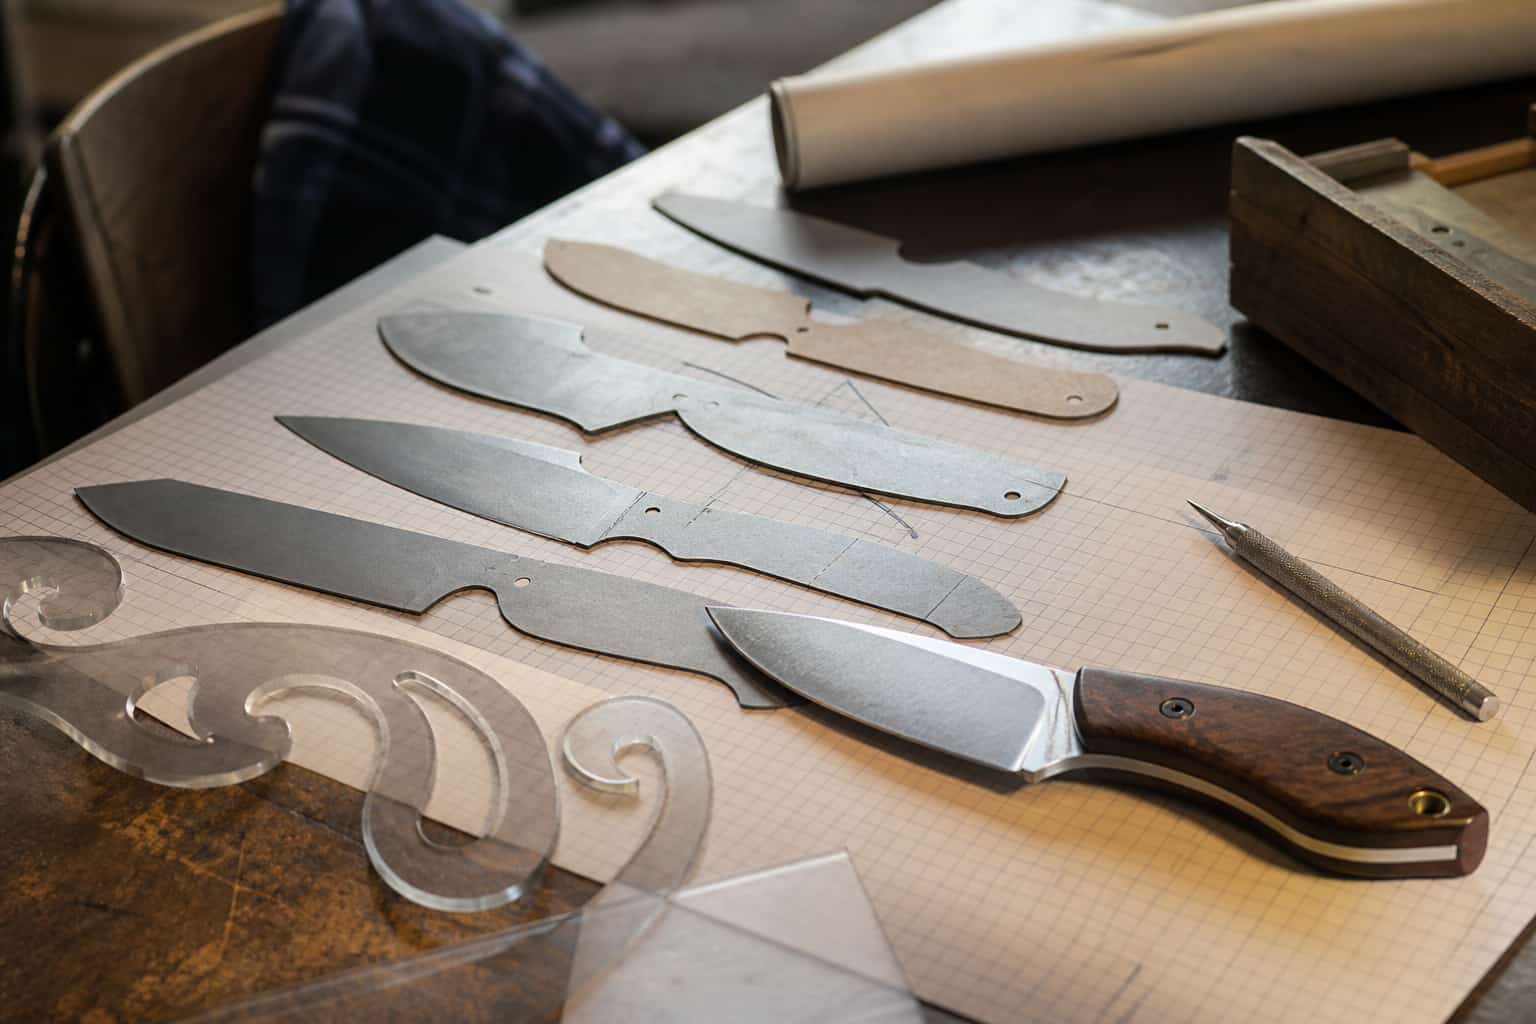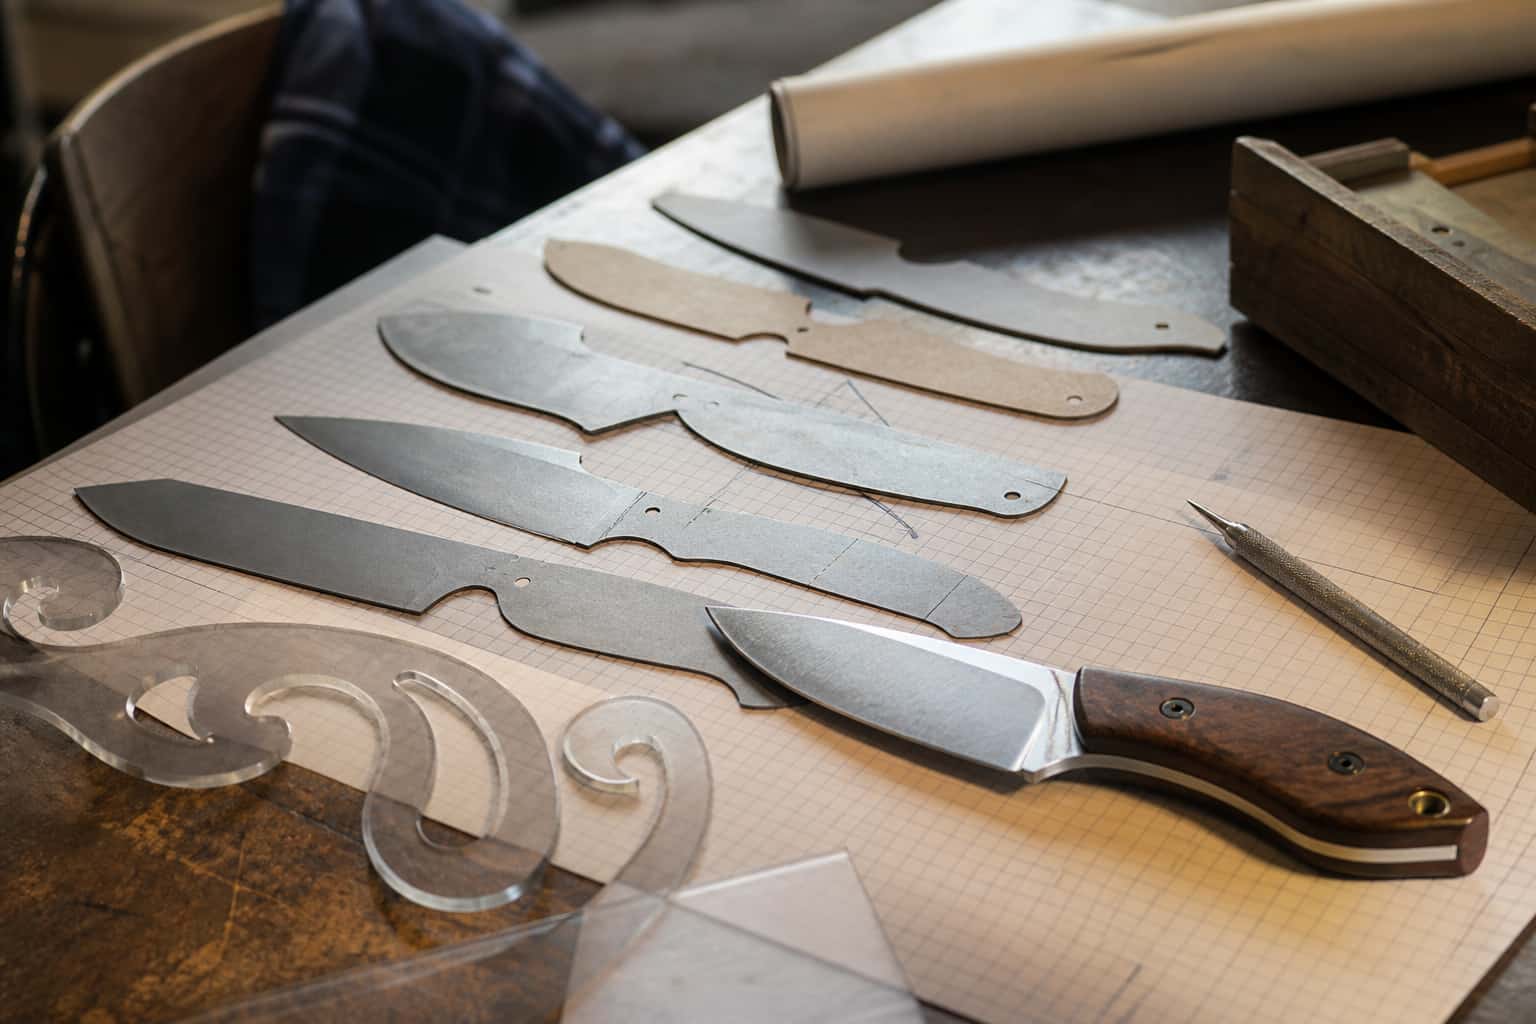
Knife blade design in a working knife shop

Blade Design

Knife Handle Epoxy: G/flex, Surface Prep & the Clamping Mistake

G/flex 655 is the knifemaking standard and 5-minute epoxy fails on scales. Get the surface prep that bonds, and avoid the over-clamping mistake.

3 min readWritten by Rich LinvilleFree to read

Ask the forums why handle scales popped off a knife and the autopsy is nearly always the same three suspects: the wrong epoxy, unprepared surfaces, or a clamp cranked until the joint starved. Epoxy failure is unusually democratic — it embarrasses first-timers and veterans alike — and unusually preventable. Here’s the epoxy chapter of the handle attachment guide, in full.
Which Epoxy (the Short List)

  • G/flex 655 — the knifemaking standard. West System’s toughened, pre-thickened epoxy: gel consistency (stays where you put it), ~45-minute pot life, and — the key property — it cures slightly flexible, so it absorbs the shock, vibration, and wood movement that crack brittle glues loose. This is the forum answer for good reason, and it’s stocked by knifemaking suppliers. Its runnier sibling G/flex 650 penetrates better on oily/stabilized woods.
  • Slow-cure structural epoxies (System Three T-88, West 105-family, quality 24-hour epoxies) — also excellent; slow cures build stronger bonds than fast ones, full stop.
  • 5-minute epoxy: pins-and-fixtures only. Its bond is measurably weaker and more brittle, and its open time loses to your clamping fumble. Handy for tacking a guard or filling a pin countersink; wrong for holding scales on a knife that gets used. If the label brags about speed, it’s not handle glue.

Surface Prep Decides the Bond

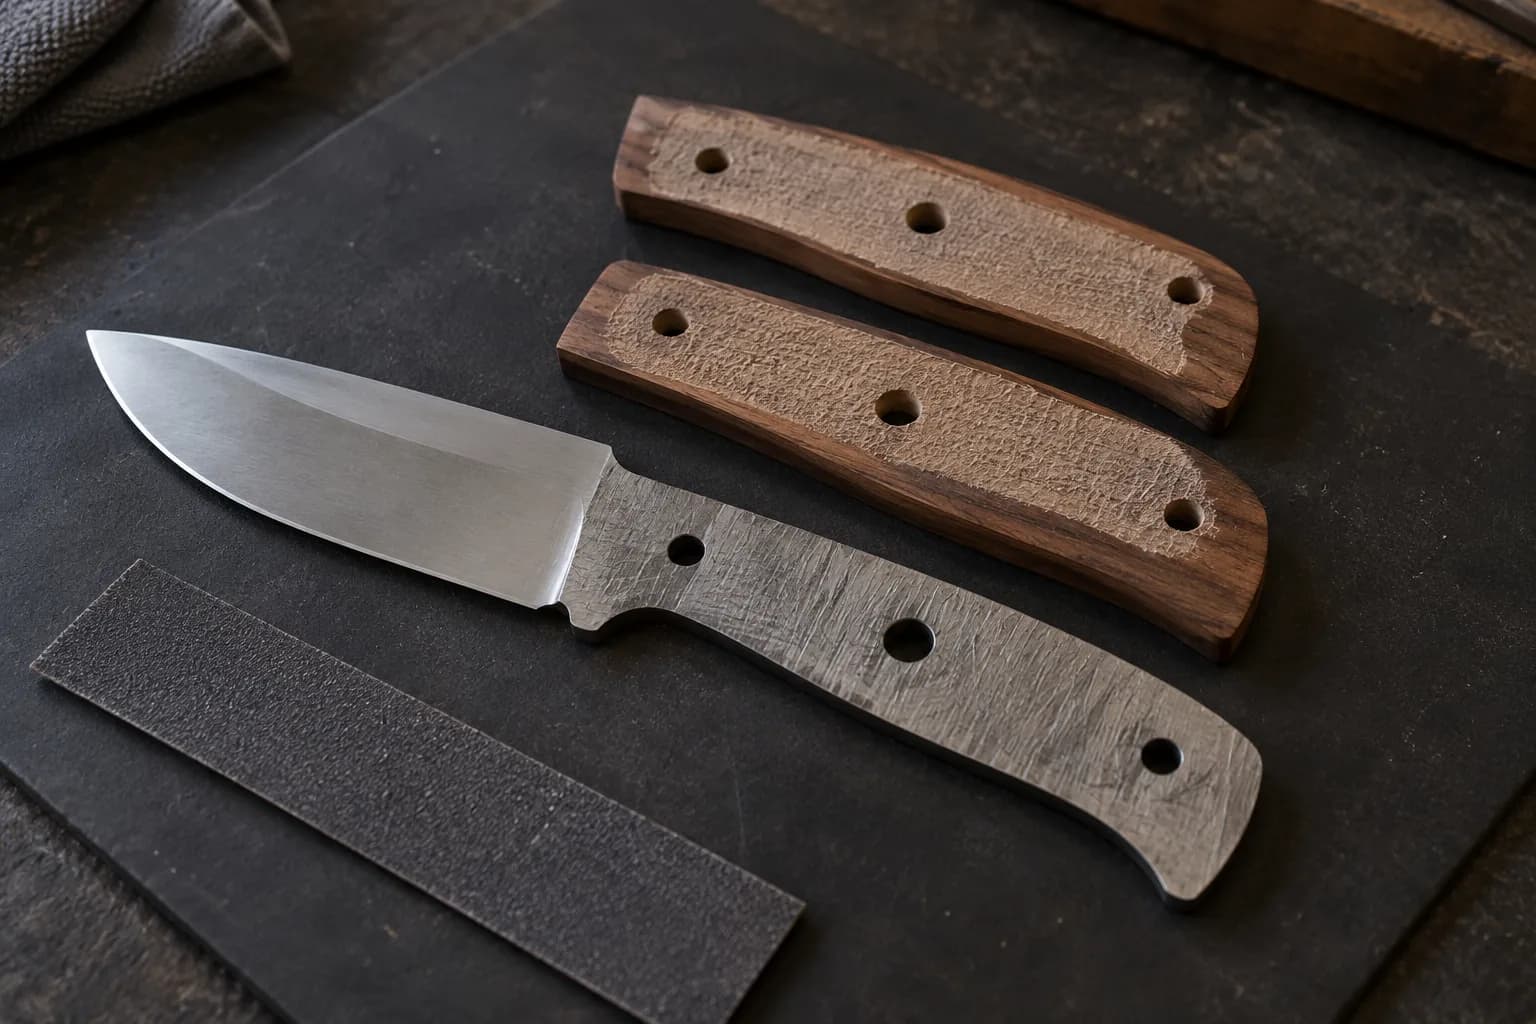
  1. Scuff both surfaces coarse — 60–80 grit on the tang and the scale backs. Epoxy grips tooth, not polish; a shiny tang is a release surface. Many makers also drill a few shallow divots in the tang for mechanical lock.
    Scratched steel knife tang and two roughened walnut scales laid on a dark mat beside a strip of coarse abrasive.
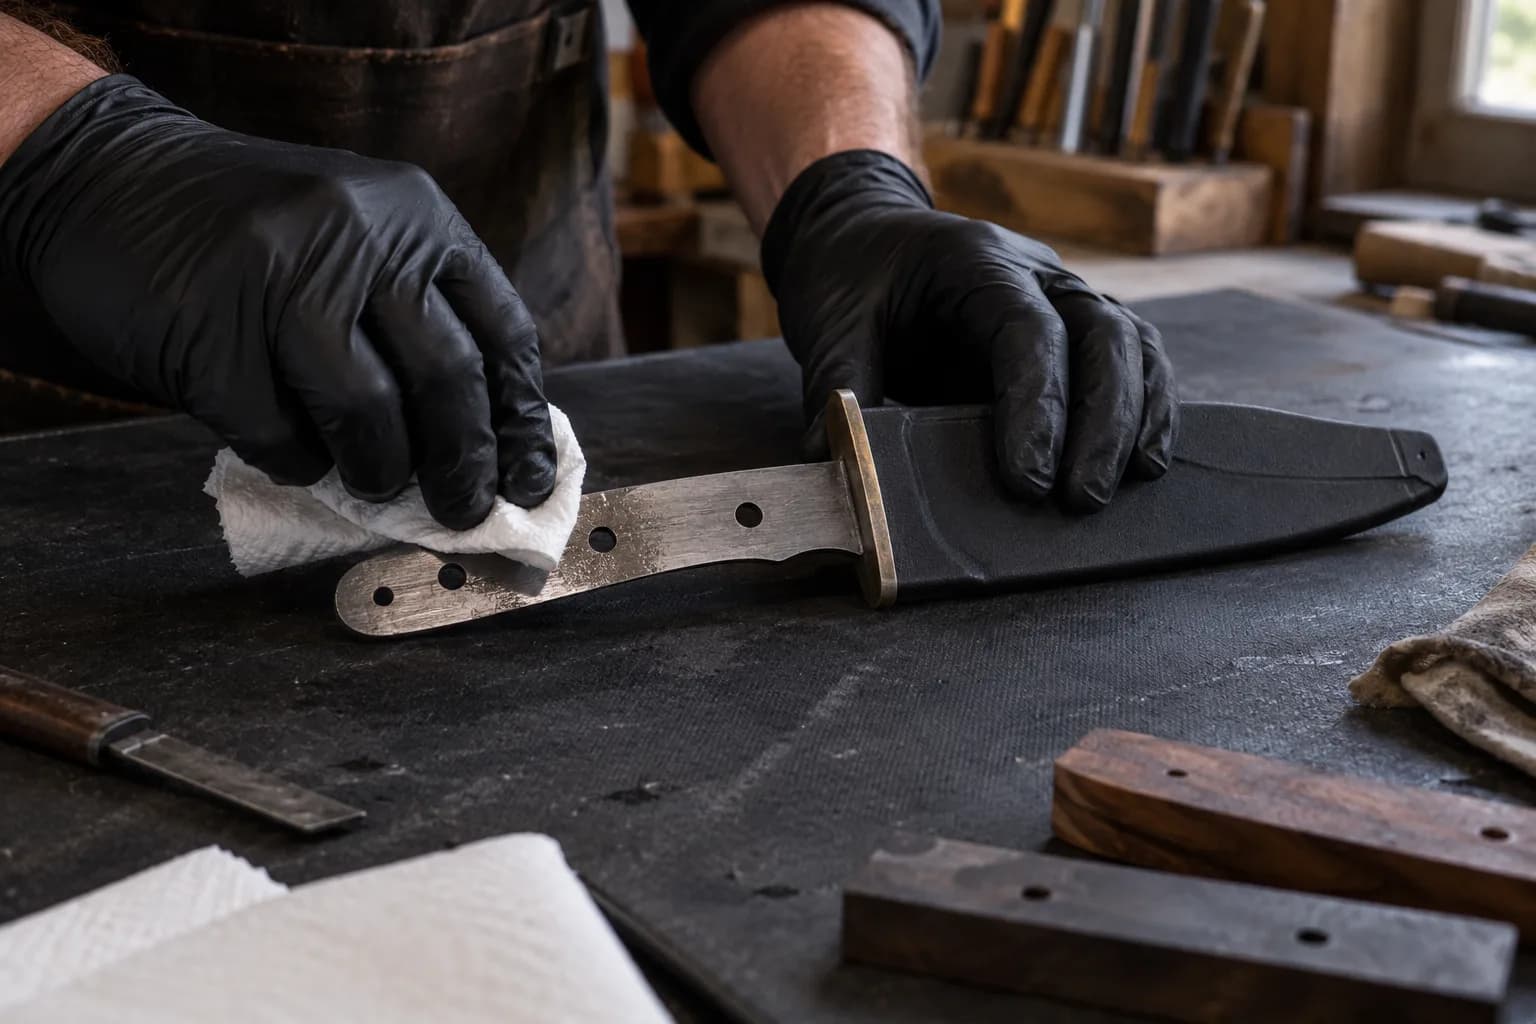
  2. Degrease the tang with acetone on clean white paper towels (not shop rags — they redeposit oil), and let it flash off.
    Black-gloved hand wipes a knife tang with a white paper towel while the other hand steadies the sheathed blade.
  3. Oily and stabilized woods get an acetone wipe ~15 minutes before glue-up — it lifts surface oils that block penetration on woods like desert ironwood and cocobolo (see the wood guide). After the wipe, don’t touch the mating faces — skin oil is contamination.
  4. Dry-fit everything first. Pins in, scales aligned, clamps staged, gloves on. Epoxy rewards rehearsal.

Mixing and Clamping (Where Good Bonds Die)

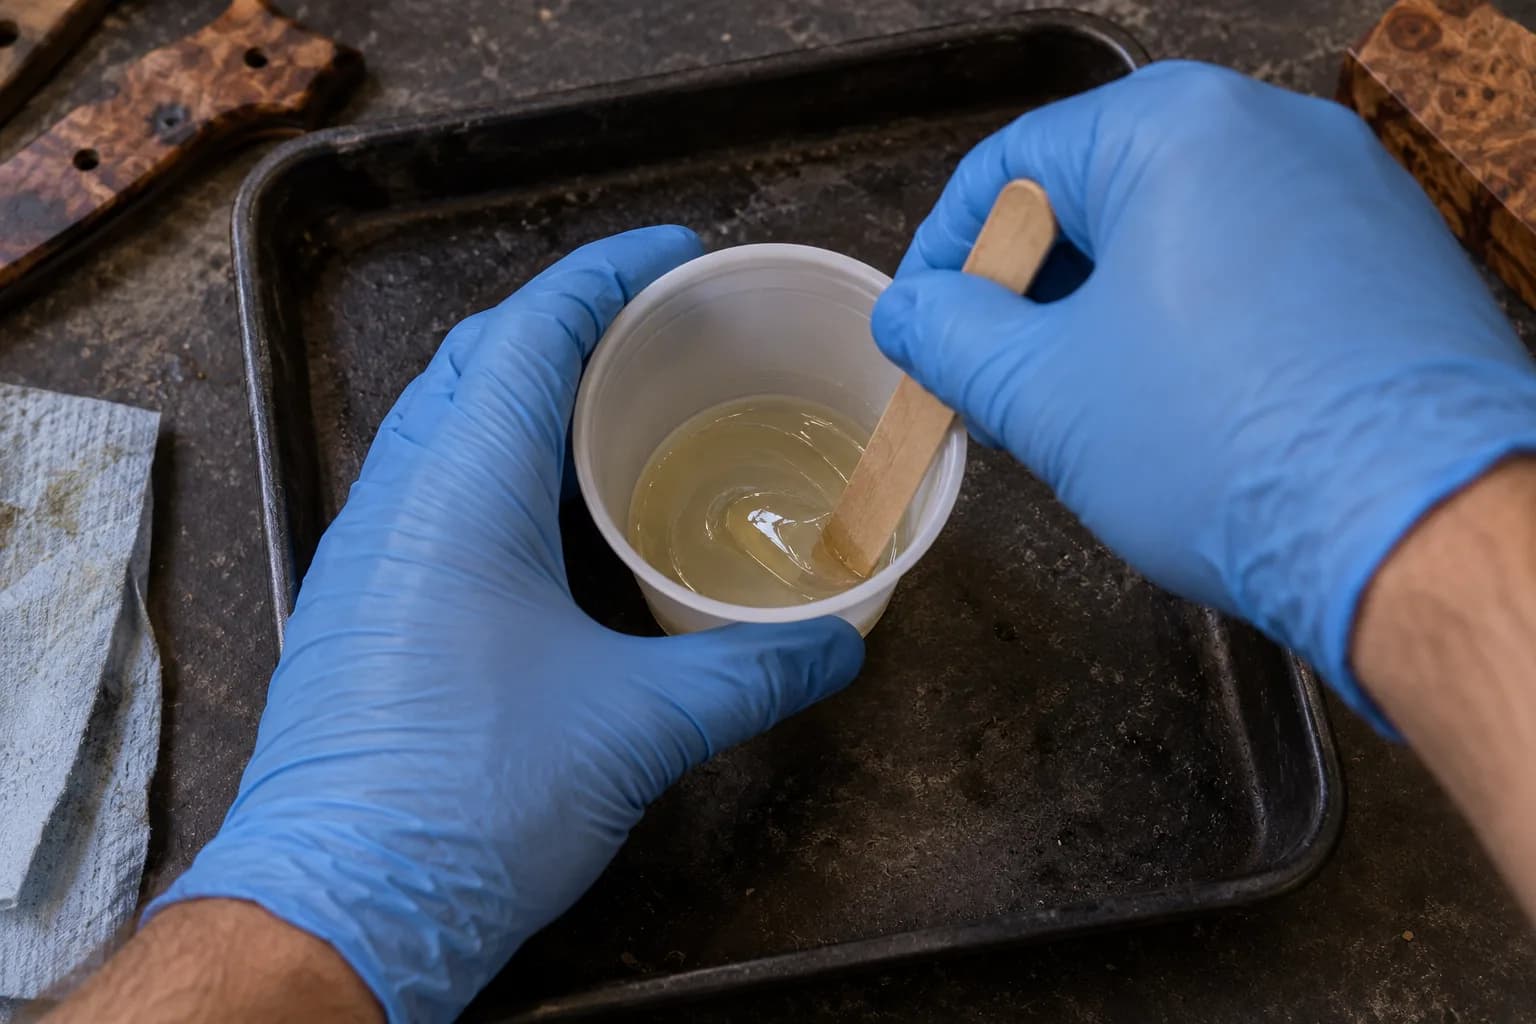
  • Measure honestly, mix thoroughly — a full minute of scraping the mix cup’s walls and bottom. Off-ratio or lazy mixing is the invisible failure that shows up in a year, not a day.
    Blue-gloved hands holding a clear cup of mixed epoxy while a wood stick scrapes along the cup wall.
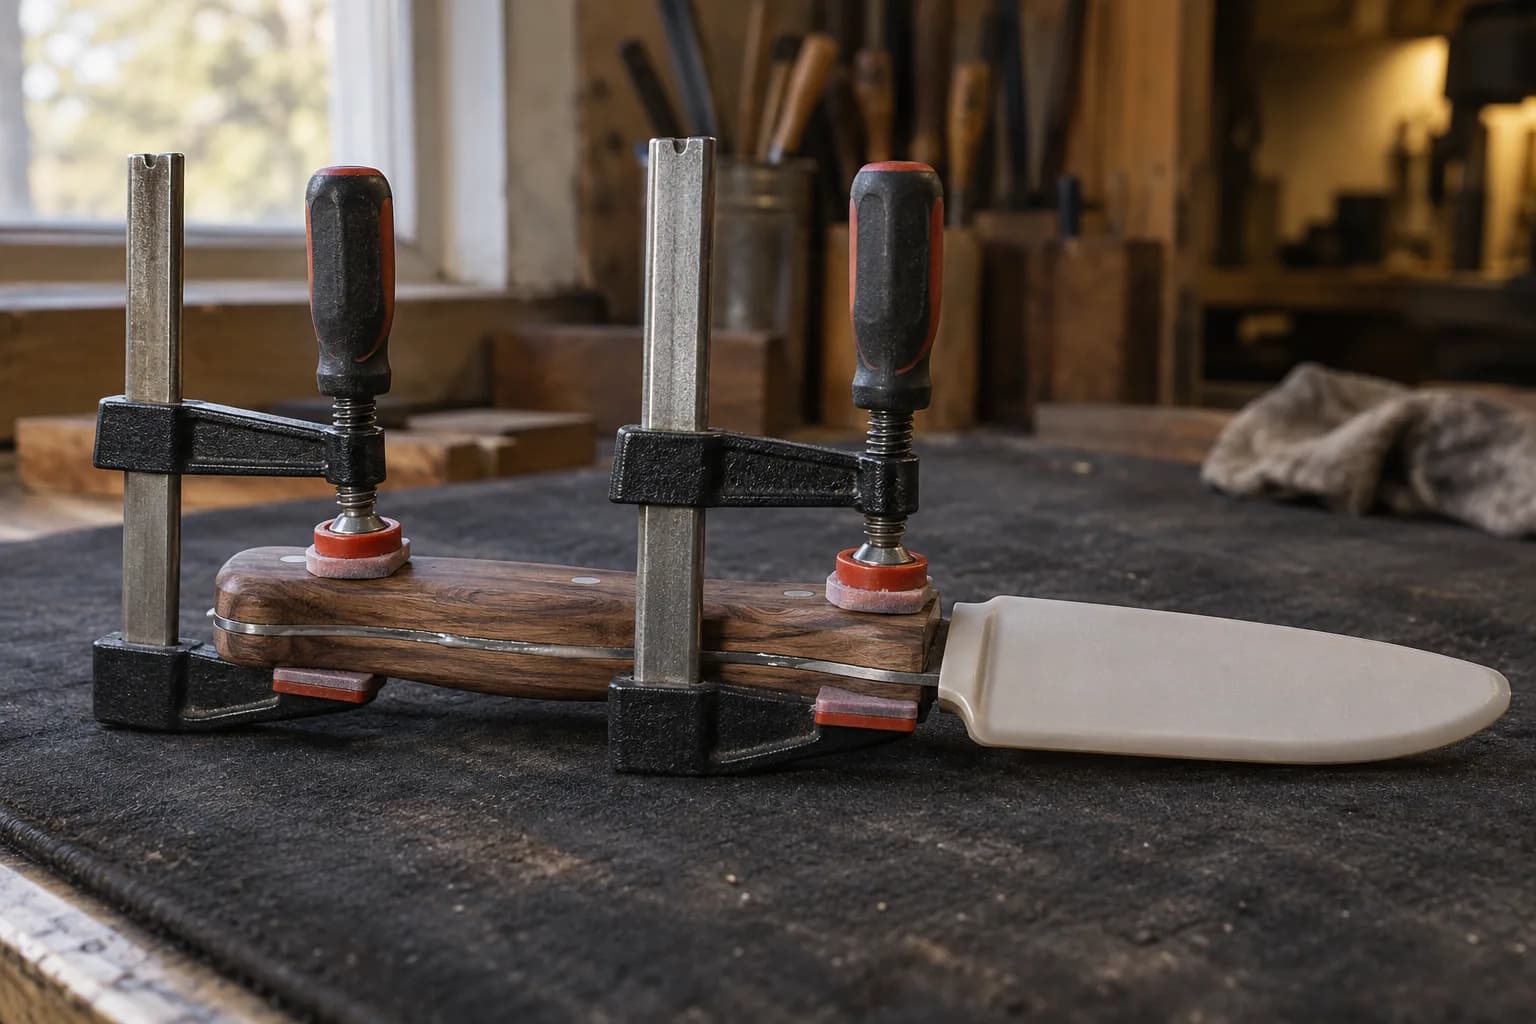
  • Butter both surfaces, seat the scales, and clamp with firm-not-crushing pressure: you want a little squeeze-out at the edges, and no more. This is the counterintuitive one — cranking the clamps squeezes the joint dry (“glue starvation”) and produces a weaker bond than moderate pressure. Snug, even, done.
    Two bar clamps with red pads hold wood scales on a knife handle, a pale edge guard covering the blade, on a dark bench mat.
  • Clean squeeze-out now, with acetone swabs, especially at the front of the scales — cured drips near a finished handle are misery.
  • Walk away for the full cure. Workable overnight, full strength in ~24 hours at room temperature (cold shops cure slow — warm the work). The knife that waits a day outlives the knife that didn’t.

The Honest Footnote

Epoxy is the belt and suspenders — the mechanical fasteners are the suspenders. Pins, Corby bolts, or peened pin stock carry the joint if the glue ever quits; a scales-only glue job on a working knife is a bet you don’t need to make. And if a handle does sit proud or gap, diagnose before re-gluing — it’s usually flatness, not glue.

Sources

Keep reading

Read these related guides

Three more from the same bench.

Same bench

Put the reference to work

I machine the parts, hand-assemble, track and test Torus grinders in Sterling, Illinois. Most orders ship in seven to ten business days from time of order.

  • Classic aluminum 2x72 grinder, side view with flat-platen tool arm and yellow Safety Rules label, on black with a purple glow

    Torus 2×72 Classic Aluminum Belt Grinder

    Prior-design aluminum chassis, 90-degree tilt and 1.5-inch tooling arms.

    Starts at$995View

One-man shop

Still stuck? Ask me.

I answer my own email. Tell me the steel, the machine and what it is doing, and I will tell you what I would try next.