
Blade Design
Blade Finishes Explained: Satin, Mirror, Stonewash & More
The final surface finish on a blade is more than cosmetic, it affects corrosion resistance, how scratches show up over time, and how much grinding and…
Blade Design
Vinegar and mustard patina methods step by step: the chemistry (good oxide vs. rust), pattern tricks, neutralizing, and honest protection limits.
2 min readWritten by Rich LinvilleFree to read
Every carbon steel blade is going to change color — the only question is whether rust chooses the pattern or you do. A patina is the good oxide: a thin, stable gray-to-black layer (magnetite-family “black rust”) that forms when carbon steel meets mild acid, and it partially shields the blade from the bad oxide — the flaky red rust that pits steel (see our rust troubleshooting entry). Forcing a patina on purpose is ten minutes of kitchen chemistry, it looks fantastic, and on a user knife in 1084, 1095, or 52100 it’s genuinely practical.
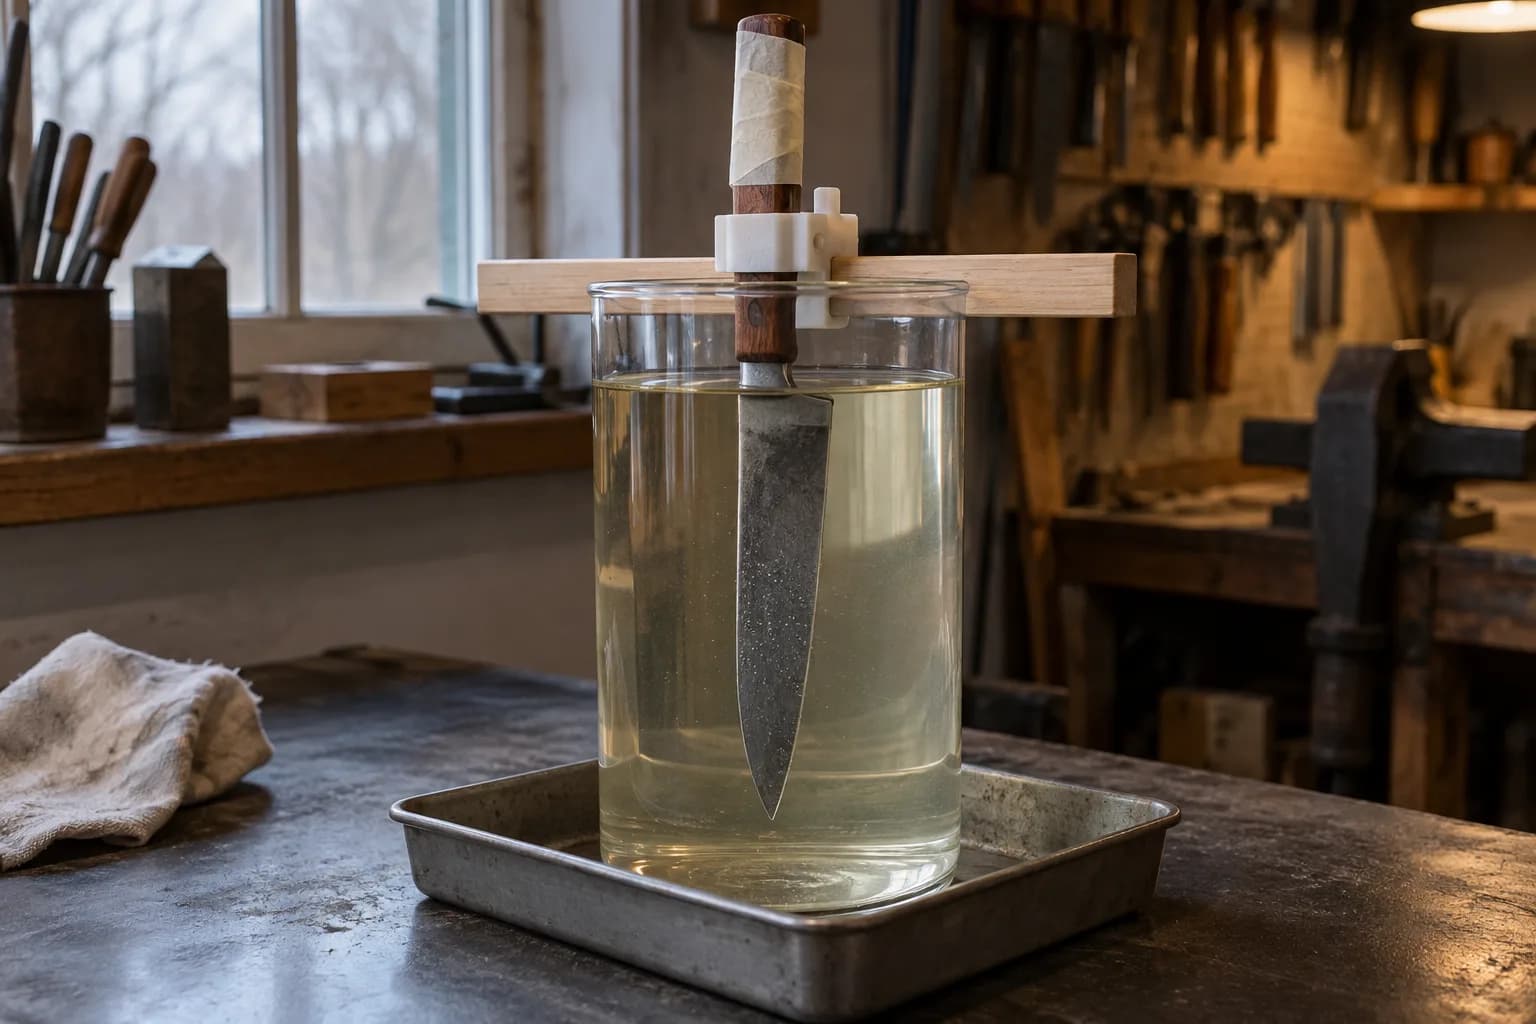
Result: a uniform, working-tool gray that ages gracefully. Warm vinegar works dramatically faster than cold — heat is the throttle.
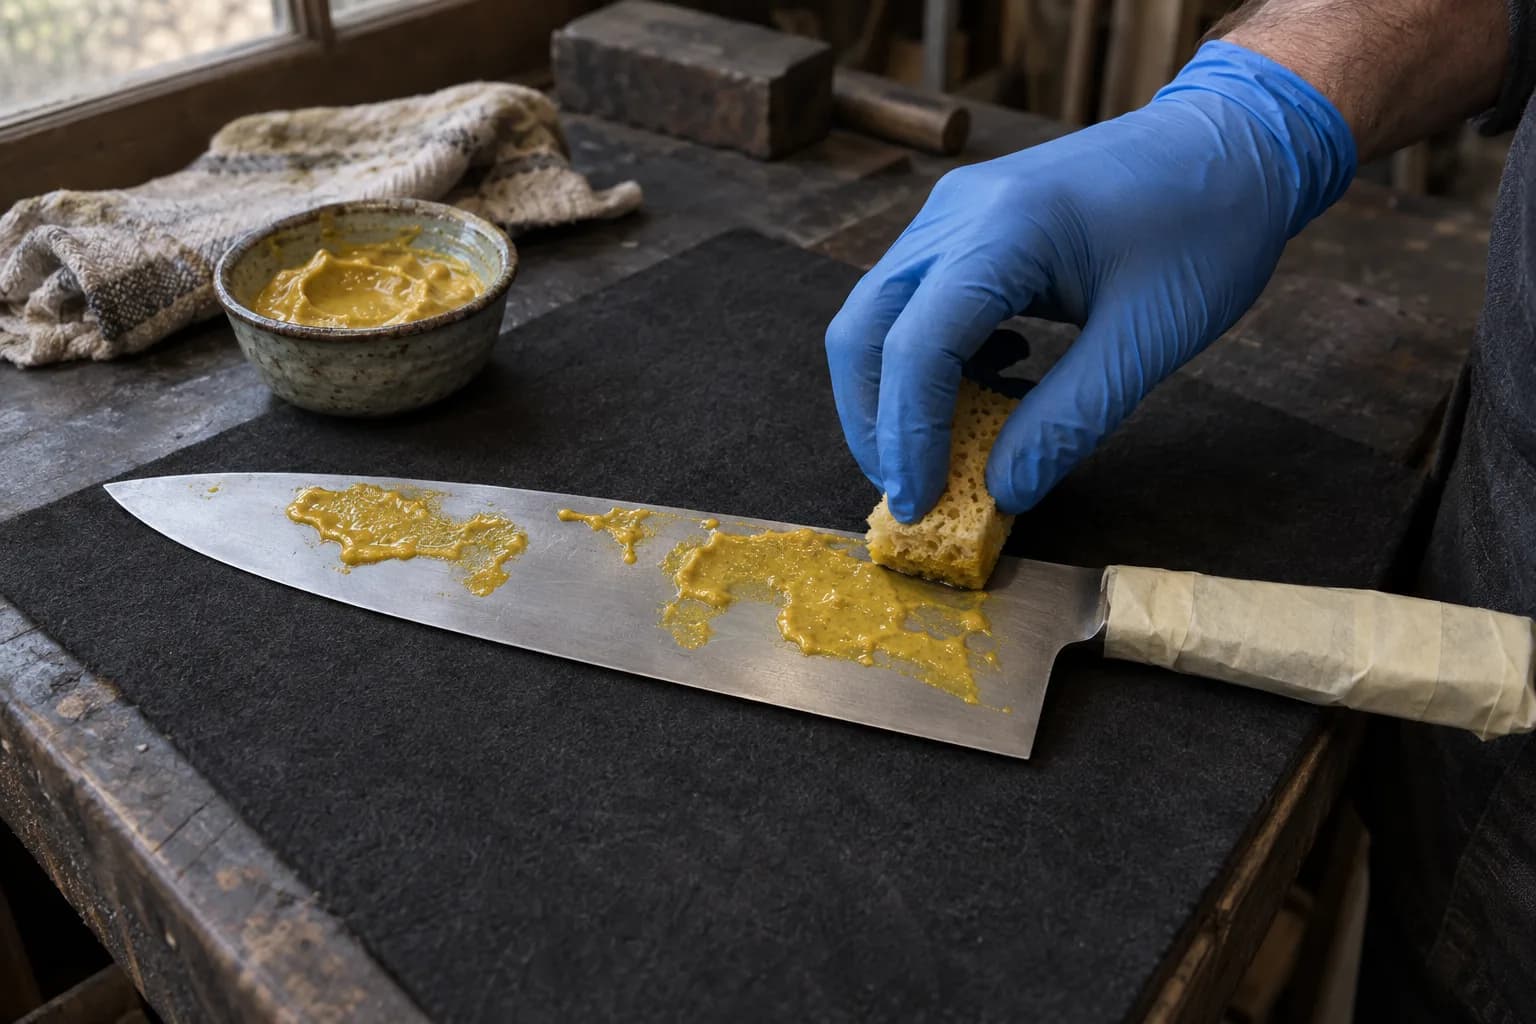
The famous one. Cheap yellow mustard (its vinegar supplies the acid; its thickness holds a pattern) dabbed onto the blade in dots, stripes, or swirls with a cloth, sponge, or fingertip:
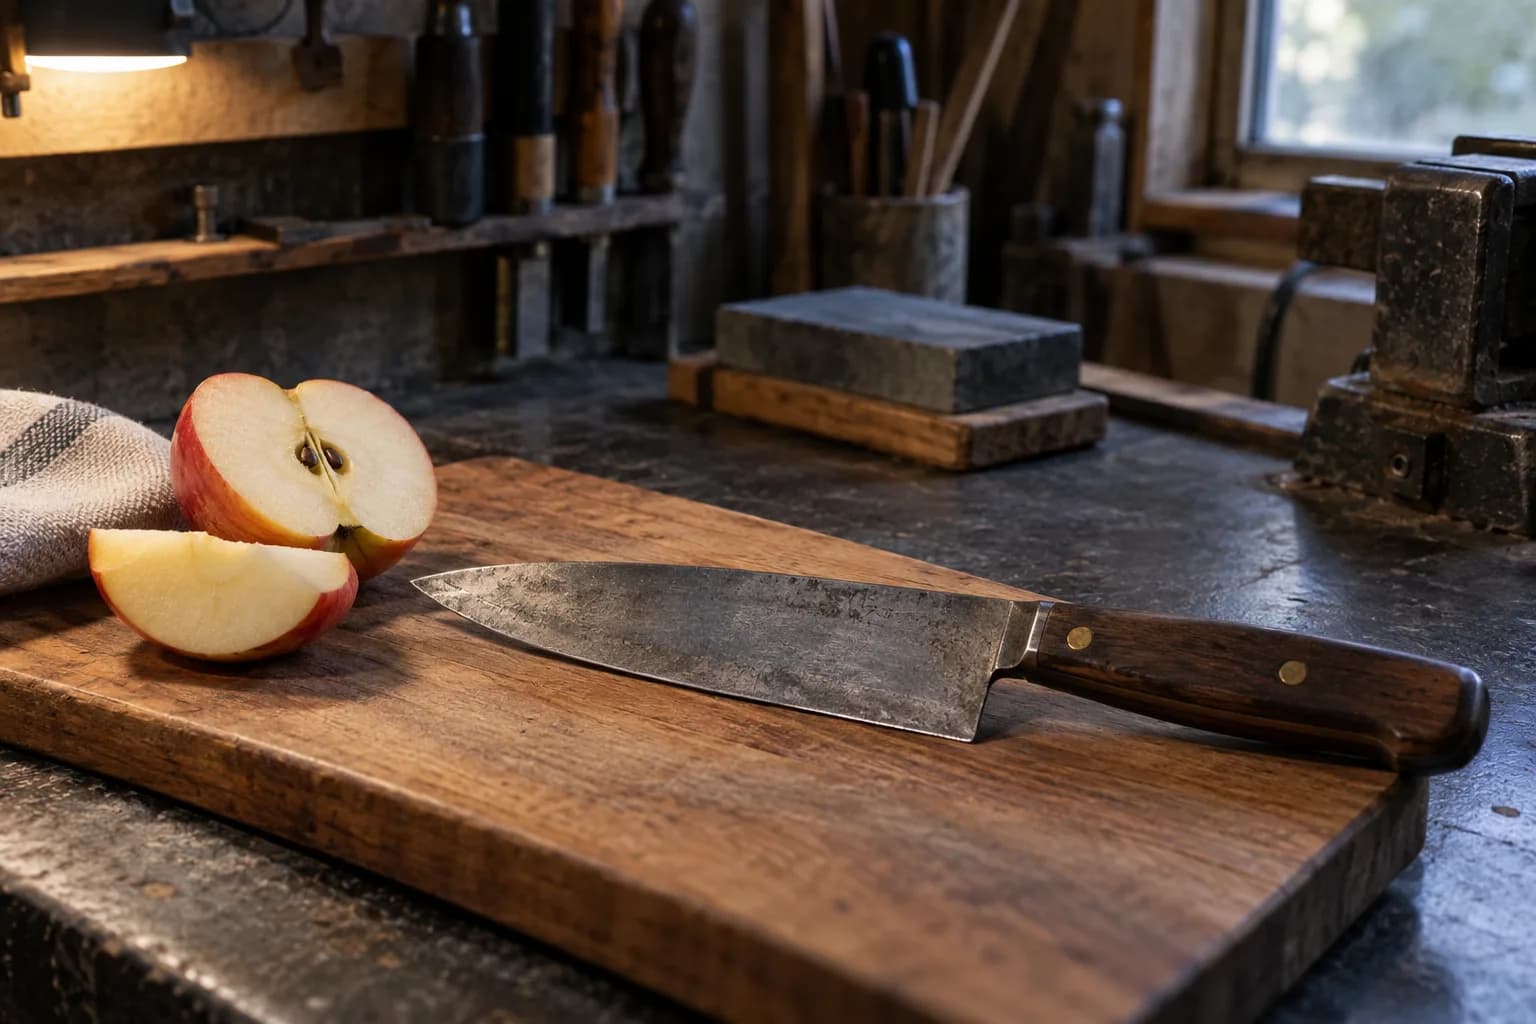
The natural patina — cutting apples, onions, citrus, and steak — arrives in weeks of kitchen duty and tells the knife’s actual history. Many makers force a light vinegar base coat for protection and let use paint the rest. Also honorable: hot coffee (the damascus-darkening trick works on plain carbon too) for a warmer dark tone.
Don’t like a section? A baking-soda slurry rubbed on the offending spot resets it. Hate all of it? The whole patina sands away with your final-grit paper and you’re back to bare steel — one of patina’s virtues is that no decision is permanent. The only unforgivable ending: skipping the neutralize-dry-oil close and letting active acid keep working under a sheath.
Keep reading
Three more from the same bench.
The final surface finish on a blade is more than cosmetic, it affects corrosion resistance, how scratches show up over time, and how much grinding and…
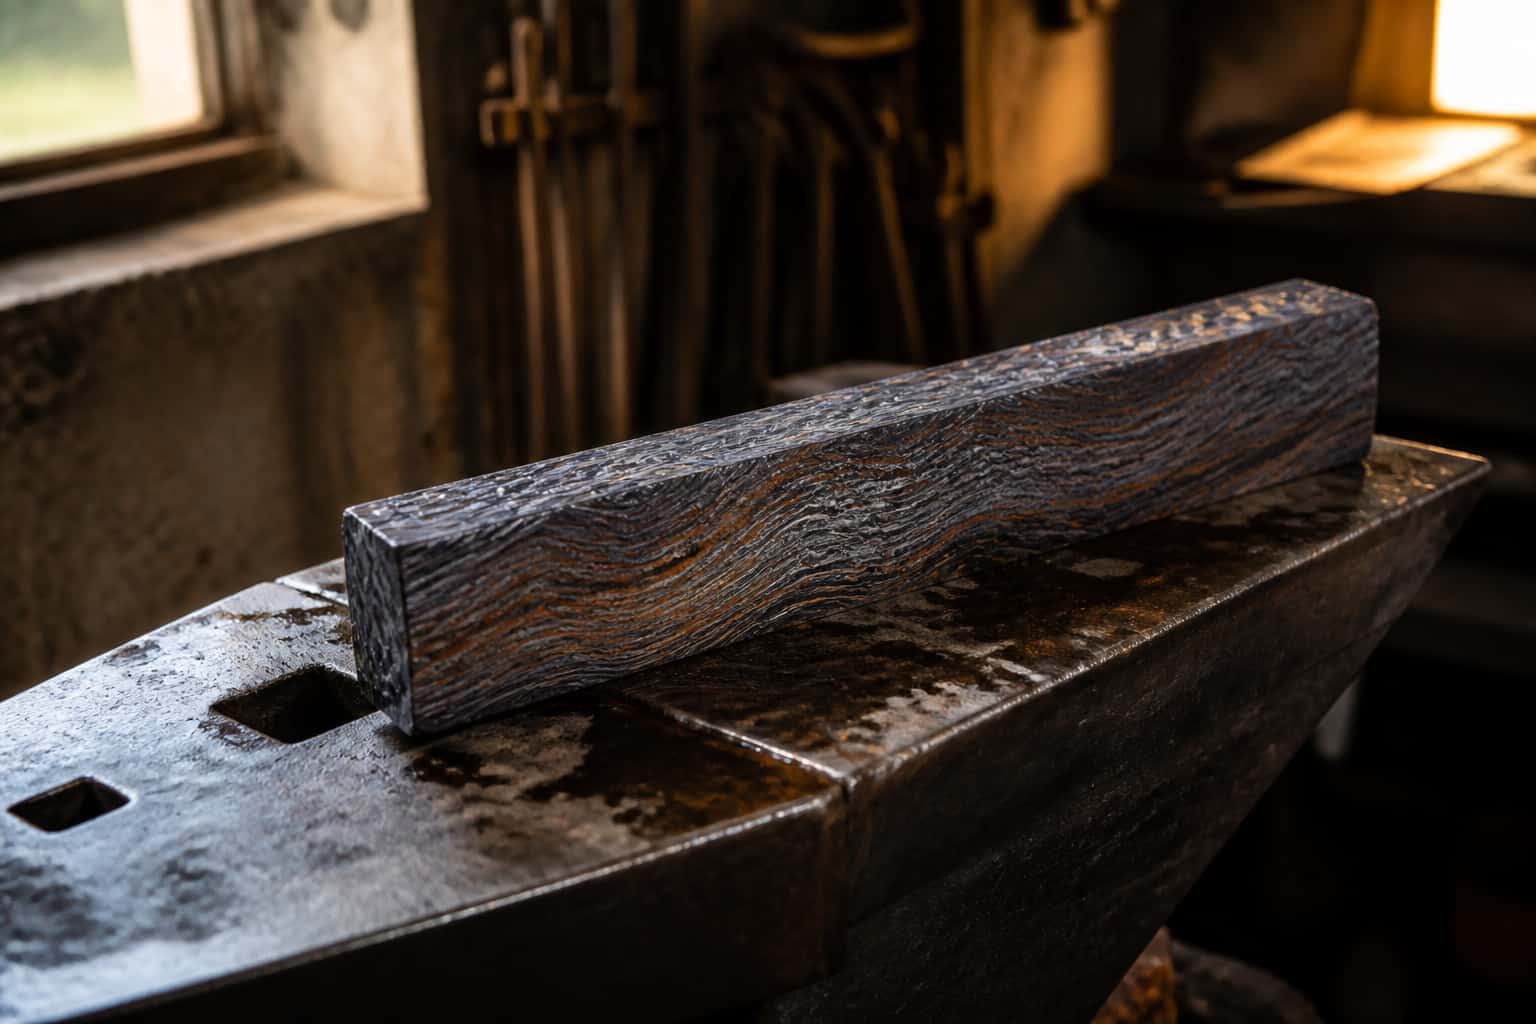
Until it’s etched, a damascus blade is just gray steel with faint ghost lines — every bit of drama comes from the acid. Etching is simple chemistry done…

Hand sanding is the tax every clean blade finish collects, and most makers pay it wrong: hours of scrubbing that polish scratches instead of removing…
Same bench
I machine the parts, hand-assemble, track and test Torus grinders in Sterling, Illinois. Most orders ship in seven to ten business days from time of order.

Current dual-axis platform with a fiber-laser-cut 6061 chassis and single-knob tracking.

Current dual-axis platform with a steel chassis, more mass and less vibration.

Prior-design aluminum chassis, 90-degree tilt and 1.5-inch tooling arms.

One-man shop
I answer my own email. Tell me the steel, the machine and what it is doing, and I will tell you what I would try next.