2x72 Grinder Tips
Creating Stunning Damascus Patterns with Frosting Belts on the Grinder
Etching reveals a damascus pattern, but a frosting belt is what makes it pop. Here is how I run frosting and surface conditioning belts on the 2×72 after the etch: which belt, how slow, how light, and what to avoid.
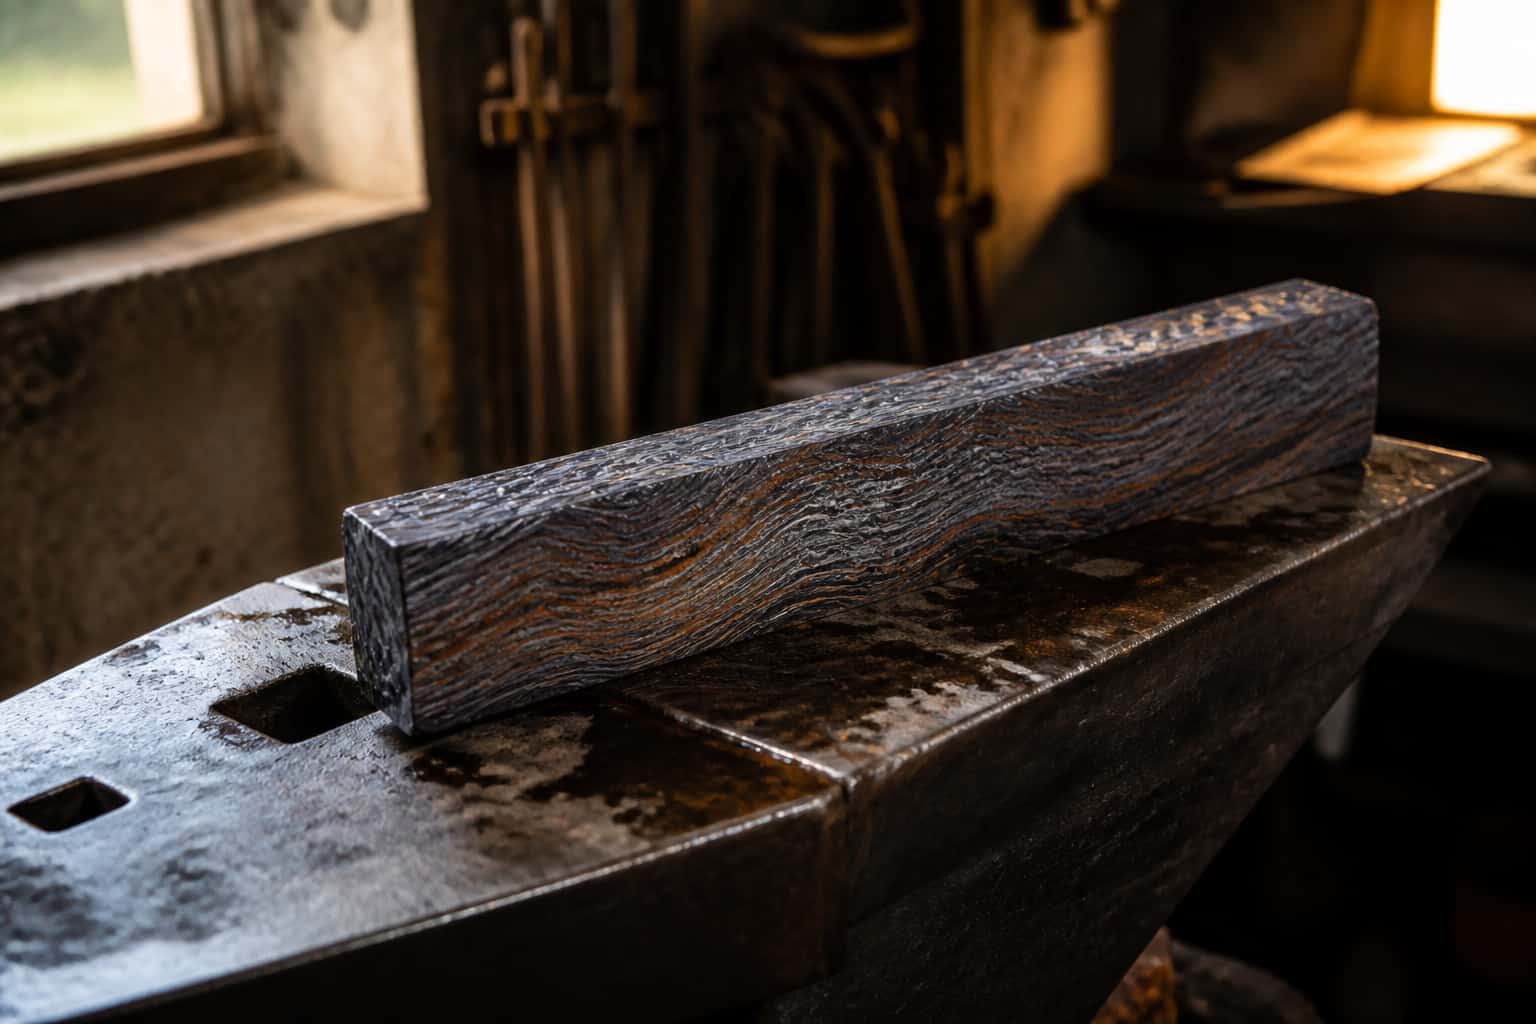
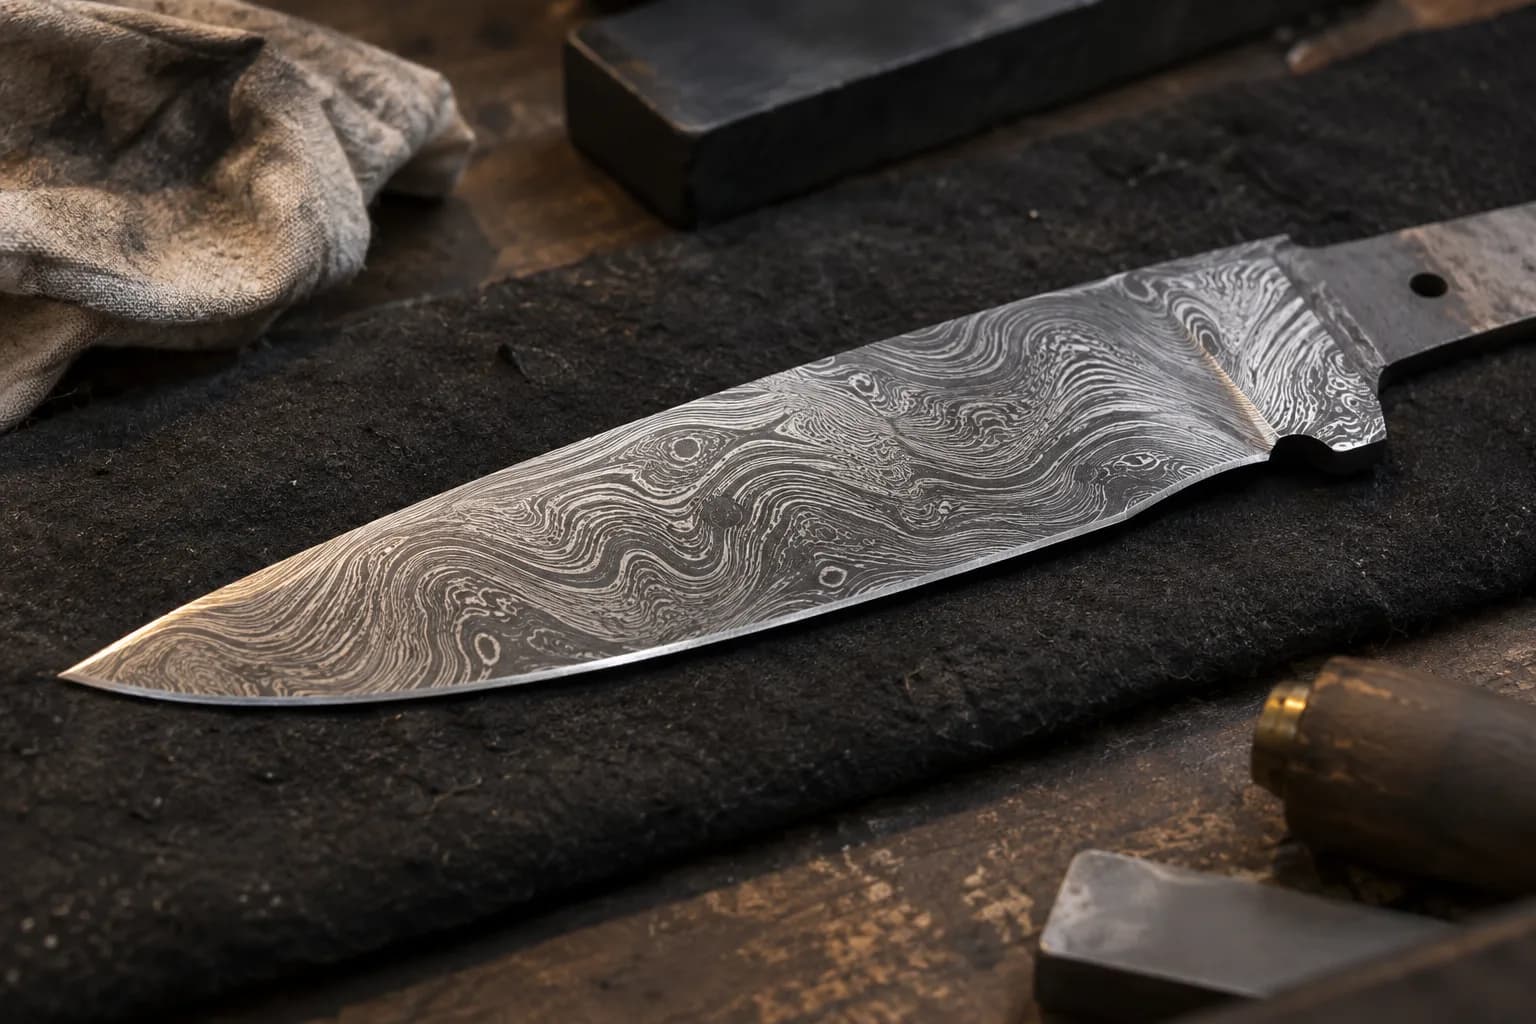
Ferric chloride reveals a damascus pattern. A frosting belt is what makes the pattern glow. Run right, it brightens the high layers and leaves the etched layers dark, and the contrast jumps. Run wrong, it flattens the whole thing to gray. Here is how I use frosting and surface conditioning belts on the 2×72 after the etch: belt choice, belt speed, pressure, and the mistakes that cost me a pattern.
Key Takeaways
- Damascus patterns are created by layering and manipulating different types of steel to create unique designs.
- Frosting belts on the grinder are used to create a matte finish on the steel, enhancing the contrast of the Damascus pattern.
- Choosing the right materials for frosting belts is crucial for achieving the desired finish and preventing damage to the steel.
- Setting up the grinder for Damascus pattern creation involves adjusting the speed, pressure, and angle to achieve the desired effect.
- Techniques for using frosting belts on the grinder include consistent movement, even pressure, and proper handling of the steel to create stunning patterns.
Introduction to Frosting Belts on the Grinder
Frosting belts are specialized grinding tools that play a crucial role in the creation of Damascus patterns. These belts are designed to provide a specific texture to the surface of the steel, which can significantly influence the final appearance of the blade. By using frosting belts, artisans can achieve a variety of finishes that enhance the visual depth of the Damascus pattern, making it more pronounced and appealing.
The use of frosting belts on a grinder allows for greater control over the texturing process. Unlike traditional grinding belts, which may remove material too aggressively, frosting belts are engineered to create a more refined surface finish. This precision is vital when working with layered steels, as it helps to reveal the intricate patterns without compromising the integrity of the blade.
Choosing the Right Materials for Frosting Belts
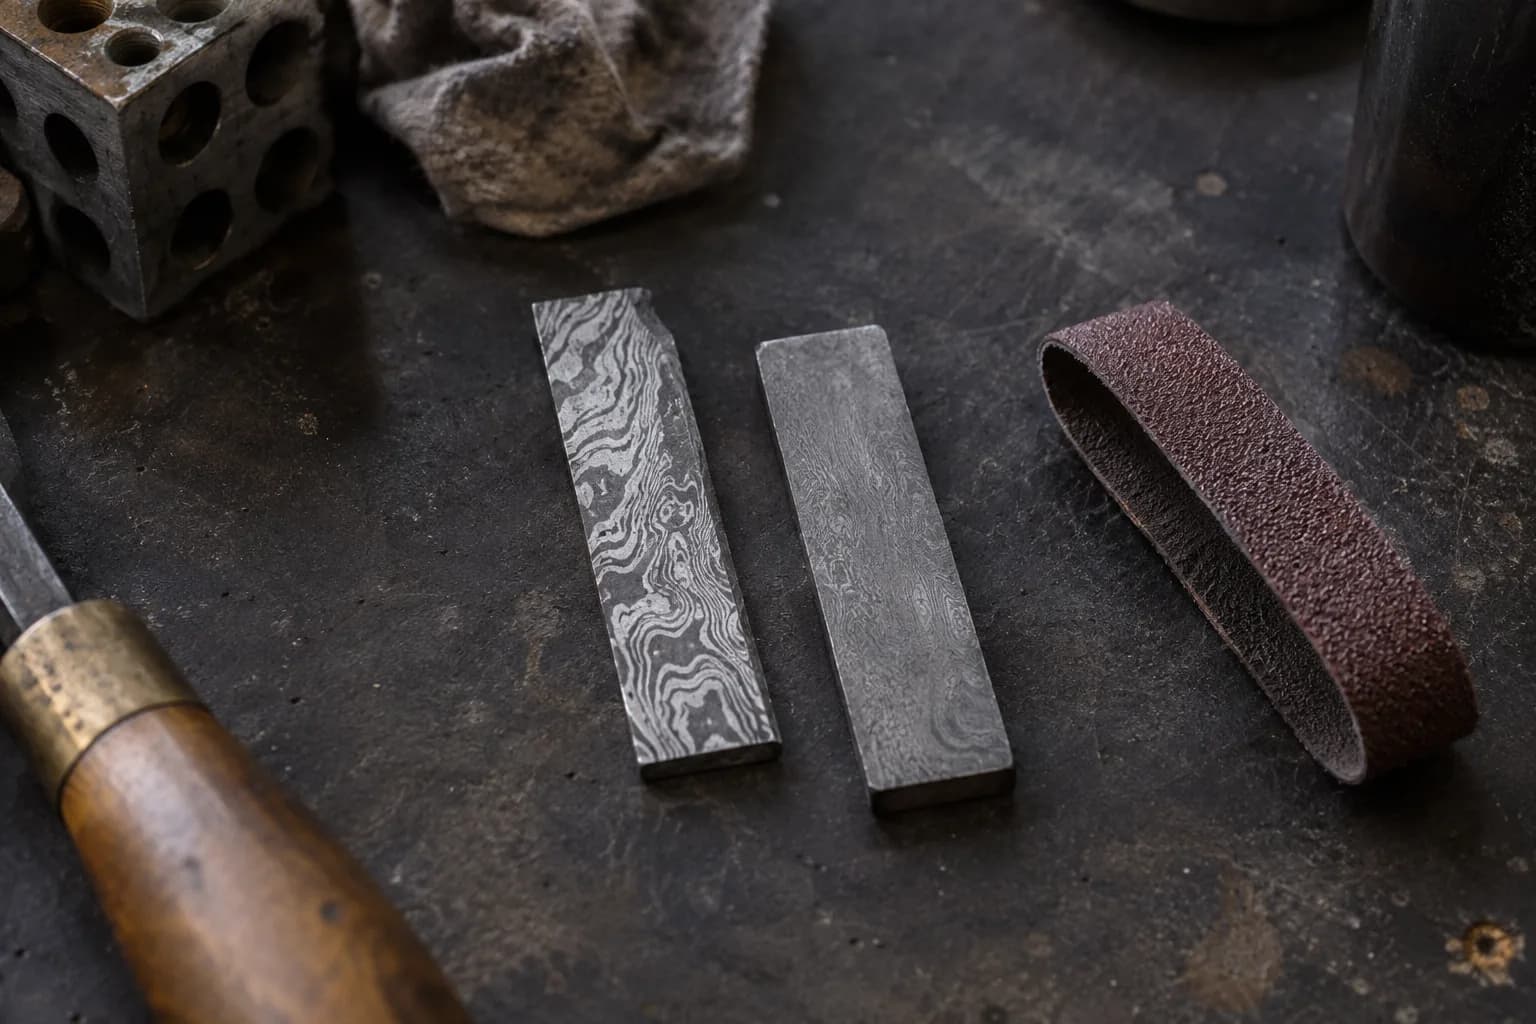
Selecting the appropriate materials for frosting belts is a critical step in achieving the desired results in Damascus pattern creation. Frosting belts are typically made from a combination of abrasive materials and backing substrates that determine their effectiveness and durability. Commonly used abrasives include aluminum oxide and zirconia, each offering distinct advantages depending on the specific application.
When choosing frosting belts, it is essential to consider factors such as grit size and belt width. Finer grits are ideal for achieving a smooth finish, while coarser grits can be used for more aggressive material removal. The width of the belt should match the grinder’s specifications to ensure optimal performance.
Setting Up the Grinder for Damascus Pattern Creation
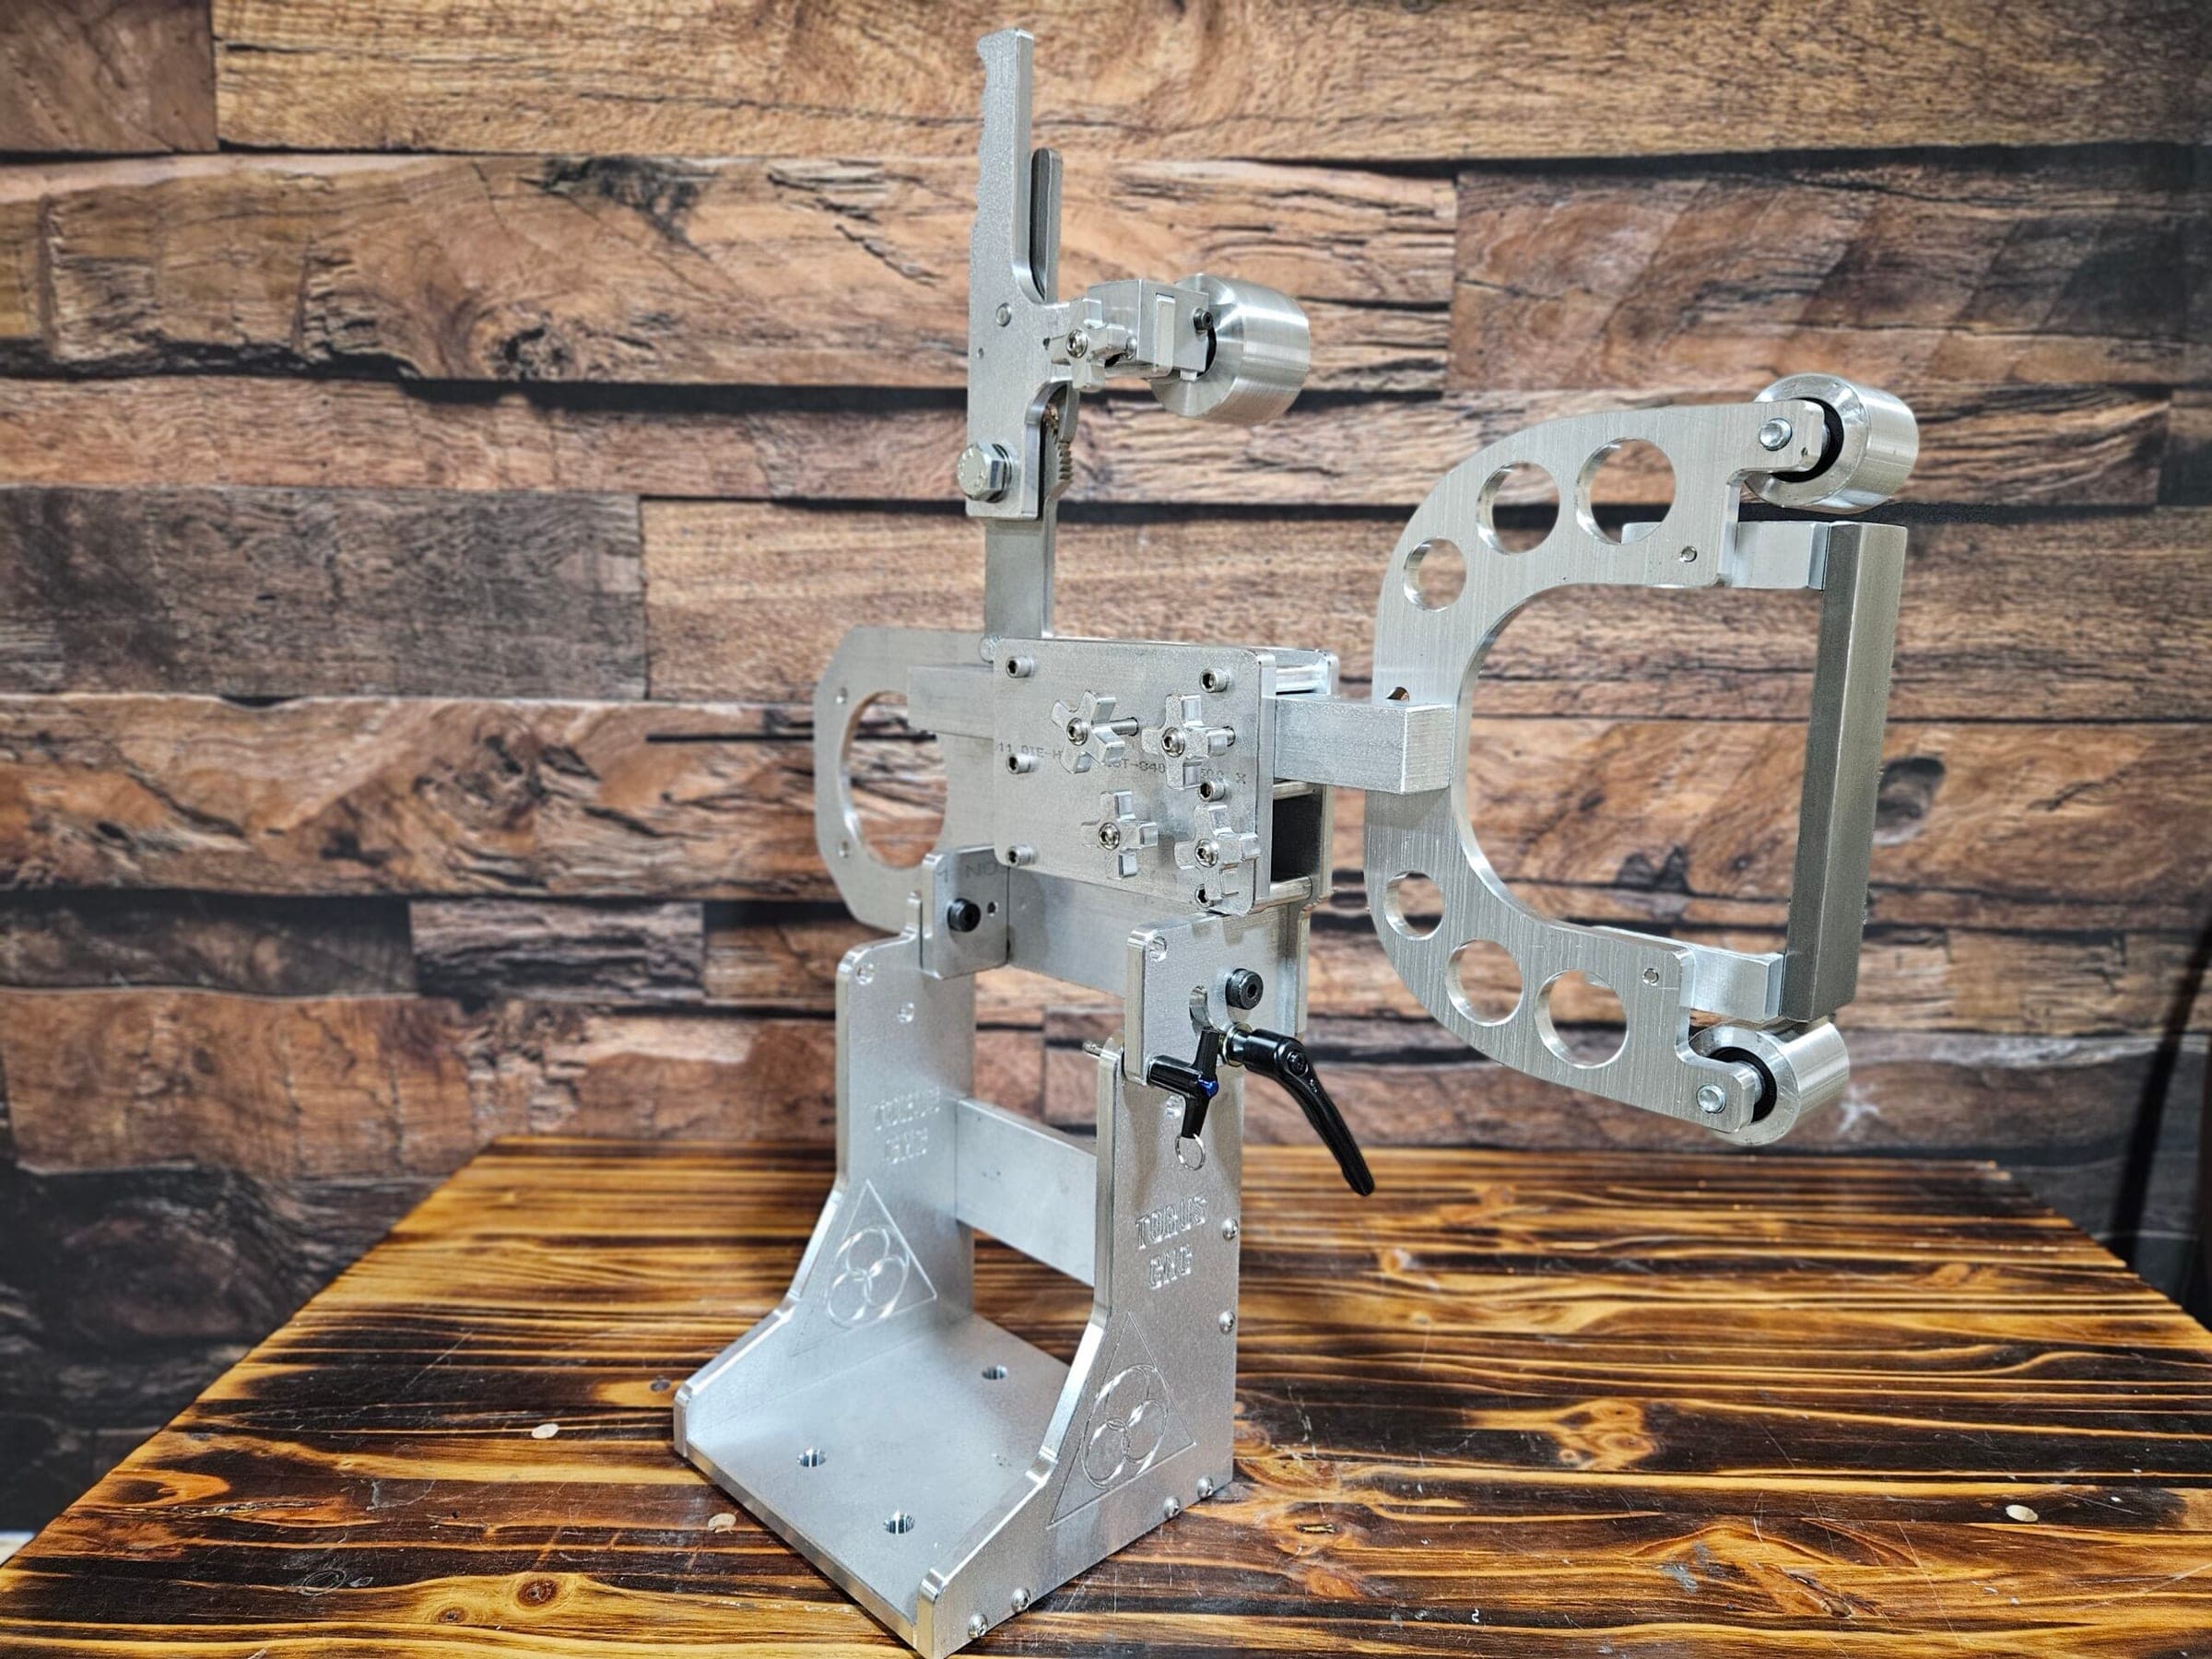
Properly setting up the grinder is a fundamental step in the process of creating Damascus patterns. A well-calibrated grinder ensures that the frosting belts operate efficiently and effectively, allowing for precise control over the texturing process. Before beginning, it is crucial to check that all components of the grinder are functioning correctly, including the motor, tracking system, and tensioning mechanisms.
Once the grinder is set up, it is important to adjust the speed settings according to the type of frosting belt being used. Different belts may require varying speeds to achieve optimal results, so understanding these requirements is key. Securing the workpiece firmly in place will prevent any unwanted movement during grinding, ensuring that the Damascus pattern is applied consistently across the blade’s surface.
Techniques for Using Frosting Belts on the Grinder
Utilizing frosting belts effectively requires a combination of technique and finesse. One common approach is to use a back-and-forth motion while applying light pressure to the workpiece. This technique allows for even distribution of texture across the blade’s surface, helping to reveal the underlying Damascus pattern without over-grinding any specific area.
It is essential to maintain a steady hand and consistent speed throughout this process to achieve uniform results. Another technique involves varying the angle at which the frosting belt contacts the steel. By adjusting this angle, artisans can create different textures and patterns within the Damascus design.
Tips for Achieving Consistent and Stunning Patterns
Achieving consistent and stunning Damascus patterns requires attention to detail and a commitment to quality craftsmanship. One key tip is to maintain a clean workspace and ensure that all tools are free from debris or contaminants that could affect the grinding process. A clean environment not only promotes safety but also contributes to better results in pattern creation.
It is beneficial to practice on scrap pieces before working on final projects. This allows artisans to refine their techniques and gain confidence in using frosting belts effectively. By experimenting with different settings and approaches on less critical pieces, bladesmiths can develop a deeper understanding of how various factors influence the final outcome of their Damascus patterns.
Common Mistakes to Avoid When Using Frosting Belts
While working with frosting belts can yield beautiful results, there are common mistakes that can hinder progress or lead to unsatisfactory outcomes. One frequent error is applying too much pressure during grinding, which can result in uneven textures or even damage to the blade itself. It is crucial to find a balance between pressure and speed to achieve optimal results without compromising the integrity of the workpiece.
Another mistake is neglecting to monitor belt wear and tear. Over time, frosting belts can become worn down or clogged with debris, affecting their performance. Regularly inspecting and replacing belts as needed will ensure consistent results and prolong the life of both the belts and the grinder itself.
Advanced Techniques for Damascus Pattern Creation
For those looking to take their Damascus pattern creation skills to new heights, advanced techniques can provide exciting opportunities for innovation. One such technique involves manipulating temperature during forging and grinding processes. By controlling heat levels, artisans can influence how different steels react with one another, resulting in unique patterns that showcase their expertise.
Another advanced method includes layering multiple types of steel in varying thicknesses before forging them together. This approach allows for greater complexity in pattern design, as different layers will respond differently during grinding and polishing processes. Mastering these advanced techniques requires practice and patience but can lead to breathtaking results that truly exemplify artistry in bladesmithing.
Finishing and Polishing the Damascus Patterns
Once the Damascus patterns have been created through grinding with frosting belts, finishing and polishing become essential steps in achieving a professional look. The finishing process typically involves using finer grits or polishing compounds to refine the surface further and enhance clarity in the pattern design. This stage not only improves aesthetics but also contributes to overall blade performance by reducing friction during use.
Polishing can be done using various methods, including buffing wheels or hand polishing techniques with appropriate compounds. Each method offers distinct advantages depending on the desired finish level and available tools. A well-executed finishing process will bring out the full beauty of Damascus patterns, transforming them into stunning works of art that reflect both skill and dedication.
FAQs
What is a grinder used for in etching Damascus patterns with frosting belts?
A grinder is used to etch Damascus patterns with frosting belts by creating a textured surface on the metal, which allows for the application of the frosting belt to create the desired pattern.
What are frosting belts and how are they used in etching Damascus patterns?
Frosting belts are abrasive belts that are used to create a frosted or matte finish on metal surfaces. In etching Damascus patterns, frosting belts are used to apply the desired pattern onto the textured surface created by the grinder.
What safety precautions should be taken when using a grinder to etch Damascus patterns with frosting belts?
When using a grinder to etch Damascus patterns with frosting belts, it is important to wear appropriate safety gear, such as goggles, gloves, and a dust mask. It is important to ensure that the work area is well-ventilated and free from any flammable materials.
Can a grinder be used to etch Damascus patterns on other materials besides metal?
While a grinder is commonly used to etch Damascus patterns on metal, it can also be used to create textured surfaces on other materials, such as wood or plastic. However, the process may vary depending on the material being used.
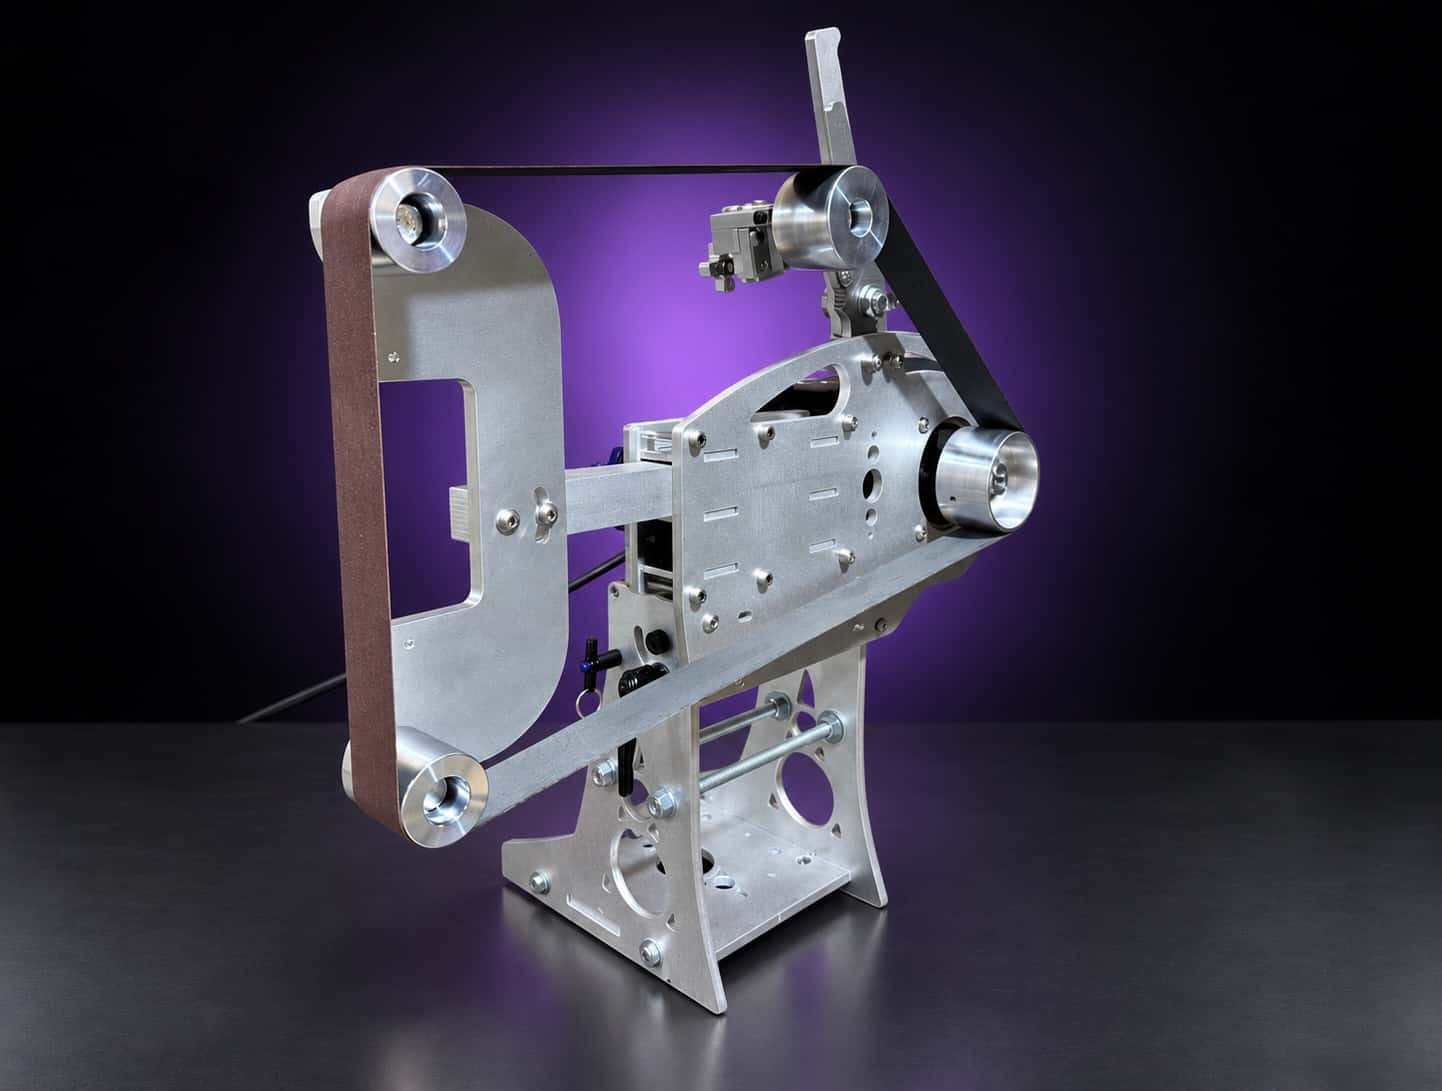
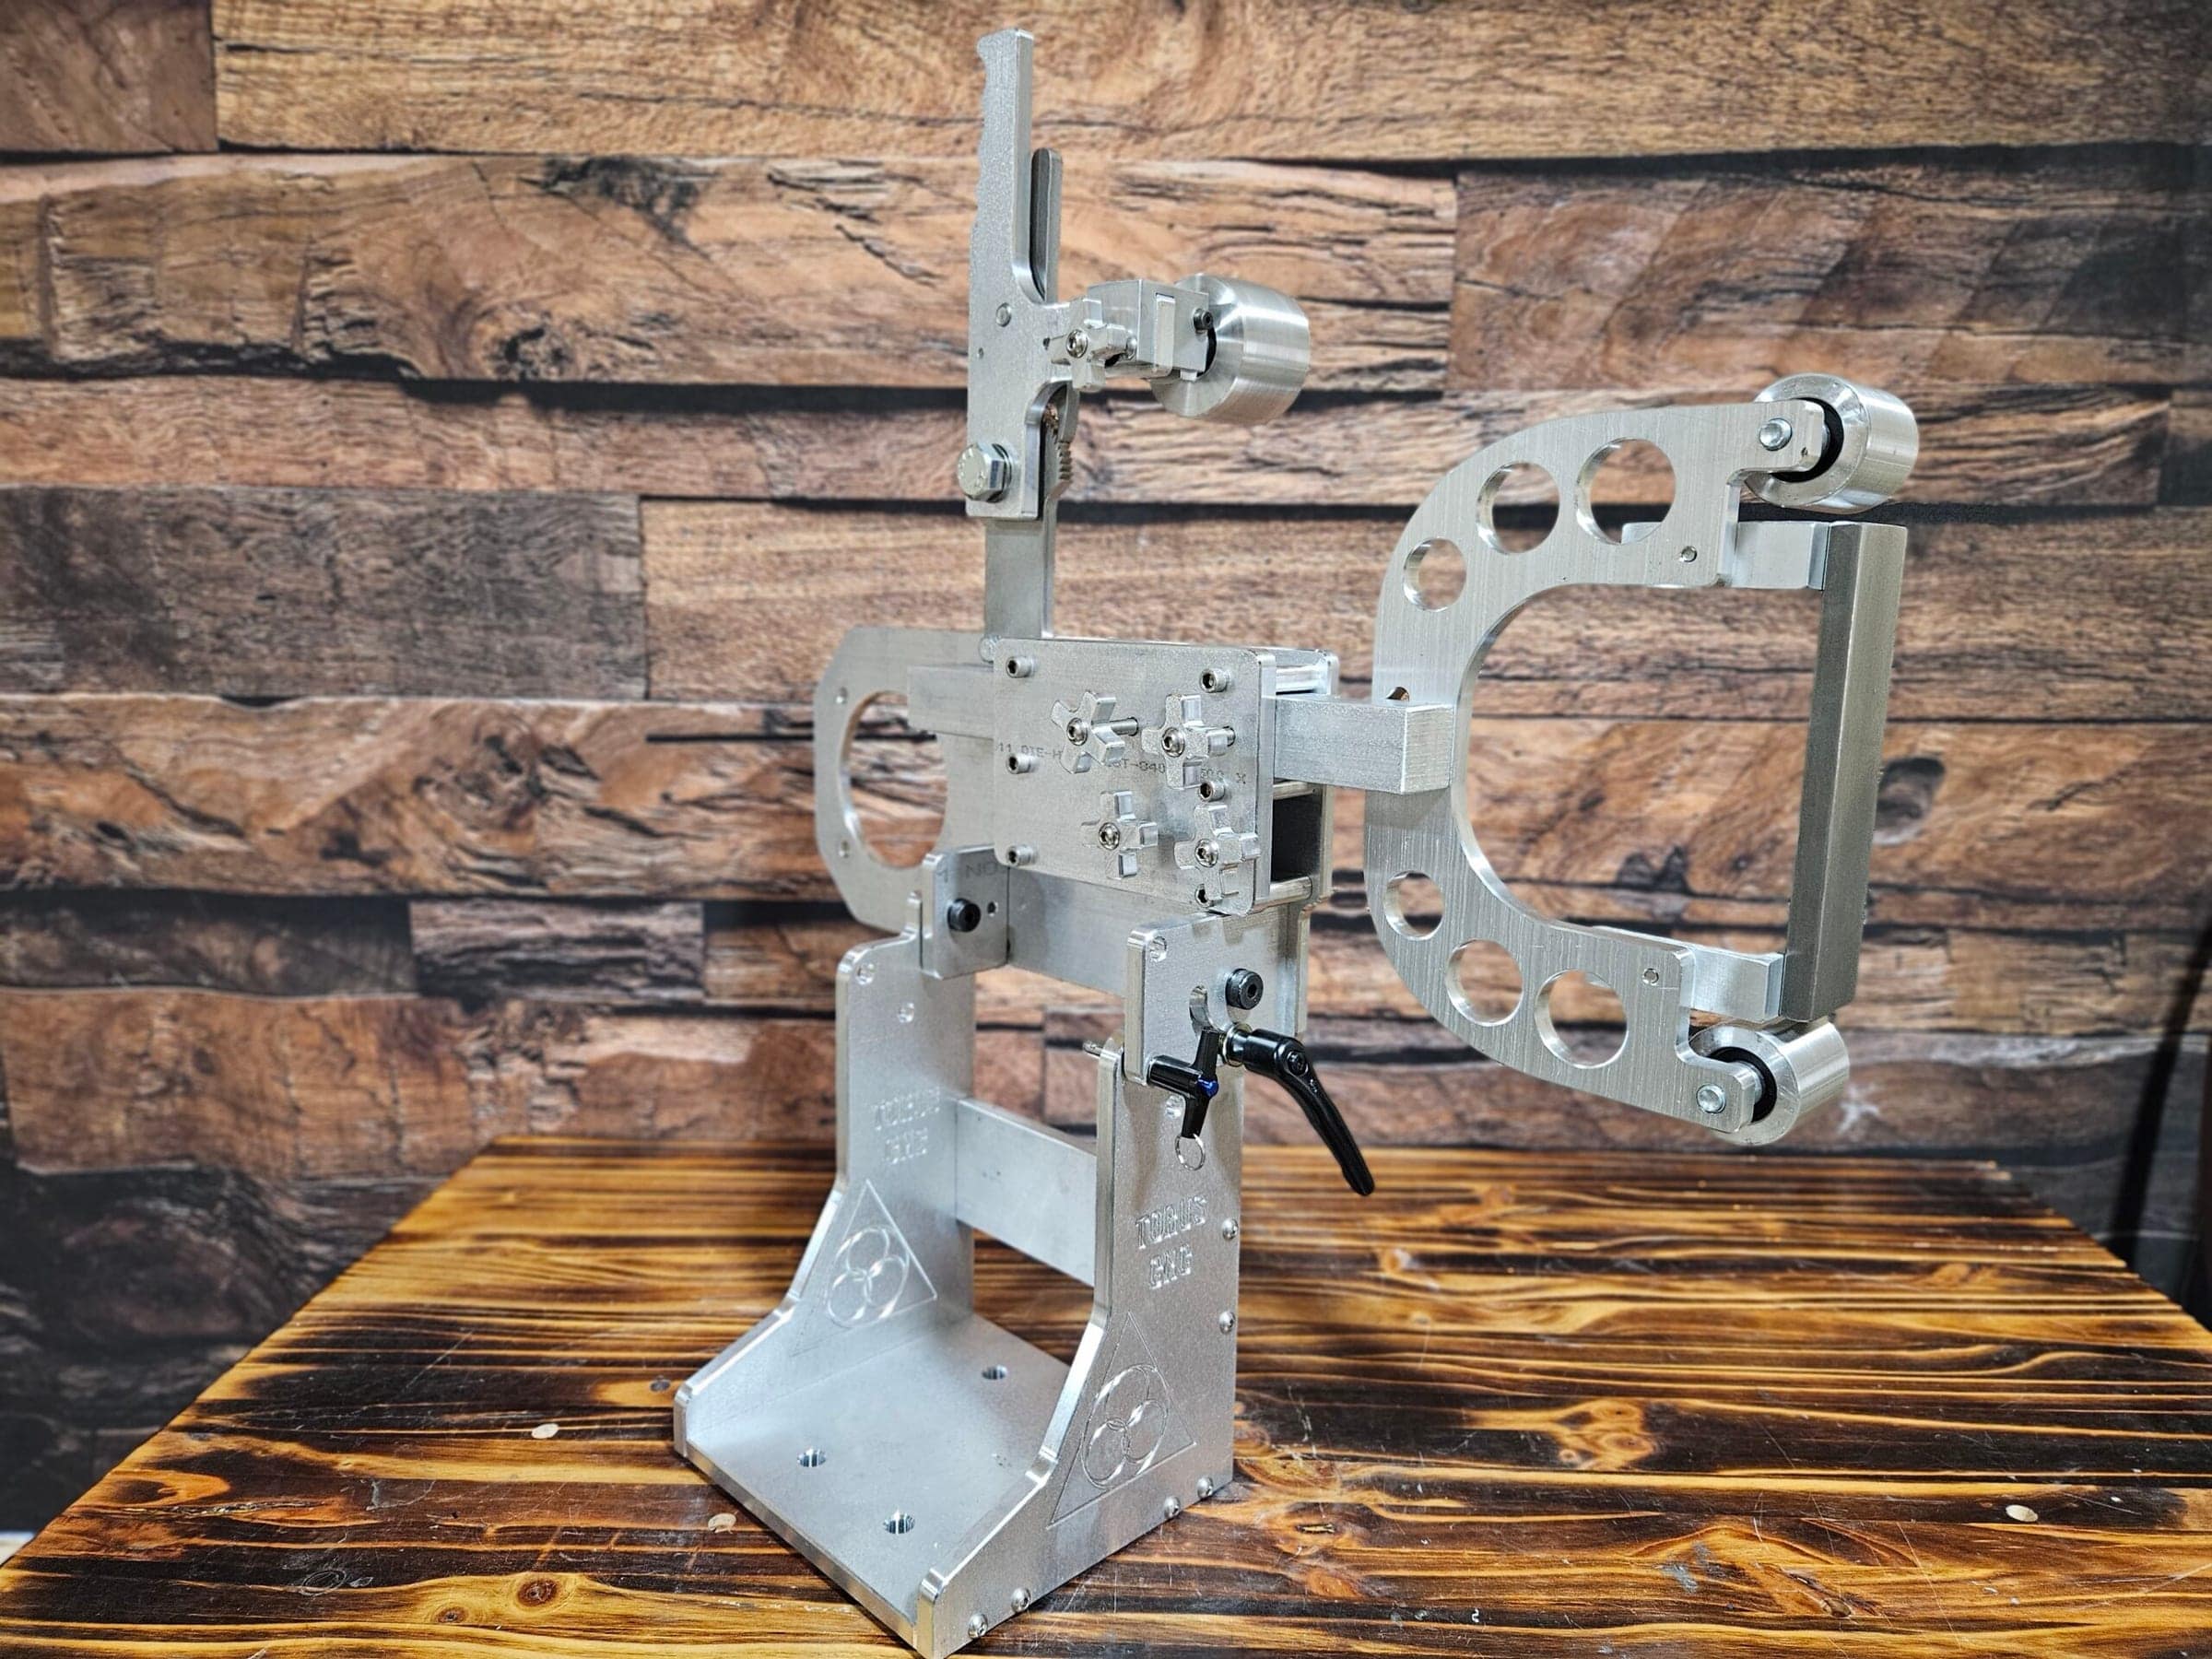
Frosting is a light, slow pass on a flat platen. The Nova 2×72 ships with a deep flat platen, and the motor and VFD combo slows the belt to where a frosting belt works. For the etching side, start with the ForgeBrain damascus etching guide.