2x72 Grinder Tips
Upgrade Your Grinder with LED Task Lighting
You cannot grind a line you cannot see. Here is how I add LED task lighting to a 2×72: where to mount it so it lights the platen without shadows, beam and color temperature, and keeping wiring away from sparks.
You cannot grind a line you cannot see, and the platen on most grinders sits in the shadow of your own hands. A cheap LED task light fixes that in an afternoon. Here is how I add lighting to a 2×72: where to mount it so it lights the platen and the plunge without shadows, what beam angle and color temperature show scratches best, and how to keep the wiring away from sparks and grit.
Key Takeaways
- LED task lighting can improve precision and accuracy in grinding processes
- Adding LED task lighting to your grinder can enhance safety and reduce the risk of accidents
- There are different types of LED task lighting options available for grinders, including flexible arm lights and magnetic base lights
- Installing LED task lighting on your grinder is a straightforward process that can be done with basic tools
- When choosing LED task lighting for your grinder, consider factors such as brightness, durability, and energy efficiency
Benefits of Adding LED Task Lighting to Your Grinder
One of the most significant advantages of incorporating LED task lighting into your grinder setup is the enhanced visibility it provides. Traditional lighting solutions often cast shadows or create uneven illumination, making it difficult to see intricate details on the workpiece. In contrast, LED lights offer a bright, focused beam that illuminates the grinding area uniformly.
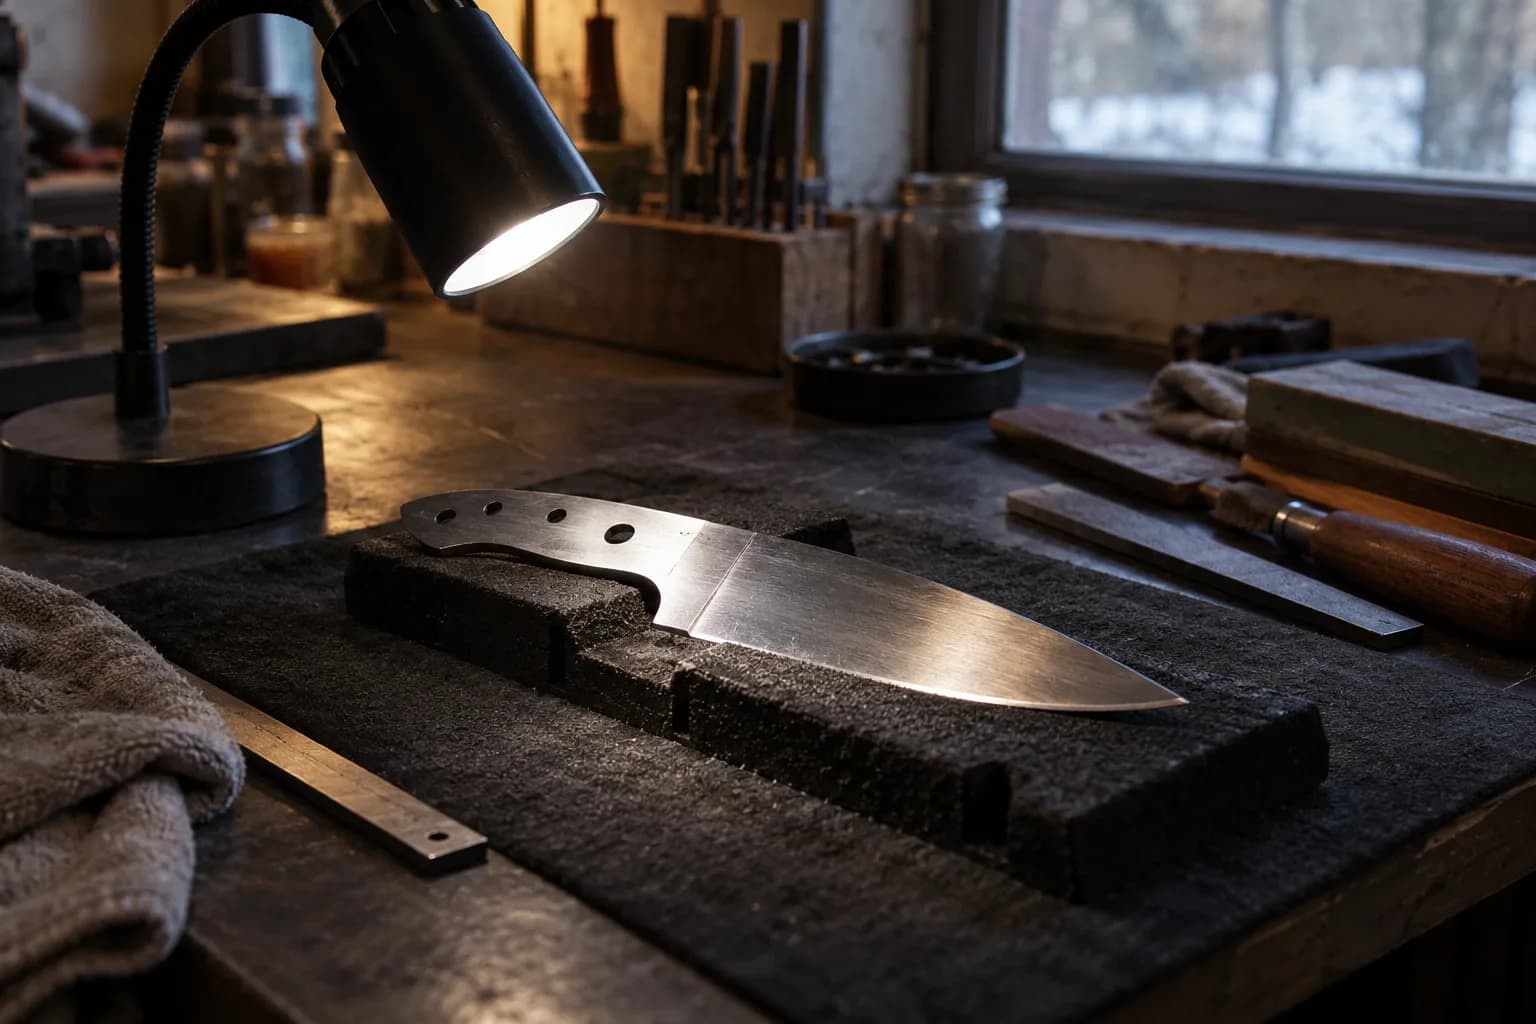
This clarity allows operators to detect imperfections or inconsistencies in their work, leading to higher-quality results. Moreover, LED lights are known for their energy efficiency and longevity. Unlike incandescent bulbs that consume more power and have shorter lifespans, LEDs use significantly less energy and can last for tens of thousands of hours.
This not only reduces electricity costs but also minimizes the frequency of bulb replacements, making them a cost-effective solution in the long run. Additionally, LEDs emit very little heat, which is particularly beneficial in grinding applications where excessive heat can affect both the operator’s comfort and the integrity of the materials being worked on.
Different Types of LED Task Lighting Options Available
For selecting LED task lighting for grinders, there are several options to consider. One popular choice is flexible LED strip lights, which can be easily mounted along the edges of the grinder or workbench. These strips provide a continuous line of light and can be cut to fit specific lengths, making them highly customizable for different setups.
Their flexibility allows them to be positioned in a way that minimizes shadows and maximizes illumination. Another option is LED work lights that come with adjustable arms or magnetic bases. These lights can be positioned precisely where they are needed most, providing targeted illumination on the grinding surface.
Some models even feature dimming capabilities, allowing users to adjust the brightness according to their specific needs. Portable LED task lights can be beneficial for those who require mobility in their workspace, as they can be easily moved around as needed.
How to Install LED Task Lighting on Your Grinder
Installing LED task lighting on your grinder is a straightforward process that can typically be completed with minimal tools. First, assess your workspace to determine the best location for the lights. Ideally, you want to position them in a way that eliminates shadows while providing direct illumination on the grinding area.
Once you have identified the optimal placement, clean the surface where the lights will be mounted to ensure proper adhesion. For strip lights, most come with an adhesive backing that allows for easy installation. Simply peel off the protective layer and stick the strip in place.
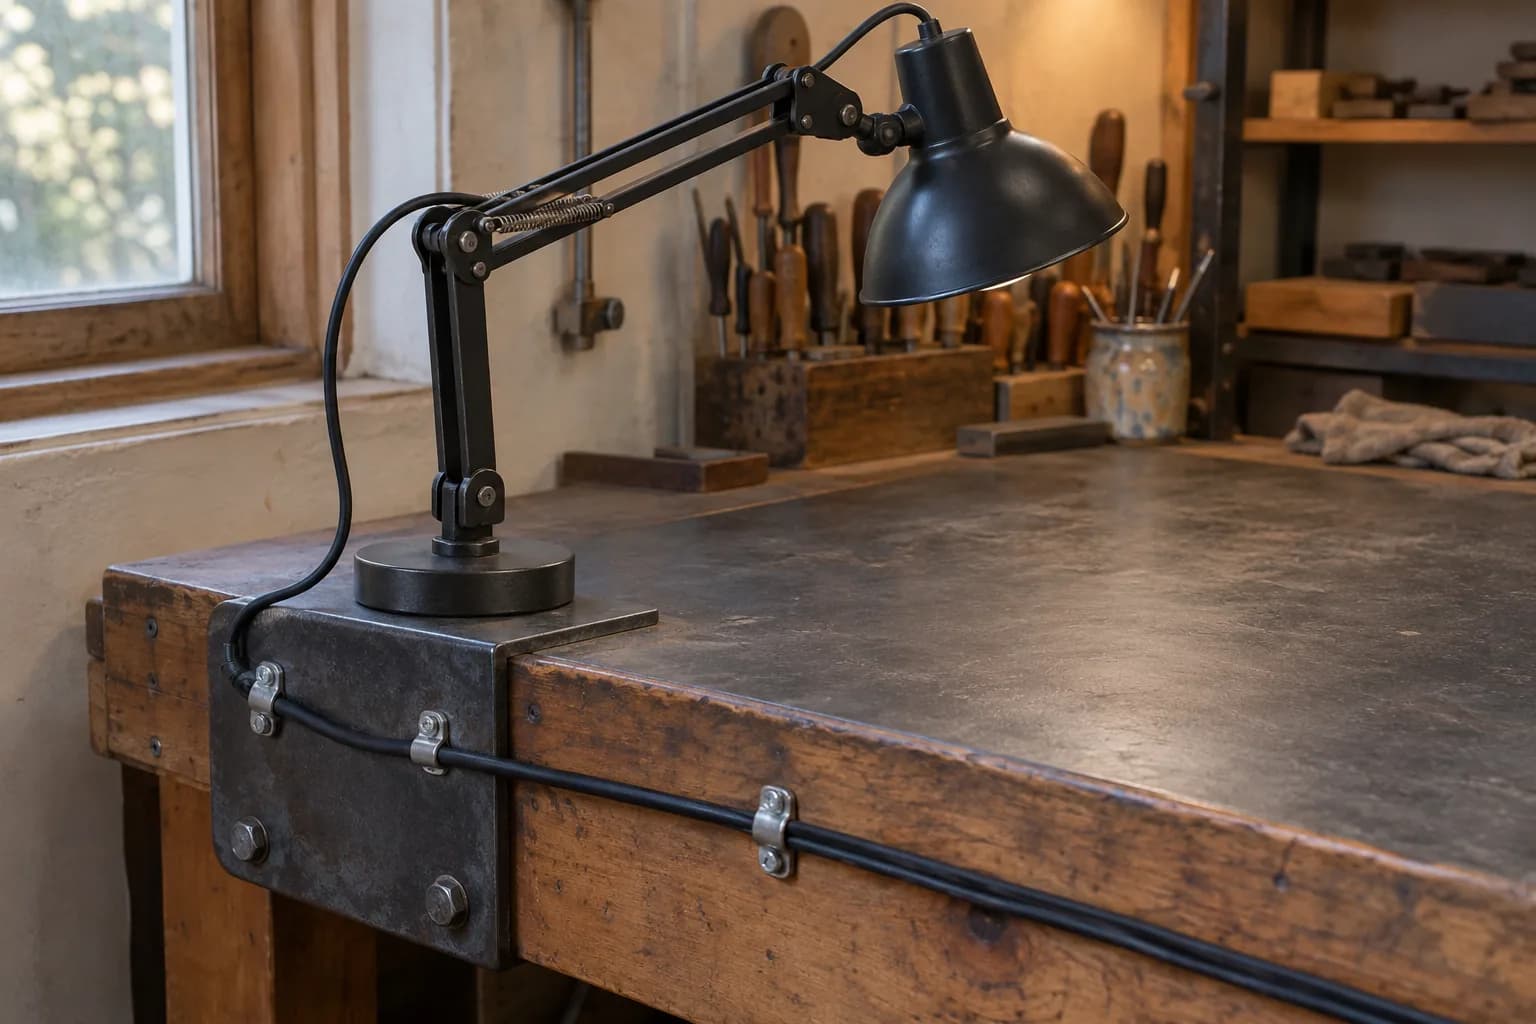
For adjustable work lights or those with magnetic bases, ensure that they are securely attached and positioned correctly. If your lights require wiring, follow the manufacturer’s instructions carefully to connect them safely to a power source. Always prioritize safety during installation by ensuring that all electrical connections are secure and insulated.
Tips for Choosing the Right LED Task Lighting for Your Grinder
Selecting the right LED task lighting for your grinder involves considering several factors to ensure optimal performance. First and foremost, assess the brightness level required for your specific tasks. Measured in lumens, brighter lights are generally better for detailed work, while softer lighting may suffice for general tasks.
Look for lights that offer adjustable brightness settings for added versatility. Another important consideration is color temperature, which affects how colors appear under different lighting conditions. A cooler color temperature (around 5000K to 6500K) mimics daylight and is ideal for precision work as it enhances visibility and reduces eye strain.
Consider the durability of the lighting fixtures; they should be sturdy enough to withstand the rigors of a workshop environment where dust and debris are common.
Maintenance and Care for LED Task Lighting on Grinders
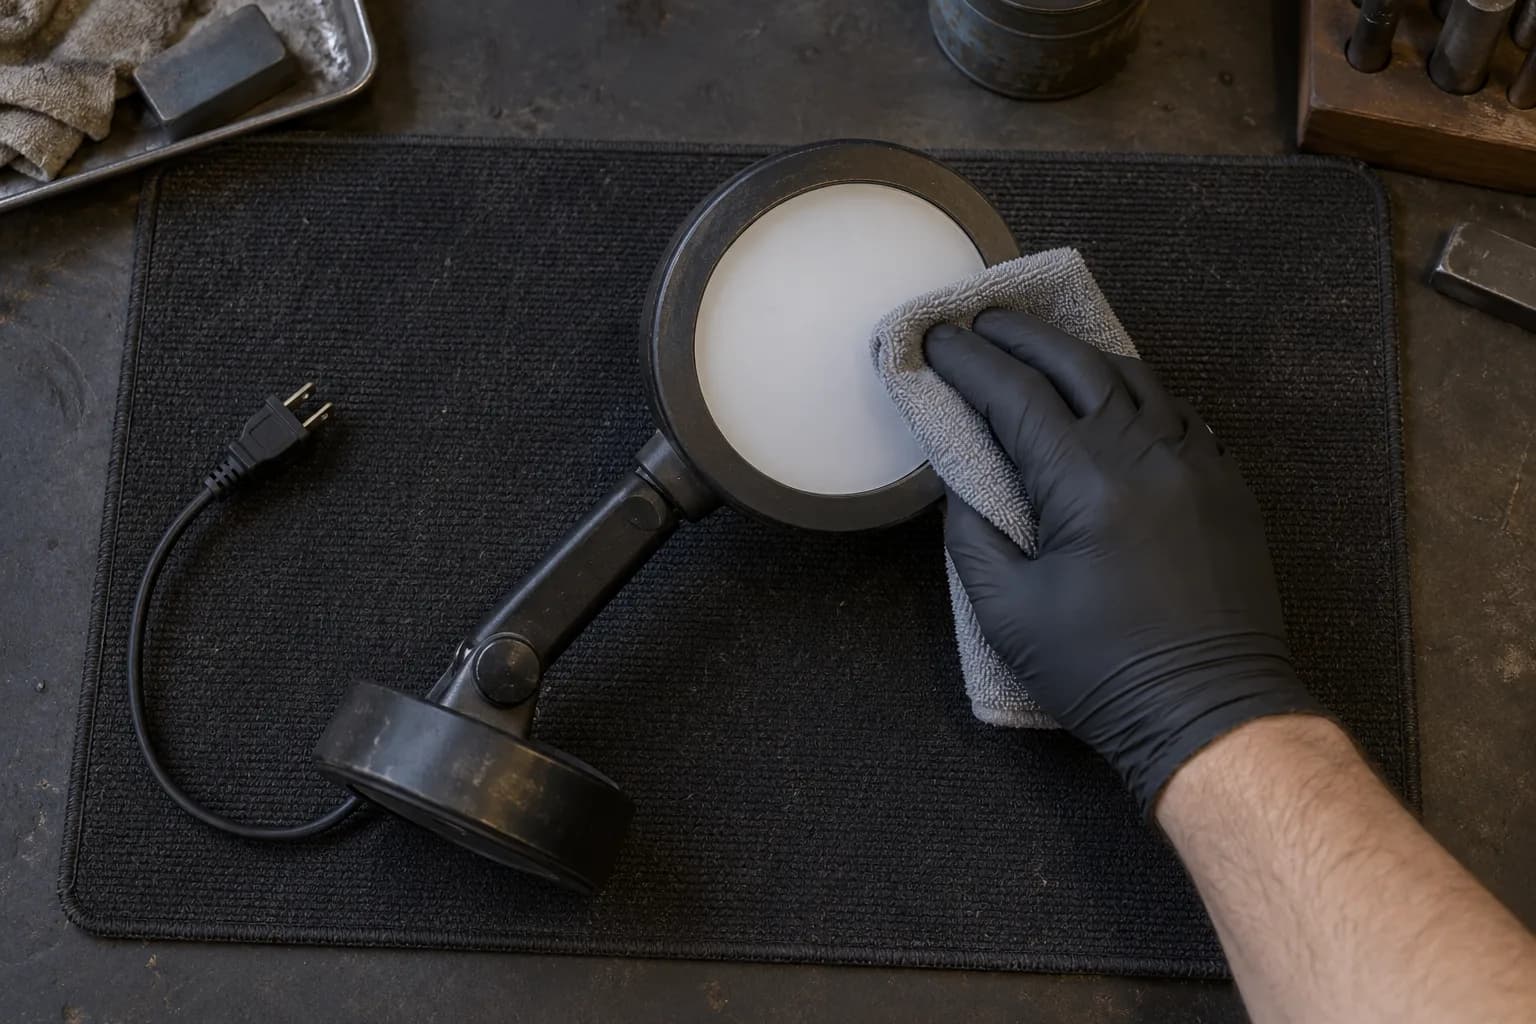
Maintaining LED task lighting is relatively simple but essential for ensuring longevity and optimal performance. Regularly inspect the lights for any signs of damage or wear, such as frayed wires or cracked fixtures. Keeping the lights clean is also crucial; dust and grime can accumulate over time and diminish brightness.
Use a soft cloth or a gentle cleaning solution to wipe down the surfaces without damaging any components. If your LED lights are equipped with adjustable features or moving parts, ensure that these mechanisms are functioning smoothly. Lubricate any joints or hinges as necessary to prevent stiffness or breakage.
Check electrical connections periodically to ensure they remain secure and free from corrosion.
Safety Considerations When Using LED Task Lighting on Grinders
While LED task lighting enhances visibility and safety in grinding operations, it is essential to adhere to safety protocols when using these lights. First and foremost, ensure that all electrical components are properly installed and insulated to prevent short circuits or electrical shocks. Use lights that are rated for industrial use if your grinder operates in a demanding environment.
Be mindful of glare when positioning your lights. Excessive glare can lead to eye strain and hinder visibility rather than improve it. Adjusting the angle of the lights or using diffusers can help mitigate this issue.
Lastly, always wear appropriate personal protective equipment (PPE) when operating grinders, regardless of lighting conditions.
Case Studies: Success Stories of Upgrading Grinders with LED Task Lighting
Numerous businesses have reported significant improvements after upgrading their grinders with LED task lighting. For instance, a small machine shop specializing in custom parts found that after installing LED strip lights above their grinding stations, their production efficiency increased by 20%. Operators were able to see details more clearly, leading to fewer mistakes and faster turnaround times on projects.
Another case involved a larger manufacturing facility that integrated adjustable LED work lights into their grinding areas. The flexibility of these lights allowed operators to position them according to their specific needs throughout different tasks. As a result, they reported a marked decrease in operator fatigue due to reduced eye strain and improved overall working conditions.
Cost Considerations for Adding LED Task Lighting to Your Grinder
When considering the addition of LED task lighting to your grinder setup, it’s essential to evaluate both initial costs and long-term savings. The upfront investment in quality LED fixtures may seem higher than traditional lighting options; however, this cost is often offset by energy savings over time due to LEDs’ lower power consumption and longer lifespan. Consider potential productivity gains from improved visibility and reduced errors in grinding operations.
Future Trends in LED Task Lighting for Grinders
As technology continues to evolve, so too does the landscape of LED task lighting solutions for grinders. One emerging trend is the integration of smart technology into lighting systems. Smart LEDs can be controlled via mobile apps or voice commands, allowing operators to adjust brightness levels or color temperatures smoothly without leaving their workstation.
FAQs
What is LED task lighting?
LED task lighting is a type of lighting that is designed to provide focused and bright illumination for specific tasks, such as working on a grinder. It is energy-efficient and long-lasting, making it a popular choice for workspaces.
Are there any safety considerations when installing LED task lighting on a grinder?
When installing LED task lighting on a grinder, it is important to ensure that the lighting is securely mounted and does not interfere with the operation of the grinder. Be sure to follow all safety guidelines and recommendations provided by the manufacturer.
The task lamp I run is linked on my Amazon links page. Mount it above a Nova 2×72, whose open 6061 chassis leaves room around the platen for a light and a dust hood, and every grind line shows up before it becomes a problem.