Belt Grinders
5 Creative Ways to Repurpose Old Belts in Your Workshop
A 2×72 belt too dull for steel is still tough cloth with a working grip. Here are the ways I put worn belts back to work around the shop, from strap clamps to tool holders to edge guards.
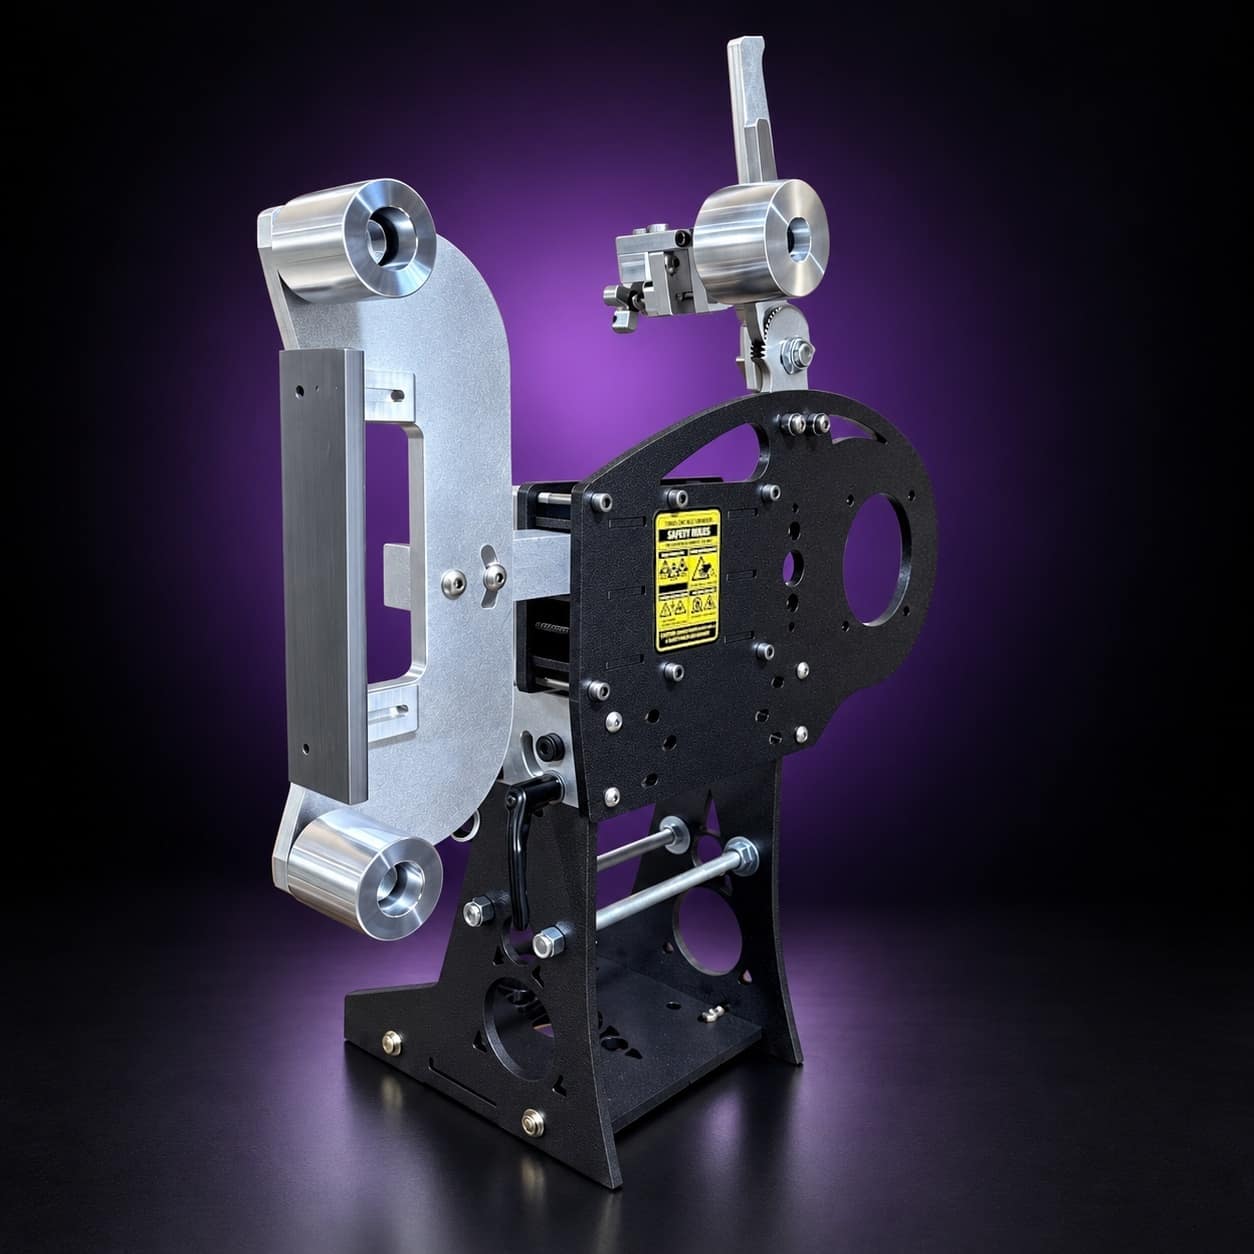
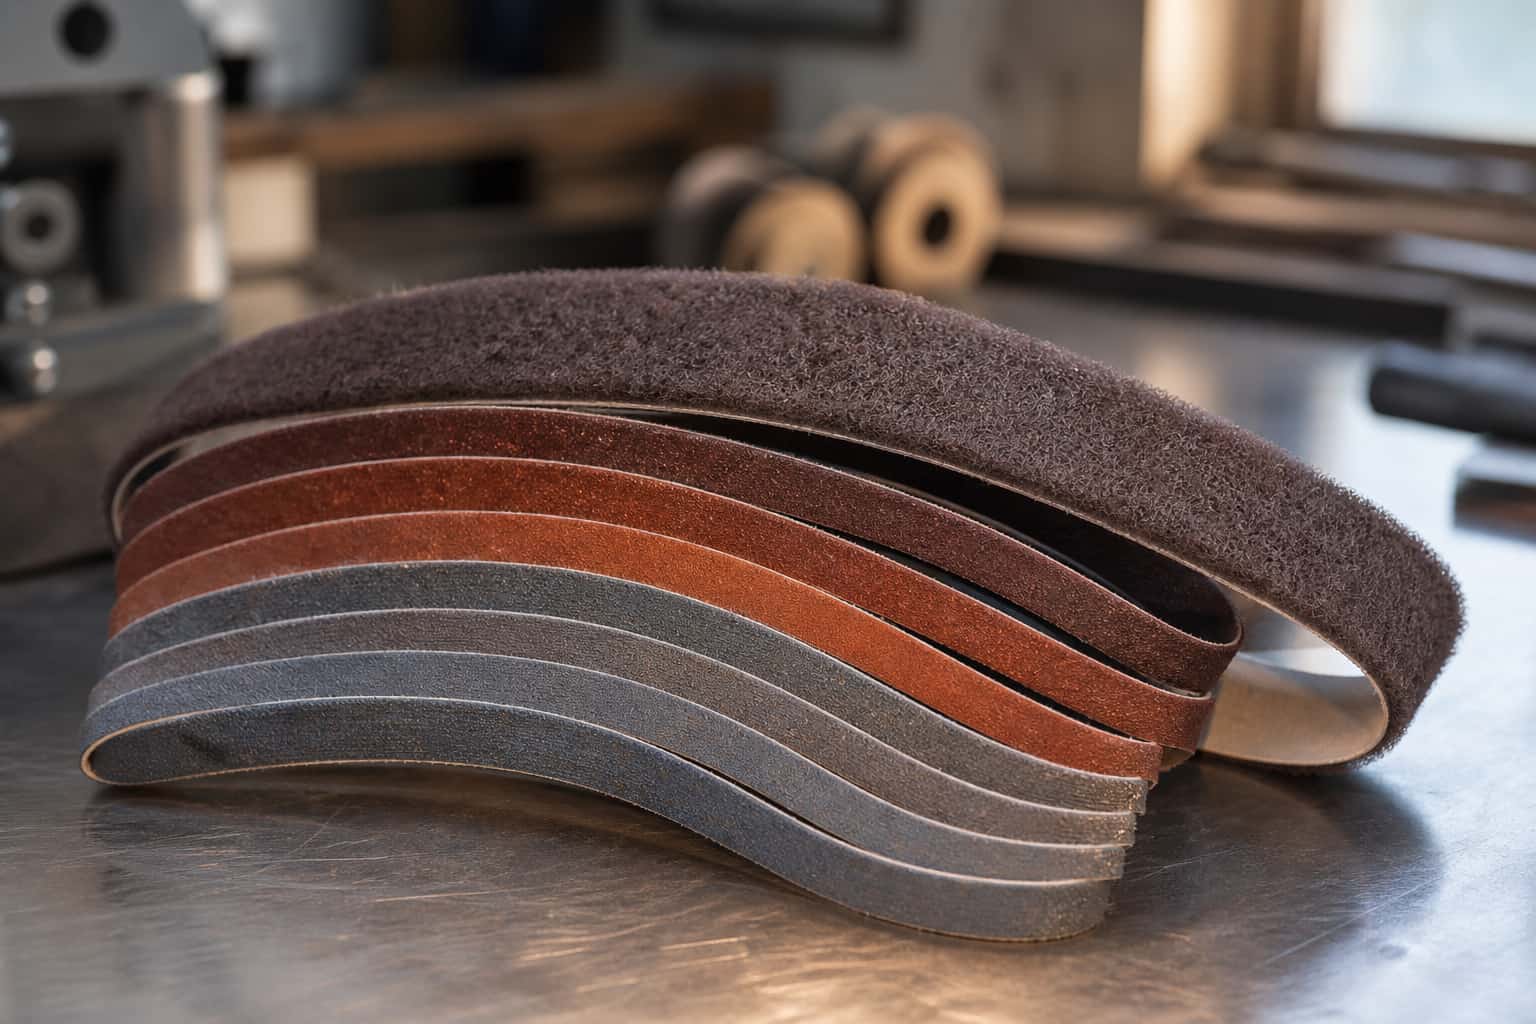
A 2×72 belt costs real money, and the day it stops cutting steel it is still a long, tough strip of cloth and abrasive. I keep a bin of worn belts in my shop in Sterling and I reach into it more than I expected to. Here are the ways I put old belts back to work, from strap clamps and tool holders to edge guards that keep a finished blade from biting me on the bench.
Key Takeaways
- Repurposing old belts in your workshop can add value, functionality, and style to your space.
- Belt strap tool holders are a practical and efficient way to organize and hang your tools in the workshop.
- Belt buckle key holders offer a stylish and functional solution for keeping your keys in one convenient place.
- Belt loop storage hooks provide a simple and effective way to create hanging storage for workshop supplies.
- Belt bench cushions can add comfort and style to your workshop seating, making it a more inviting space for work and relaxation.
Belt Strap Tool Holder: Organize and Hang Your Tools
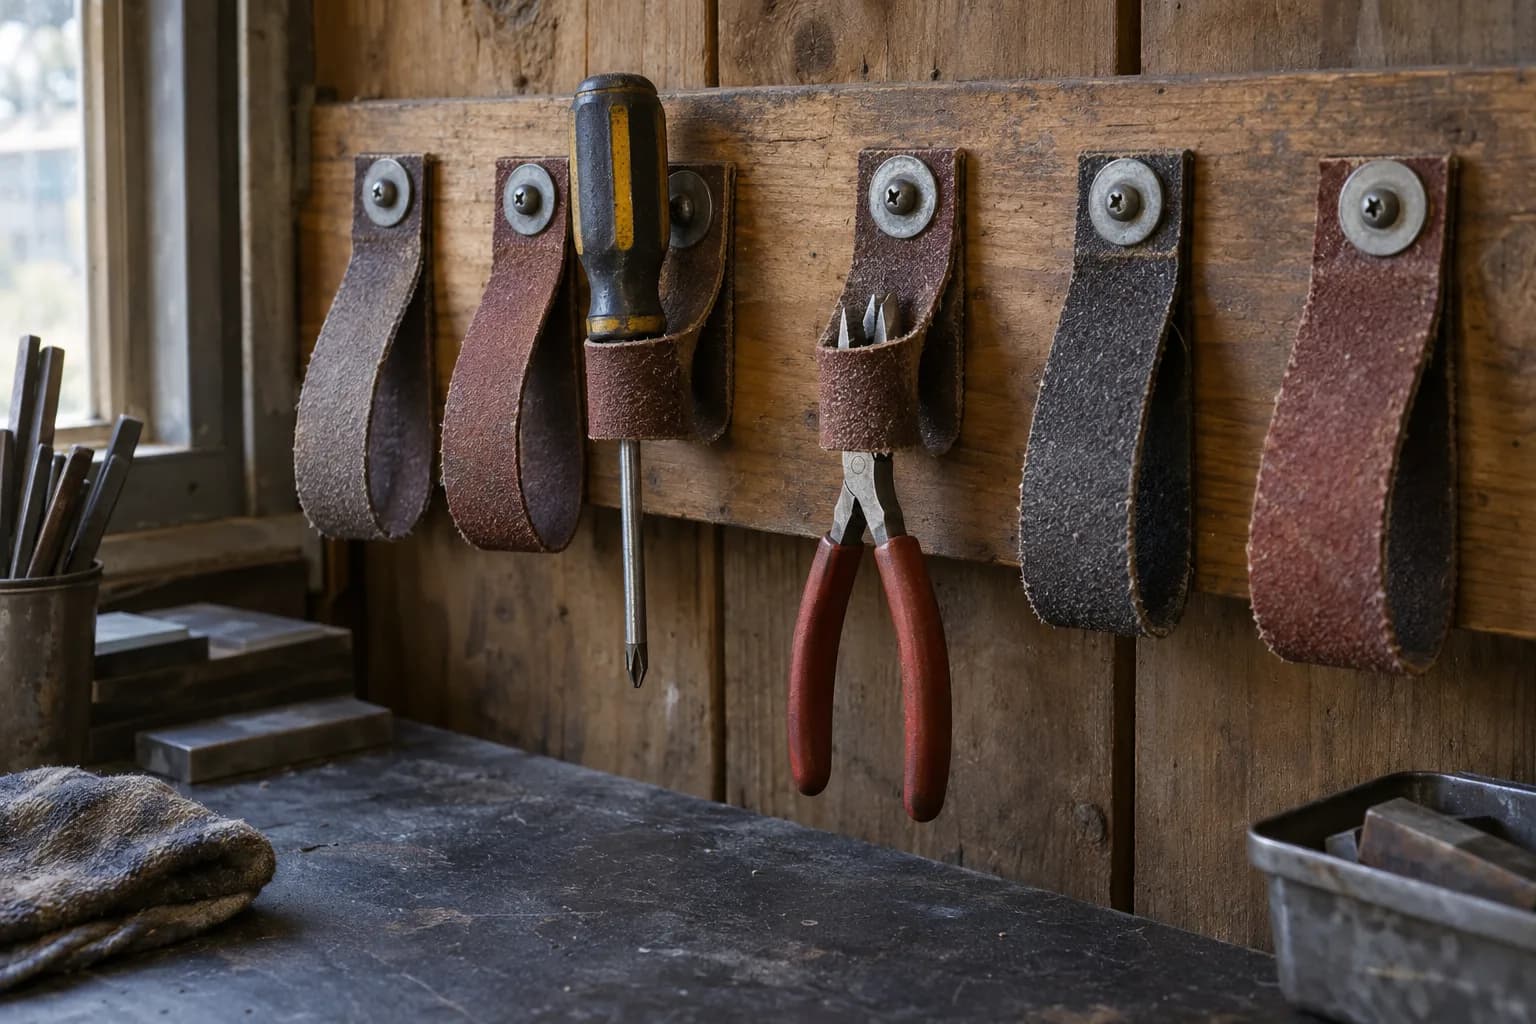
One of the most practical uses for old belts in a workshop setting is to create a belt strap tool holder. This simple yet effective solution allows you to keep your tools organized and easily accessible. By attaching a sturdy belt to a wall or workbench, you can hang various tools such as hammers, screwdrivers, and pliers from the belt loops.
This not only declutters your workspace but also ensures that your tools are always within reach when you need them. To create a belt strap tool holder, start by selecting a belt that is both durable and visually appealing. You can choose a leather belt for a classic look or a colorful fabric belt for a more vibrant touch.
Once you have your belt, secure it to the wall using screws or hooks, ensuring it is at a comfortable height for easy access. You can then use carabiners or S-hooks to hang your tools from the belt loops. This method not only keeps your tools organized but also adds an interesting visual element to your workshop.
Belt Buckle Key Holder: Keep Your Keys in a Stylish and Functional Place
To create a belt buckle key holder, start by selecting a belt with an eye-catching buckle. Remove the buckle from the belt and attach it securely to a wooden board or directly onto the wall. You can then add small hooks or nails beneath the buckle to hang your keys.
Belt Loop Storage Hooks: Create Hanging Storage for Workshop Supplies
Belt loops can be repurposed into functional storage hooks that help keep your workshop supplies organized and off the workbench. By utilizing the sturdy nature of belt loops, you can create hanging storage solutions for items such as paintbrushes, scissors, or even small containers filled with screws and nails. This method maximizes vertical space in your workshop while adding an element of creativity.
To make belt loop storage hooks, cut sections of an old belt that include several loops. Attach these sections to a wall or pegboard using screws or adhesive hooks. You can then slide various items through the loops for easy access and organization.
Belt Bench Cushion: Add Comfort and Style to Your Workshop Seating
To create a belt bench cushion, gather several old belts and cut them into uniform lengths. Sew or weave these pieces together to form a cushion cover that fits your bench or stool. You can use additional padding inside for extra comfort.
Belt Wall Art: Use Belts to Create Unique and Eye-Catching Decor
To create belt wall art, start by selecting several belts in different colors and styles. You can arrange them in geometric patterns, create abstract designs, or even form shapes like trees or animals. Secure the belts to a canvas or directly onto the wall using nails or adhesive strips.
Belt Drawer Handles: Upgrade Your Workshop Furniture with Custom Handles
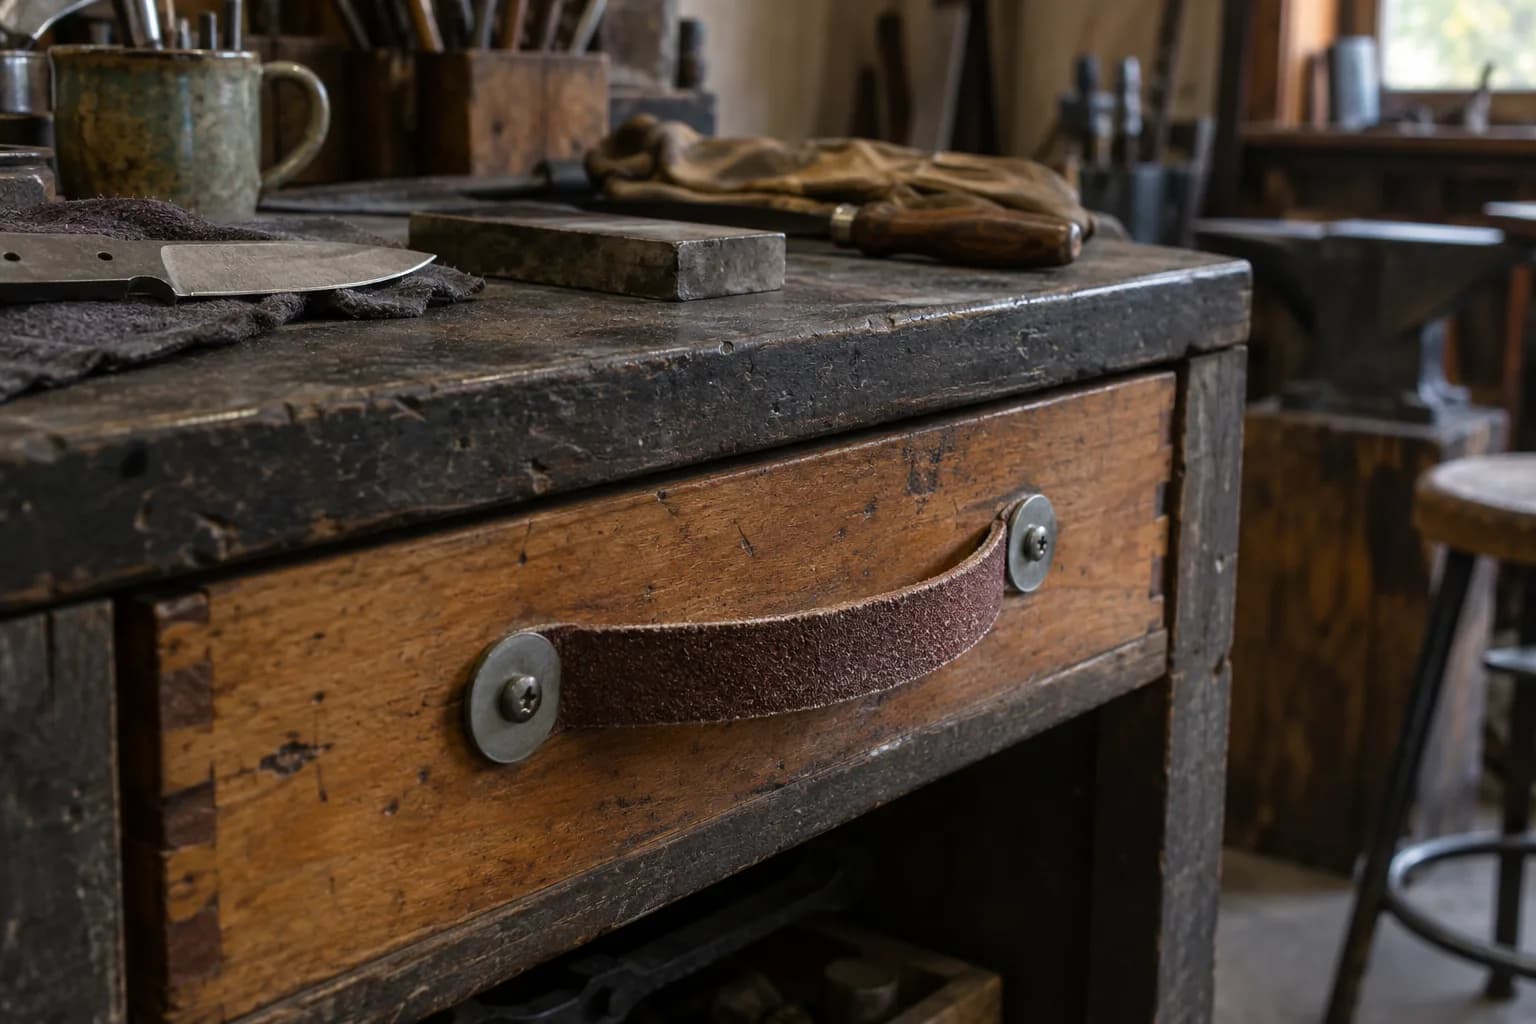
To create belt drawer handles, cut sections of an old belt to the desired length and attach them securely to the drawer fronts using screws or adhesive. You can choose to leave the buckle intact for added flair or remove it for a more streamlined look. This project not only enhances the functionality of your furniture but also adds an element of creativity that reflects your personal style.
Belt Shelf Edging: Add a Rustic Touch to Your Workshop Shelves
Old belts can also be used creatively as shelf edging, providing both protection and aesthetic appeal to your workshop shelves. By attaching belts along the edges of shelves, you can prevent items from sliding off while adding a rustic charm that complements the overall decor of your workspace. To create belt shelf edging, measure the length of each shelf and cut sections of old belts accordingly.
Attach these sections along the front edge of the shelves using screws or strong adhesive. This not only enhances the visual appeal of your shelves but also serves as a practical solution for keeping items securely in place.
Belt Plant Hangers: Give Your Workshop a Green Touch with Hanging Plants
To create belt plant hangers, cut lengths of old belts and attach them securely around plant pots. You can then hang these pots from hooks on the ceiling or walls, creating an eye-catching display of greenery that brings life into your workshop. This project not only beautifies your space but also showcases your creativity in repurposing materials.
Belt Cord Organizer: Keep Your Cords Tangle-Free and Organized
Cords can quickly become tangled and disorganized in any workshop setting, leading to frustration when trying to find the right tool or accessory. Repurposing old belts into cord organizers is an effective solution that keeps cords neatly stored while adding an element of style to your workspace. To create a belt cord organizer, cut sections of old belts and attach them vertically on a wall or pegboard using screws or adhesive hooks.
You can then wrap cords around these sections, keeping them tangle-free and easily accessible when needed. This practical solution not only declutters your workspace but also adds an interesting visual element that reflects your resourcefulness.
FAQs
What are some creative uses for worn belts around the shop?
Some creative uses for worn belts around the shop include using them as clamps for woodworking projects, creating a makeshift tool holder, or repurposing them as a protective cover for sharp edges on tools or equipment.
How can worn belts be used as clamps for woodworking projects?
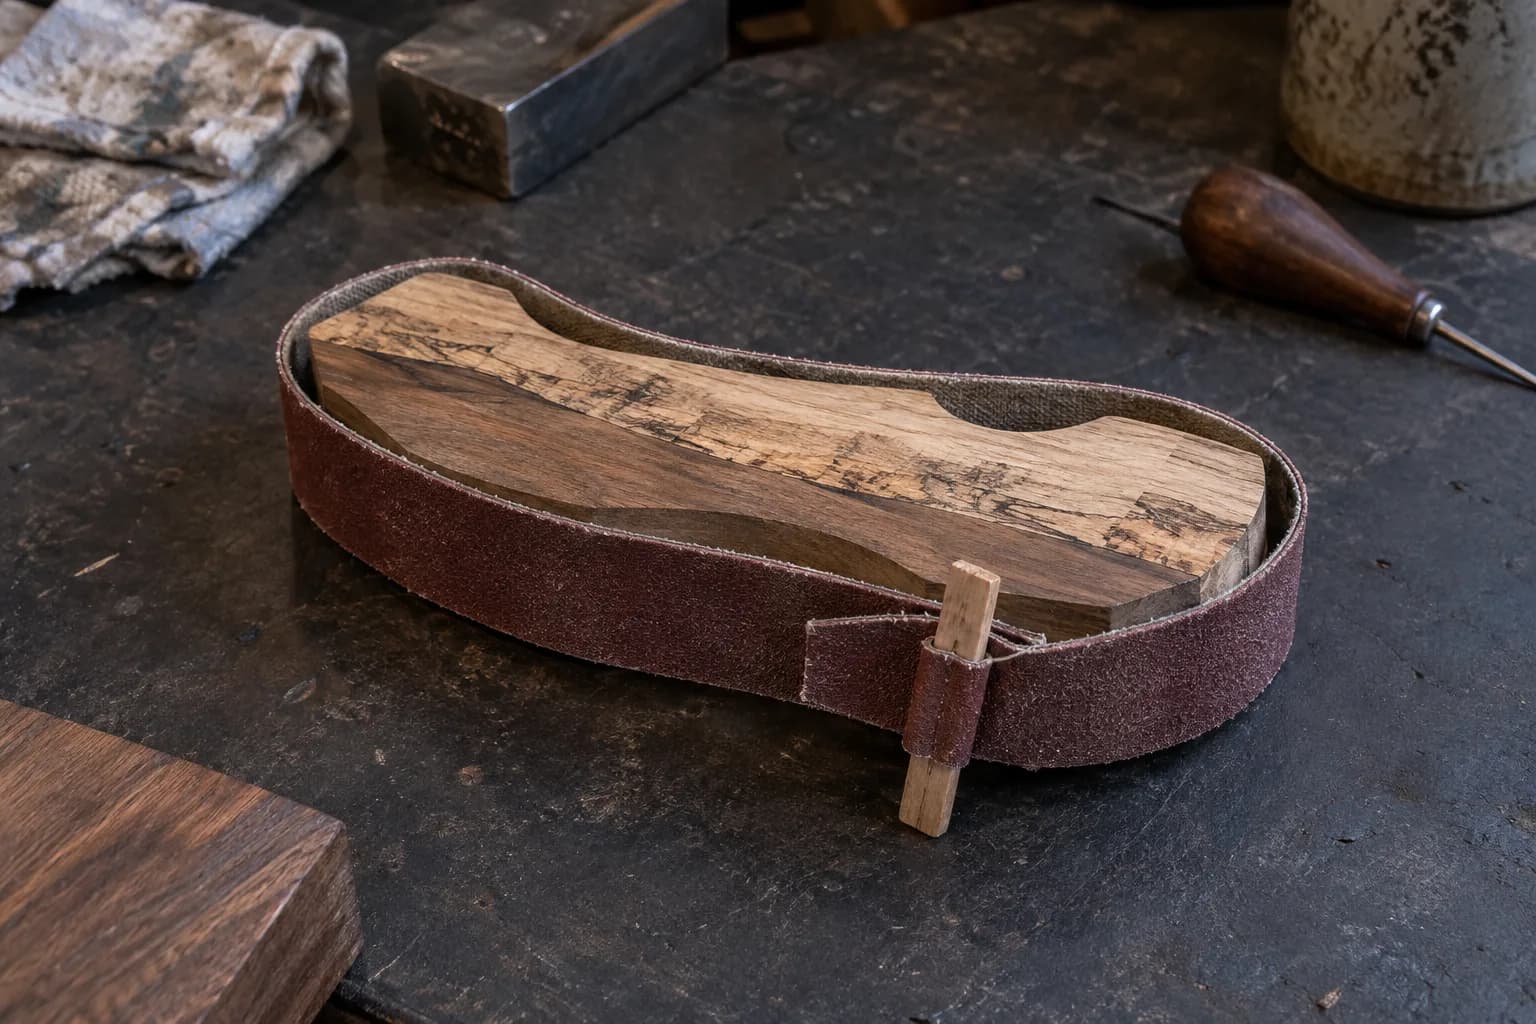
Worn belts can be used as clamps for woodworking projects by wrapping them around the workpiece and securing them in place. This can be especially useful for irregularly shaped objects or when traditional clamps are not available.
What are some ways to create a makeshift tool holder using worn belts?
Worn belts can be repurposed as a makeshift tool holder by attaching them to a wall or workbench and using the loops to hang tools such as hammers, wrenches, or screwdrivers. This can help keep the workspace organized and tools easily accessible.
How can worn belts be used as a protective cover for sharp edges on tools or equipment?
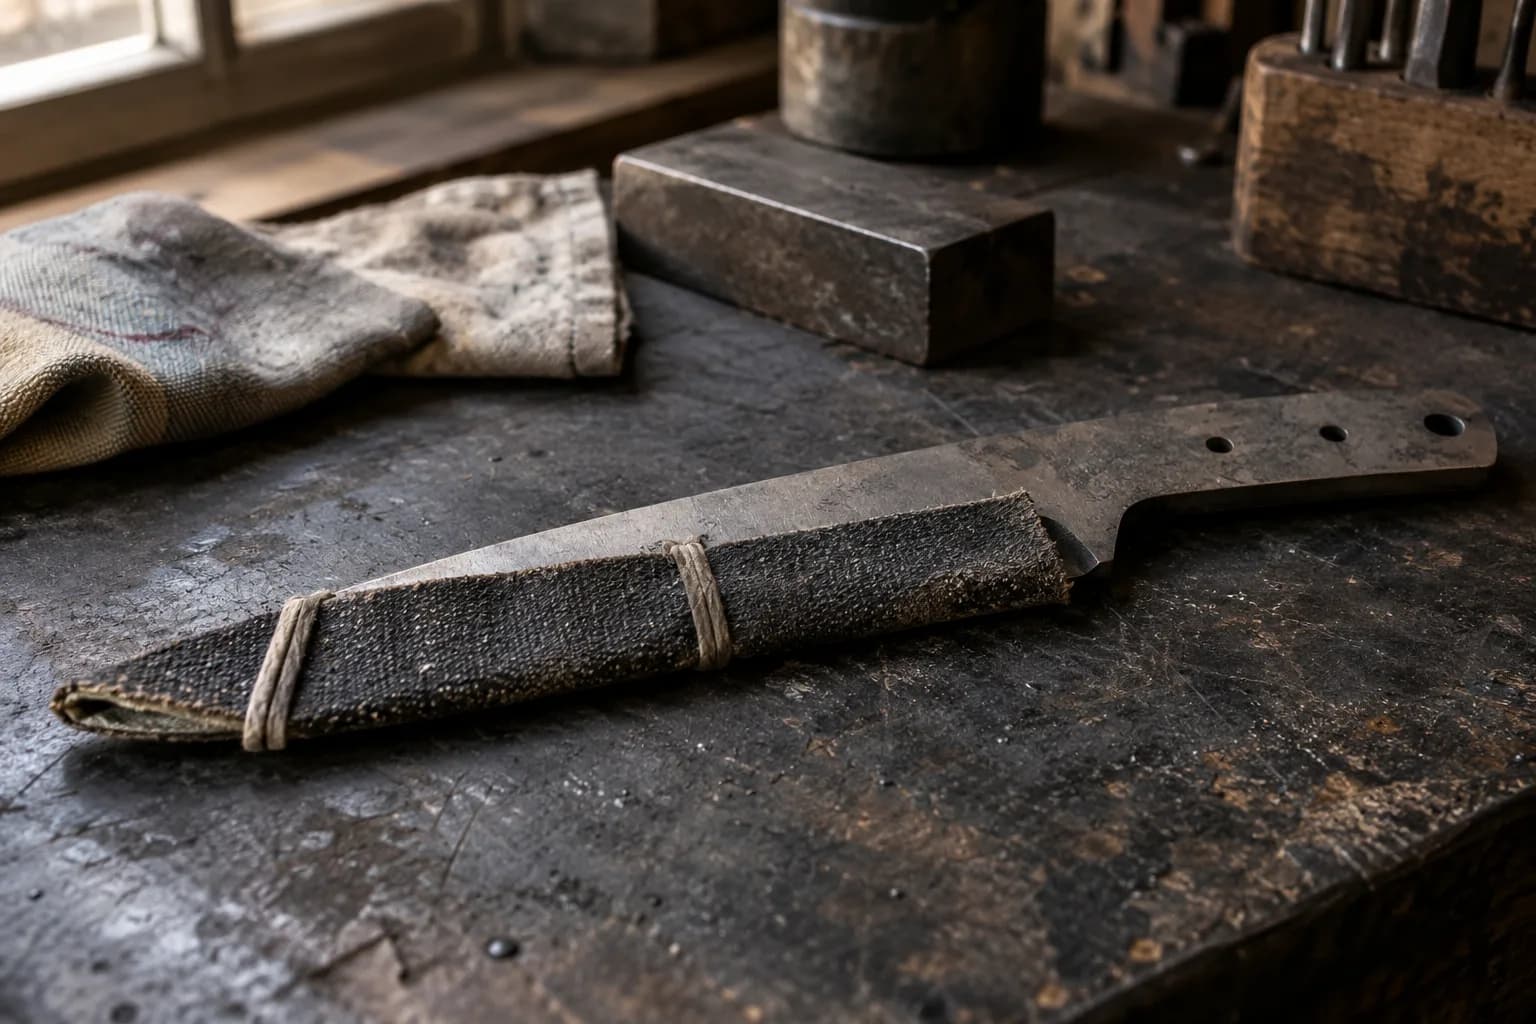
Worn belts can be cut into strips and wrapped around the sharp edges of tools or equipment to provide a protective cover. This can help prevent accidental cuts or scratches and prolong the life of the tools.
Are there any safety considerations when using worn belts for creative purposes in the shop?
When using worn belts for creative purposes in the shop, it’s important to ensure that they are securely fastened and will not come loose during use. Care should be taken to avoid using belts with metal buckles or sharp protrusions that could cause injury.
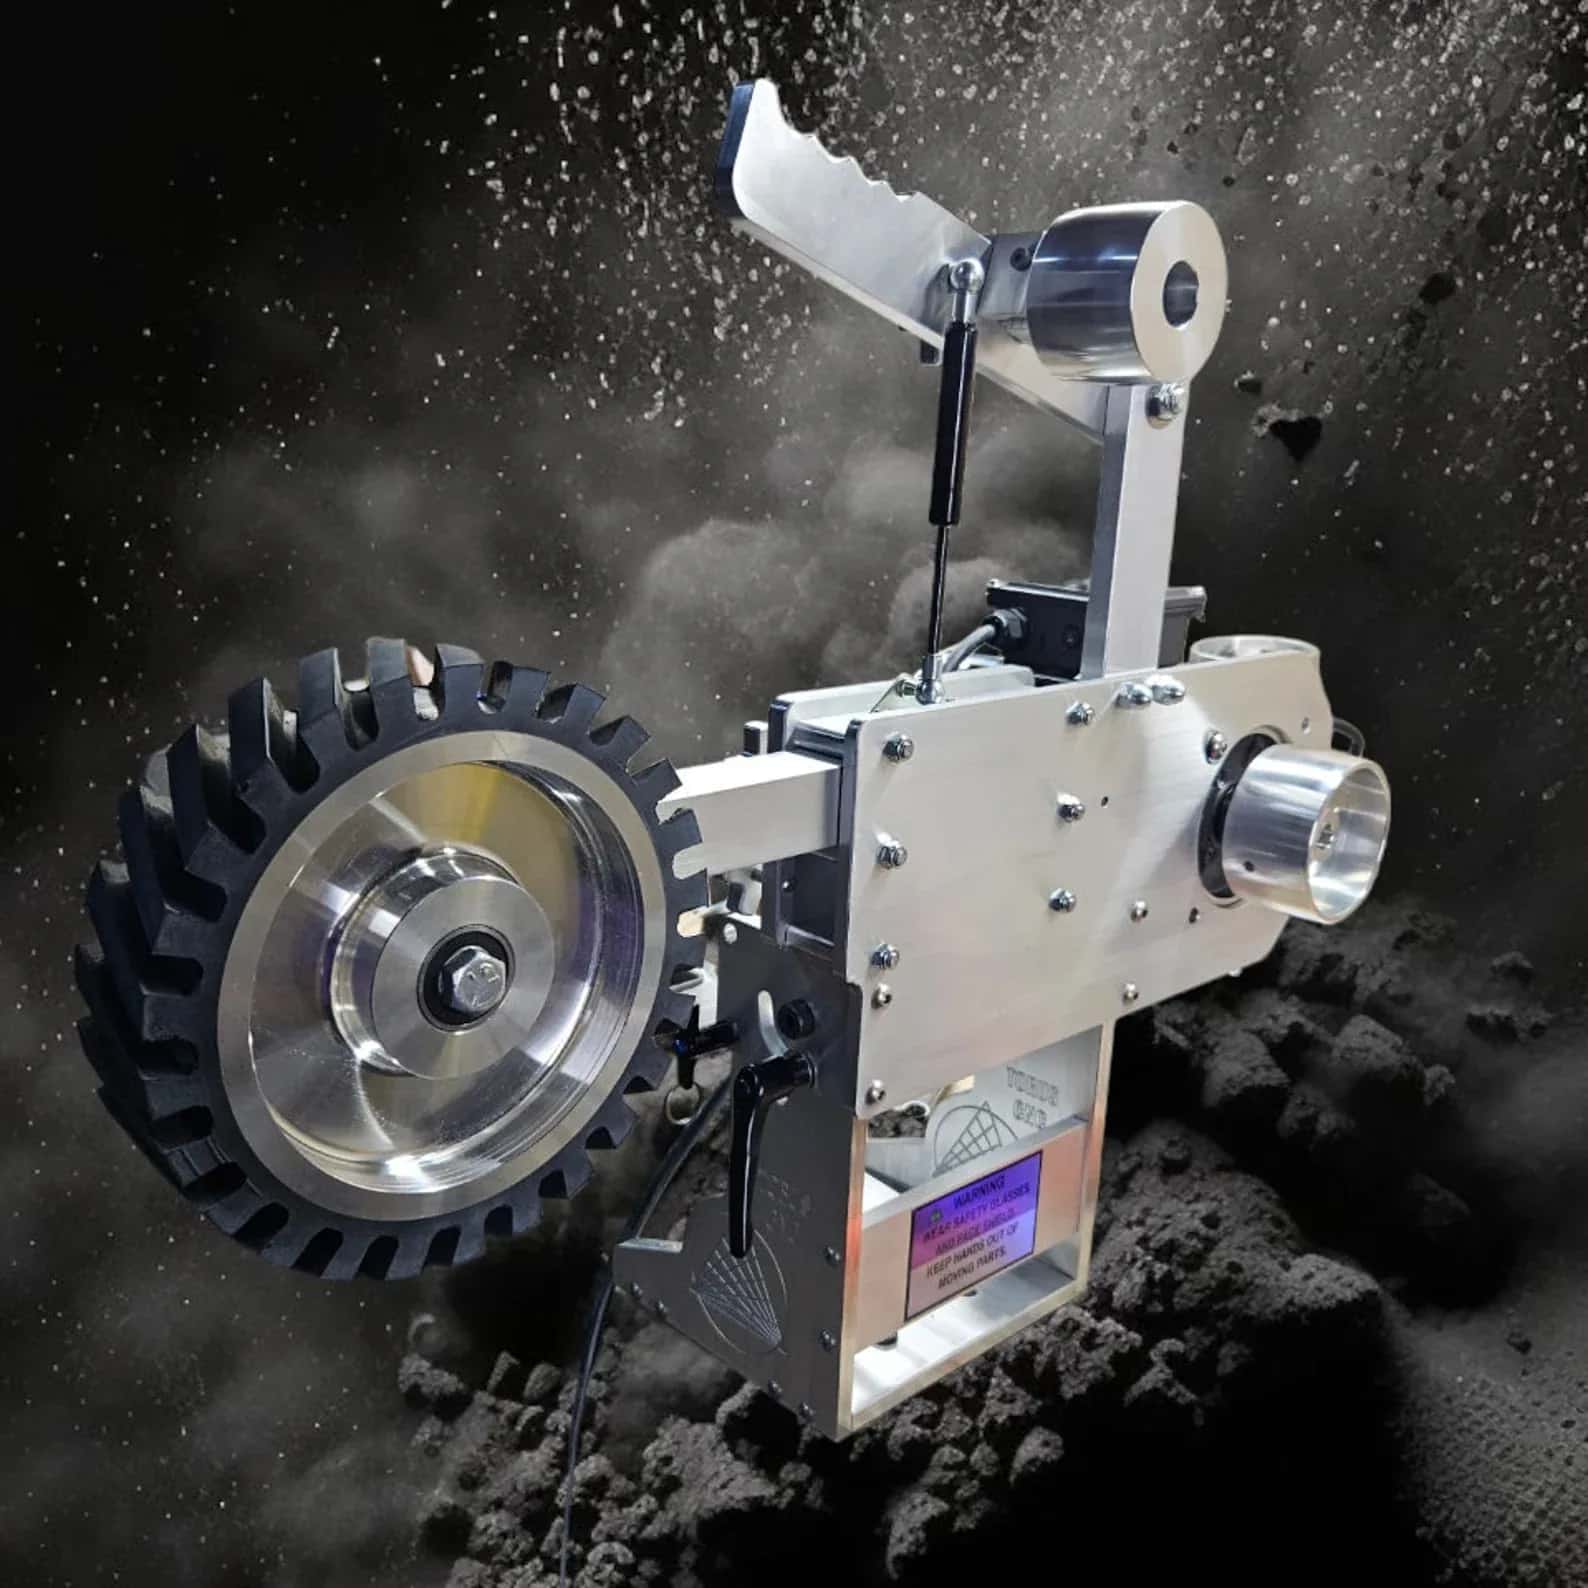
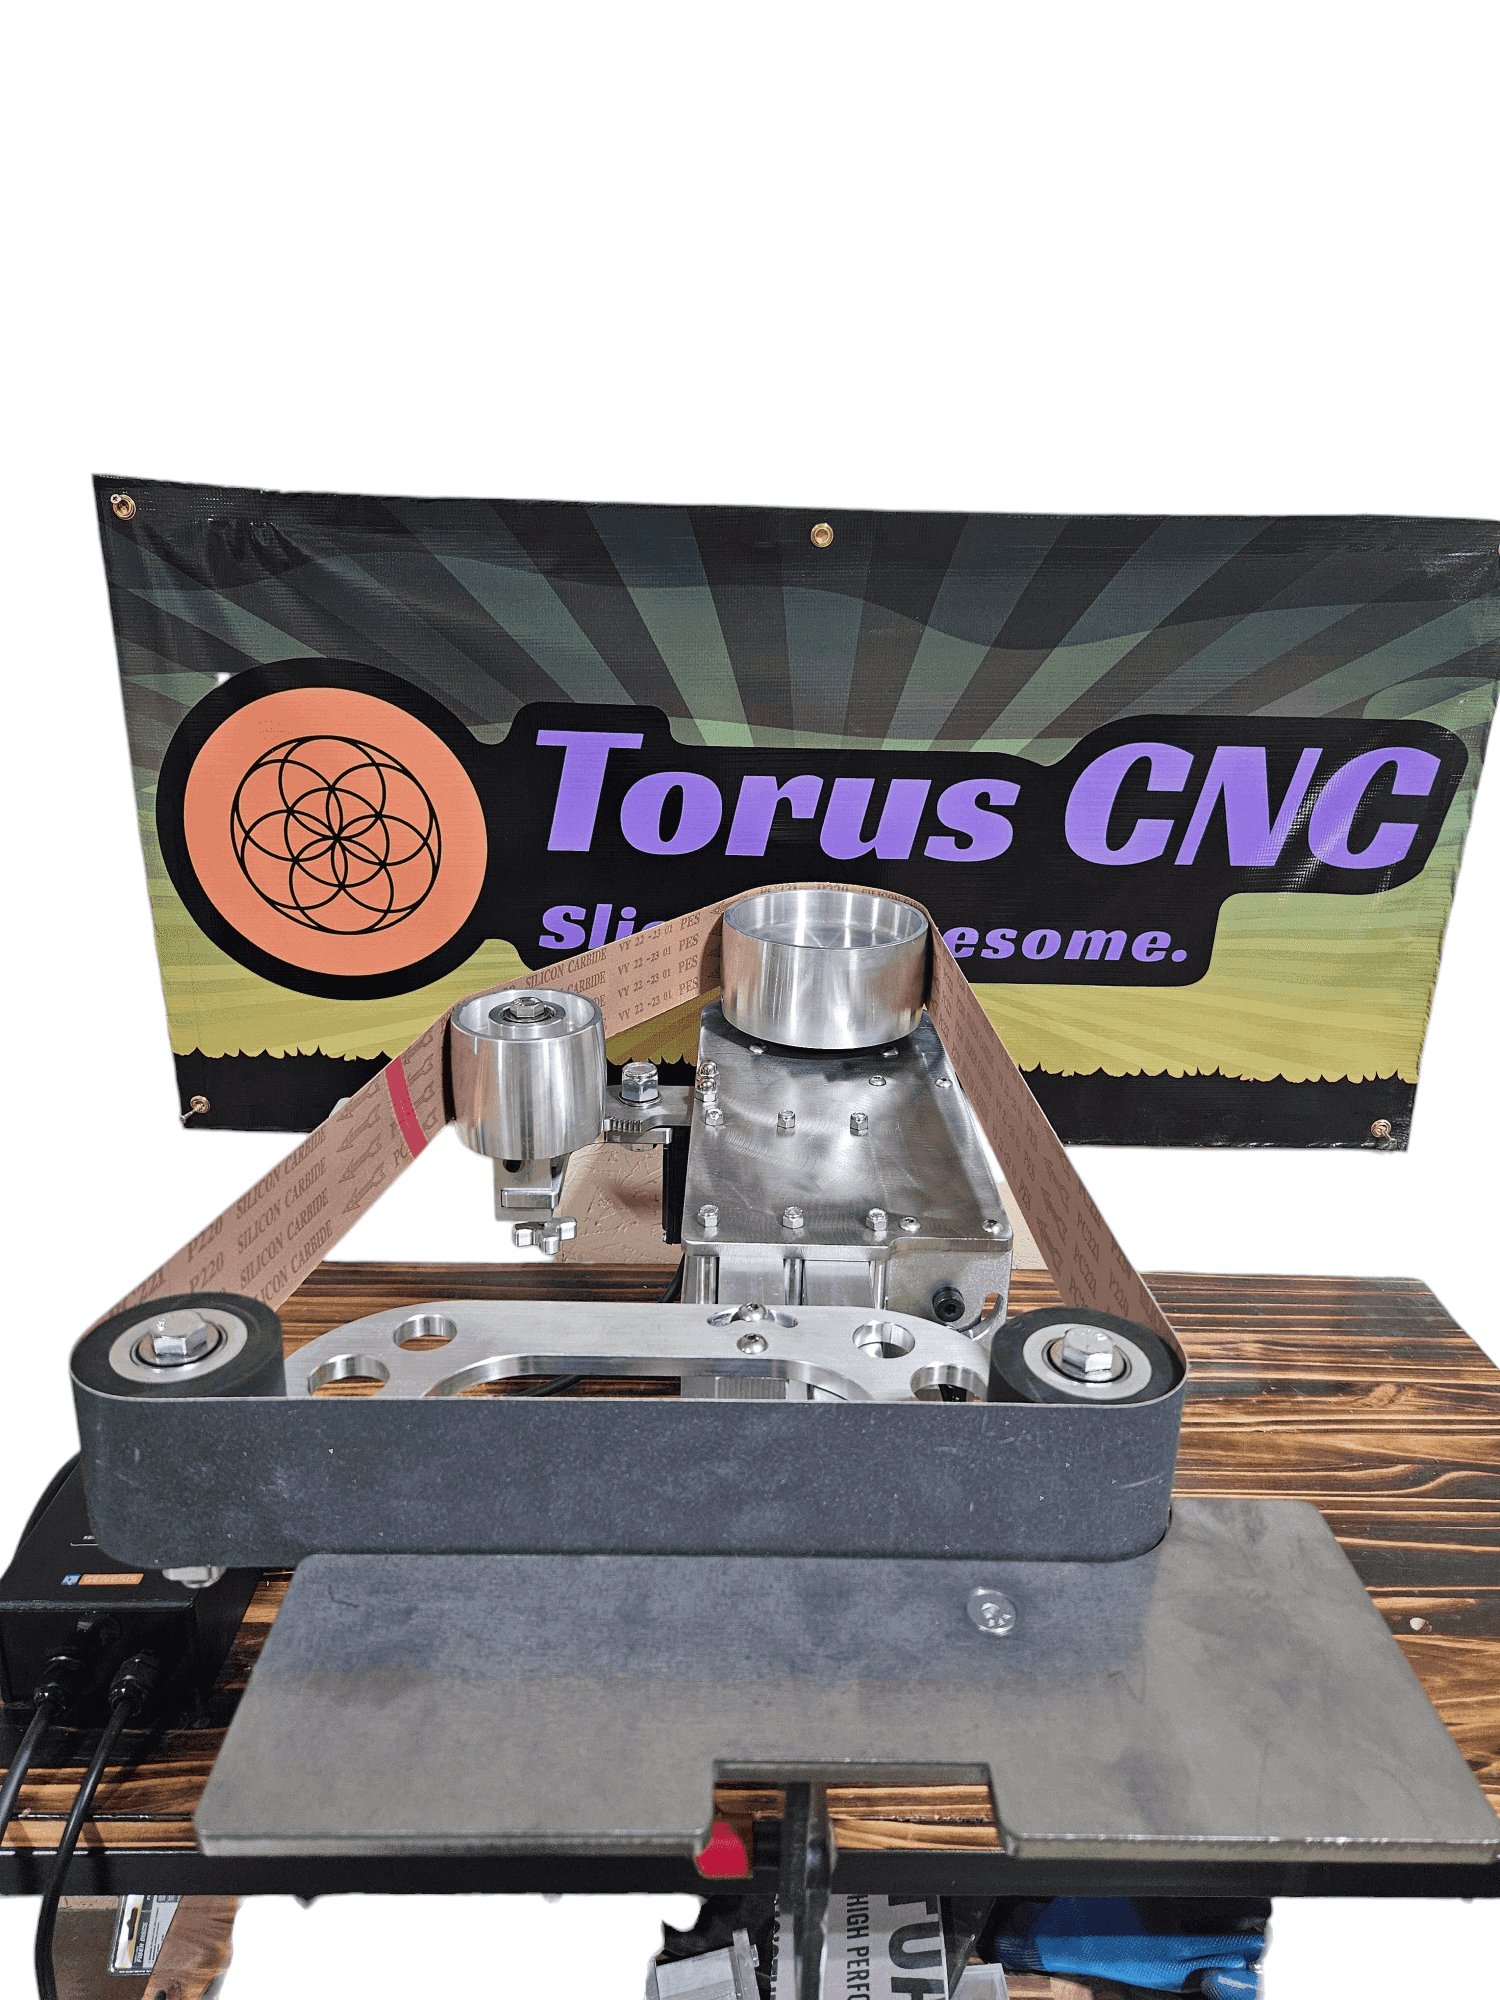
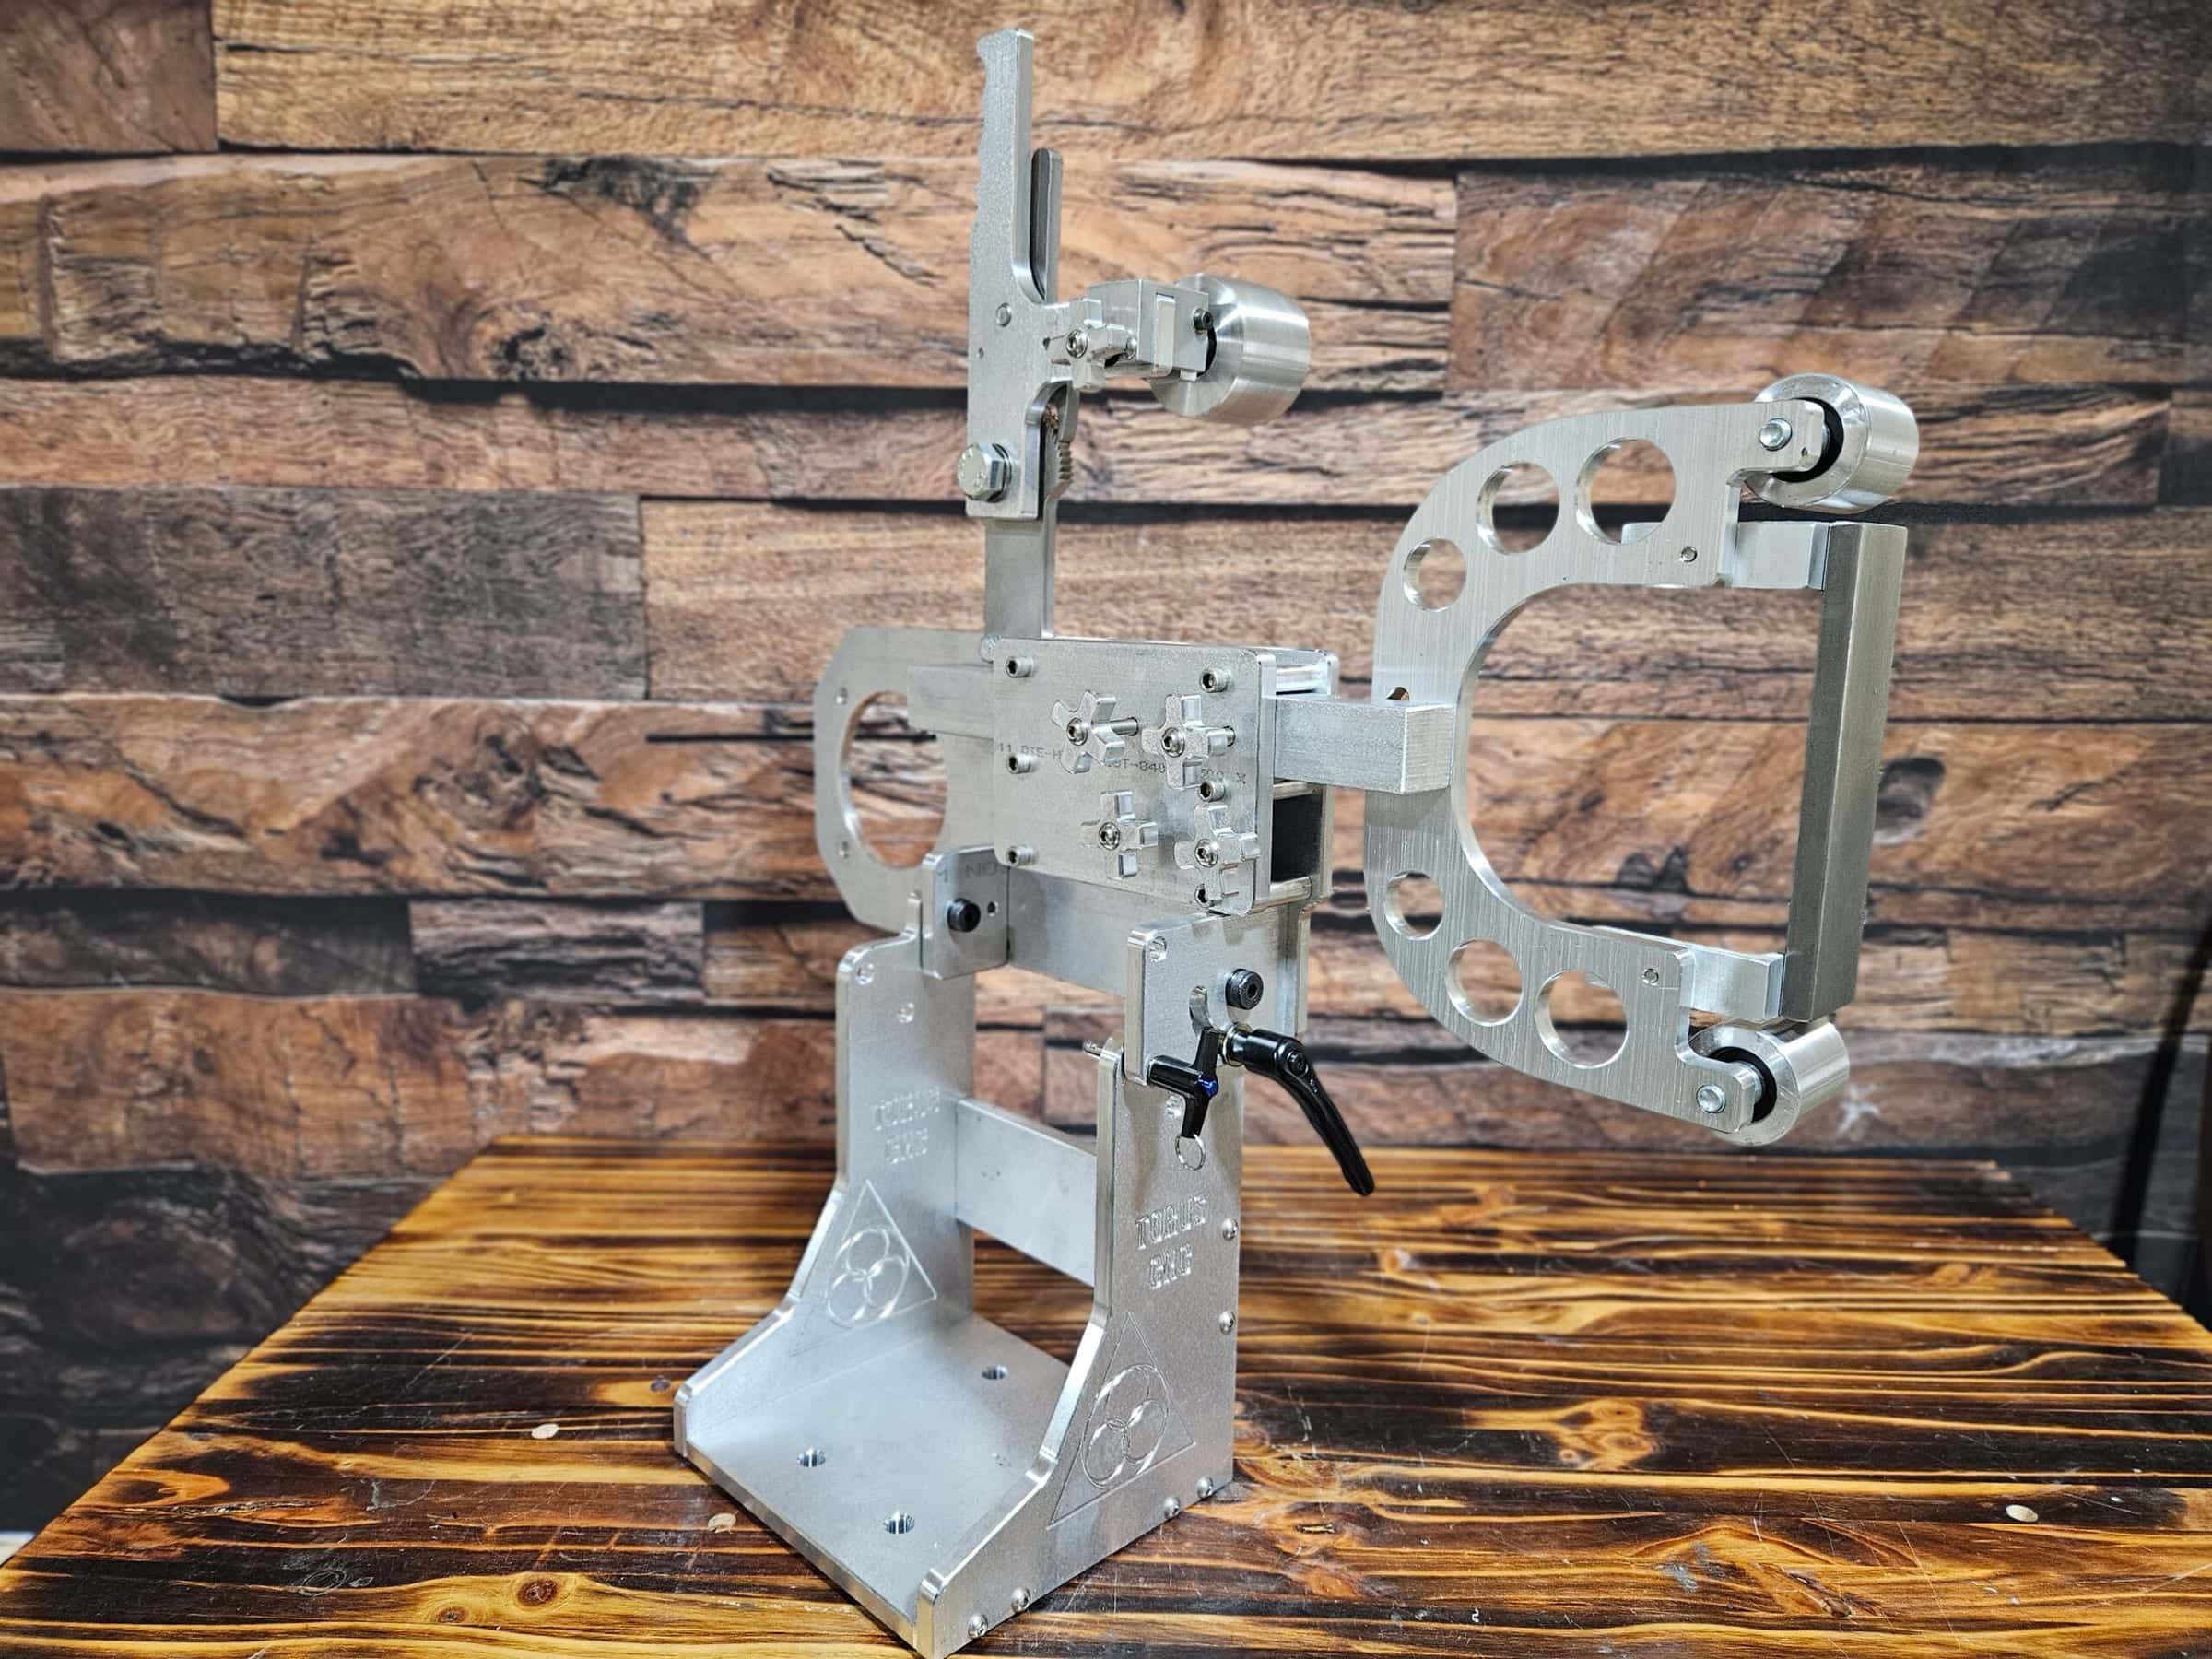
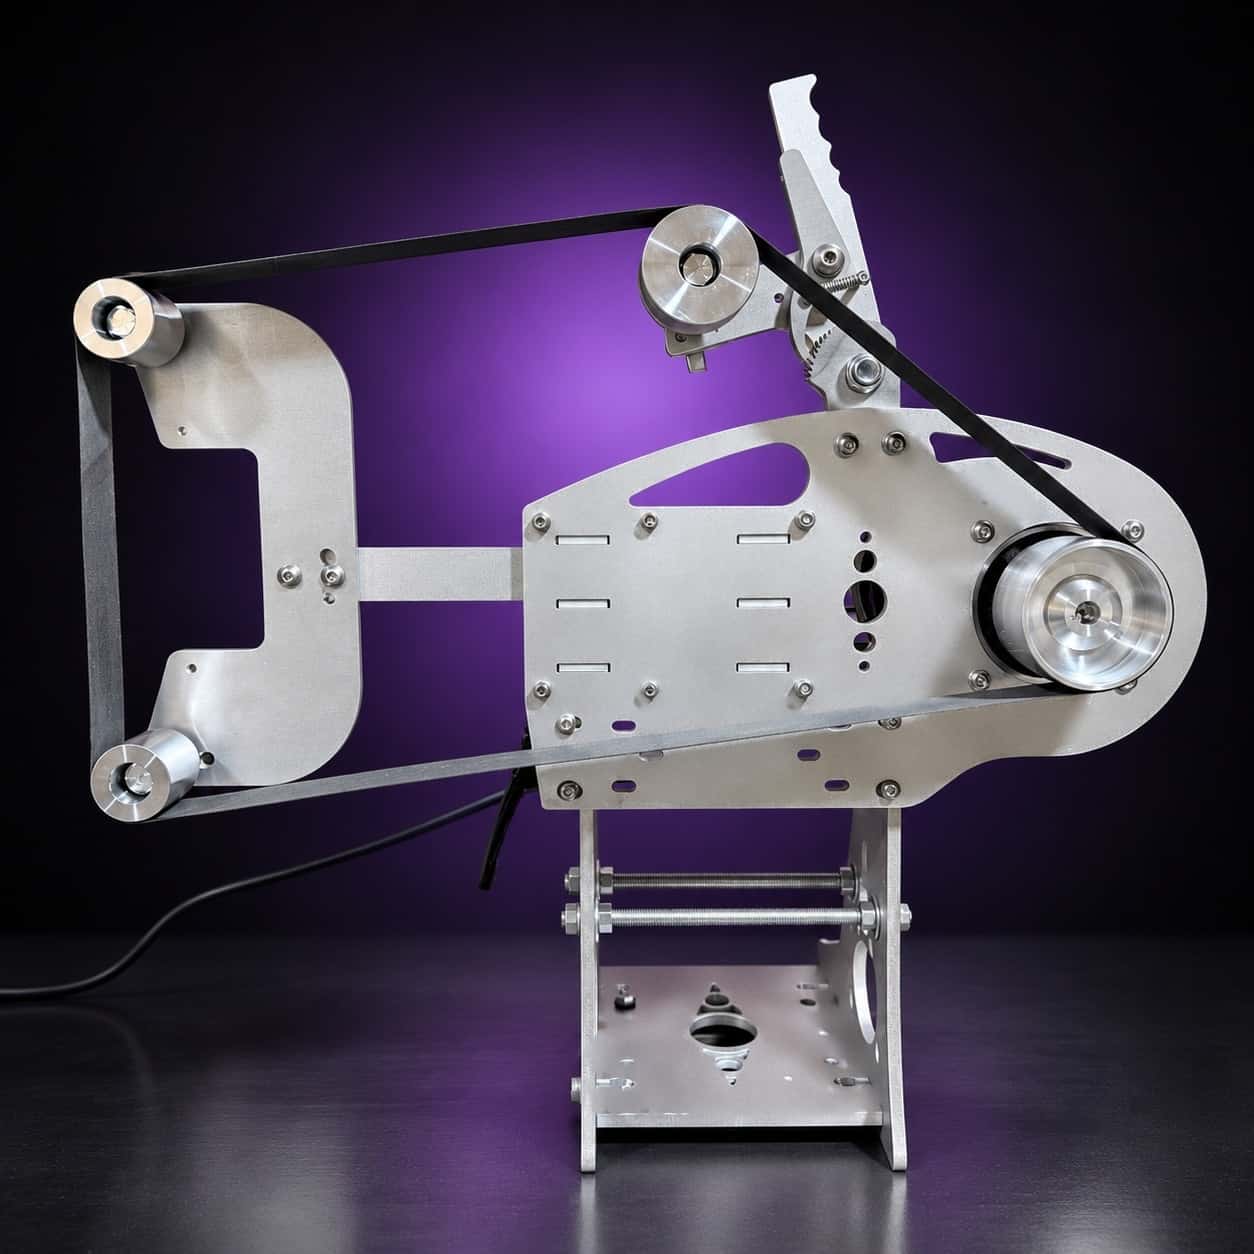
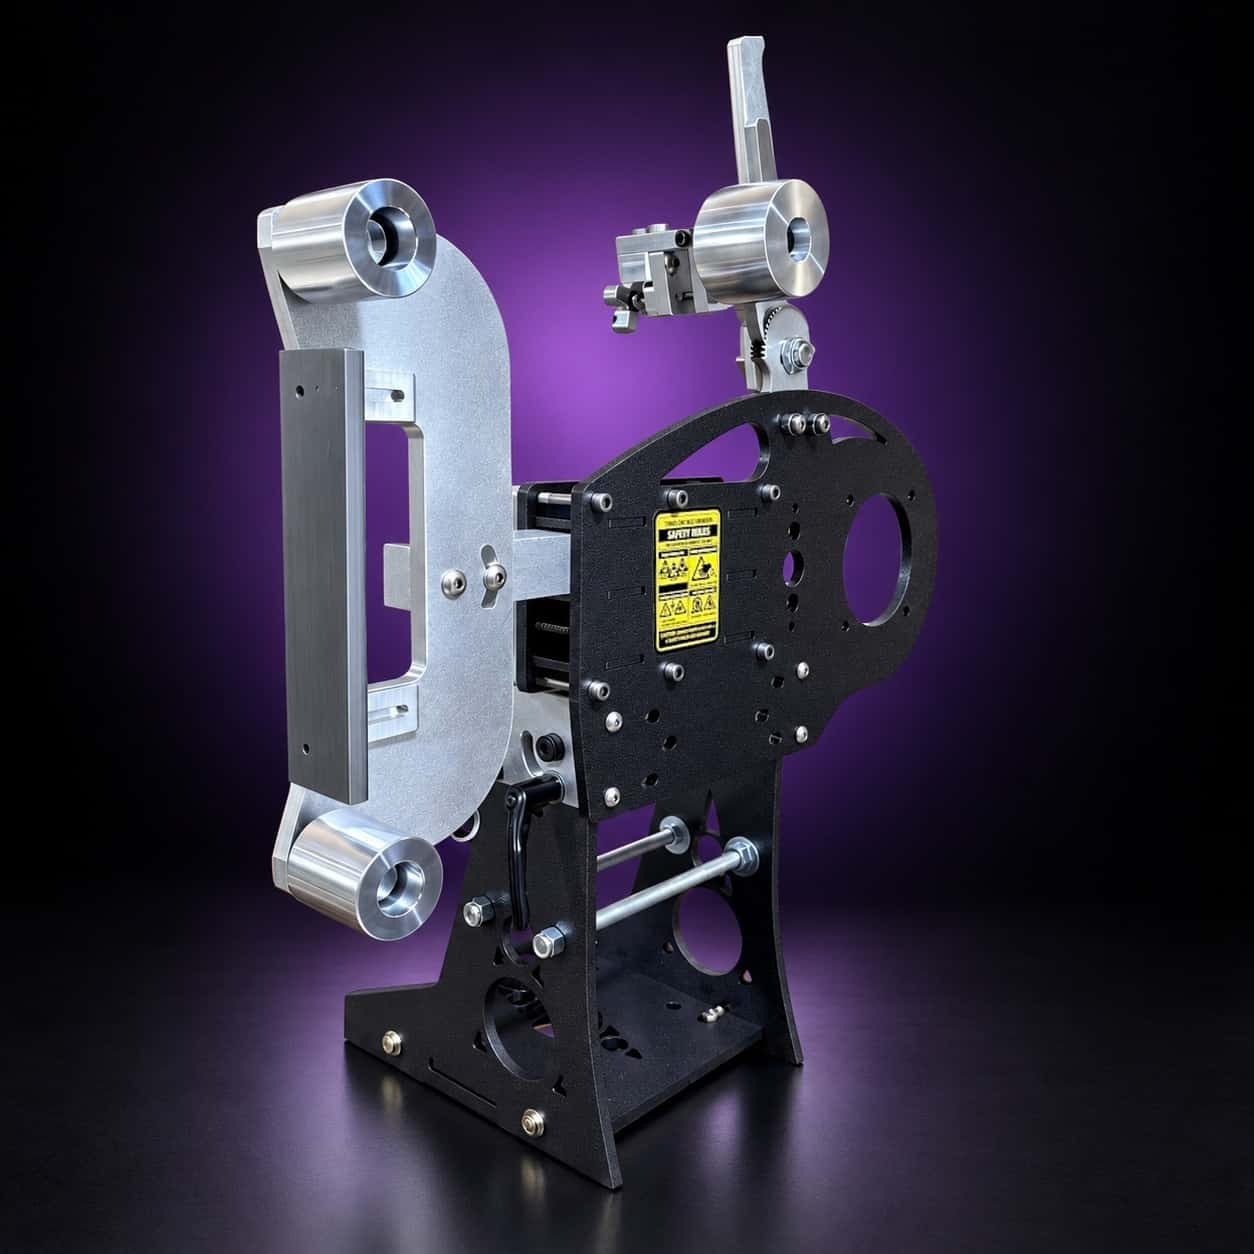
Belts wear out faster on a grinder that tracks poorly, because the edge rubs instead of the face cutting. The Nova 2×72 uses machined dual-axis tracking and a stainless ratchet tensioner so each belt runs true to the end of its life. See the full lineup in the shop.