Knife Making
Perfecting Chef Knives: Grinding S‑Curves with Slack Belt
The S-curve is what makes a chef knife rock and slice instead of chop. Here is how I grind it on the slack belt of the 2×72: which belt, how much slack, the heel-to-tip technique, and what flattens the curve.
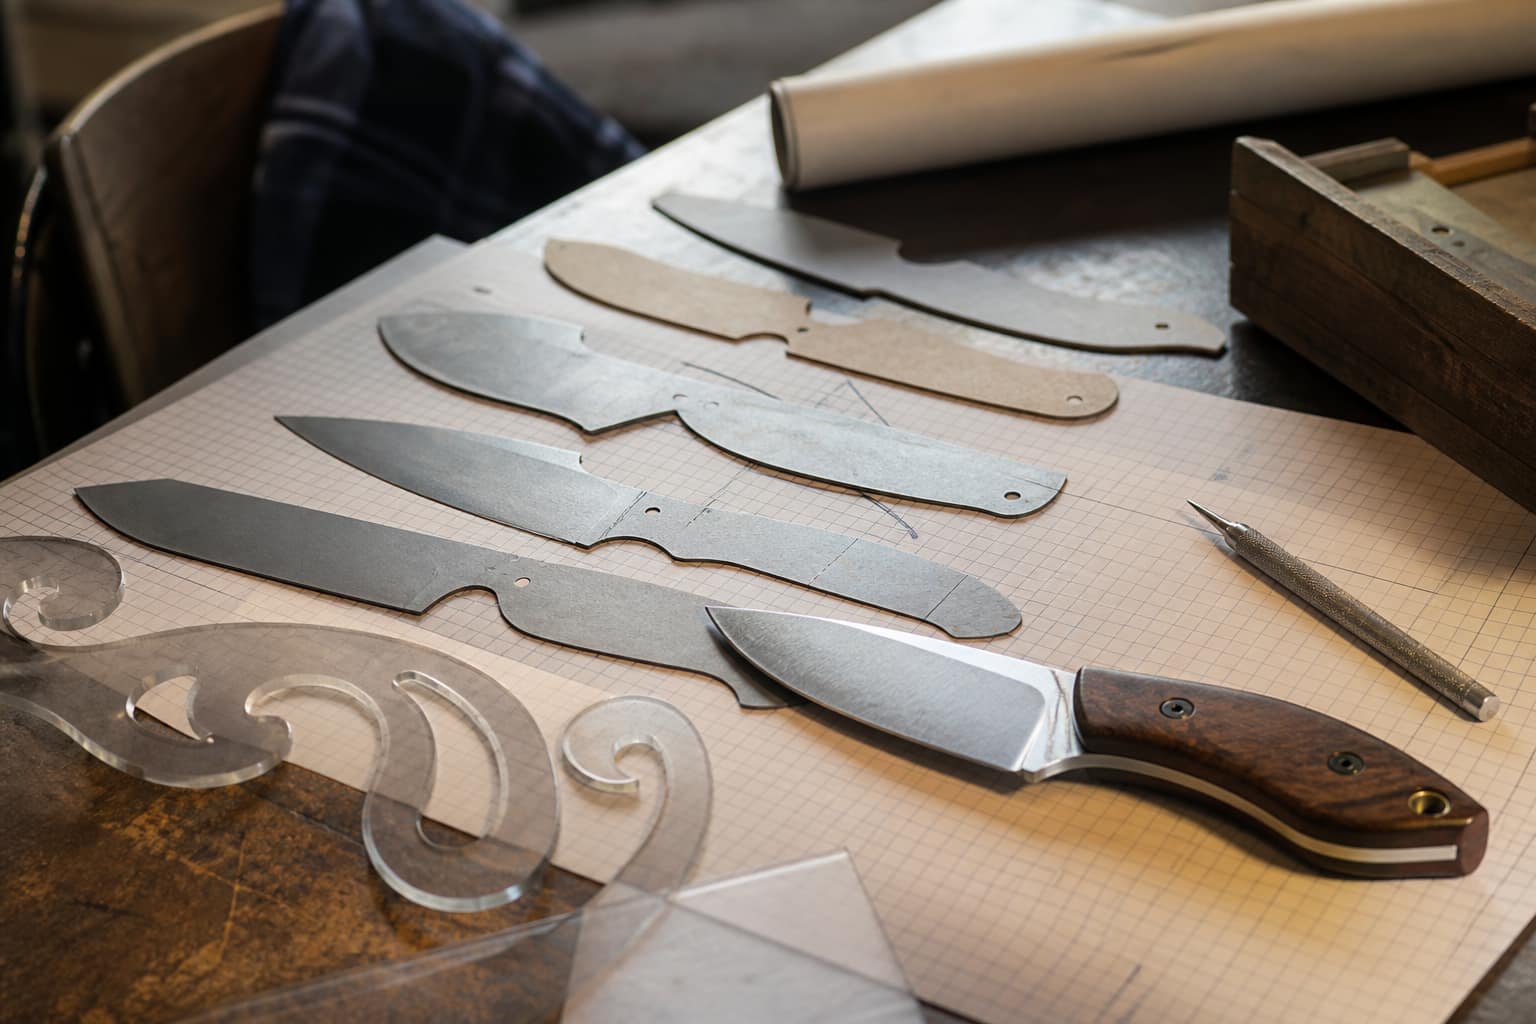
The S-curve along a chef knife’s edge is what lets it rock through an onion instead of chopping it, and you cannot grind a flowing curve on a flat platen. The slack belt can. Here is how I grind chef knife S-curves on the 2×72: the belt I use, how much slack to run, the heel-to-tip motion, the angle that keeps the edge even, and the mistakes that leave a flat spot in the belly.
Key Takeaways
- Understanding the S-Curve in Chef Knives: The S-curve is a key feature in chef knives that allows for better slicing and chopping performance.
- The Importance of Grinding S-Curves for Chef Knives: Grinding S-curves is essential for enhancing the cutting ability and overall performance of chef knives.
- Choosing the Right Slack Belt for Grinding S-Curves: Selecting the appropriate slack belt is crucial for achieving the desired S-curve on chef knives.
- How to Properly Set Up the Slack Belt for Grinding S-Curves: Proper setup of the slack belt is essential for achieving consistent and precise S-curve grinding results.
- Techniques for Achieving a Perfect S-Curve on Chef Knives: Mastering the right techniques is crucial for achieving a perfect S-curve on chef knives and enhancing their cutting performance.
The Importance of Grinding S-Curves for Chef Knives
Grinding the S-curve into a chef knife is a critical step in the knife-making process that requires precision and skill. The grinding process shapes the blade to achieve the desired curvature, which is essential for optimal cutting performance. A well-ground S-curve allows for smooth transitions between different cutting techniques, such as rocking and slicing, enabling chefs to execute their tasks with greater efficiency.
Choosing the Right Slack Belt for Grinding S-Curves
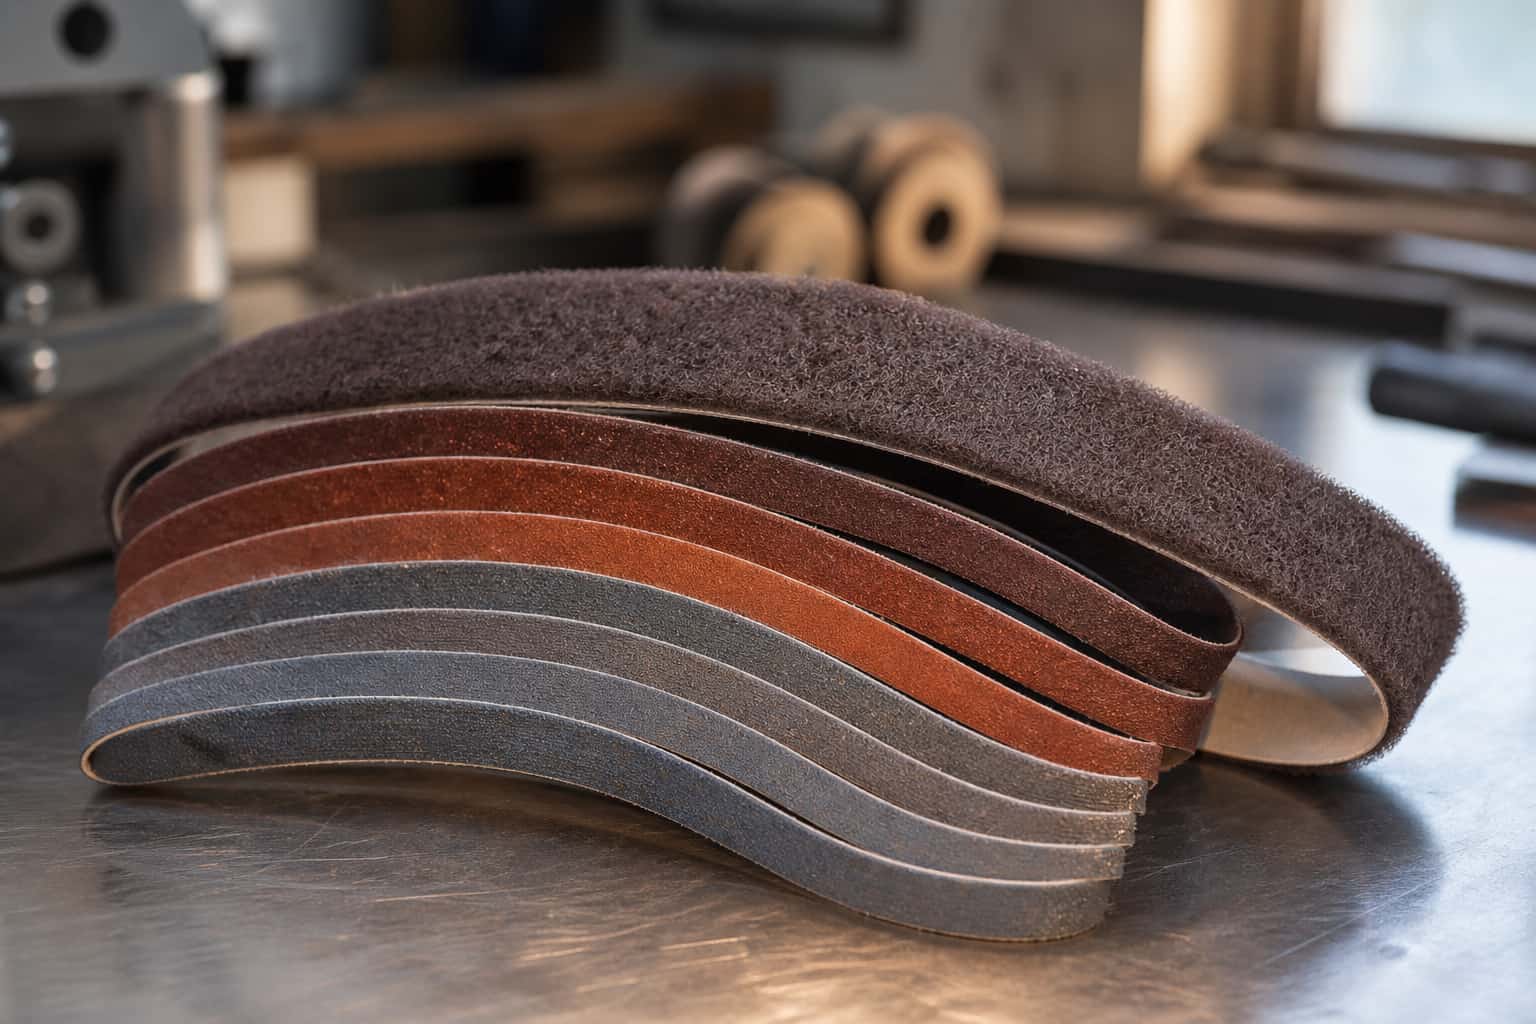
A coarser grit may be suitable for initial shaping, while finer grits are necessary for refining the curve and achieving a polished finish. In addition to grit selection, the material of the slack belt also plays a crucial role in its effectiveness. Common materials include aluminum oxide and ceramic, each offering unique benefits.
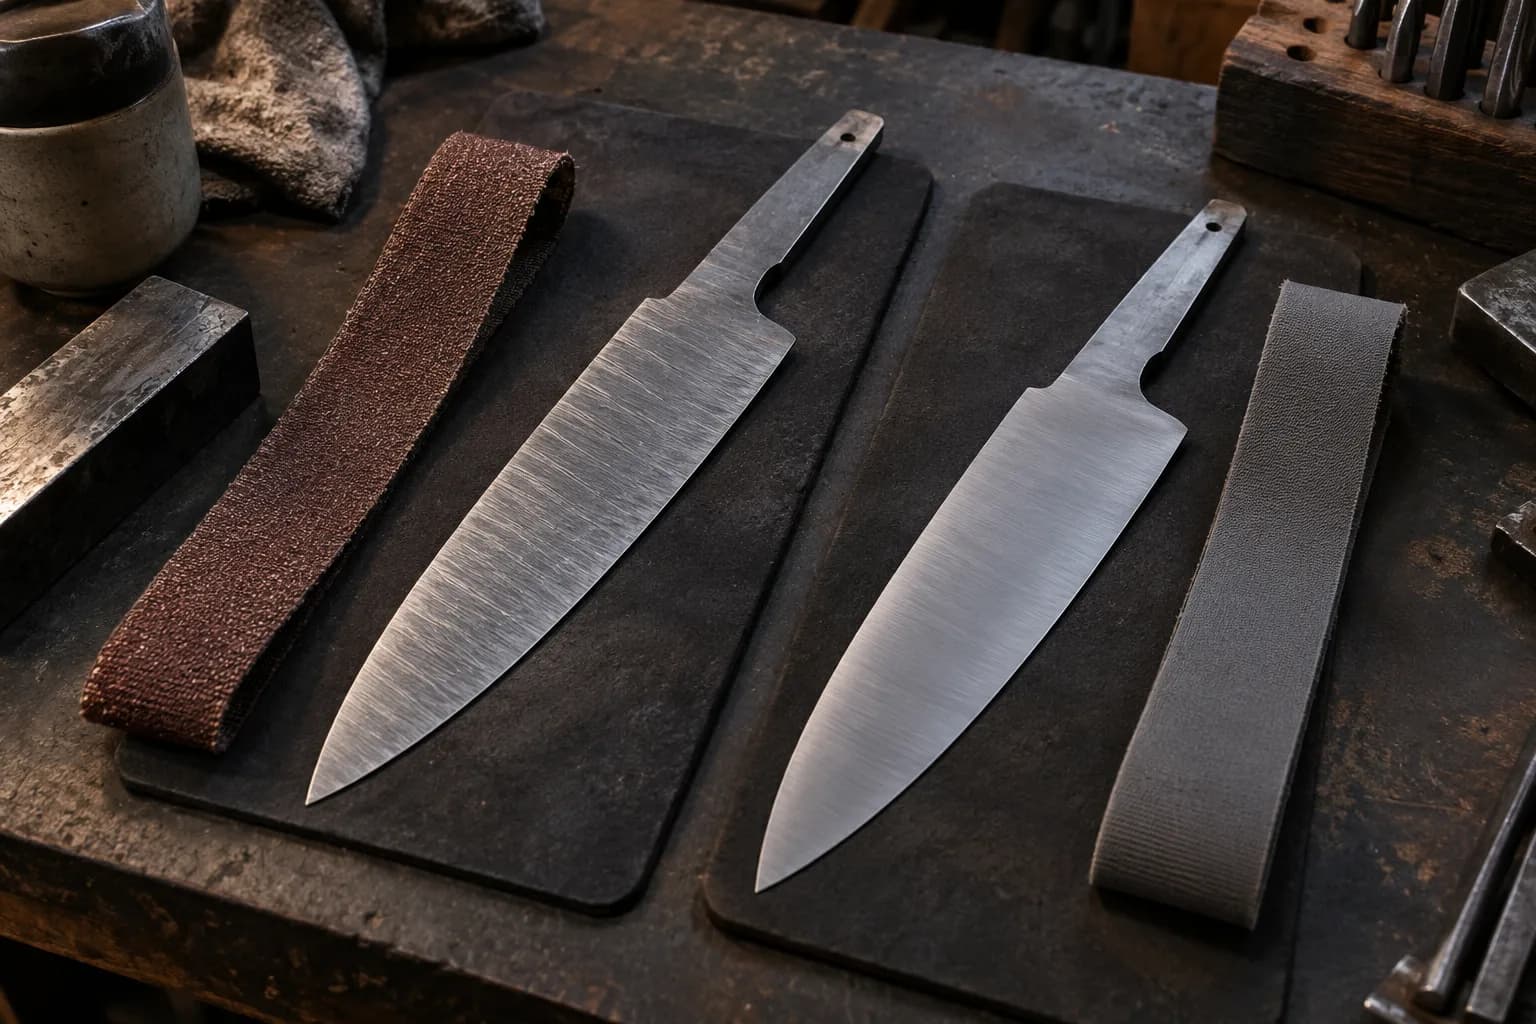
Aluminum oxide belts are versatile and cost-effective, making them a popular choice for general grinding tasks. On the other hand, ceramic belts are known for their durability and longevity, making them ideal for heavy-duty applications. By carefully considering both grit and material, knife makers can select a slack belt that will facilitate precise grinding of S-curves while ensuring optimal performance throughout the process.
How to Properly Set Up the Slack Belt for Grinding S-Curves
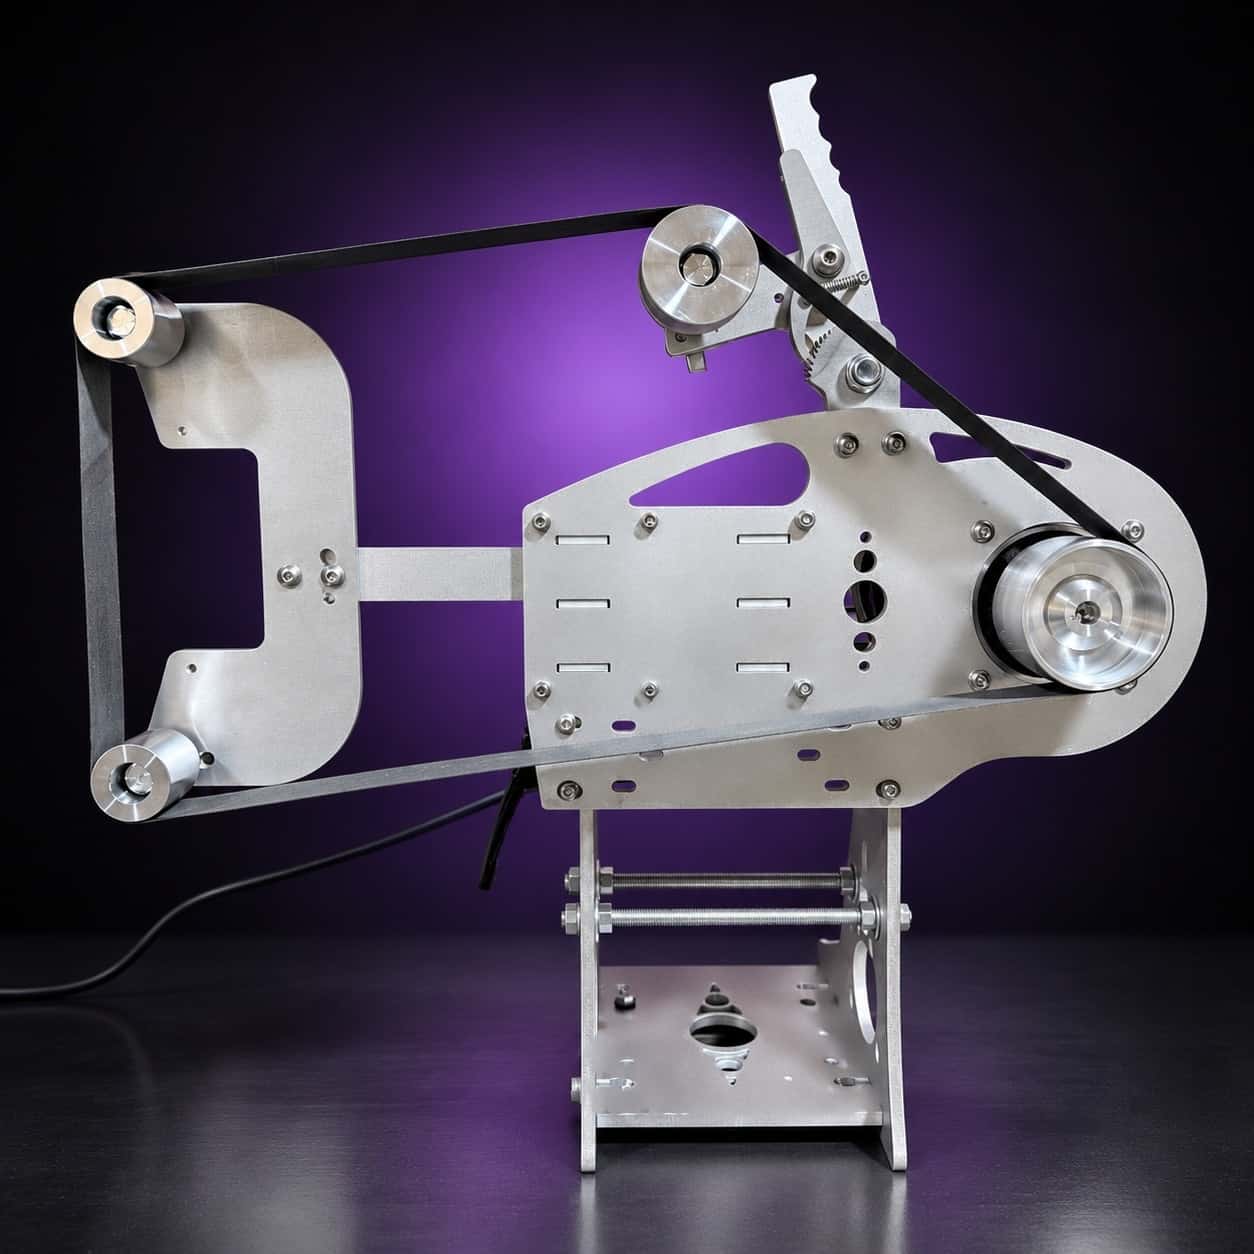
Setting up the slack belt correctly is essential for achieving accurate and consistent results when grinding S-curves on chef knives. The first step in this process involves ensuring that the slack belt grinder is properly calibrated and aligned. This includes checking that the belt is tensioned correctly and that it runs smoothly without any wobbling or misalignment.
A well-set-up machine will provide better control during grinding, allowing for more precise shaping of the blade. Once the machine is calibrated, it is important to adjust the angle of the slack belt to match the desired curvature of the S-curve. This may require some experimentation to find the optimal angle that allows for effective grinding without compromising the integrity of the blade.
Maintaining a consistent pressure while grinding is crucial; too much pressure can lead to uneven wear on the blade or even damage it. By taking the time to set up the slack belt properly, knife makers can ensure that they achieve a flawless S-curve that enhances both functionality and aesthetics.
Techniques for Achieving a Perfect S-Curve on Chef Knives
Achieving a perfect S-curve on chef knives requires a combination of technique, patience, and practice. One effective method involves using a series of sweeping motions while guiding the blade against the slack belt. This technique allows for gradual shaping of the curve while maintaining control over the blade’s profile.
It is essential to work slowly and methodically, checking progress frequently to ensure that the desired curvature is being achieved. Another technique involves utilizing different angles during grinding to create depth and dimension within the S-curve. By varying the angle at which the blade meets the slack belt, knife makers can create subtle changes in curvature that enhance both performance and visual appeal.
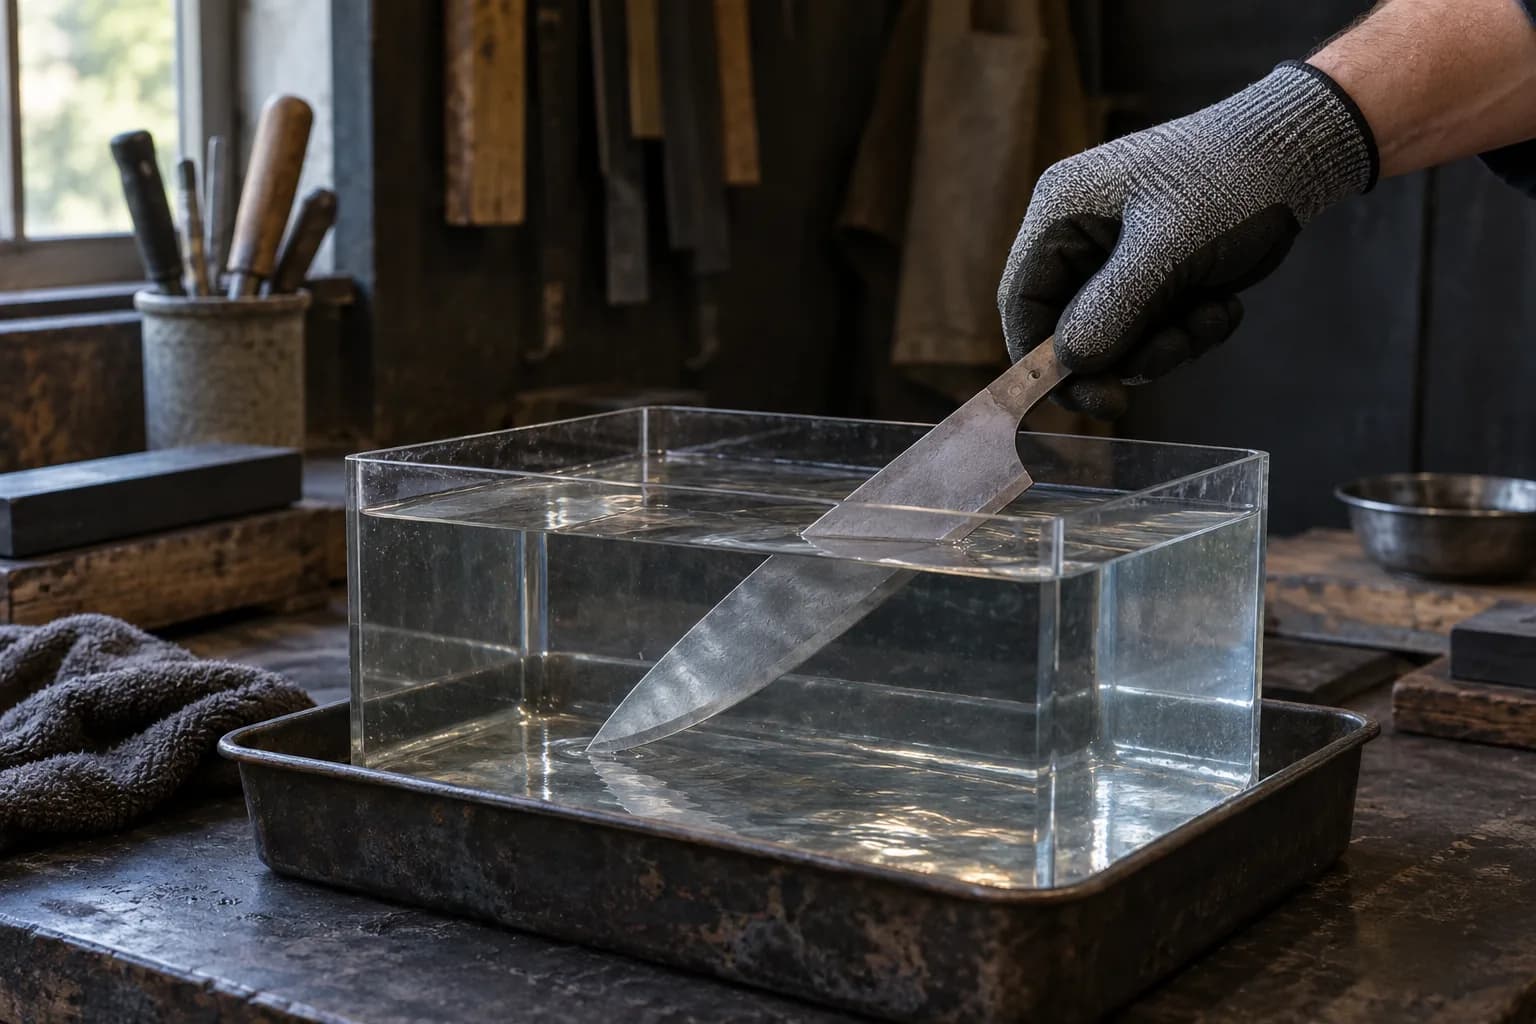
Incorporating a cooling method during grinding can help prevent overheating, which can compromise the blade’s tempering and overall quality. By employing these techniques with care and precision, knife makers can master the art of creating perfect S-curves on their chef knives.
Common Mistakes to Avoid When Grinding S-Curves with a Slack Bel
While grinding S-curves with a slack belt can yield impressive results, there are several common mistakes that can hinder progress or lead to unsatisfactory outcomes. One frequent error is applying excessive pressure during grinding. Many novice knife makers may believe that pressing harder will yield faster results; however, this often leads to uneven grinding or even damage to the blade.
Instead, maintaining a light touch and allowing the slack belt to do most of the work will produce better results. Another mistake to avoid is neglecting to frequently check progress during grinding. It can be easy to become engrossed in the process and lose track of how much material has been removed from the blade.
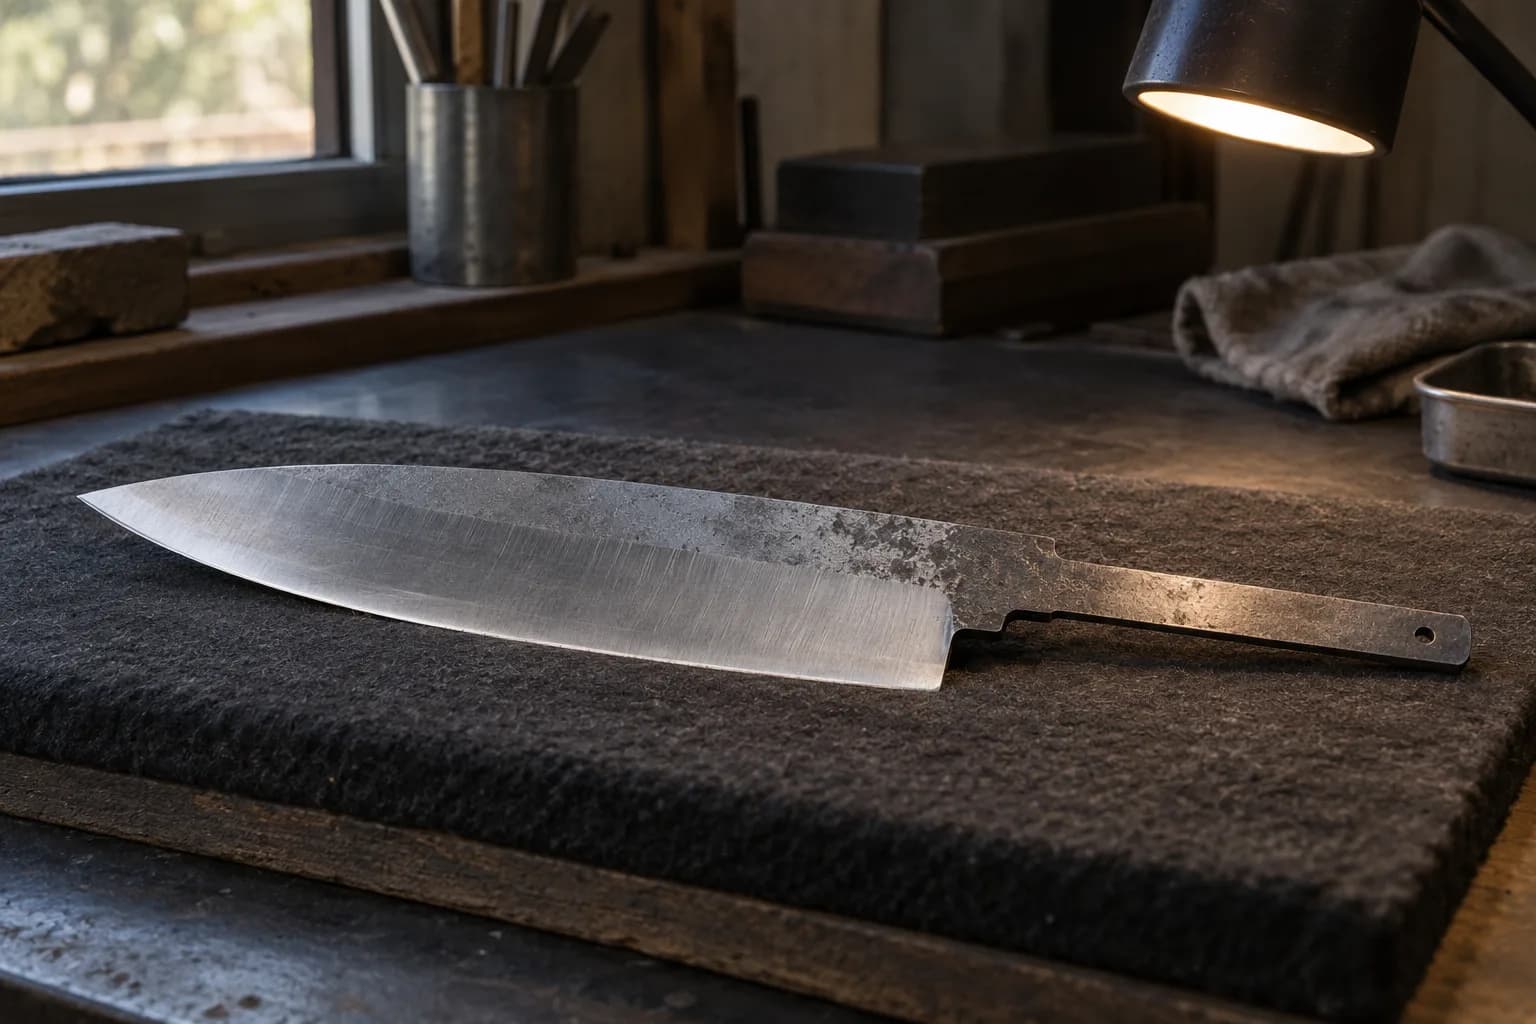
Regularly inspecting the curvature ensures that adjustments can be made as needed before it’s too late. Additionally, failing to use appropriate safety gear can pose risks during grinding; always wearing protective eyewear and gloves is essential for ensuring safety throughout the process.
The Benefits of Using Slack Belt for Grinding S-Curves
Using a slack belt for grinding S-curves offers numerous advantages that make it an ideal choice for knife makers. One of the primary benefits is its ability to conform to the contours of the blade, allowing for more precise shaping compared to rigid belts or wheels. This flexibility enables craftsmen to achieve smoother transitions along the curve without leaving behind harsh scratches or uneven surfaces.
Slack belts are known for their efficiency in material removal. The design allows for faster grinding while still providing control over the shaping process. This efficiency can be particularly beneficial in high-volume production settings where time is of the essence without sacrificing quality.
Slack belts tend to generate less heat during operation compared to other grinding methods, reducing the risk of damaging heat-sensitive materials used in high-quality chef knives.
Maintaining the Sharpness of Chef Knives After Grinding S-Curves
After successfully grinding an S-curve into a chef knife, maintaining its sharpness becomes paramount for optimal performance in culinary tasks. One effective method for preserving sharpness is regular honing using a honing steel or ceramic rod. This process realigns any microscopic imperfections along the edge without removing significant material from the blade.
Regular honing helps keep knives sharp between more intensive sharpening sessions. In addition to honing, proper storage plays a crucial role in maintaining sharpness after grinding S-curves. Storing knives in protective sheaths or magnetic strips prevents blades from coming into contact with hard surfaces that could dull their edges.
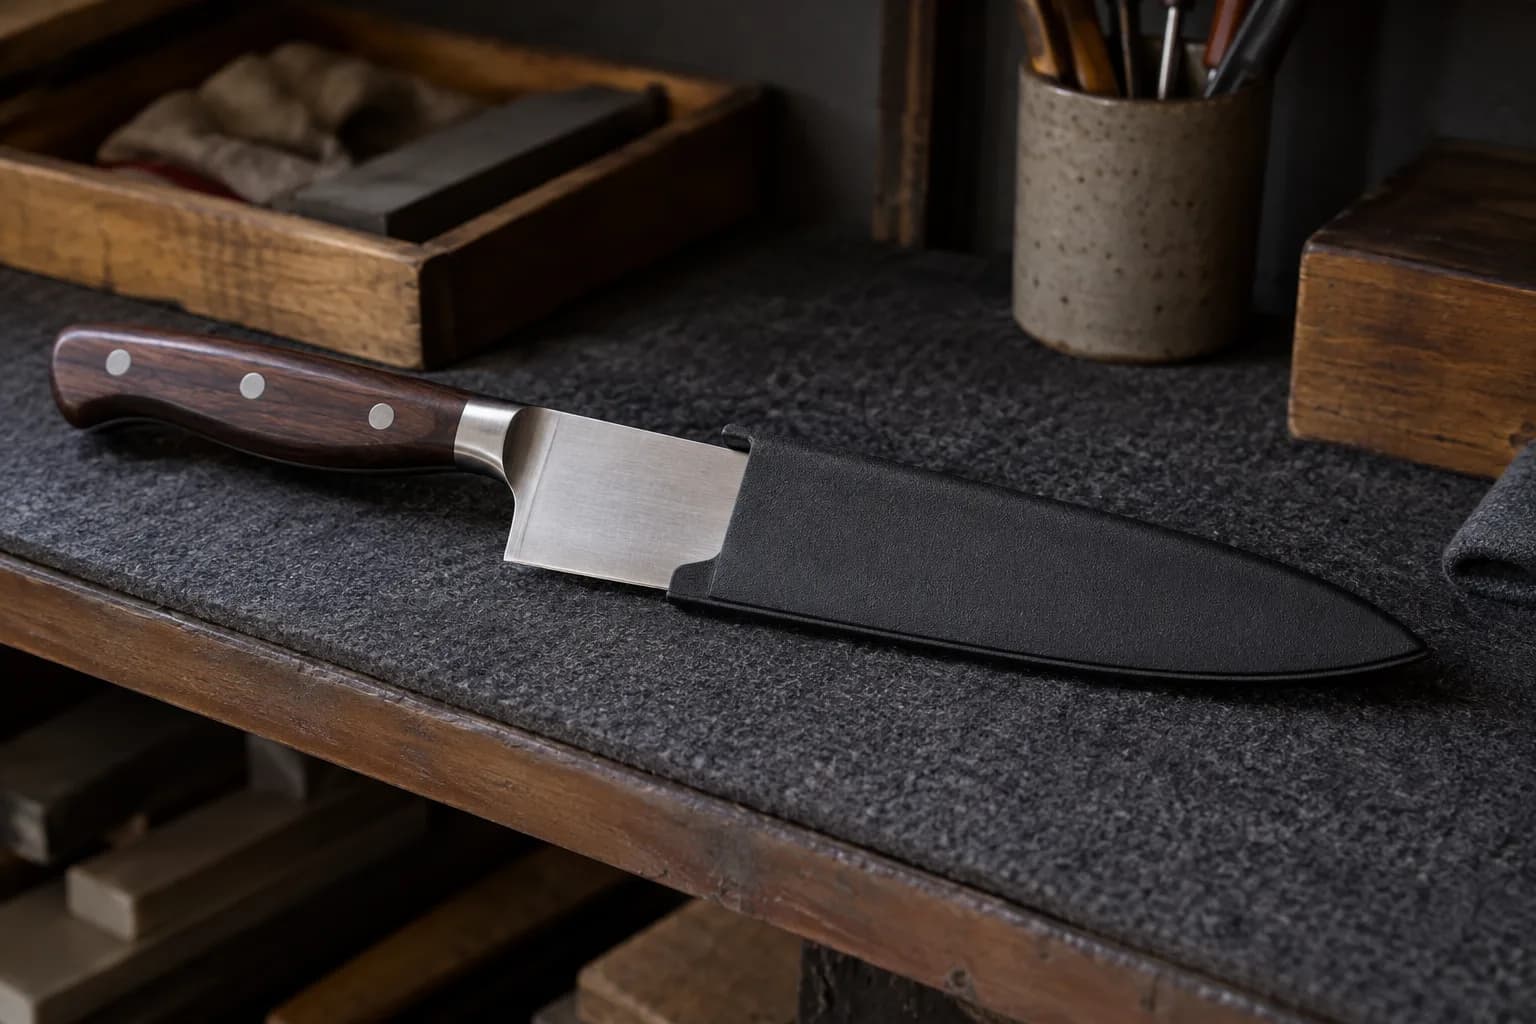
Cleaning knives promptly after use helps prevent corrosion or buildup that could compromise sharpness over time. By implementing these maintenance practices, chefs can ensure their knives remain sharp and ready for action long after they have been ground.
Tips for Selecting the Right Angle for Grinding S-Curves
Selecting the right angle for grinding S-curves on chef knives is essential for achieving optimal performance characteristics tailored to specific cutting tasks. Generally speaking, most chef knives benefit from an angle between 15 to 20 degrees per side; however, this can vary based on personal preference and intended use. For instance, Japanese-style knives often feature sharper angles around 15 degrees for precision slicing, while Western-style knives may lean towards 20 degrees for durability during heavy-duty tasks.
When determining angle preferences, it’s important to consider factors such as blade thickness and material composition as well. Thinner blades may require sharper angles to maintain cutting efficiency without compromising strength; conversely, thicker blades may benefit from wider angles that enhance durability under stress. Experimentation with different angles during practice sessions can help knife makers discover what works best for their specific designs while ensuring optimal performance across various culinary applications.
Safety Precautions When Using a Slack Belt for Grinding S-Curves
Safety should always be a top priority when using a slack belt grinder for any type of work, including grinding S-curves on chef knives. One fundamental precaution involves wearing appropriate personal protective equipment (PPE), such as safety goggles or face shields to protect against flying debris or sparks generated during grinding operations. Gloves should be worn to prevent cuts or abrasions from sharp edges while handling blades.
Another critical safety measure includes ensuring that workspaces are organized and free from clutter before beginning any grinding tasks. A clean environment reduces distractions and minimizes risks associated with tripping or knocking over tools during operation. Furthermore, understanding how to operate machinery safely—such as knowing emergency shut-off procedures—can help mitigate potential hazards associated with using power tools like slack belt grinders effectively.
FAQs
What is a Slack Belt Grinder?
A slack belt grinder is a type of power tool used for shaping and sharpening metal objects, such as knives, by using a belt that is not tensioned tightly, allowing for more flexibility and control during the grinding process.
Can I Grind S-Curves on Chef Knives at Home?
Grinding S-Curves on chef knives can be done at home with the right equipment and knowledge, but it requires skill and precision to achieve the desired results. It is recommended to seek professional help if you are not experienced in knife sharpening.
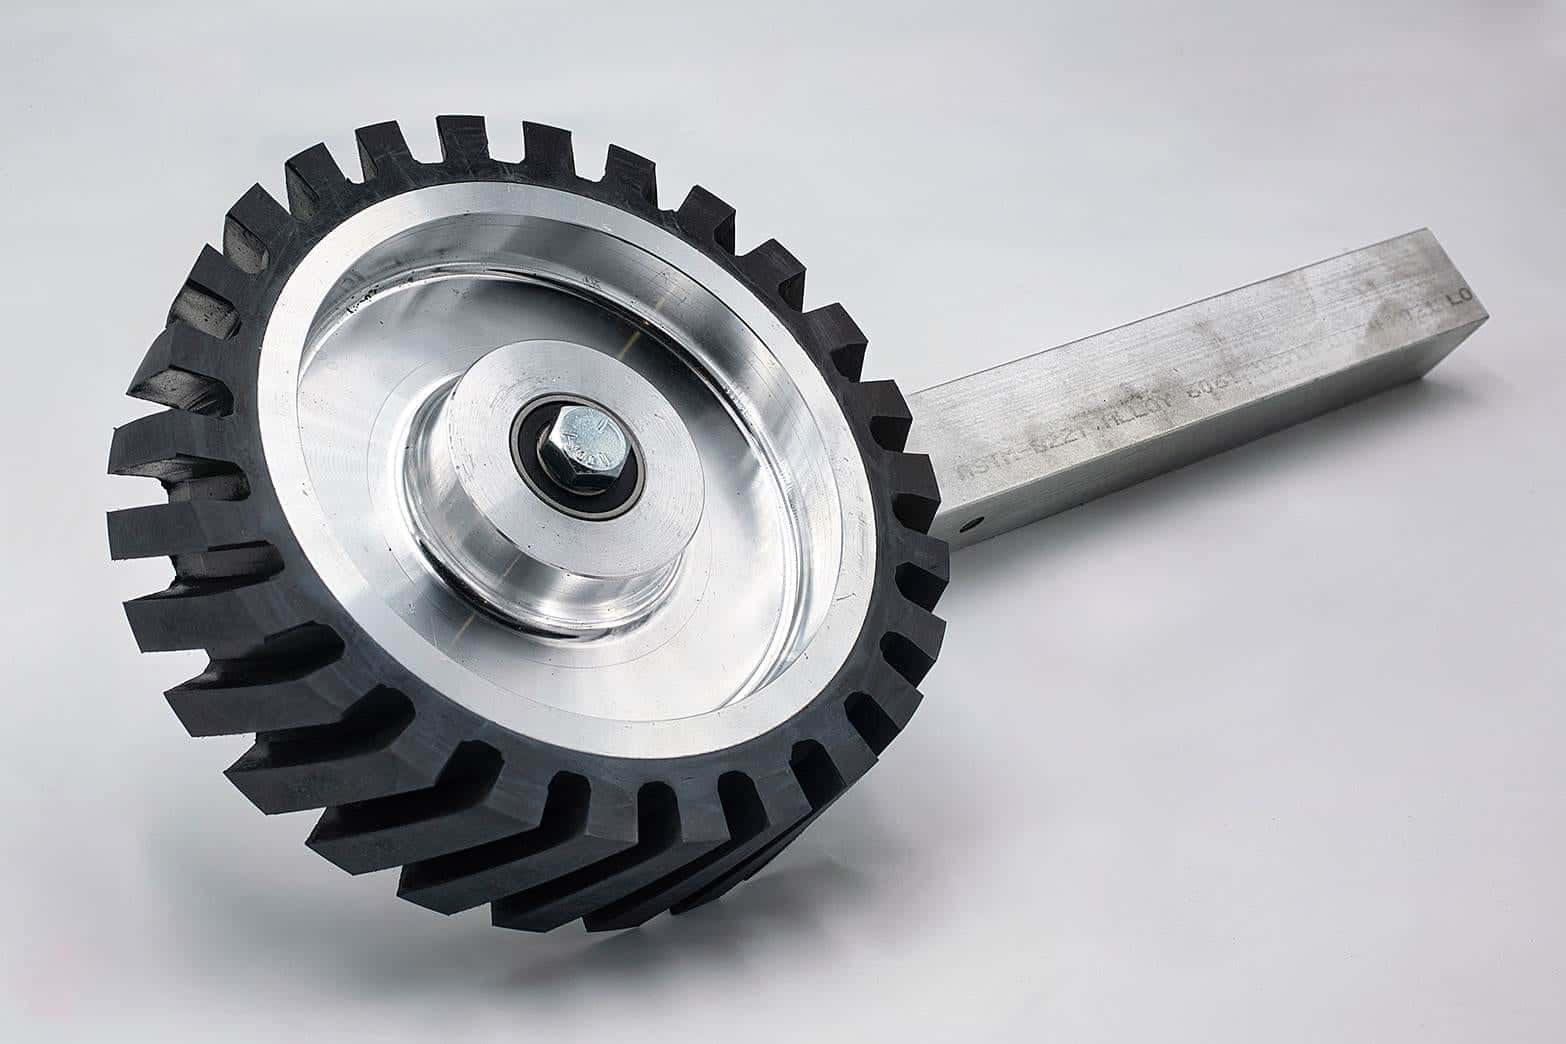
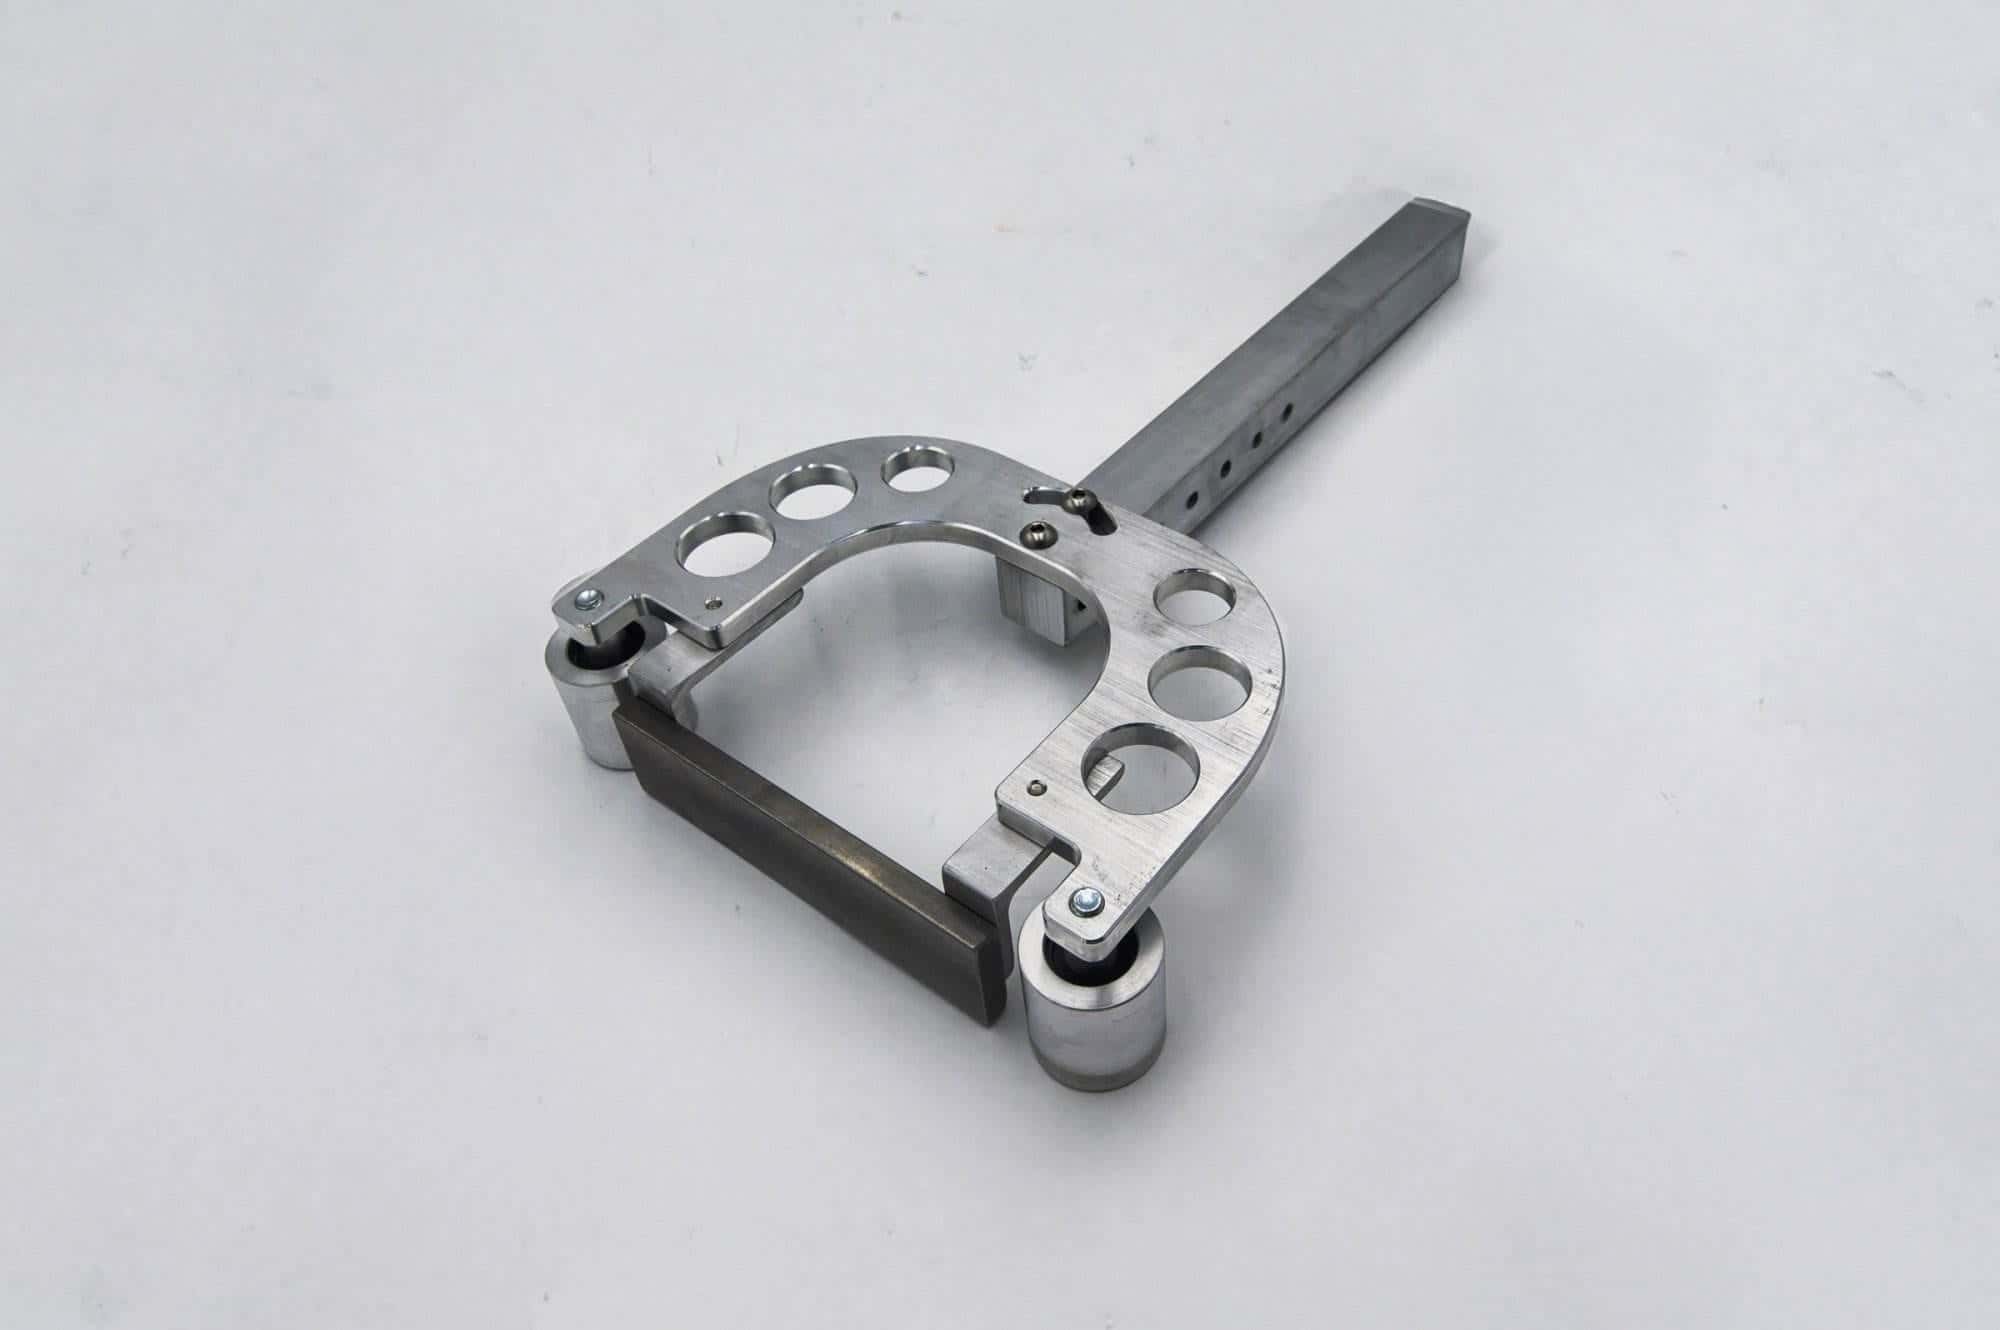
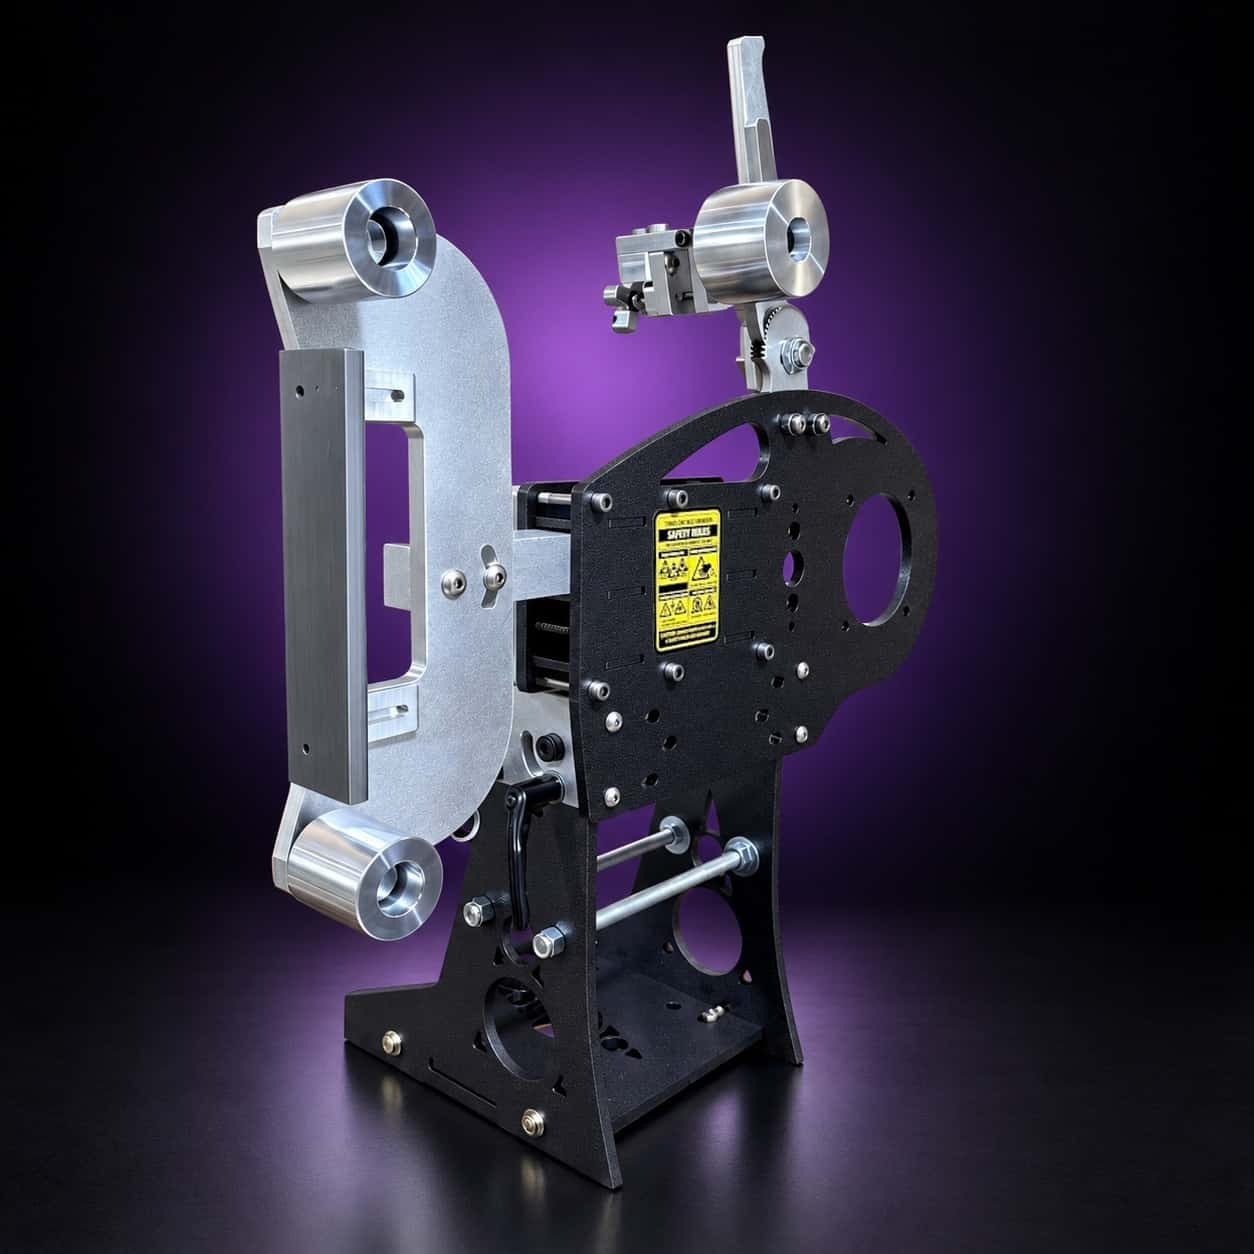
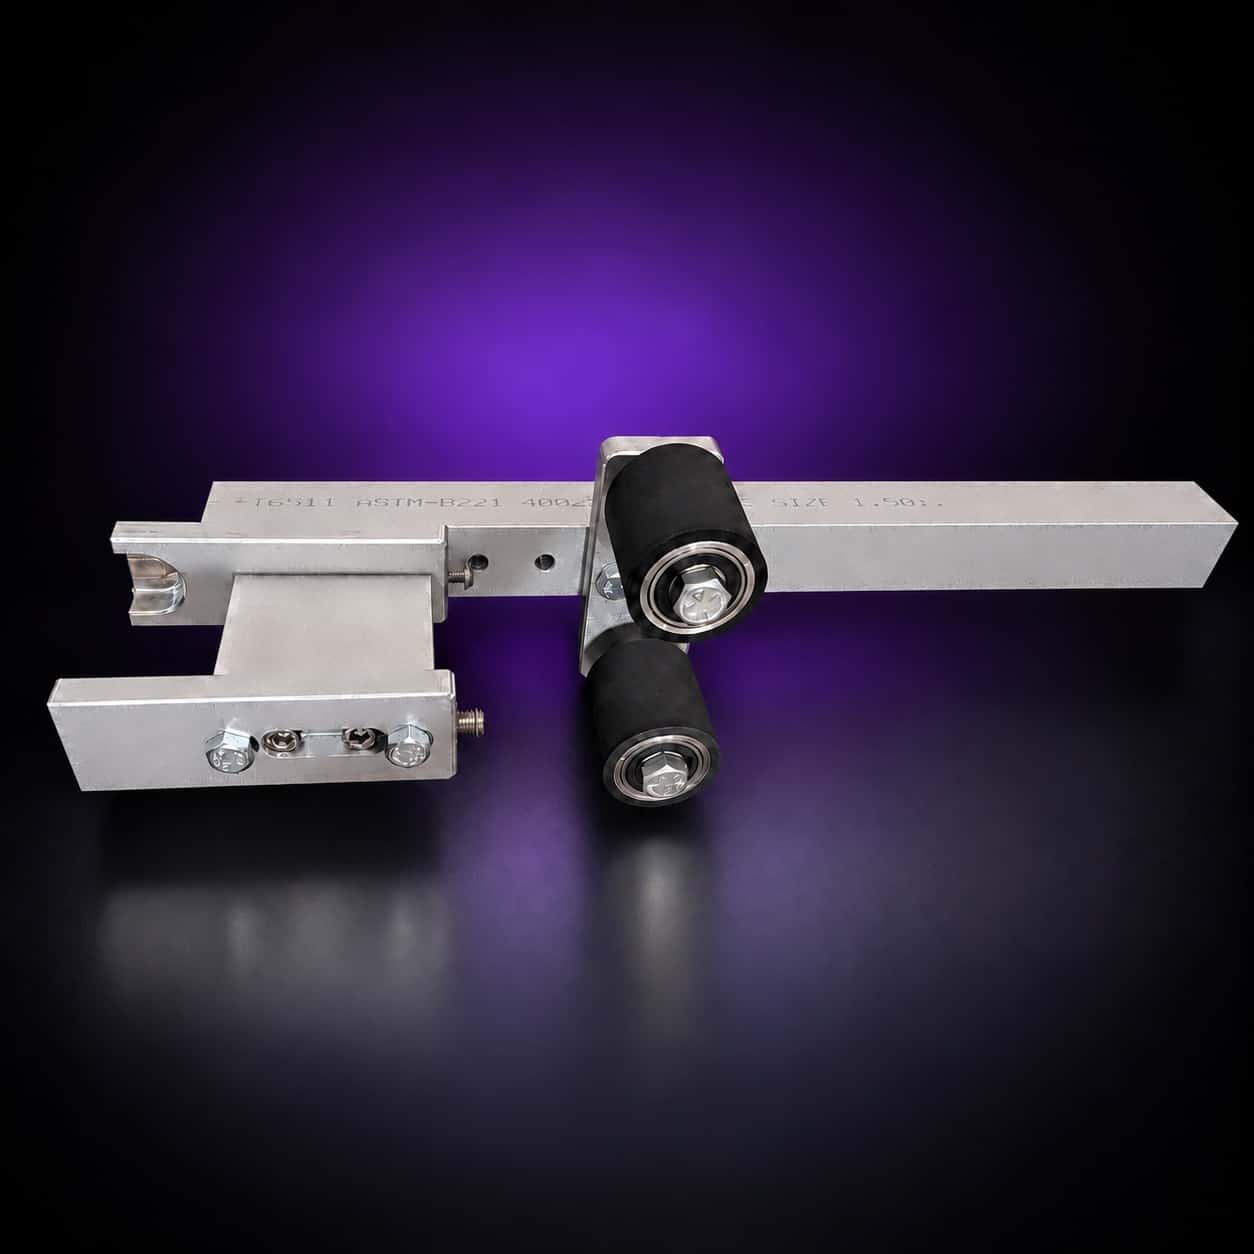
Curves want open belt. The slack belt deep platen attachment gives you a 4-inch throat of unsupported belt on a 1.5-inch arm, and it drops into the Nova 2×72 next to the flat platen. Grind the flats on one, the curve on the other.