Knife Making
Achieving Satin Finishes with Scotch‑Brite Belts
A satin finish hides scratches, resists fingerprints and looks right on a working knife. Here is how I run Scotch-Brite belts on the 2×72 to get an even satin every time: grade, speed, pressure and direction.
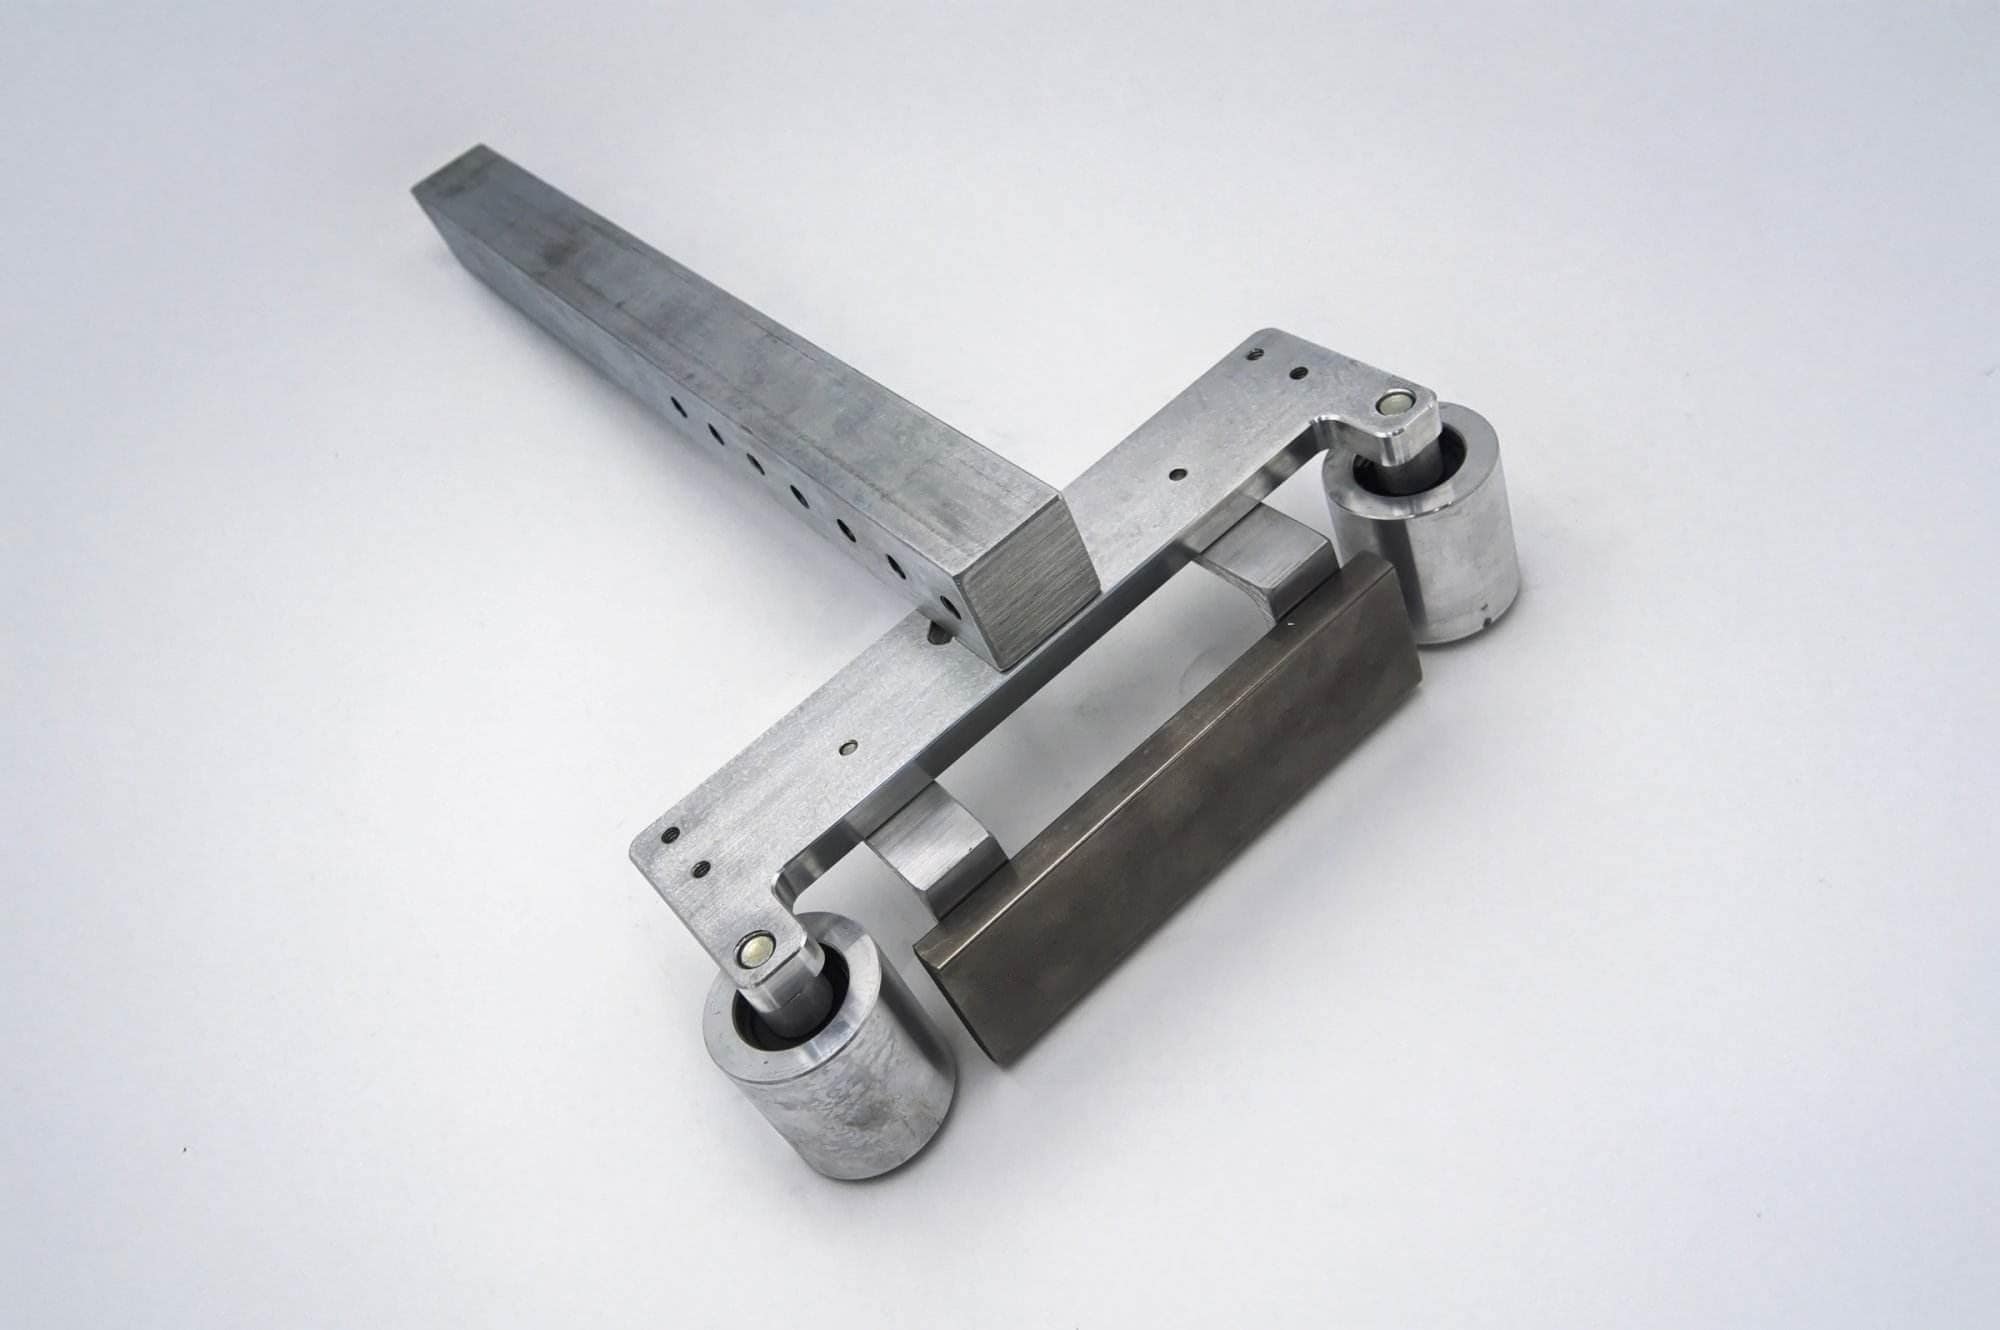
A satin finish is the working knifemaker’s friend. It hides the small scratches a mirror would show, it shrugs off fingerprints, and it takes about two minutes on the right belt. Scotch-Brite surface conditioning belts make it easy, as long as you run the right grade at the right speed with the right pressure. Here is how I do it on my own 2×72, and the streaks and swirls to watch for.
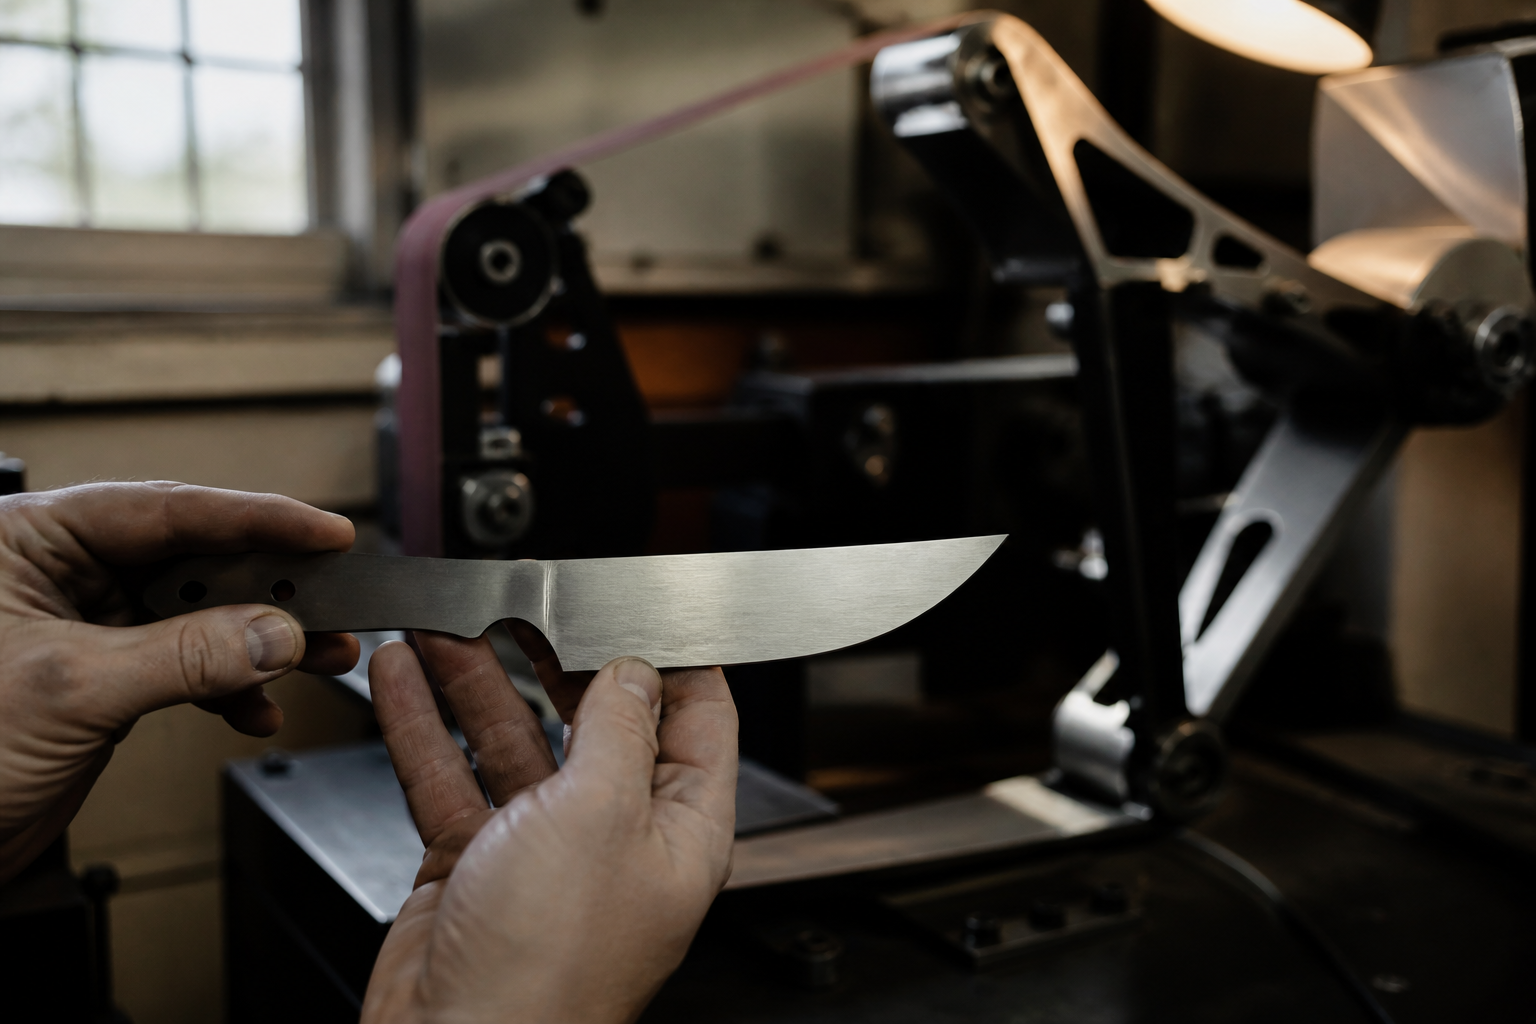
Key Takeaways
- Satin finishes are smooth, low-luster finishes that are achieved by sanding the surface of a workpiece in a consistent manner.
- Scotch-Brite belts are abrasive belts designed for satin finishing and are available in different grades for various applications.
- Select the right Scotch-Brite belt based on the material and the desired finish, considering factors such as grit size and belt hardness.
- Prepare the workpiece by removing any existing coatings, cleaning the surface, and ensuring that it is free from any defects before satin finishing.
- Use Scotch-Brite belts for initial surface preparation by running them at the appropriate speed and applying consistent pressure to achieve the desired satin finish.
Introducing Scotch-Brite Belts
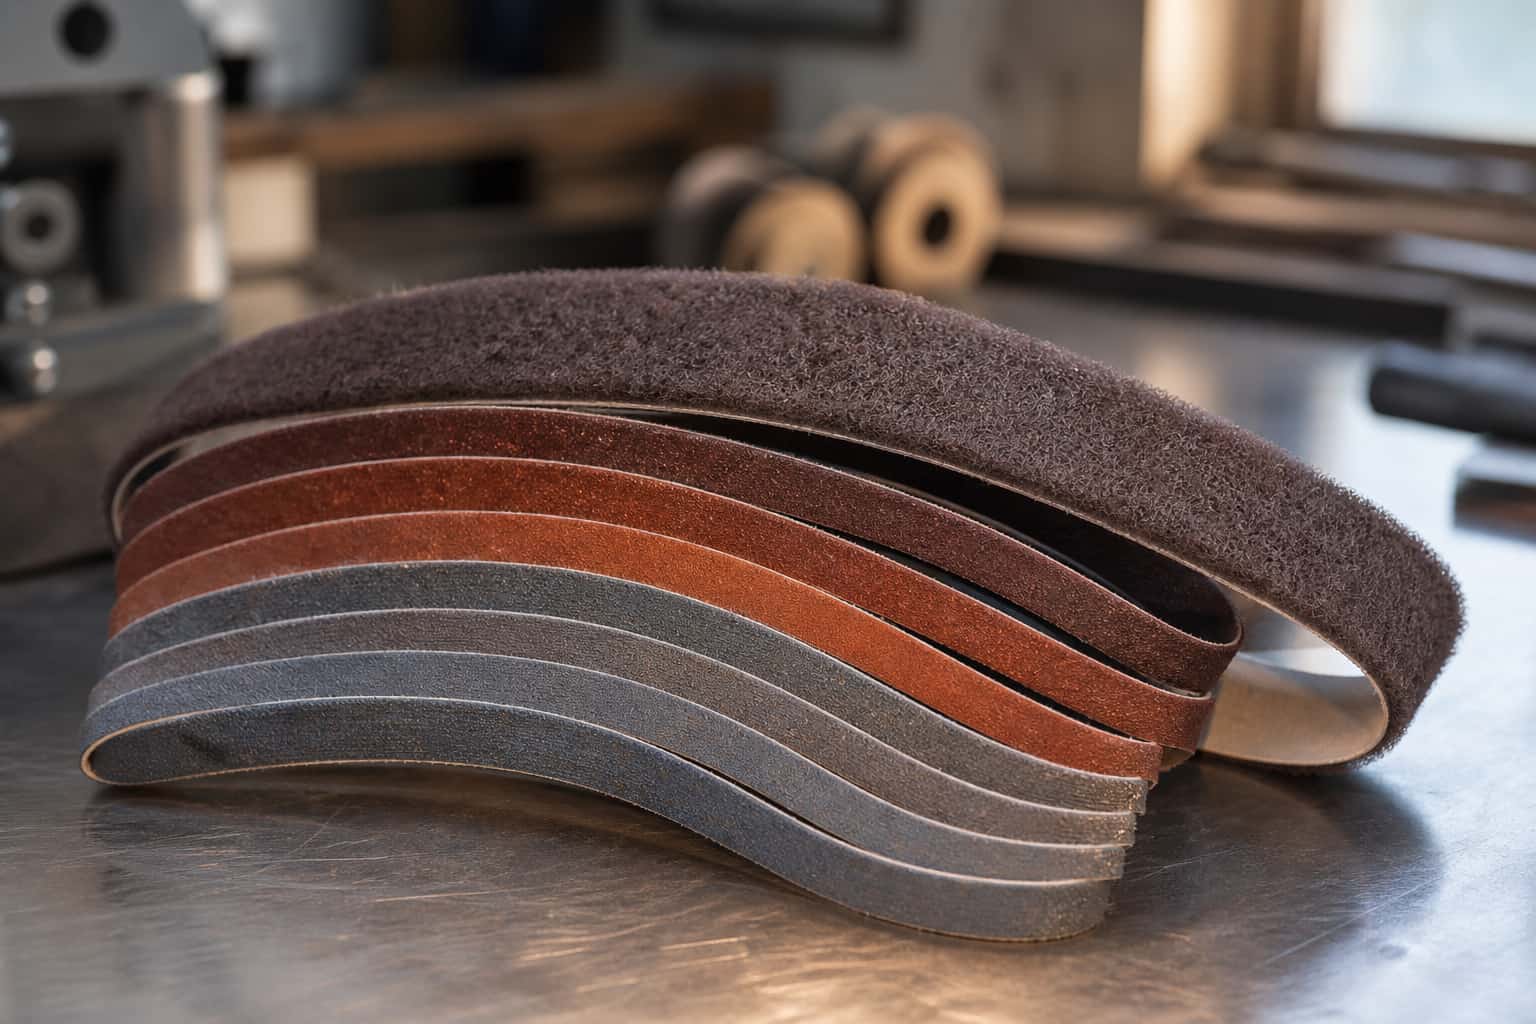
Scotch-Brite belts are specialized abrasive products designed for surface conditioning and finishing tasks. Manufactured by 3M, these belts are made from non-woven materials that provide a unique combination of flexibility and durability. Unlike traditional sandpaper, Scotch-Brite belts are engineered to deliver consistent results while minimizing the risk of scratching or gouging the workpiece.
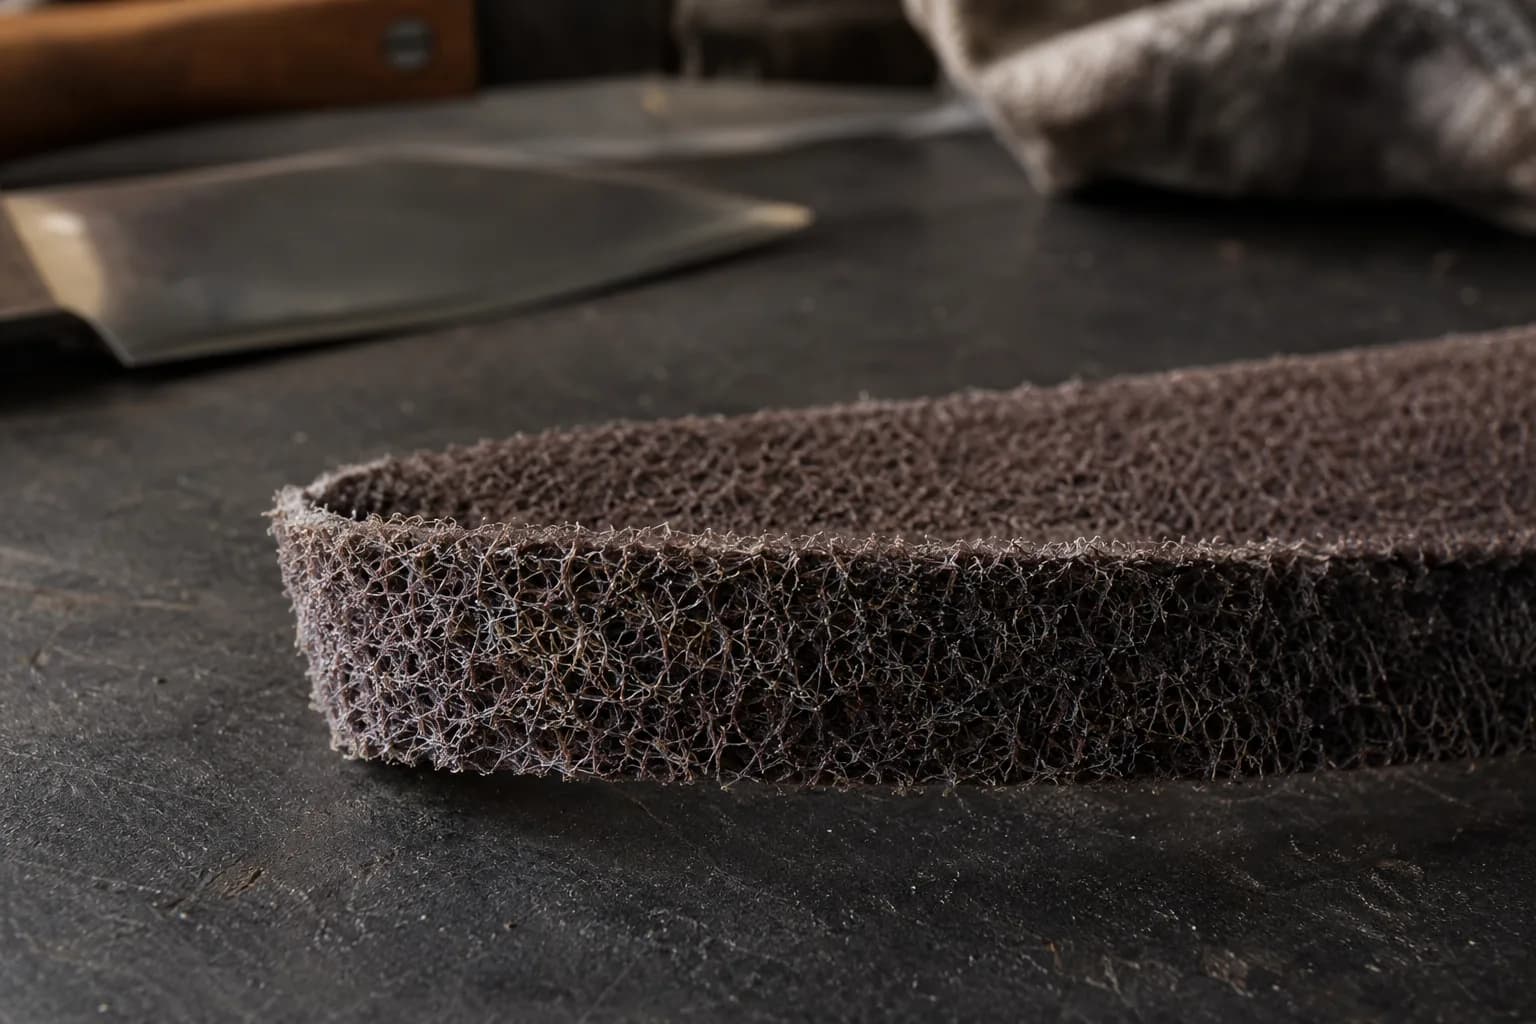
This makes them particularly well-suited for achieving satin finishes on a variety of materials, including metals, plastics, and wood. One of the standout features of Scotch-Brite belts is their ability to conform to the contours of the workpiece. This flexibility allows for effective finishing on uneven surfaces or intricate designs, ensuring that every part of the item receives the same level of treatment.
Selecting the Right Scotch-Brite Belt for Your Project
Choosing the appropriate Scotch-Brite belt for your project is crucial to achieving the desired satin finish. The selection process begins with understanding the material you are working with and the specific requirements of your project. For instance, if you are working with stainless steel, you may want to opt for a belt designed specifically for metal finishing.
Conversely, if your project involves wood or plastic, there are Scotch-Brite belts tailored to those materials as well. In addition to material compatibility, consider the grit size of the belt. Scotch-Brite belts come in various grades, ranging from coarse to fine.
Coarser belts are ideal for initial surface preparation and removing heavy material, while finer belts are better suited for achieving that final satin finish. It’s often beneficial to start with a coarser belt to establish a uniform surface before transitioning to finer grades for finishing touches. By carefully selecting the right belt based on your project’s needs, you can ensure optimal results and a beautiful satin finish.
Preparing the Workpiece for Satin Finishing
Before applying any finishing techniques, proper preparation of the workpiece is essential. This step lays the groundwork for achieving a high-quality satin finish. Begin by thoroughly cleaning the surface to remove any dirt, grease, or contaminants that could interfere with the finishing process.
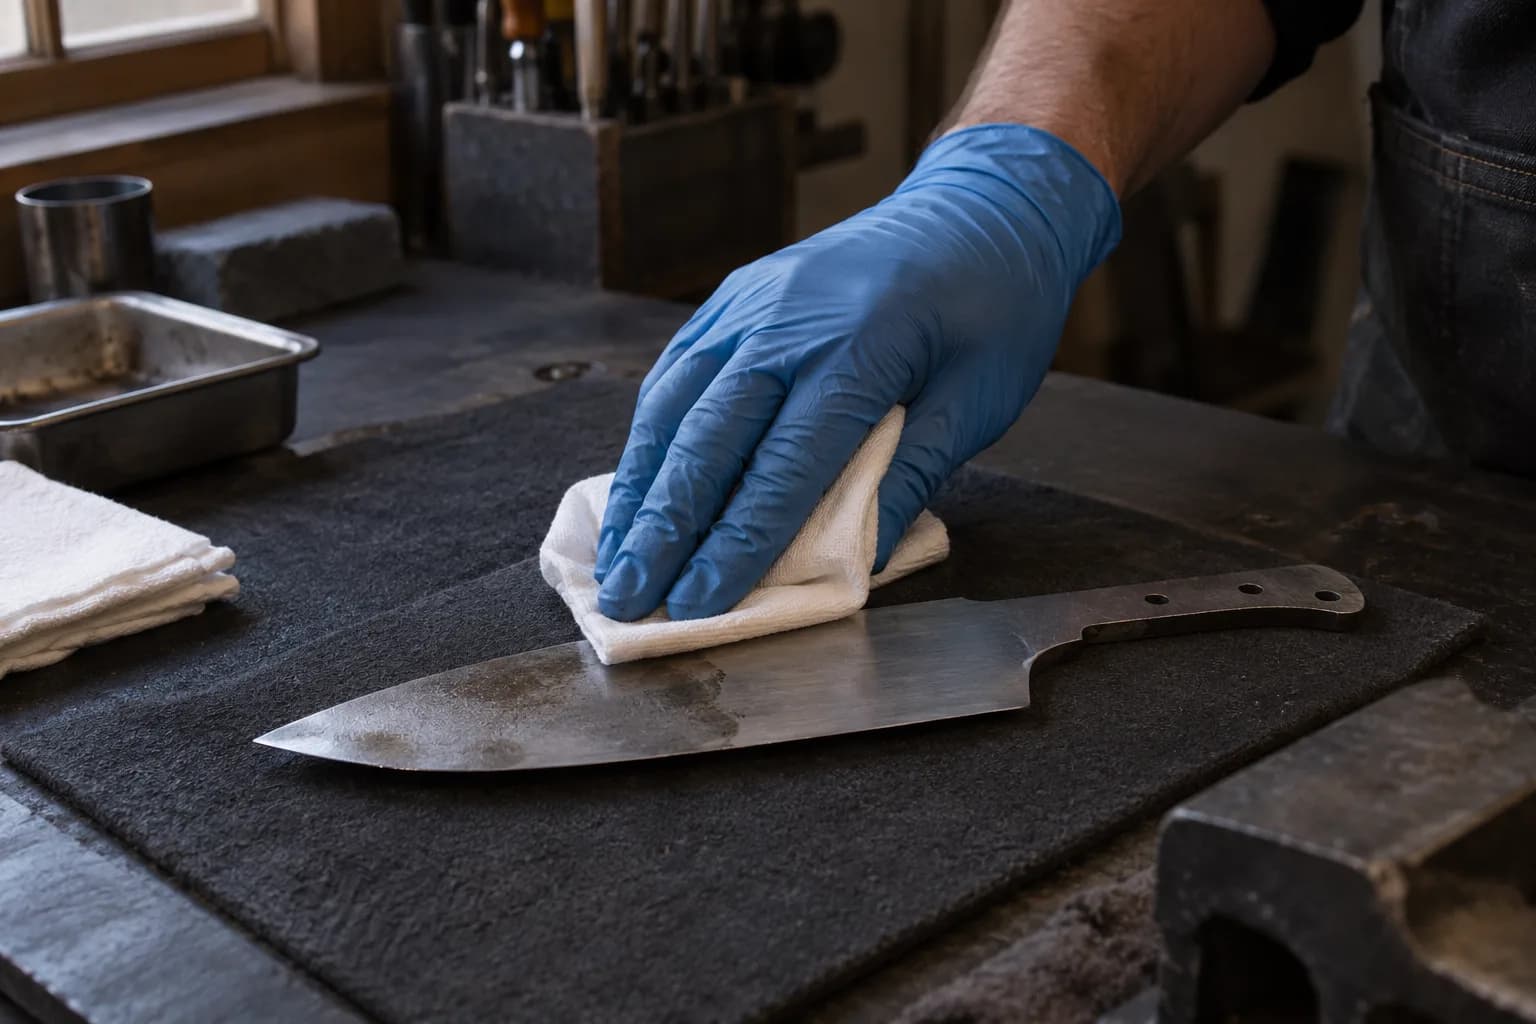
Depending on the material, this may involve using solvents or detergents specifically designed for cleaning metal or wood surfaces. Once the workpiece is clean, inspect it for any imperfections such as scratches or dents. Addressing these issues before applying a satin finish will help ensure a smooth and even appearance.
For metal surfaces, this may involve grinding or sanding down any noticeable flaws. For wood surfaces, filling in any gaps or holes with wood filler can create a more uniform base for finishing. Taking the time to prepare your workpiece properly will significantly enhance the quality of the final satin finish.
Using Scotch-Brite Belts for Initial Surface Preparation
As you begin working with the Scotch-Brite belt, maintain a consistent pressure and speed to ensure even coverage across the workpiece. The non-woven nature of these belts allows them to adapt to the contours of the material, making it easier to achieve a uniform finish even on complex shapes. It’s advisable to work in sections, gradually moving across the surface until you achieve a consistent texture throughout.
Achieving Consistent Satin Finishes with Scotch-Brite Belts
Achieving a consistent satin finish requires attention to detail and an understanding of how Scotch-Brite belts work. After completing the initial surface preparation with a coarser belt, it’s time to transition to finer grades that will refine the surface further. The key here is to use a systematic approach—working through progressively finer grits will help eliminate any scratches left by previous abrasives while enhancing the overall sheen.
When using Scotch-Brite belts for this purpose, it’s essential to maintain consistent pressure and speed throughout the process. Uneven application can lead to variations in finish quality, which can be particularly noticeable in satin finishes where uniformity is paramount. Consider using a light touch when applying finer belts; this will help achieve that soft sheen characteristic of satin finishes without over-polishing or creating unwanted gloss.
Tips for Achieving the Desired Satin Finish
To achieve the desired satin finish effectively, there are several tips worth considering throughout your project. First and foremost, always test your approach on a scrap piece of material similar to your workpiece before proceeding with the actual item. This practice allows you to fine-tune your technique and select the right belt grades without risking damage to your main project.
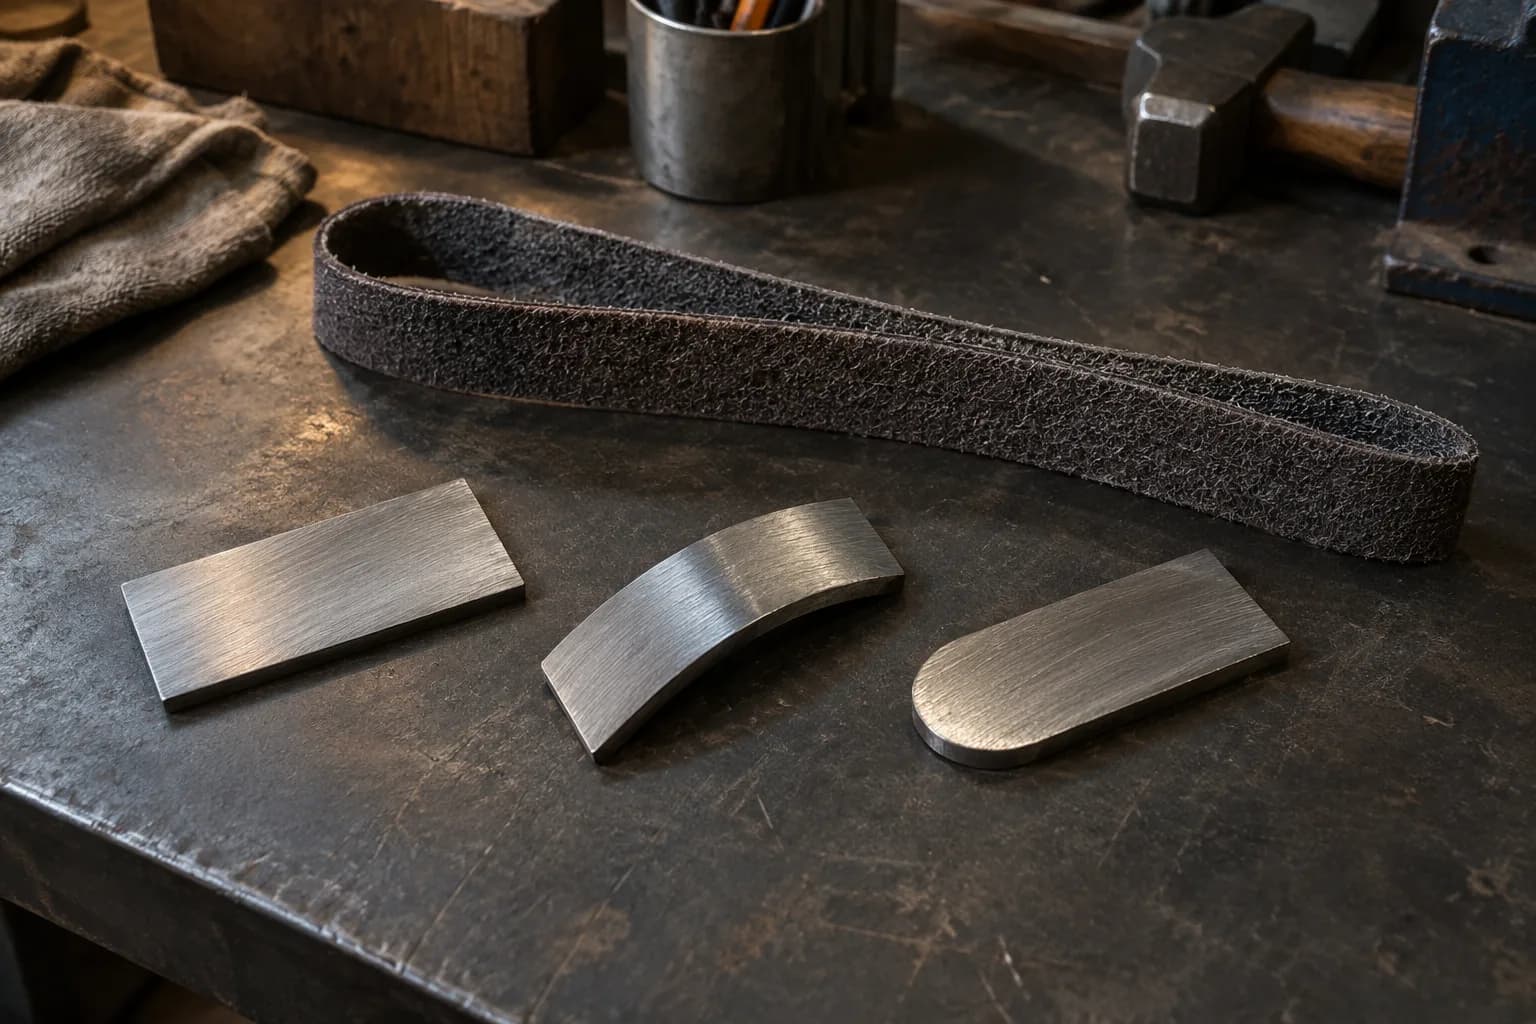
Another important tip is to keep your work area clean and organized. Dust and debris can easily mar an otherwise perfect finish if they come into contact with your workpiece during sanding or polishing. Regularly clean your Scotch-Brite belts as well; this not only prolongs their lifespan but also ensures consistent performance throughout your project.
Maintaining and Cleaning Scotch-Brite Belts for Optimal Performance
Proper maintenance and cleaning of Scotch-Brite belts are essential for ensuring optimal performance over time. These belts can accumulate debris and dust during use, which can hinder their effectiveness and lead to uneven finishes. To clean them, gently tap or brush off any loose particles after each use.
For more stubborn buildup, using compressed air can help dislodge debris without damaging the belt. Storing Scotch-Brite belts correctly is crucial for maintaining their integrity. Keep them in a cool, dry place away from direct sunlight or extreme temperatures that could affect their performance.
Avoid folding or creasing them during storage; instead, lay them flat or hang them up if possible. By taking these simple steps to maintain and clean your Scotch-Brite belts, you can extend their lifespan and ensure they continue delivering high-quality results.
Safety Precautions When Using Scotch-Brite Belts
Safety should always be a top priority when working with abrasive materials like Scotch-Brite belts. First and foremost, ensure you are wearing appropriate personal protective equipment (PPE), including safety goggles or face shields to protect your eyes from flying debris and dust particles. Wearing gloves can help prevent skin irritation from prolonged contact with abrasive materials.
It’s also important to work in a well-ventilated area to minimize inhalation of dust generated during sanding or finishing processes. If you are working with materials that produce harmful dust or fumes, consider using respiratory protection as well. Always follow manufacturer guidelines regarding equipment operation and maintenance; this will not only enhance safety but also improve overall efficiency during your projects.
Comparing Satin Finishes Achieved with Scotch-Brite Belts to Other Methods
When comparing satin finishes achieved with Scotch-Brite belts to other methods such as traditional sanding or polishing techniques, several advantages become apparent. One significant benefit is consistency; Scotch-Brite belts provide uniform abrasion across surfaces due to their non-woven construction, reducing the risk of uneven finishes that can occur with sandpaper. Moreover, Scotch-Brite belts tend to produce less heat during operation compared to traditional abrasives, which minimizes the risk of warping or damaging sensitive materials like thin metals or delicate woods.
Troubleshooting Common Issues with Satin Finishing Using Scotch-Brite Belts
Despite careful planning and execution, issues may arise during the satin finishing process using Scotch-Brite belts. One common problem is achieving an inconsistent finish; this can often be attributed to uneven pressure applied during sanding or insufficiently transitioning between grit sizes. To address this issue, ensure you maintain consistent pressure throughout your work and take time between grit changes to assess progress.
Another potential issue is visible scratches remaining on the surface after finishing; this typically indicates that either too coarse a belt was used too late in the process or that insufficient attention was paid during earlier stages of preparation. To resolve this problem, revisit earlier steps by using finer grades of Scotch-Brite belts until all imperfections are smoothed out adequately. By being proactive in troubleshooting these common issues, you can enhance your results and achieve beautiful satin finishes consistently.
FAQs
How are Scotch-Brite belts used for satin finishes on blades?
Scotch-Brite belts are used in conjunction with a belt grinder or sander to achieve a satin finish on blades. The belts are available in different grits and are used to remove scratches, burrs, and other imperfections from the surface of the blade, resulting in a smooth and uniform satin finish.
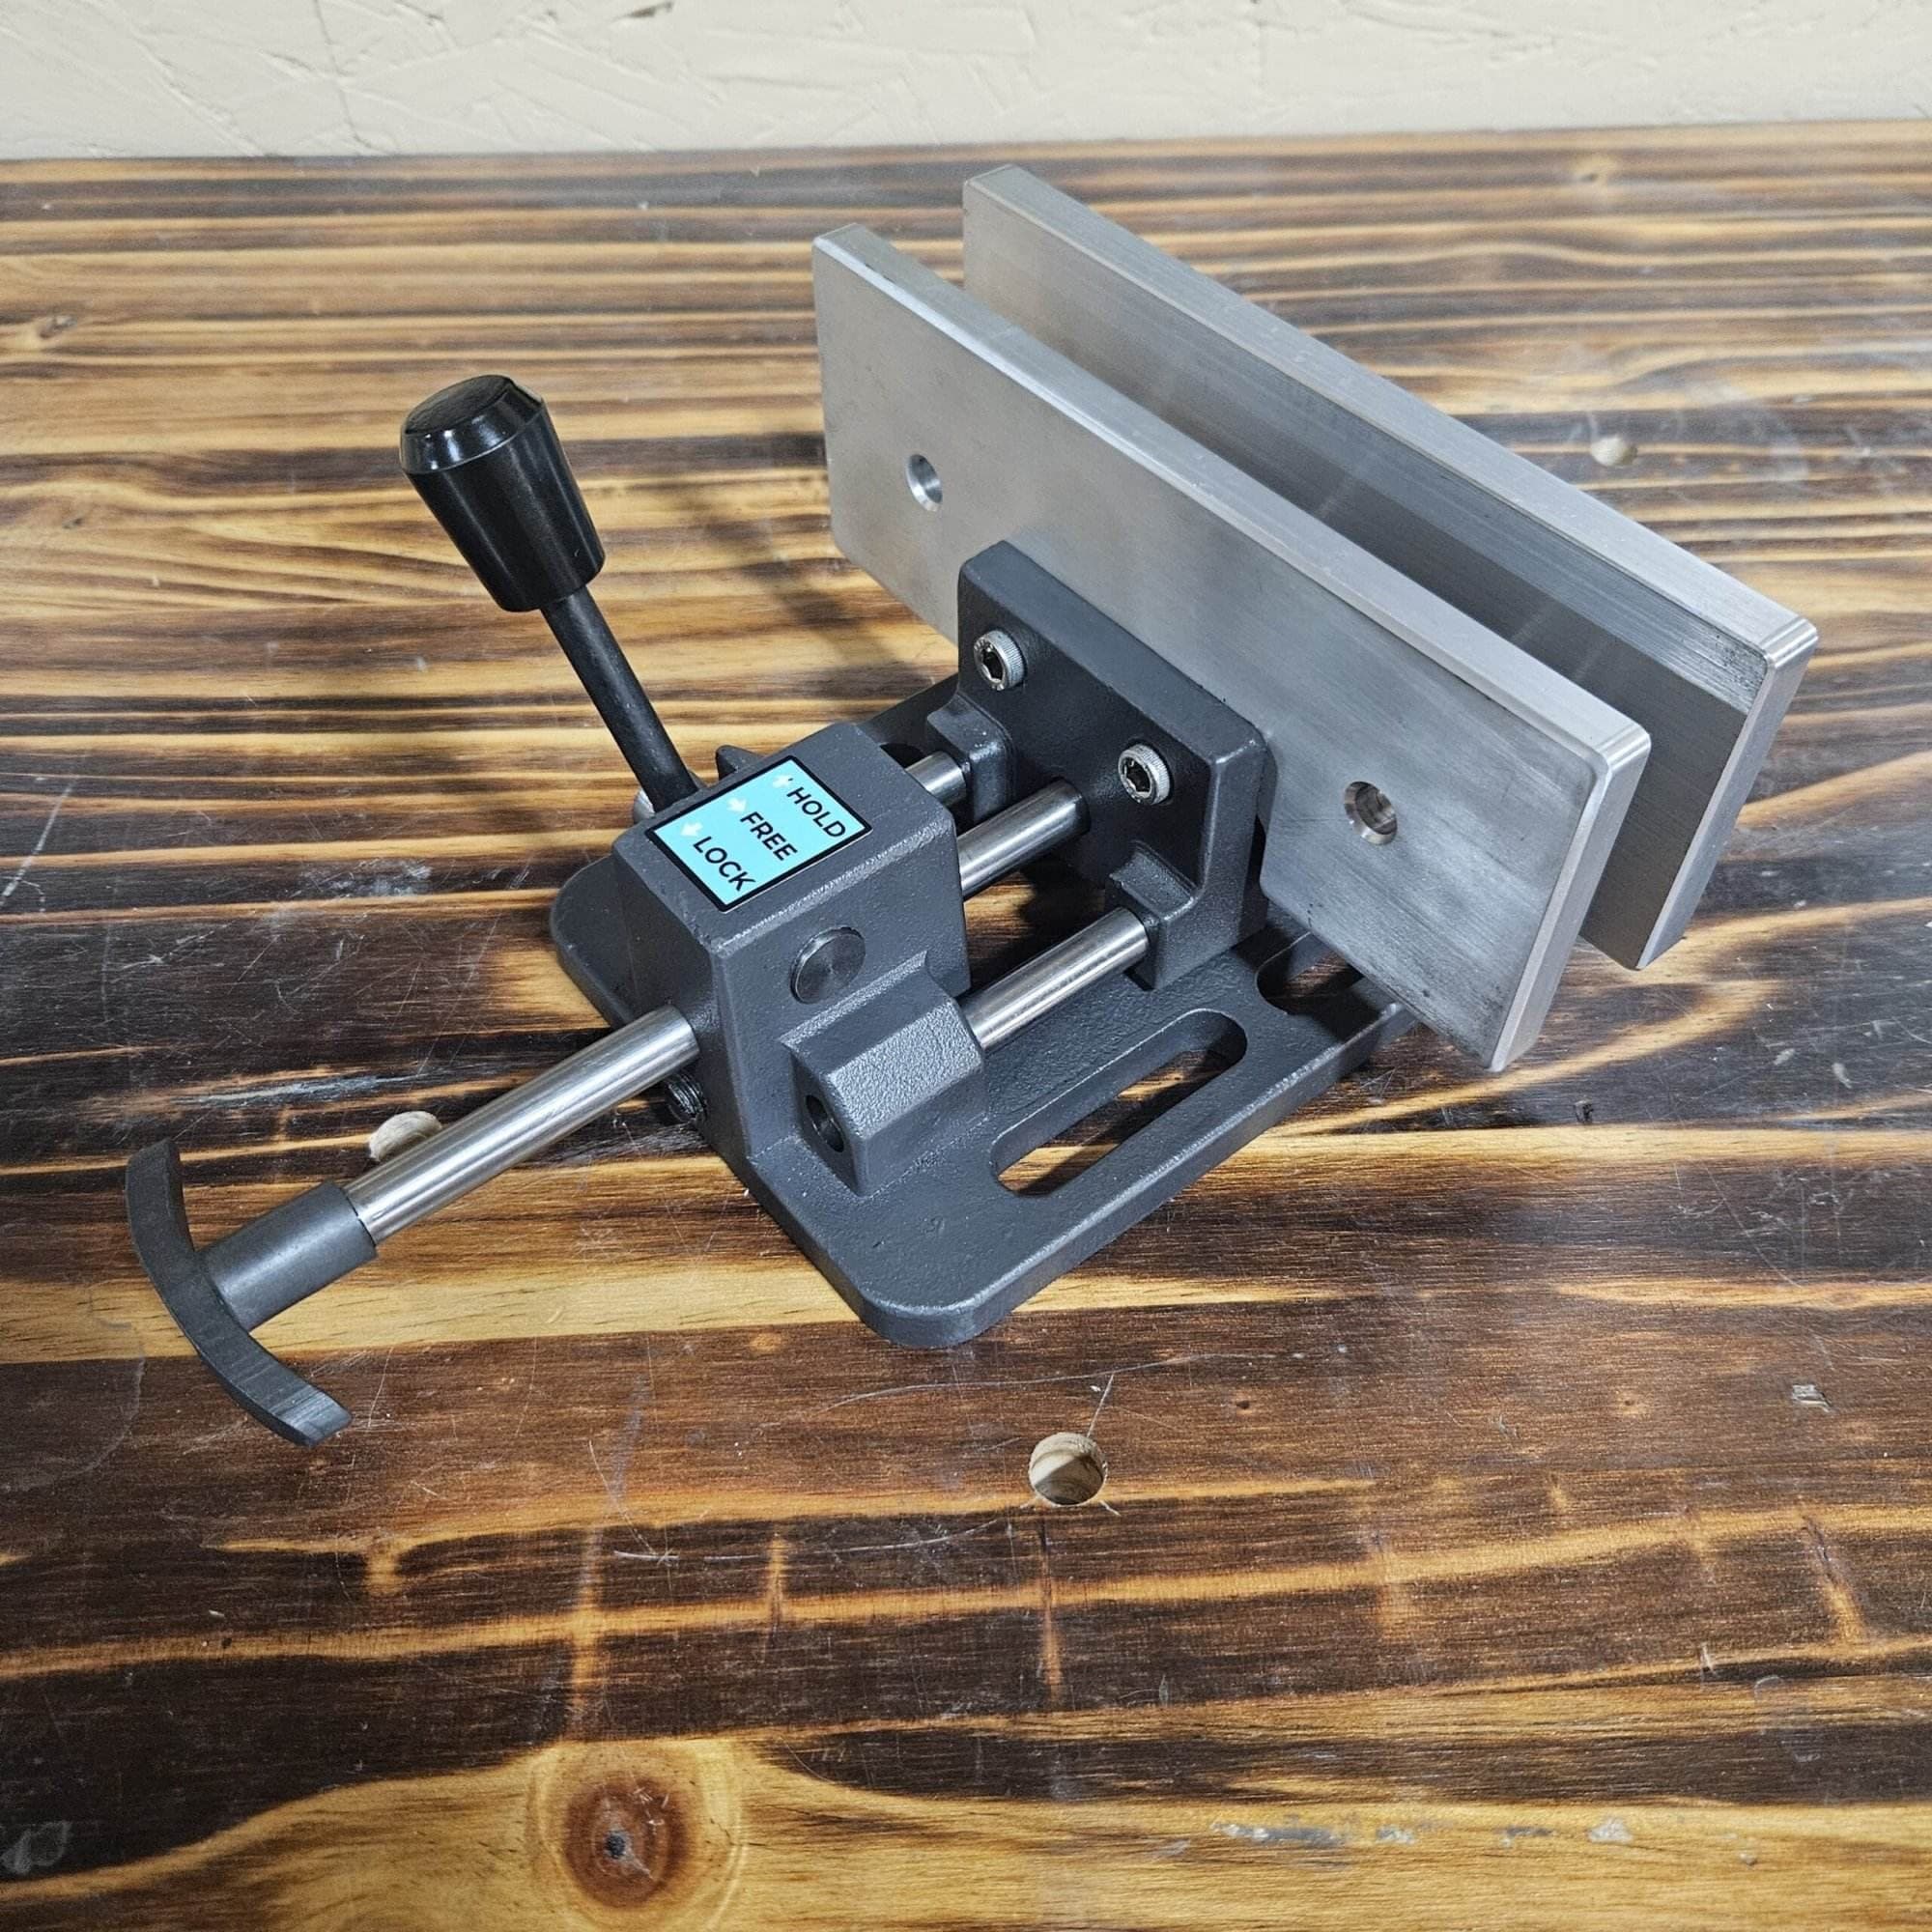
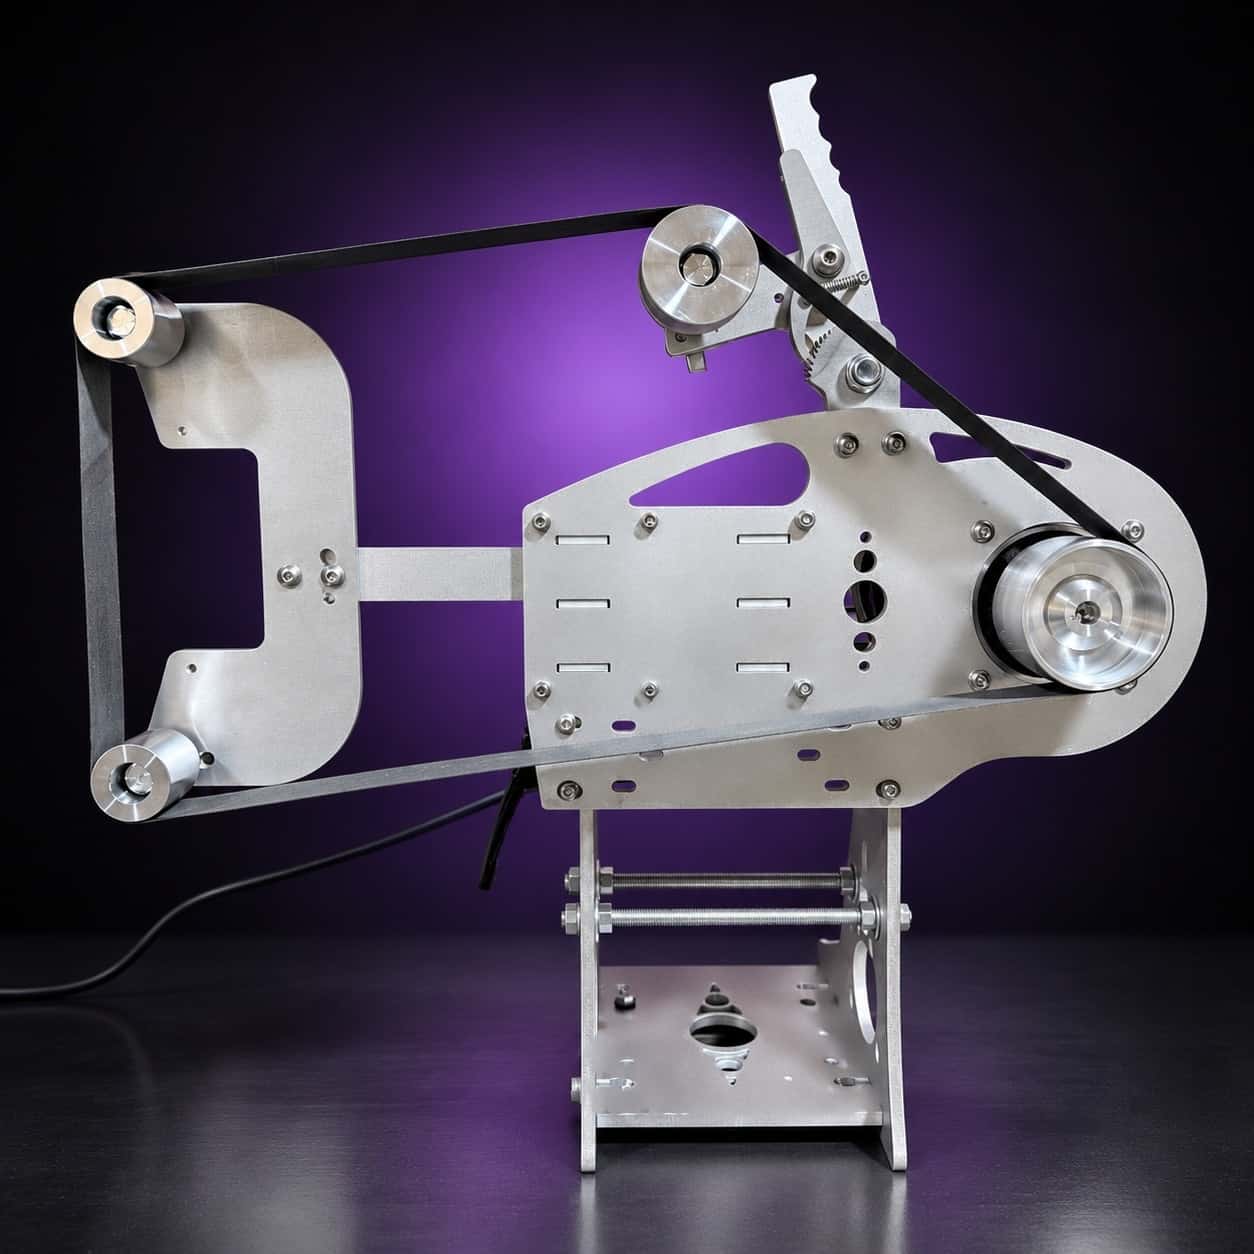
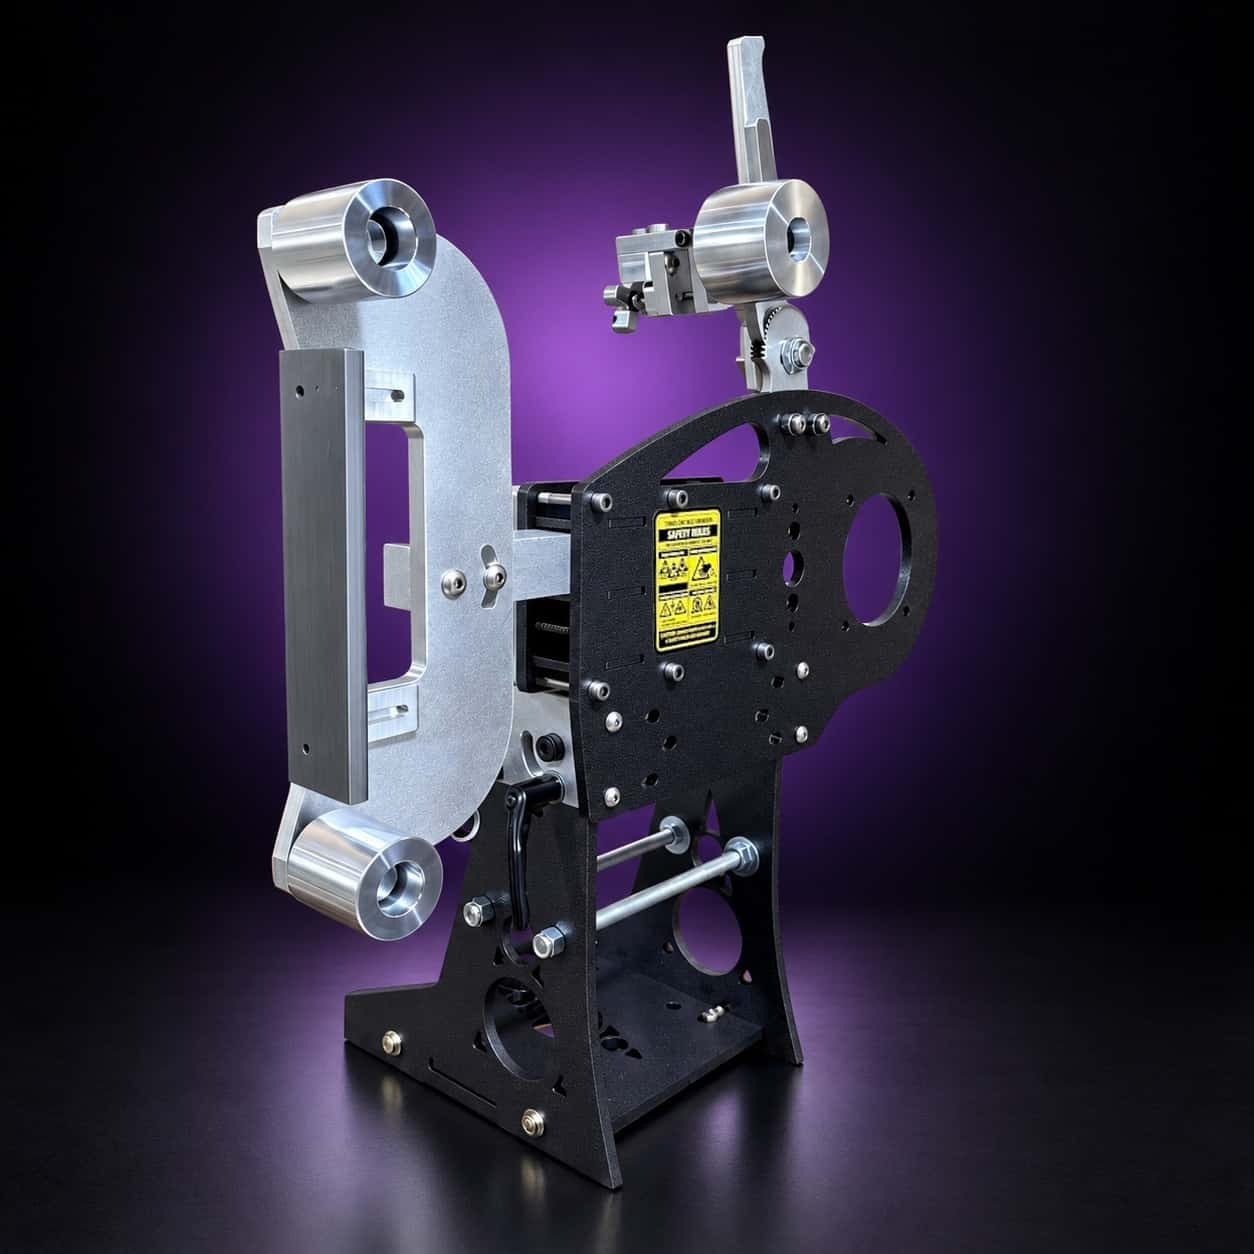
Surface conditioning belts want a slow, steady belt speed and a platen that stays flat. The Nova 2×72 paired with my variable-speed motor and VFD combo lets you dial the speed down for finishing and back up for hogging. Assembled and tested in Sterling, Illinois.