
Forging & Bladesmithing
Forging a Knife, Step by Step: From Bar Stock to Blade
Forging a knife is not sculpting with sparks — it’s a sequence, and once you know the sequence, every session has a plan. This guide walks a first forged…
Forging & Bladesmithing
Why forged blades curl upward as the edge stretches, the downward counter-bend that prevents it, a 10-12 degree blade tilt, and how to correct warp while hot.
2 min readWritten by Rich LinvilleFree to read
Bevels are where forging stops being blacksmithing and starts being bladesmithing — and where every new smith meets the same betrayal: you forge beautiful bevels into a straight blank, and the blade curls upward into a banana. This guide covers the hammer mechanics of clean bevels and the physics (and fix) of the curl, because it isn’t a mistake — it’s geometry, and geometry can be pre-paid.
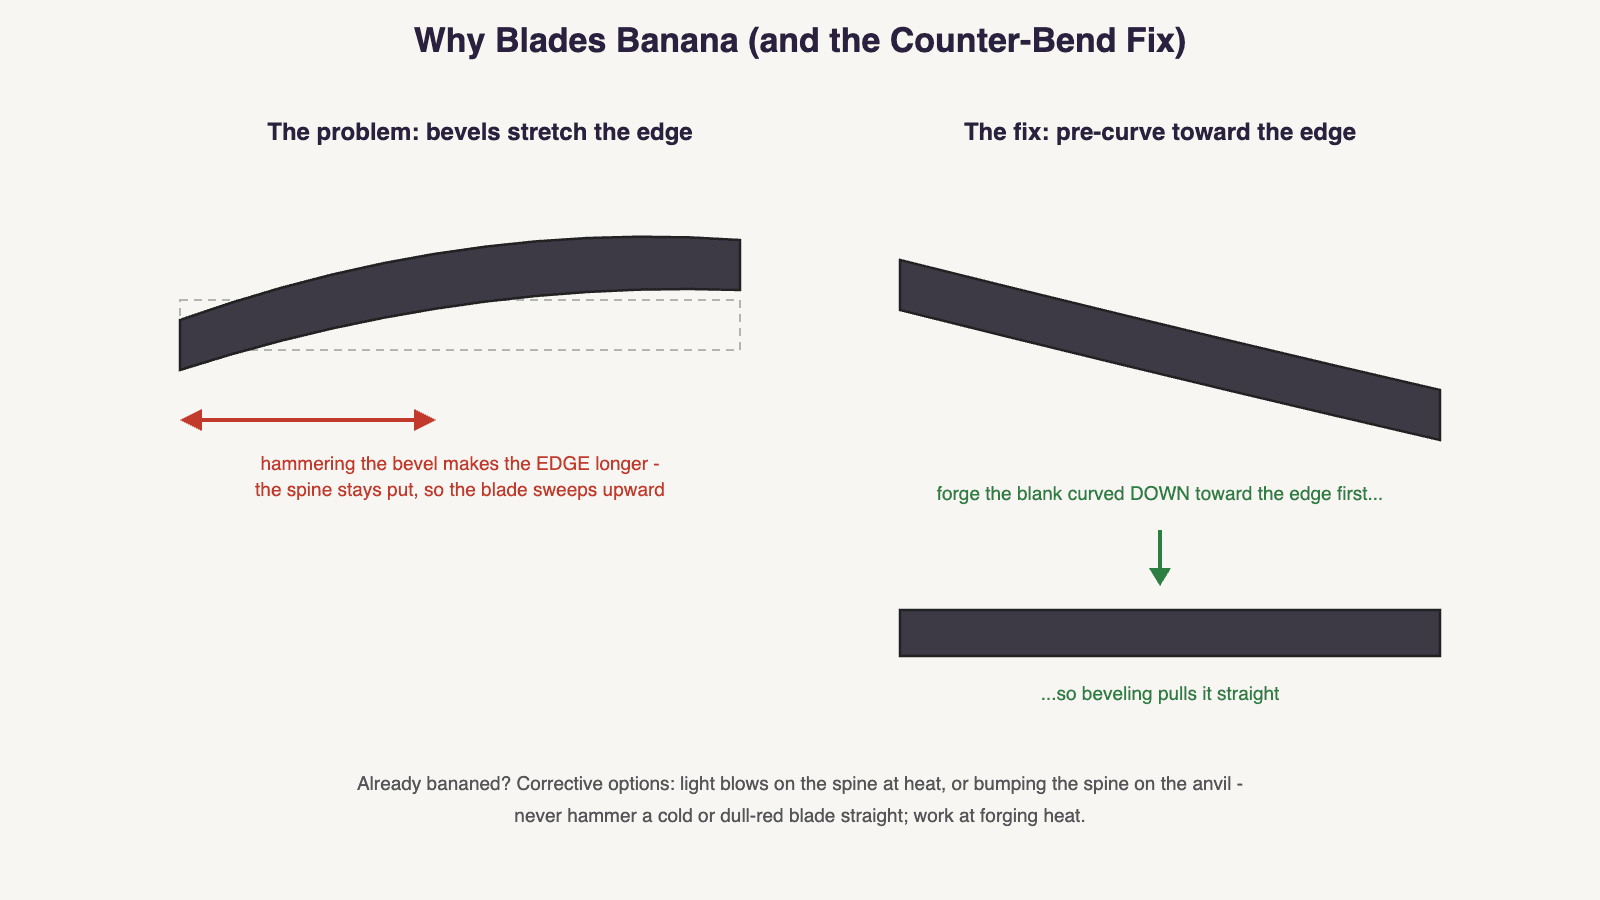
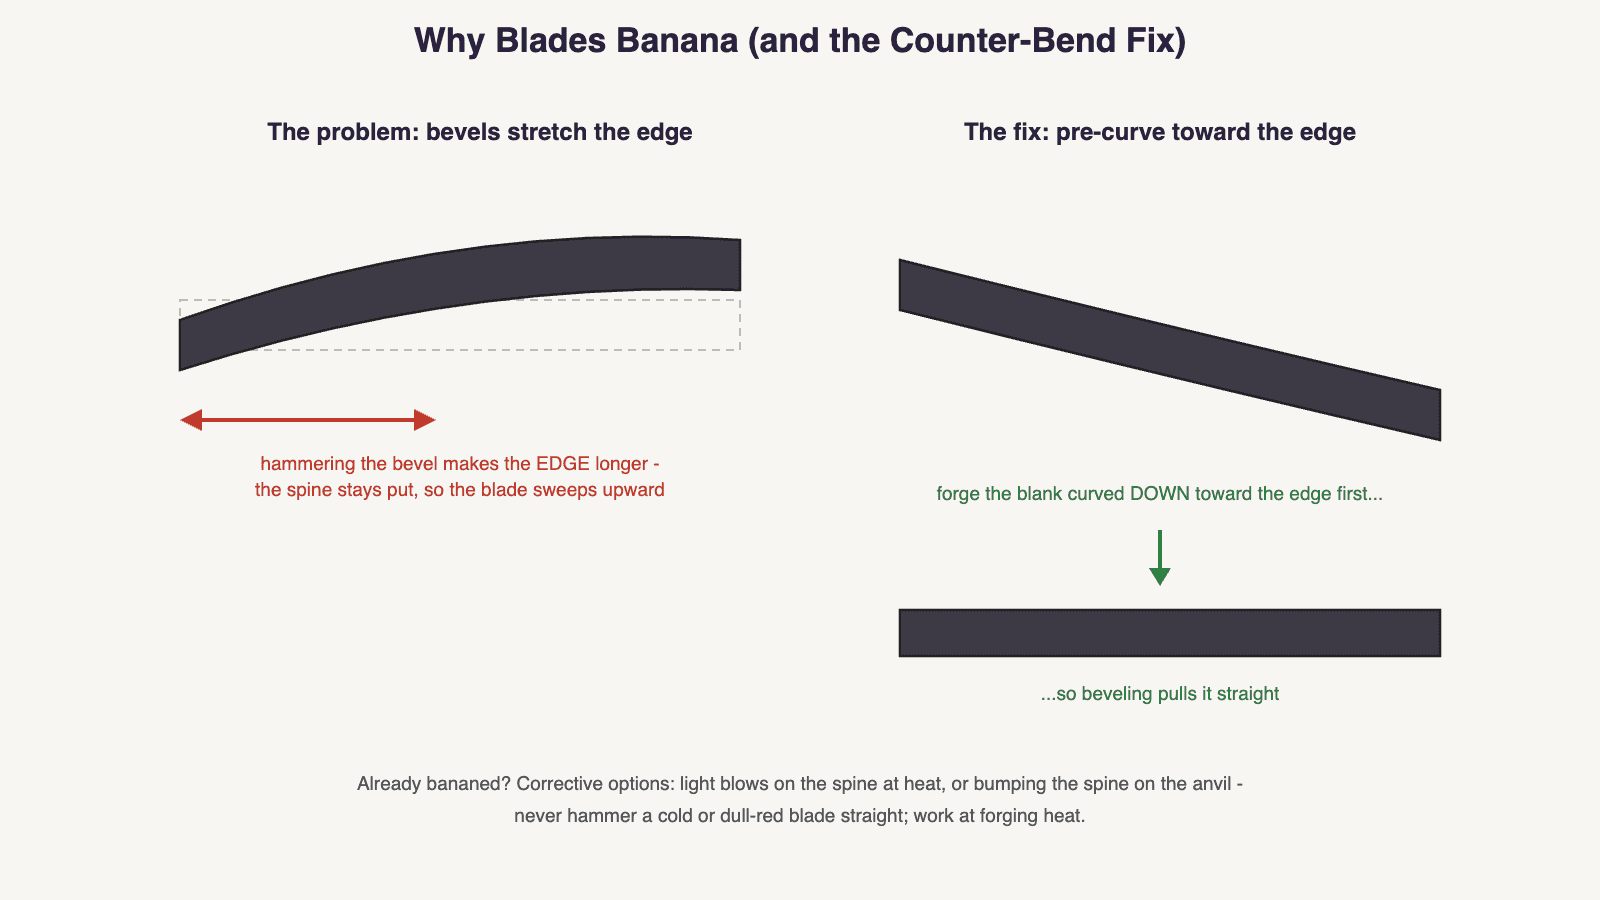
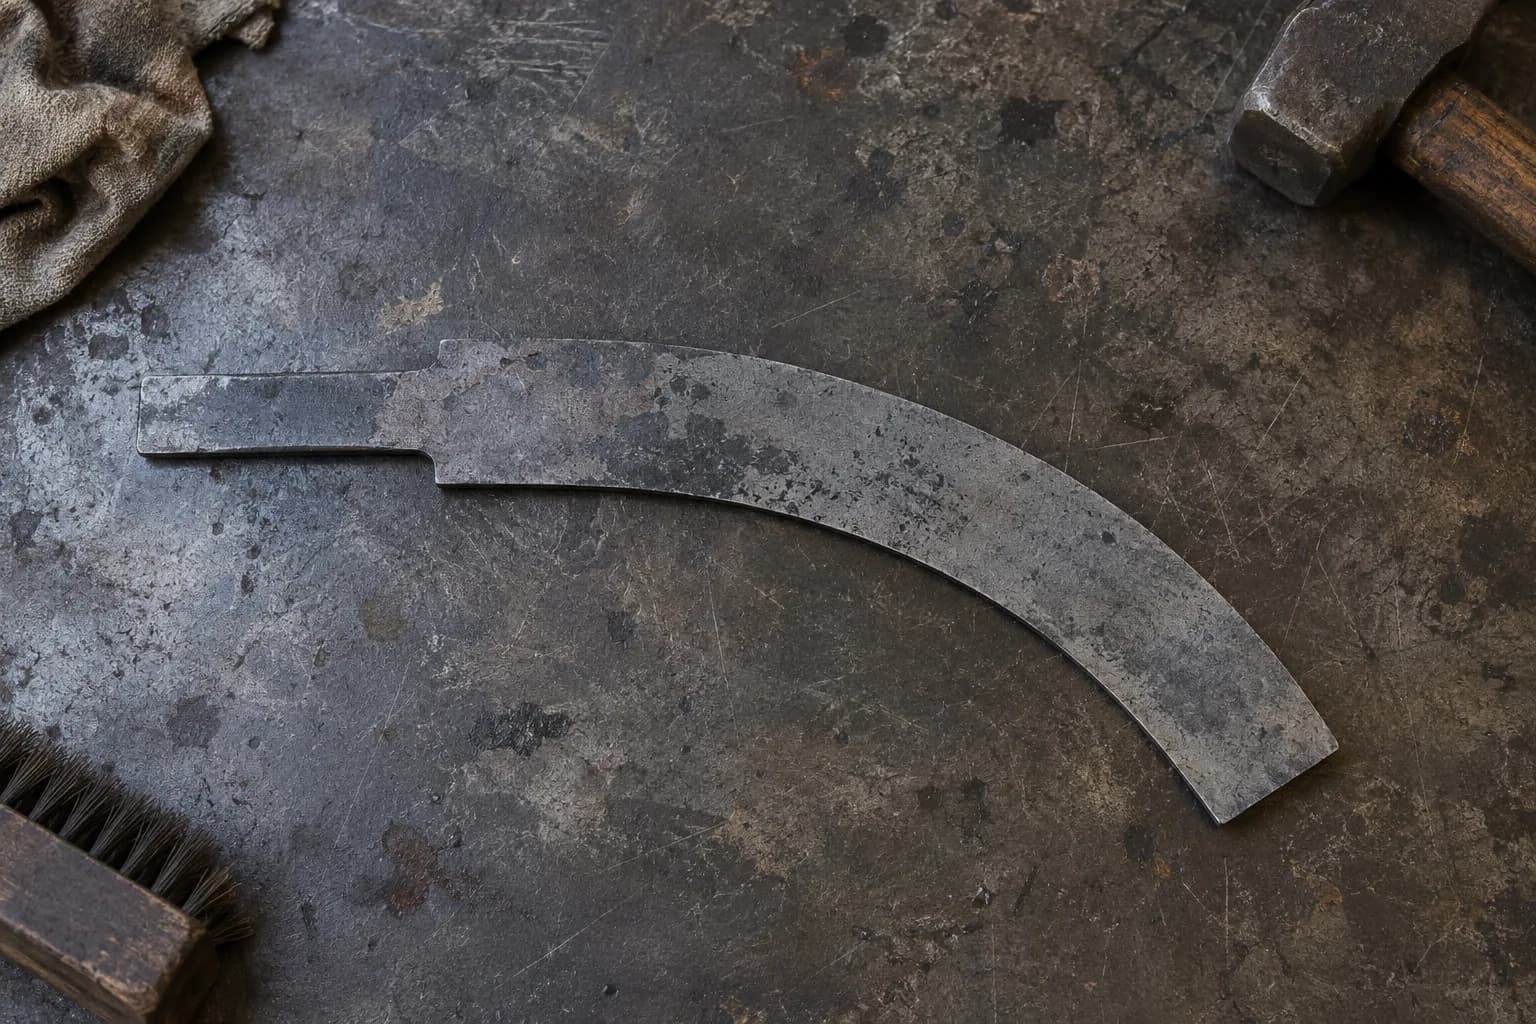
Forging a bevel thins the steel toward the edge, and thinned steel has to go somewhere — it flows along the blade, making the edge side longer. The spine, still thick and un-hammered, keeps its length. One side of the blade longer than the other = a curve, always sweeping up toward the spine. More bevel = more curl. Every smith’s first blade does it; experienced smiths just spend the curl before it happens.
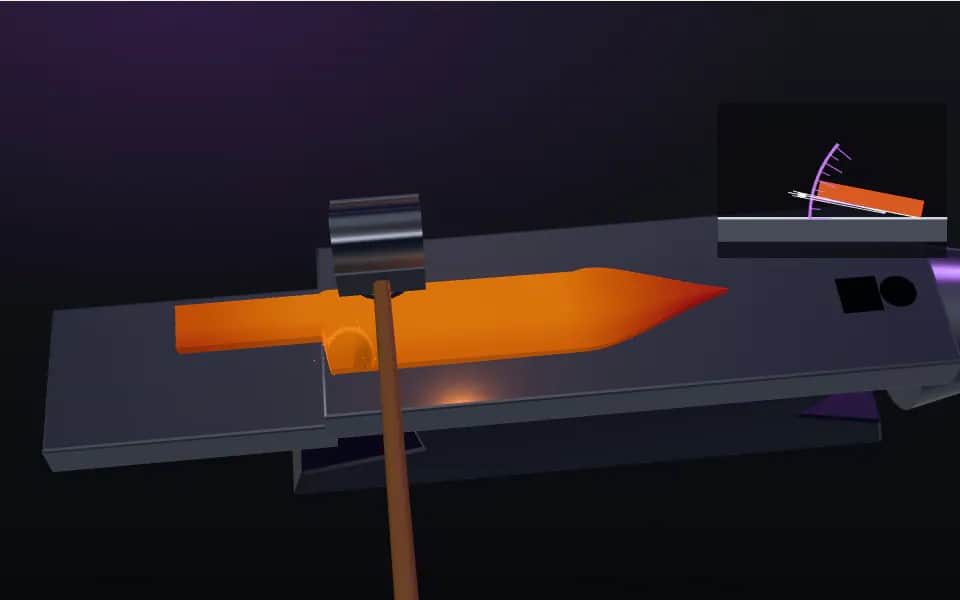
Before starting bevels, forge the blank into a downward curve toward the edge — a deliberate reverse banana over the anvil horn or face edge. How much is steel- and bevel-height-dependent; for a typical 3–4″ blade, aim for a visibly wrong-looking droop. As the bevels go in, the stretching edge pulls the curve back out, and the blade arrives straight roughly when the bevels arrive finished. Under-guessed? A little more counter-curve at heat, keep going. It feels like witchcraft exactly once.
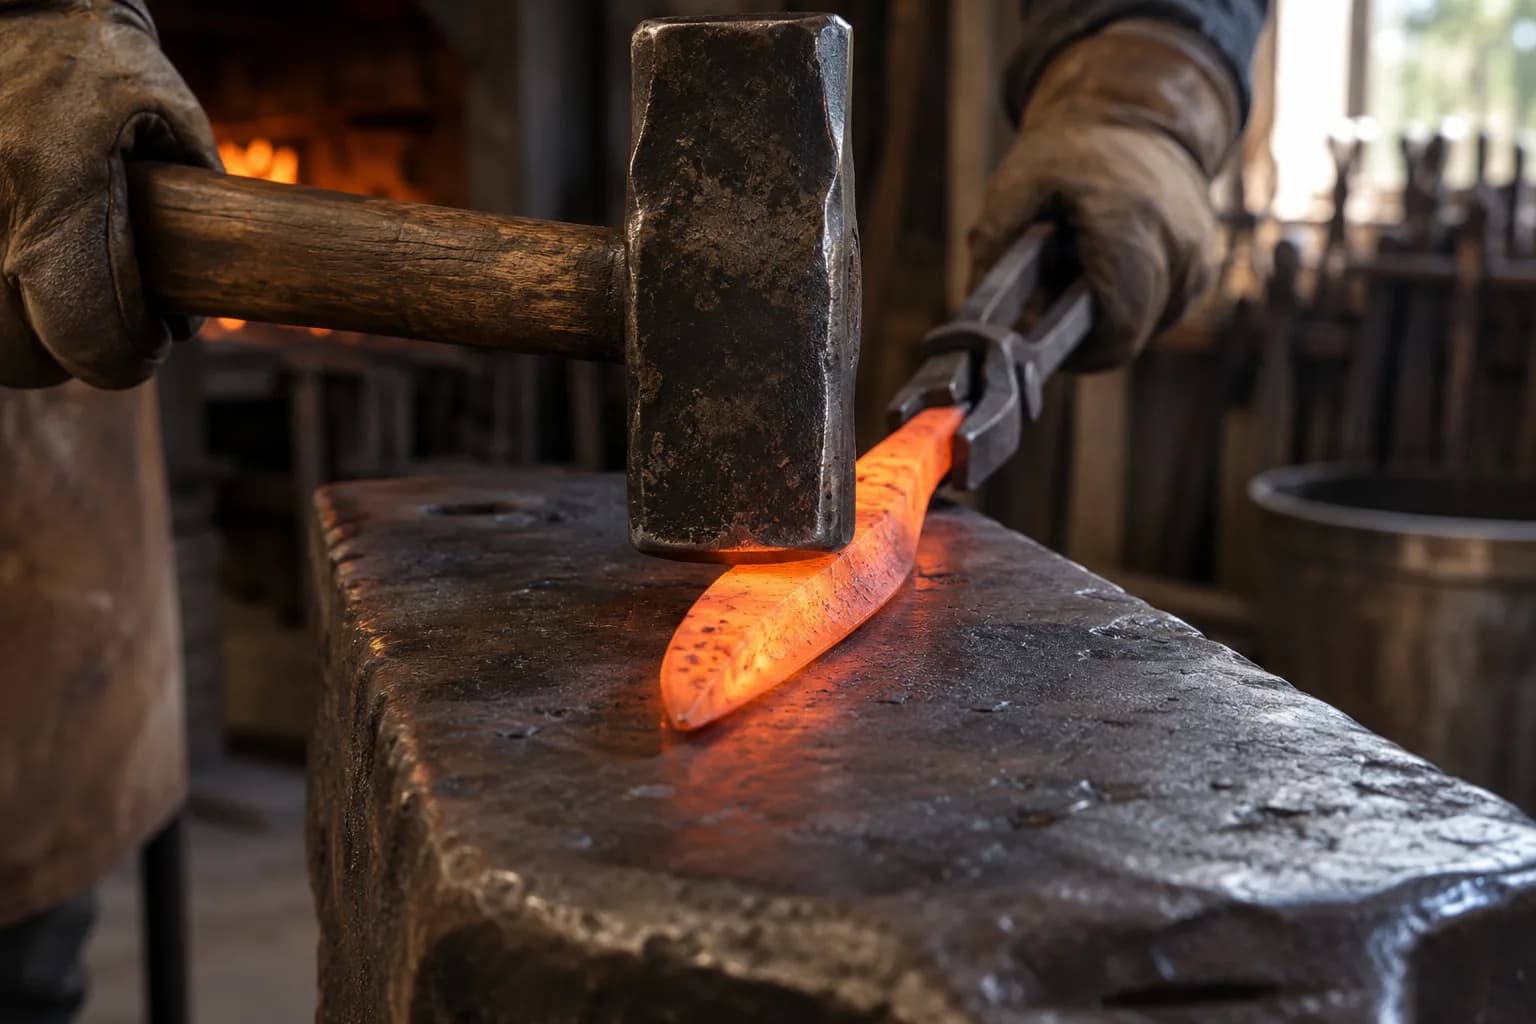
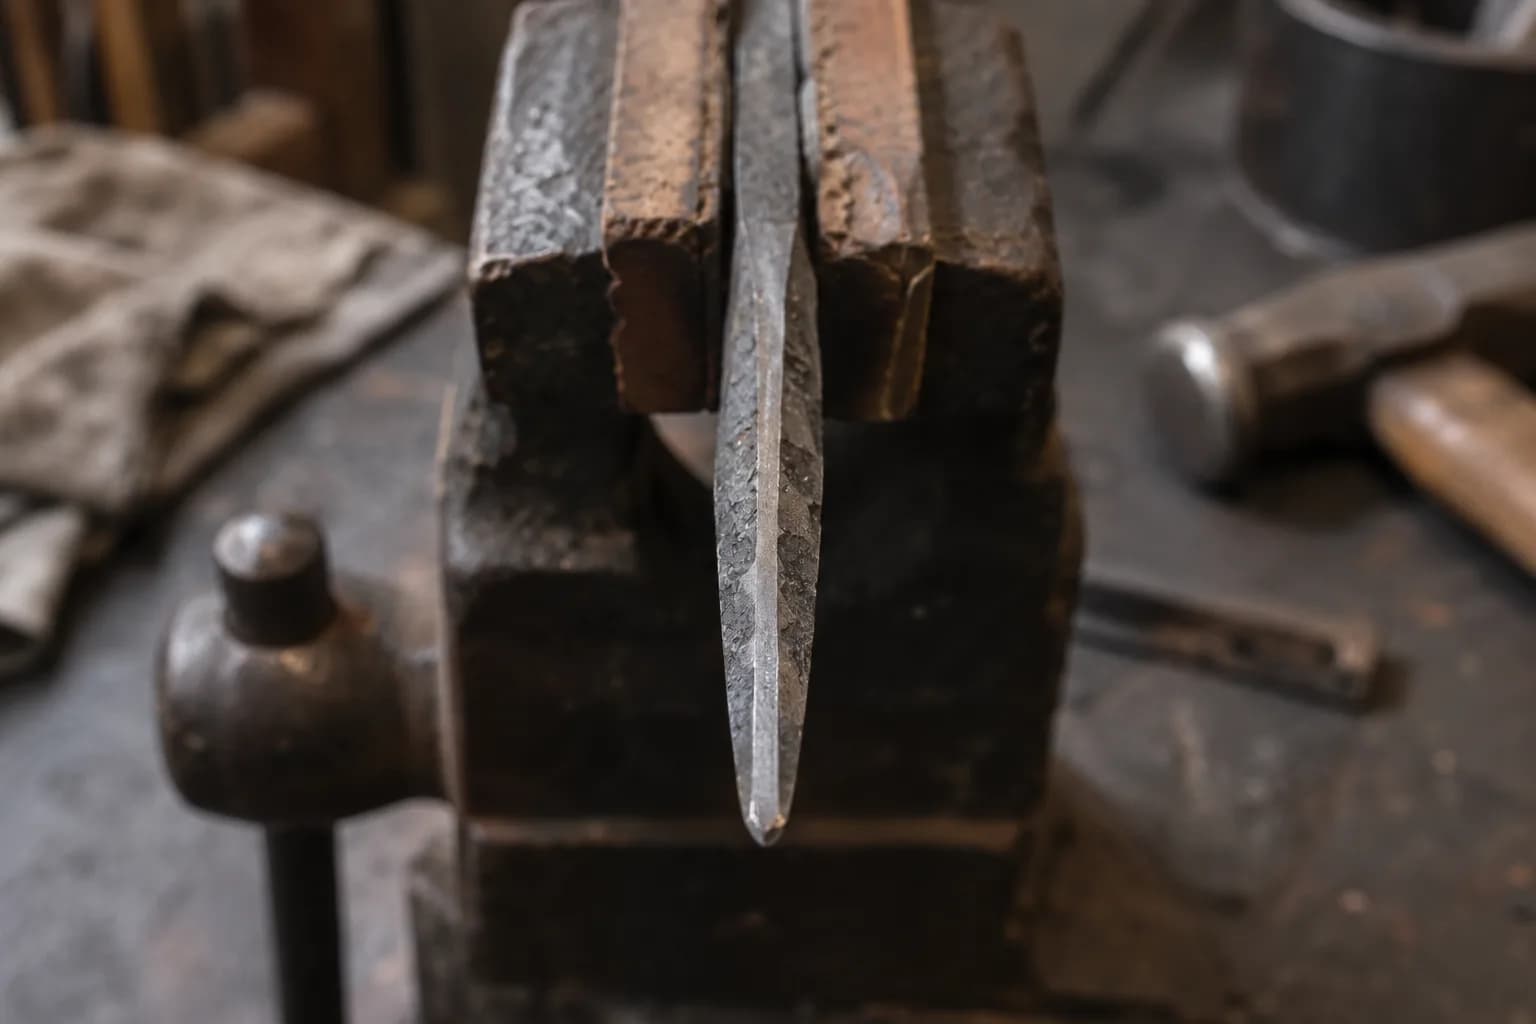
Banana anyway? At bright heat: light blows along the spine (spreading it lengthens the short side), or bump the blade spine-down against the anvil. Sideways sweep? Even up the bevel work on the shy side. The cardinal rule of every correction: at forging heat only — “just one straightening tap” on a dull-red blade is a crack with extra steps. When forging’s done, head to normalizing, where the stress you just built gets erased before it can bite during heat treat.
Keep reading
Three more from the same bench.
Forging a knife is not sculpting with sparks — it’s a sequence, and once you know the sequence, every session has a plan. This guide walks a first forged…
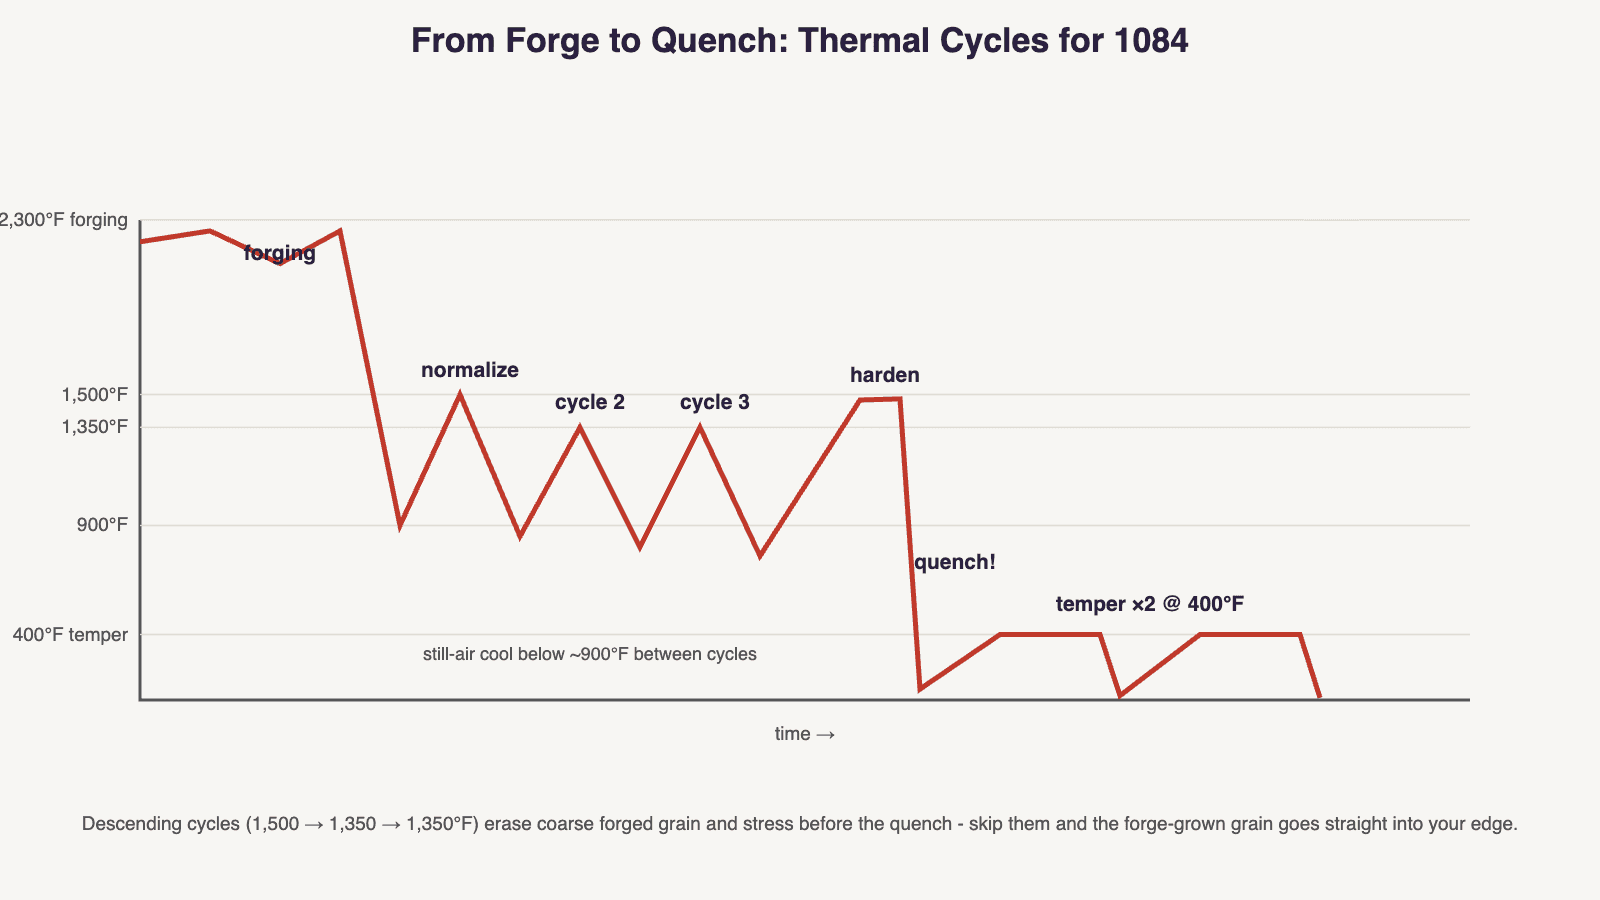
Between the last hammer blow and the quench sits the least glamorous, most skipped, most important step in forging: normalizing. Forging happens way up at…
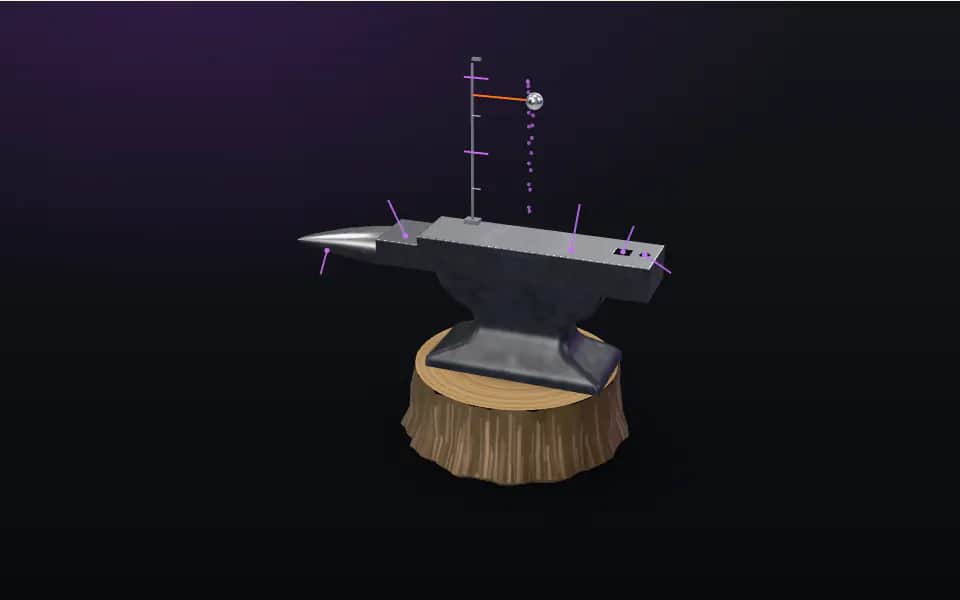
Nobody ever quit knifemaking because their anvil was too small — plenty quit because they spent the whole budget on a 250-pound showpiece and had nothing…
Same bench
I machine the parts, hand-assemble, track and test Torus grinders in Sterling, Illinois. Most orders ship in seven to ten business days from time of order.

Current dual-axis platform with a fiber-laser-cut 6061 chassis and single-knob tracking.

Current dual-axis platform with a steel chassis, more mass and less vibration.

Prior-design aluminum chassis, 90-degree tilt and 1.5-inch tooling arms.

One-man shop
I answer my own email. Tell me the steel, the machine and what it is doing, and I will tell you what I would try next.